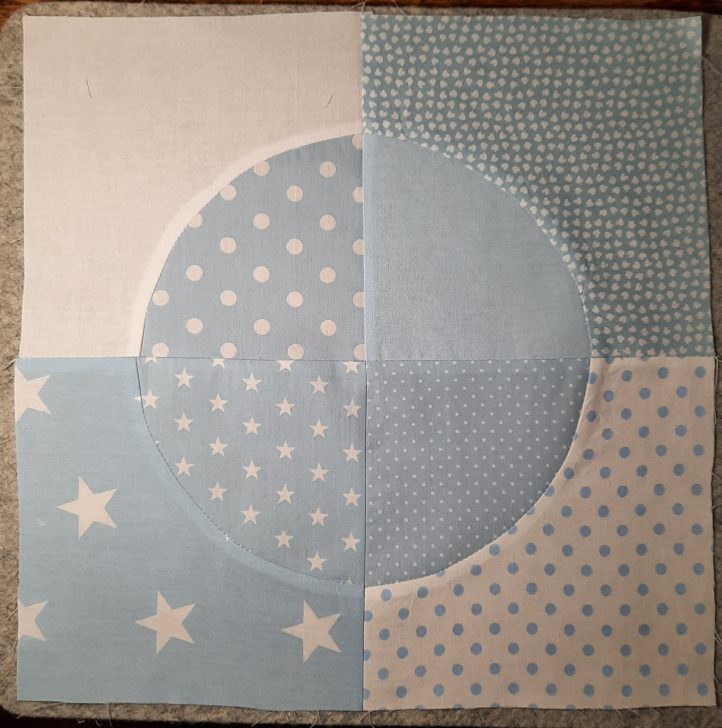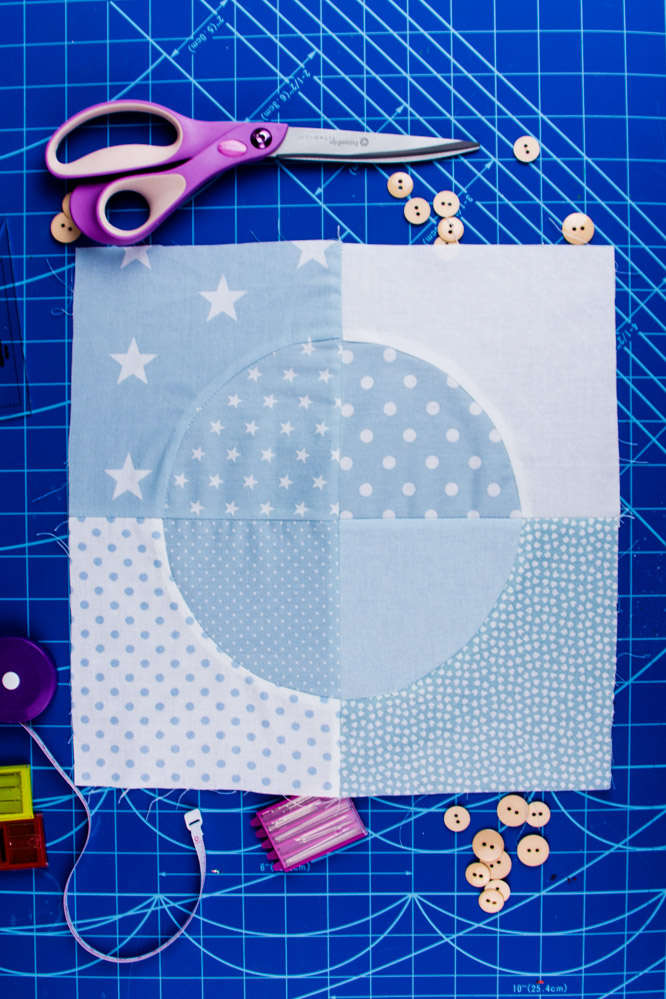
Become an expert in sewing and quilting curves with this darling baby quilt block! Made in calming hues of pale blue and white, this circle quilt block finishes at a 12” square and would look absolutely dreamy when made into a baby quilt. We love the idea of playing with whimsical prints in pastel colors to make a darling new quilt for your newest addition to the family. We know that sewing curves can be challenging for beginner quilters, so this simple block is a great project to expand your skills.
Materials:
- To make a 12” (finished) block, you will need:
- Four pieces of fabric at least 7 x 7” (for example Fabric A – white solid, Fabric C – white on blue ditsy print, Fabric E – blue polka dot on white, Fabric G – large white star on blue)
- Four pieces of fabric at least 5 x 5” (for example Fabric B – white polka dot on blue, Fabric D blue solid, Fabric F – small white polka dot on blue, H – small white star on blue)
- PDF Template – This is located at the bottom of this page.
Cutting Instructions:
- Use the larger template to cut the outer shape from Fabrics A, C, E and G.
- Use the smaller template to cut the inner shape from Fabrics B, D, F and H.
Sewing Instructions:
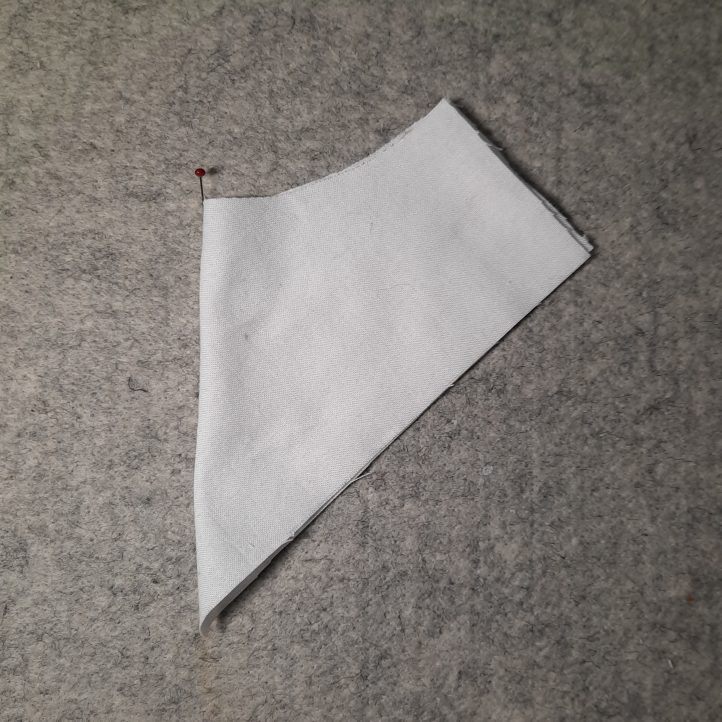
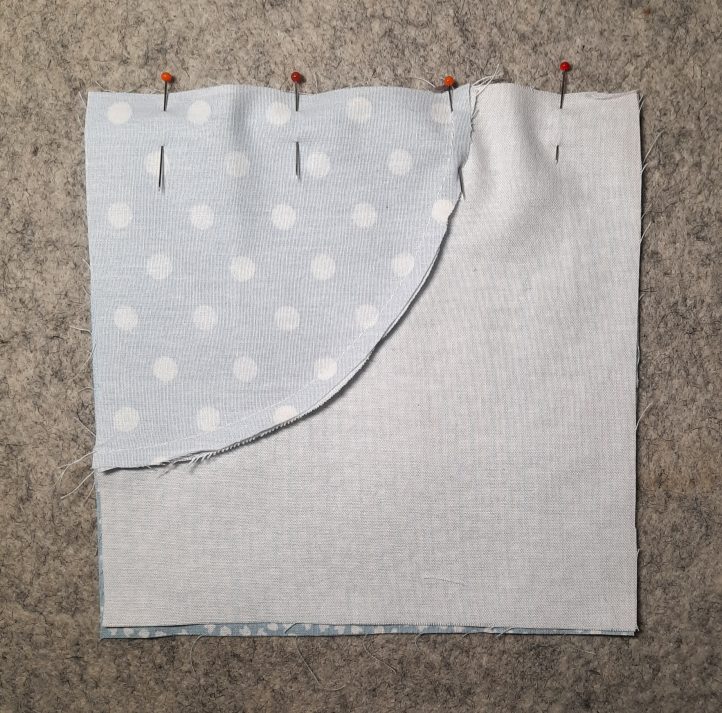
- Take a Fabric B piece. Fold it gently in half as shown in the photo. Finger-press lightly at the top edge.
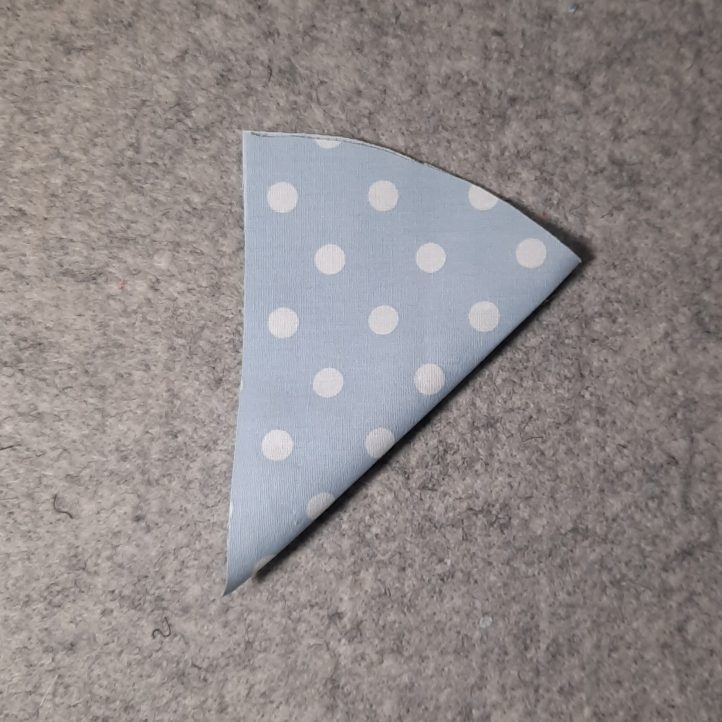
- Insert a marker pin in the fabric at the point where you pressed a fold.
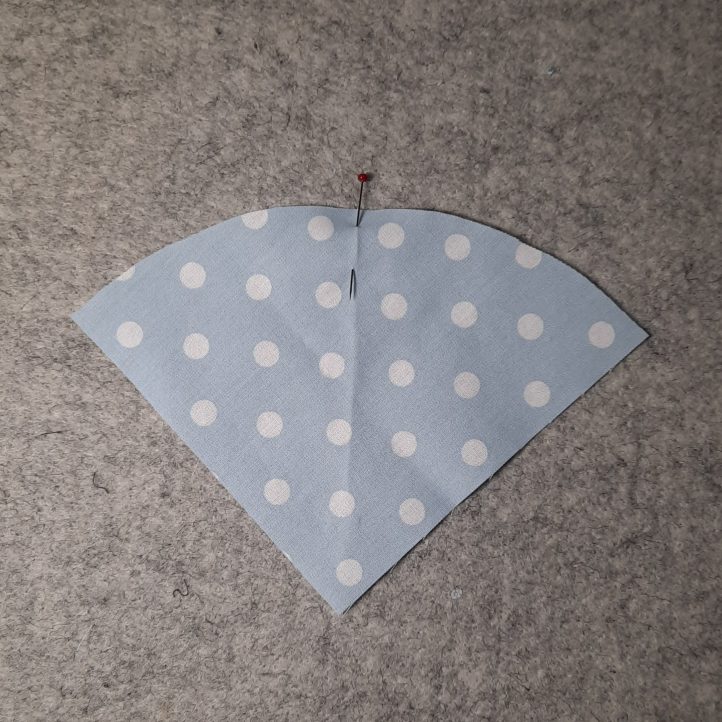
- Fold a Fabric A piece in half with the right sides together and finger-press lightly at the center of the curved side, as shown. Insert a marker pin at the top of the fold.
- Place the Fabric B piece right sides together with the Fabric A piece, aligning the marker pins. Then re-pin, with just a single pin to hold the two pieces of fabric together.
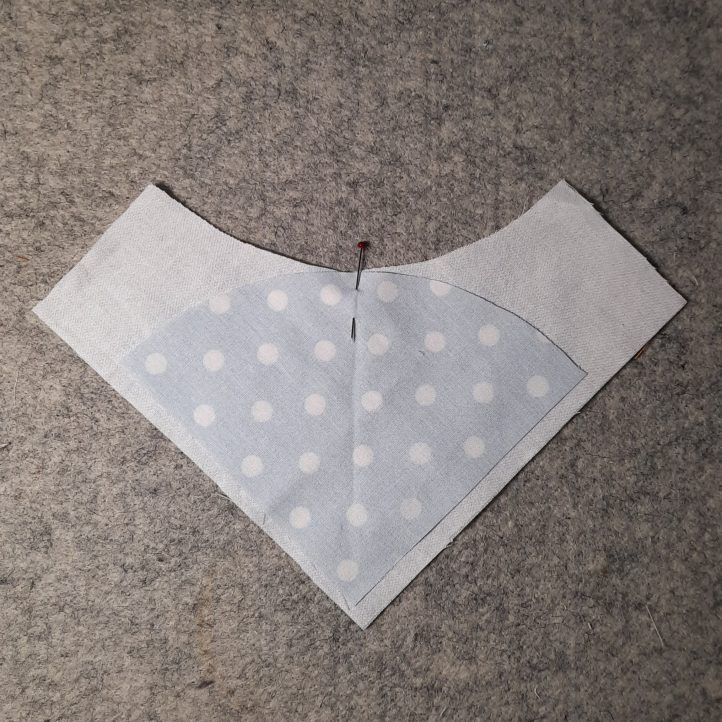
- Next, insert a pin on the left to hold together the left corner of the curve of the Fabric B piece and the outer left edge of the Fabric A curve.
- Then insert a pin on the right to hold together the right corner of the Fabric B piece and the outer right edge of the Fabric A curve.
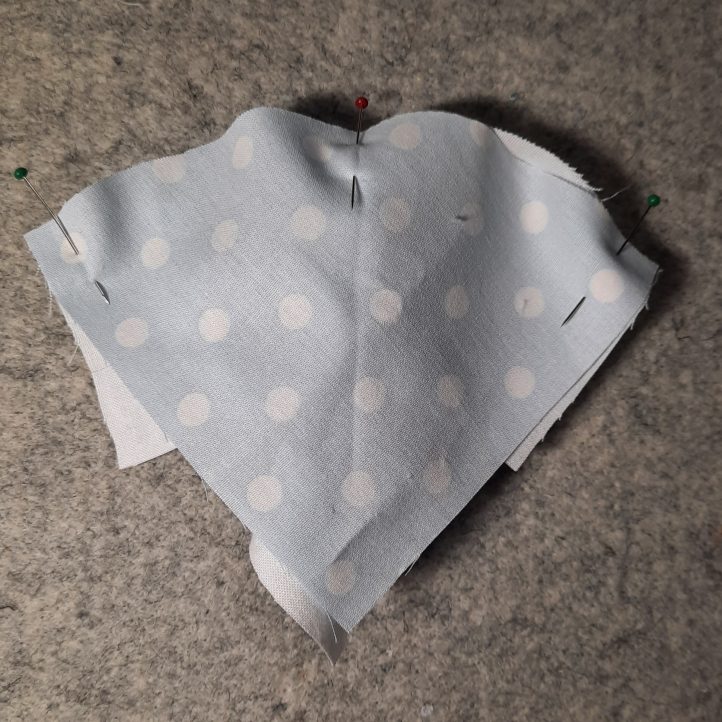
- Once those three pins are in place, you can add two more pins as shown, in between the others. Handle the fabrics gently, taking care not to stretch either of the two curved edges.
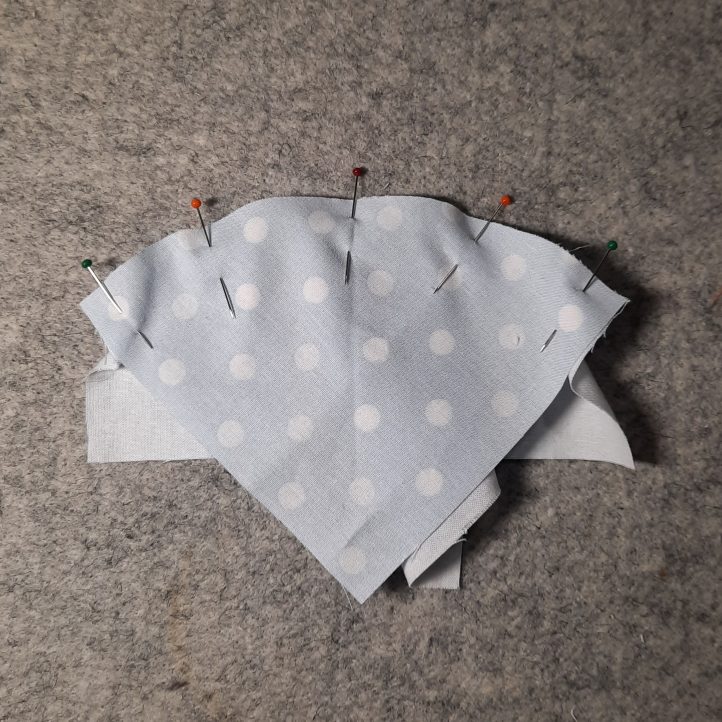
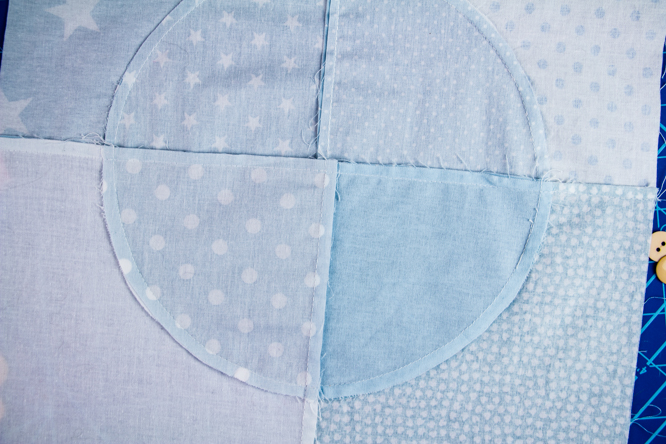
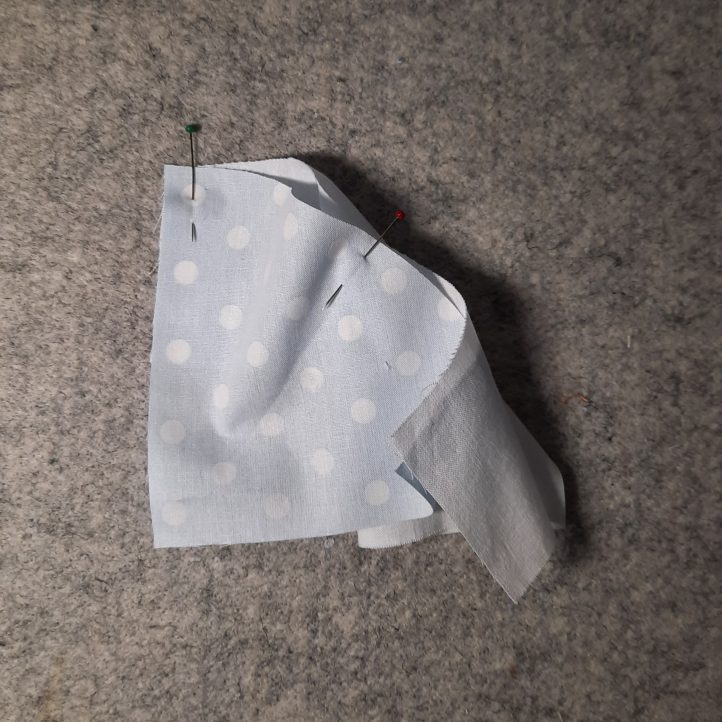
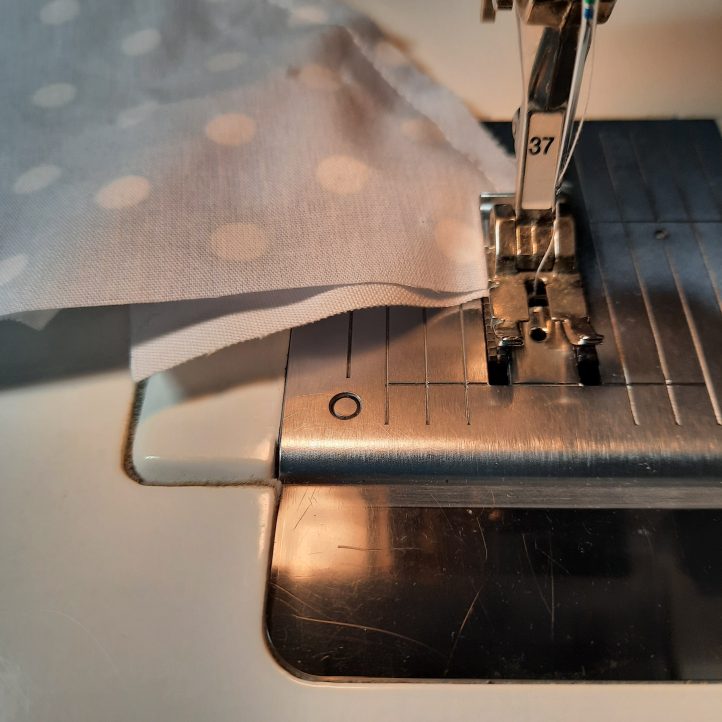
- Place the pinned piece on the machine and turn the hand-wheel to insert the needle. Take out the first pin and lower the presser foot.
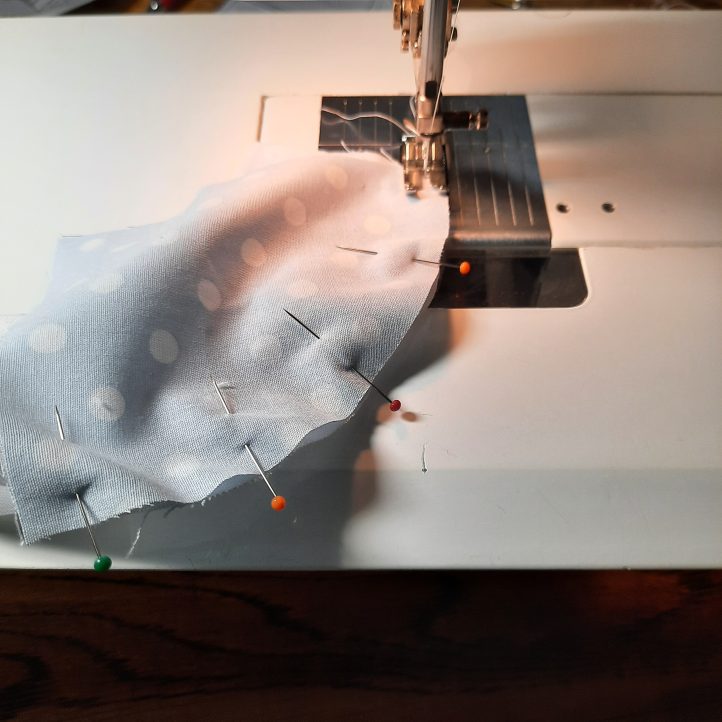
- Stitch carefully around the curve, taking out each pin just before the machine needle reaches it.
- Stop at the mid-point and slightly adjust the top layer of fabric out of your way and then continue to stitch.
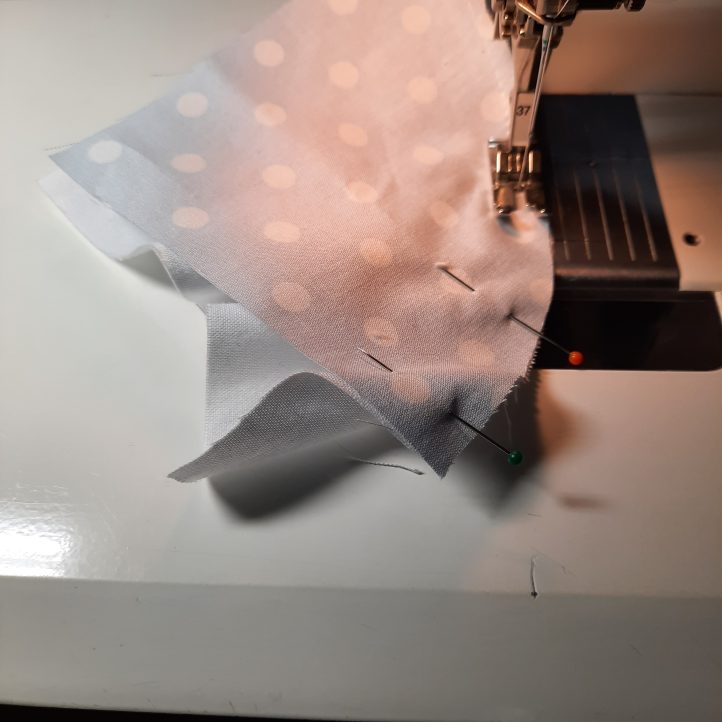
- Just before the end of the seam, stop and insert the machine needle. Check that the two ends of the fabric are aligned. Then complete the seam.
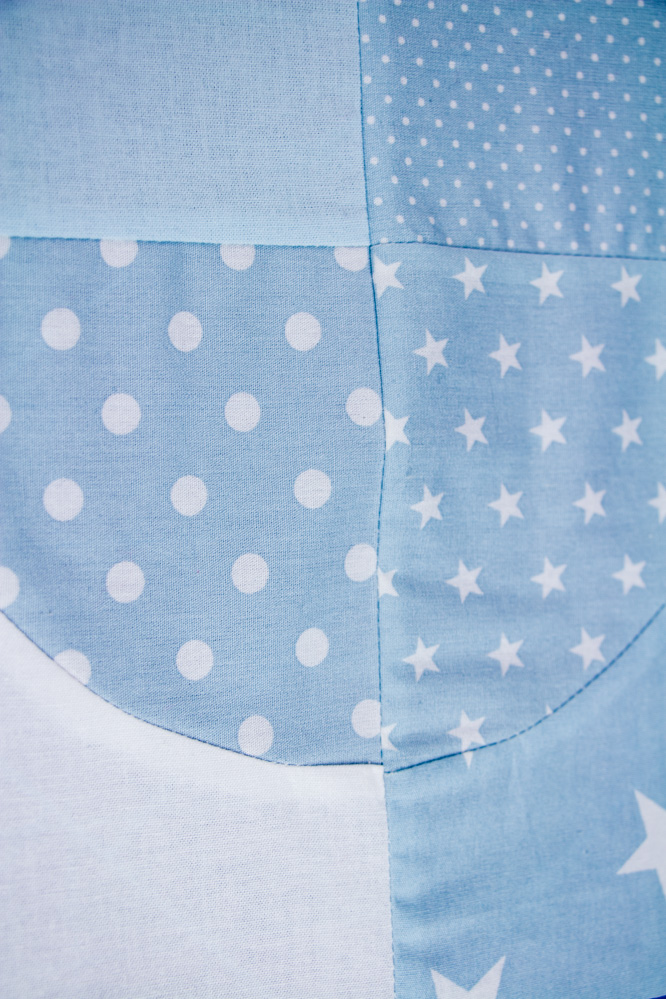
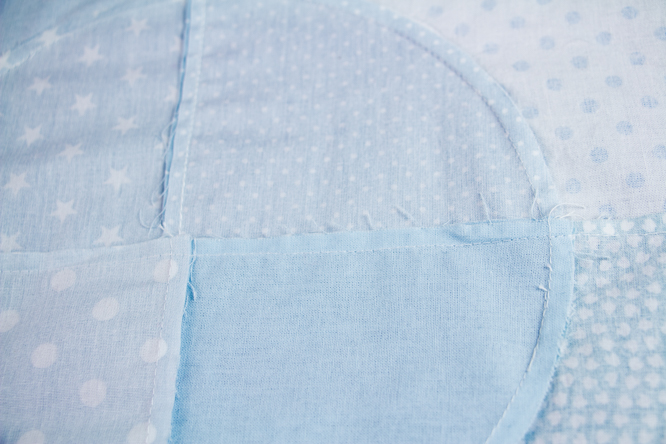
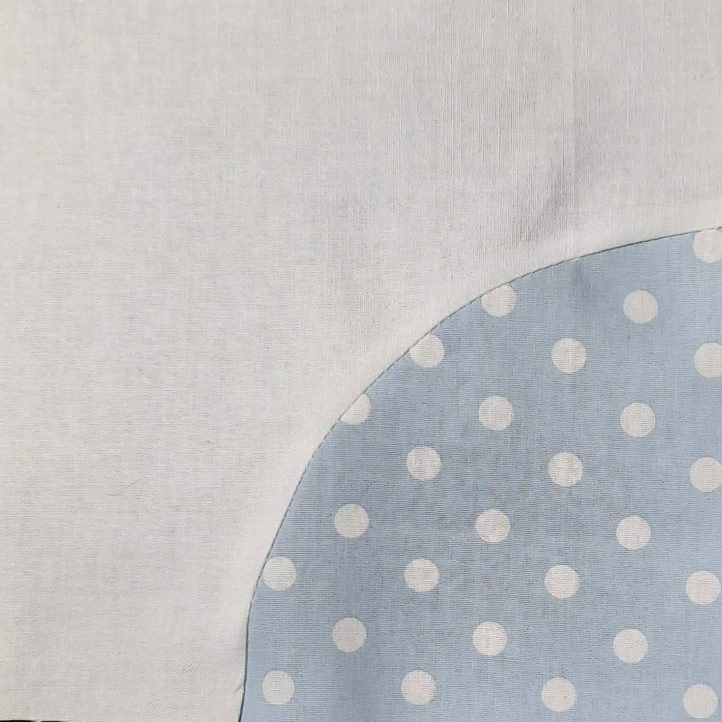
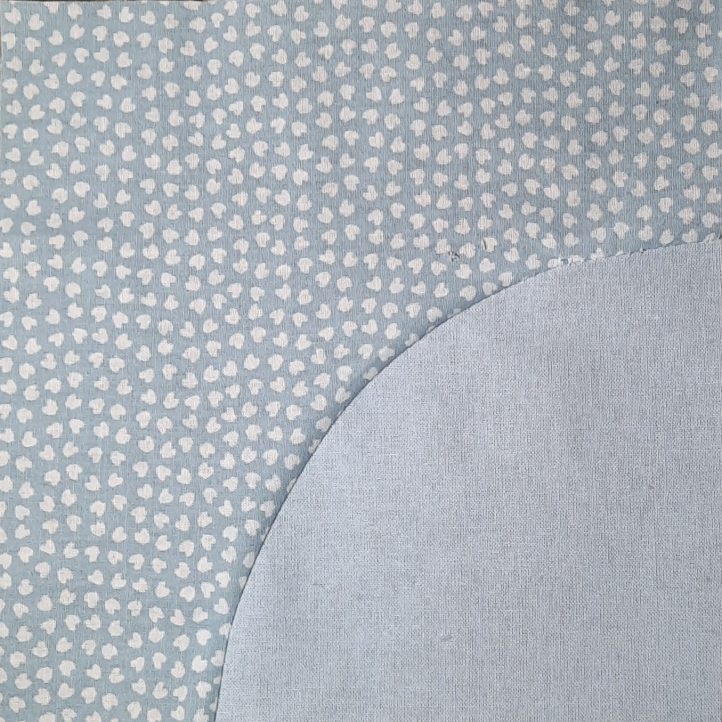
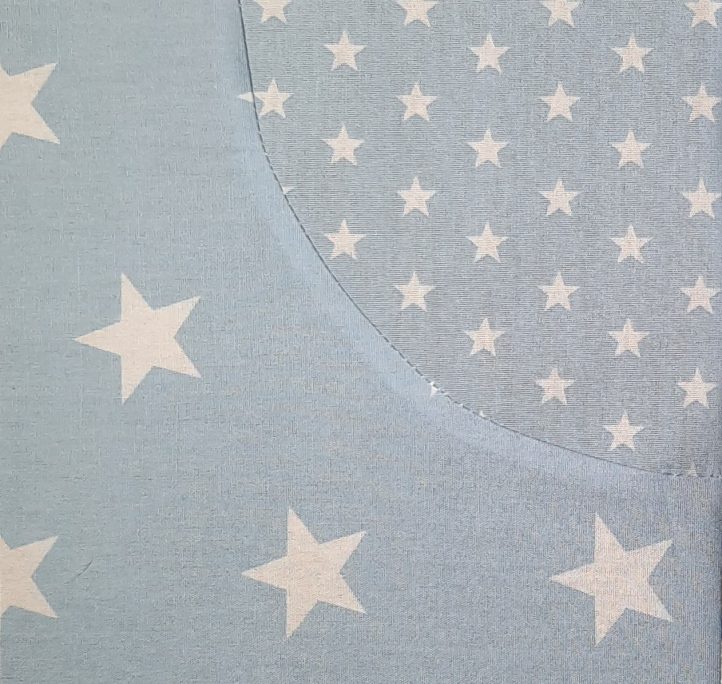
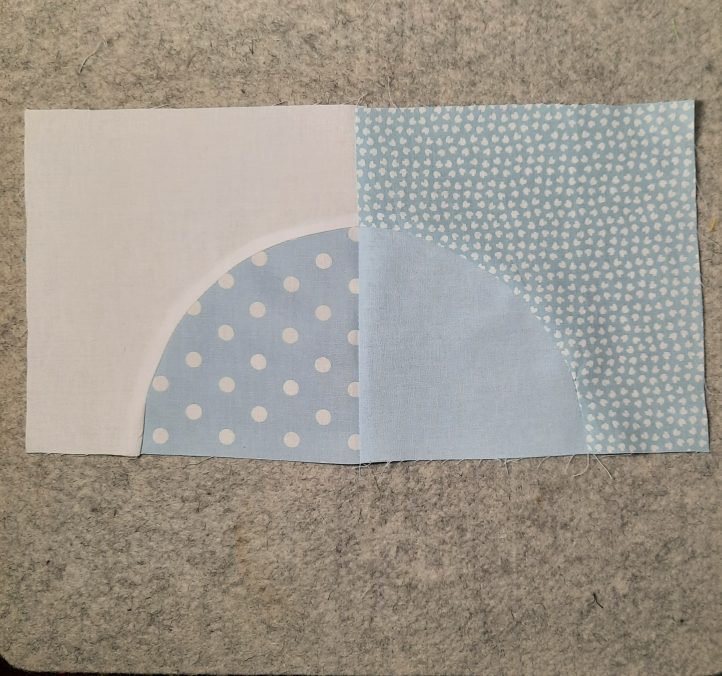
- Press the seam carefully, without stretching the fabric, then press the block, allowing the seam allowances to go outwards from Fabric B. Your finished block should have an even curve between the two fabrics and the edges should be aligned.
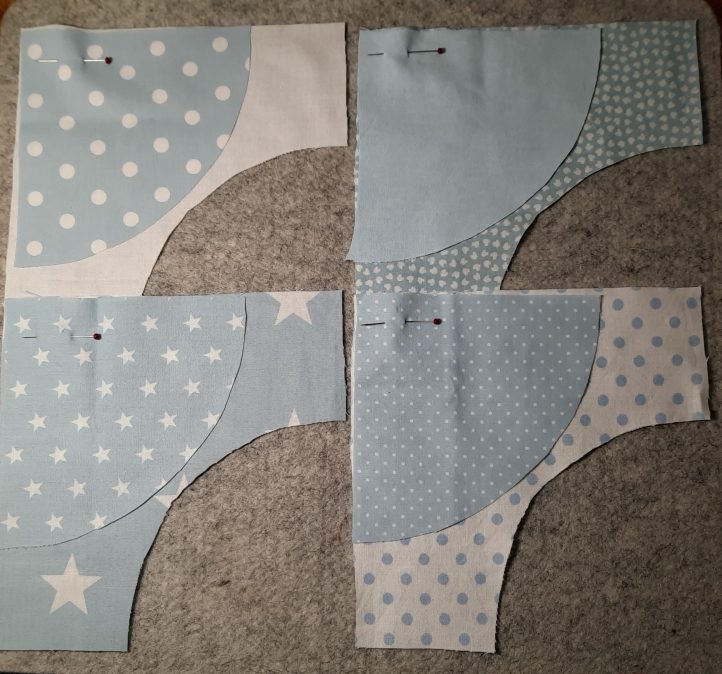
- Make the other three blocks in the same way.

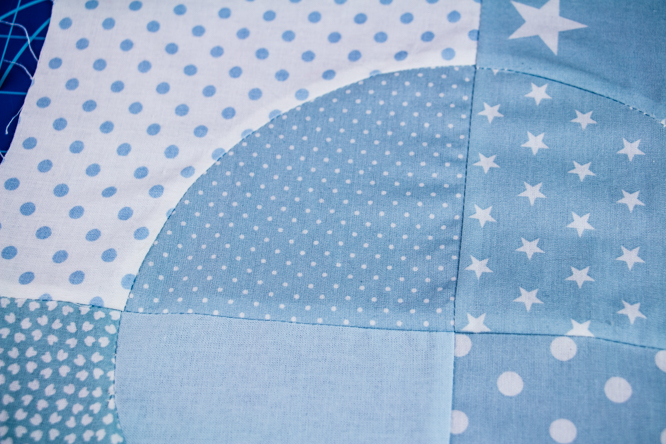
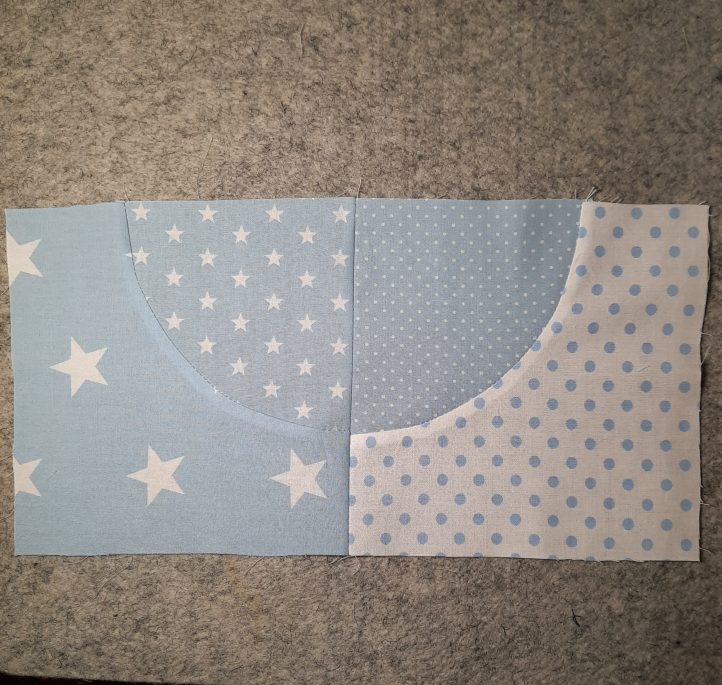
- Rotate the second block 90 degrees to the right. Place it right sides together with the first block and pin carefully, inserting a pin to ensure that the curved seams lie exactly on top of each other.
- Stitch the two blocks together. Press the seam allowances to the right.
- Rotate the third block 180 degrees to the left. Do not rotate the fourth piece. Join the third and fourth blocks together. Press the seam allowances to the left.
- Join the two rows together, ensuring that the vertical seam allowances align and that the seam allowances face in opposite directions at that point. Press well.