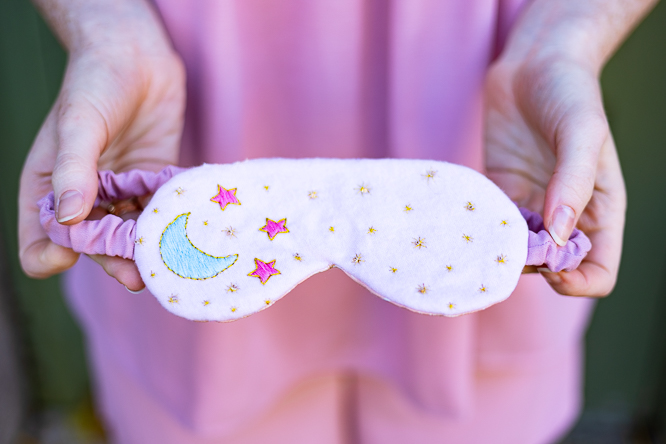
Treat yourself to a little handmade luxury this holiday season by making your own eye mask! Designed for easy-level sewing, this sewn loungewear accessory features hand embroidery and beading details in a whimsical moon and stars design. This easy sewing pattern is a great gift idea for your mom, nieces, or best friend and is a delightful way to celebrate all things cozy. Create a dreamy, gorgeous accessory using pretty and pink fat quarters with this sewing project.
Skill Level: Easy
Finished Size: 7” x 3.5”
Materials:
- Fabric: pink brushed cotton, printed cotton, one fat quarter of each (or, use off-cuts from your pajama refashion!)
- Sewing thread: pink
- Embroidery floss: pink, blue, gold
- Seed beads: gold
- Fusible wadding: one fat quarter
- Elastic: 1/4” wide, long enough to fit your head
- PDF Pattern – This is located at the bottom of this page. See printing instructions below.
Tools:
- Pencil
- Scissors
- Embroidery hoop
- Embroidery needle
- Sewing machine
- Pins
- Tape measure
PRINTING INSTRUCTIONS:
To download the PDF pattern, click on the download button at the bottom of the page. We recommend opening your download using Adobe Acrobat.
DESIGNER NOTES: Make your mask even more relaxing by adding a mini scented lavender pouch beneath the fabric before you stitch it up.
Instructions:
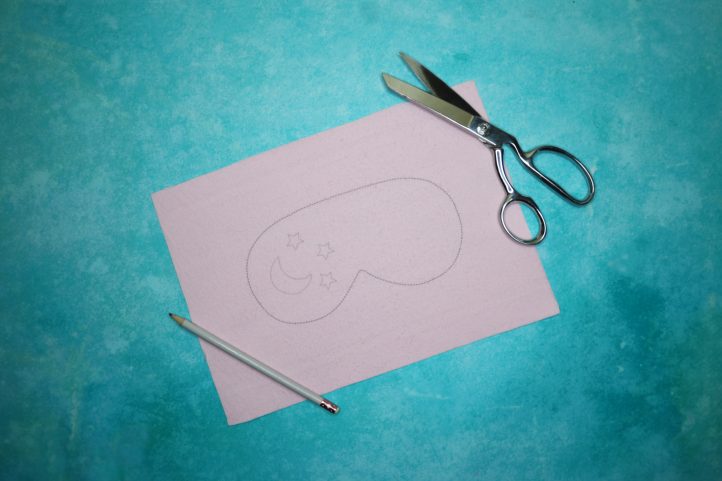
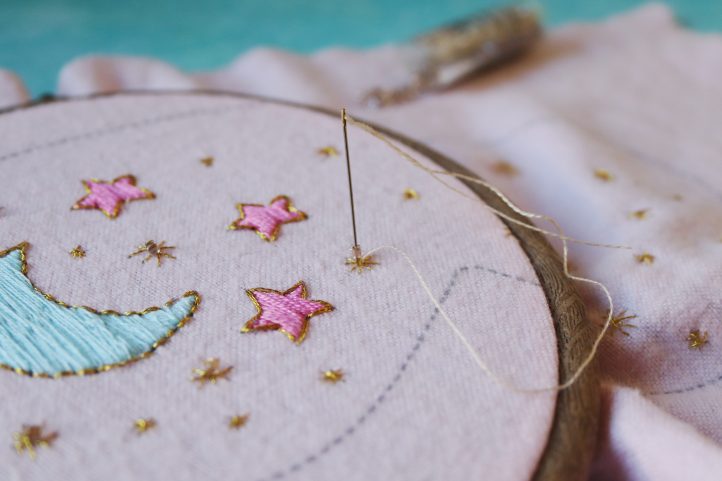
- Begin by downloading and printing the pattern (This is located at the bottom of the page) and transferring it to a piece of plain pink brushed cotton fabric using the method of your choice, complete with the moon and stars design.
- Place your fabric in an embroidery hoop, centering it over the mask. Thread a needle with two strands of pink embroidery floss and fill in each star shape using satin stitch. Next, use two strands of blue floss to fill in the moon, working a combination of satin stitch and long and short stitch. Work around each shape in backstitch using two strands of gold floss, then finally add a scattering of simple gold star shapes all over the mask.

- Thread your needle with one strand of gold thread and use it to secure seed beads to the design. The designer placed theirs in the center of each of the larger golden star shapes, but you can add as many or as few as you like.
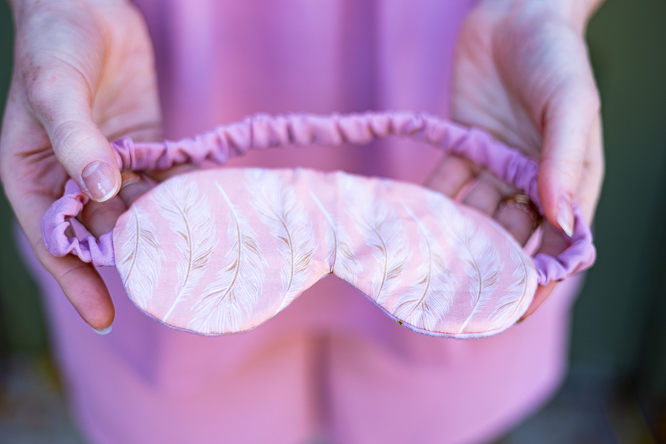
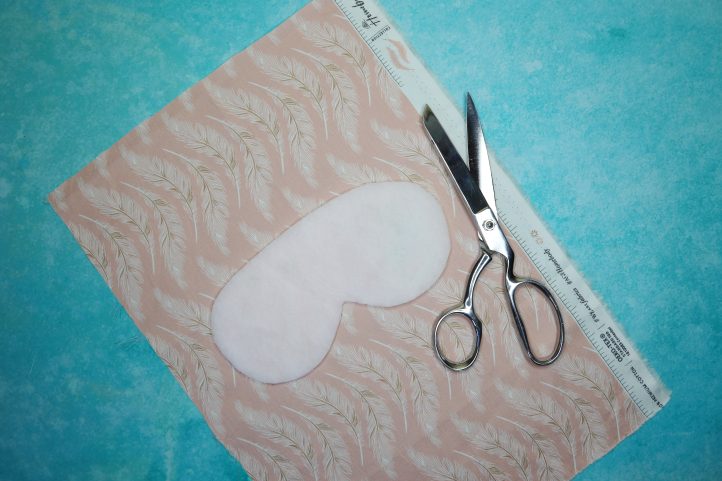
- Use your pattern to cut mask shapes from your printed cotton (the designer used Art Gallery Fabrics’ Pleasantly Plumes cotton from the Homebody range) and fusible wadding. Fuse the wadding to the wrong side of the embroidered mask piece using a warm iron, being careful not to damage the bead work. Place both mask pieces aside. Next, make a strap. Cut a piece of 1/4” wide elastic – to work out the length, wrap it around the back of your head, going from one side of your face to the other. It should be slightly stretched but not tight. Cut a 2” strip of fabric to twice this length, then fold it in half (with right sides facing) and stitch along the long edge, to create a tube. Turn the tube right sides out and thread your elastic through it, before stitching to secure the fabric and elastic together at both ends.
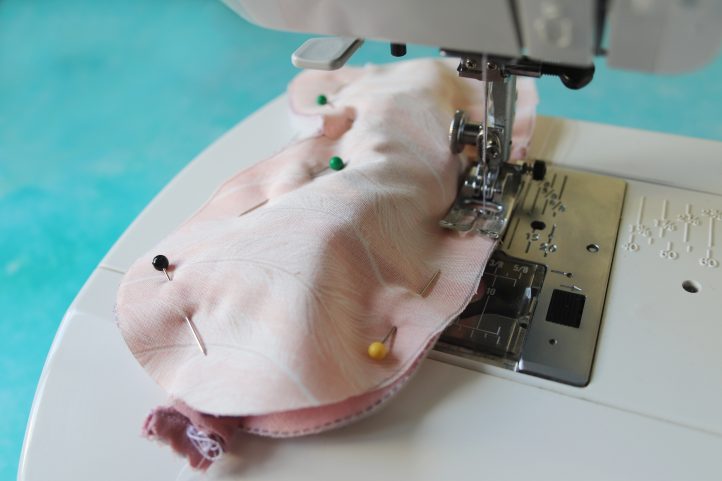
- Time to make your mask! Lay your embellished front piece out with the right side facing up, then place the strap on top. Pin both short edges of the strap into position at the sides of the mask, ensuring that it sits on top of the mask fabric. Next, add your printed cotton on top with right side facing down, and pin to secure. Start to stitch around the edge of the mask, leaving a 1/4” allowance and sandwiching the ends of the strap into place. Leave a 2” gap in the seam along the top edge. Turn the mask out through the gap, then press gently and hand stitch the gap closed to finish.