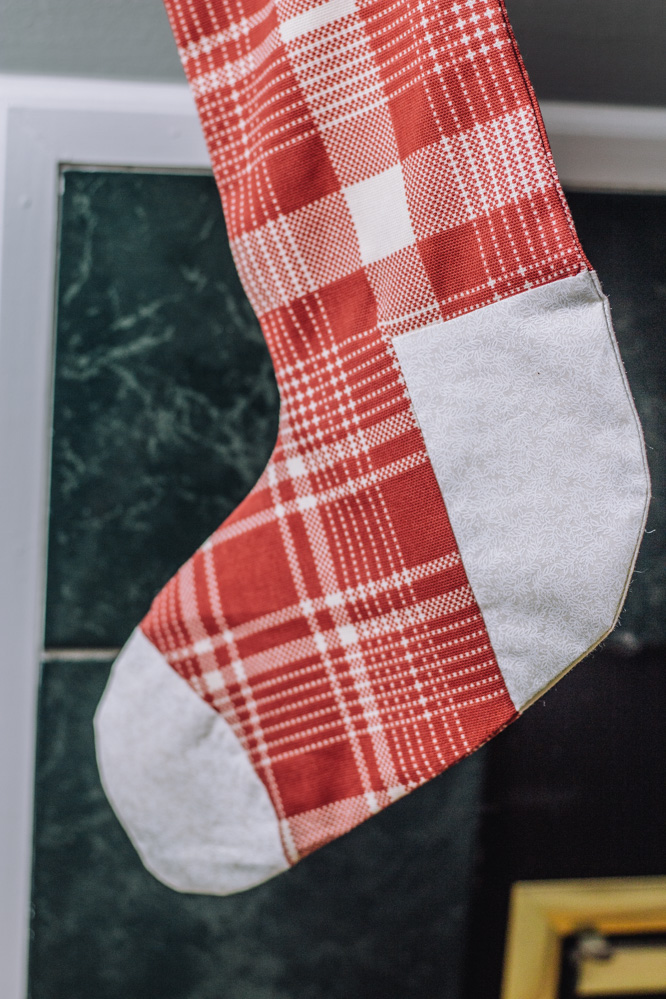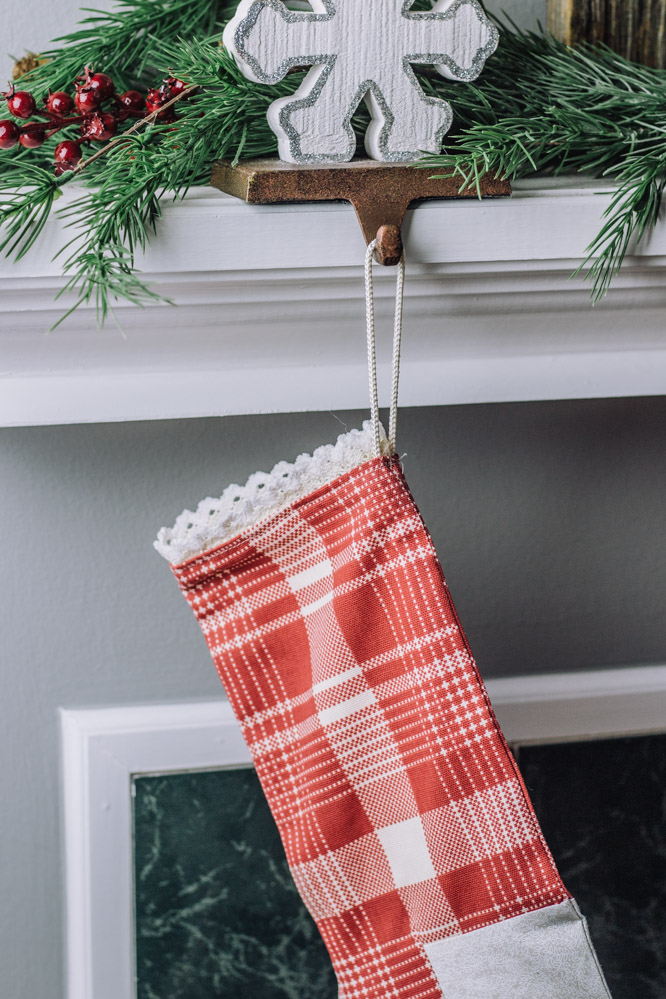
Embrace the feeling of a cozy country cottage by decorating your mantel with these sewn Christmas stockings. Made in festive red and white plaid, this Christmas sewing project uses both machine and hand stitching and allows you to play with fun holiday fabrics and trims. We love the idea of adding some embroidery to your stockings, so that each member of the family has their own personalized project to hang above the fireplace. Add a charming country touch to your holiday décor with this Christmas stocking tutorial.
Materials:
- 1/2 yard main fabric for stocking body
- 1/4 yard or small amount of stash fabric for contrast heel and toe
- 1/2 yard plain fabric for lining
- 1/2 yard trimming for edging and hanger
- Coordinating sewing thread
- Hand sewing needle
- PDF Pattern – This is located at the bottom of this page. See printing instructions below.
Abbreviations:
- RS – Right side of fabric
- WS – Wrong side of fabric
PRINTING INSTRUCTIONS:
To download the PDF pattern, click on the download button at the bottom of the page. We recommend opening your download using Adobe Acrobat.
Cutting Instructions:
- Cut 2 pieces of Body out of main fabric.
- Cut 2 each Toe and Heel out of contrast fabric.
- Cut 2 of lining.
Sewing Instructions:
- With RS together, sew Toe and Heel into place on each Body piece.
- With RS together, sew assembled stocking front and stocking back together.
- With RS together, sew the Lining pieces together, leaving a 4” opening along back to center back seam to turn the work.
- Clip all curves.
- Turn Main fabric piece right side out.
- With RS together, insert main fabric stocking into lining.
- Pin top edging (trimming) into place between the two layers, adding a 6” loop of trim to act as a hanger at the center back, straight/raw edge of trim aligning with raw edges of Body and Lining. Stitch.
- Trim seam allowance.
- Turn right side out using the 4” opening in the center back seam. Press.
- Topstitch top opening.
- Hand sew the 4” opening closed.


