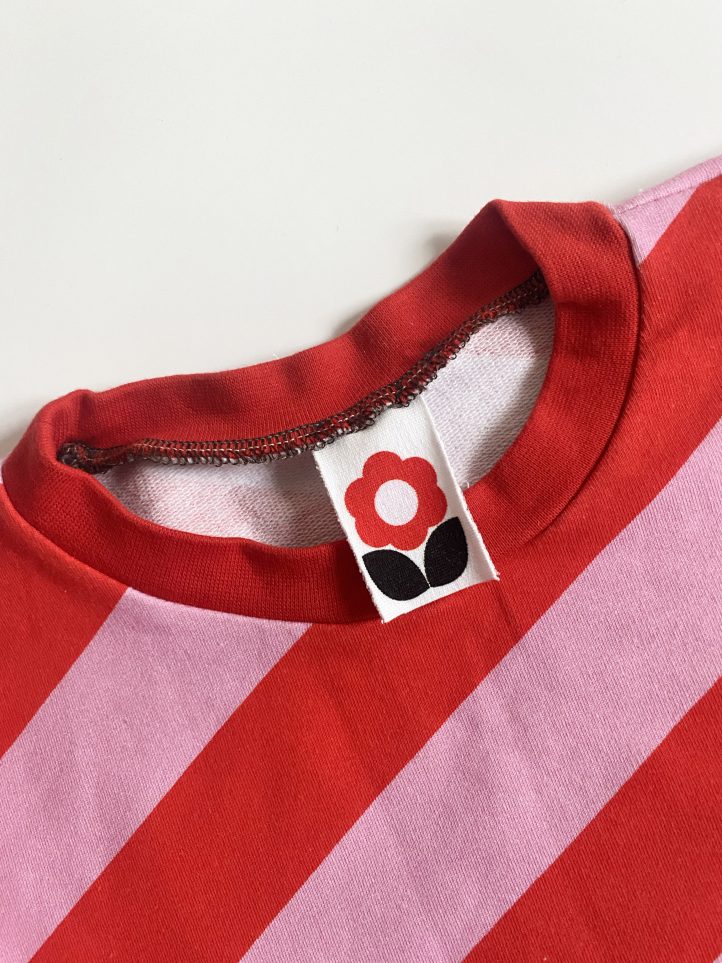
When it comes to adding the perfect finishing touch to your garments, sewing a handmade fabric label made with love is sure to bring a smile to the wearer’s face every time they see it. Designer Olu Falola shares her five creative methods for making DIY fabric labels. From using transfer paper to transforming your tiny fabric scraps, these fun and playful ideas are a great way to finish off your next garment.
How to Make Your Own Fabric Labels
There are so many creative ways you can add labels to your handmade clothes. Here are 5 ideas for you to try!
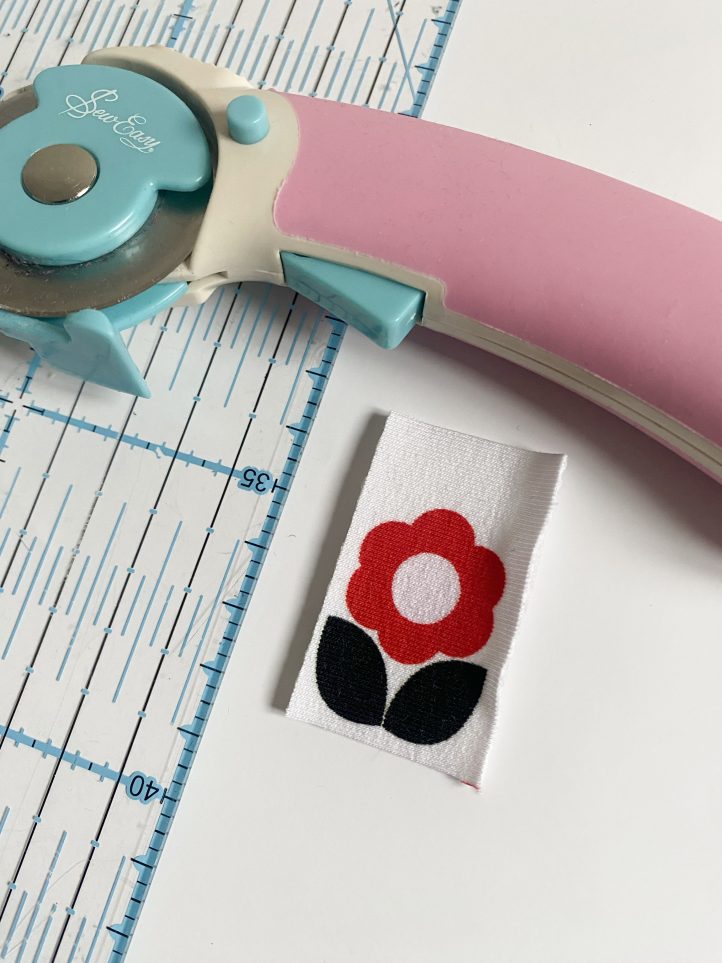
TRANSFER PAPER:
![]()
Materials:
- Iron-on transfer paper
- 12mm wide ribbon in a light color
- Needle and thread
Instructions:
- Using your computer, create a grid of boxes to fill an A4 sheet. Each box should be 12mm wide and to the length of your choosing.
- Add your design to each box, making sure there is comfortable space around the graphic and the edges of the box. If you are using wording, you need to print it on to the transfer paper in reverse so that it becomes the right way round once ironed in place.
- Print the graphic onto your transfer paper following the instructions provided with your paper.
- Cut out each label graphic as you need it.
- Following the instructions for your transfer paper, iron/press your graphic onto the ribbon.
- Attach to your garment by hand tacking each corner.
![]()
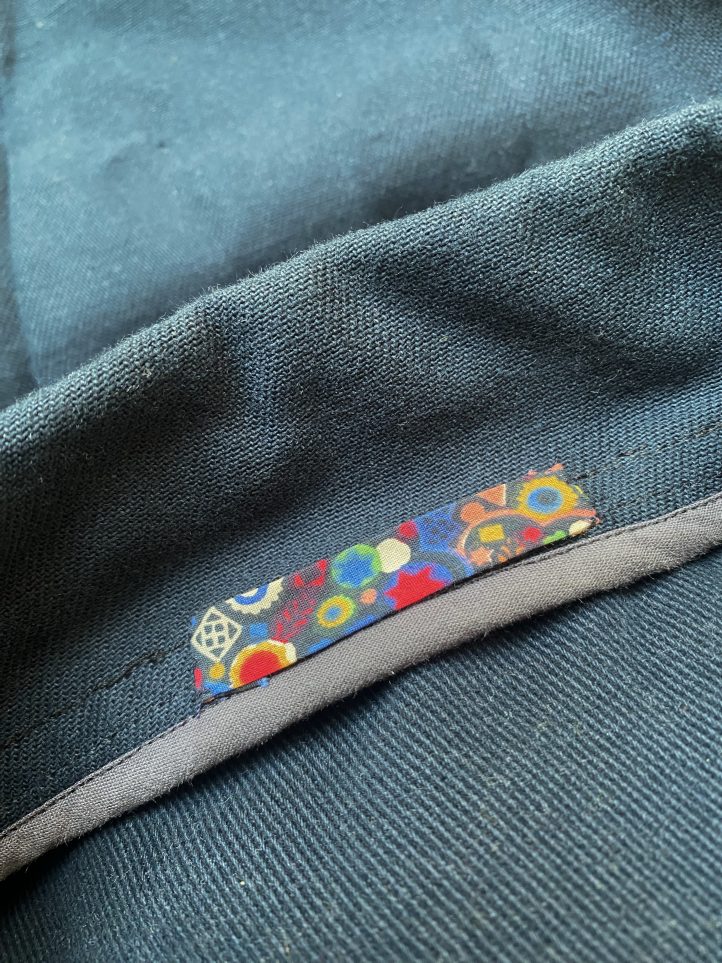
THE SELVAGE EDGE:
Next time you’re cutting out a pattern, pay attention to the selvage and check to see if there’s a cute illustration or a fun phrase that you could use for a garment label. If you find something you like, simply cut it out, add interfacing to the back to prevent curling, and tack to the inside of your garment.
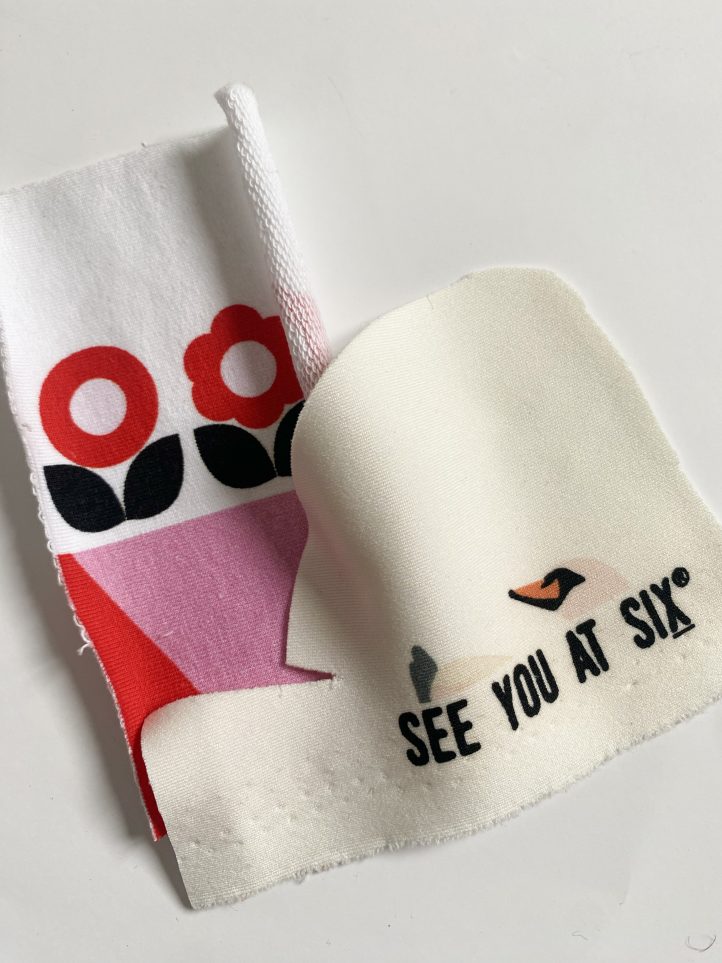


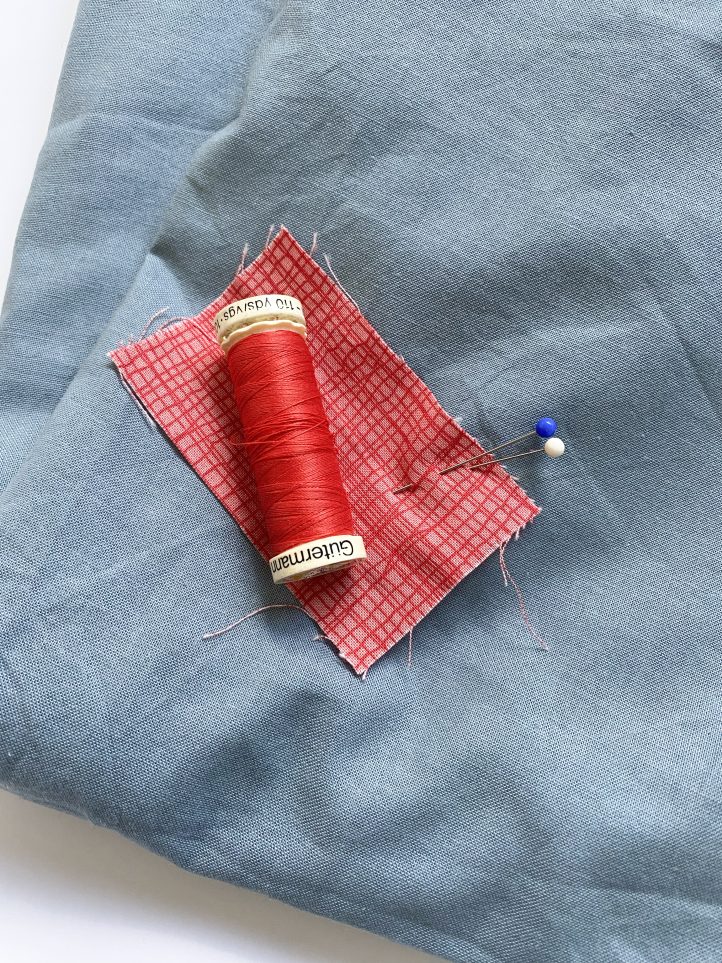
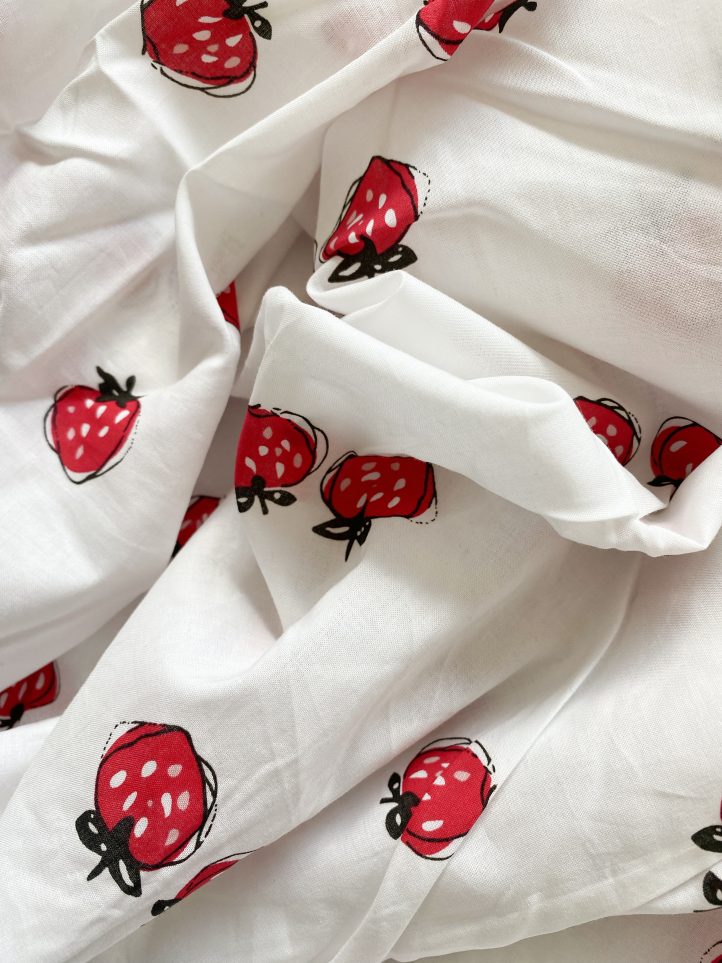
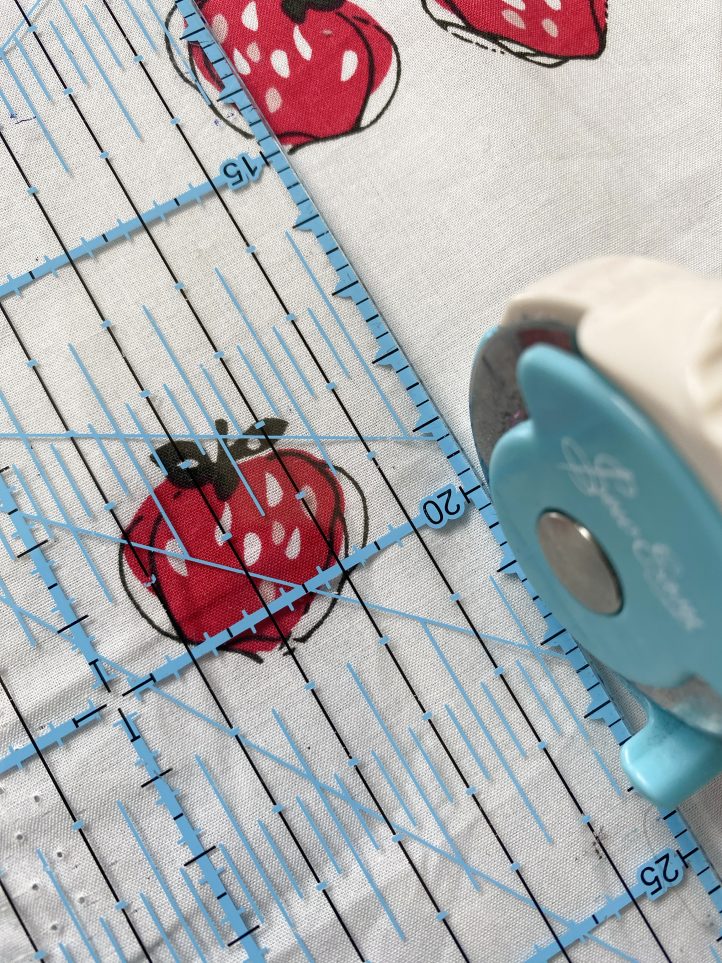
FABRIC SCRAP:
Only a very small amount of fabric is needed to make a label, so keep your little fabric scraps and put them to use at a later point. Fabric that has a small scale print like spots, animals, ditsy flowers, etc. work particularly well.
Method 1
This method works best when the raw edge can be hidden under the seam allowance or under a facing.
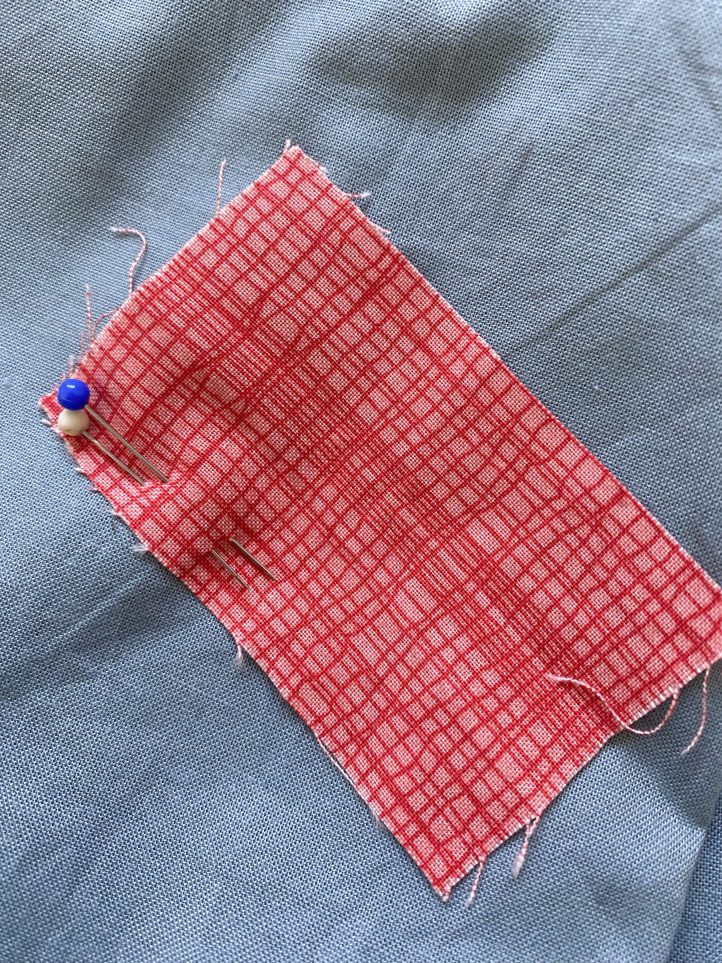
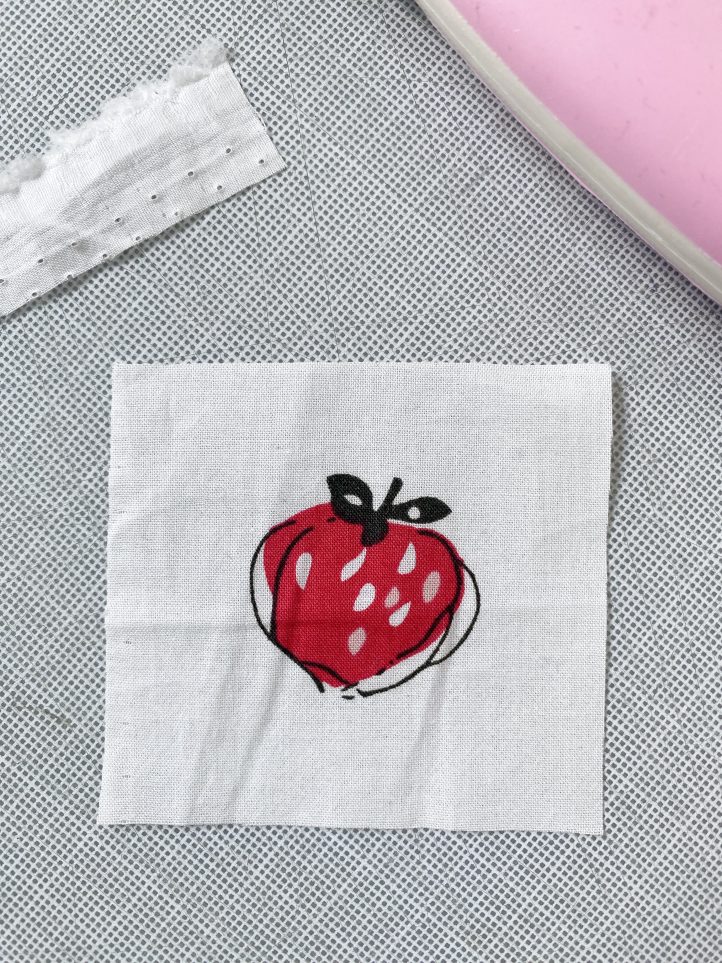
- Cut a 5 x 8 cm rectangle from your fabric.
- Fold in half with right sides together along the long edge.
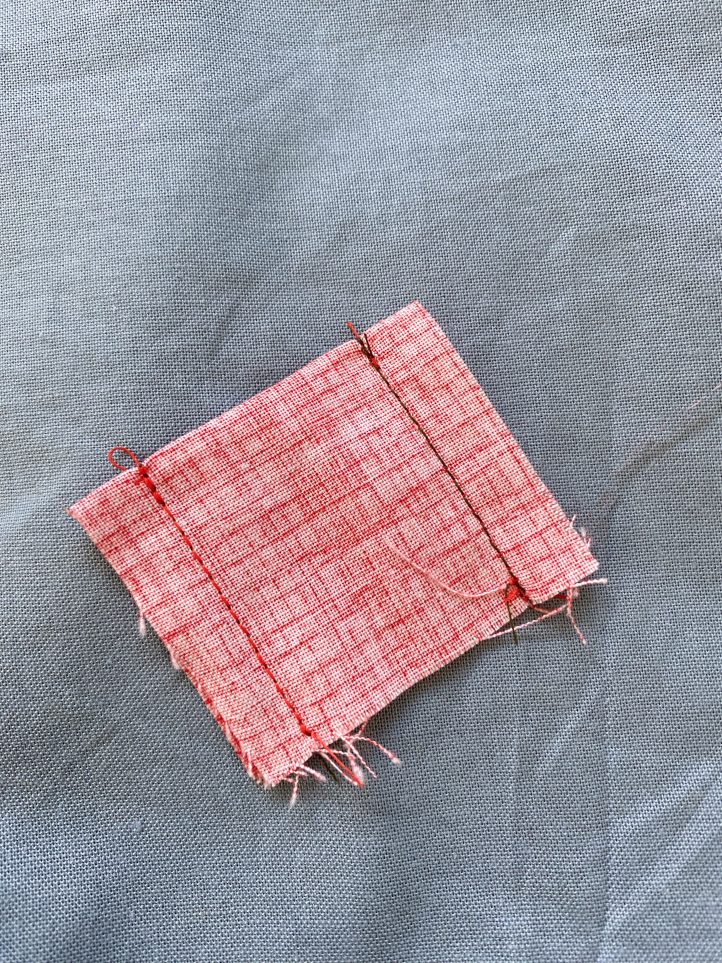
- Stitch each side with a 1 cm seam allowance, leaving the bottom edge free.
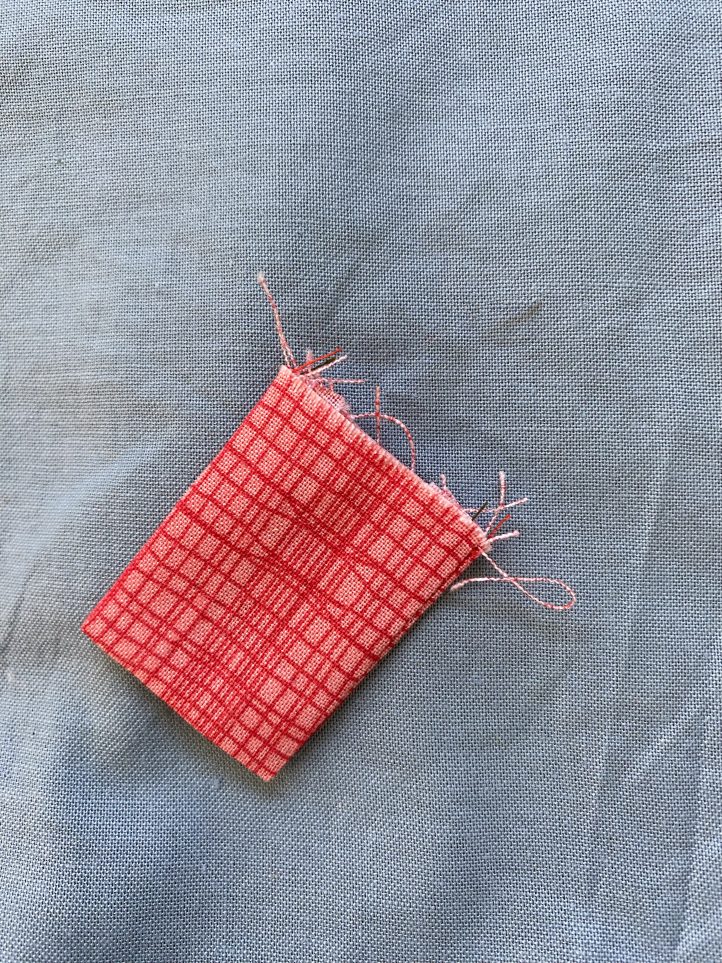
- Turn and press.
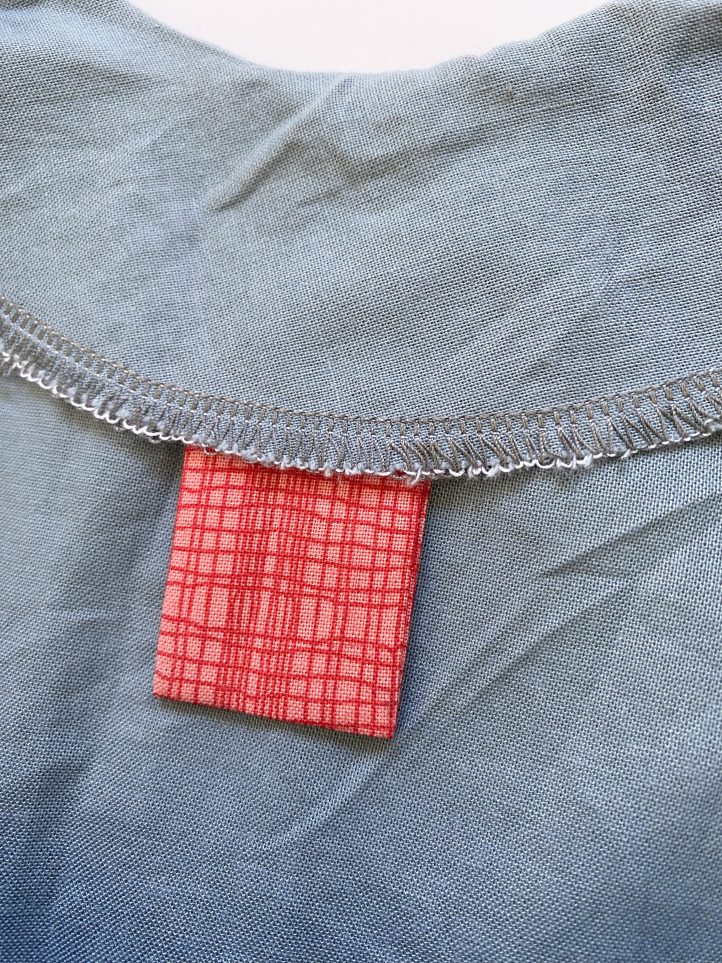
- Attach to the inside of your garment by hand or sewing machine, hiding the raw edges under a facing, between a seam or under the seam allowance.
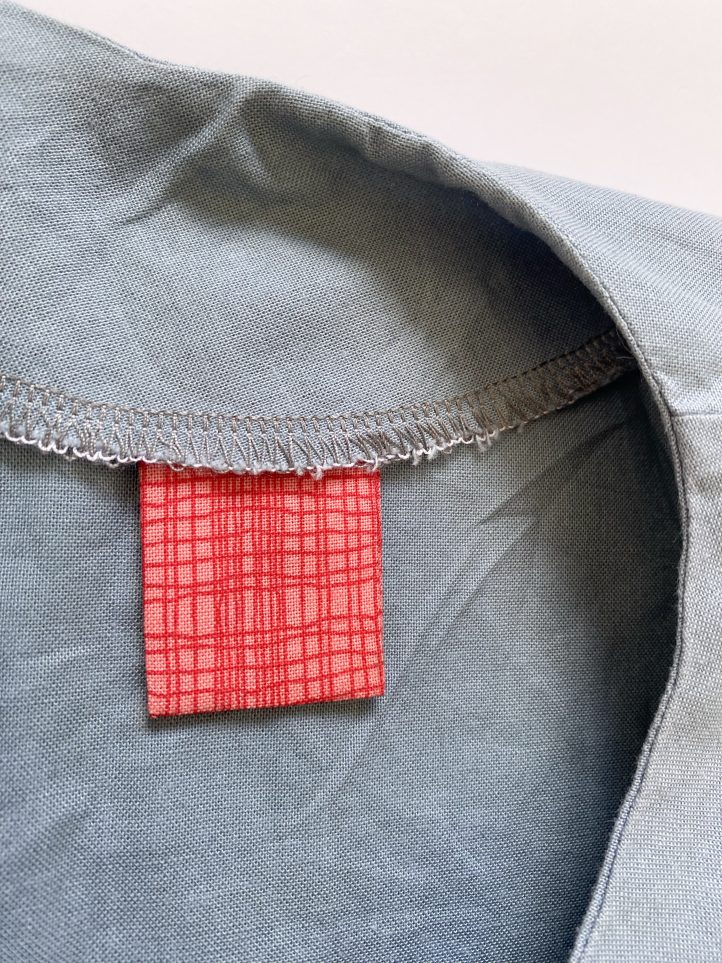
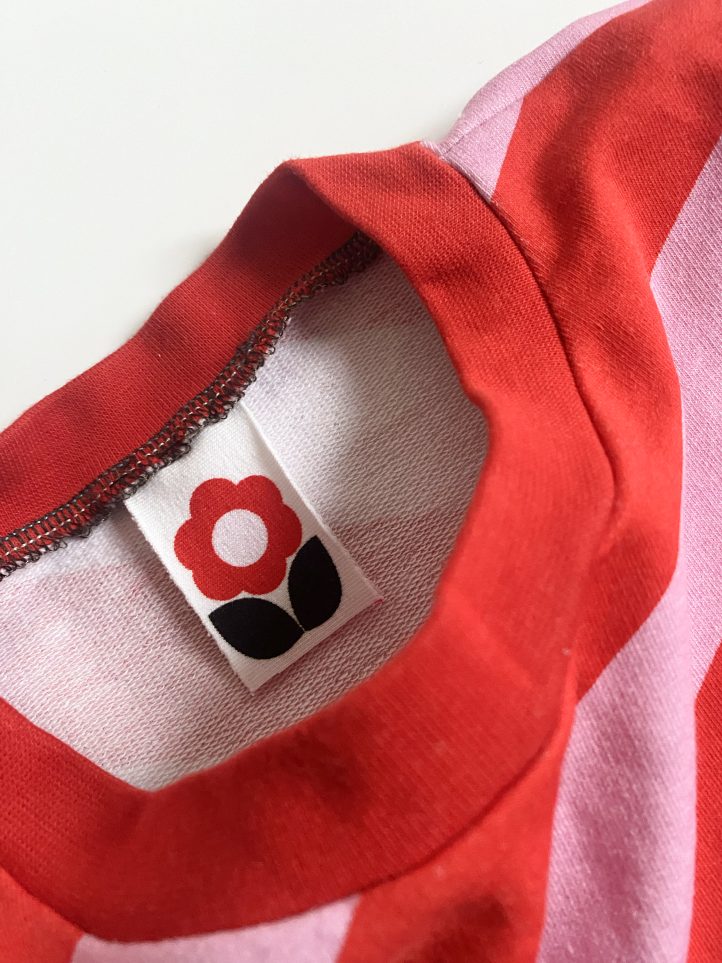
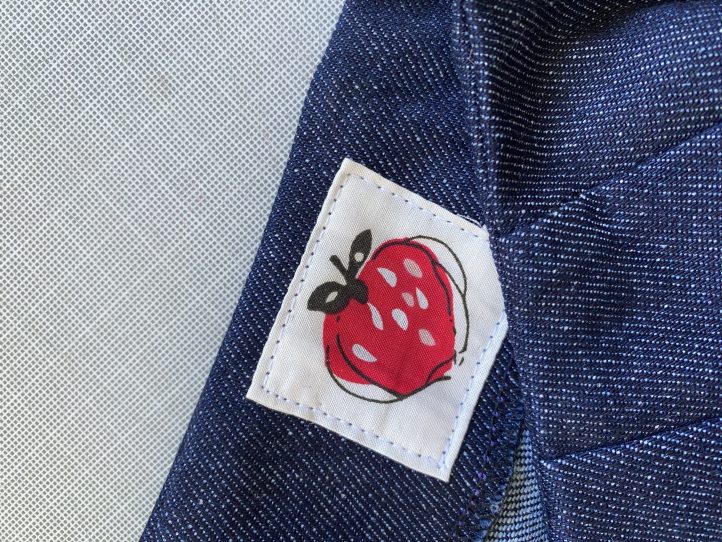
Method 2
This method works best for garments with a lining or facing, so that the stitching does not show on the outside.
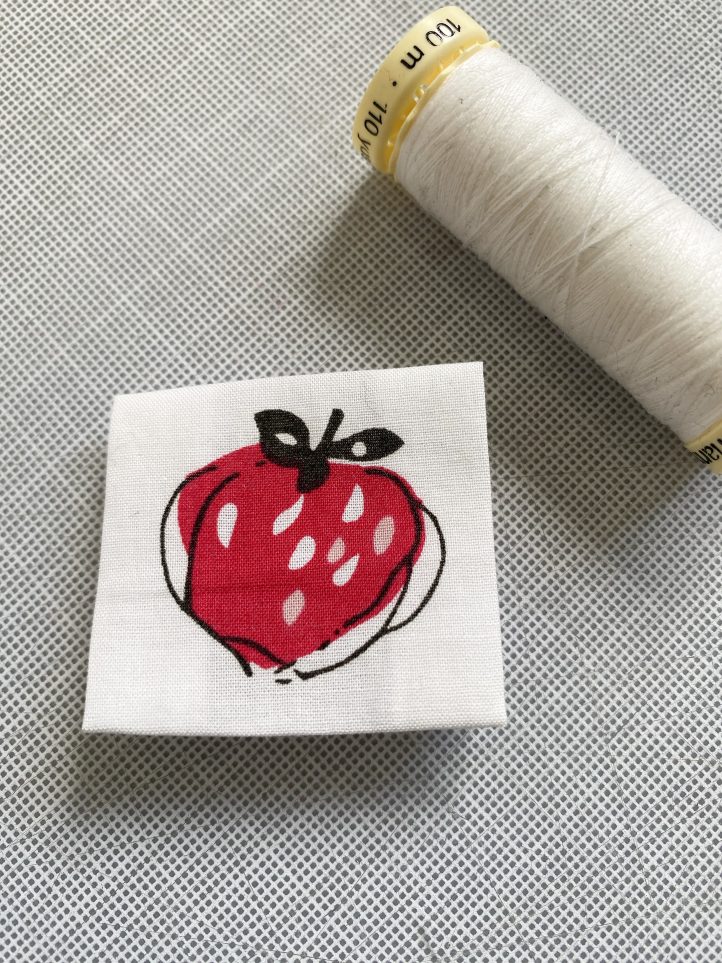
- Cut a square or rectangle of fabric to the size of your choosing, plus an extra 1 cm around the perimeter.
- Press under 1 cm around all 4 edges.
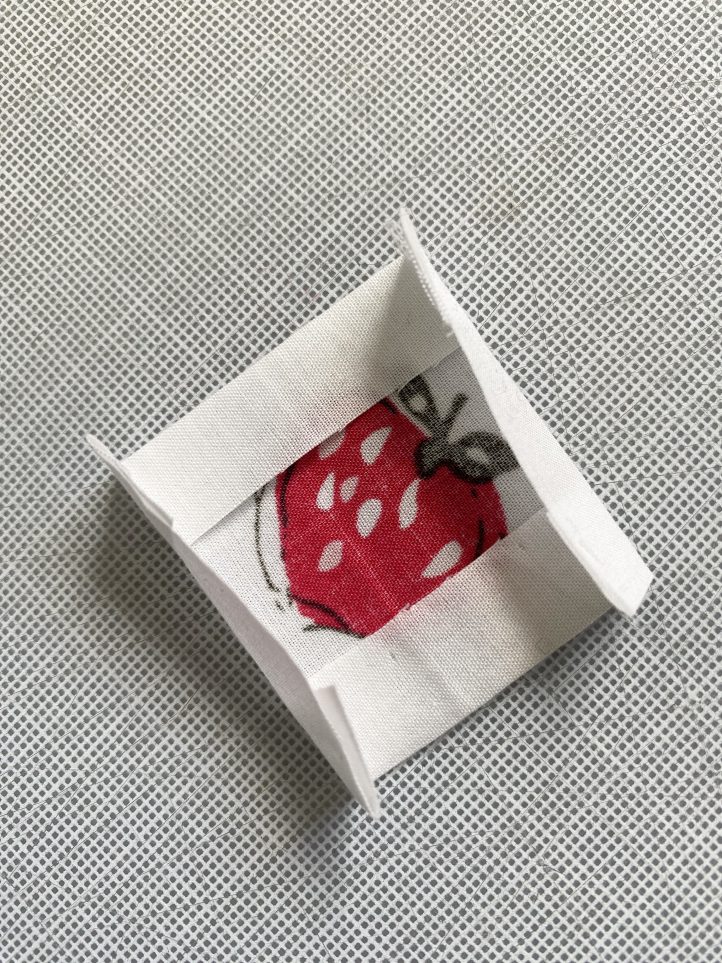
- Pin to the inside of your garment.
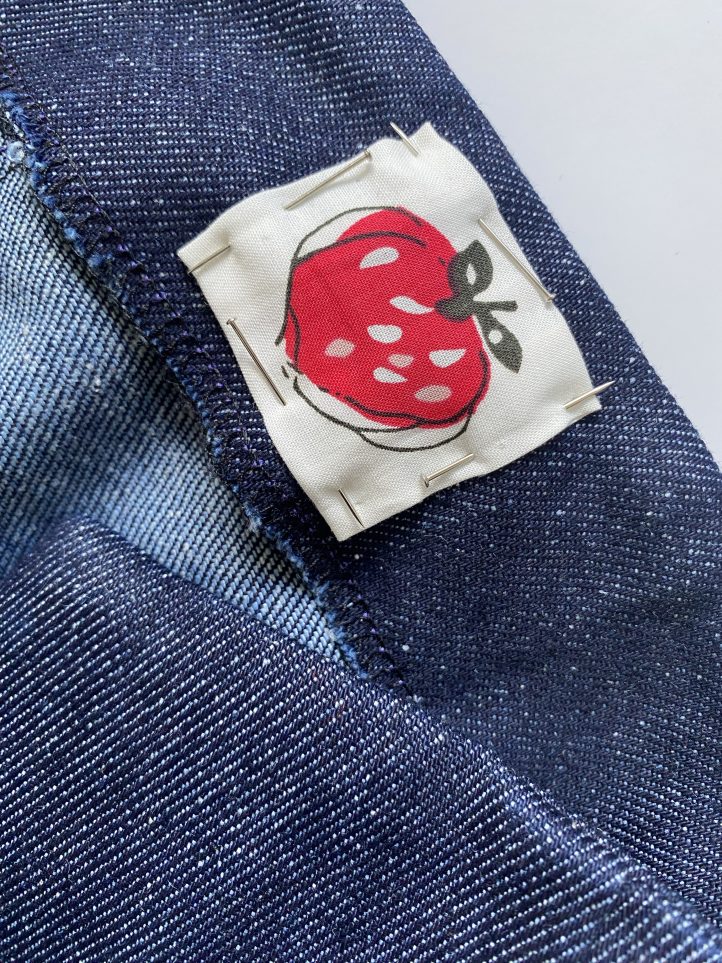
- Adjust your machine settings to a slightly longer stitch length, then stitch all the way around, approx. 1.5 mm from the folded edge.
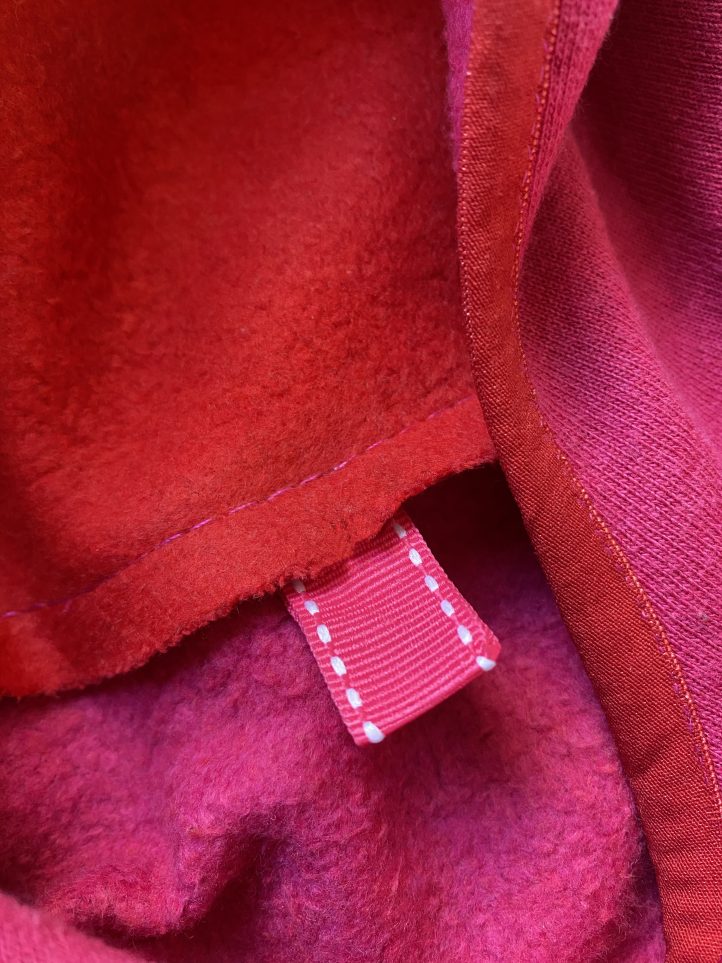
RIBBON:
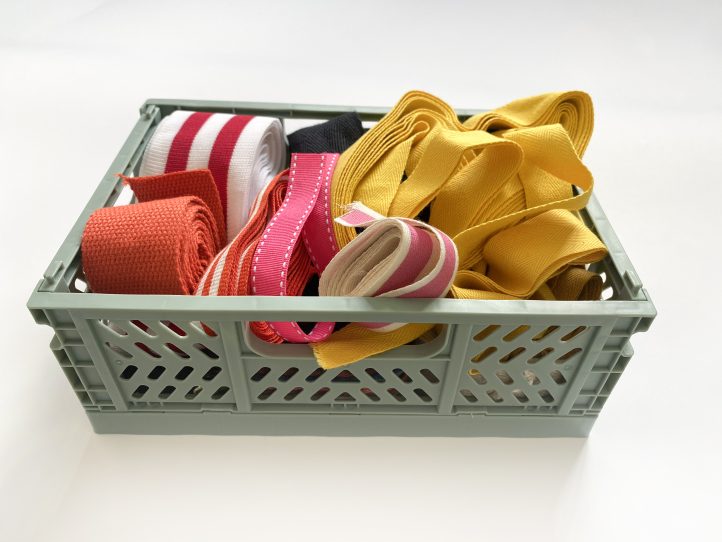
Grosgrain ribbon is used often for packaging and even as handles on paper shopping bags. Next time you see some, save it to coordinate with your next sewing project. There are lots of really lovely ribbons out there in the shops, but chances are you have some tucked away at home already.
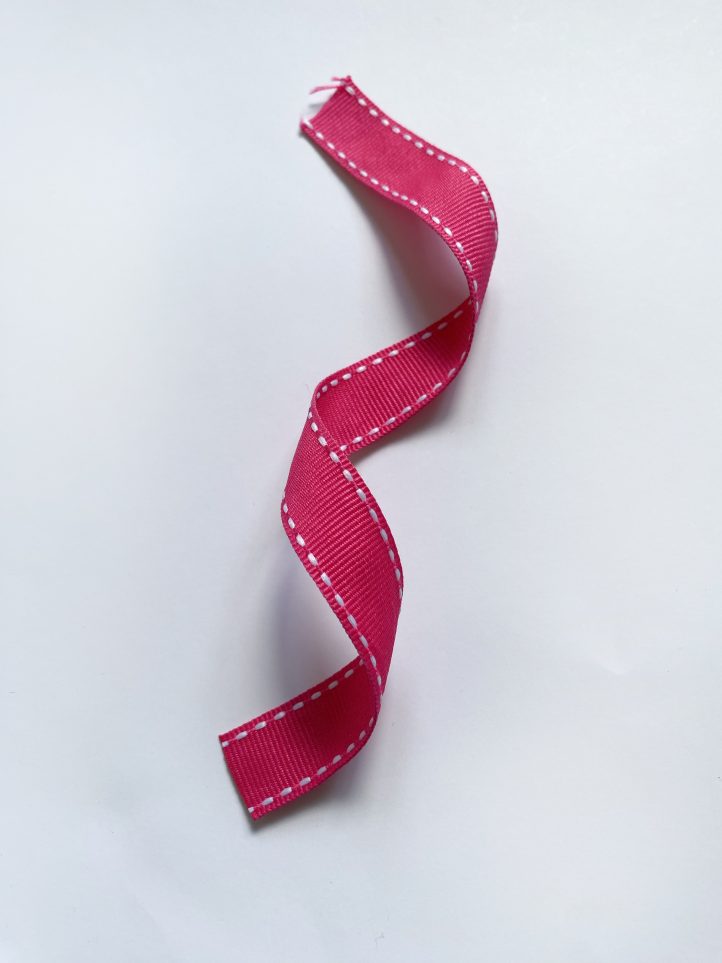
To make a label from ribbon, cut a strip approximately 6 cm long. Fold in half then hand tack or machine stitch to the underside of your seam allowance.
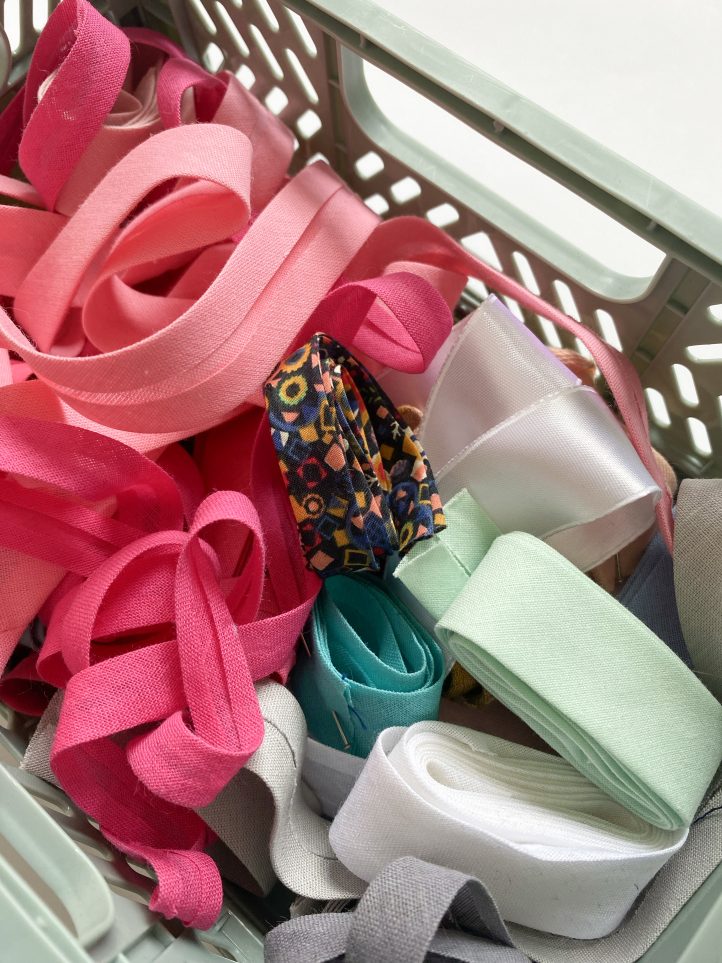
BIAS TAPE:
Bias tape comes in an abundance of colors and designs, and the raw edges are enclosed so it’s a quick and easy way of adding a label to the inside or even the outside of a garment. Best avoid the stiff, rough bias tapes though as these could irritate your skin.
- Cut a strip approximately 6 cm long.
- Fold and press the ends under approx. 1 cm.
- Attach to your garment by hand or using the straight stitch on your sewing machine.