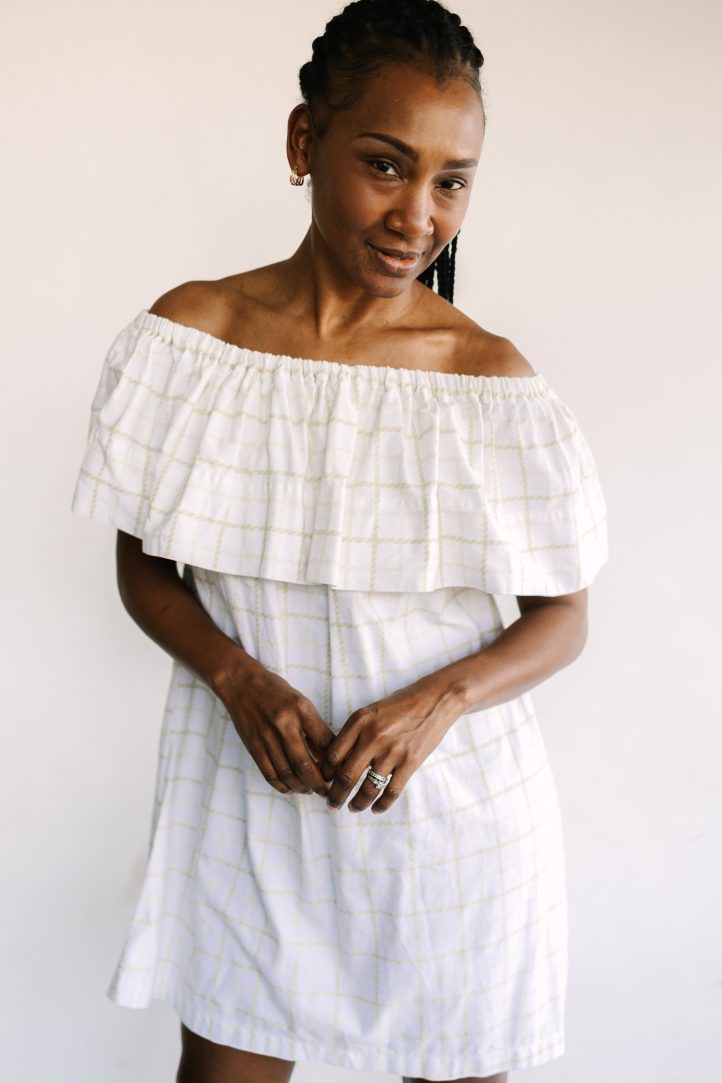
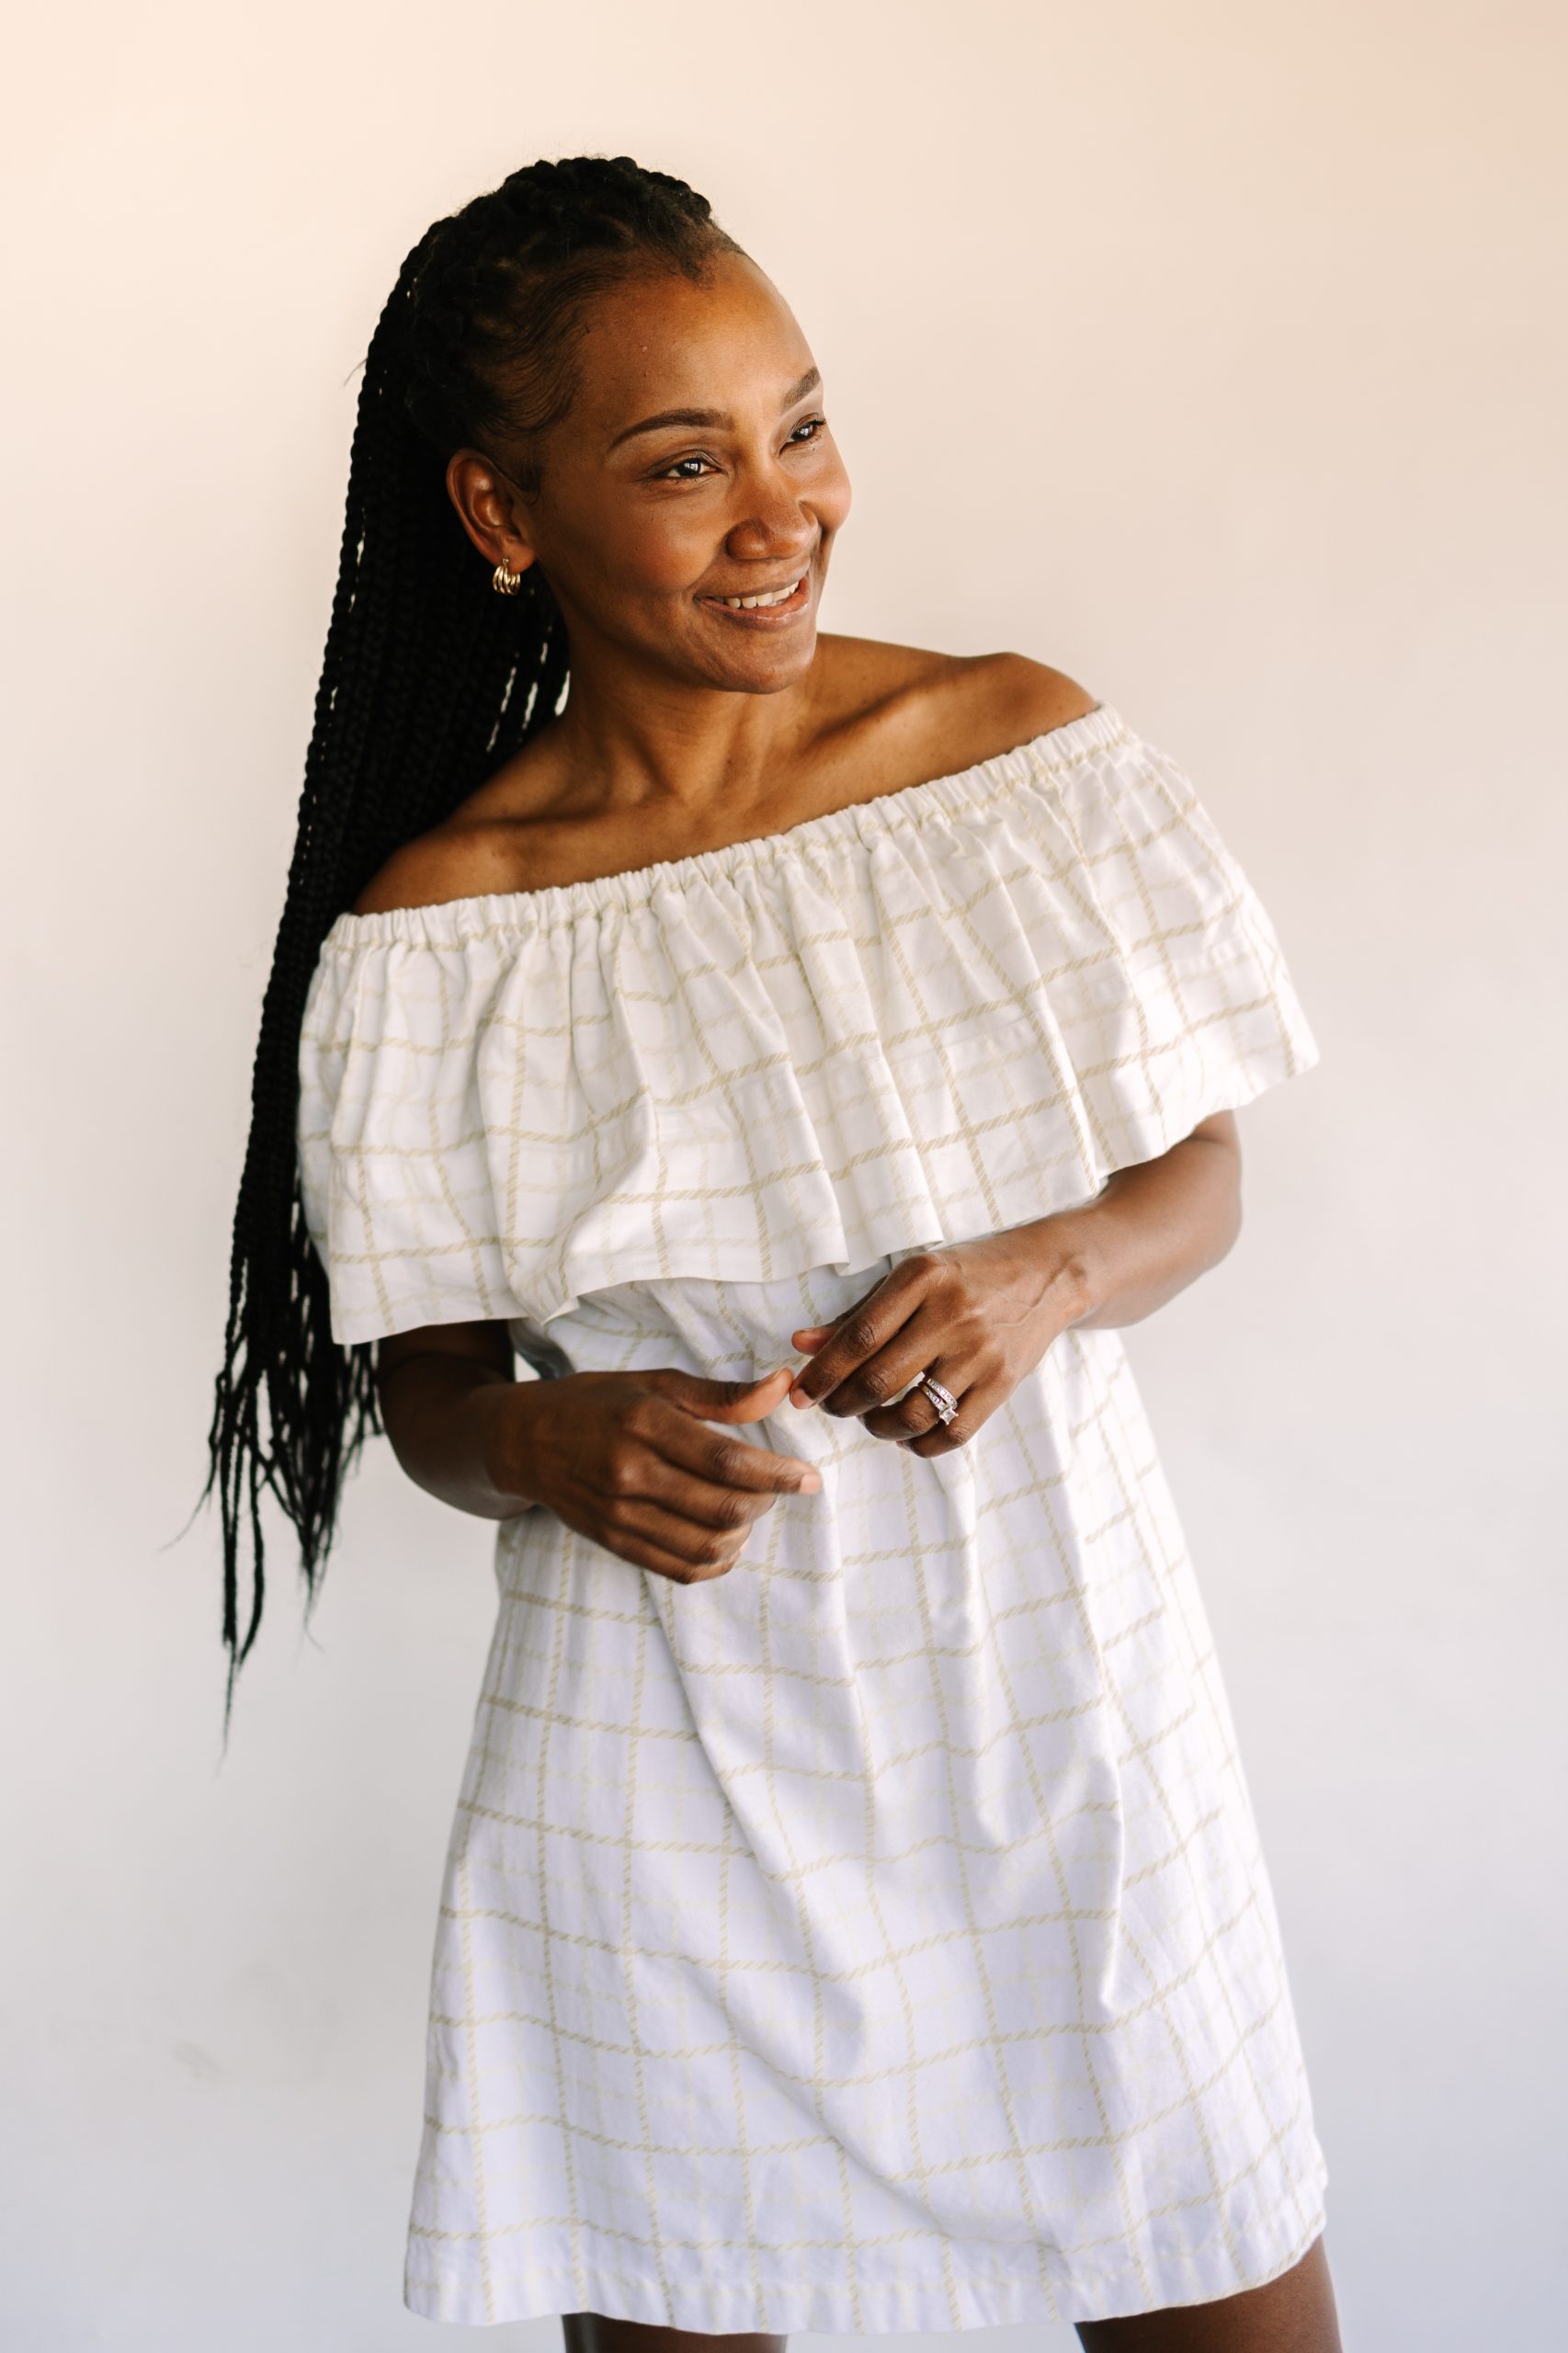
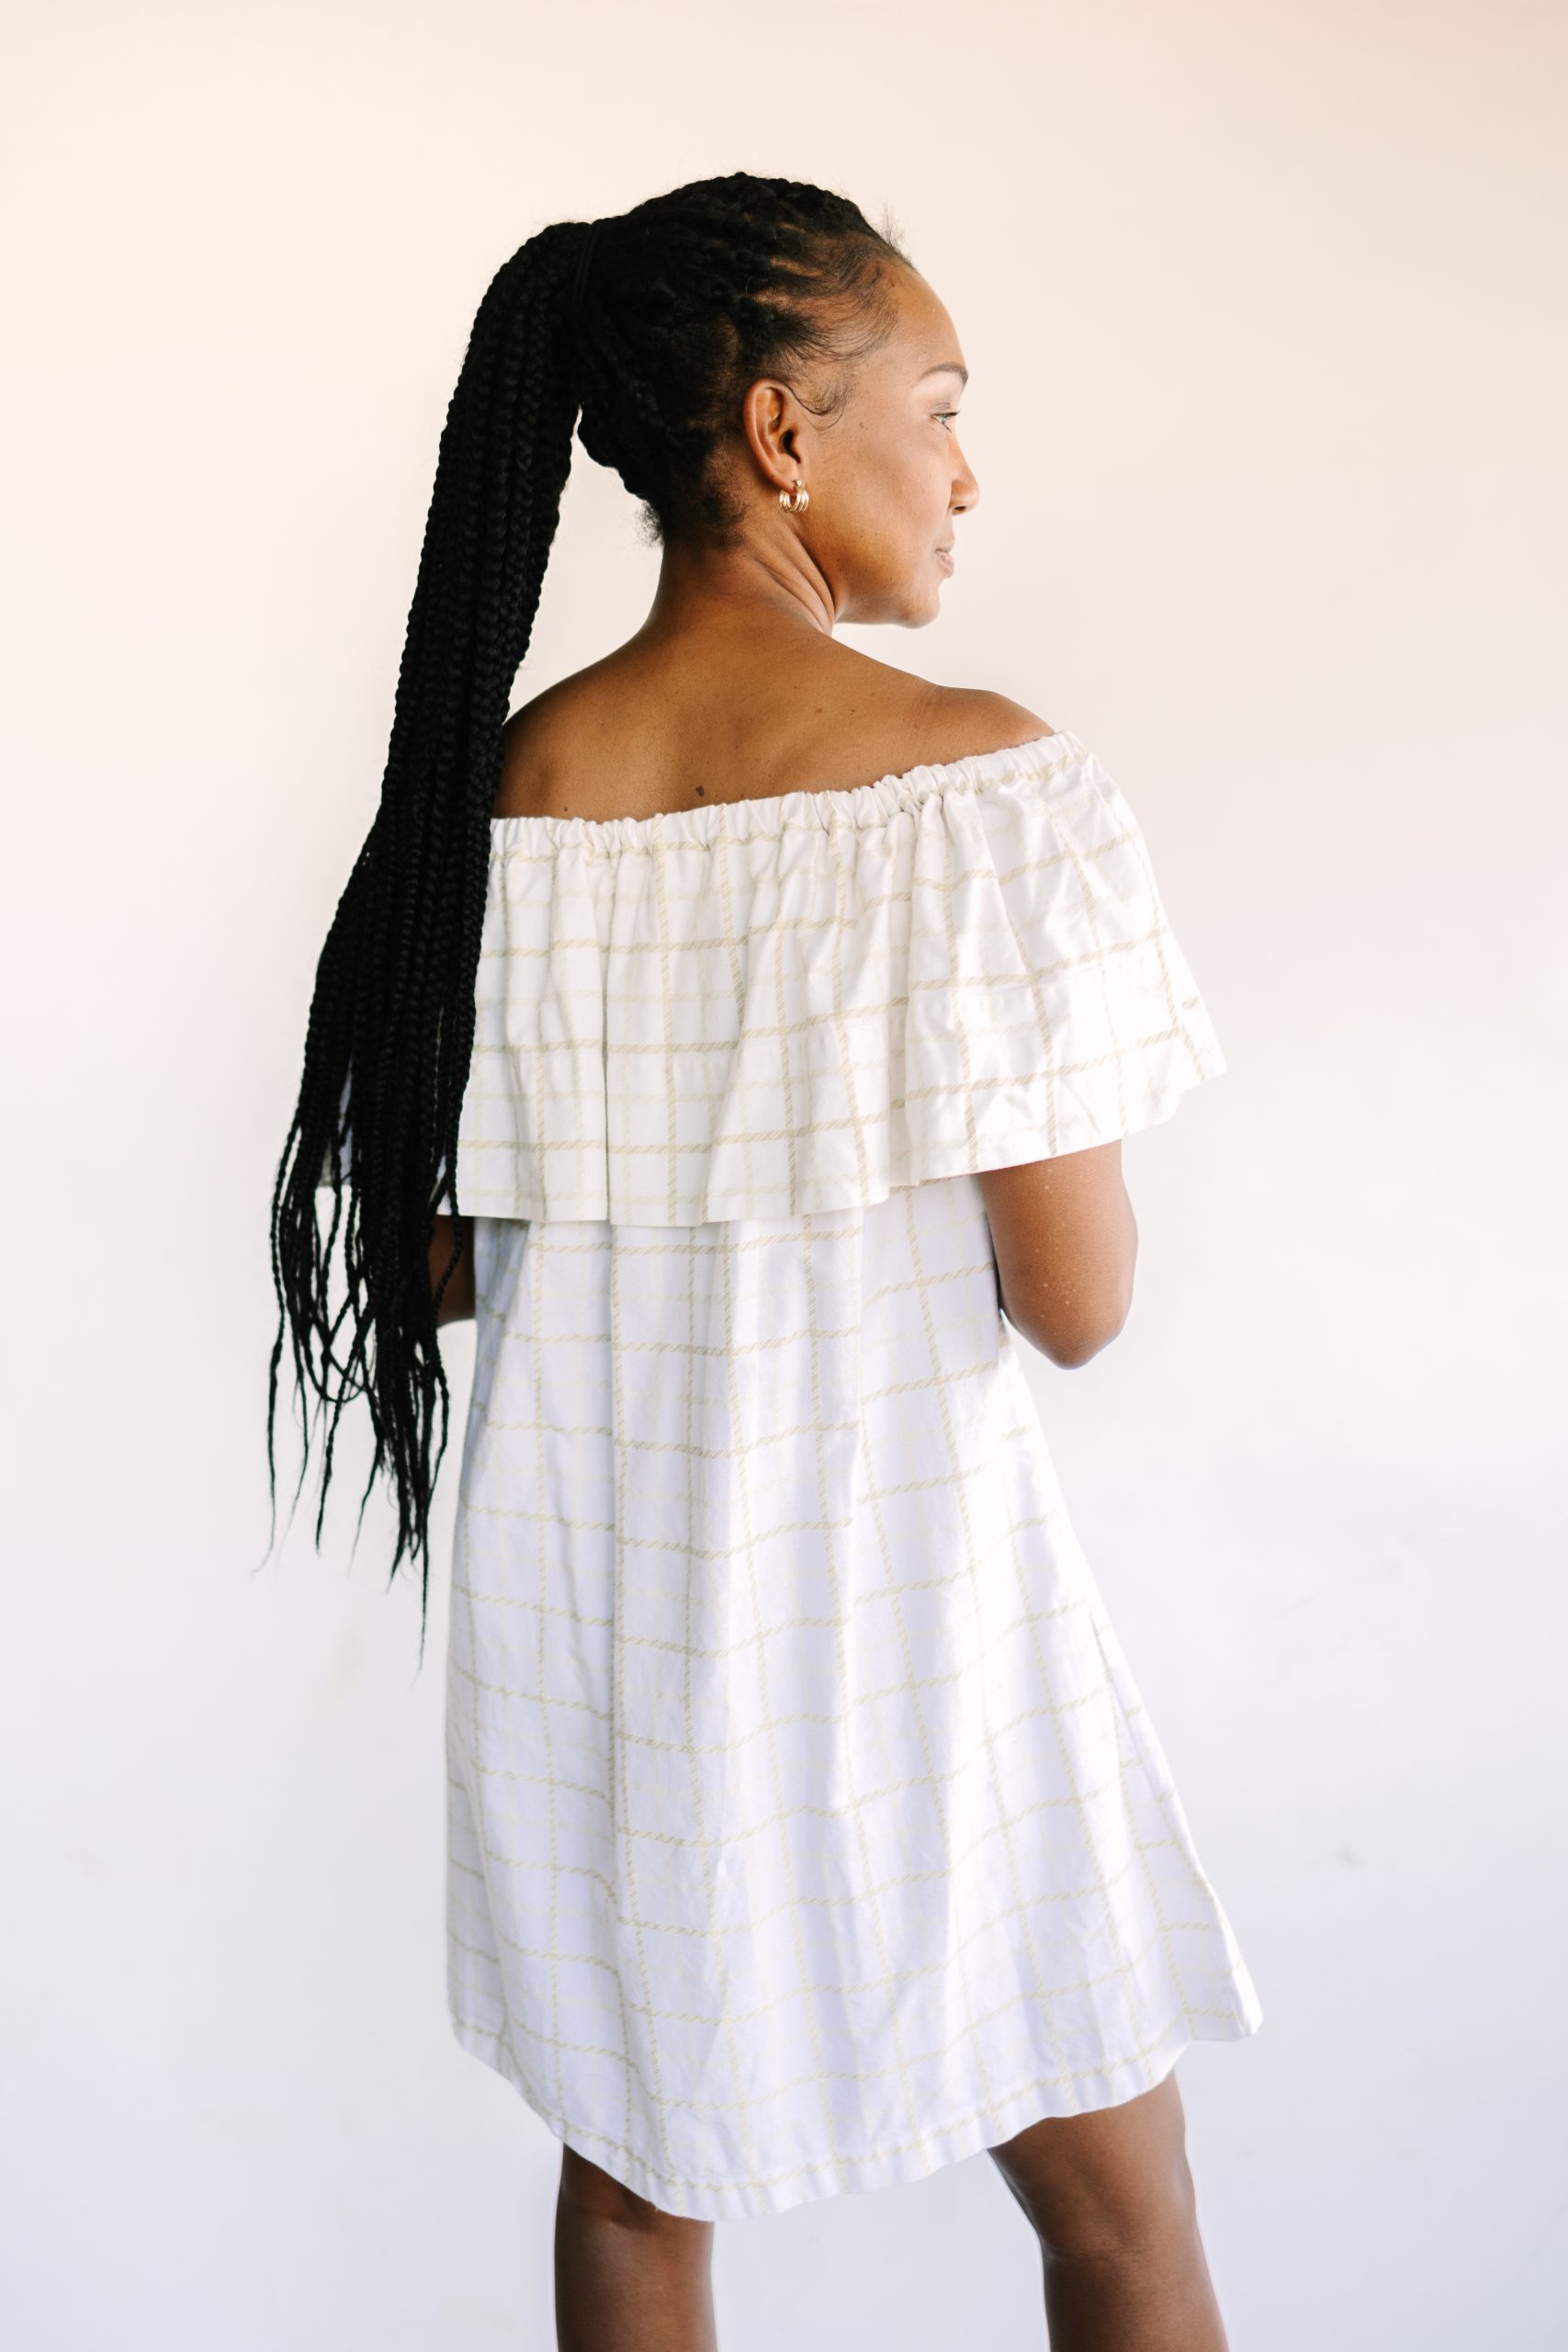
Show off your shoulders in a flirty, lightweight dress for spring with this upcycled sewing project! Made using an upcycled bedsheet, this spring dress tutorial features an off-the-shoulder neckline and hits around the knee, making it a fun silhouette for warm and sunny spring weather. This pattern is recommended for intermediate to advanced beginners, making it a simple dress design that will help you expand your skill set. Skip a trip to the fabric store and raid your linen closet with this stylish upcycled sewing DIY.
Skill Level: Advanced beginner
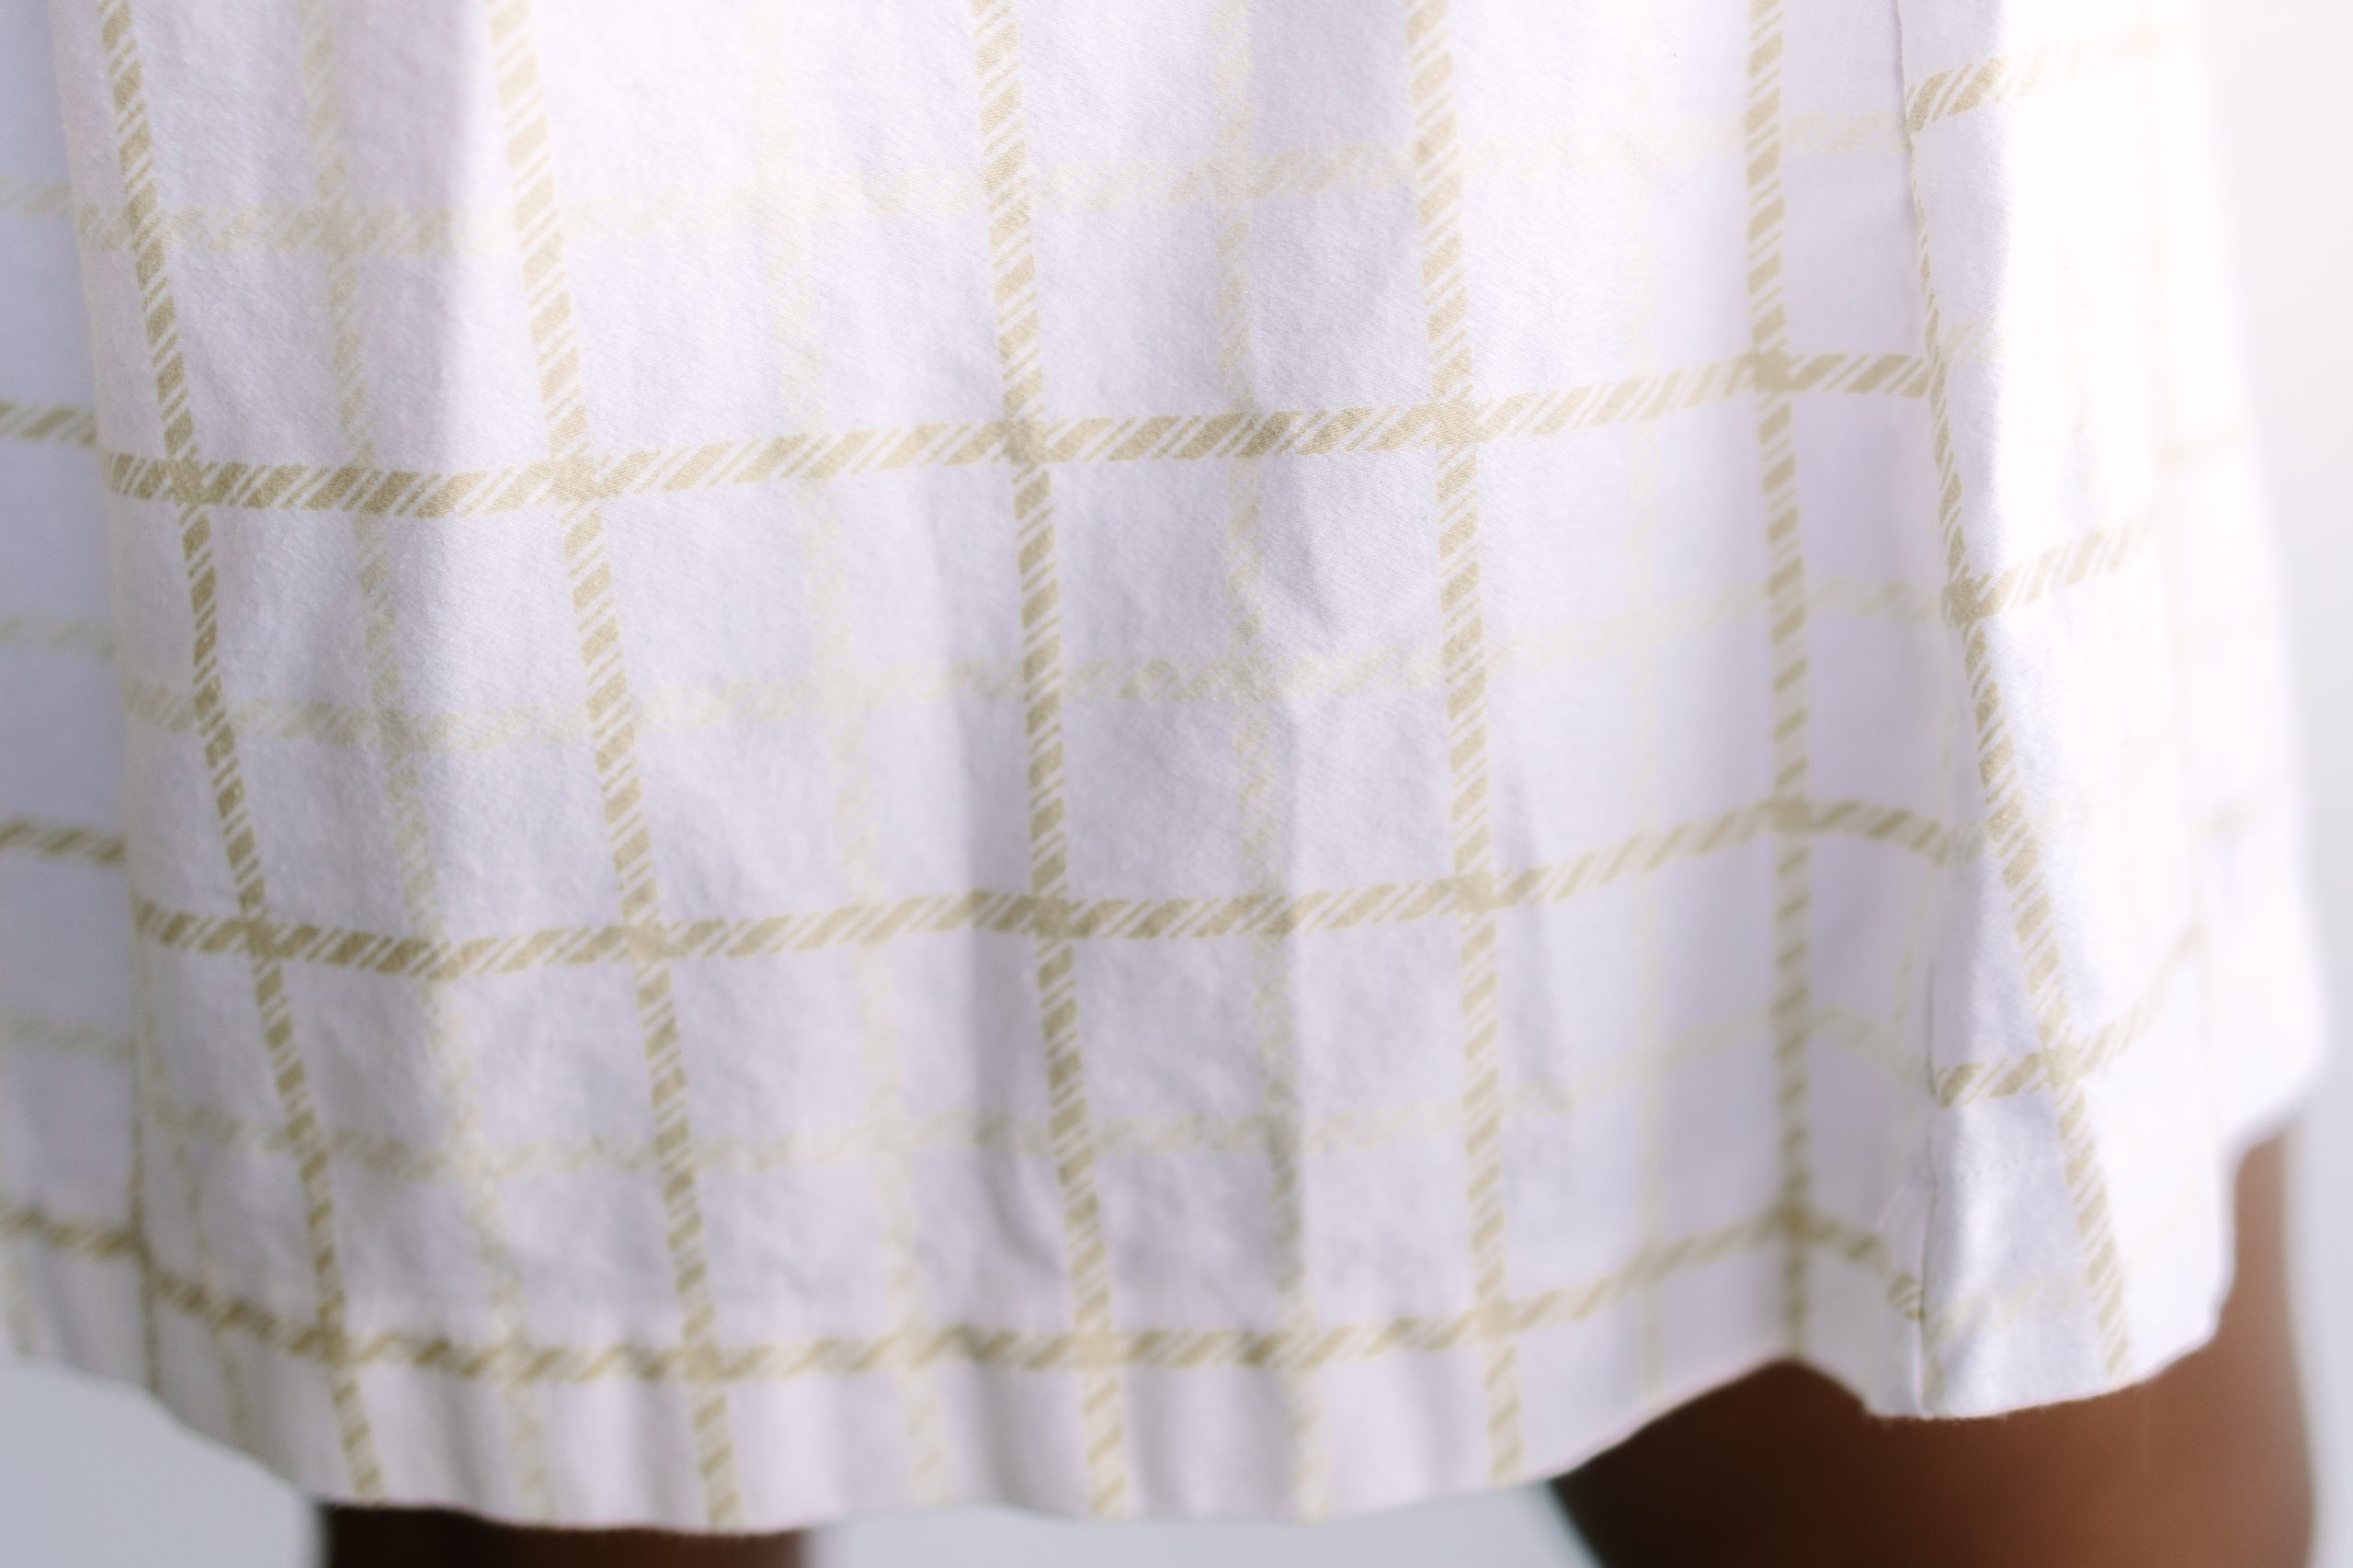
Recommended Fabric: Bedsheet made out of a light woven fabric
Materials:
- From 1 3/4 yards of light to medium weight woven fabric – The designer used a queen size bedsheet for this project. If you are using fabric instead of upcycled material, approximately 2 1/2 yards of fabric will work, depending on the desired length.
- Coordinating polyester thread
- 1 meter of 1/2 inch elastic
Instructions:
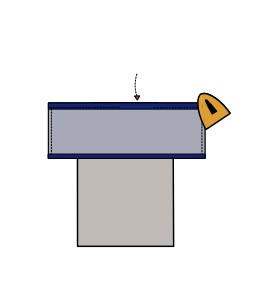
- Bring the bedsheet you will use.
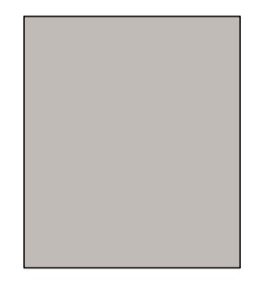
- Fold it in half.
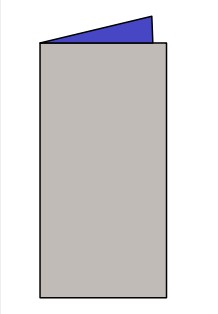
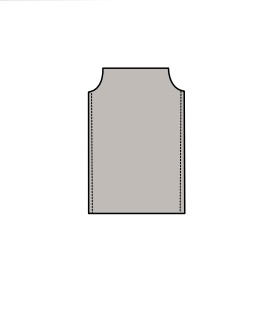
- Bring your favorite t-shirt to the table. Fold it along the bottom edge of the sleeve. Then, fold the sleeve towards the neck area. Place the t-shirt on top of the bedsheet and create your dress making a diagonal line with the desire length. For the panel, measure the desired length from the armhole down. Cut out bedsheet along drawn lines.

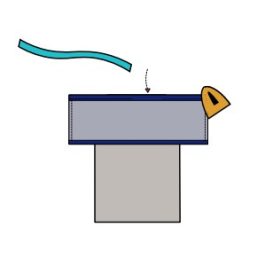
- With the fabric pieces that you have created, place them together, right sides facing and match the side seams.
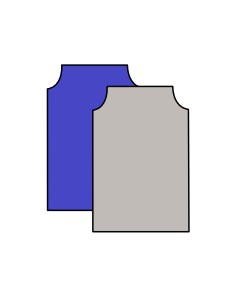
- Stitch the side seams with a 3/8 inch seam allowance. Press flat.
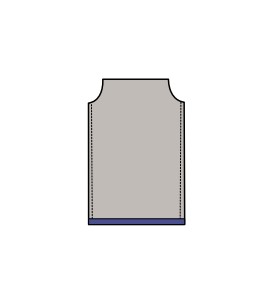
- Double fold the bottom hemline (1/8 inch). Stitch the hemline with a 1/8 inch seam allowance.
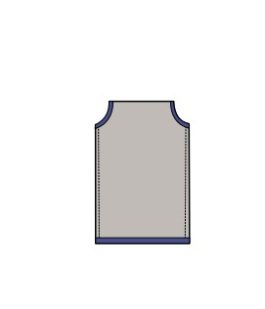
- Fold the armhole with a 3/8 inch seam allowance. Stitch the seam with a 1/8 inch seam allowance.
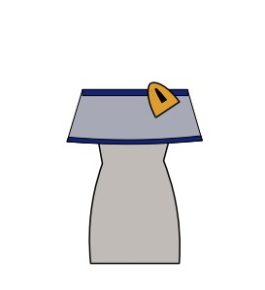
- Bring the panel to the table and place them together, right sides facing. Stitch the side seams with a 3/8 inch seam allowance. Press flat. Then, fold the panel hemline with a 3/8 inch seam allowance. Press flat and stitch the hemline with a 1/8 inch seam allowance.

- Set the panel on the dress and match top seams. Make sure the centers both match in middle of dress and panel top seams. Both must be on the wrong side of the fabric. Pin and stitch the panel with a 3/8 inch seam allowance.
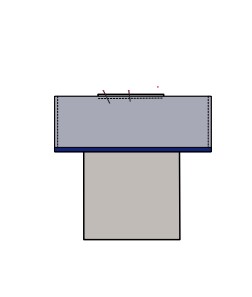
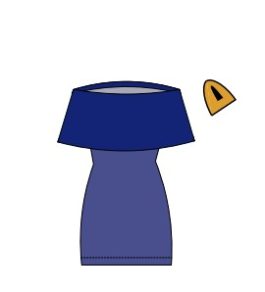
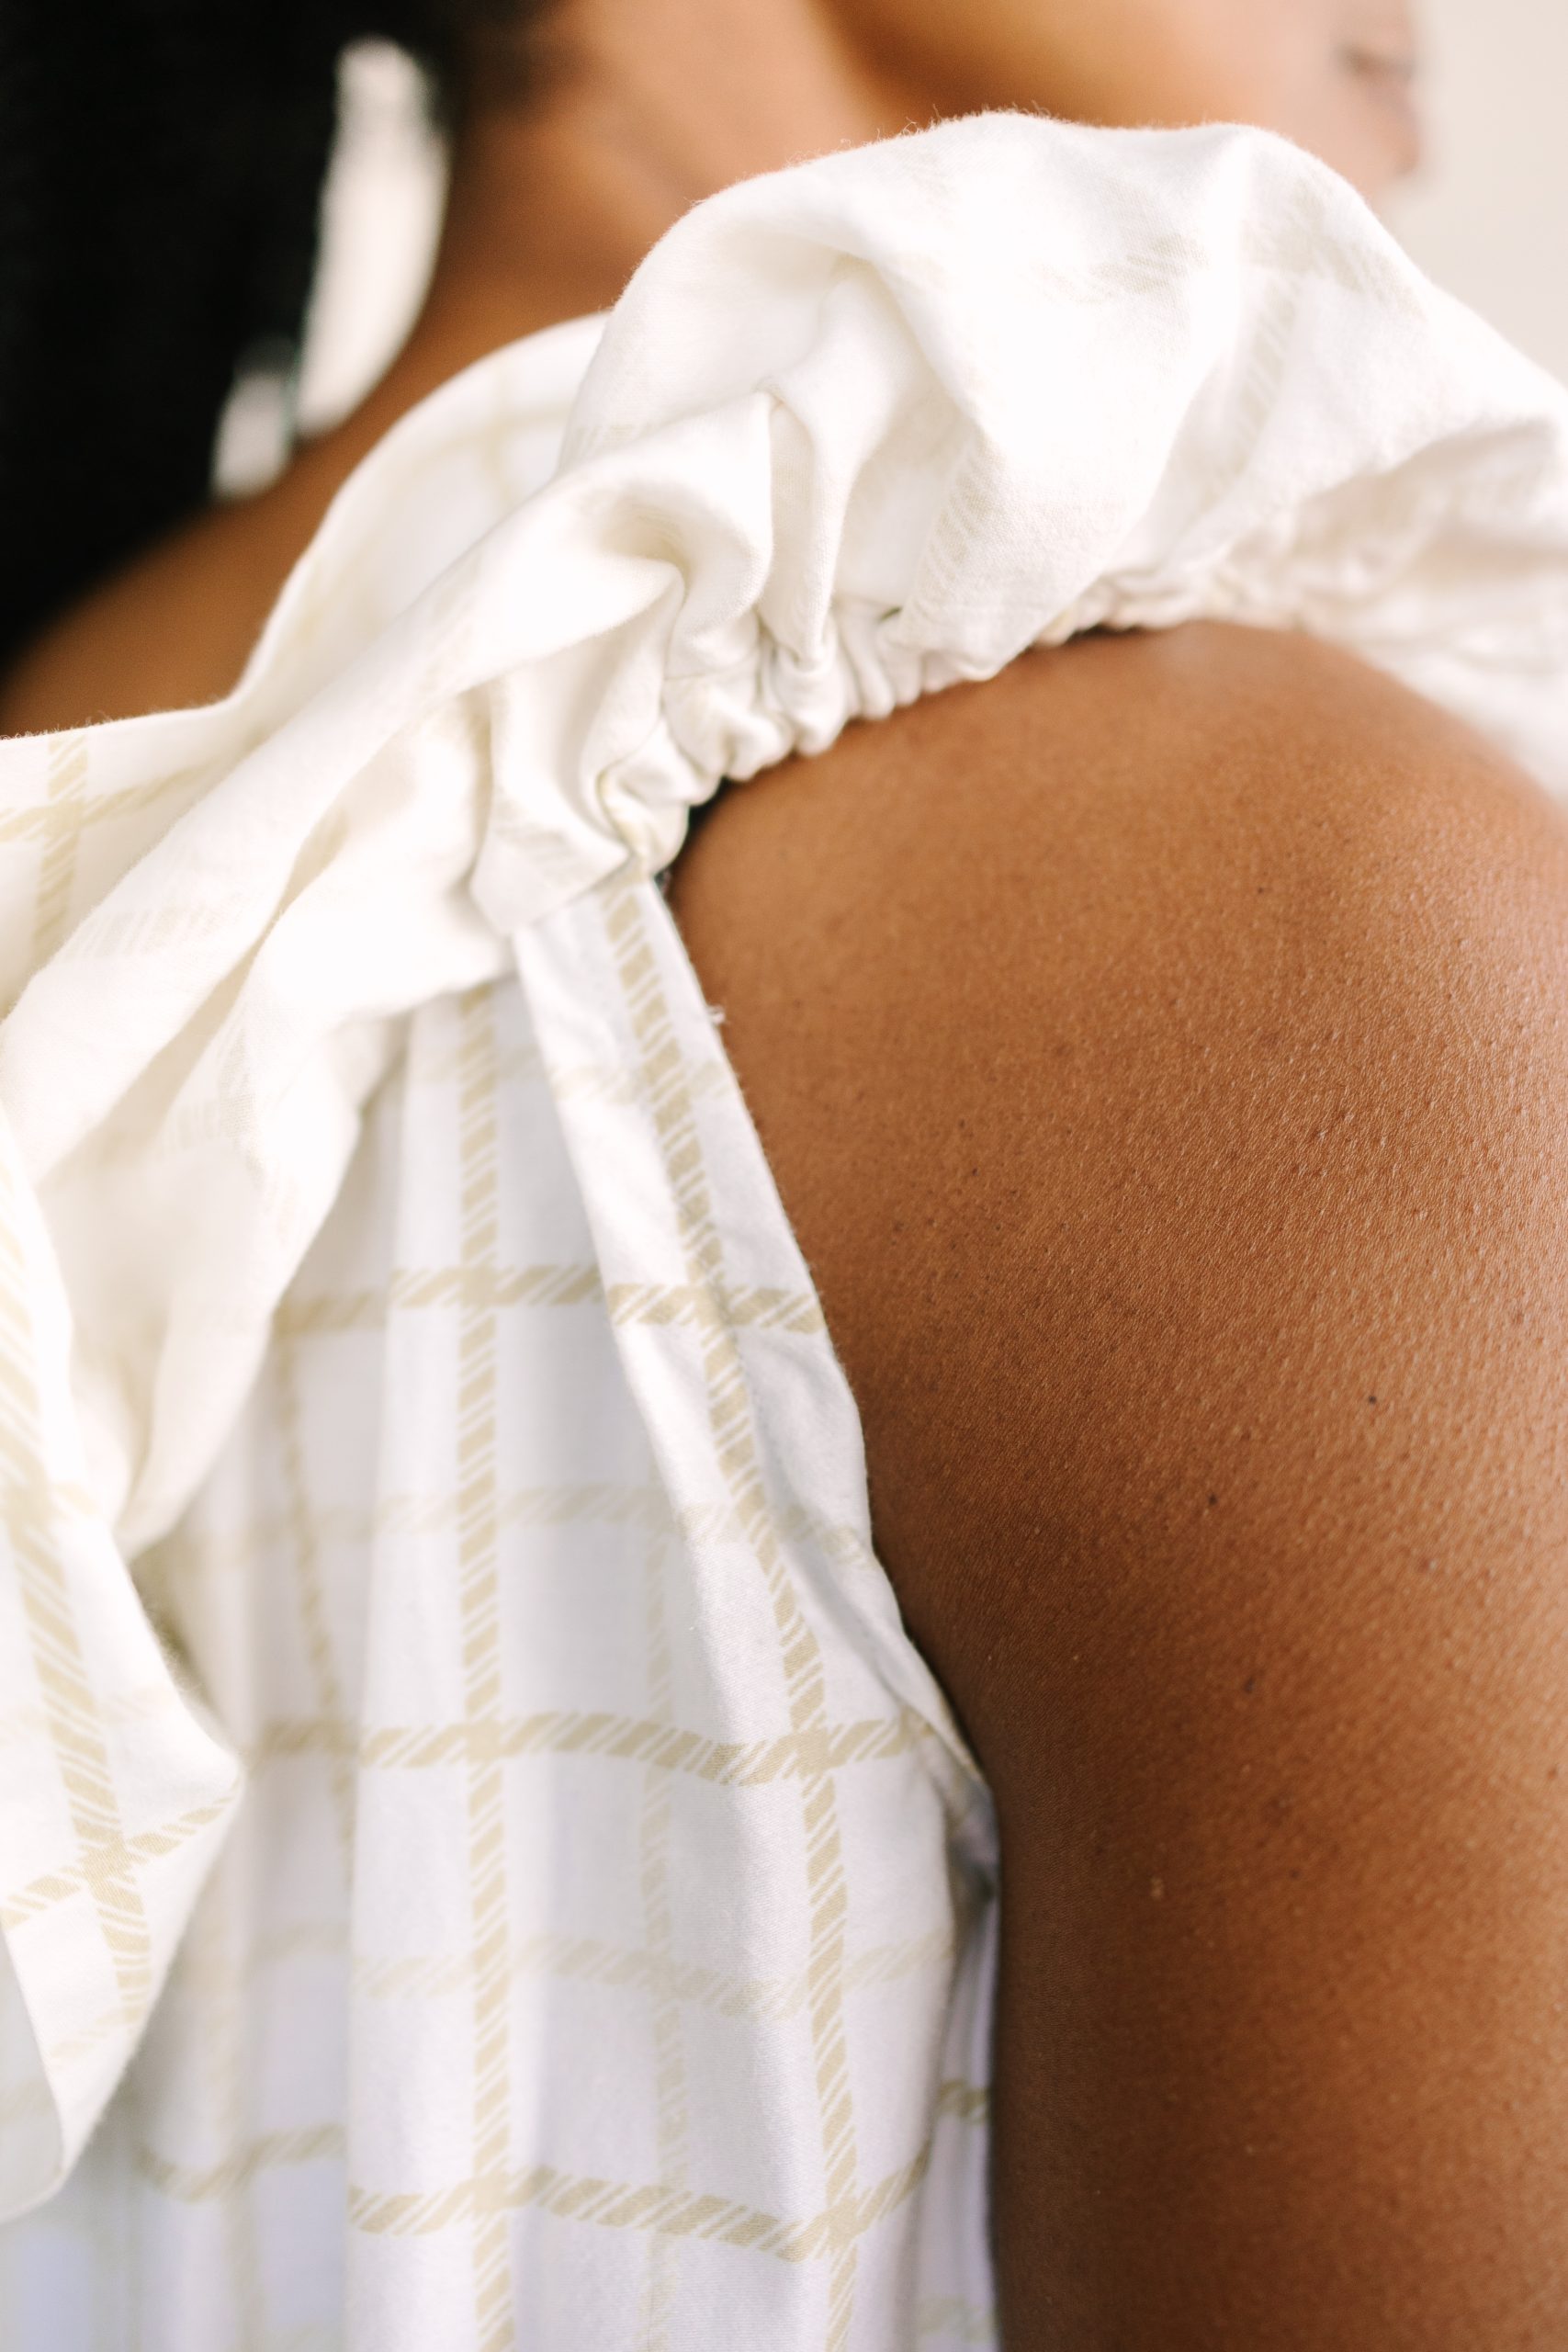
- Fold the top of the dress with the panel with 1/2 inch seam allowance. Topstitch edge of folded down seam allowance all around garment making sure to leave a 4 inch opening at the middle of the back side.
- Insert the elastic into the opening. Take one pin and pin to the outside of the dress and the other pin, pin to the end of the elastic. Then use pin on elastic to direct the elastic into the fabric and guide all the way around to opposite side.
- When the elastic is completely inside, grab both ends and stitch them together, with a 1/4 inch seam allowance. Then, close up the seam opening and press flat.
- Turn to the right side of the fabric and press again.

What are the dimensions of the panel that form the top ruffle. It doesn’t mention it in the pattern.
Hi Debbie! Thank you for your comment. As this pattern is customizable to the wearer, there are no specific dimensions. The designer notes in the instructions, “For the panel, measure the desired length from the armhole down.” This is in Step 3. Please let us know if you have any other questions. Have a great day! – Ashley, We Like Sewing
This is so pretty! I have just the vintage sheet for this in my stash. One minor quibble, though: In both my vintage and modern sewing books, a peplum is always a panel of fabric added to the waistline. This dress has a flounce to form the neckline/sleeves.
We’re so glad you enjoyed this pattern, Theresa! You are correct about the definition of peplum. We’ve updated the text to be “panel” instead of “peplum” for better accuracy. Thanks so much! – Ashley, WeLikeSewing