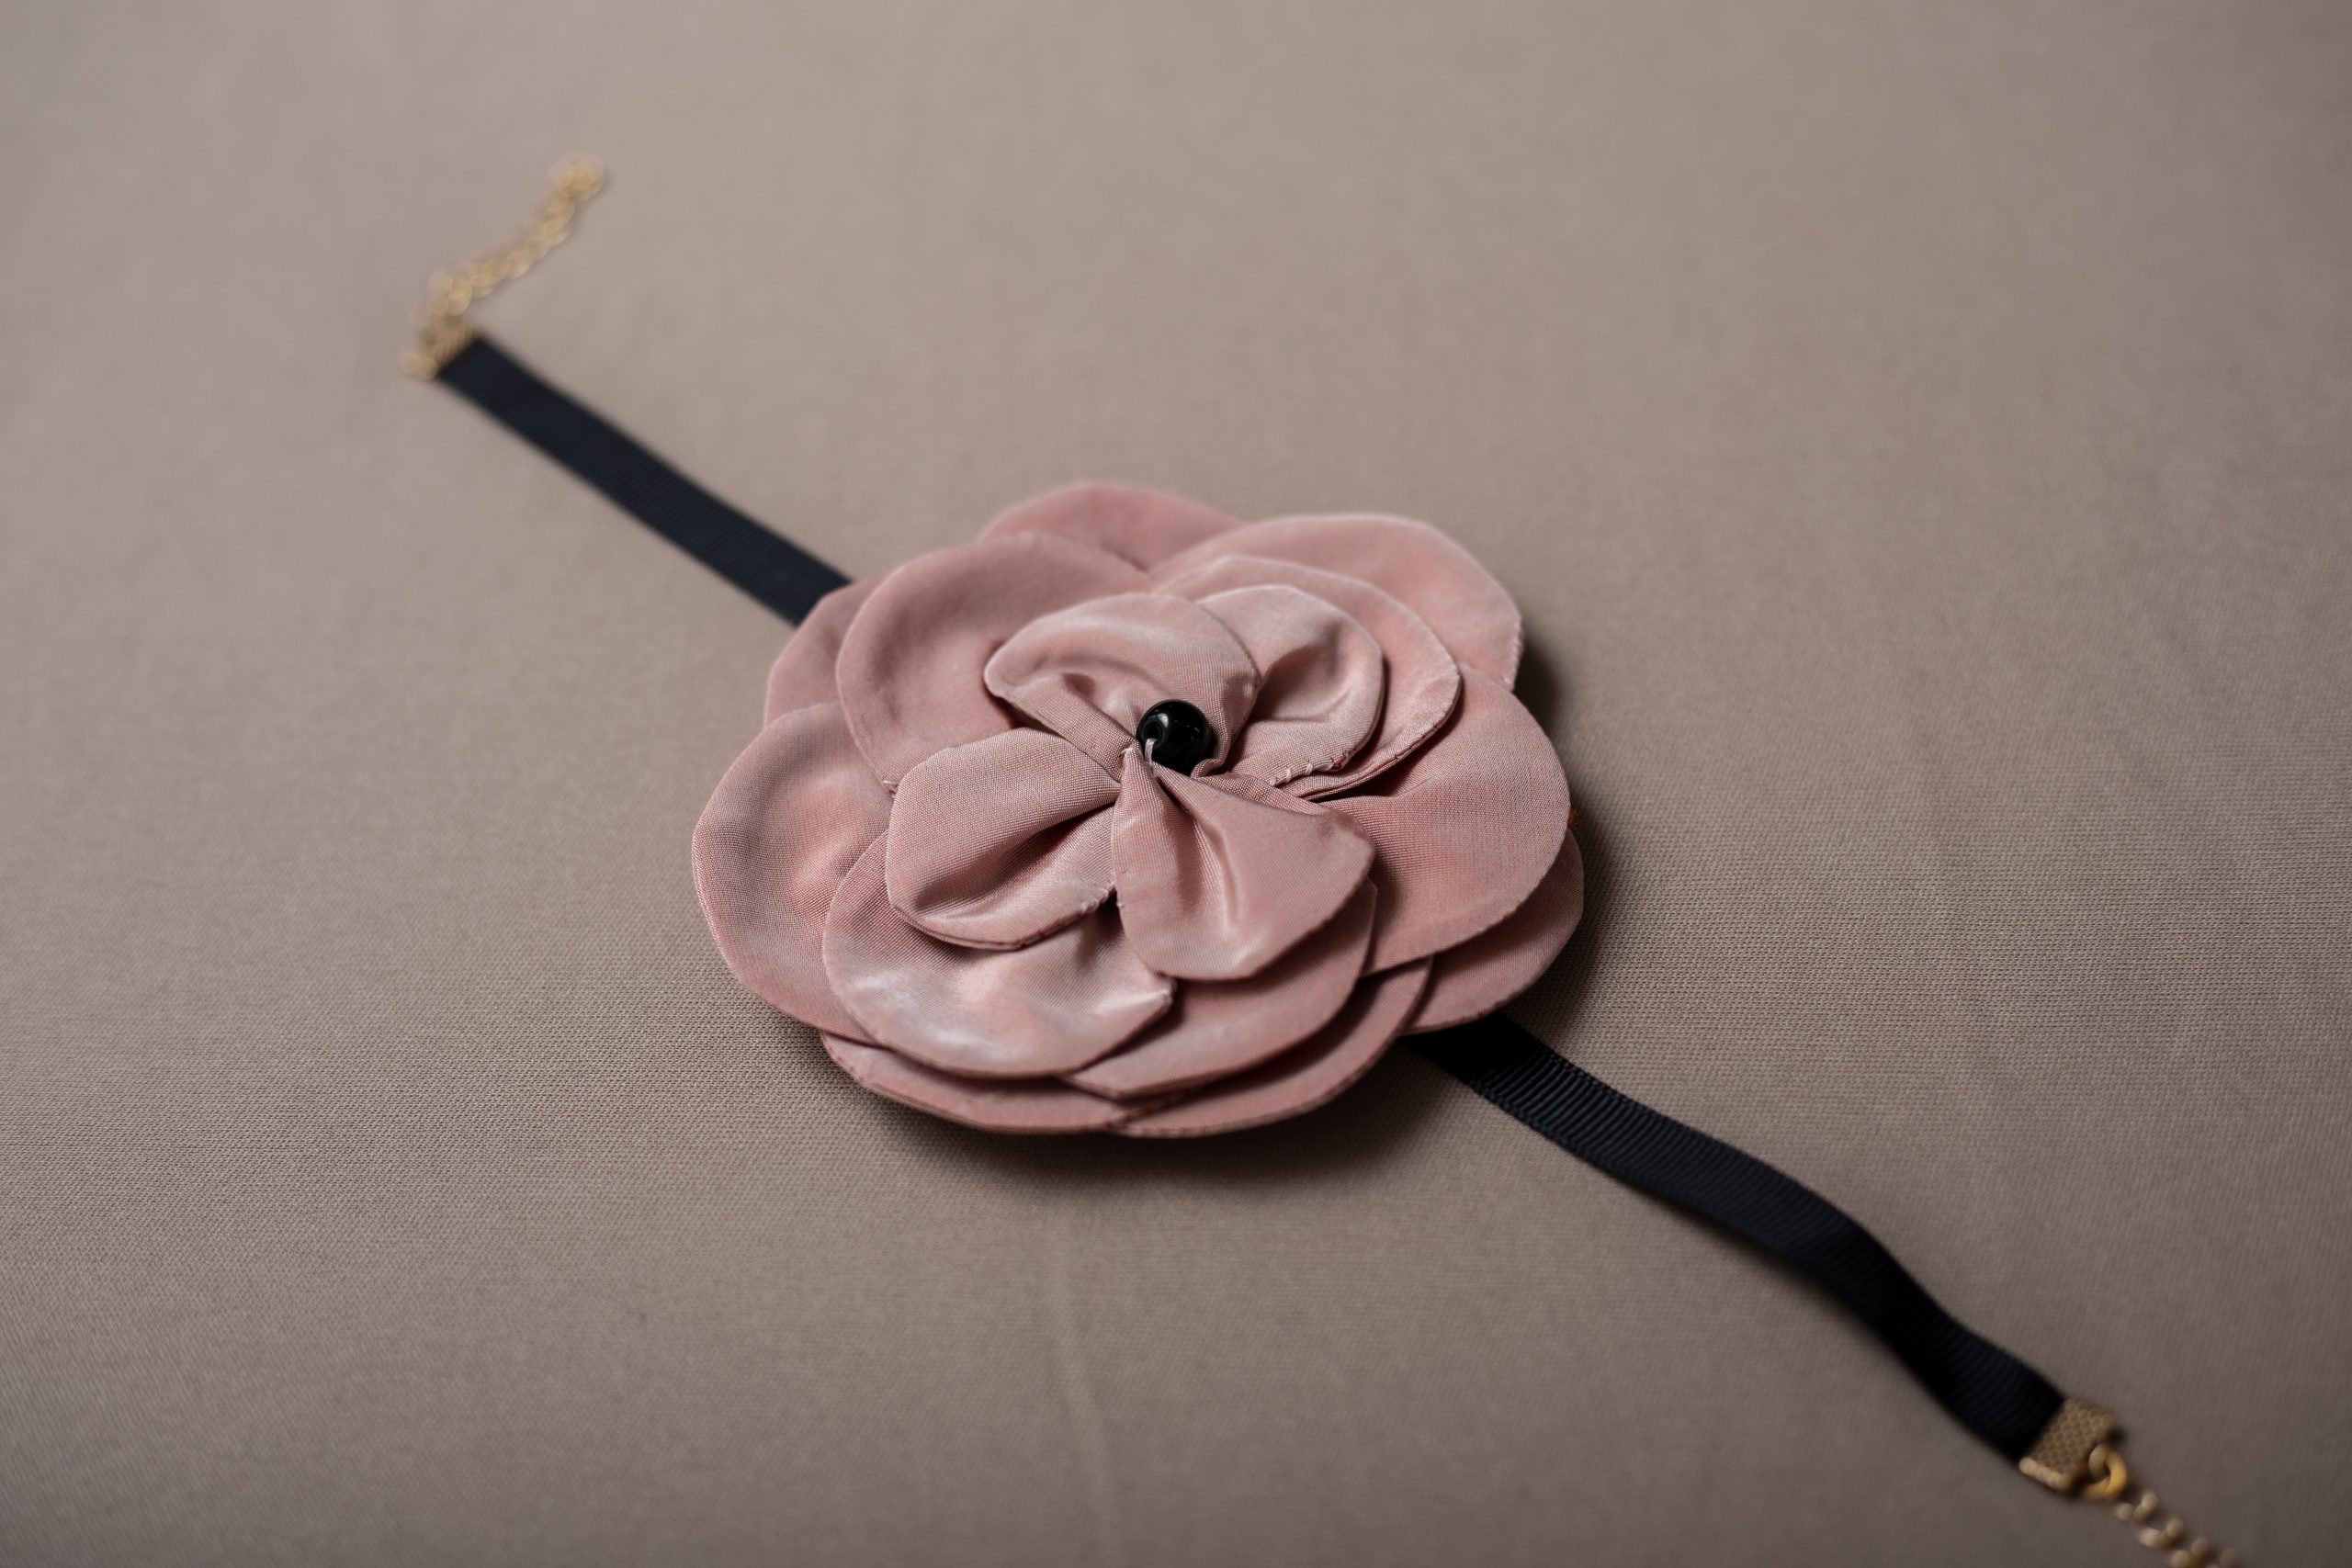
Combine the arts of sewing and jewelry making with this elegant choker pattern from Lauren Merciris. Featuring delicate ballerina pink petals, this vintage-inspired choker can be made with pretty non-stretch fabrics like taffeta, linen or chambray and features a single bead at the flower’s center. Finish your DIY choker with a simple ribbon or cord and wear your accessory sewing pattern to your next special occasion.
Final Dimensions:
- Classic size: 10 cm / 4 in. diameter.
- Maxi size: 13 cm / 5 1/8 1/8 in. diameter.
Materials:
- A piece of non-stretch fabric (cotton, taffetas, linen, chambray…) approximately:
- 52 cm / 20 1/2 in. width x 30 cm / 12 in. length or 40 cm / 16 in. width x 60 cm / 23 1/2 in. length for Classic size
- 100 cm / 39 1/2 in. width x 40 cm / 16 in. length or 50 cm / 20 in. width x 85 cm / 33 1/2 in. length for Maxi size
- A piece of felt approximately 7 x 7 cm / 2 3/4 x 2 3/4 in. for the holder (back of the flower)
- 1 sew-on bead
- Ribbon version with clasp:
- A satin or grosgrain ribbon of approximately 28 cm / 11 in. length (width from 10 to 15 mm / from 0.4 to 0.6 in.)
- 2 metal end straps with hook (same width as ribbon)
- 2 small chains (length approx. 6 to 10 cm each / 2.4 to 4 in.)
- 1 clasp
- Cord version:
- A cord approximately 130 cm / 51 in.
- 2 end cords (same diameter as the cord)
- PDF Pattern – This is located at the bottom of this page. Please see printing instructions below.
PRINTING INSTRUCTIONS:
Note: To download the pattern, click on the pattern download button at the bottom of the page. We recommend opening your pattern download using Adobe Acrobat.
Instructions:
CUTTING:
- Cut out each piece as many times as the pattern indicates.
- For the felt support, adapt the length of the notches to the width of your cord or ribbon.
ASSEMBLING THE PETALS:
- Assemble the petals by placing two pieces of fabric right sides together. Sew 1 cm/0.4 in. from the edge, leaving a 2 cm / 0.8 in. opening.

- There are 8 petals for the Classic size and 10 petals for the Maxi version.
- Notch corners and curves and trim seam allowances (except for the opening).
- Turn each petal right side out. Shape the rounded edges and tuck in the unstitched margins.
- Carefully iron petals.
- Hand-stitch openings closed.
ASSEMBLE THE FLOWER:
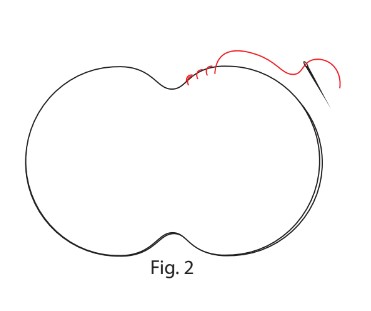
- Using a sewing needle, make a few hand-stitches in the center of each petal and pull gently to gather the center.


- Position the larger petals (Petal 1) one on top of the other, distributing them evenly. Hand-stitch the centers of the 4 petals to hold them in place.

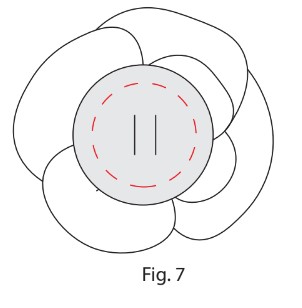
- Repeat with the remaining petals (from the larger to the smallest). Once the last petals have been attached, secure them by sewing a bead in the center.

FIXING THE HOLDER:
- Position the felt circle on the back in the center of the flower. Use a few hand stitches to hold it in place (leave the notches in the center of the backing free to insert the ribbon or cord).
- Once sewn, don’t hesitate to apply a few glue dots between the flower and the holder to hold the backing in place.
CHOKER:

Ribbon Version: Insert the ribbon into the holder and close each ribbon end with the end-strap. Close them with pliers to hold the ribbon in place. Take two metal chains and attach them to the straps. Insert a clasp at the end of one of the chains.
Cord Version: Insert the cord into the holder and close each end of the cord with end-cords. You can pass the cord through the holder notch twice.