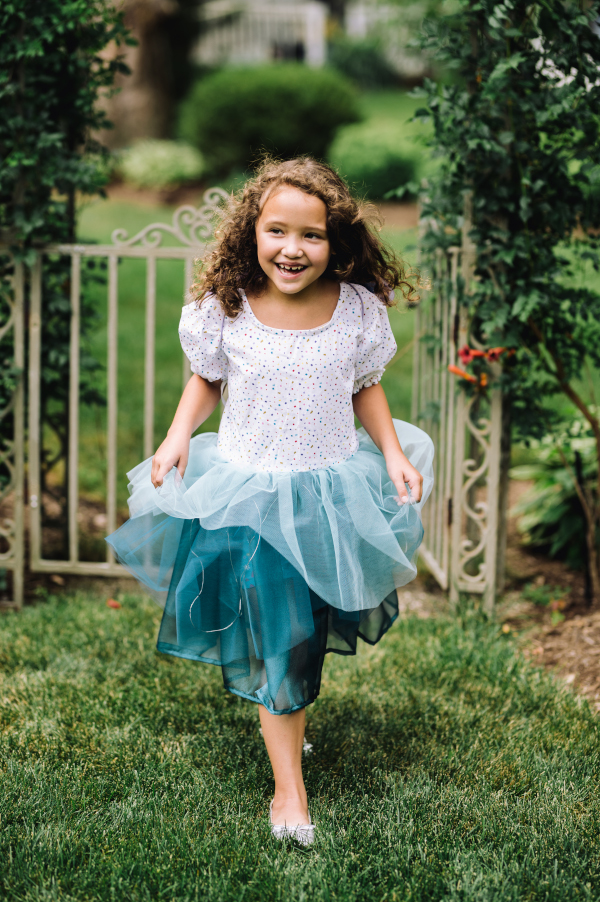
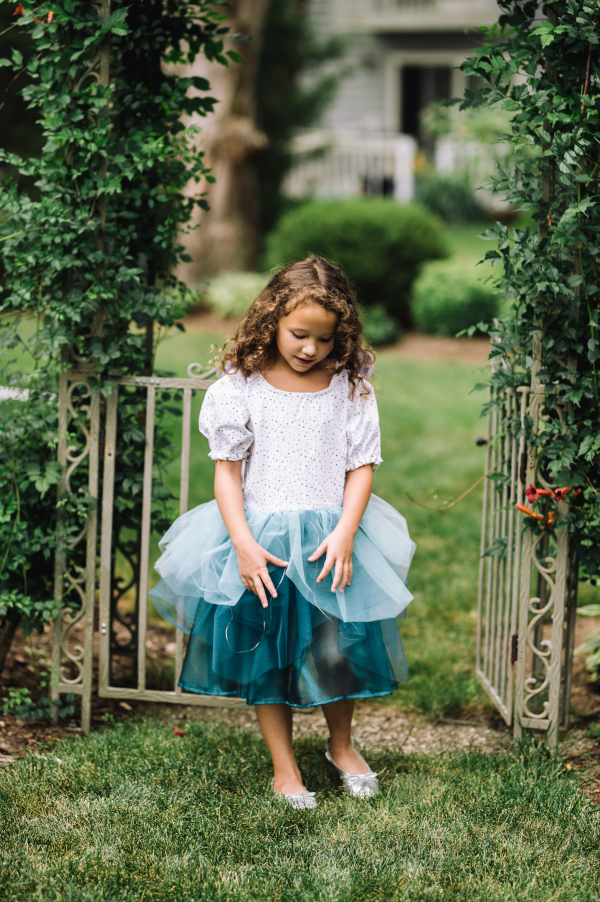
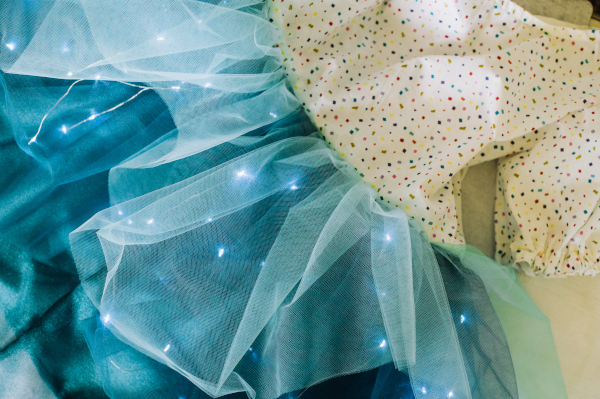
Your child will light up the night with this dreamy fairy costume that’s perfect for Halloween. Design a pretty fairy ensemble using sparkly fabric and colorful tulle to create a voluminous, playful skirt that your granddaughter will love. The skirt is the showstopper of this costume, as it contains adorable fairy lights that operate with a battery pack, adding a magical element to this enchanting design. Why settle for a basic Halloween costume from the store when you can stitch together something extra special at home?
Skill level: Intermediate
Sizes: 4 (6, 8, 10), finished chest (30)”
Materials
- 2/3 (7/8, 1, 1) yd sparkle sheer fabric, 44/45” or wider (if it is wider, you will just get more gathers!)
- 3 yards (all sizes) each lightweight tulle in two contrasting colors
- 5/8 (5/8, 3/4, 3/4) yd woven cotton print
- 1 pack double fold bias tape in color to coordinate with bodice print
- 1 pack Velcro Sew-On Soft and Flexible
- 1/2” yard of 1/4” wide elastic
- Fairy lights (approx. 6’ small fairy lights with a battery pack)
- Coordinating sewing thread
- Optional but recommended: The tulle is far easier to cut if you have a rotary cutter and self healing mat, plus a straight edge
Instructions
CUTTING
- Cut out printed pattern for bodice.
- For underskirt, cut two rectangles the full width of your fabric by 12” (14, 16, 18)”.
- For each tulle layer, fold along the factory fold 3 times – you will have a piece that is approximately 3/8 yd or 12” wide.
- For the lower layer, cut so that the tulle measures 8” (9 1/2, 10 1/2, 12)” tall.
- For the upper layer, cut so that the tulle measures 4” (5, 5, 6)” tall.
- For each layer, angle your straight edge from the lower right corner of the folded fabric to a spot 3” above the lower left corner. Mark (if cutting with scissors) and cut. Discard additional tulle pieces.
SEWING
Bodice
- With RS (right side) facing, sew Front to Backs at shoulder seams. Press seams open.
- Sew Front to Backs at side seams.
- At center back opening, press raw edge 1/4” towards the wrong side, then press folded edge 1 1/2” toward wrong side. Topstitch into place.
- With RS together, stitch bias tape together with raw neck edge along one fold, leaving 1/2” of bias tape to overhand the center back fold.
- Press bias tape to WS (wrong side) of bodice, tucking under each 1/2 raw edge, topstitch into place.
Sleeves
- Run two lines of basting stitches across top of each sleeve to gather.
- Stitch each sleeve seam.
- With RS together, stitch bias tape together with bottom sleeve edge along one fold.
- Press bias tape in towards inside of sleeve.
- Topstitch top edge of bias tape into place, turning back 1/4” on each short edge to cover the raw edge, and leaving the short edge open as a casing.
- Thread elastic into each casing, adjusting to desired fit. Sew elastic together and trim off excess.
Skirt
- With RS together, stitch the two underskirt pieces together along one selvedge edge.
- With RS together, stitch the other selvedge edges of the underskirt together leaving a 7” opening at the top.
- Sew a 1/4” rolled hem to the underskirt.
- Run two lines of basting stitches across top of underskirt, the lower tulle pieces held together, and the upper tulle pieces held together, i.e. you will hold everything together and baste once.
ASSEMBLY
- Insert sleeves into armhole openings and stitch into place.
- Arrange the skirts with the underskirt on the lowest level, the lower tulle skirt in the middle layer, and the upper tulle skirt on the upper level and gather them to the width of the bottom of the bodice.
- With RS facing, sew all skirt layers as one into place along the bottom edge of the bodice.
- Stitch the Velcro into place with the hook side up on the RS (right side) of the left-hand side of the CB (center back) bodice, and the loop side on the wrong side of the right-hand side of the bodice.
Fairy Lights
- Arrange the fairy lights in a random pattern under the lower tulle layer of the skirt and hand stitch them into place as needed. It’s okay if they have some movement. When wearing the dress, you can use the Velcro in the back to hold the battery pack into place under the skirts.

What is the seam allowance for the fairy costume? Is it included on the pattern pieces?
Maybe I’m just missing it, but can’t seem to find it in the instructions. Thanks
Hi Carol! Thanks so much for catching this. We’ll reach out to the designer and update the pattern regarding the seam allowance once we have more info. Thank you for your patience! – Ashley, WeLikeSewing