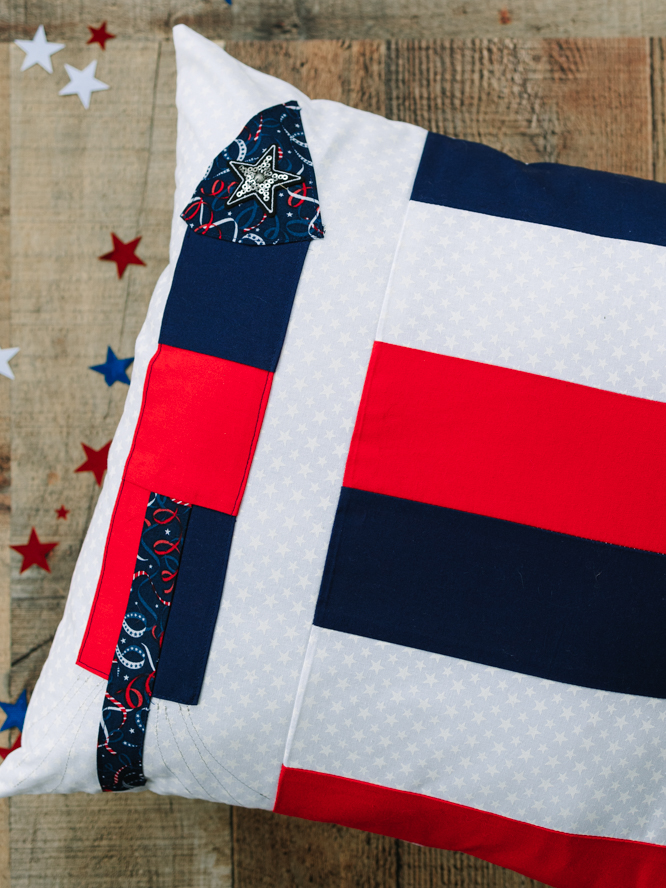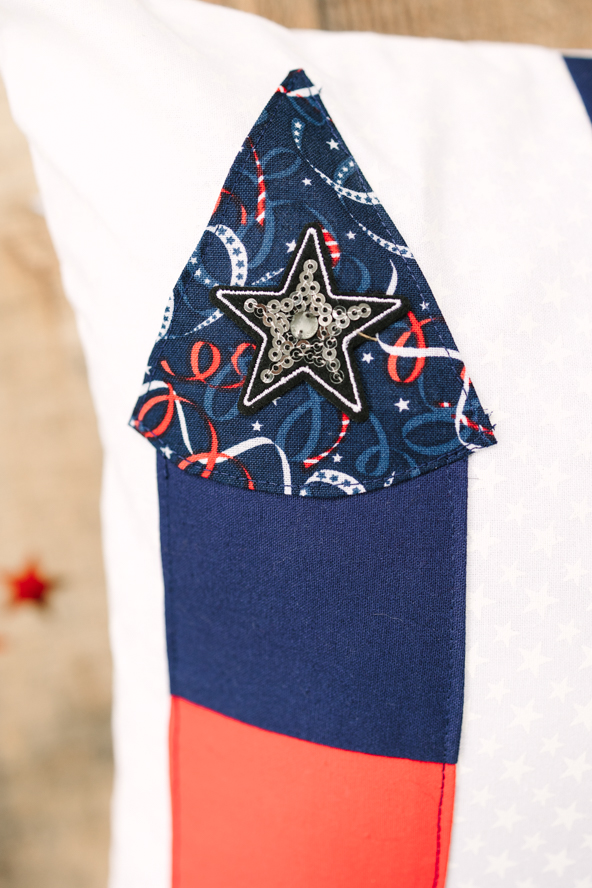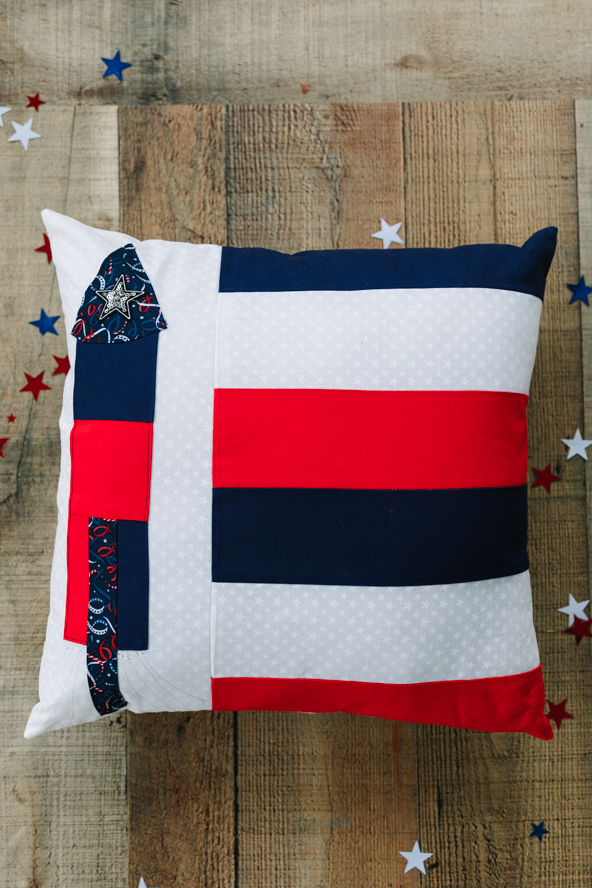
Get a head start on your 4th of July decorating with this festive throw pillow pattern. Featuring an applique sequined star, this summer throw pillow is accented with a retro rocket design that uses metallic thread as sparks. Using three fat quarters in patriotic colors, this throw pillow pattern is easy to piece together and closes with Velcro. Celebrate the 4th in style with this playful Independence Day sewing project.
DESIGNER NOTES:
- 1/4″ seam allowance has already been added for piecing.
- 1/2″ seam allowance has already been added for pillow assembly.
Materials:
- 1/2 yard white (Color A) if it has a non directional print, 5/8 yd if the print is directional
- 3 fat quarters – 1 each red (B), navy blue (C), and a patriotic novelty print (D)
- 1” sequin star appliqué
- 18” pillow form
- Self-adhesive VELCRO for fabric
- Metallic sewing thread for sparks
- Coordinating sewing thread
- PDF Templates – These are located at the bottom of this page. Please see printing instructions below.
PRINTING INSTRUCTIONS:
Note: To download the templates, click on the pattern download button at the bottom of the page. We recommend opening your pattern download using Adobe Acrobat.
Cutting Instructions:
- Out of A:
- Cut 2 pieces 19” wide x 11” tall for Back
- 2 pieces 12 3/4” wide x 3 1/2” tall
- 1 piece 6 3/4” wide x 19” tall
- Out of B:
- Cut 1 piece 12 3/4” wide x 3 1/2” tall
- 1 piece 12 3/4” wide x 3 3/4” tall (bottom right piece)
- 1 piece 3 1/2” square
- 1 piece 1 1/2” wide x 4 1/2” tall
- Out of C:
- Cut 1 piece 12 3/4” wide x 3 1/2” tall
- 1 piece 12 3/4” wide x 3 3/4” tall (top right piece)
- 1 piece 3 1/2” square
- 1 piece 1 1/2” wide x 4 1/2” tall
- Out of D:
- Cut 1 piece 1 1/2” wide x 7 1/2” tall
- 1 piece using the supplied template
Sewing Instructions:
ROCKET:
- Assemble Rocket pieces as shown in diagram/templates. (Note: This is located at the bottom of this page).
- Press under 1/4” seam allowance on all outside edges.
- Pin Rocket into place onto 19” tall A piece as shown in photo; topstitch into place.
- With metallic thread, topstitch some spark lines on the A piece coming out of the bottom of the rocket.
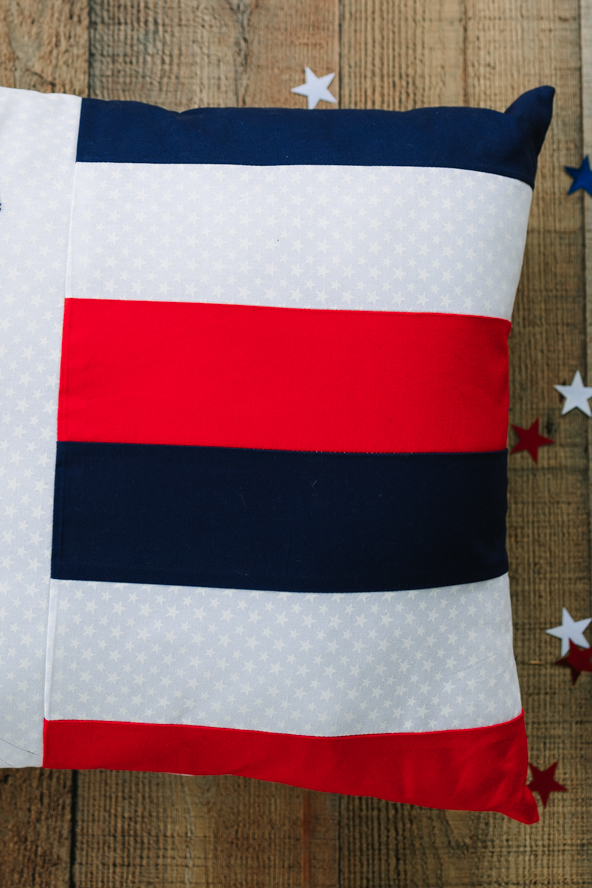
PILLOW FRONT:
- Assemble right hand side color bands as shown in diagram, making sure the taller B piece is at the bottom and the taller C piece is at the top.
- Stitch Rocket panel to side panel.
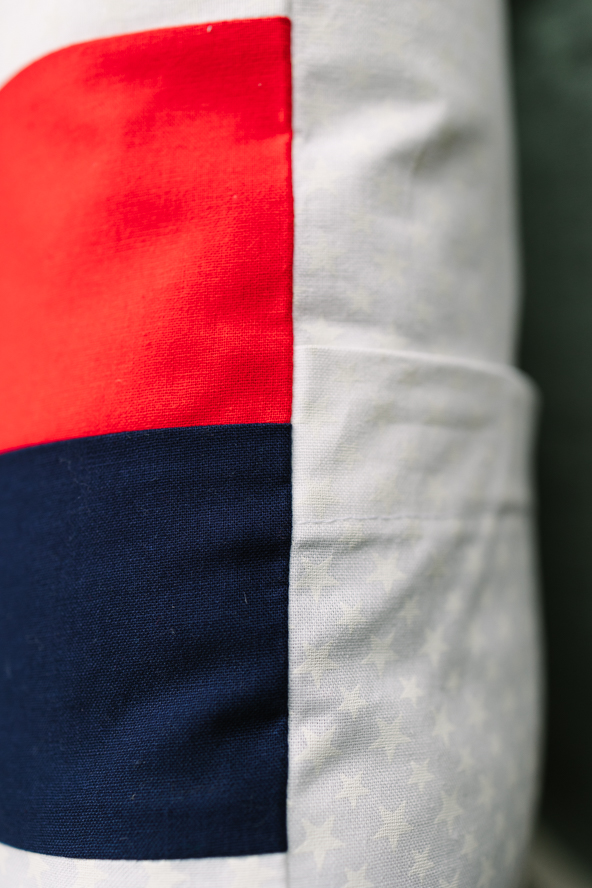
- Press all seams to darker side.
PILLOW BACK:
- Make a 1” hem along one 19” side of each Back piece.
- Overlap the hemmed edges to form a 19” square.
- Add VELCRO to the overlap to keep the pillow back closed.
FINAL ASSEMBLY:
- With right sides facing each other, sew Front and Back together with a 1/2” seam allowance.
- Clip corners.
- Turn right side out using the overlapped opening, and press.
- Insert your pillow form and VELCRO closed.