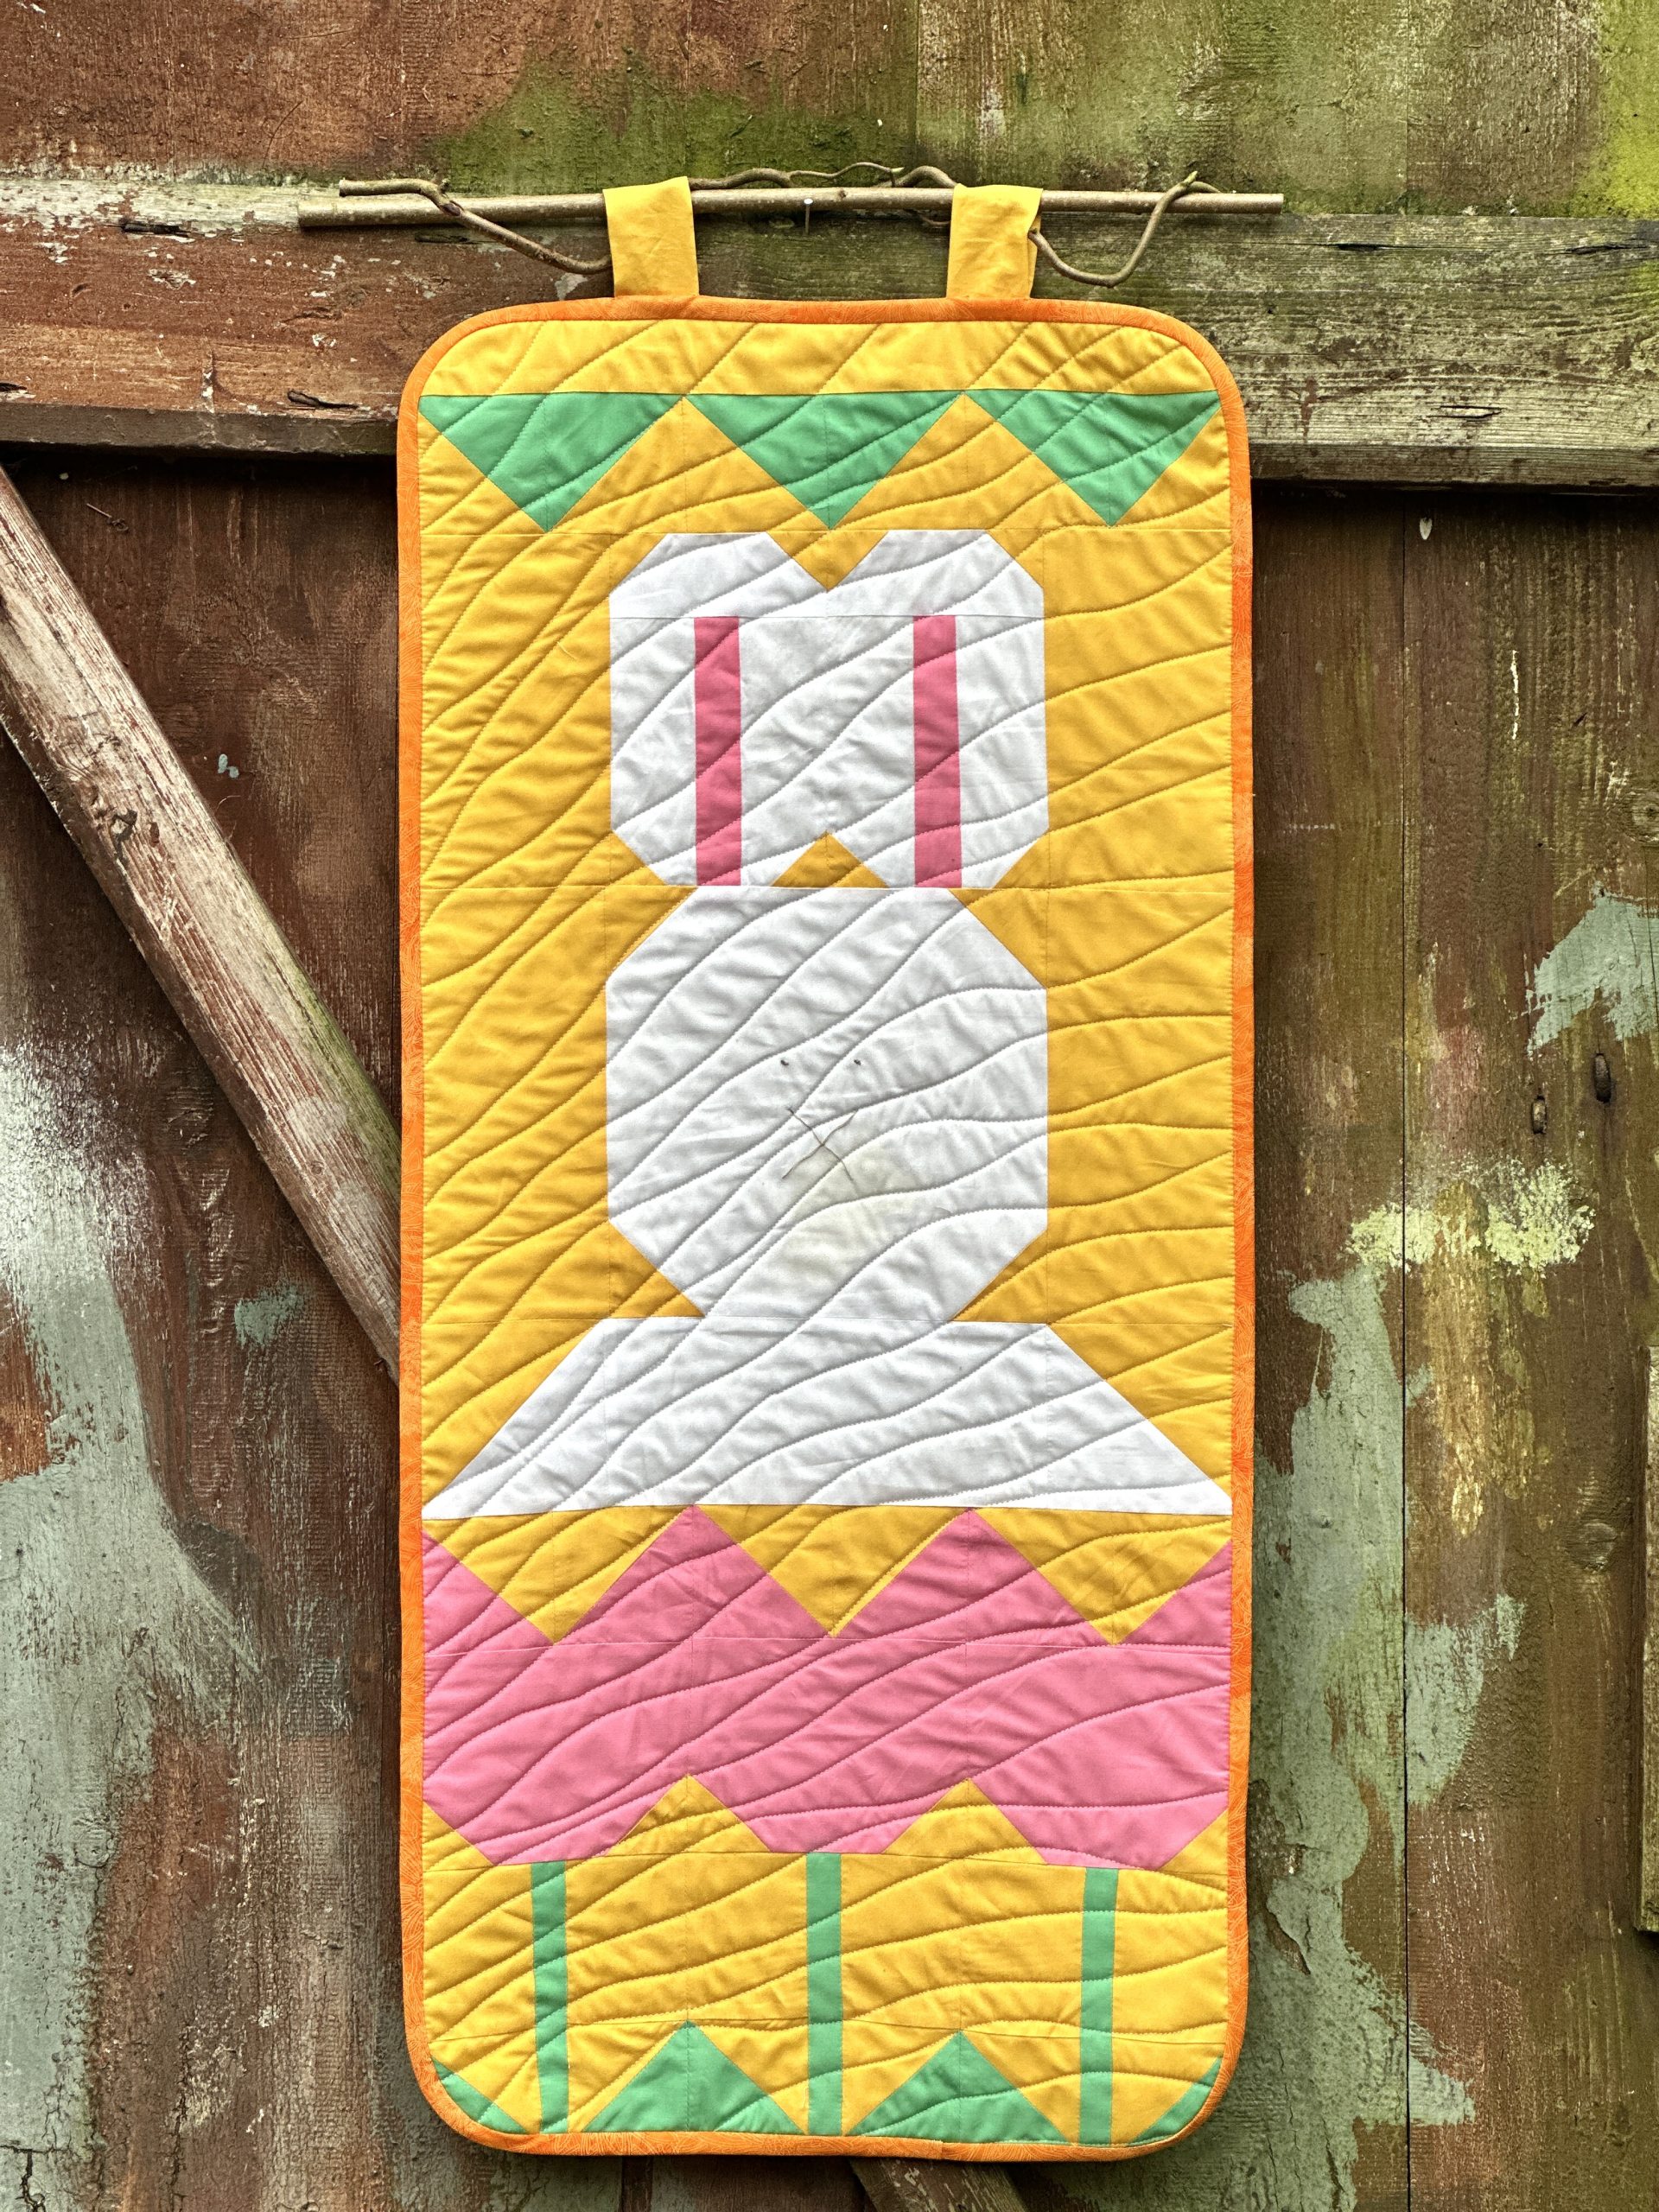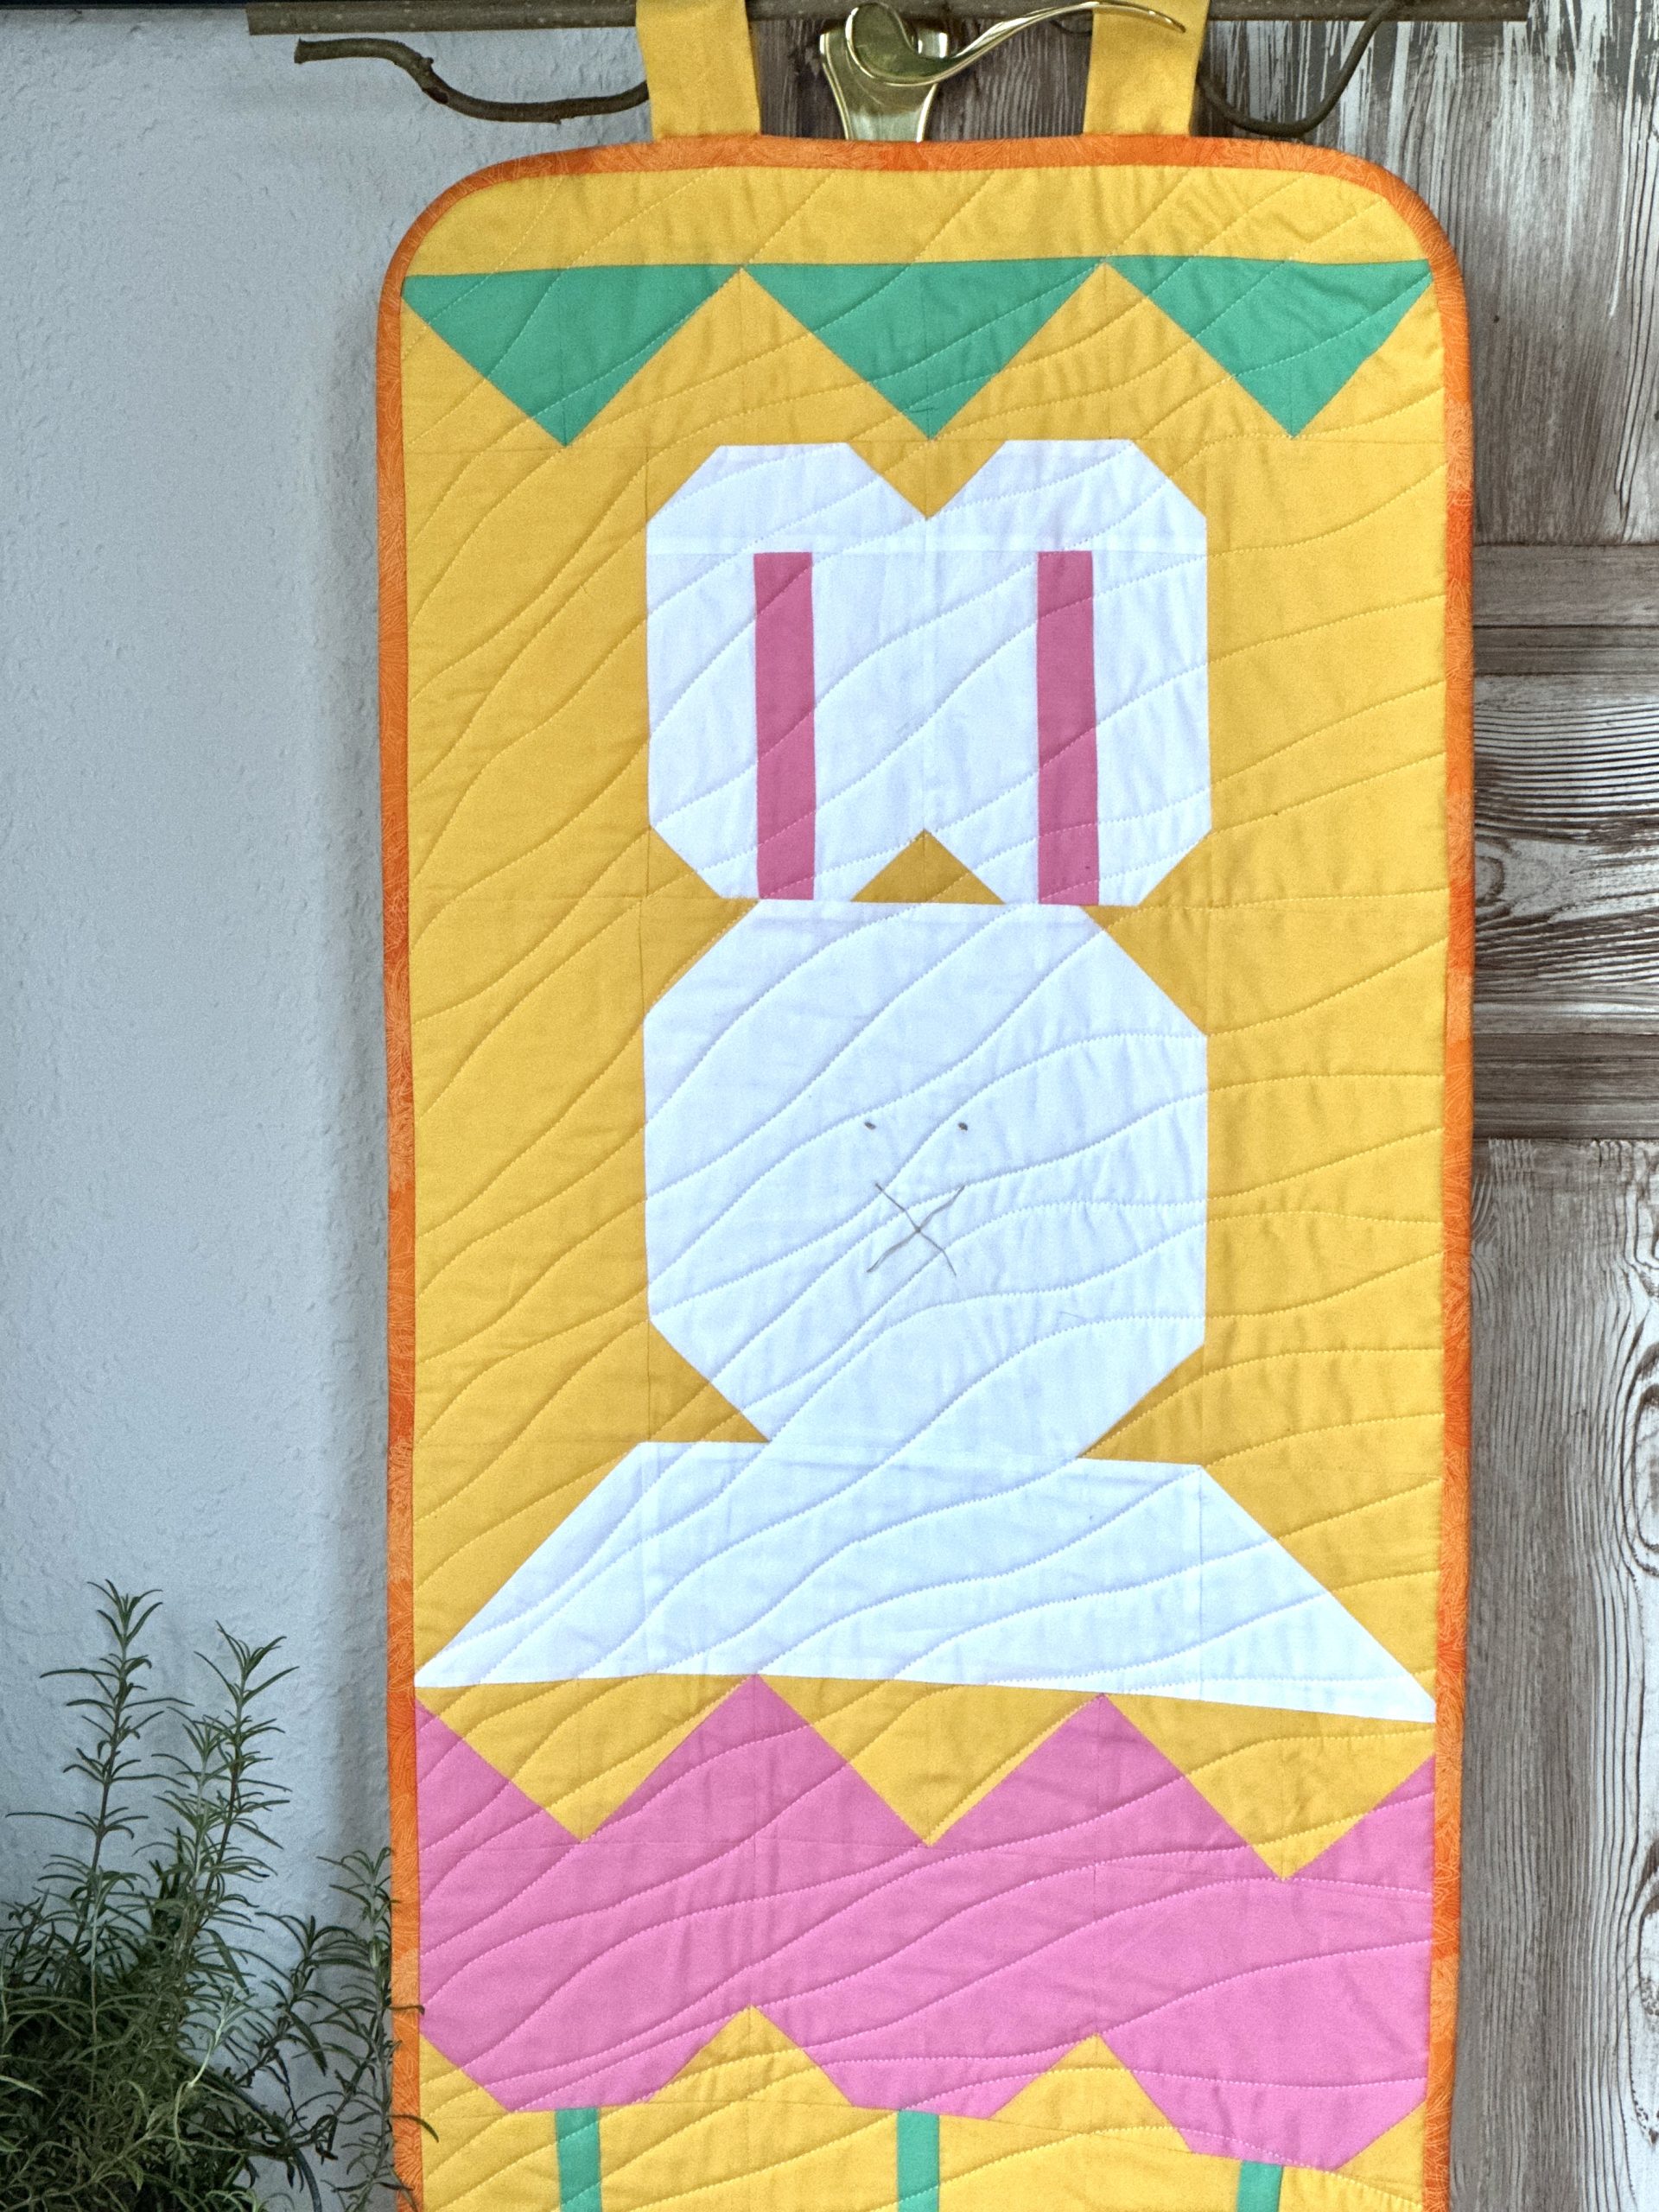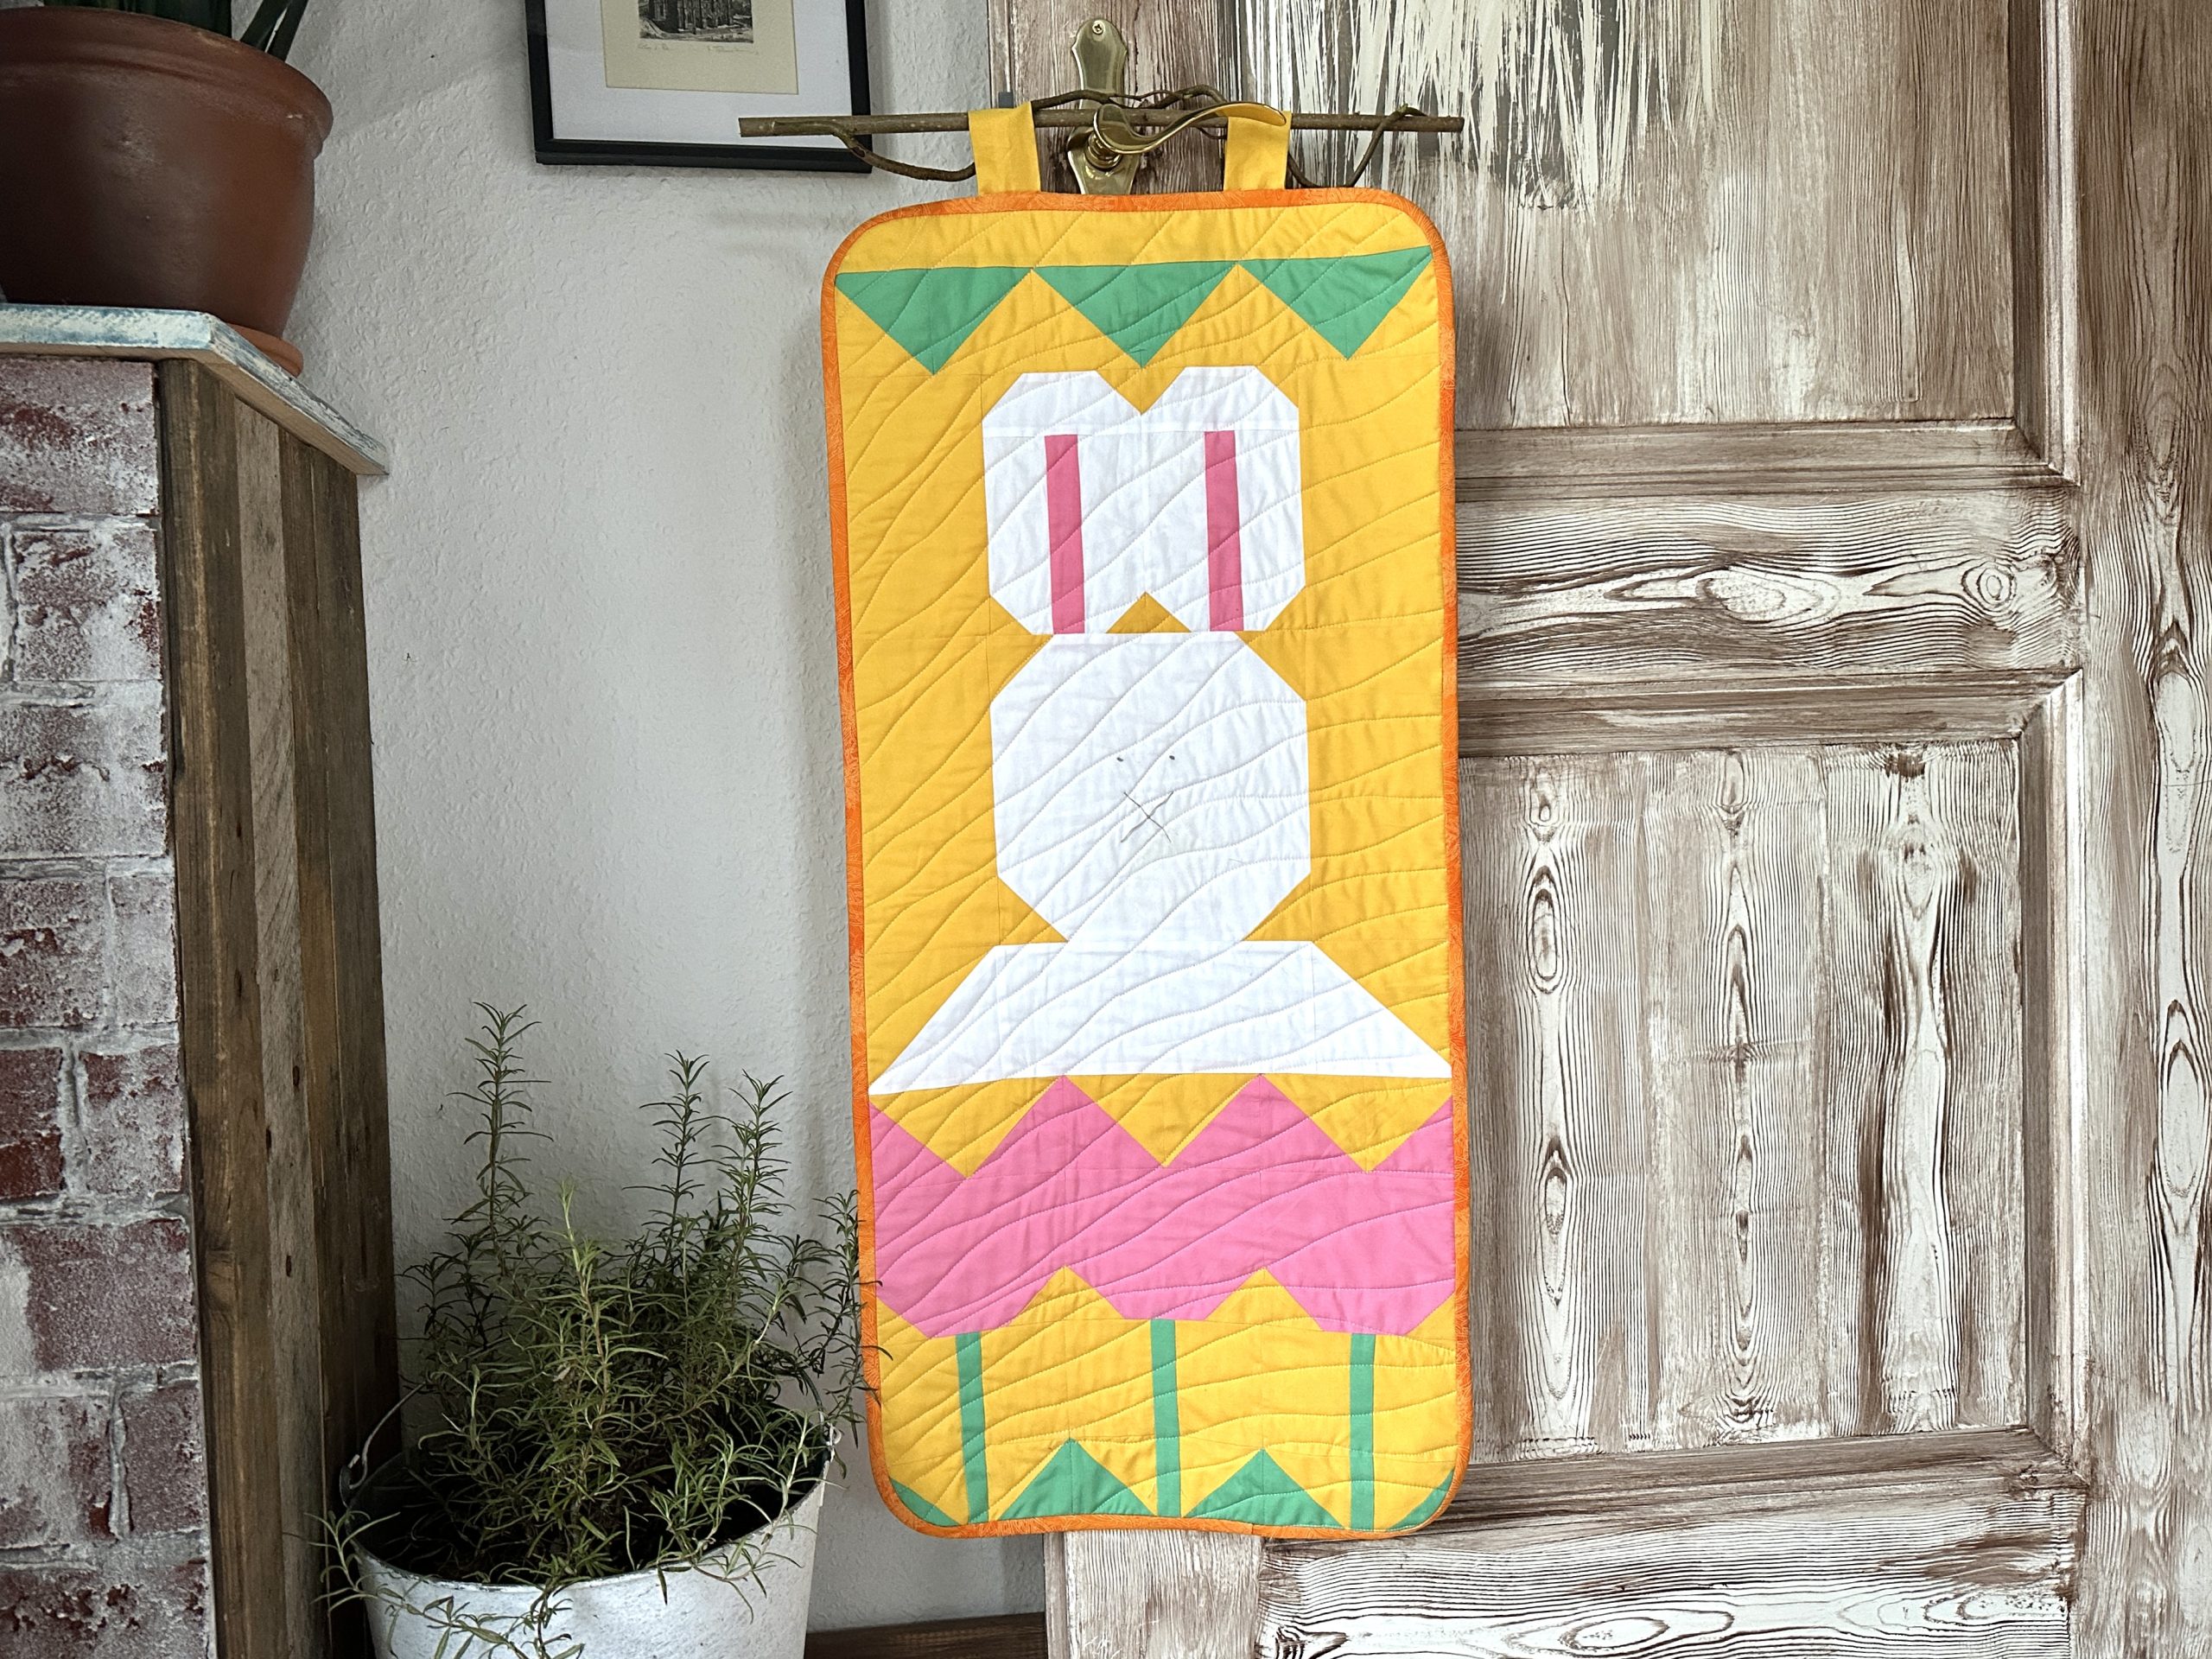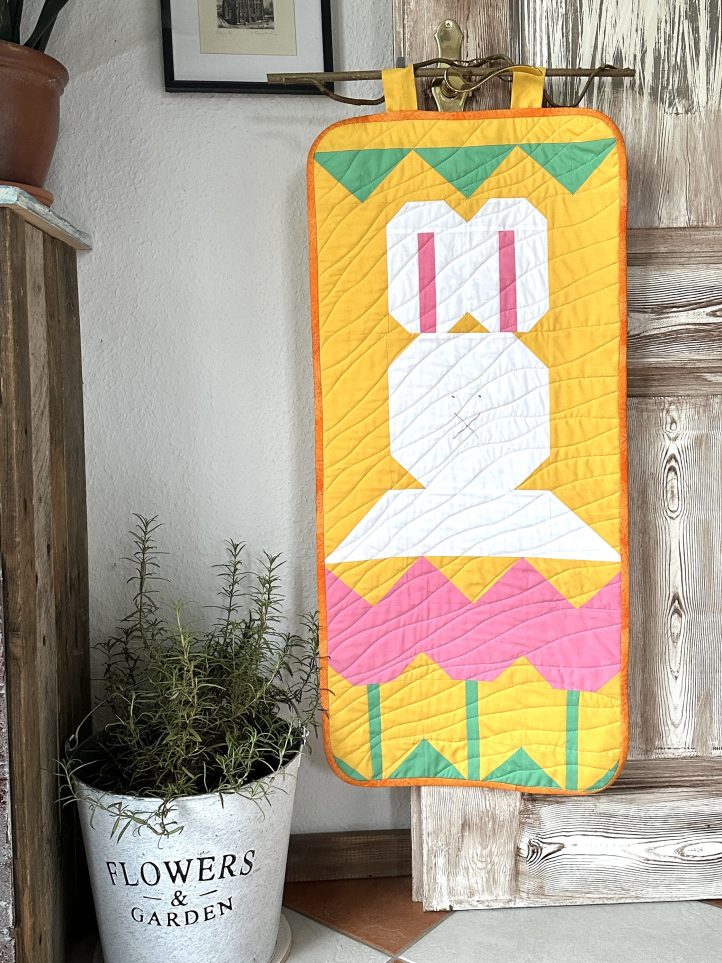
Welcome friends and family to your Easter celebration with a joyful, colorful bunny door quilt. New from Debbie von Grabler-Crozier, this door quilt pattern is fat quarter friendly and features a charming white Easter bunny amongst a garden of pink tulips. Complete your Easter quilt pattern by adding delicate embroidery details to your bunny’s face and hanging your door quilt using its handy fabric tabs.
Designer Note: Seam allowances are all 1/4” and have already been added.
Materials:
- Fabric: (Note: All fabrics are by Art Gallery Fabrics.)
- 1/2 yd. sunny yellow solid for the background. Debbie used Pineapple from the Pure Elements collection by AGF.
- Fat Quarter pink solid for the tulips and bunny ears. The designer loves Sweet Pink from the Pure Elements collection by AGF.
- Fat Quarter green solid for the tulip stems and Flying Geese. For Debbie, it had to be Jade Cream from the Pure Elements collection by AGF.
- 1/2 yd. off white solid for the bunny. The designer has used Porcelain from the Pure Elements collection by AGF.
- 1 1/4 yds. pretty floral for the backing. This time, Reflective Meadow from the Daisy collection by Maureen Cracknell for AGF was used.
- 1/2 yd. coordinating blender for the binding. A perfect choice is Orangine from the Floral elements collection by AGF.
- Interfacing:
- 1/2 yd. #279 80/ 20 cotton mix batting (Vlieseline)
- Natural stick about as thick as your thumb and 17” long to hang the quilt
- Gray embroidery floss for the facial details
- Coordinating threads for all fabrics and trims
- Embroidery hoop
- Hand sewing needle
- Scissors
- Fabric marking tools
- Extra feet for your sewing machine (walking [dual feed] foot, for example)
Cutting Instructions:
From the sunny yellow solid:
- 2 pieces 3 1/2” wide x 6” long for the hanging tabs
- 1 piece 15 3/4” wide x 2 1/2” tall for the top sash
- 3 pieces 3 1/2” sq. for the Half Square Triangles (HSTs) on the top row
- 2 pieces 4” wide x 8 1/2” tall for the background either side of the bunny’s head
- 2 pieces 4” wide x 7” tall for the background panels each side of the ear section
- 8 pieces 1 1/2” sq. for the snowball corners on the bunny’s ears
- 4 pieces 2 1/4” sq. for the snowball corners on the bunny’s head
- 1 piece 4 1/2” sq. for the HST units for the bunny’s shoulders
- 3 pieces 3 3/4” sq. for the HST units which form the top row of the tulips
- 6 pieces 2” sq. for the snowball units which form the base of the tulips
- 6 pieces 2 5/8” wide x 3 1/2” tall for the background pieces next to the stems of the tulips
- 3 pieces 3 1/2” sq. to make the HST units on the bottom row (part of the tulip leaves)
From the pink solid:
- 3 pieces 3 3/4” sq. for the HST units which form the top row of the tulips
- 3 pieces 5 1/2” wide x 4 1/2” tall for the tulip centers
- 2 pieces 1” wide x 5 1/2” tall for the bunny inner ears
From the green solid:
- 3 pieces 3 1/2” sq. for the Half Square Triangles (HSTs) on the top row
- 3 pieces 3 1/2” sq. to make the HST units on the bottom row (the tulip leaves)
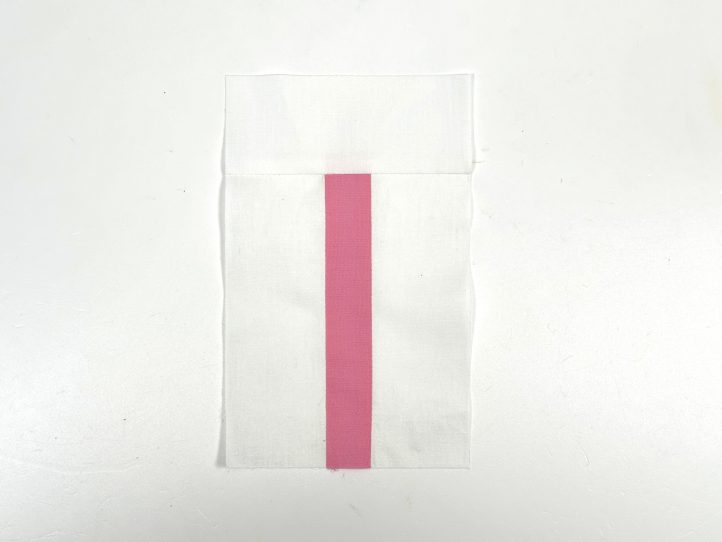
- 3 pieces 1” wide x 5 1/4” long for the tulip stems
From the white solid:
- 2 pieces 4 1/2” wide x 2” tall for the outer ear tops
- 4 pieces 2” wide x 5 1/2” tall for the left and right hand side outer ear panels
- 1 piece 8 1/2” sq. for the bunny’s head
- 1 piece 8 1/2” wide x 4” tall for the bunny’s body
- 1 piece 4 1/2” sq. for the HST units for the bunny’s shoulders
From the backing fabric:
- 1 piece 19” wide x 38” deep
From the binding fabric:
- Bias tape cut on the diagonal, 1 1/2” wide and joined to make a continuous piece 106” long
From the batting:
- 1 piece 18” wide x 37” deep
Sewing Instructions:
MAKING:
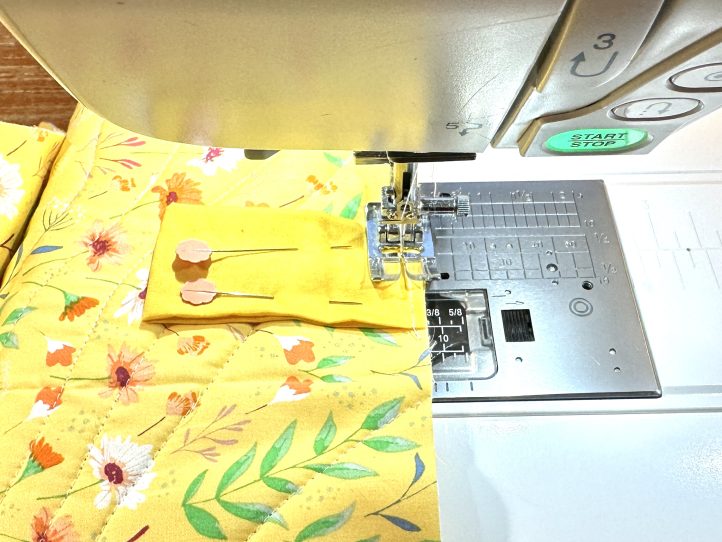
The Tabs:
- Fold a tab piece lengthways with the right sides together and sew the long seam. Press the seam open and turn the tab the right way out. Press and repeat for the other tab.
The Bias Tape:
- Fold the long length of bias tape, wrong sides together and press to obtain a long center crease. Open out and fold the two long raw edges to the center crease (also wrong sides together) and press again.
- Re-fold along all of the creases so that the raw edges are all enclosed. Roll until it is needed.
The HST Top Row:
TIP: All of the HST units in this pattern are made the same way.
- To make the top row, you will need a yellow square and a green one. Place them right sides together and draw a diagonal line on one.
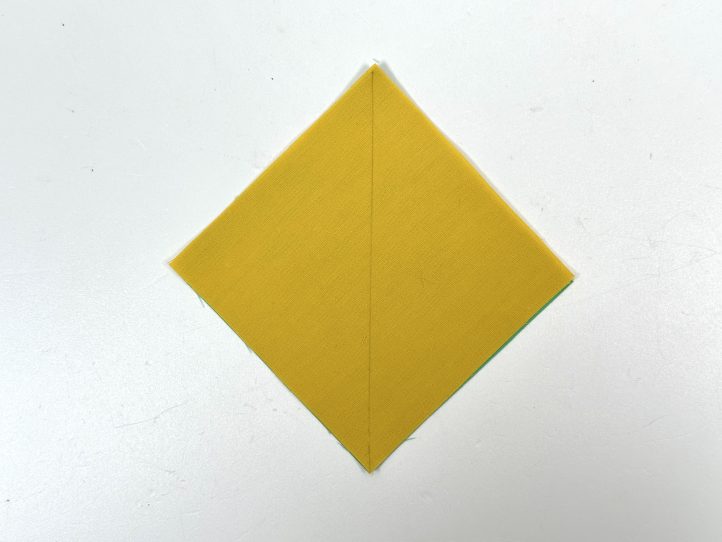
- Sew a normal 1/4” seam both sides of this line.

- Cut along the line that you drew and press the seams open. Trim the HST unit to 3” sq.

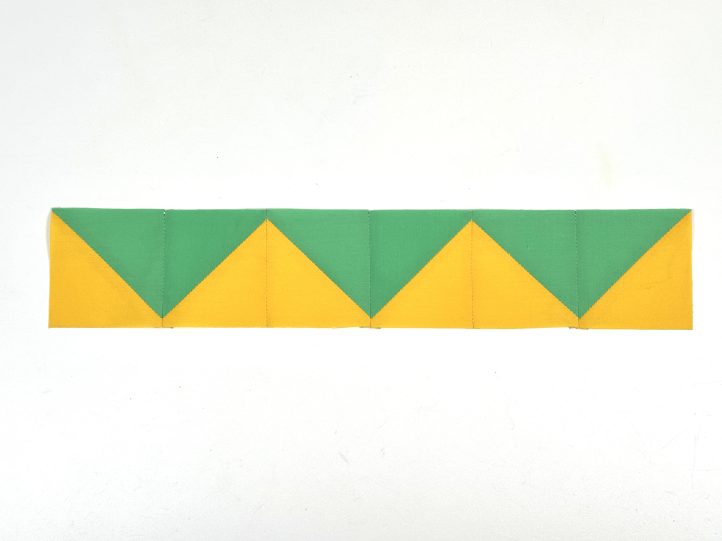
- Make another 5 of these and sew them together to form a pennant strip.
The Bunny Section:
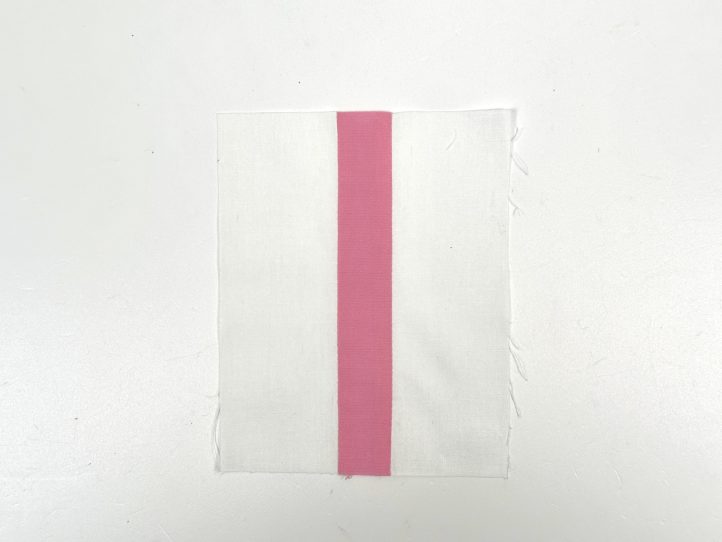
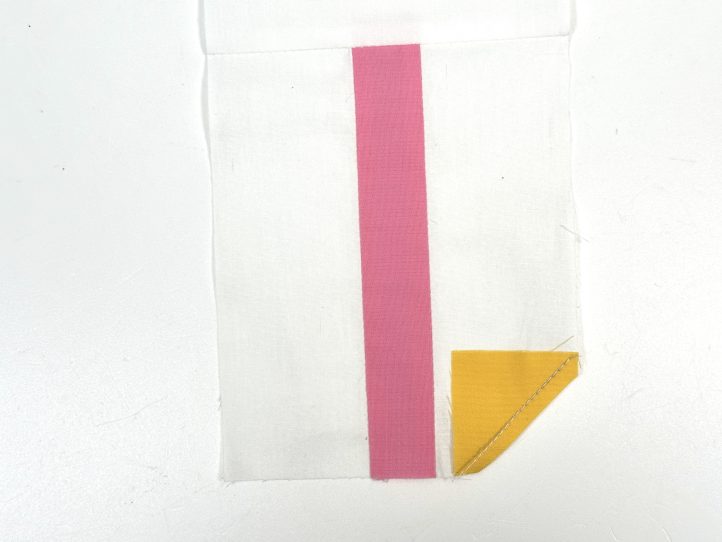
- Make the bunny’s ears first. A pink strip goes in the center of two white strips. The remaining white strip goes onto the top. Press and snowball the corners.
- TIP: Snowballing is an easy way to get shape into a pattern without needing to paper piece. Take one of the squares designated for the job and draw a line diagonally as you did when making the HST units in the last section. Lay this square onto the corner of the ear section. Sew along the line that you drew and trim so that there is a 1/4” seam allowance remaining. Open the snowball corner out and press. Repeat for the other corners.

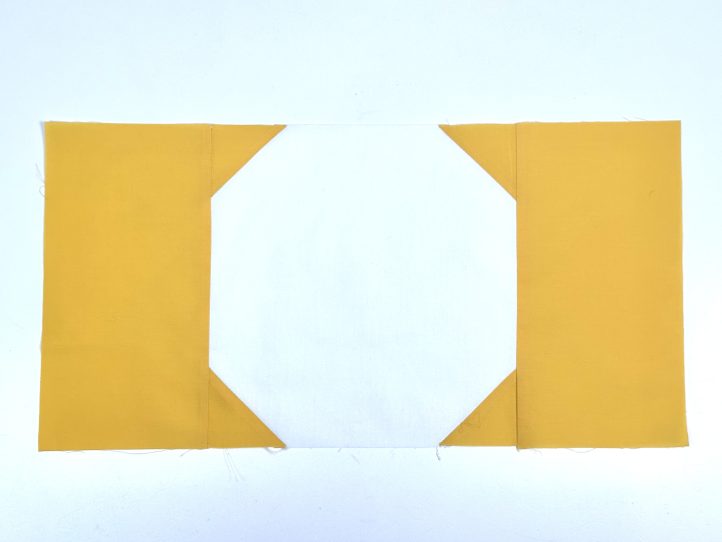
- Make a second ear the same way as the first and join them together. Add a yellow panel to each side of the ear section.
- Snowball the corners of the bunny’s head and attach the ears to the head. Attach a yellow background strip to each side of the head.
- The shoulders are formed with two HST units, made as described above and joined to the main body part.
Assemble What You Have So Far:
- Press everything and then starting with the plain yellow strip, add the top HST strip and the bunny.

The Tulips:
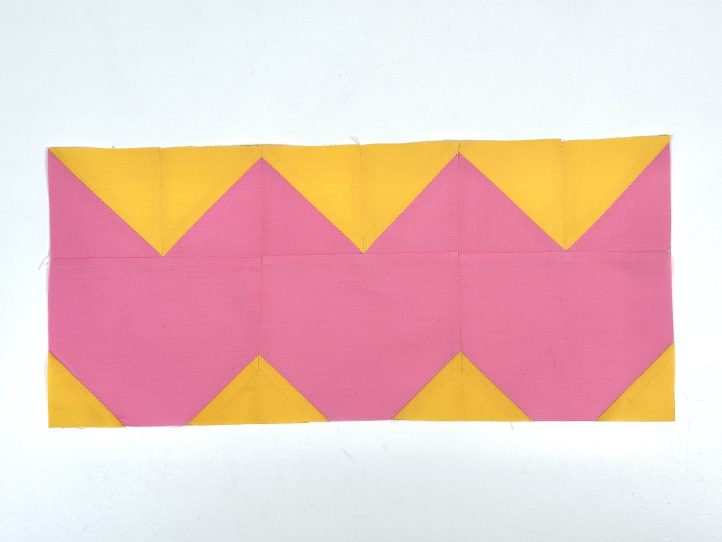
- The top row of the tulips is a small row of HST units made from pink and yellow and trimmed to 3” square. They are made the same way as the other units. Join them together to make a continuous strip and add them to the top of the tulip bodies.
- Snowball the bottom two corners of each of the tulips and join them together before pressing them.
- Each tulip has a stem and leaves. The leaves are more HST units (6 in all) trimmed to 2 5/8”. Join each HST unit to a plain yellow piece, making sure that the alignment of the triangles is correct. Press and join a plain yellow/HST unit to either side of a stem. Make another 5 of these and join them to make a strip. Finish the quilt top by attaching this final row to the bottom edge. Press.

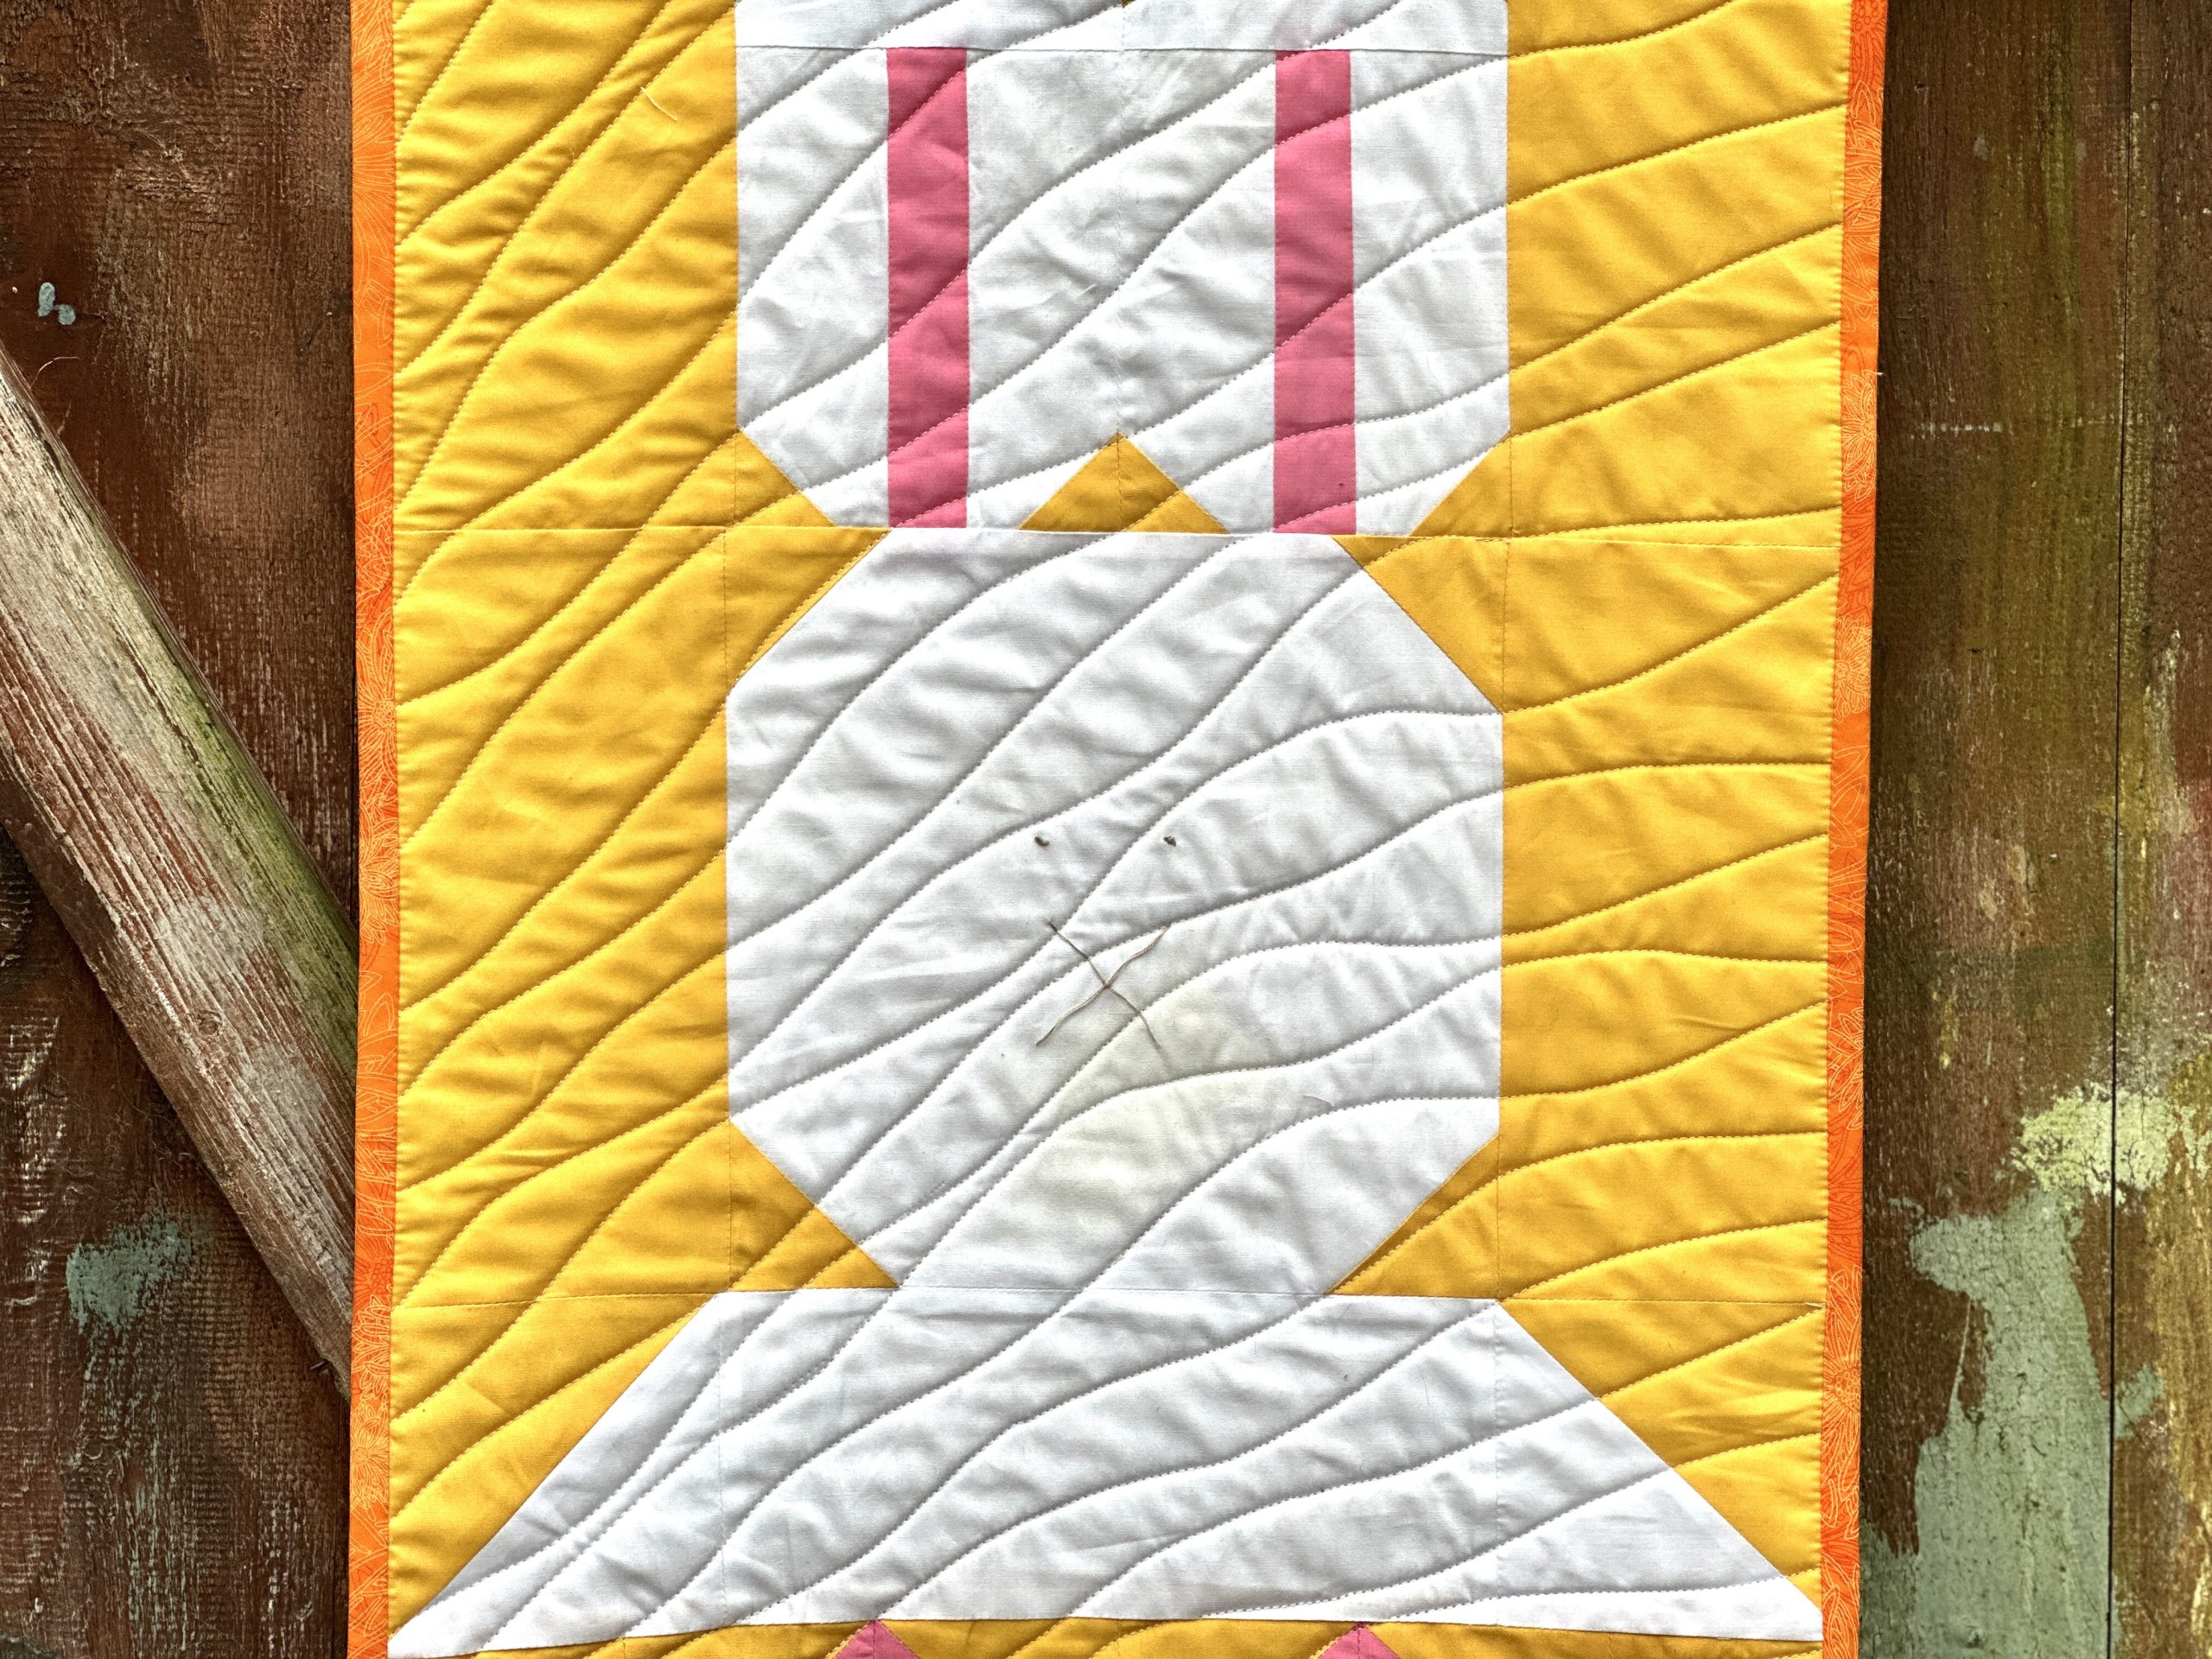
Embroidering the Face:
- Thread a needle with two strands of embroidery floss and make the eyes with French knots. The embroidery hoop is very helpful here.
- TIP: Try to avoid carrying the thread across the back of the work as it will be visible against the white bunny.
- Still using two strands of floss, embroider a simple X for the rest of the face.
- Press carefully to remove the hoop mark.
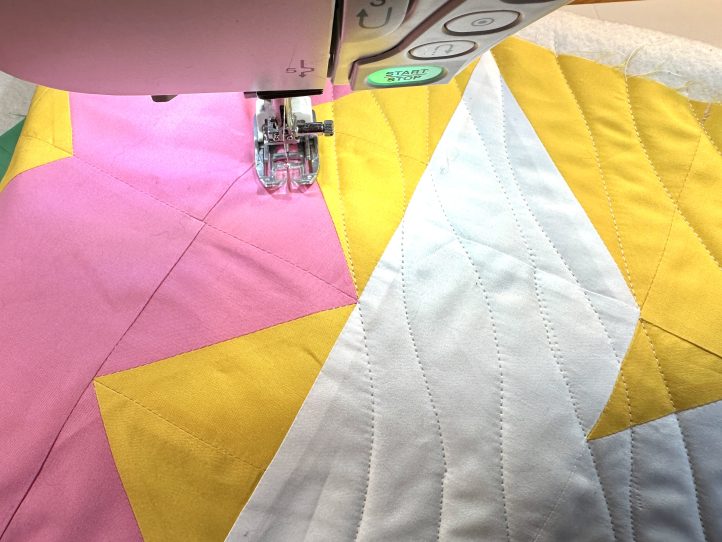
Quilting:
- Lay the backing fabric face down and center the batting on top. The pressed patchwork top goes next, also centered and with the right side facing up. Pin well so that no movement is possible.
- Quilt with your favorite design. The designer loves a random diagonal wave, which is easy to do on almost all domestic sewing machines and pretty difficult to get ‘wrong’.
- Trim the backing and batting back to the size and shape of the quilt top and round the four corners.

- TIP: If you haven’t got a ‘proper’ ruler for this, don’t worry. Trace around an upturned coffee cup and cut out.
- Measure in 4” from each corner on the top and attach a hanging tab.
Binding:
- Bind with your bias binding and use the foraged stick to hang the quilt.