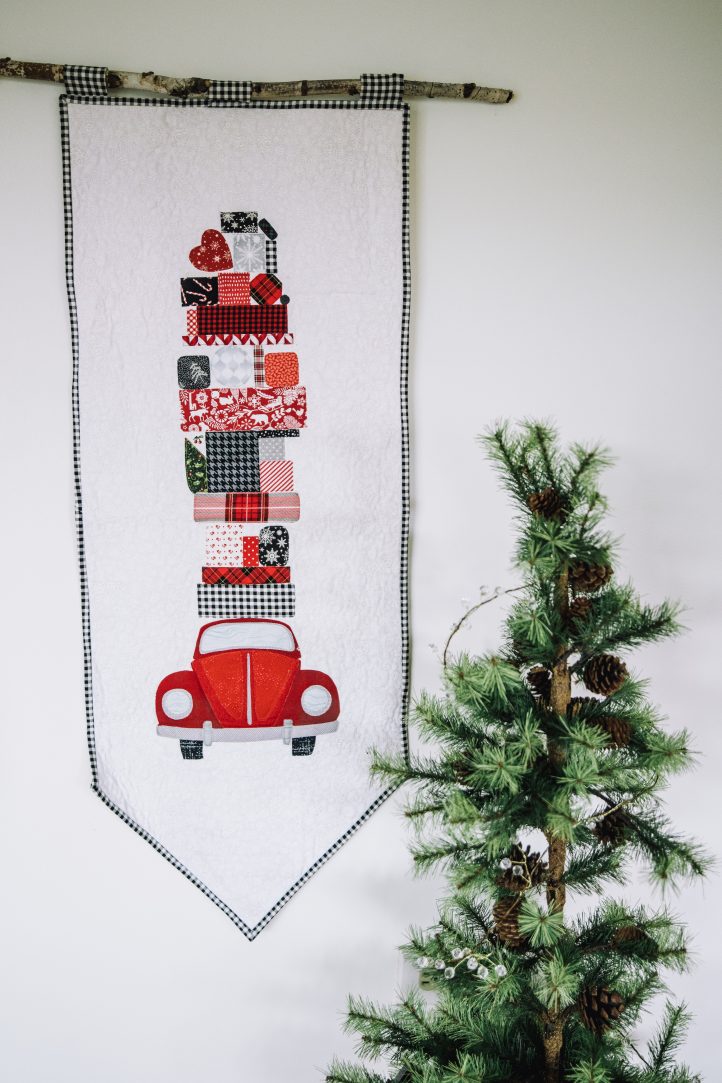
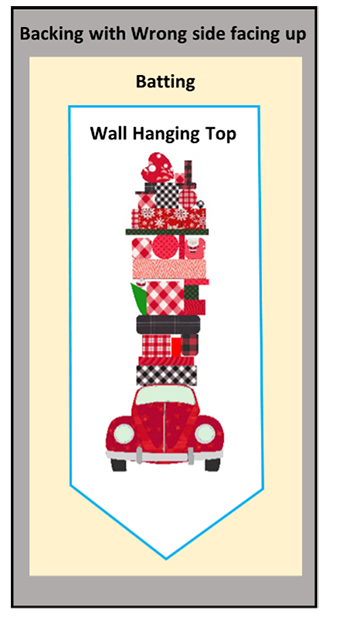
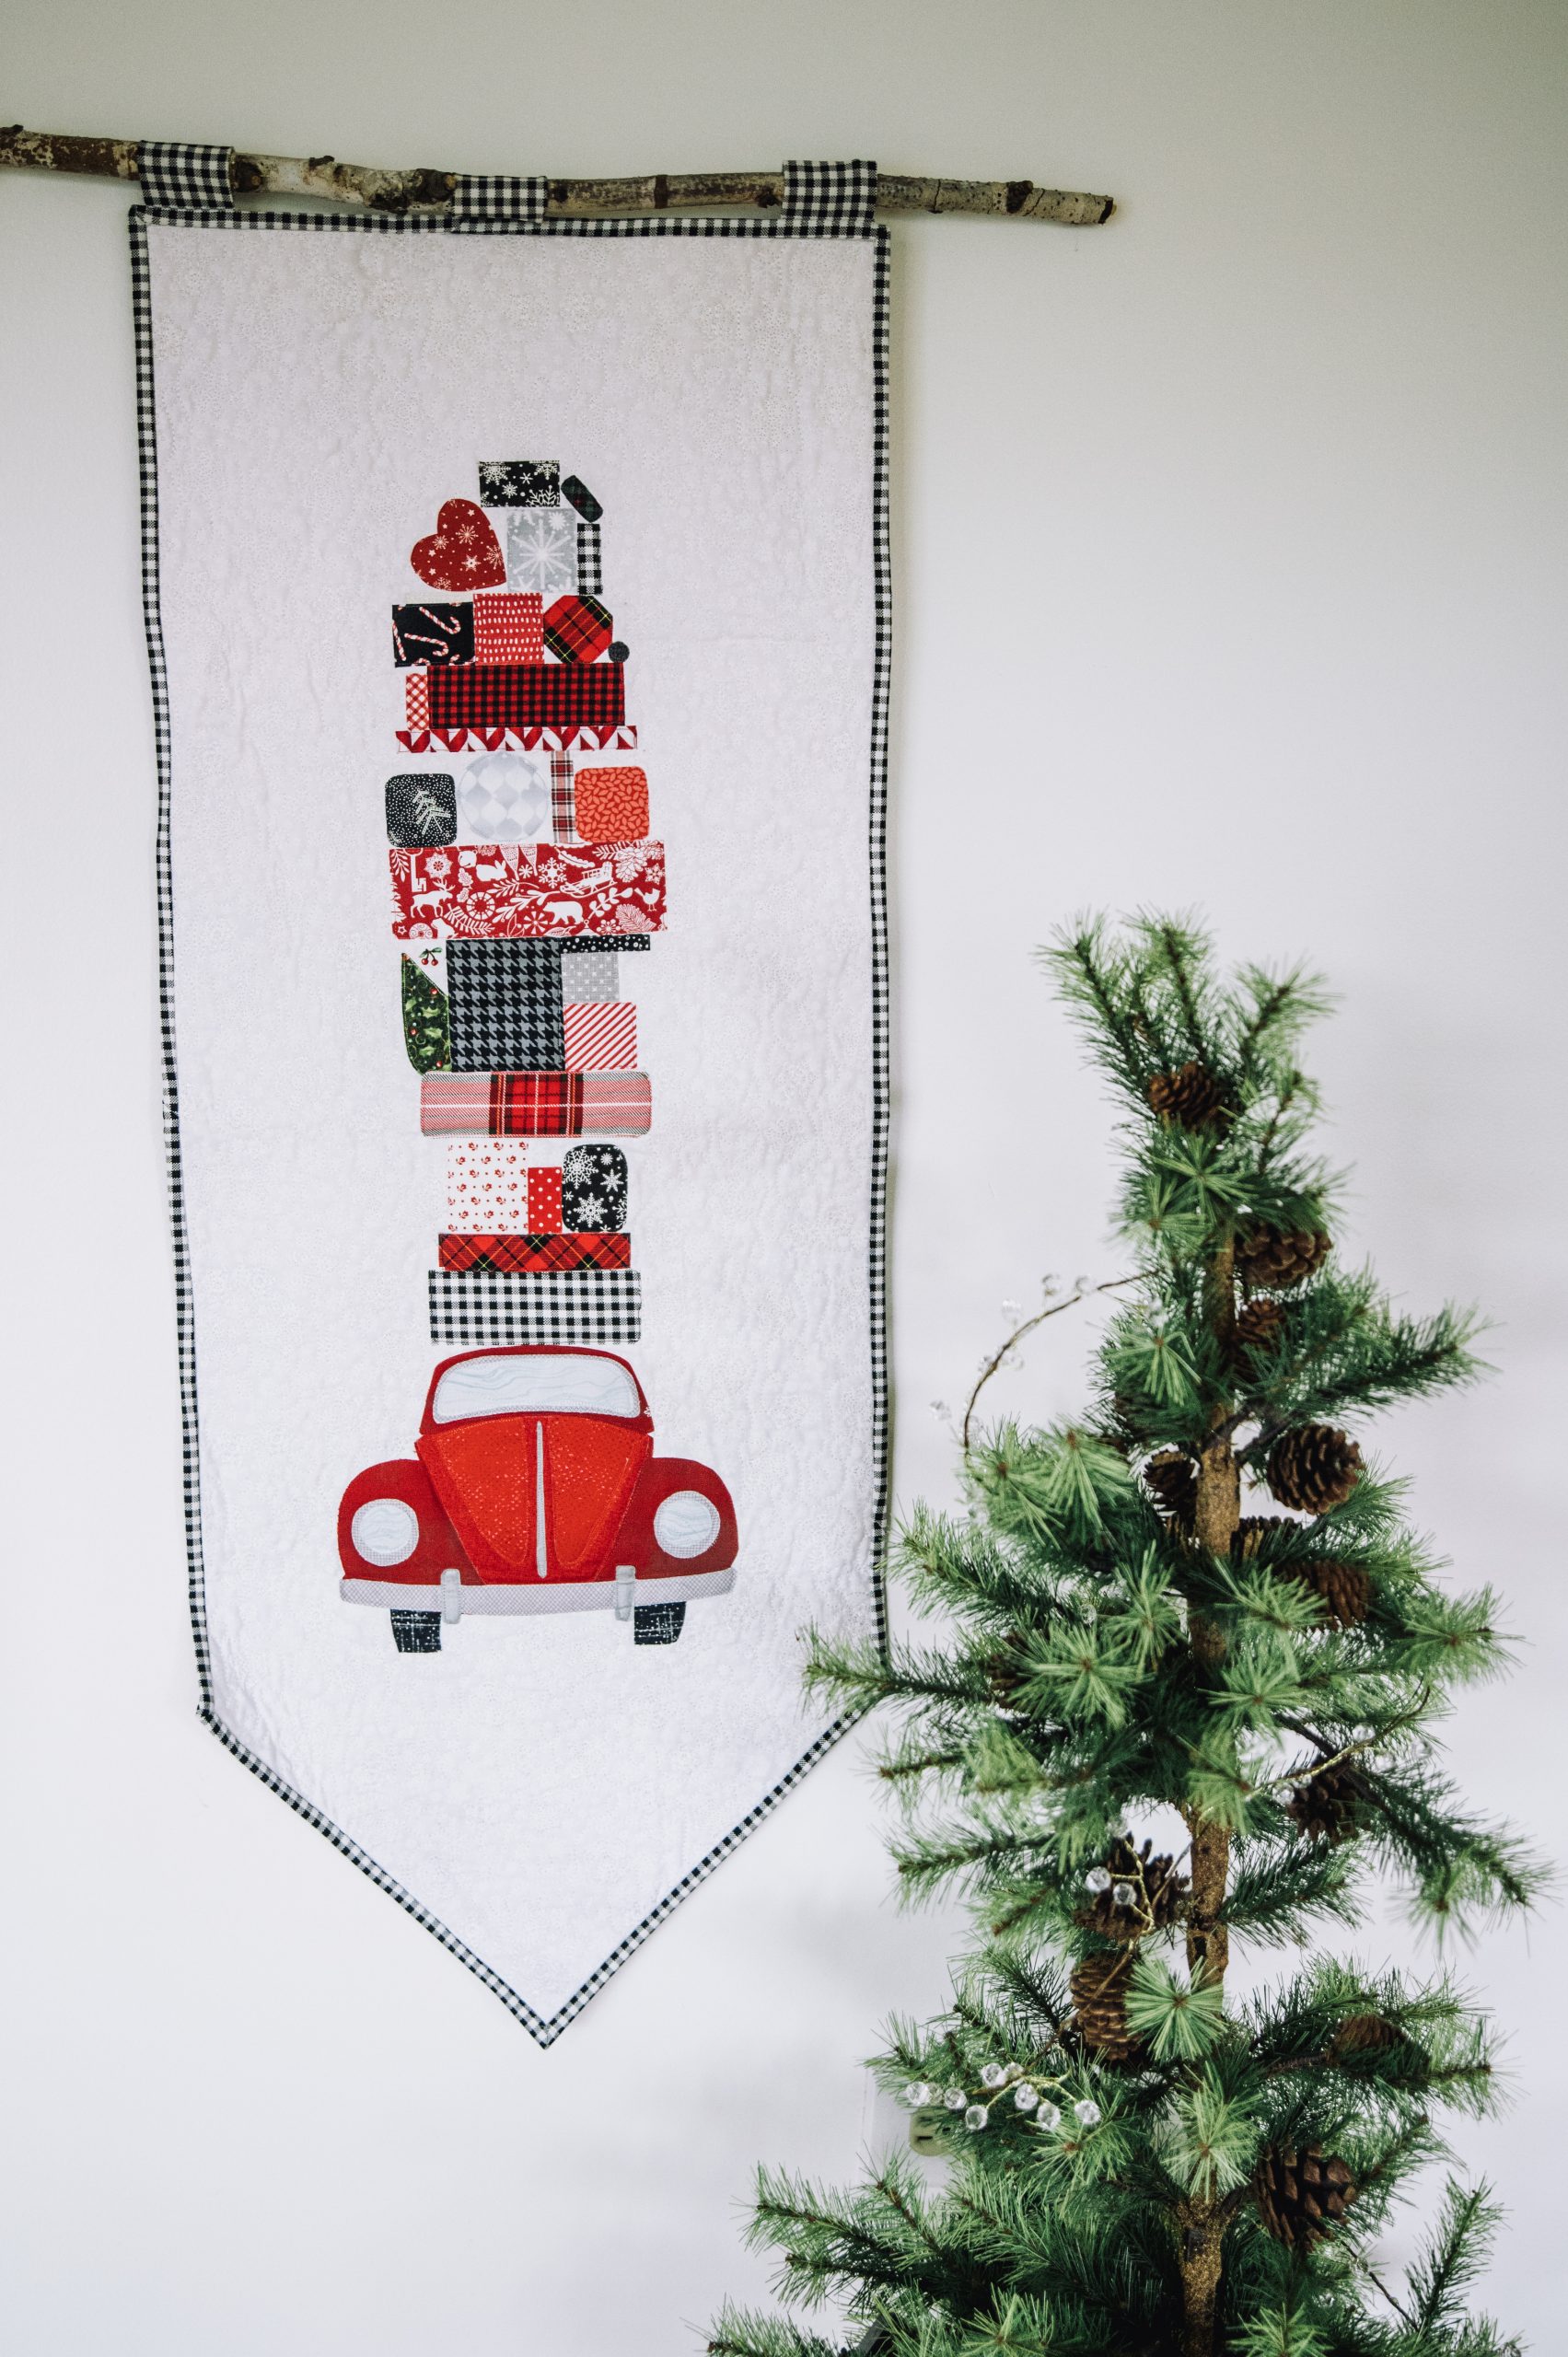
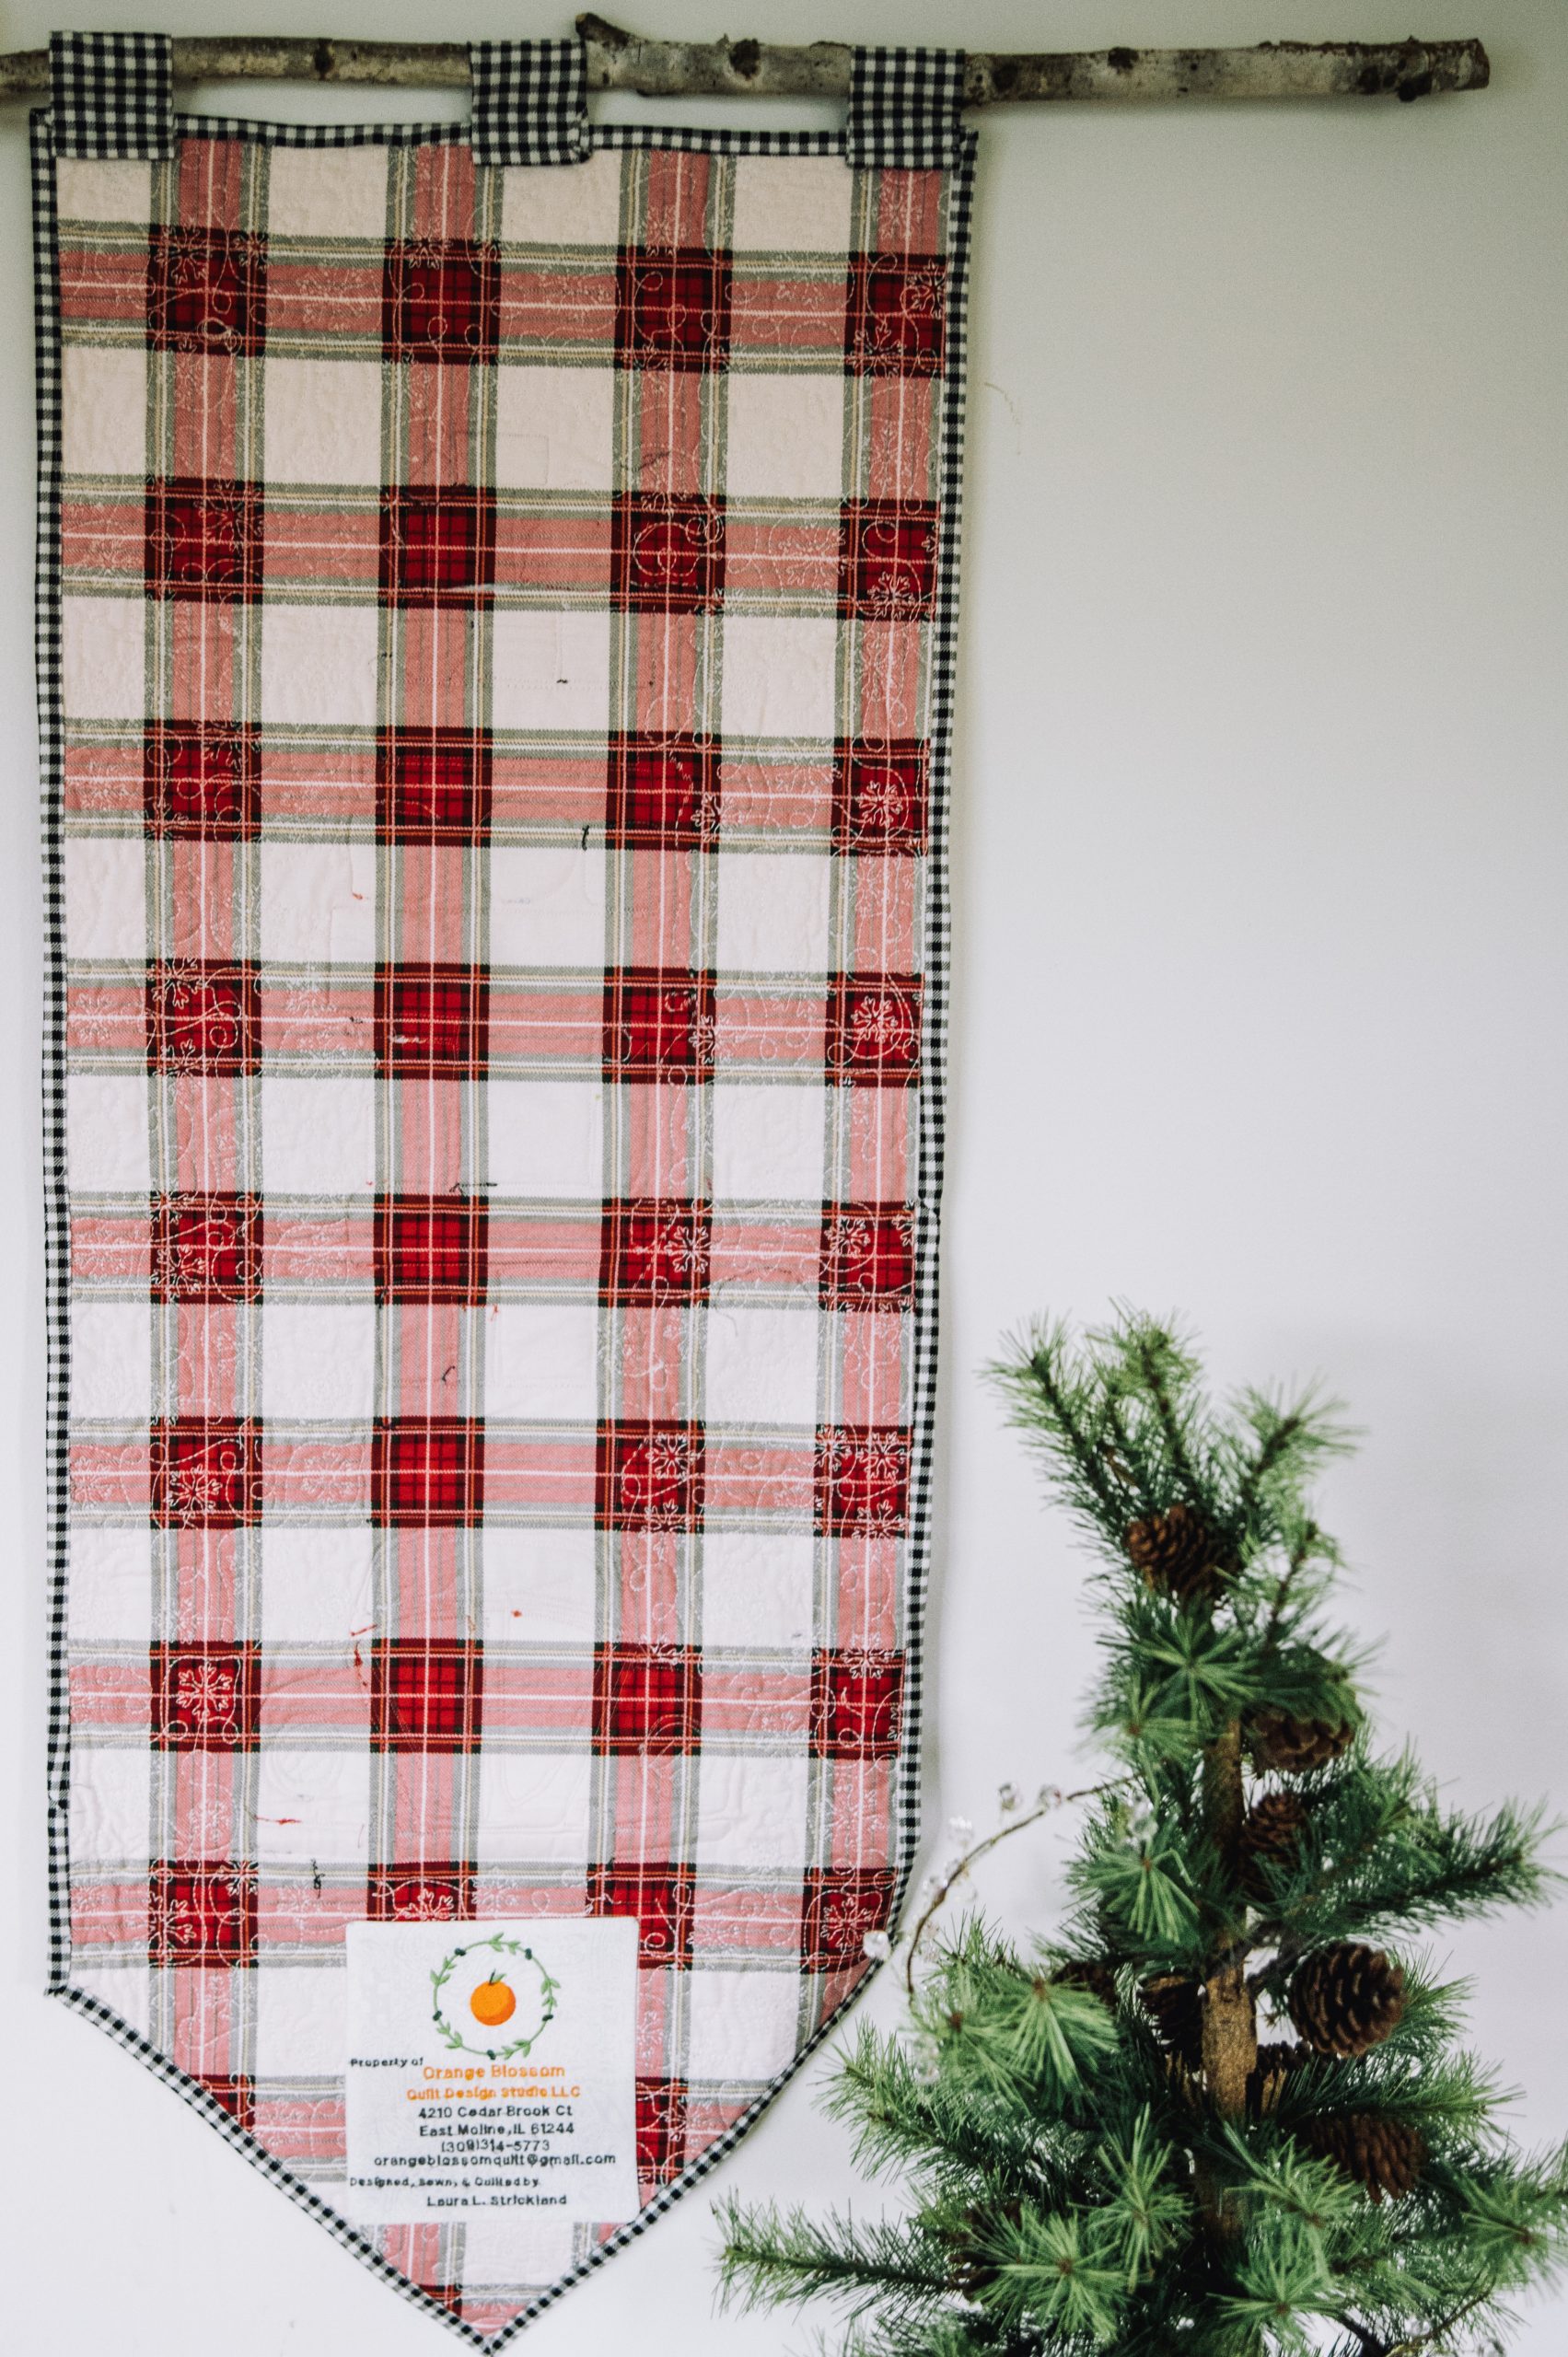
Forget the boughs of holly! This holiday season, deck your walls with a stunning quilted wall hanging that lets you mix fun Christmas prints in an adorable pattern. Featuring a classic retro car stacked with gifts, this quilting project uses simple applique techniques to create its unique design. Finish your wall hanging with fabric loops, so that you can display your holiday décor on a blank wall or door to complete your Christmas decorating.
Skill Level: Intermediate
Finished Size: 16” X 40”
Materials
- 1/2 yard fabric for the background
- Scraps of reds, blacks, grays and whites for the car and packages (approx. 1/2 yard total)
- 2/3 – 3/4 yard of backing
- 24” x 48” batting
- Fusible webbing – approx. 1 yard
- PDF Pattern – This is located at the bottom of this page. See printing instructions below.
PRINTING INSTRUCTIONS:
To download the PDF pattern, click on the download button at the bottom of the page. We recommend opening your download using Adobe Acrobat.
Instructions
-
-
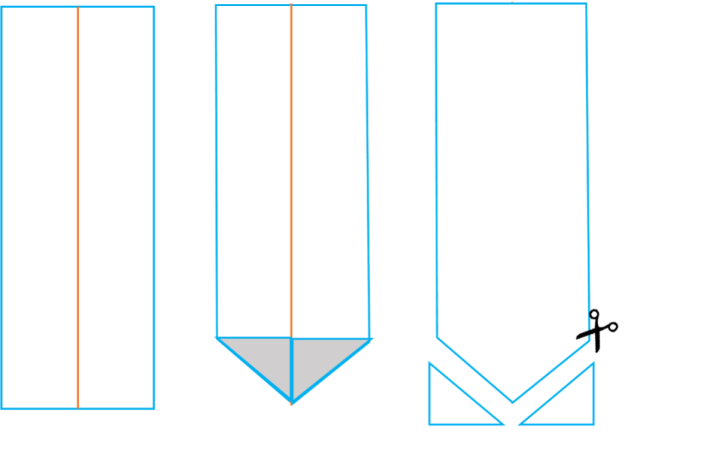
- On your 1/2 yard of background fabric mark a center vertical line using a heat or water soluble marking tool. You will use the center line to trim the point at the bottom of the wall hanging and to place your applique pieces.
-
- At one selvage end fold the two edges up diagonally to meet the marked center line.
-
- Trim away the triangle to form a center point at the bottom of the wall hanging.
-
- Transfer the templates for the car and the packages to fusible webbing. You can draw them onto the webbing using pen or pencil. You can also purchase fusible webbing that can be put through an inkjet printer. You can print the fusible web templates that way if you choose.
-
- Once your templates are traced onto the fusible webbing, cut out the shapes loosely. Leave some space around each shape. Iron the fusible webbing shapes to the reverse side of the appropriate fabric color. Once the fusible webbing is adhered to the appropriate fabric, cut the fused fabric on the template lines.
-
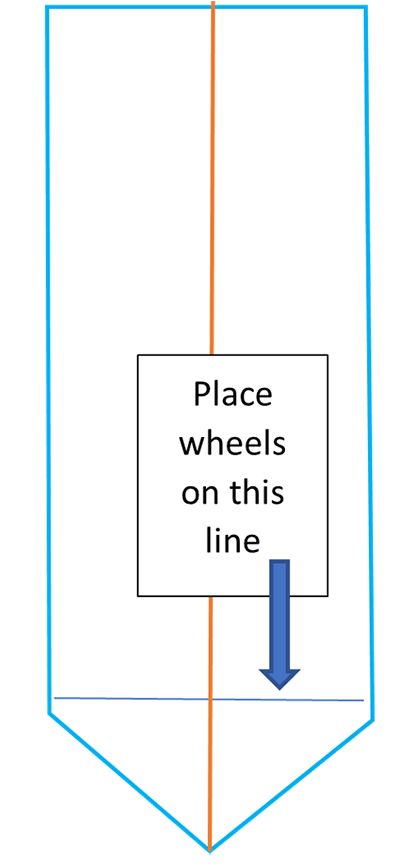
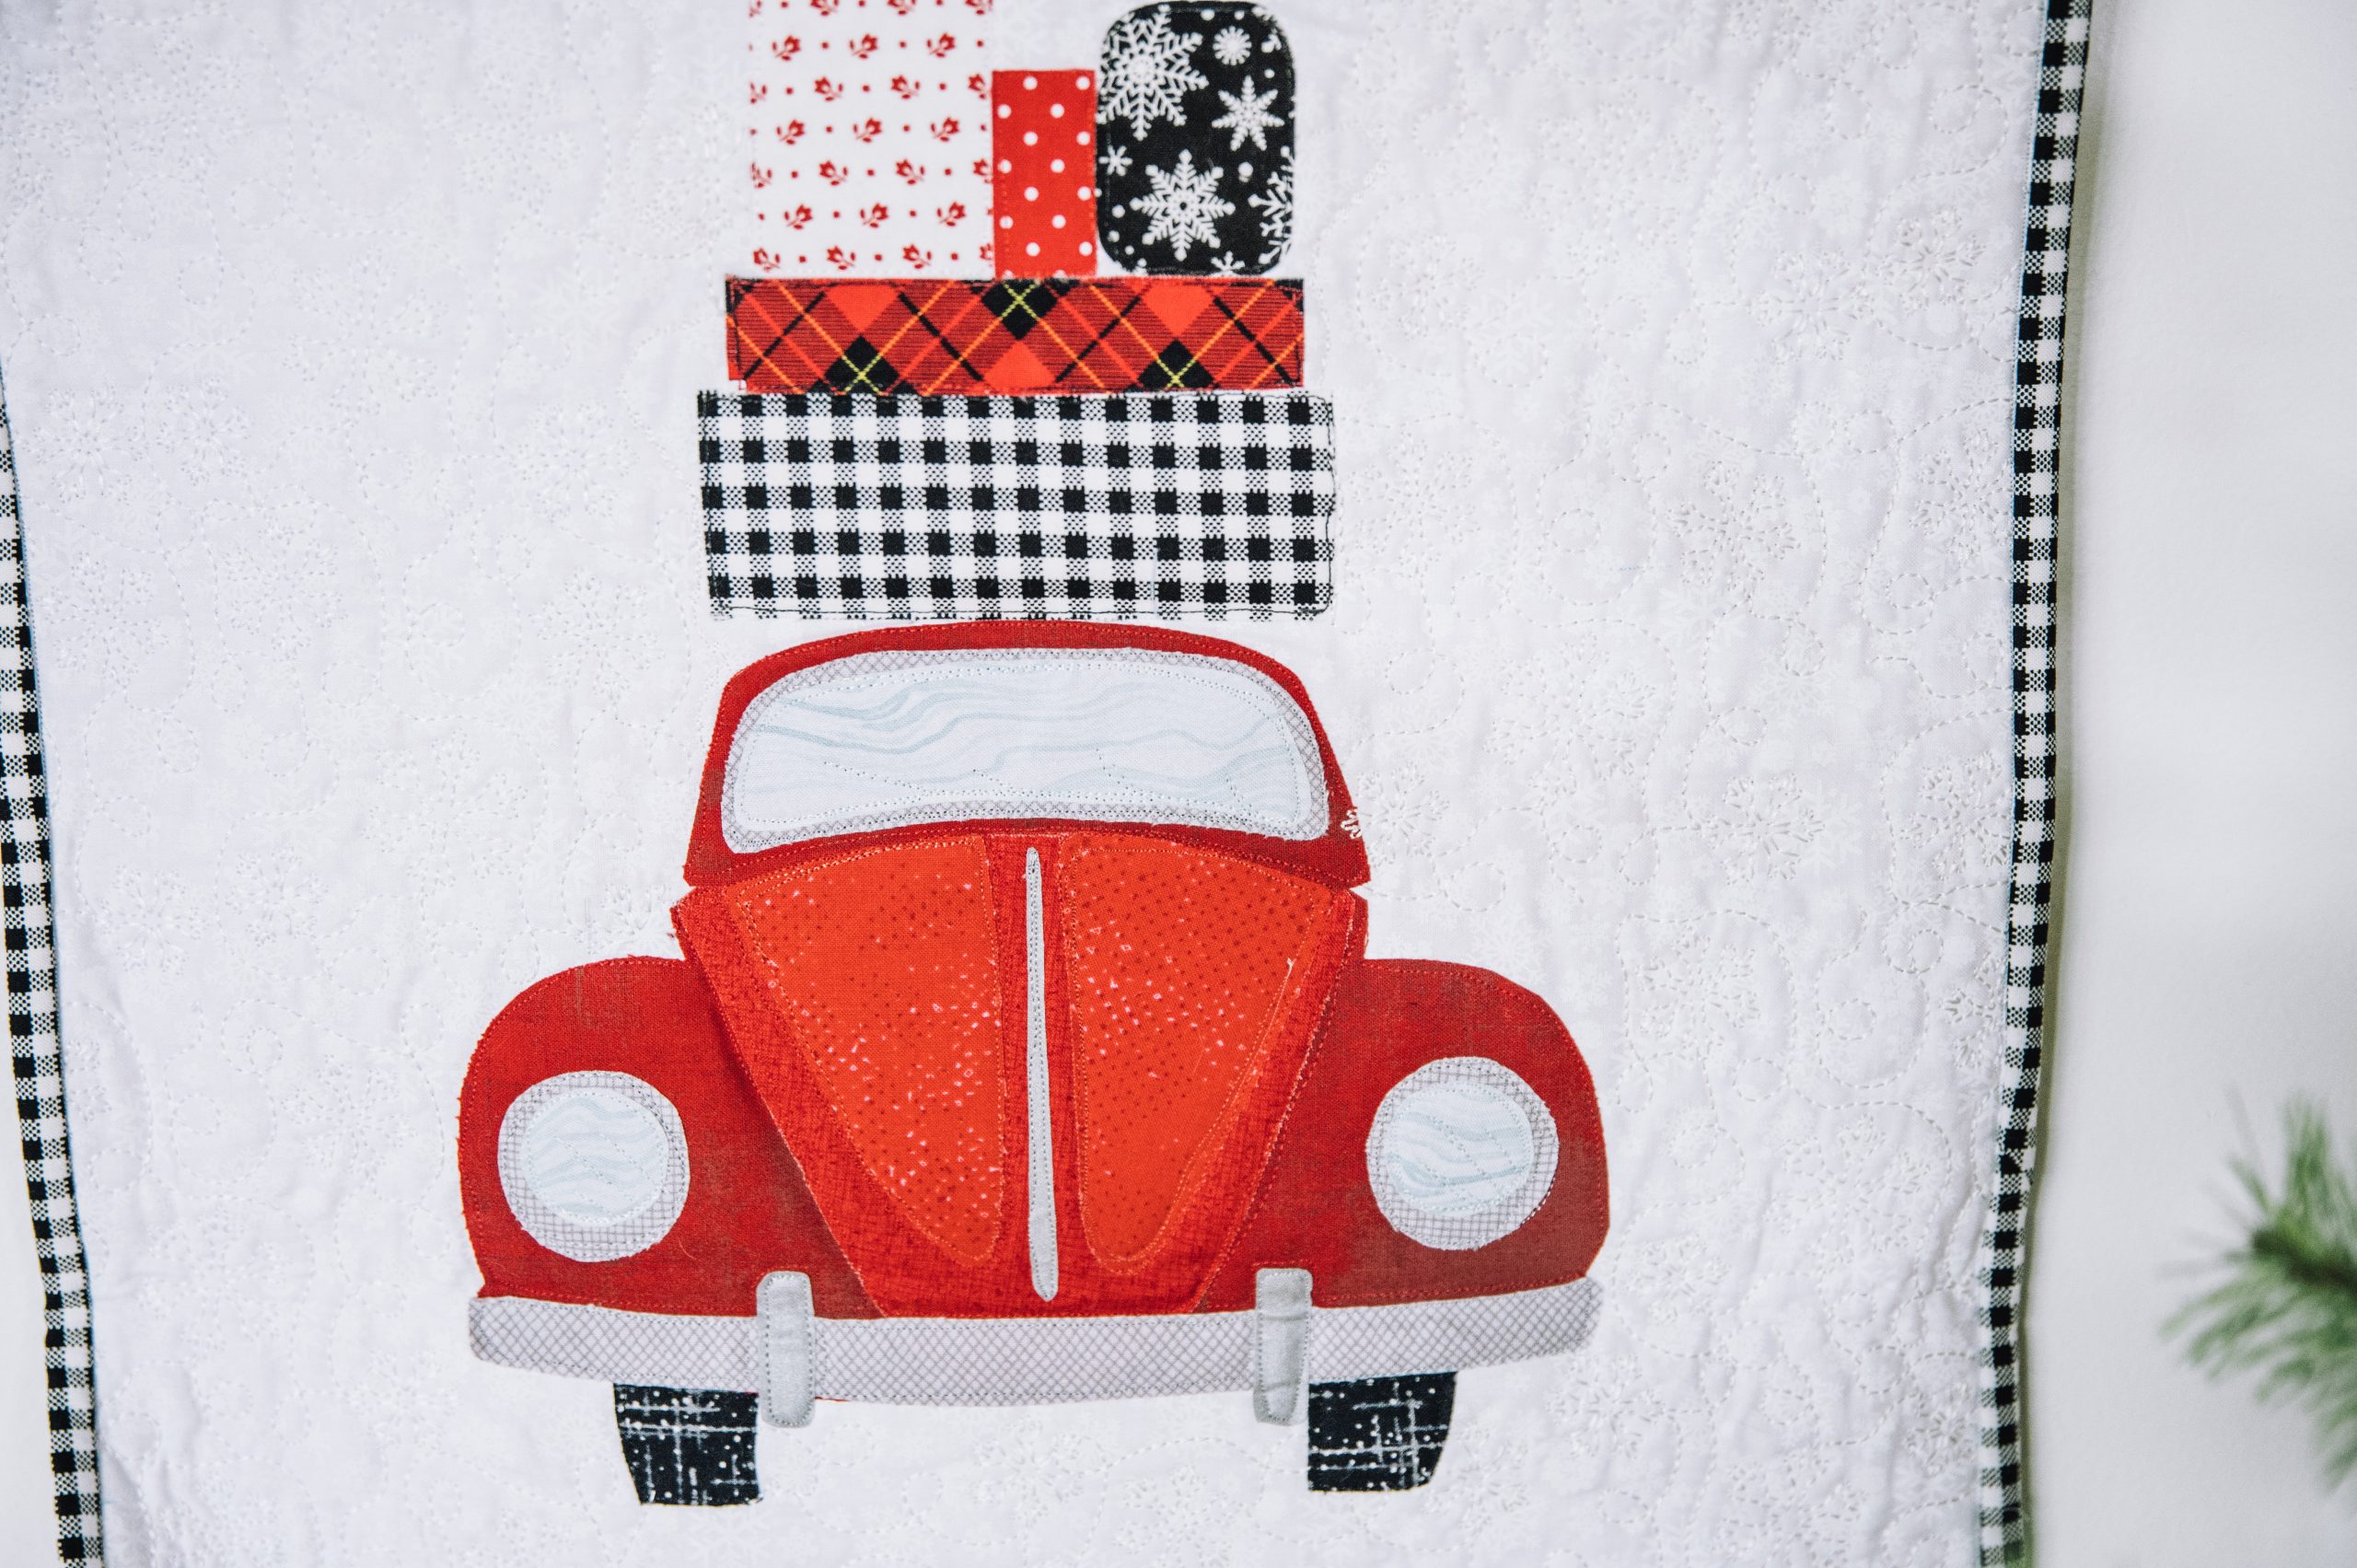
- Starting from the tires construct the block. Lay the tires about 1/2” – 1” above the bottom edge of the beginning of the bottom point. Layer the Main Section of Car Body on next. Tuck the Car Top section under the top of the Main Section of Car Body. Then add the Car Hood, the Bumper, the Head Light Chrome Trim (both pieces) and the Front Window Trim. To complete the car layer on the windshield, the head lights, the hood details, and both bumper details.
-
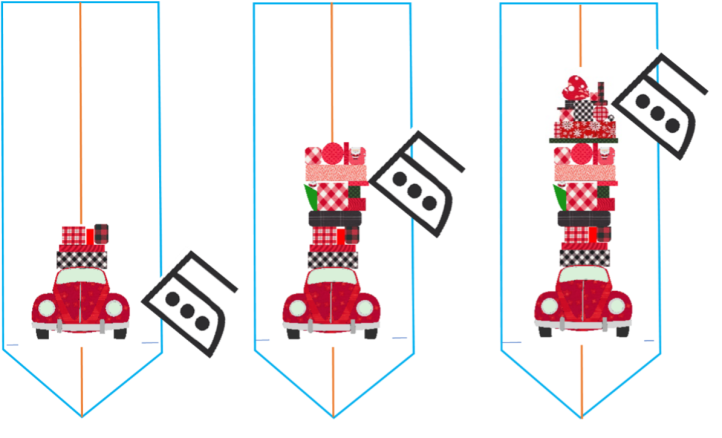
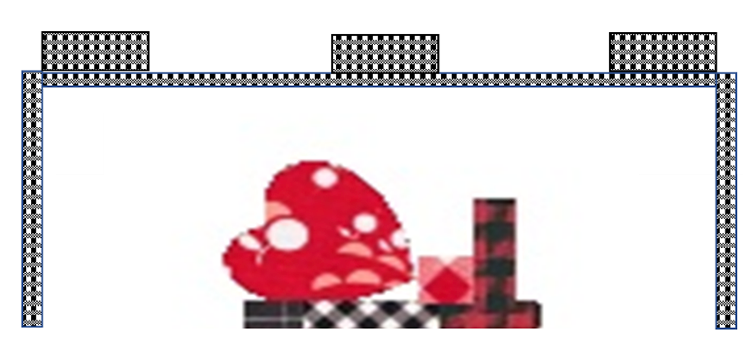
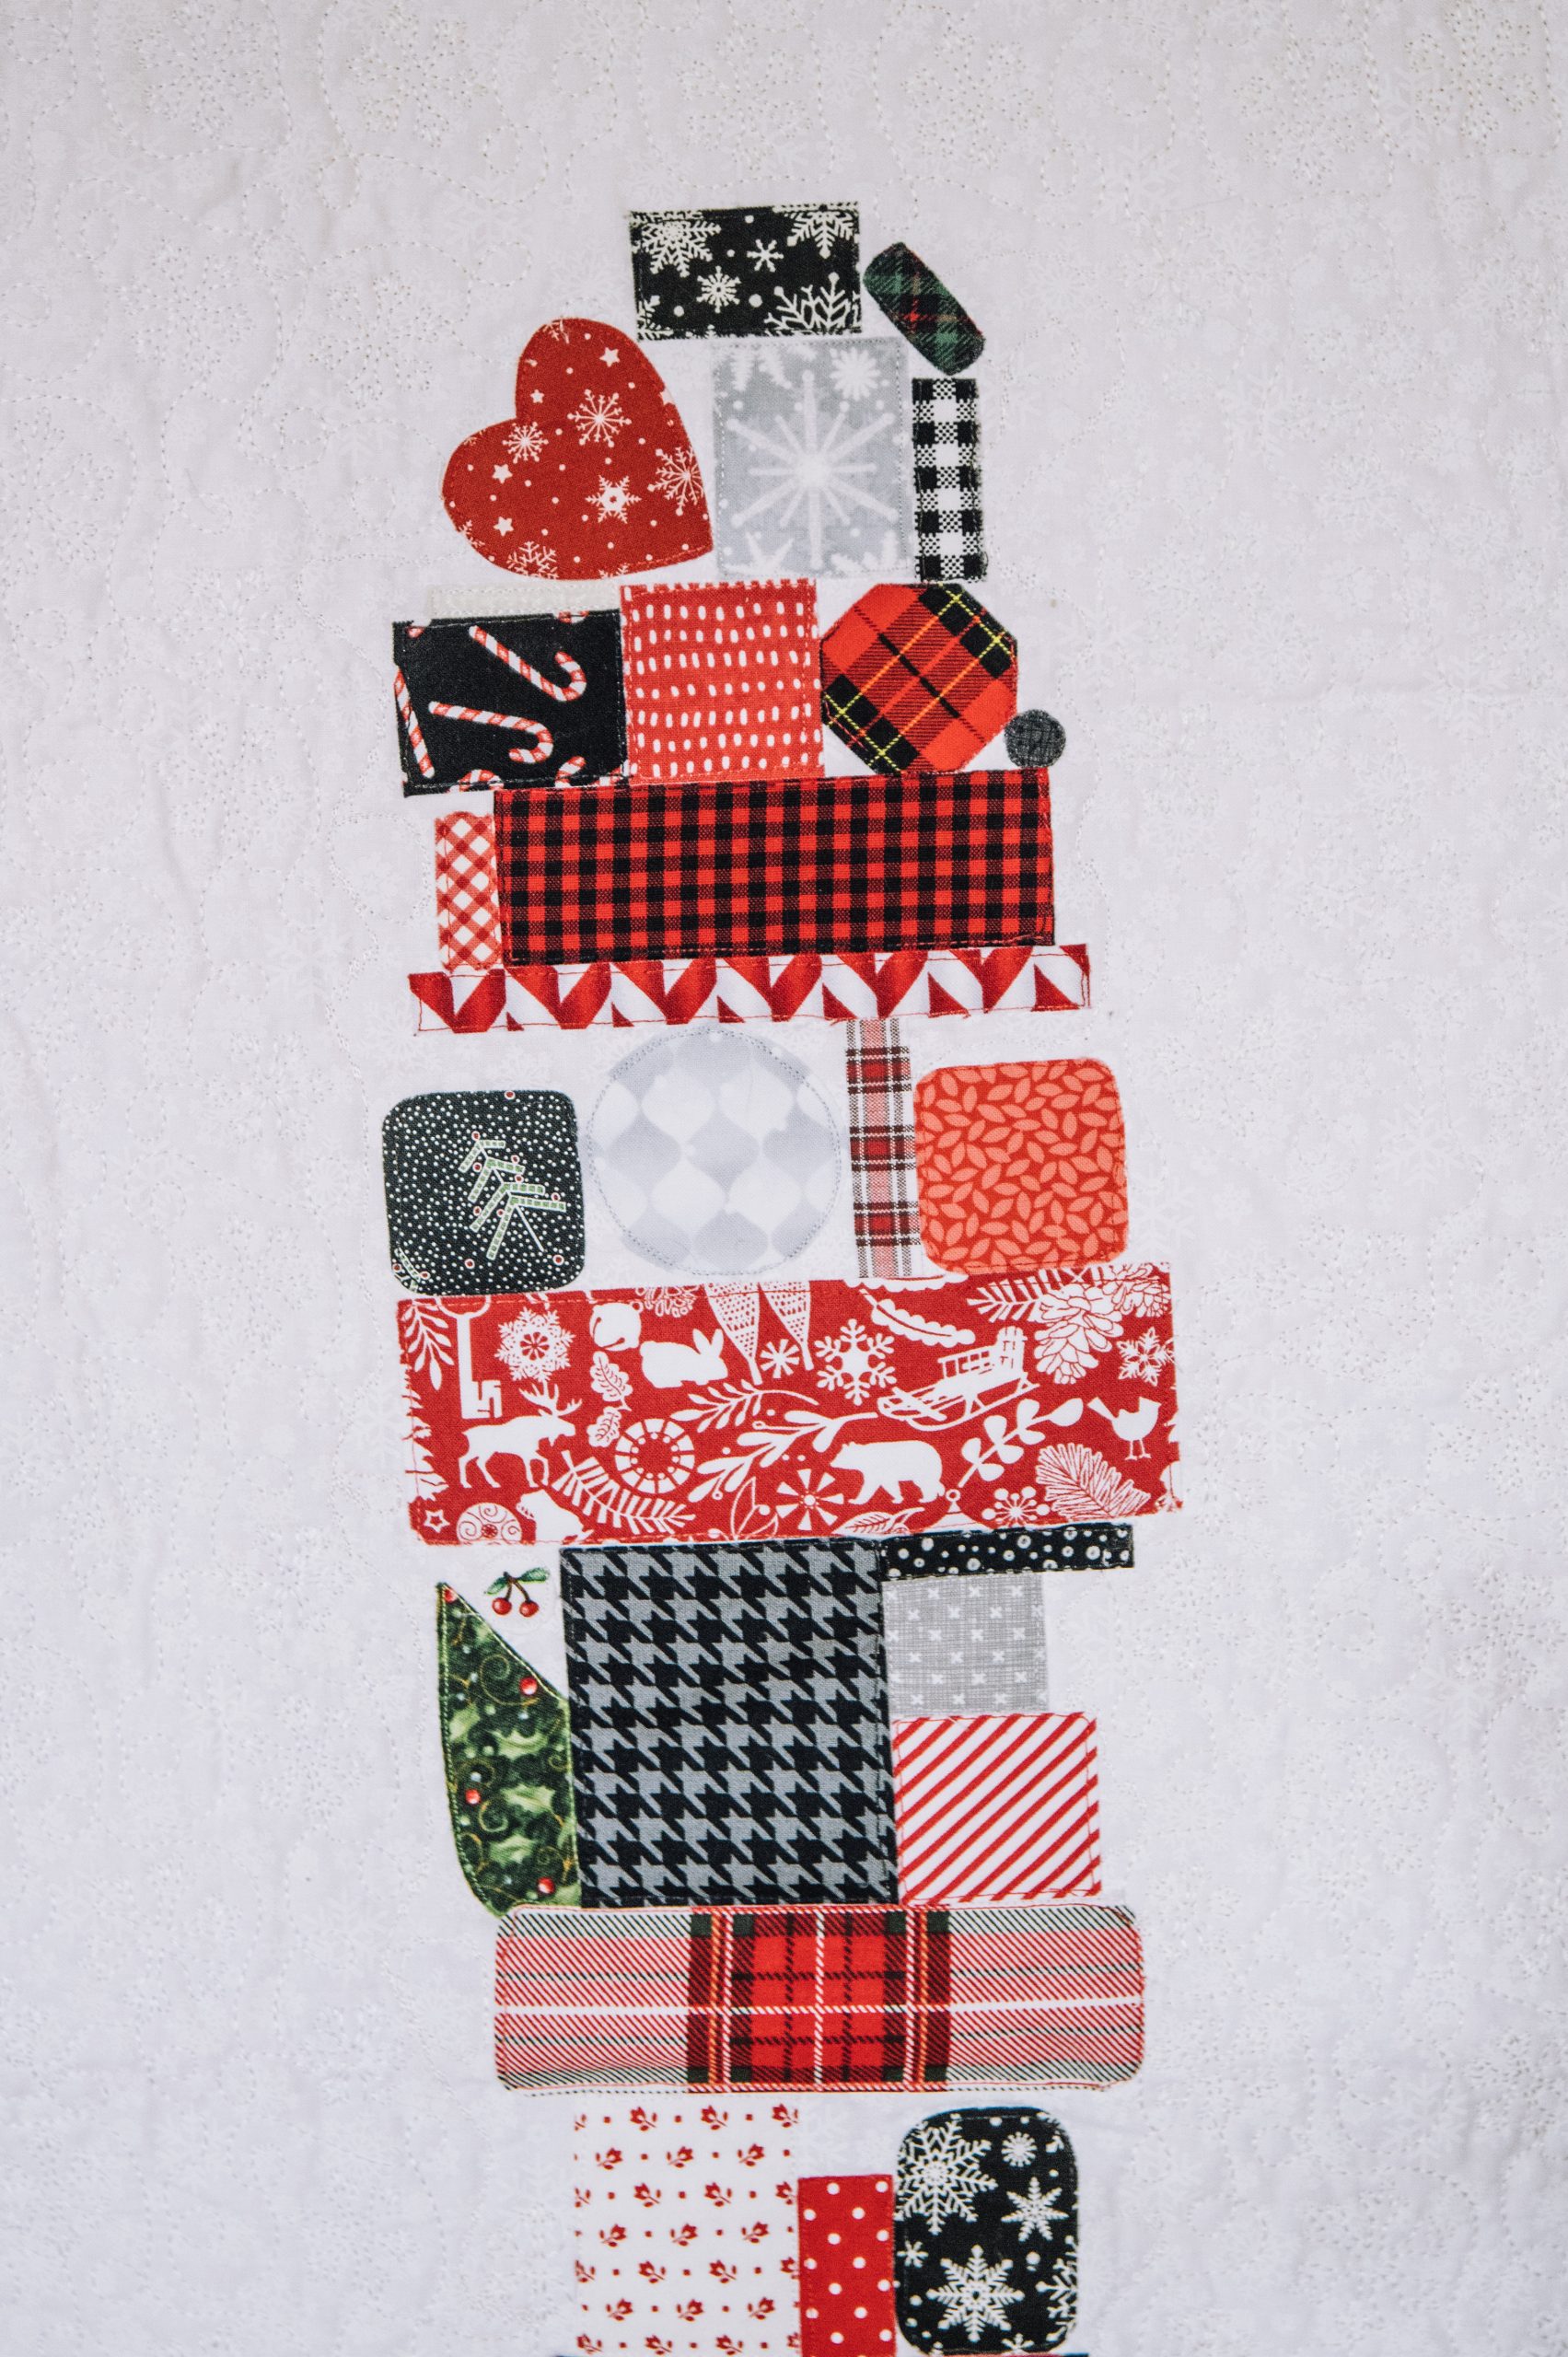
- After the car is constructed, press all these pieces in place. Then add the packages to the top of the car. There are two package stacks (a lower and upper). Look at picture or diagram for placement. Press the packages in place.
-
- Press the entire wall hanging top this will remove the heat-soluble marks and prepare it to be quilted.
-
- Layer the top with your batting and backing and quilt. First using an applique, blanket, satin, bean or straight stitch, sew down the applique pieces. Then quilt the remaining area as you choose.
NOTE: If you wish to applique your car and packages prior to quilting, use a stabilizer fused to the back of the wall hanging top to prevent warping, puckering, and tunneling.
- Layer the top with your batting and backing and quilt. First using an applique, blanket, satin, bean or straight stitch, sew down the applique pieces. Then quilt the remaining area as you choose.
-
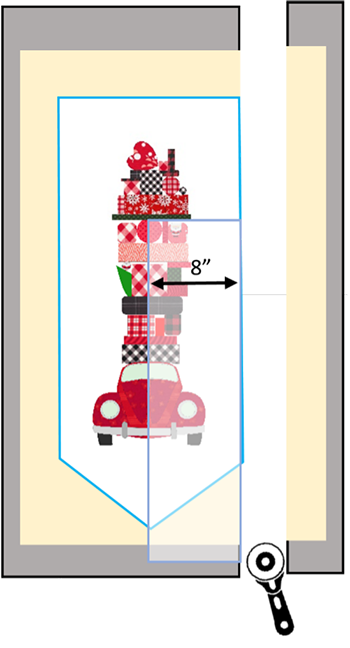
- Once quilted, trim excess batting and backing away. The wall hanging should measure 16” wide by 40” long. To make sure you car and packages are centered measure 8” from the center to make these cuts. You can use the bottom point to find the center.
-
- Cut 4 – 2 ½” X WOF strips for the binding. Join all binding strips together to form one long strip [2 ½” X approx. 160”]. Press in half with right side of the fabric facing out. You should have a 1 ¼” X approximately 160” long strip of binding.
-
- Using a quarter inch seam allowance, sew binding to quilt edge. Sew with the raw edge of the binding strip against the outer edge of the quilt sandwich. Sew the binding to the top of the quilt. Be sure to miter your corners at each turn.
-
- Press binding out away from quilt top. Using binding clips to hold the binding in place, wrap the folded edge of the binding to the quilt back and stitch into place using a hand stitch or machine stitch.
-
- Cut 3 pieces of fabric for the hanging loops. Each piece should measure 4 ½” X 5”.

-
- Fold in half with right sides facing in and sew a seam on the raw edge.

-
- Turn the tubes right side out.
-
- Fold in half, with seam on the outside, and stitch to form loop.
-
- Turn the loops right side out.
-
- Attach to the top of the wall hanging. Place one centered and one on either side just inside the binding. Your wall hanging is complete.
-
I have just finished the car section. I had to stop for now. I am making Halloween costumes for my grandchildren.
But I really like the look of the wall hanging. So as soon as I can I will be finishing it off.
What a cute idea. I plan to make one for a table runner on my island.