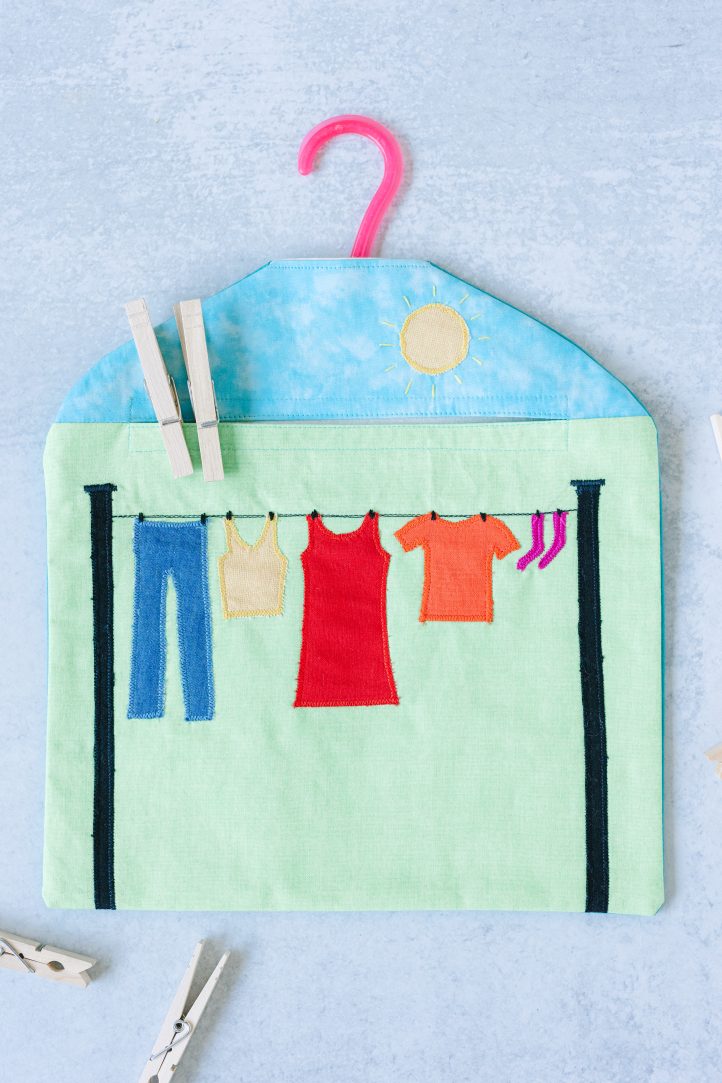
Add a little brightness to the tedious task of hanging laundry by making your own adorable clothespin bag. Featuring a fun laundry line of appliqued clothing, this clothespin bag pattern uses fat quarters as well as fabric scraps and embroidery thread. Hang your bag with a small clothing hanger and securely store your clothespins in the handy front pocket. If you’re tired of seeing scattered clothespins across your yard, you don’t want to miss this practical summer sewing project.
Finished Size: 11” wide x 12” long
DESIGNER NOTES: A 1/2” seam is used throughout, except where otherwise stated.
Materials:
- 1/2 yard medium-weight cotton muslin
- A fat quarter (21″ x 18”) jade-green solid
- A fat quarter (21″ x 18”) light green textured print
- A piece 13″ x 5” mottled aqua/pale aqua print
- A piece 9″ x 5” black solid
- A piece 6″ x 3” warm yellow textured print
- A piece 6″ x 3” lightweight blue chambray
- A piece 6″ x 3” orange solid
- A piece 6″ x 3” red solid
- A piece 2″ x 2” hot pink solid
- Sewing threads in these colors: pale aqua, yellow, denim blue, orange, black, red, hot pink
- Stranded cotton embroidery threads in black and in yellow
- 1/2 yard lightweight bondable fabric interfacing
- Squared paper and tracing paper
- PDF Templates – These are located at the bottom of this page. Please see printing instructions below.
- You will also need a clothes-hanger to insert inside your bag to hold it up. Make sure the hanger can bear the weight of your clothespins. Here, a child’s clothes-hanger was used.
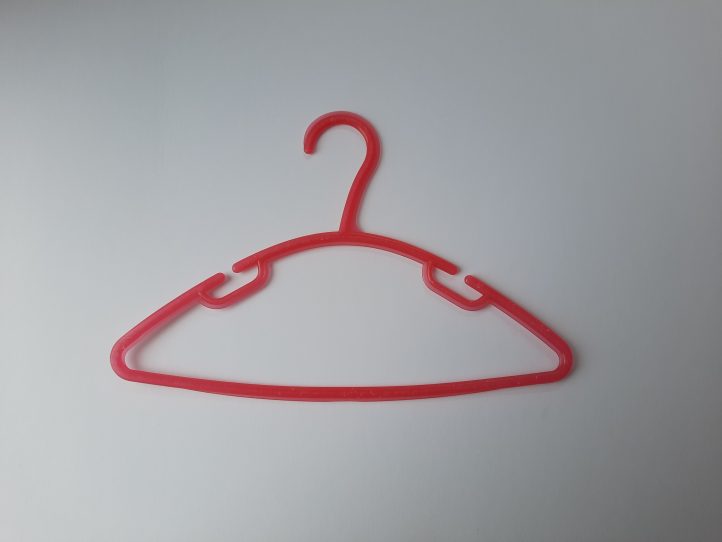
However, you could cut down a standard wooden adult hanger to 10 1/2” across.

Alternatively, you could use a straight metal skirt hanger, remove the metal pegs by sliding them off each end and replace the small plastic guard over the end of the metal bar.
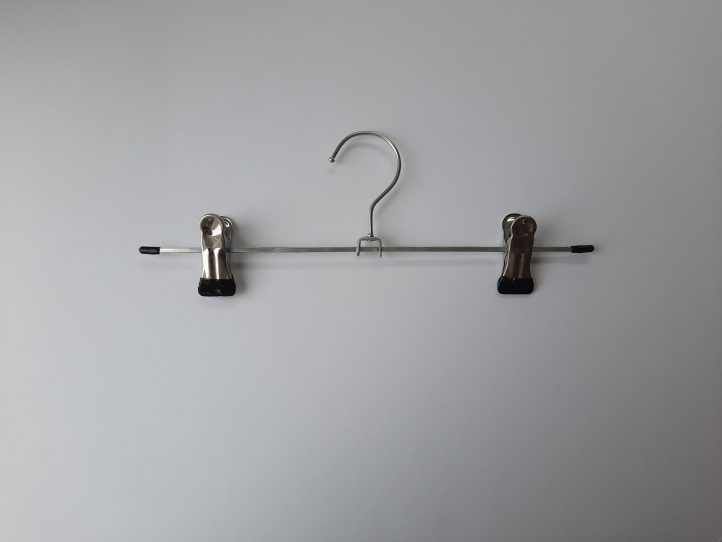
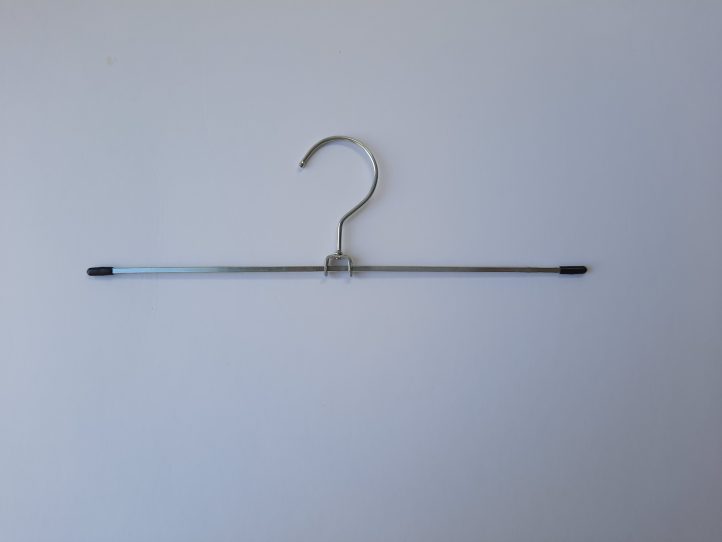
If you use a straight hanger, you will need to make a straight top to the template for your pattern (see below). You can also adapt the width of the pattern template to suit your hanger at each point marked with an asterisk (*) below.
PRINTING INSTRUCTIONS:
Note: To download the templates, click on the pattern download button at the bottom of the page. We recommend opening your pattern download using Adobe Acrobat.
Sewing Instructions:
MAKING THE PATTERN AND CUTTING IT OUT:
- If you use a curved coat hanger, you will need to draw round the outline of the two ‘shoulders’ of the coat hanger on squared paper. Rule a horizontal line to join the lowest point of the ‘shoulder’ on the left to the ‘shoulder’ on the right. Mark the position of the center front.

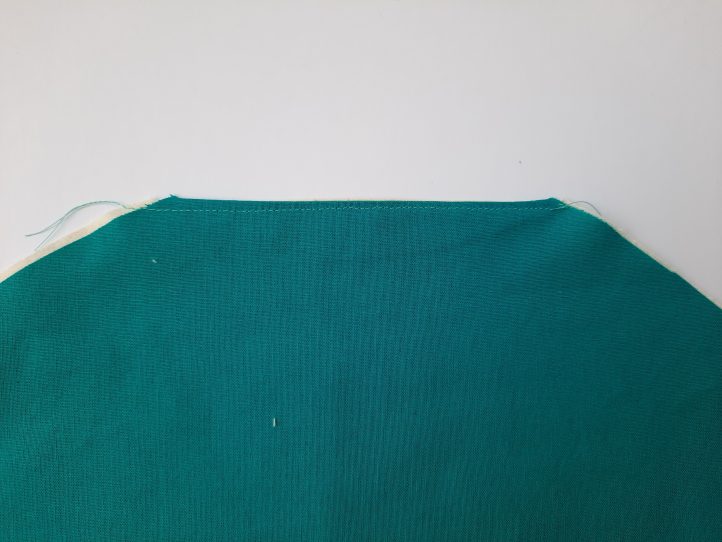
- From the top of the center front, draw a line 12” down to the base. Rule a line from one side to the other to form the base (11 1/4” wide*). Mark a horizontal line 3” down from the top of the center front and label it ‘join’. Now add a seam allowance of 1/2” all round the outside of the shape. This pattern is the BACK. Pin pattern onto fabric and cut out one piece in calico and one in jade green fabric. NOTE: You will need to adjust measurements slightly to the hanger of your choice.

- Use tracing paper to trace the top part of the pattern made in Step 2, down as far as the ‘join’ line. Add a 1/2” seam allowance underneath this line. This is the UPPER FRONT pattern. Pin this pattern onto fabric and cut out one piece in muslin, one in light aqua and one in fusible interfacing.

- On squared paper, draw a rectangle 12 1/4” wide* and 10” high (this includes seam allowances). This is the LOWER FRONT pattern. Pin pattern onto fabric and cut out one piece in muslin, one in light green fabric and one in fabric stiffener.

- Using a rotary cutter and quilter’s ruler, cut two pieces of black fabric, each 8 1/2″ x 3/8”.
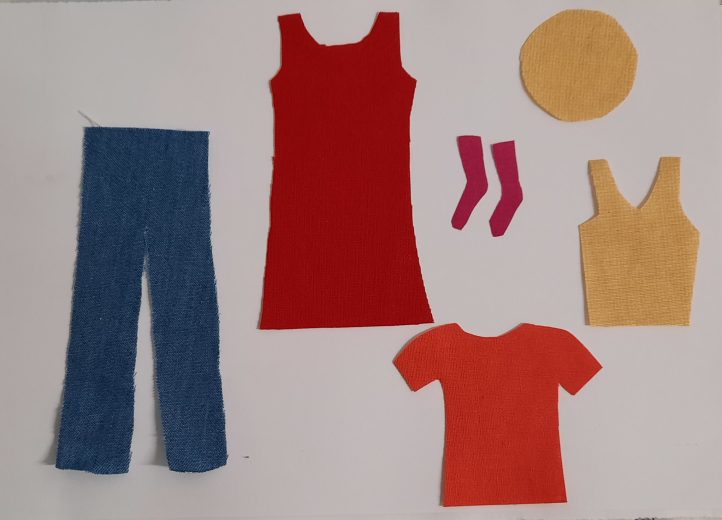
- Trace the templates provided and cut out the following: jeans from blue chambray; sun and V-neck top from yellow fabric; dress from red fabric; T-shirt from orange fabric; socks from pink fabric.
DOING THE APPLIQUE:
- Bond the fusible interfacing to the wrong side of the light green LOWER FRONT and to the aqua UPPER FRONT. (Protect your iron and ironing board with greaseproof paper!)
- Pin the two washing-line posts to the lower front, aligning the base of the posts with the bottom edge of the lower front, and 1 1/2” in from each side.
- Set your machine to do a zig-zag stitch, width 3, length 1.5. Starting at the bottom edge of the lower front, stitch up one side, across the top and then stitch back down the other side. Repeat for the second post. Stitch a cap across the top of each of the posts using a zig-zag. Then mark a line with an erasable marker between the posts. Using a straight stitch, stitch a washing line across from one post to the other. Pivot on the needle and go back along the line. Take all threads to the back and finish off securely.

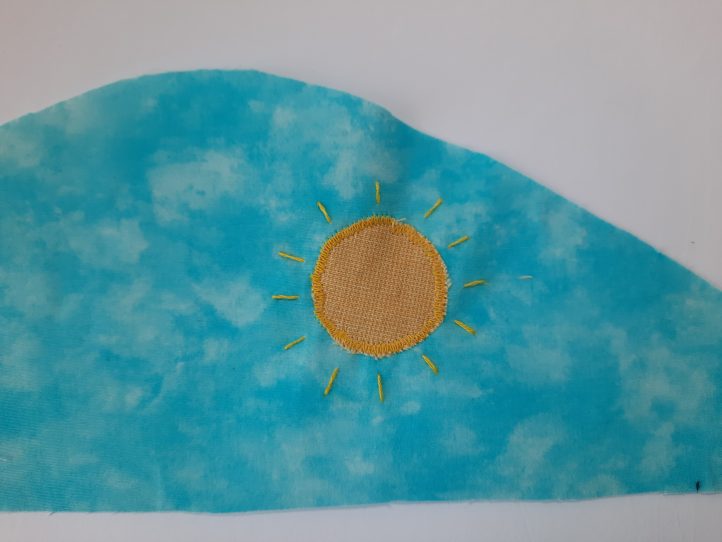
- Trace the sun template onto paper and use it to cut out a circle in yellow fabric. Pin this piece to the aqua blue upper front, 2 1/2” from the right-hand edge and 1 3/4” from the lower edge. Using the same zig-zag stitch as in Step 3, stitch slowly around the sun. You may need to pivot slightly as you go. Change direction by (a) inserting the machine-needle by turning the handwheel (b) lifting the presser foot (c) pivoting on the needle, (d) lowering the presser foot and continuing to sew. When you return to the starting point, take the piece out of the machine. Go to the back of the work, bring all four threads to the back and finish off the threads by tying them together in pairs. All the subsequent appliqué pieces need to be finished off in the same way. Mark out 12 rays around the sun with an erasable marker. Use two strands of yellow stranded cotton to stitch the rays, securing the threads after each stitch by making a tiny stitch into the interfacing on the back.
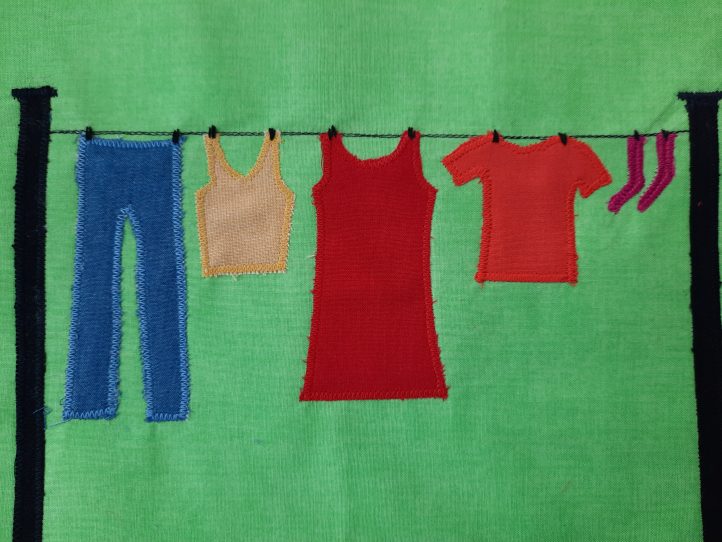
- Trace the templates for the jeans, V-neck top, dress, T-shirt and socks onto paper. Cut out the paper templates and use them to cut out each garment: jeans in blue chambray, V-neck top in yellow, dress in red, T-shirt in orange and two socks in pink. Place the ‘garments’ on the lower front so that they just touch the marked washing line and pin in place. Sew on the garments in the order given below – the appliqué gets gradually more tricky to do!
- Begin by attaching the jeans. Using the same zig-zag stitch as before, go round the outline of the jeans, starting at the left of the waist and sewing down the outside of one leg. Change direction at each corner by using the method explained in Step 4. See all the garments on the line in photo 12.

- Sew on the dress. Use the same technique to turn at the corners. This item has curves, so slow right down and pivot on the needle if you need to change direction slightly to do the neck and armhole shapes.
- Sew the T-shirt. You can slightly reduce the stitch length (which will make your zig-zag stitch narrower) at the point just underneath the sleeves and then increase it again to complete the garment.
- Sew the V-neck top. Here, you will definitely need to reduce the stitch length (as described in Step 8) to deal with the bottom of the V-neck. Finish off as before.
- Sew the socks. These are challenging because of the size. Take it slowly and use the handwheel to do individual stitches, so you can go round all the curves!
- Use two strands of black thread to stitch ten clothespins at the top of the garments. Carry the thread across the back of the work but secure the thread after each stitch and before beginning the next one.
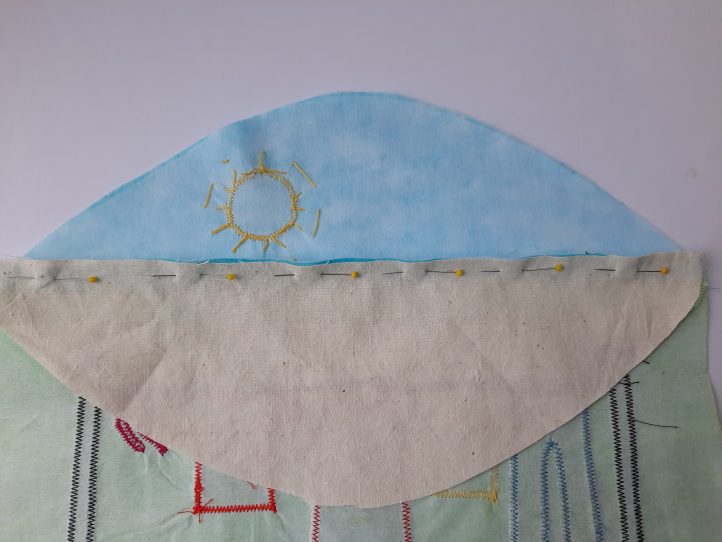
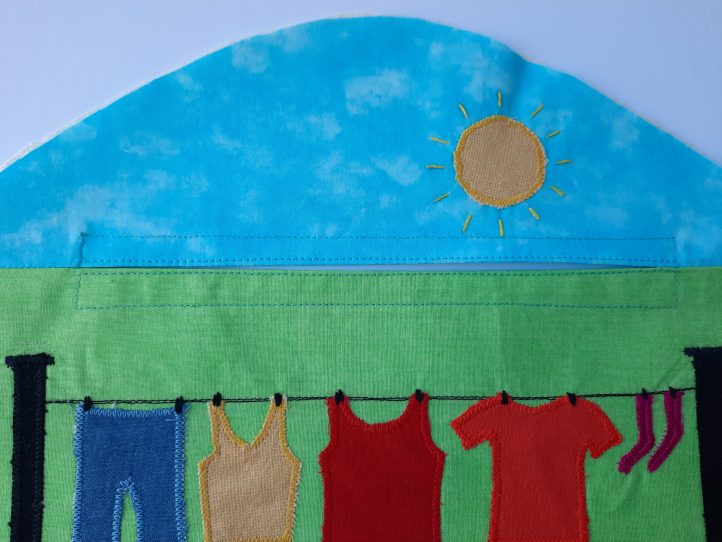
- Place the aqua upper front right sides together with the light green lower front. Sew the two pieces together along the bottom edge of the aqua and top edge of the green from the left-hand raw edges to a point 2” in from the left-hand side and then from the right-hand raw edges to a point 2” in from the right-hand side. Sew from the edge, pivot on the needle and then sew back the same way, to create a strong seam.

- Press the seams open.

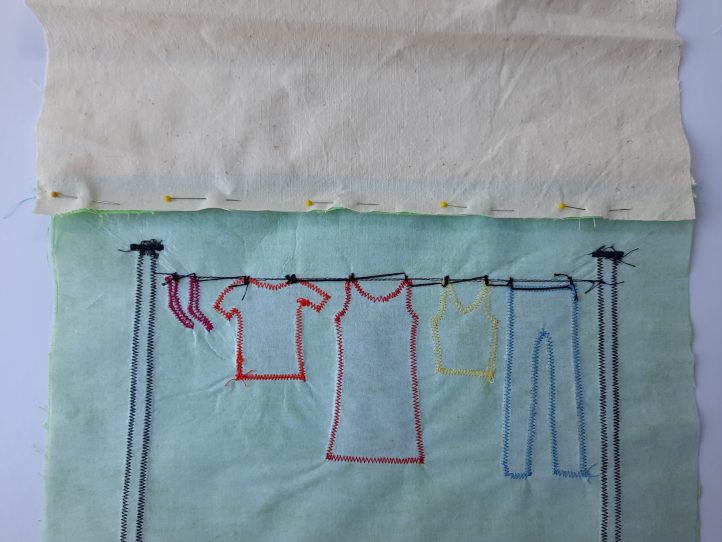
- Pin the UPPER FRONT muslin piece to the upper seam allowance created in Steps 12 and 13.
- Join the muslin piece and the seam allowance with a 1/4” seam.

- Press upwards.

- From the front, trim away the excess muslin.
- Pin the LOWER FRONT muslin piece to the lower seam allowance.
- Stitch, press and trim the LOWER FRONT muslin piece to match the appliqué piece.

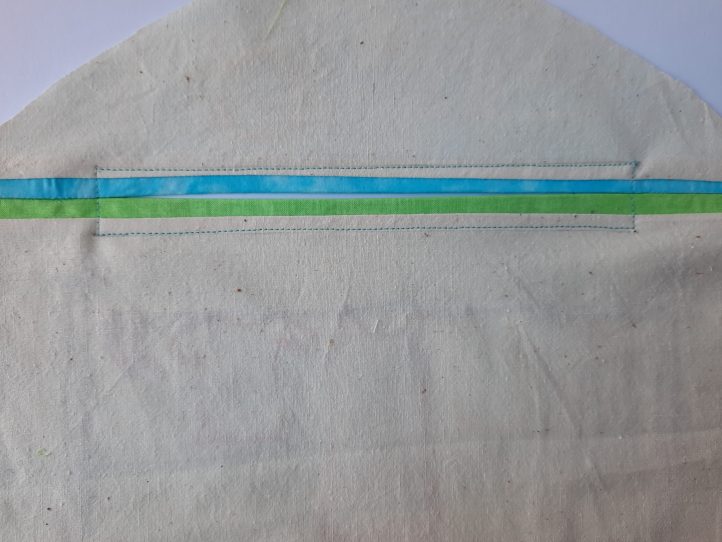
- On the reverse of the FRONT, mark out a rectangle 8” long and 1” high, along the opening that was created in Steps 12 and 13 at the center. Stitch round the marked line with a straight stitch, using aqua thread. Stitch another rectangle, by sewing 1/8” away from the edge of the opening, above and below the gap and at the sides, making a few stitches on top of the first line of stitching.
- Referring to the paper pattern you made, mark the top of the center line on the calico UPPER FRONT. Fold under 1/2” across the top and press. Top-stitch through all the layers 1/8” from the folded edges.

- Layer together the muslin BACK and the jade green BACK. Repeat Step 21 with the top of the aqua UPPER FRONT and the muslin UPPER FRONT folding them inwards, pressing and top-stitching.
- Lay the FRONT right sides together with the back. Pin together.
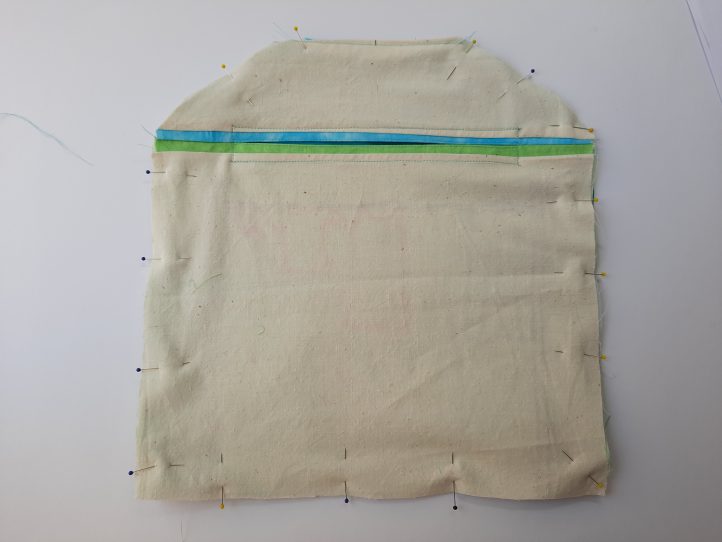
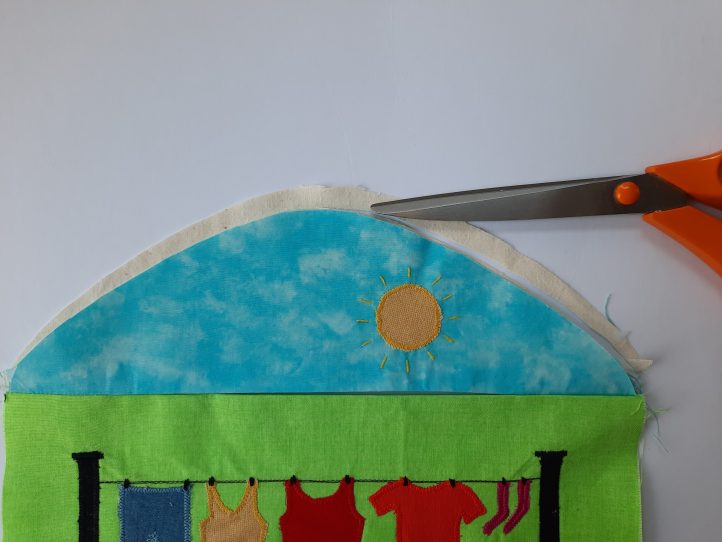
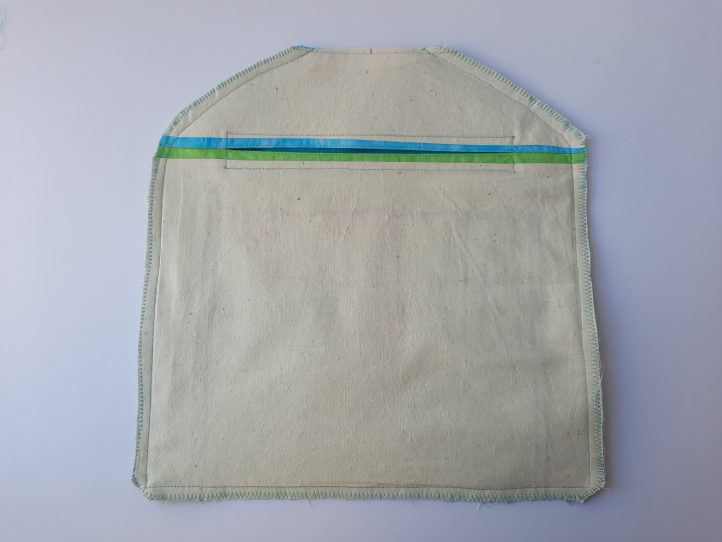
- Starting 1 5/8” away from the center top edge marking, stitch all around the outside, stopping 1 5/8” away from the marked center top edge marking again. Back-tack on the machine at the beginning and at the end. Trim the corners. Trim the seams and neaten with a zig-zag stitch (stitch length 4, stitch width 3) to prevent fabric from fraying.
- Turn the bag back to the right side, by passing it back through the front opening. Push out the corners. Press. Insert the hanger.


