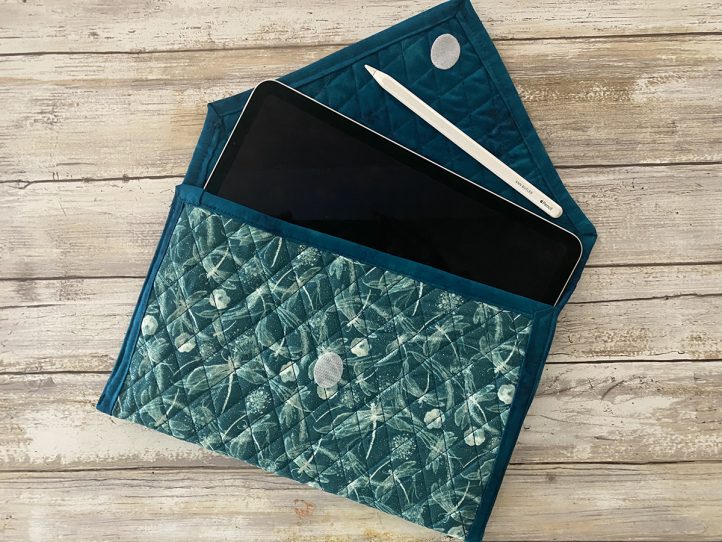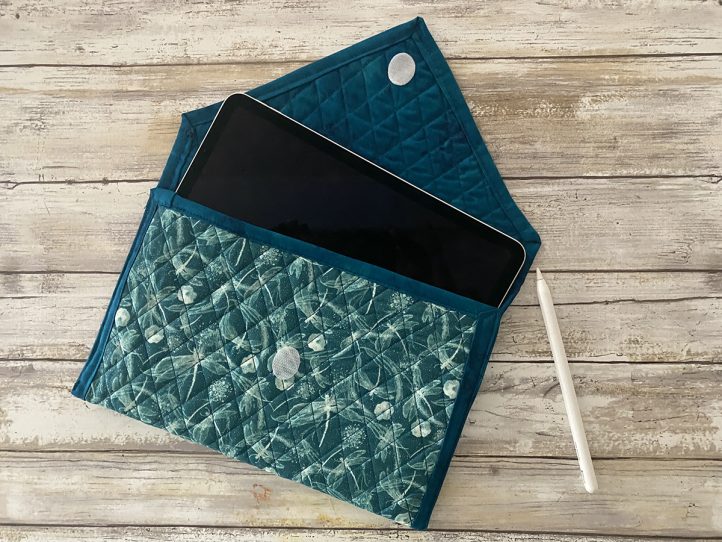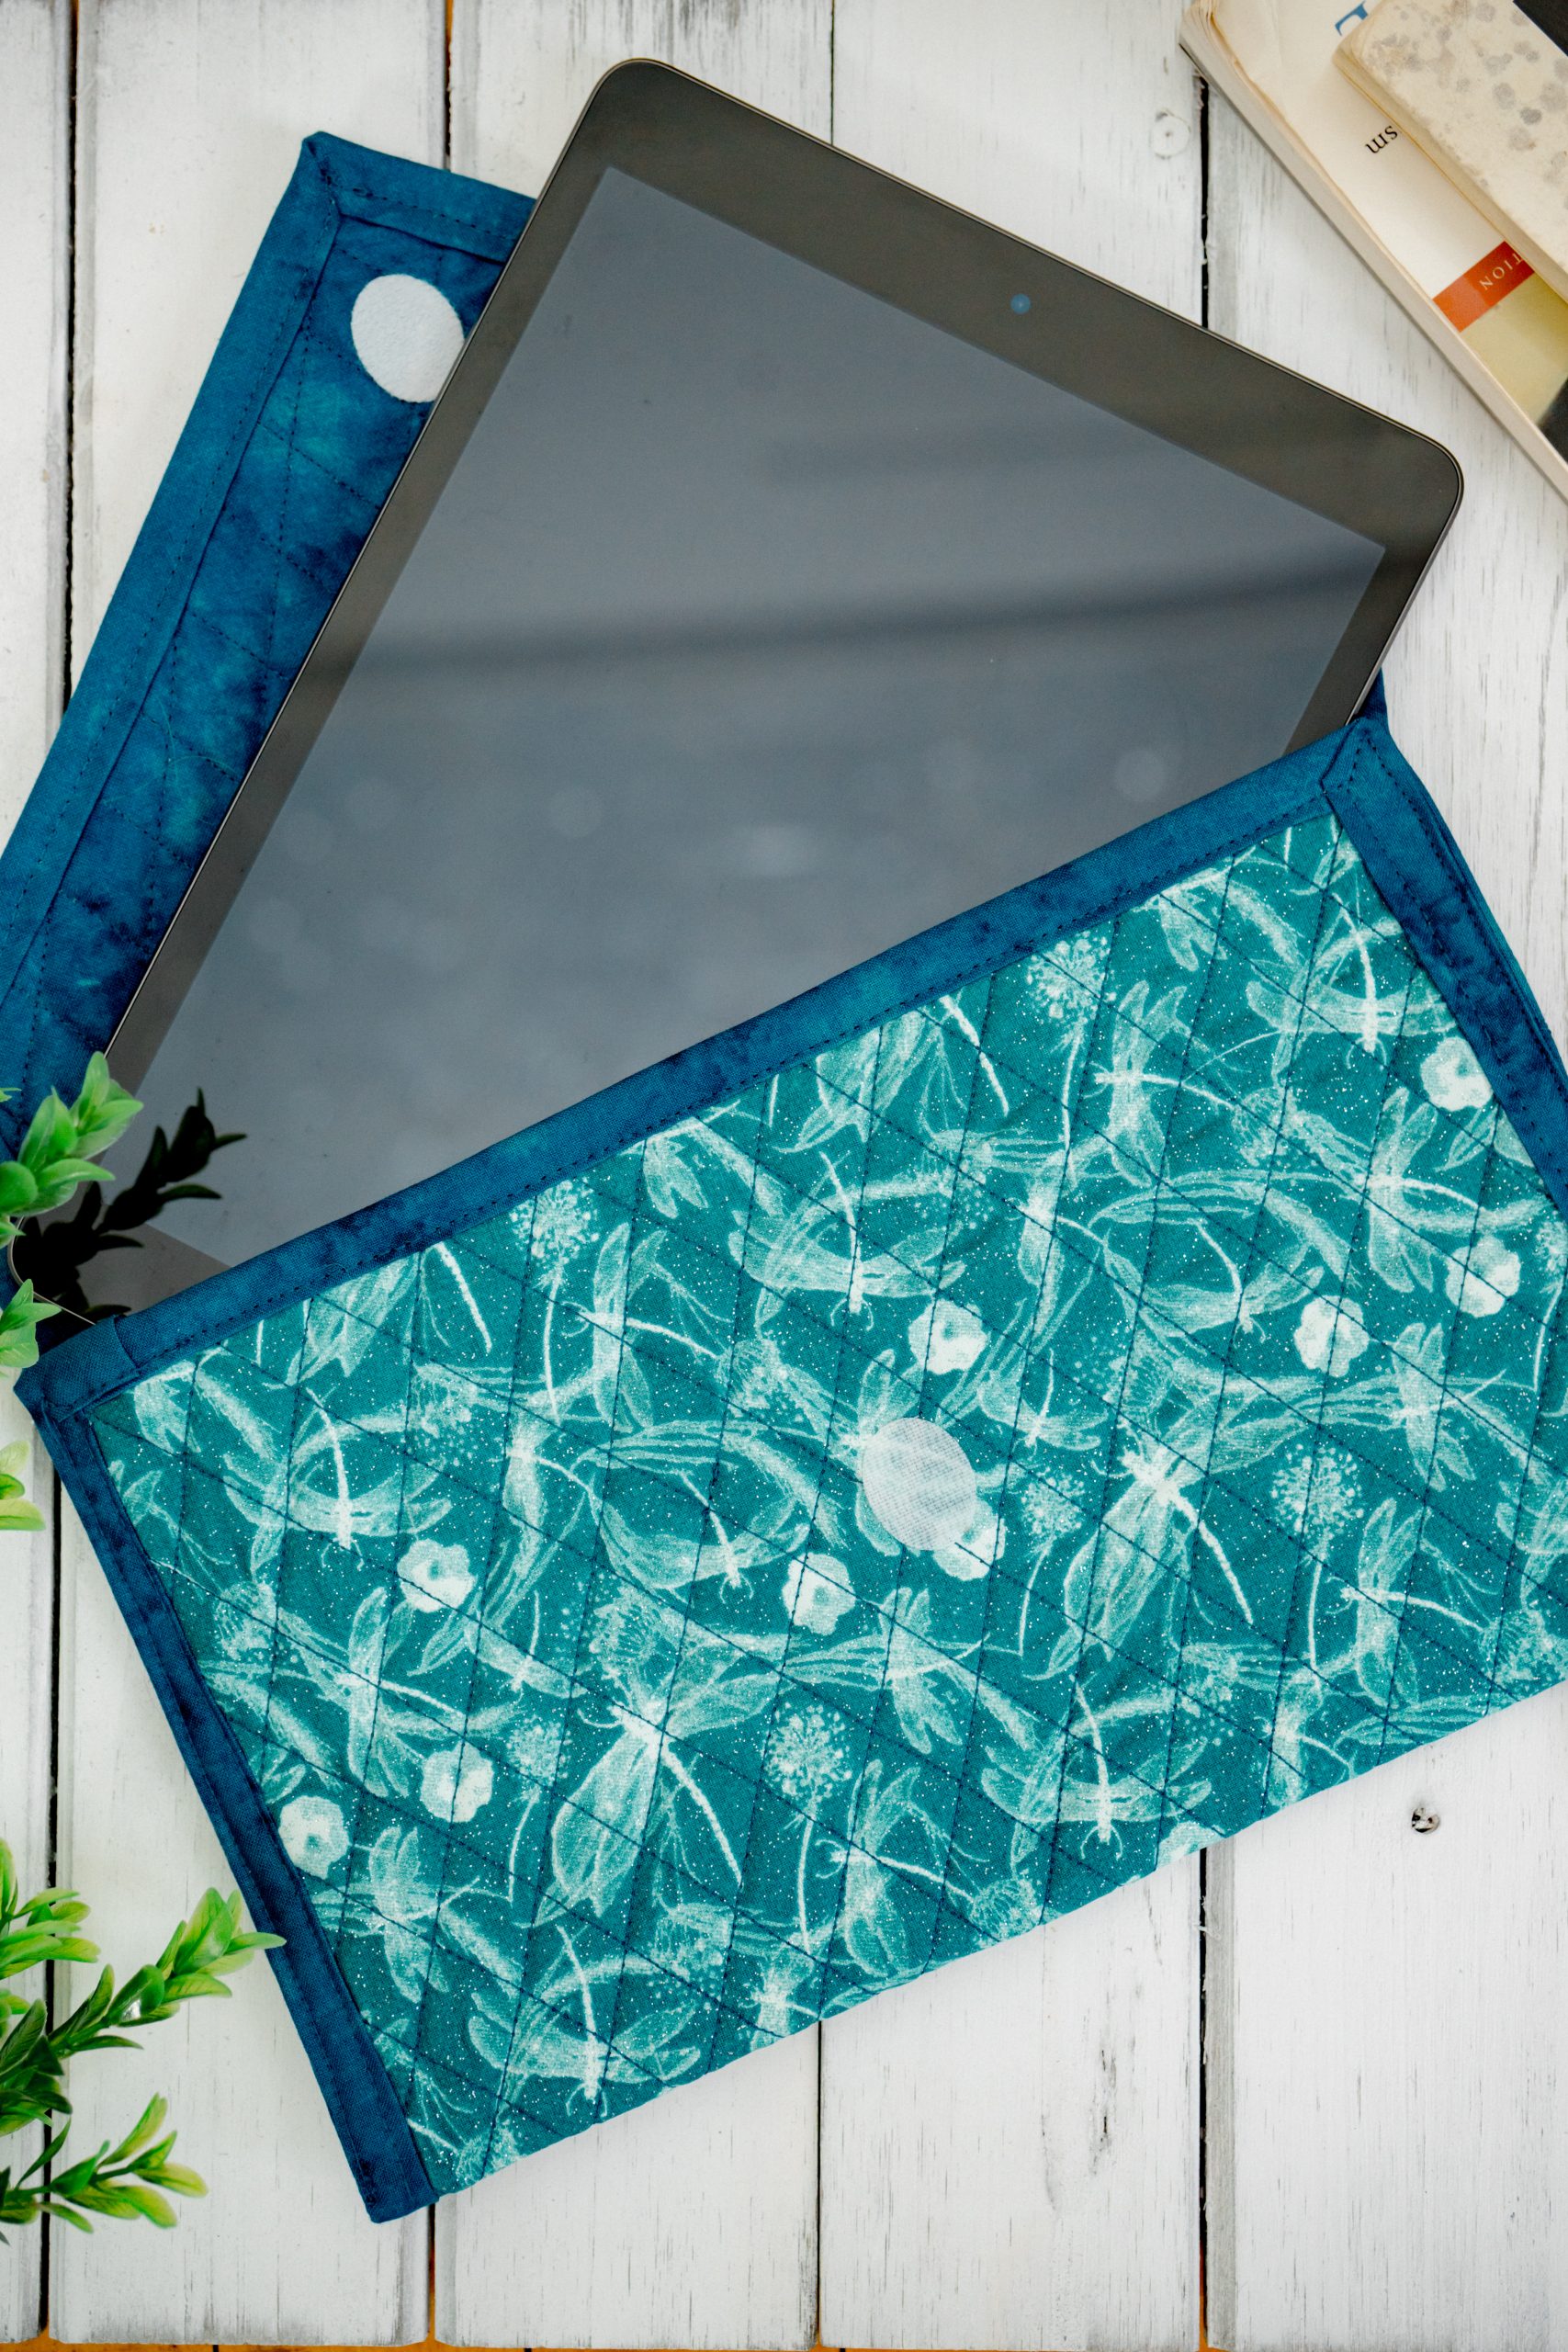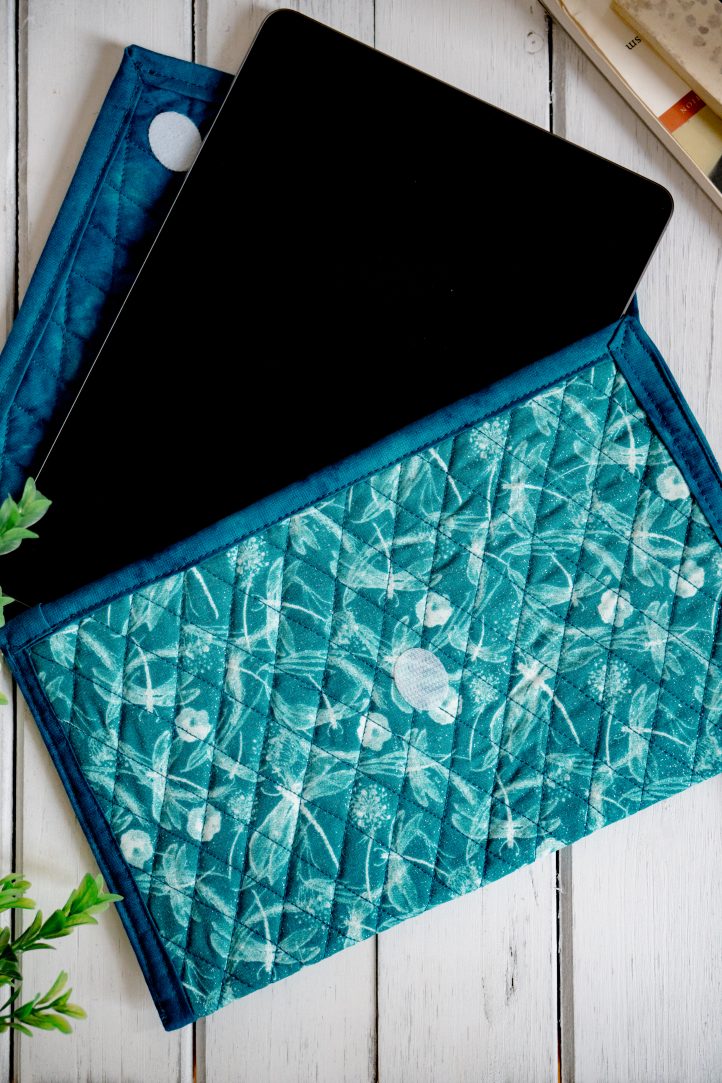
Searching for the perfect gift to give Mom this holiday season? Sew her a stylish quilted iPad cover in a beautifully printed fabric! This iPad cover pattern can be made in only a few hours, making it a quick and thoughtful homemade gift for family and friends. Featuring a Velcro closure, this quilted organizer will keep your iPad protected during long car rides or flights and is a lightweight option compared to heavier store-bought brands.
Materials:
- Print fabric, 12” x 20 (2)
- Muslin, 12” x 20”
- Velcro Sticky Back for Fabrics
- Decorative thread
- Button – approximately 3/4“ to 1 1/4“
Tools:
- Sewing machine
- Ruler
- Iron
- Needle
- Scissors
- Pins, optional
Instructions:
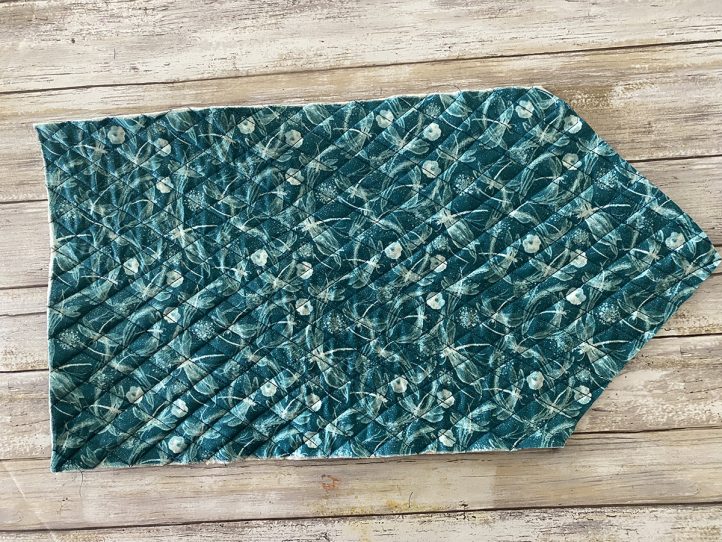
- Measure your iPad and cut your fabric and batting big enough to cover the front and back with 2 inches added on the sides and add a flap of about 4 – 6 inches. Mine measures about 12” x 20”. See Photo 1 below for how they should be cut.

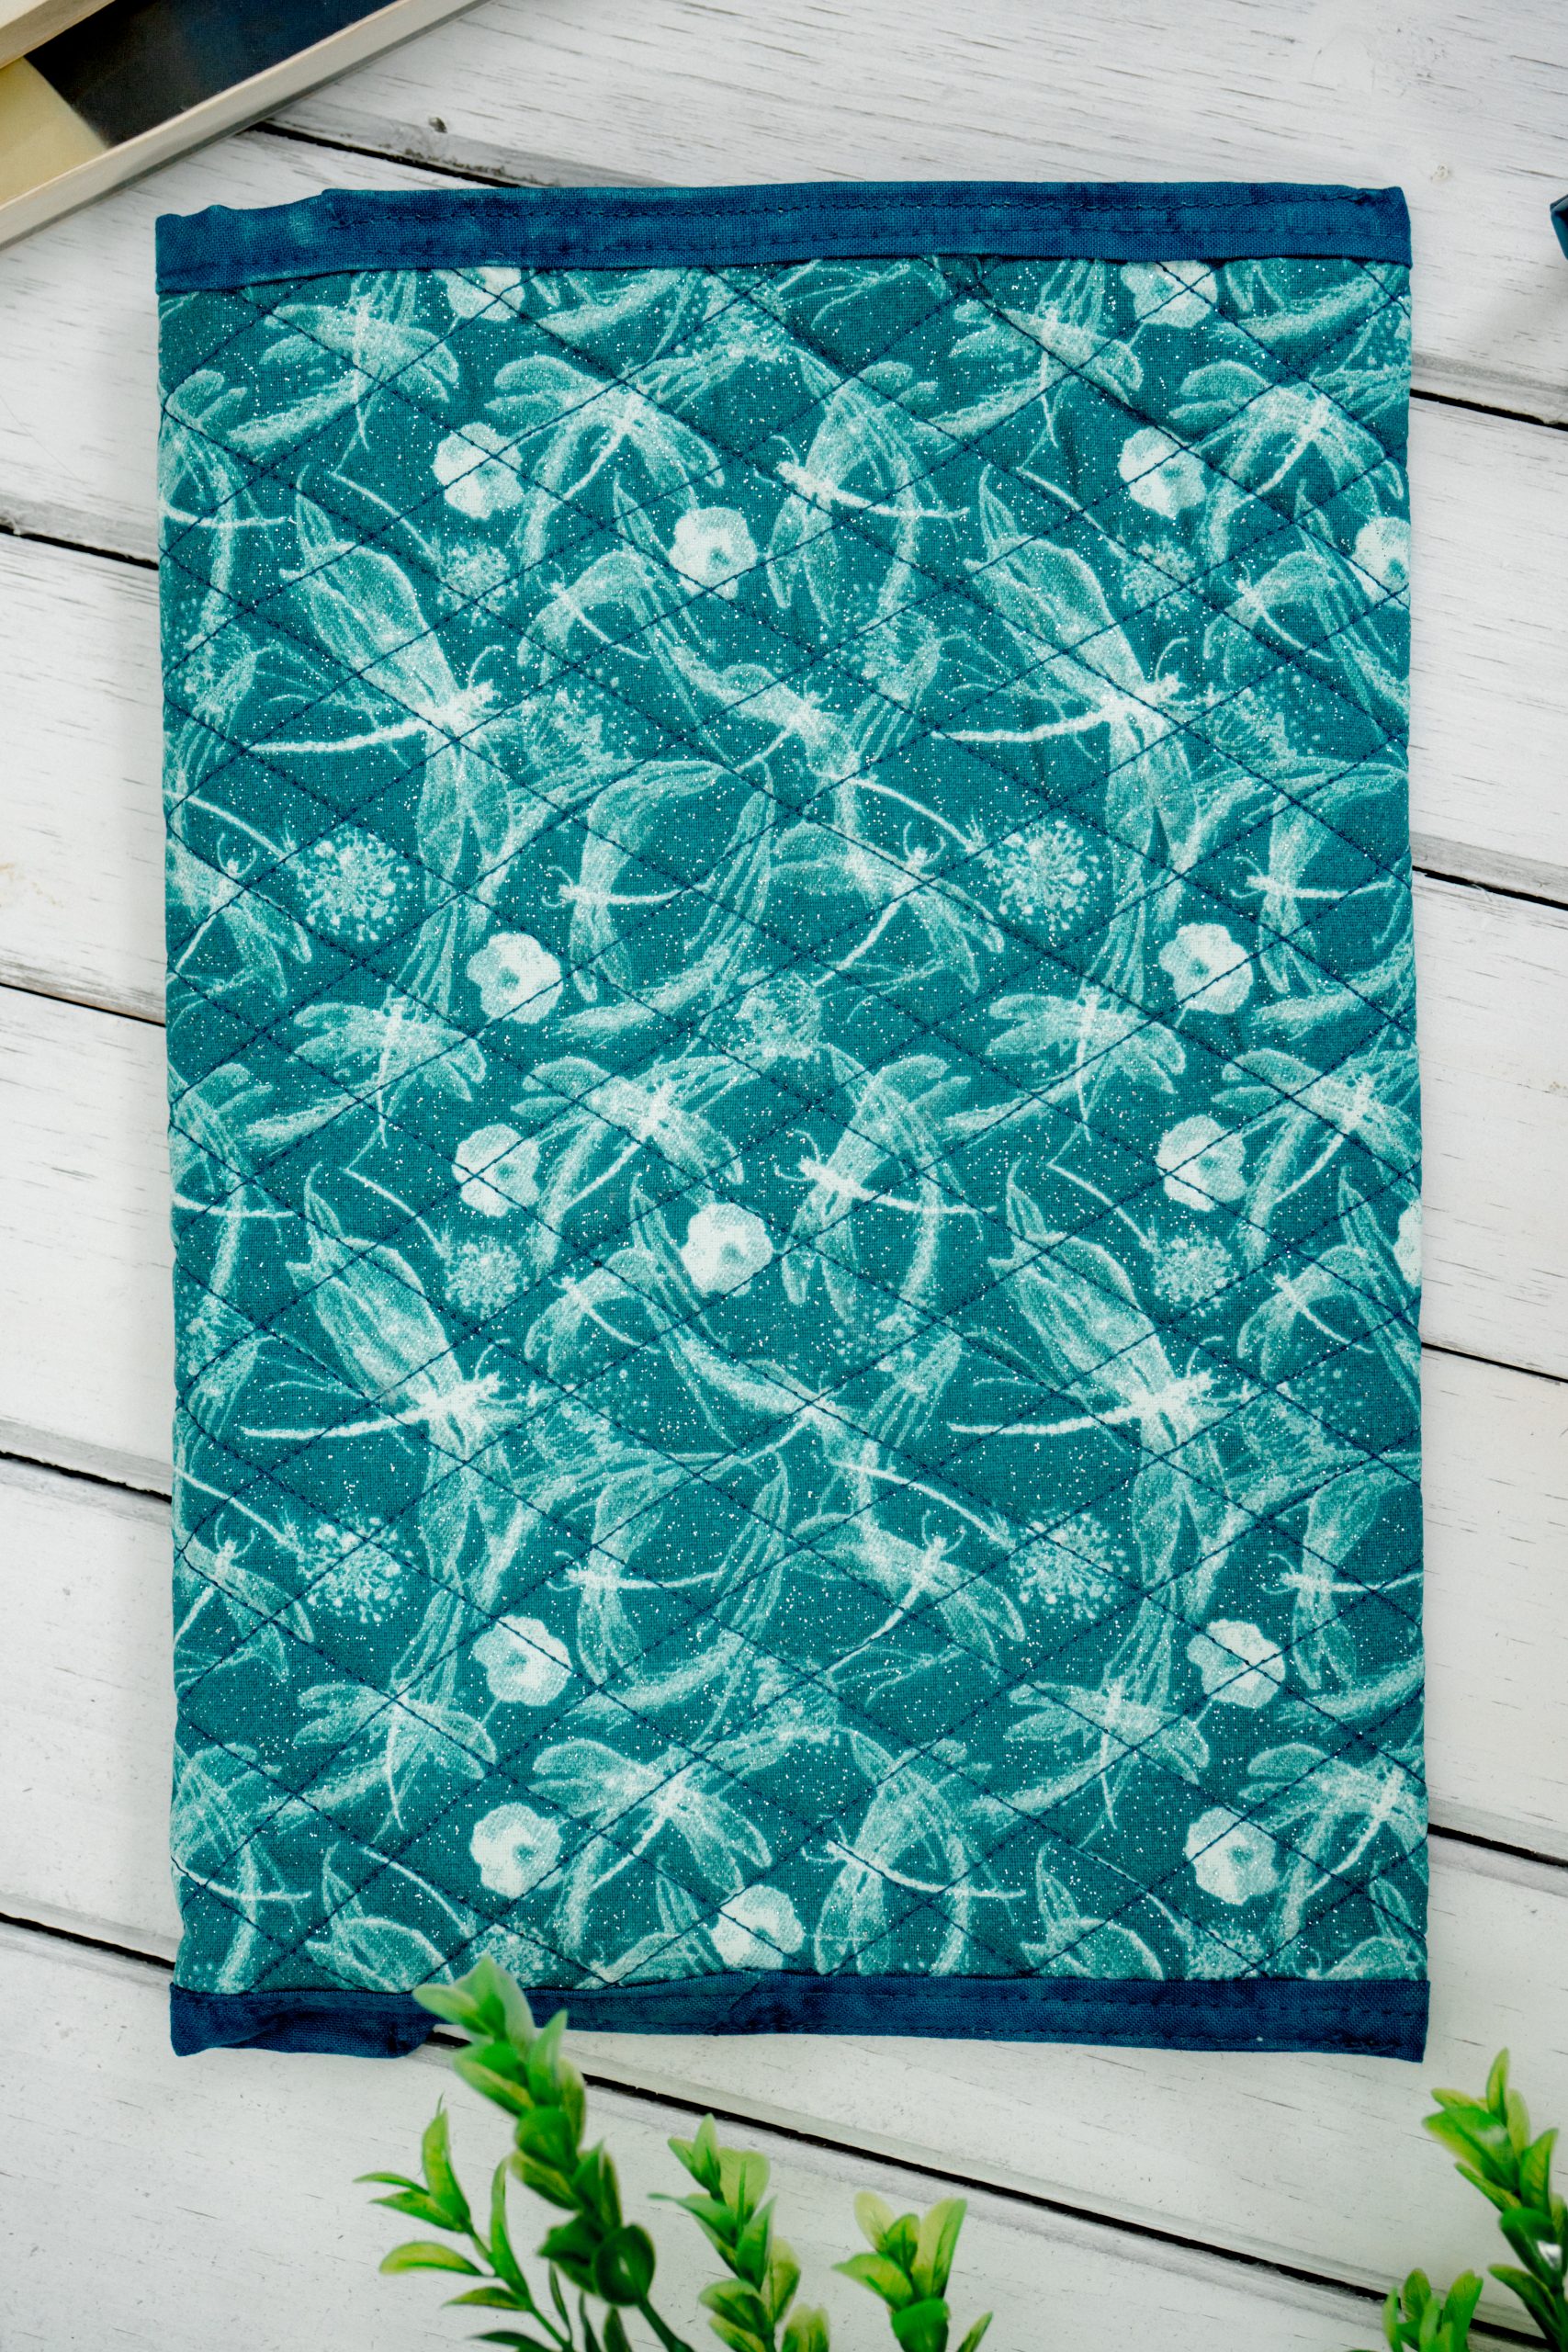
- Place one print fabric wrong side up, place the batting on top and the second print fabric right side up on top of the batting, creating a sandwich.

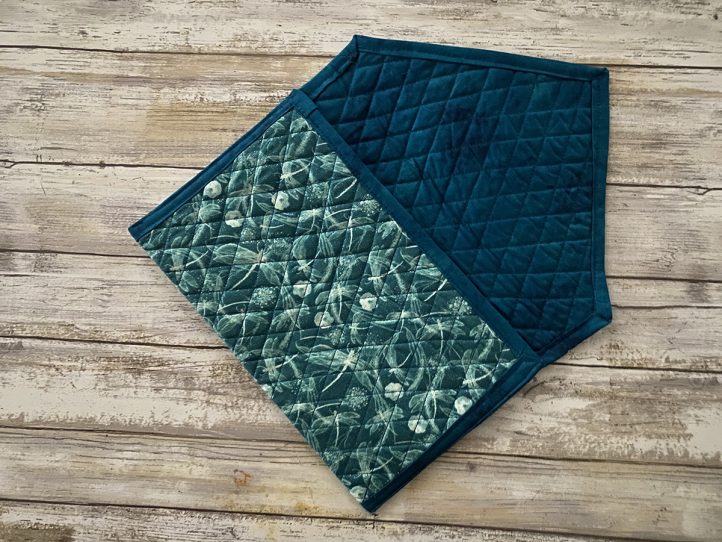
- Stitch from one corner to the other and repeat stitching about a 1 1/2” apart. You can mark out your quilting lines, but the designer just eyeballed them.
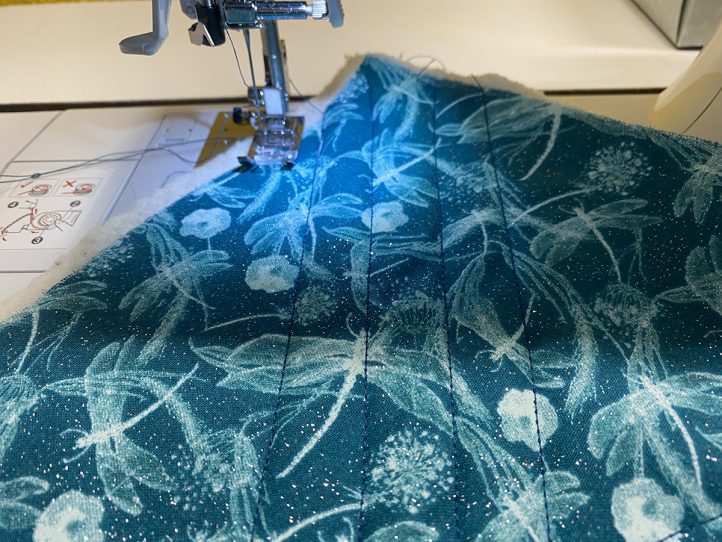
- Stitch line in the opposite direction, creating a diamond grid.

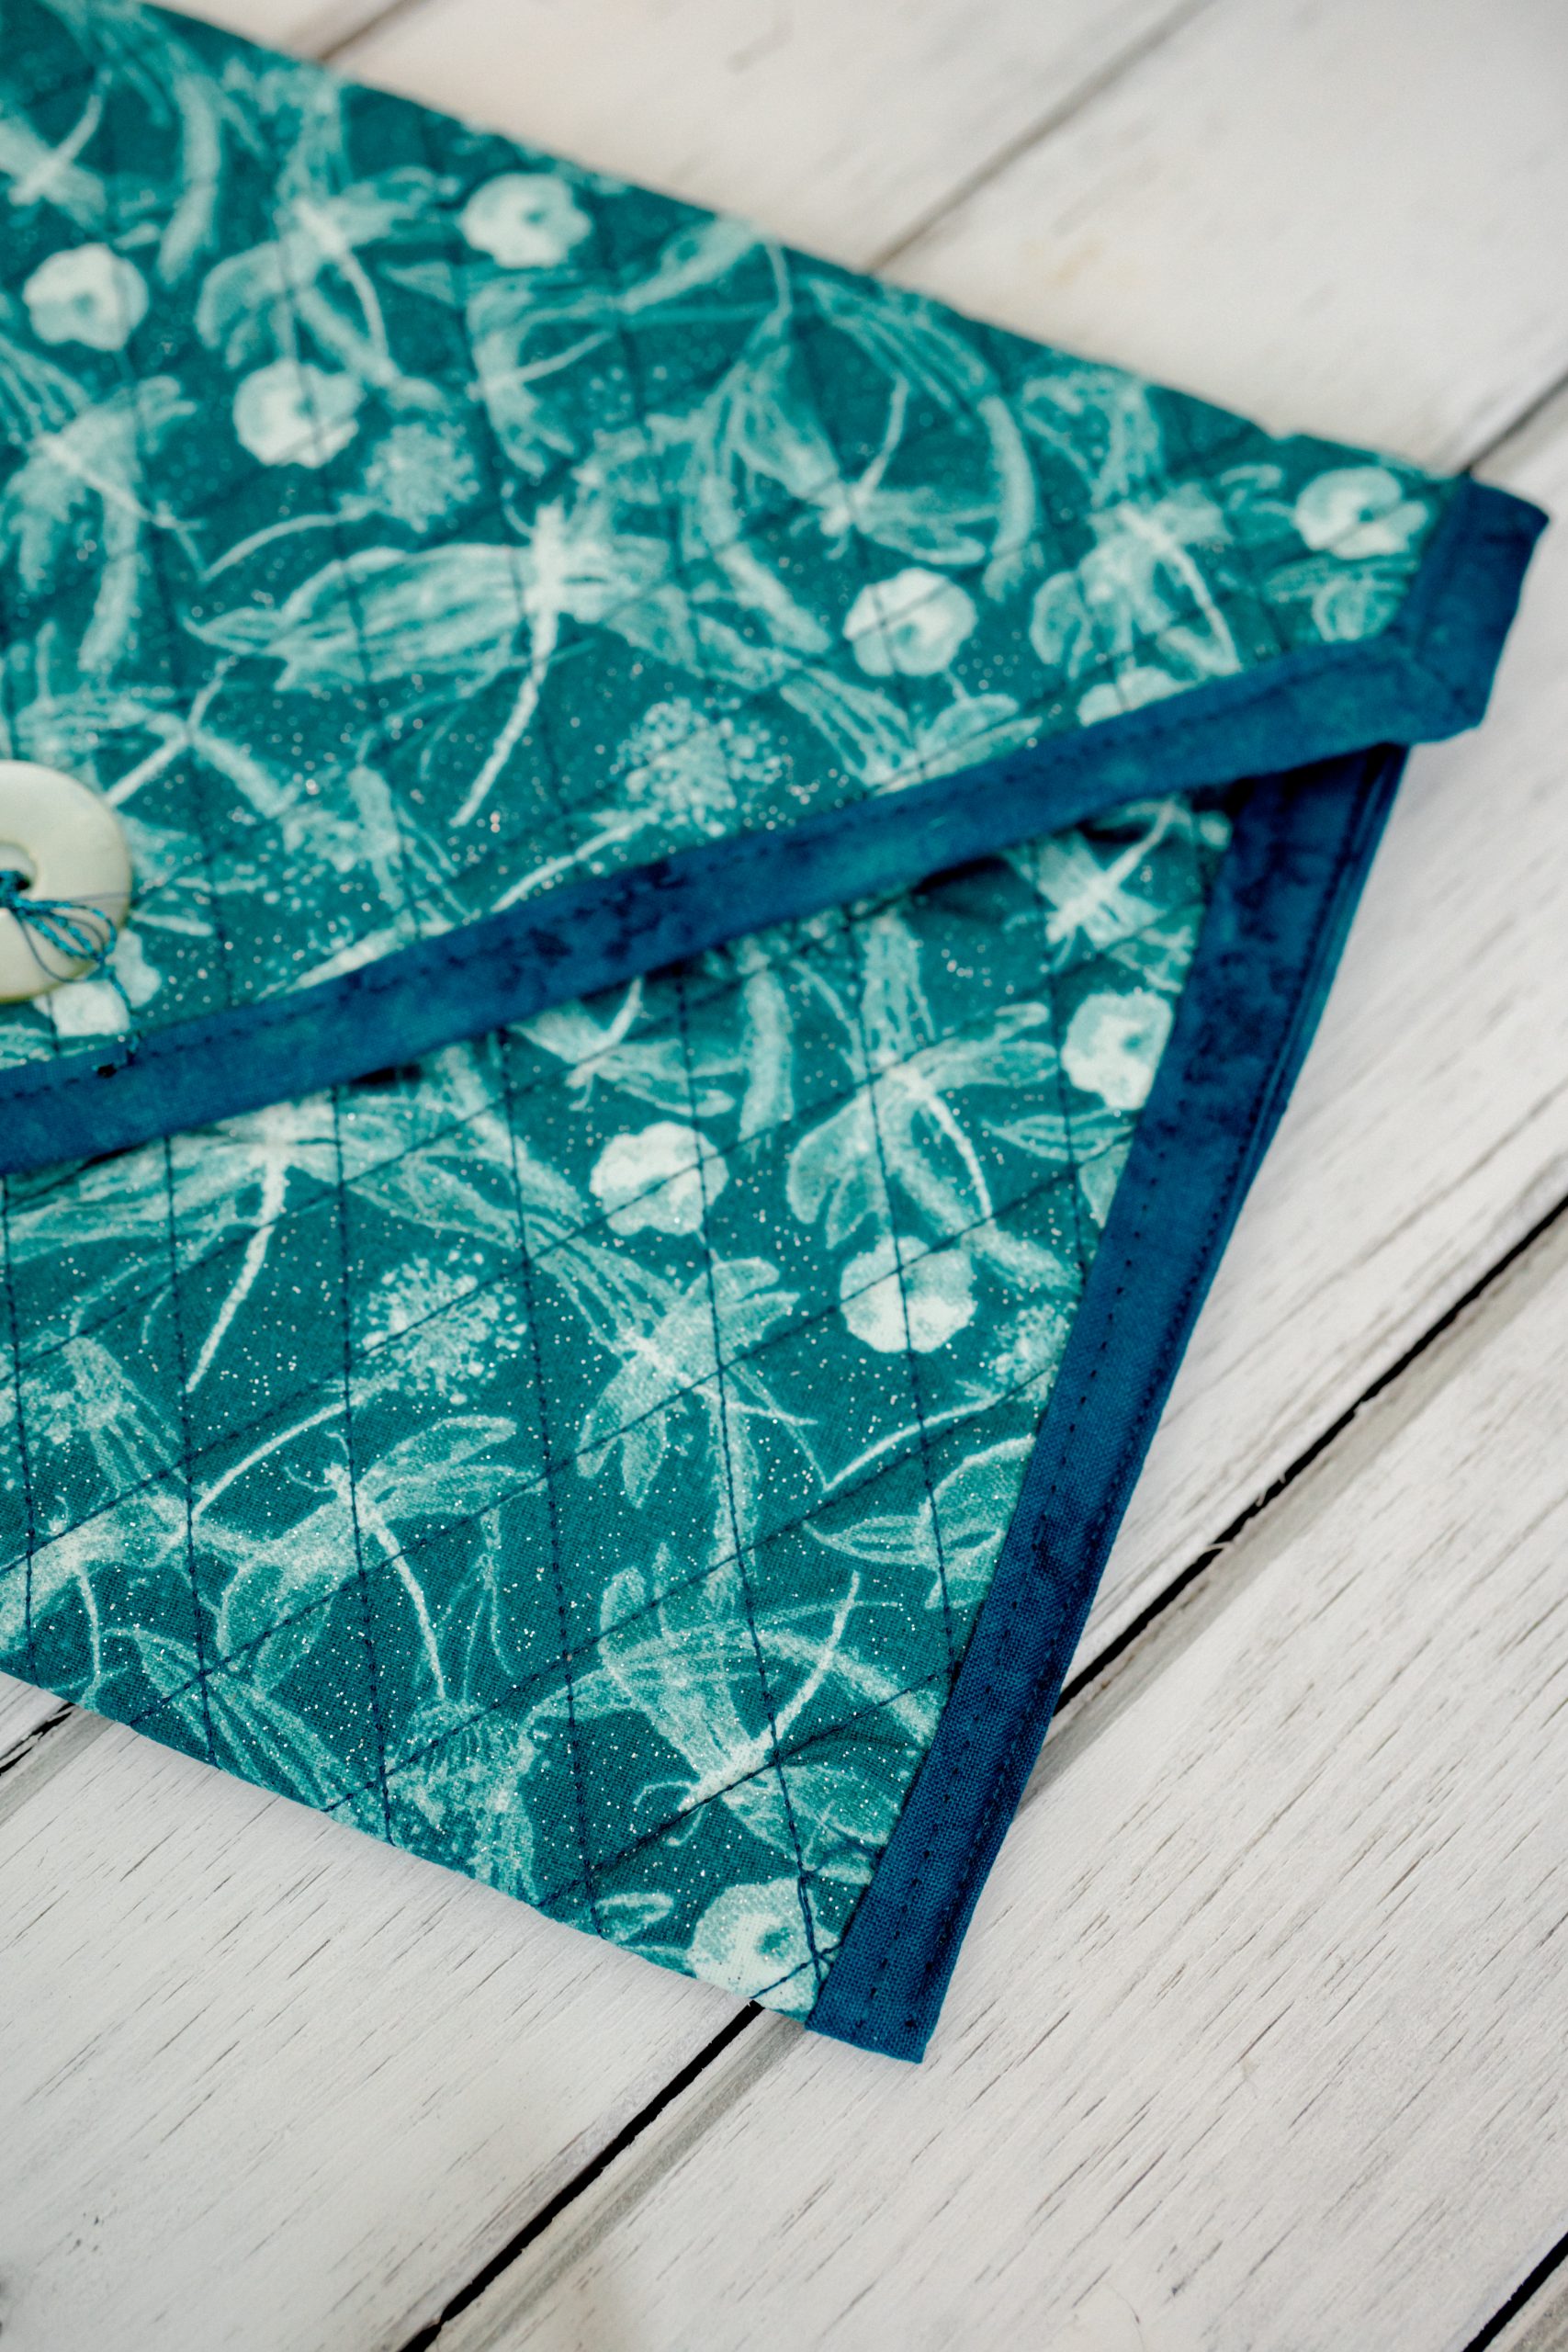
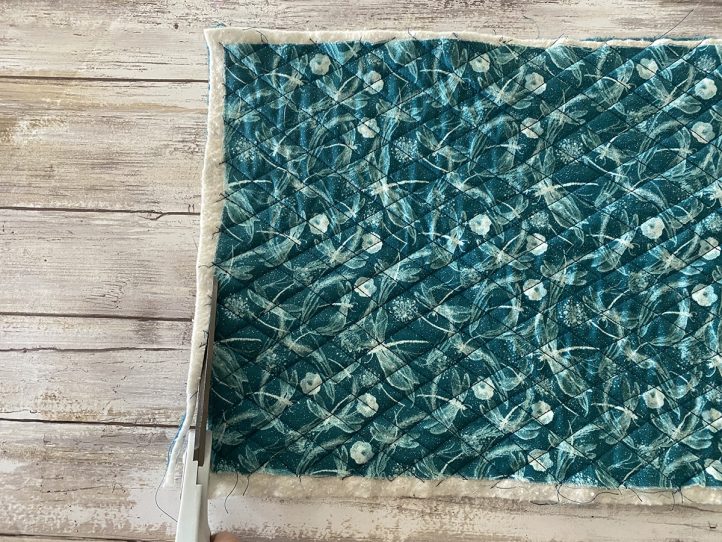
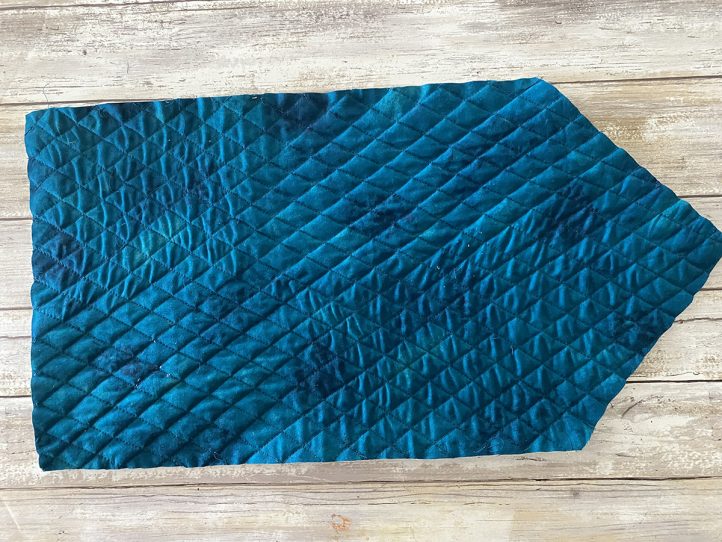
- Trim the excess closely to the top layer fabric. The photos below show the back side.
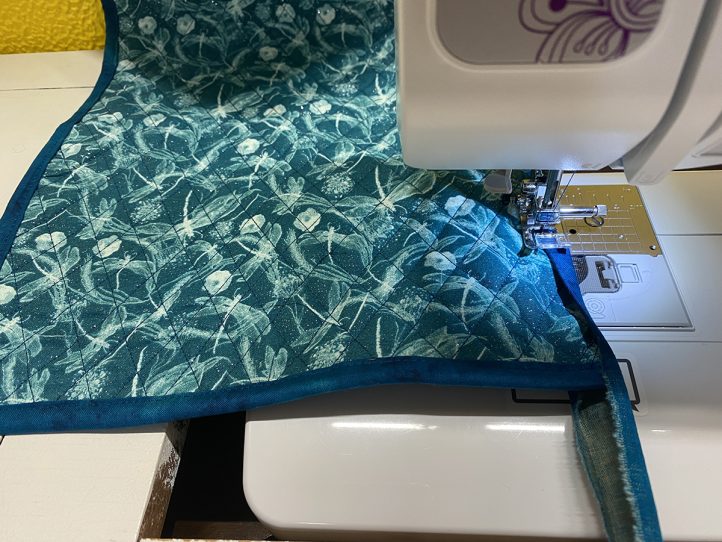
- Cut strips of the inside fabric 2 1/4” x the length of the fabric. Stitch together on the bias. Fold in half lengthwise and press.
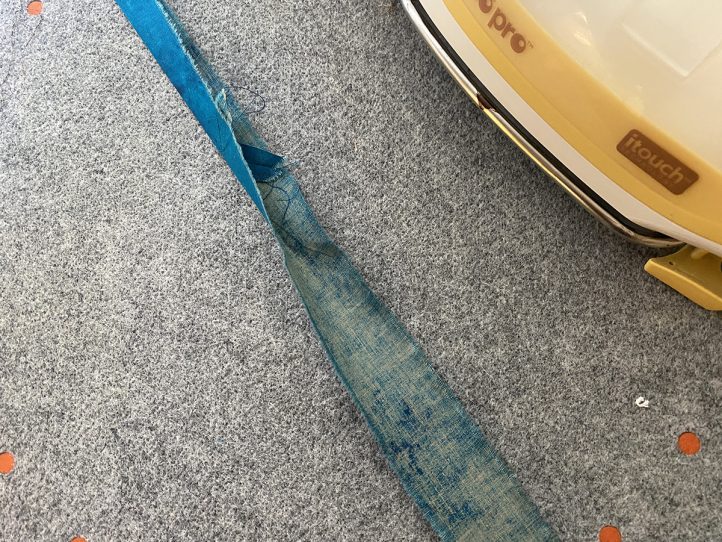
- Next, fold and press the raw edges to the inside to create a binding strip of fabric.

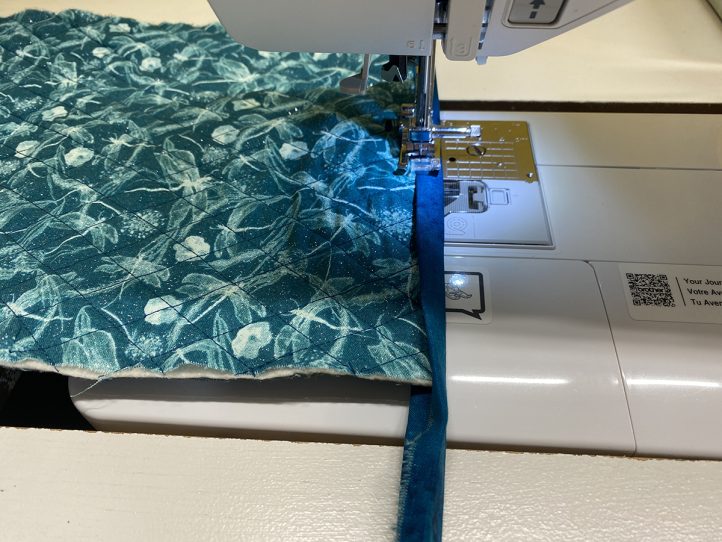
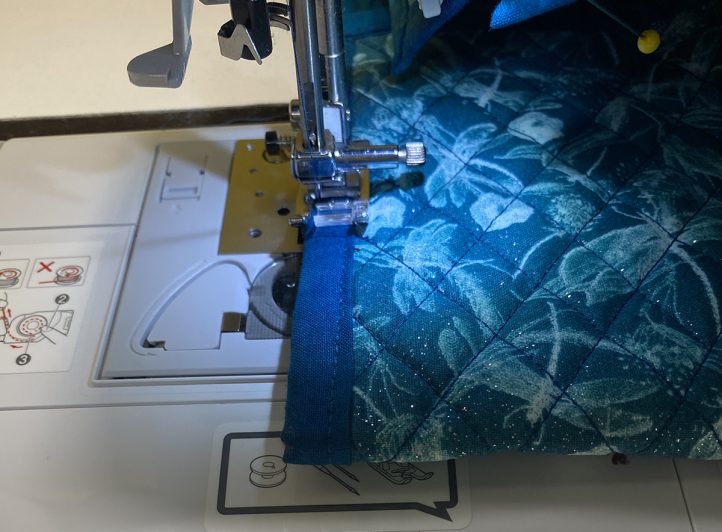
- Stitch the binding all the way around the quilted fabric.
- Then, fold up the straight edge to create a pocket, checking to be sure it is the correct size for your iPad, and stitch the side together at the binding.
- Place a piece of Velcro Sticky Back for Fabrics on the inside flap and the front of the cover.
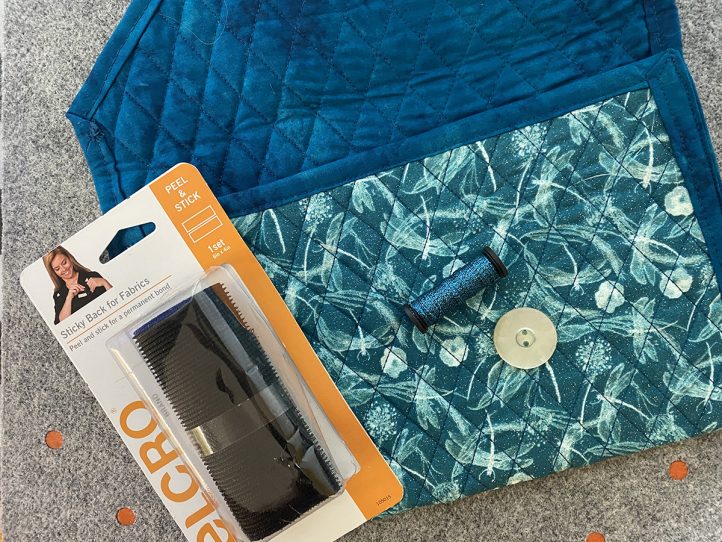
- Sew a button with decorative thread onto the front side of the flap, if desired.