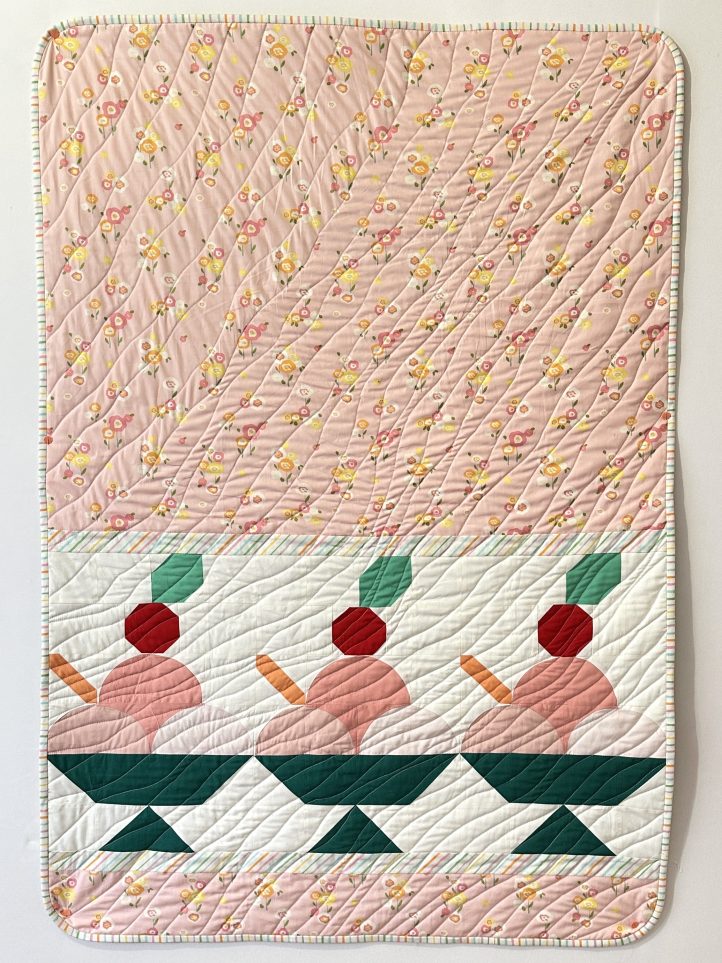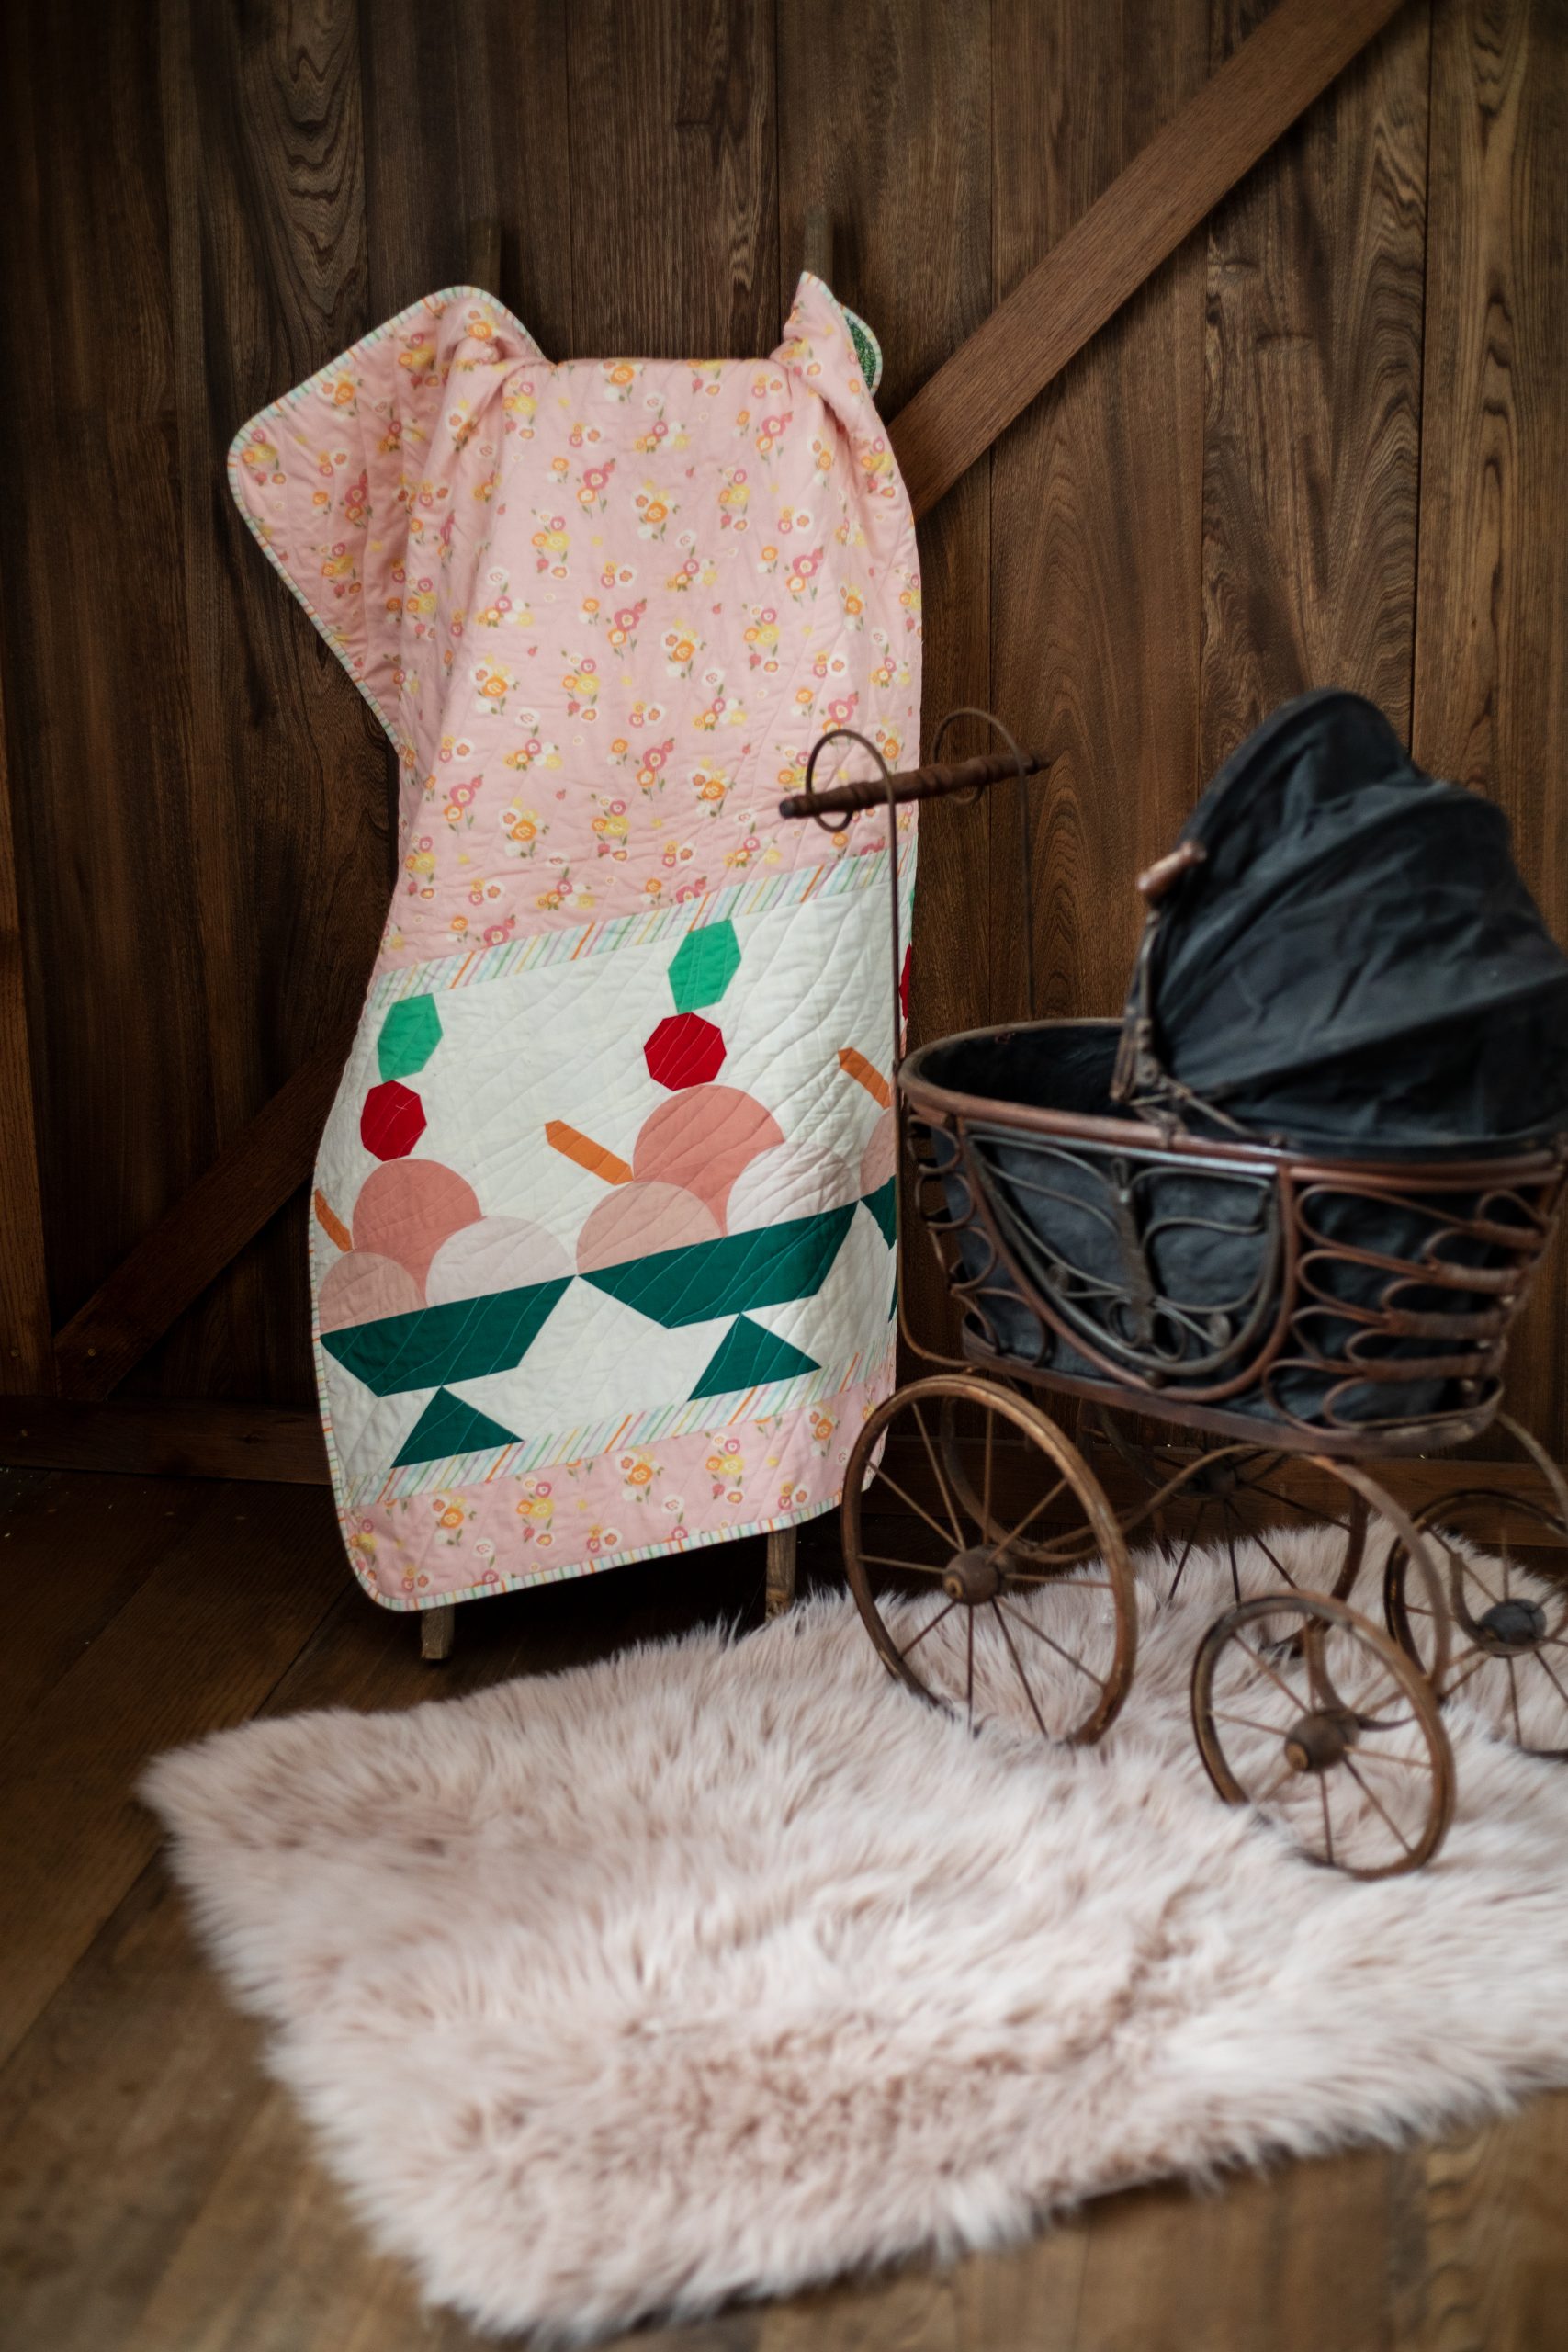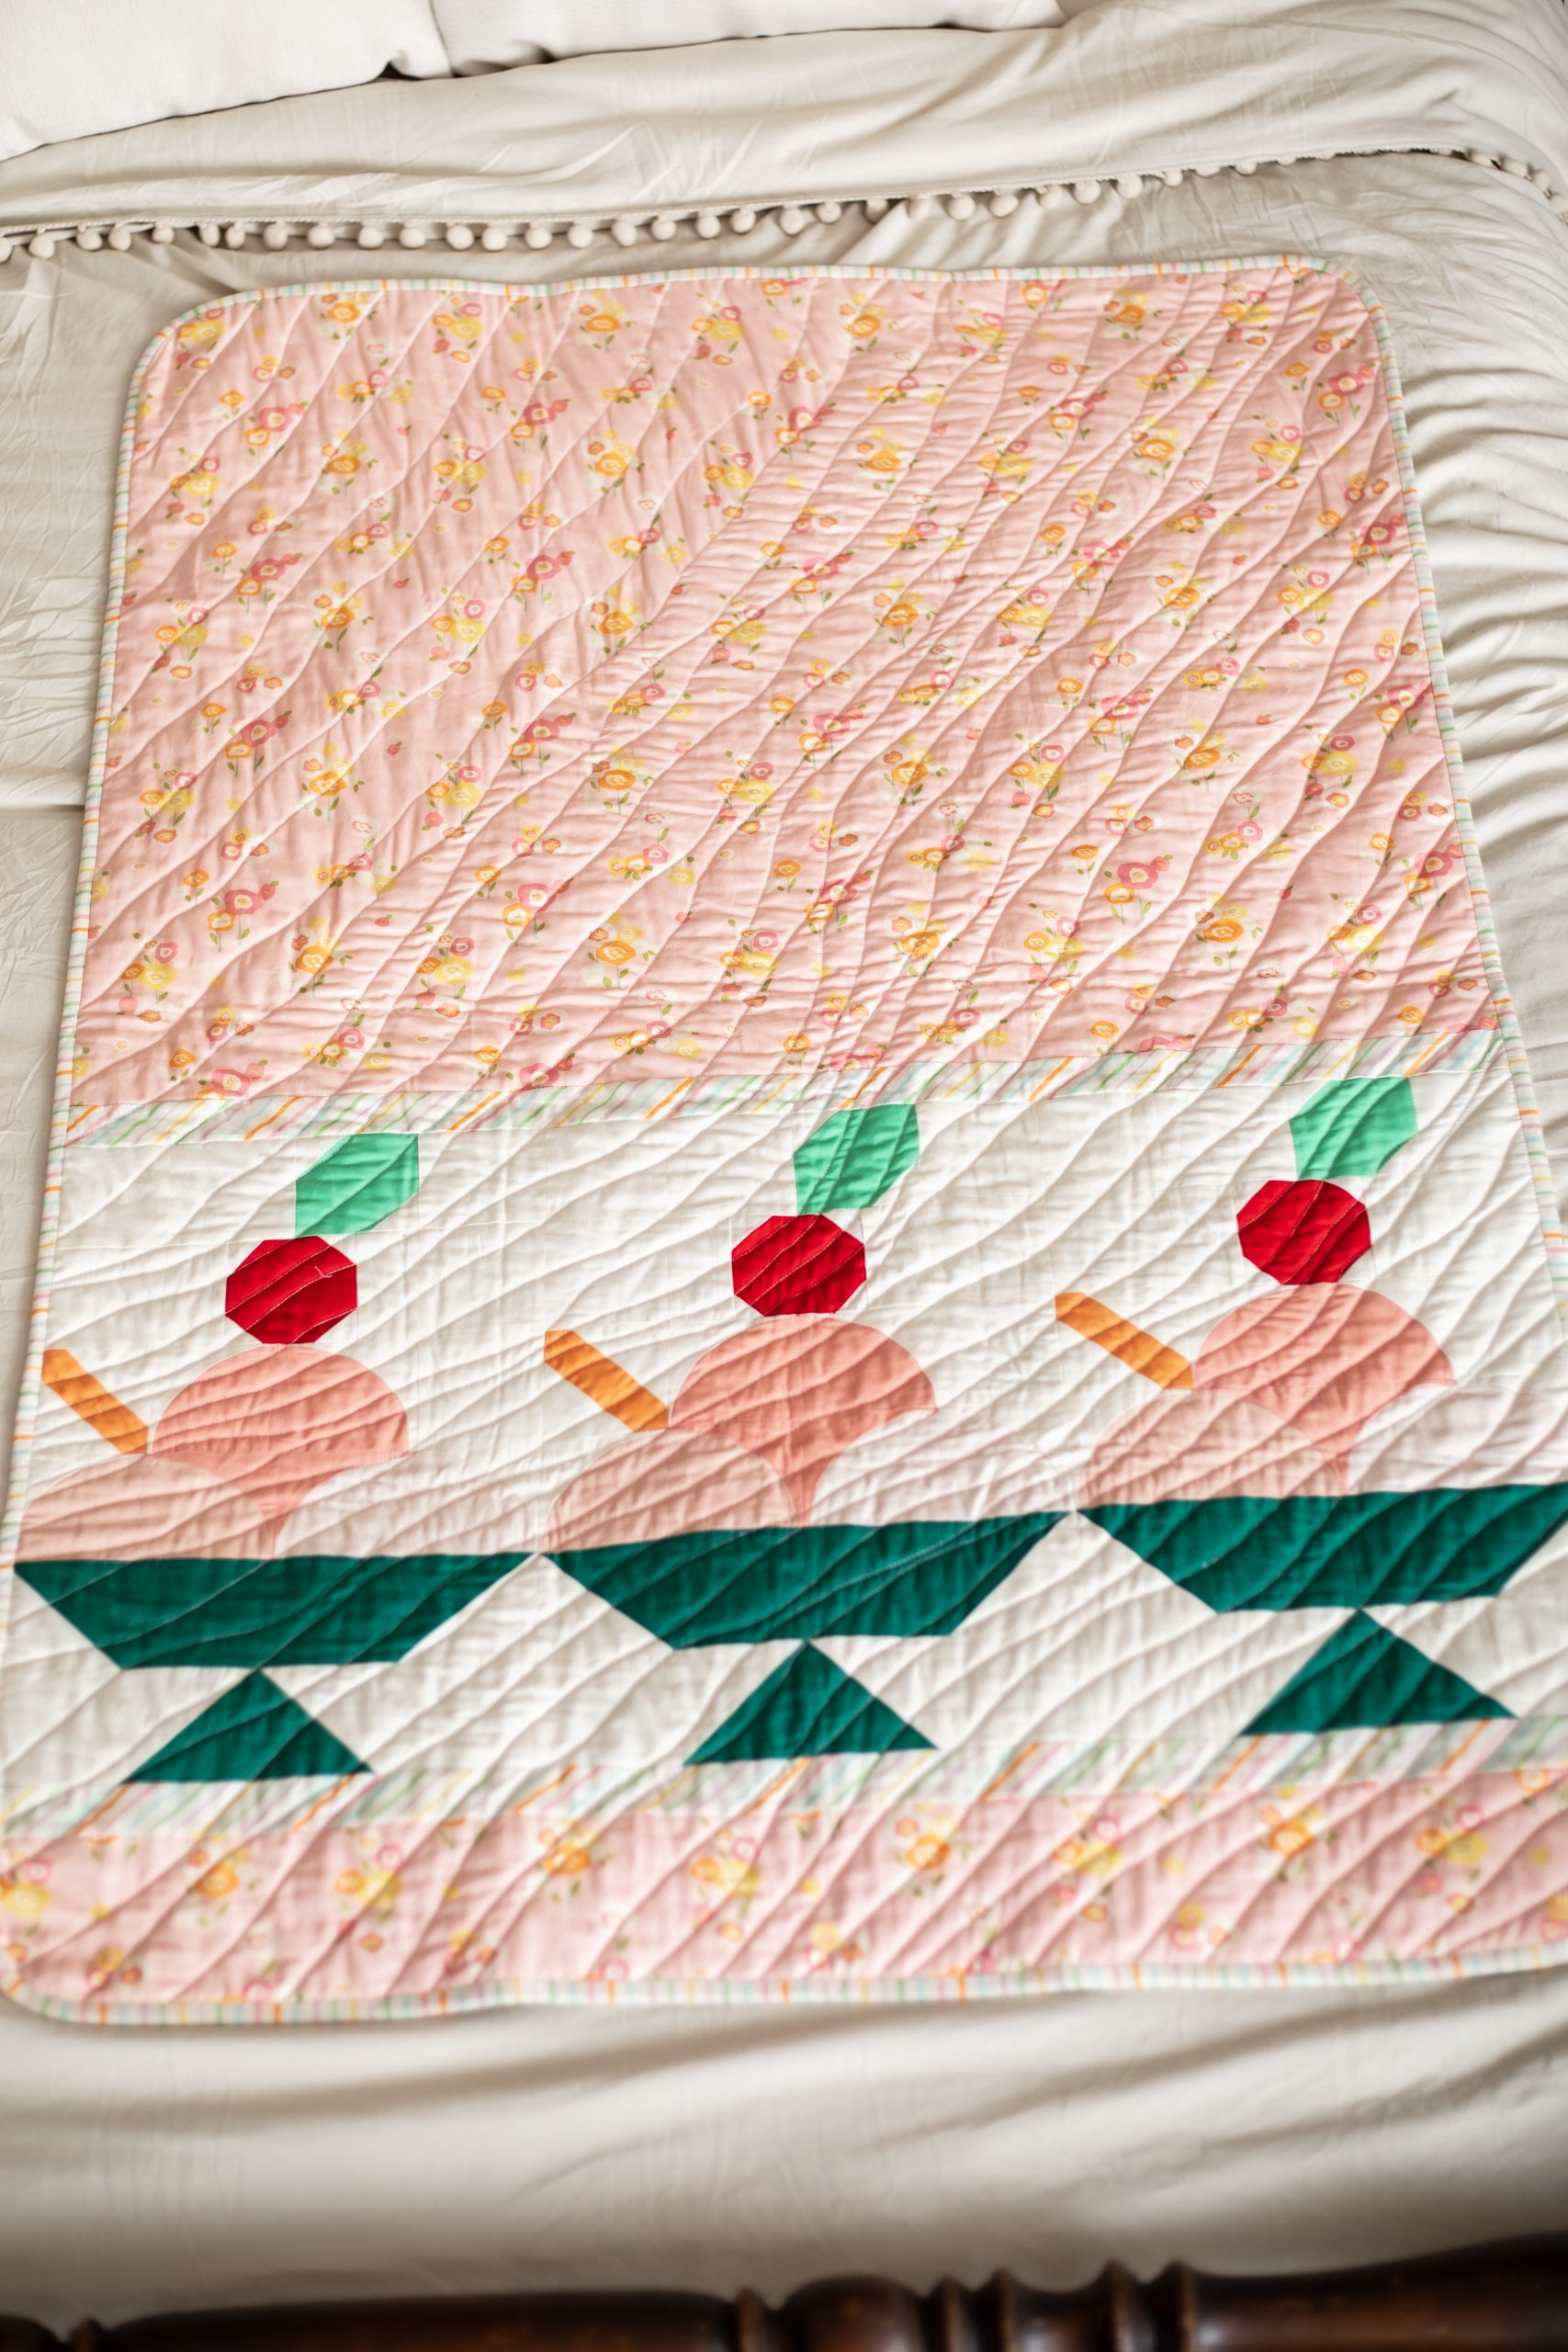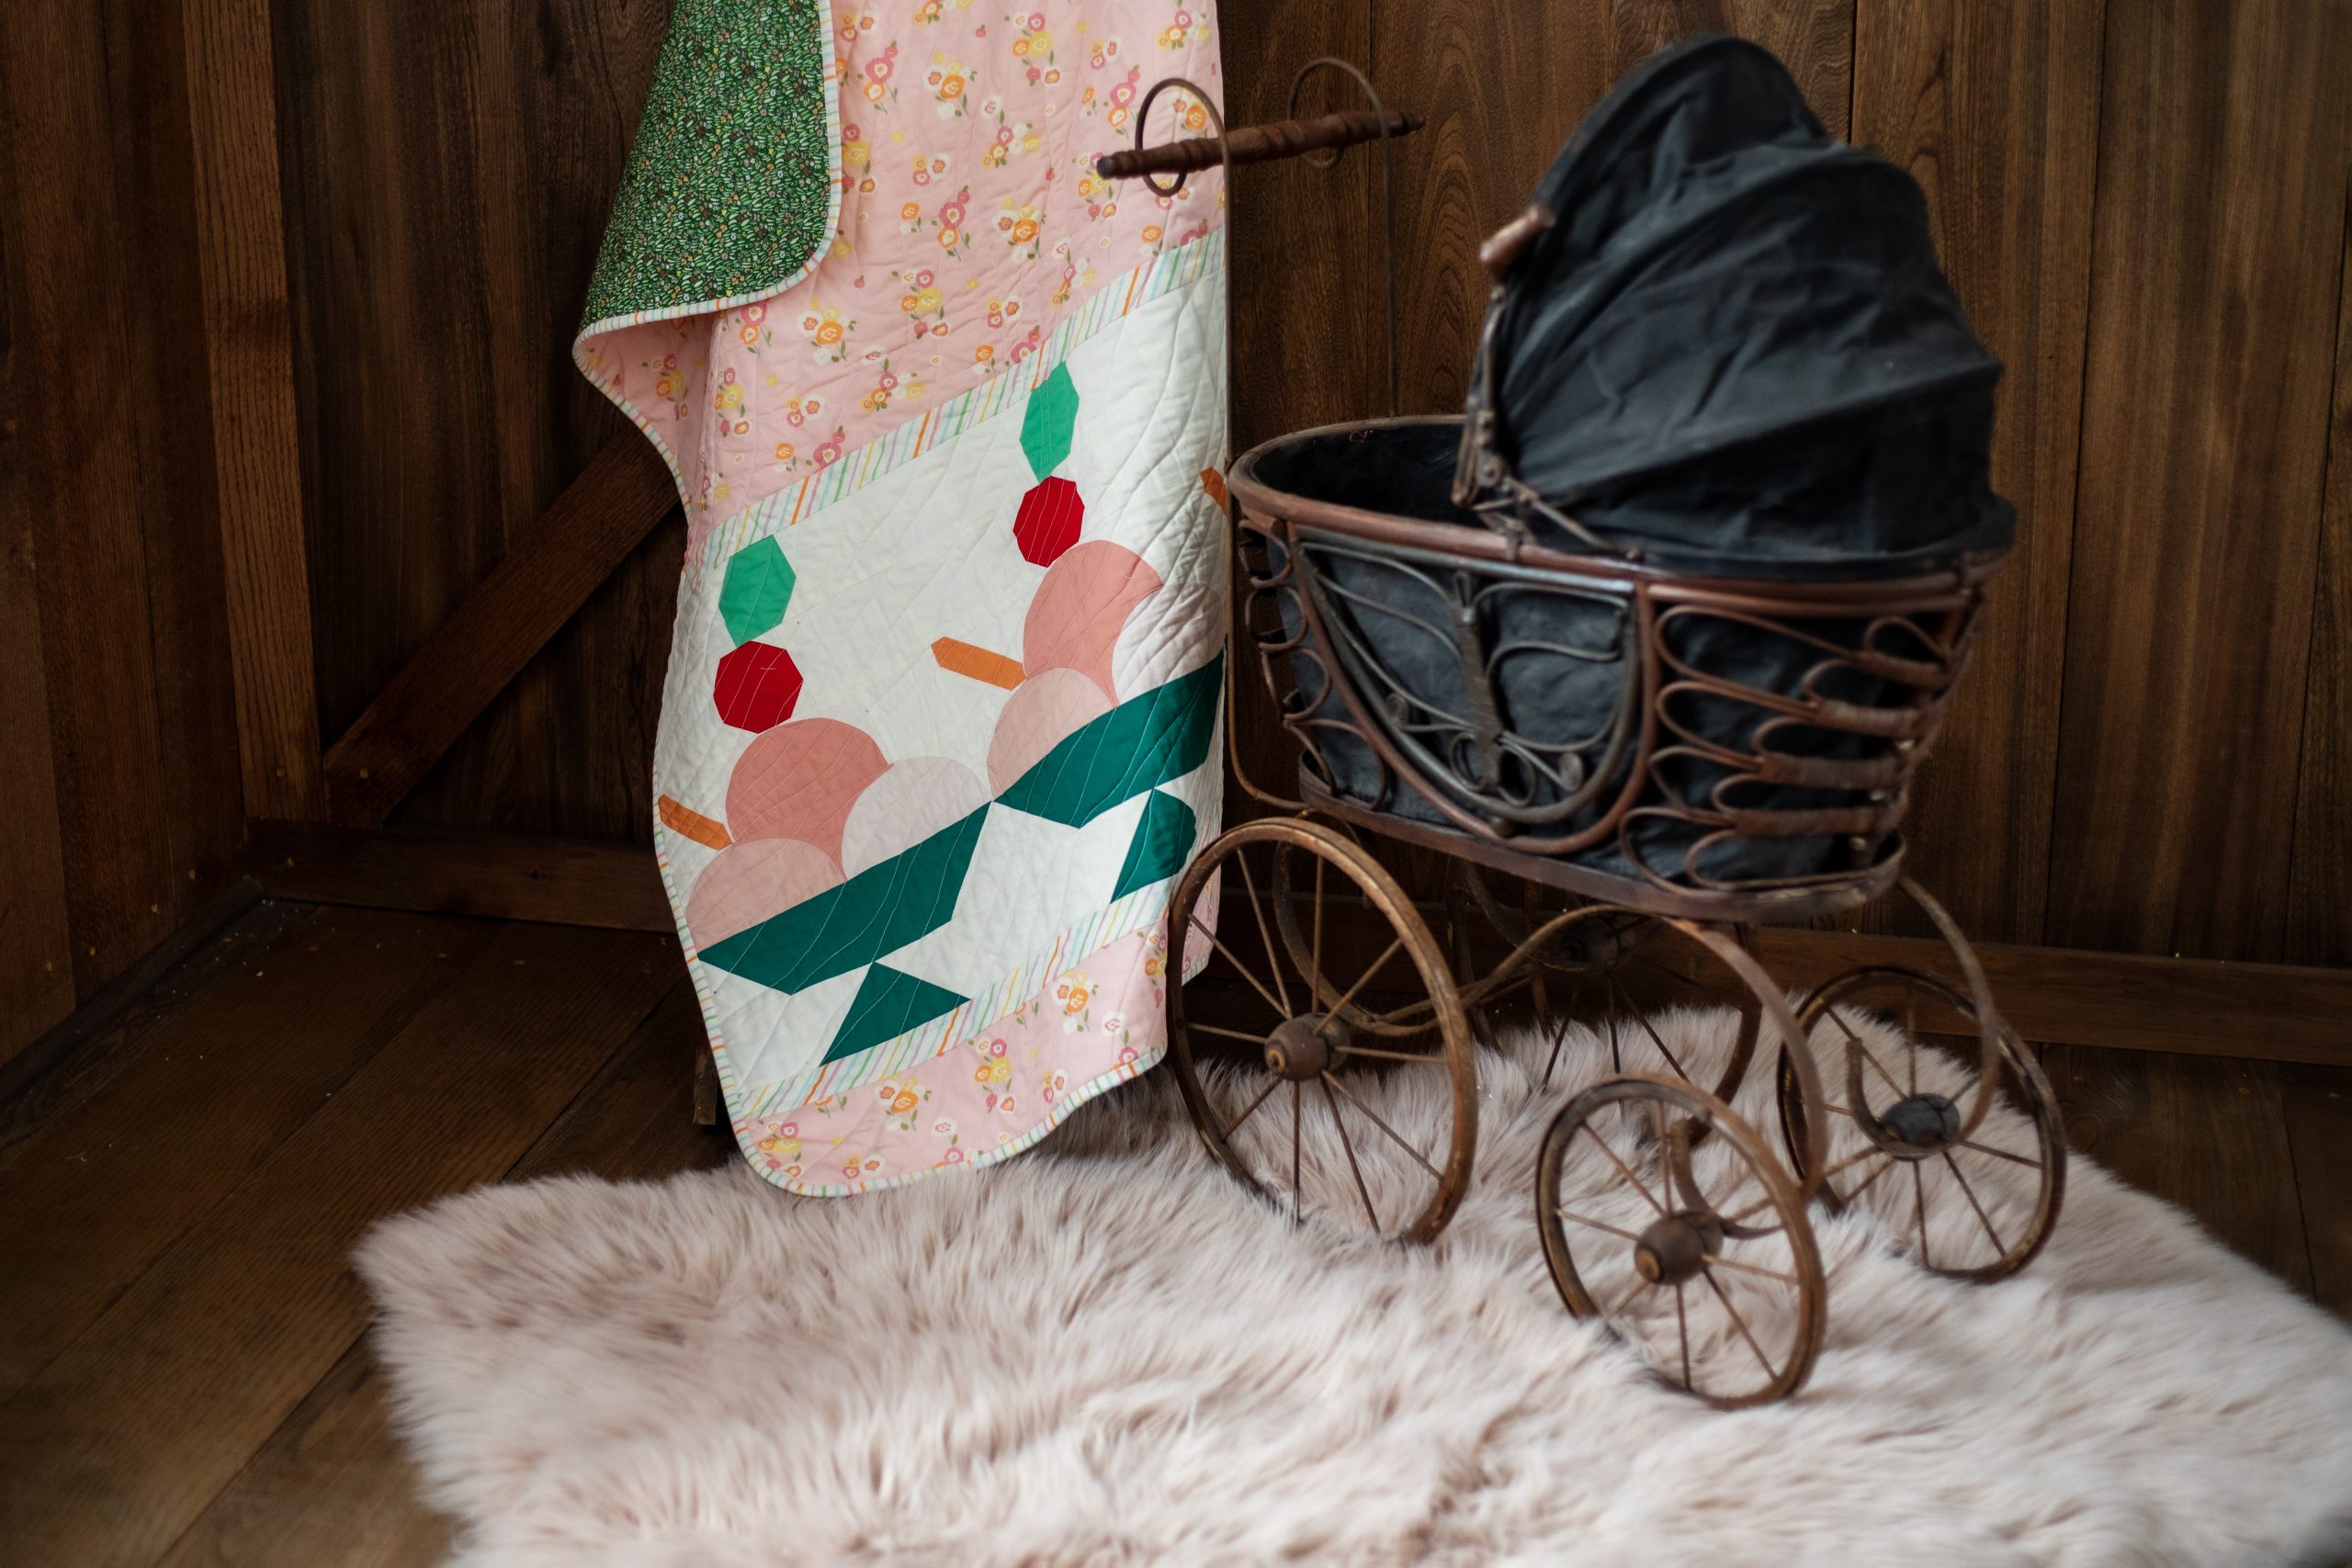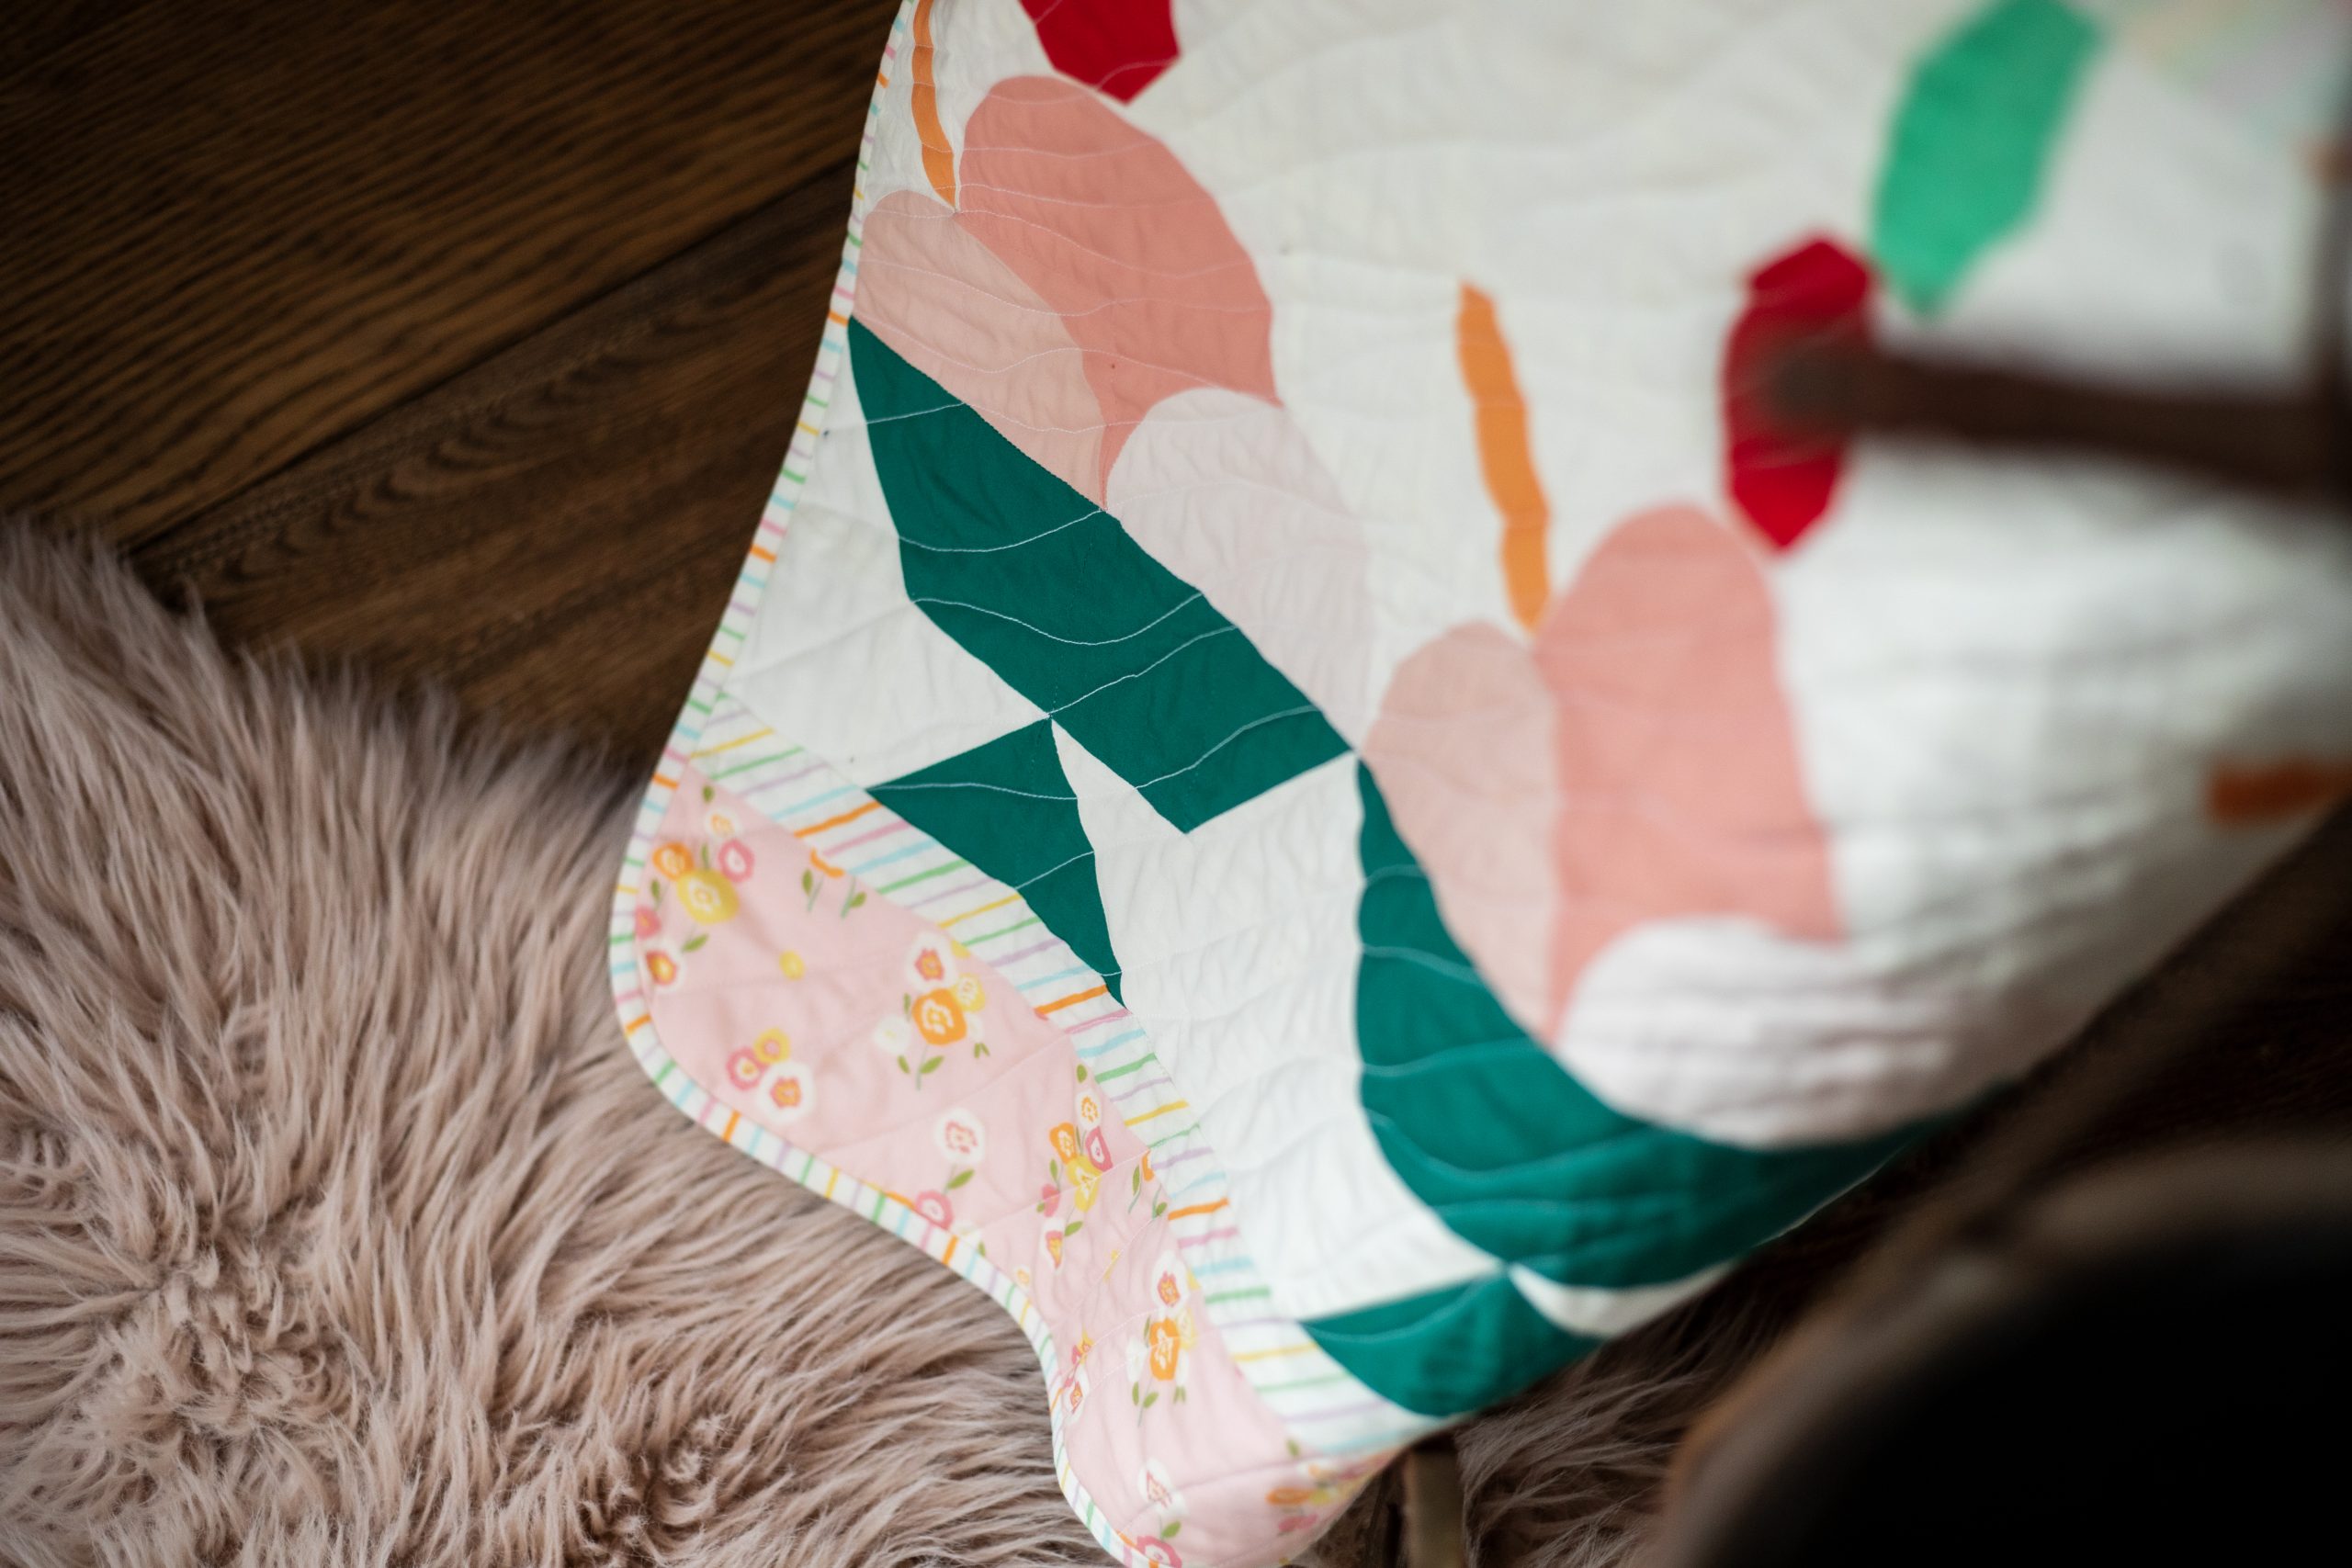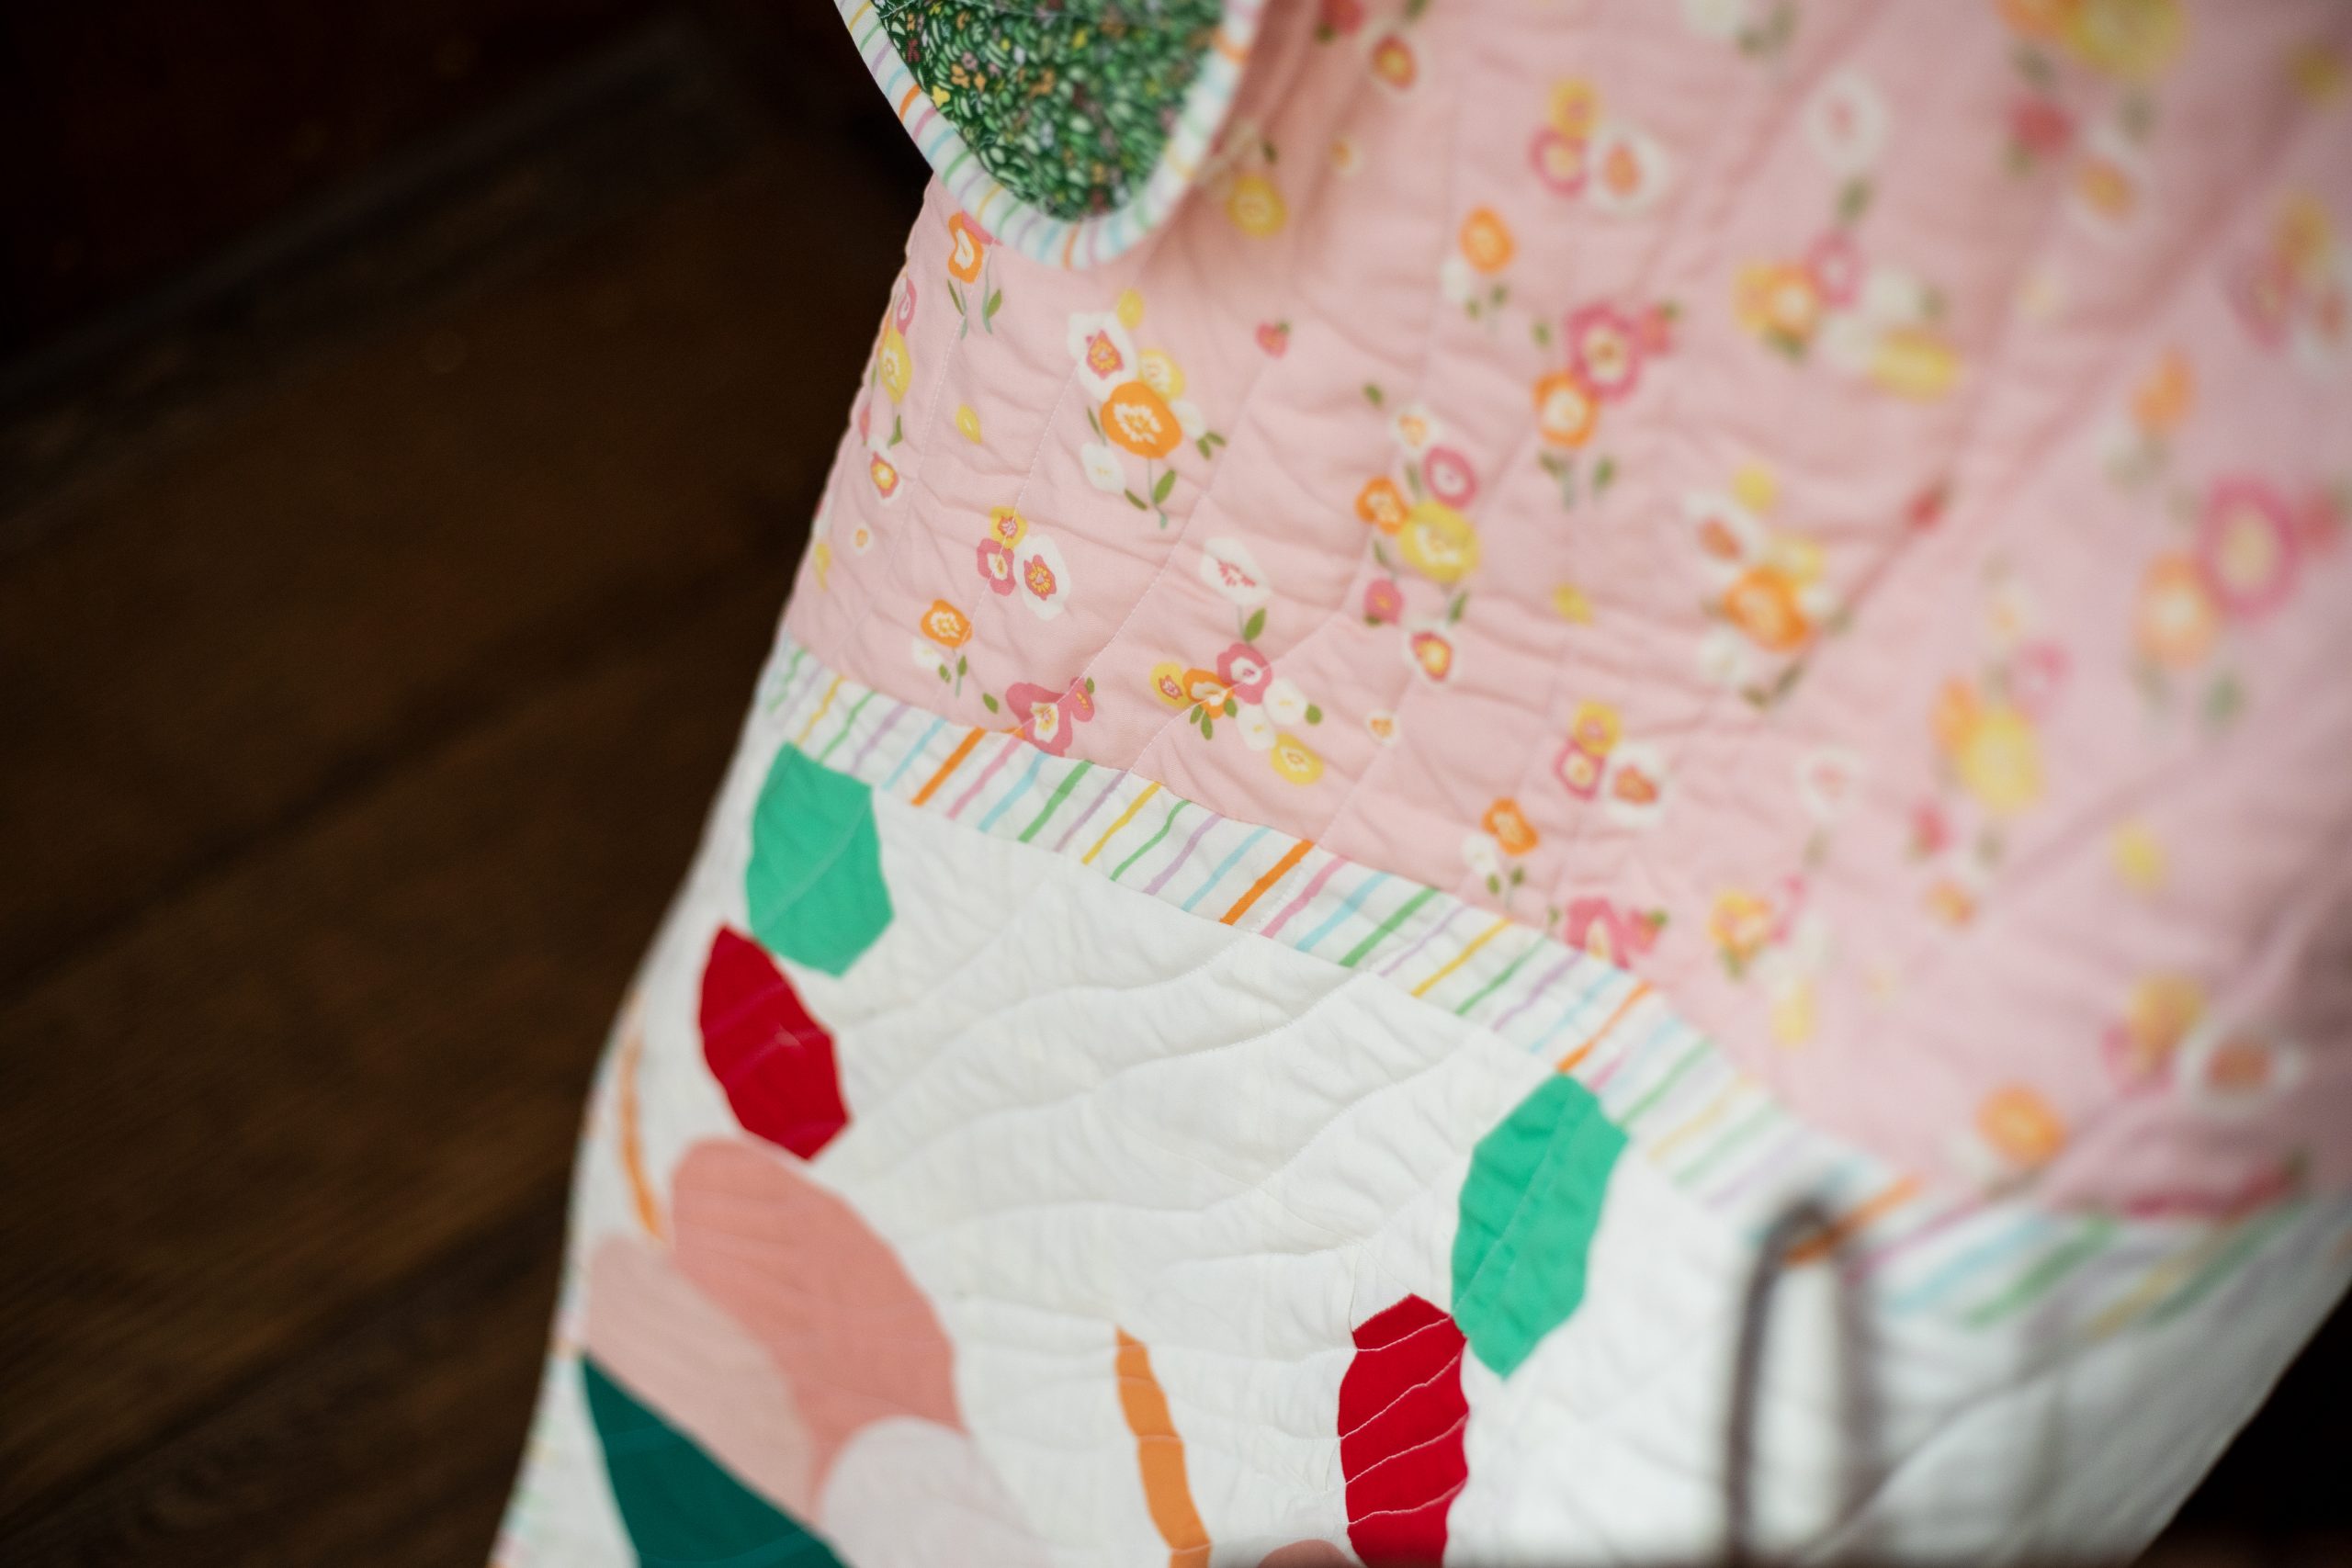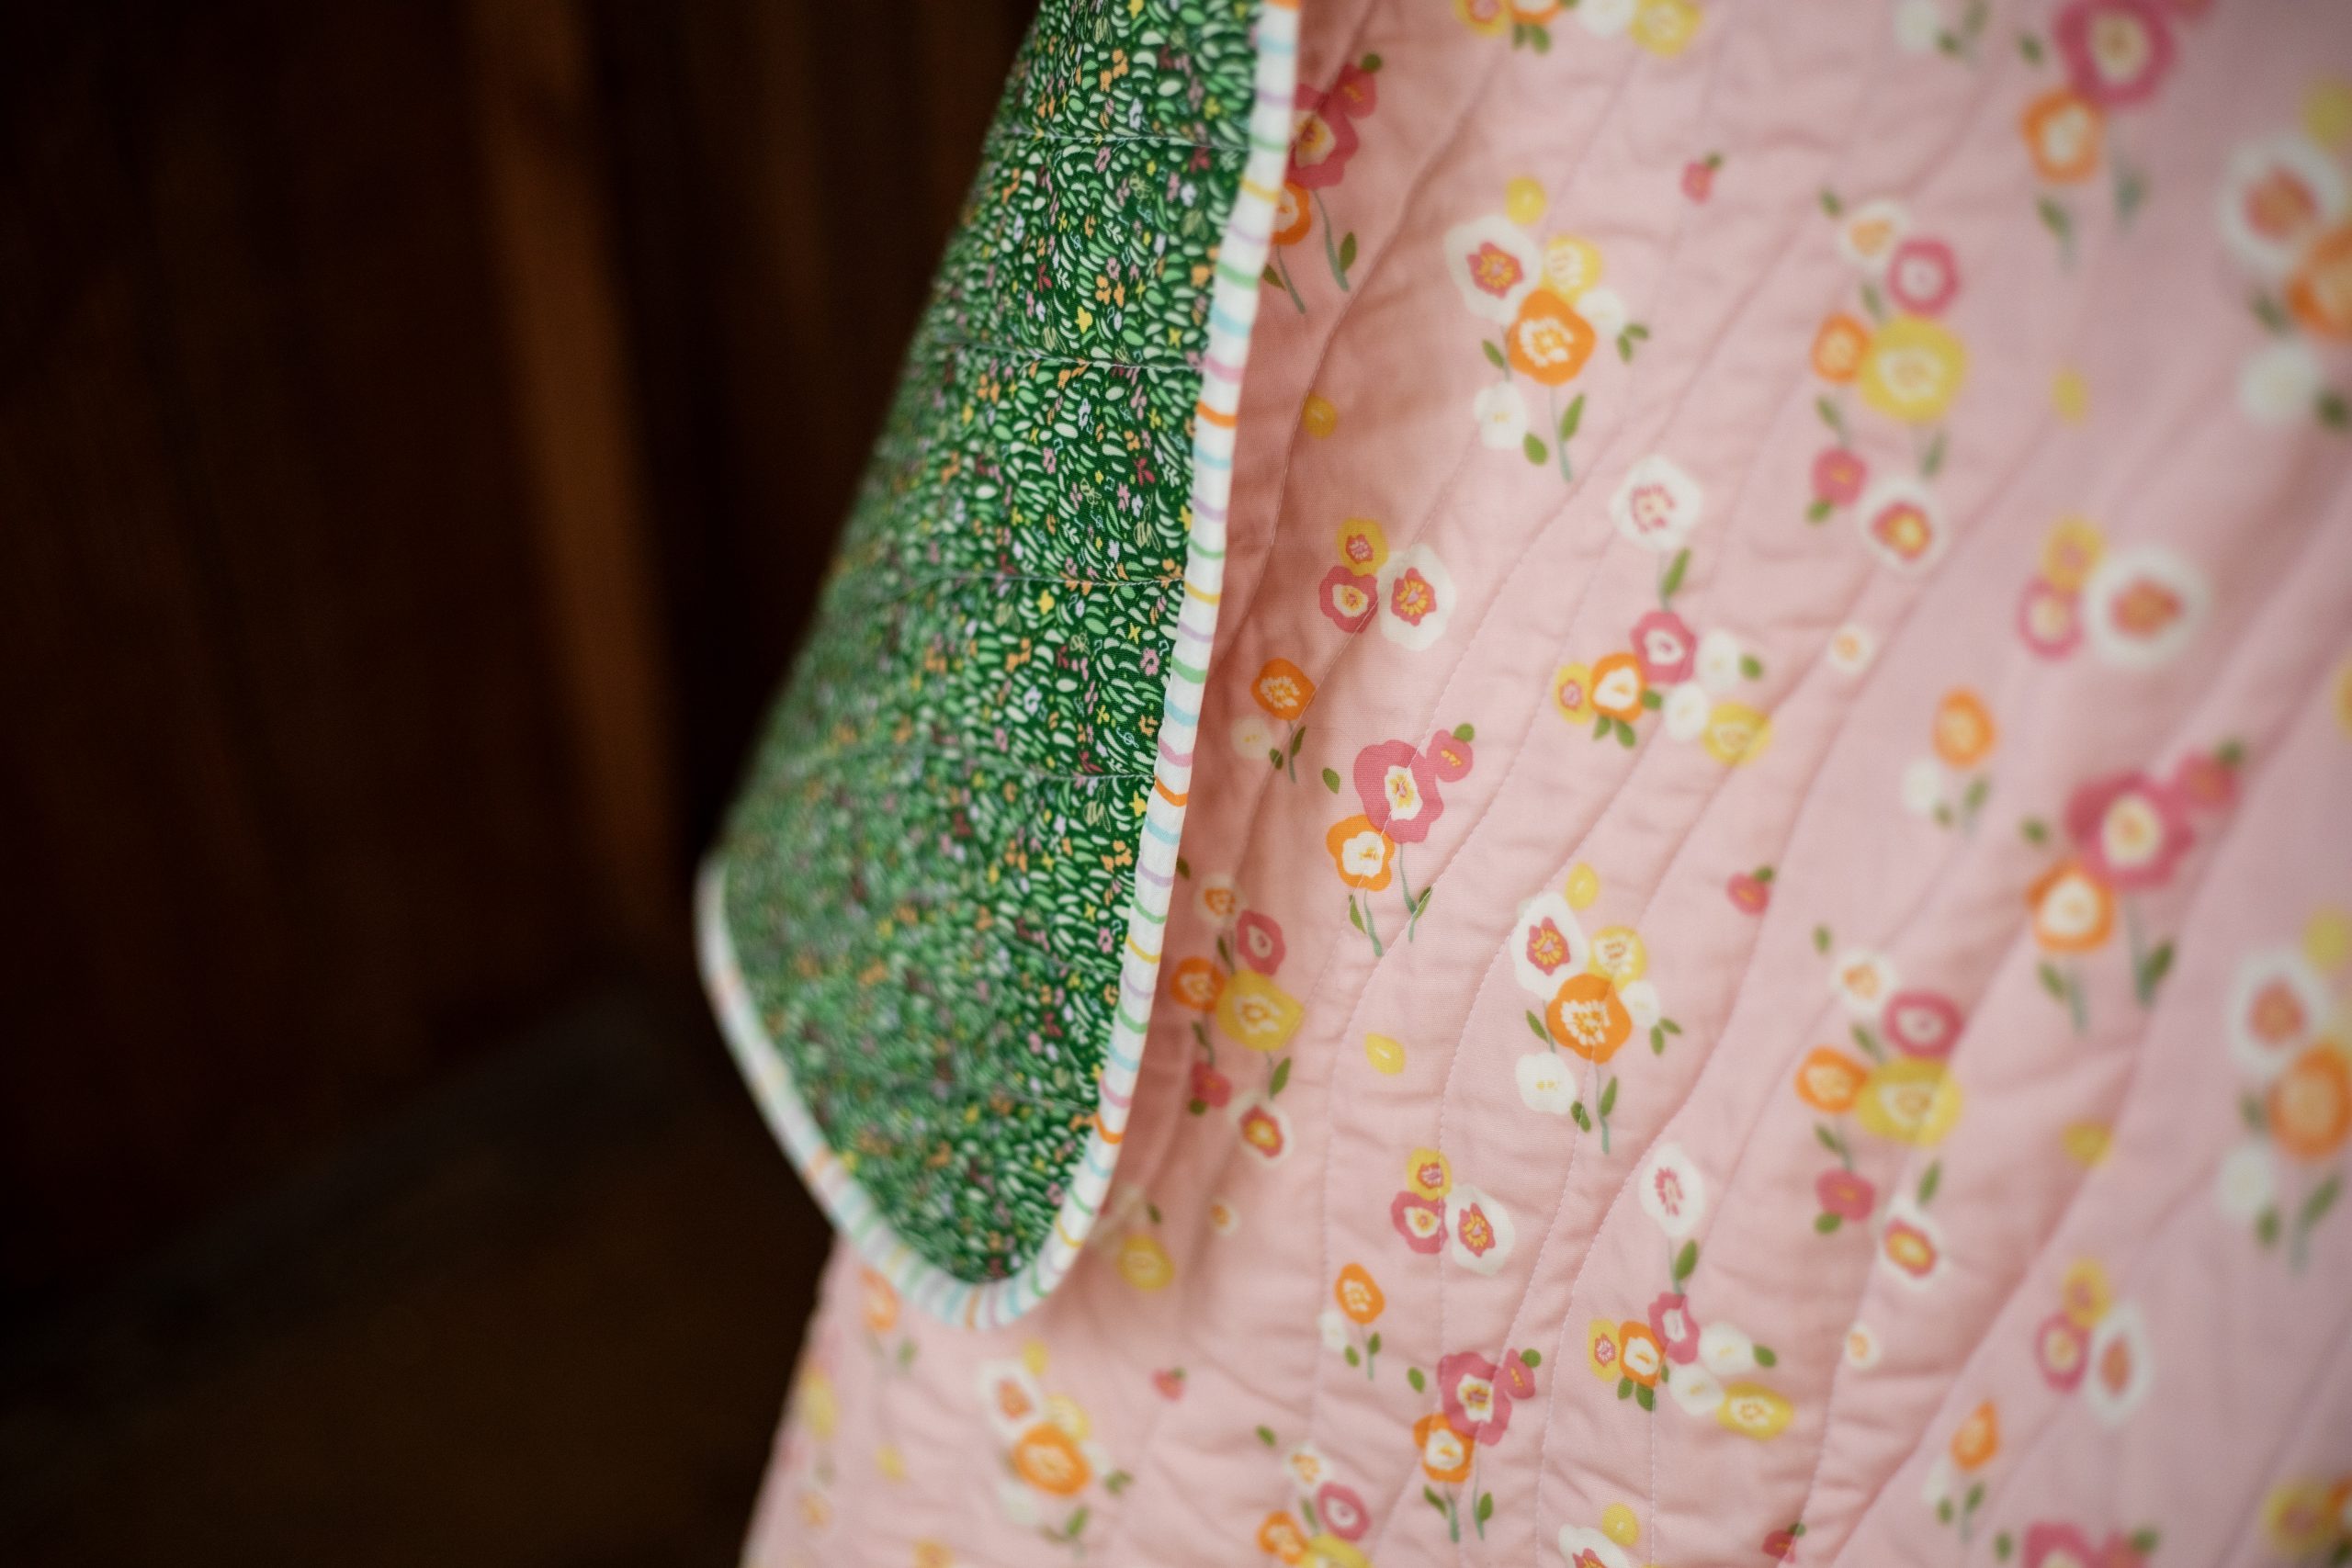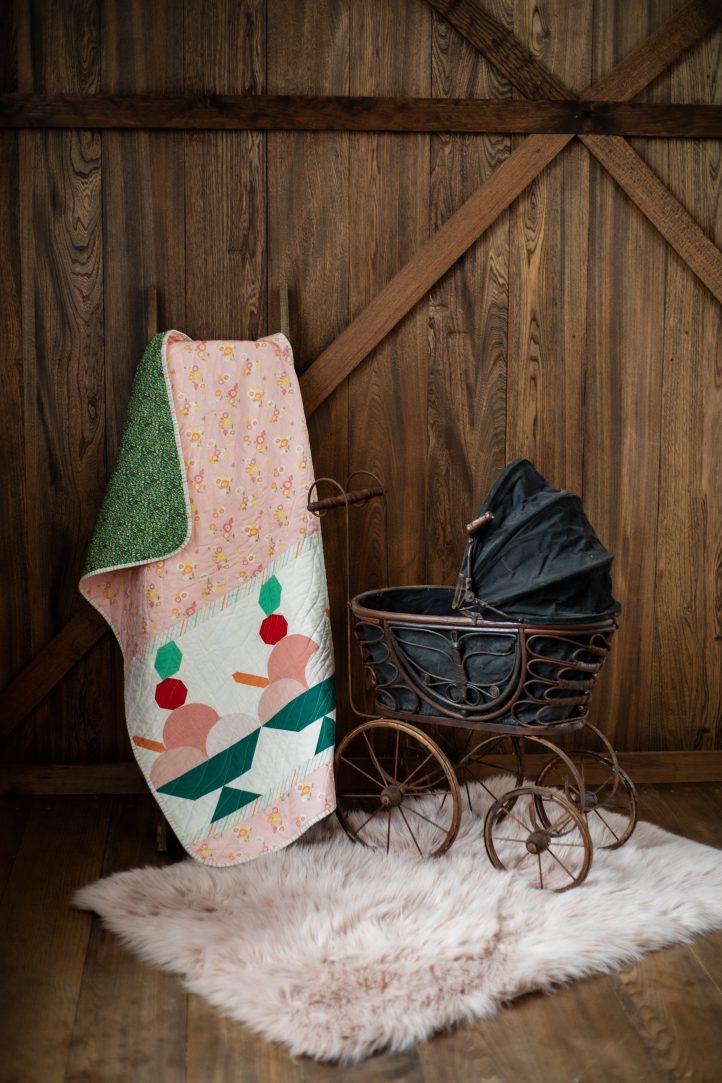
Gift your own little sweetie with a whimsical baby quilt pattern made with love. This ice cream baby quilt pattern from Debbie von Grabler-Crozier is made using fat eighths in shades of spring pink and uses drunkard’s path units to create the quilt’s curved pieces. Finish your ice cream sundaes with a quilted cherry on top, floral backing and colorful binding.
Designer Note: Seam allowances are all 1/4” and have already been added.
Materials:
Note: All fabrics pictured are from Art Gallery Fabrics.
- 1 yard floral fabric for the background. The designer chose Sweet Florets Rose from the Lullabee collection by Patti Basemi for AGF.
- Solid fabrics in the flowing colors and amounts. All are from the Pure Elements collection by AGF:
- 10” square Jade Cream for the leaf
- 1/2 yard White Linen for the dessert background
- 10” square Ruby for the cherry
- 10” square Marmalade for the wafer
- Fat Eighth Ethereal Pink for the first ice cream ball
- Fat Eighth Blushing for the second ice cream ball
- Fat Eighth Blossomed for the third ice cream ball
- Fat Eighth Peacock for the dessert bowl
- 1 1/2 yards floral fabric for backing. Debbie loves Gardenland from the Lullabee collection by Patti Basemi for AGF.
- 1/2 yard coordinating stripe fabric for the sashes and binding. Debbie’s is Rainbow Chords from the Lullabee collection by Patti Basemi for AGF.
- Interfacing: 1 yard #279 80/20 cotton mix batting (Vlieseline)
- Coordinating threads for all fabrics and trims
- Scissors
- Fabric markers
- Extra feet for your sewing machine (walking (dual) foot, for example)
- PDF Templates – These are located at the bottom of this page. Please see printing instructions below.
PRINTING INSTRUCTIONS:
Note: To download the templates, click on the pattern download button at the bottom of the page. We recommend opening your pattern download using Adobe Acrobat.
Cutting Instructions:
From the floral background fabric:
- 1 piece 31” wide x 25” tall for the upper background fabric panel
- 1 piece 31” wide x 4” tall for the lower background fabric panel
From the Jade Cream (sashes and leaf) solid:
- 3 pieces 3″ sq. for the leaf motifs
From the White Linen (dessert background) solid:
- Row 1:
- 9 pieces 3” sq. for the background squares
- 6 pieces 1 1/2” sq. for the leaf snowball edges
- Row 2:
- 6 pieces 3 sq. for the background squares
- 6 pieces 1 3/4” wide x 3” tall for the background units either side of the snowballed cherry
- 12 pieces 1 1/4” sq. for the cherry snowball edges
- Row 3:
- 3 pieces 3” sq. for the wafer units
- 3 pieces 3”sq. for the background square
- 6 pieces using Template I and II for the top ice cream ball background
- Row 4:
- 6 pieces using Template I and II for the lower left ice cream balls background
- 6 pieces using Template I and II for the lower right ice cream balls background
- Row 5:
- 3 pieces 3 1/2” sq. for the HST units
- Row 6:
- 6 pieces 3” sq. for the background squares
- 3 pieces 3 1/2” sq. for the HST units
From the Ruby (cherry) solid:
- 3 pieces 3” sq. for the cherry
From the Marmalade (wafer) solid:
- 3 pieces 1 1/4” wide x 5 1/2” long for the wafers
From the Blossomed (ice cream) solid:
- 6 pieces using Template II for the top ice cream ball
- 6 pieces using Template I for the bottom of the top ice cream ball (background, Row 4)
From the Blushing (ice cream) solid:
- 6 pieces using Template II for the left hand ice cream ball
From the Ethereal Pink (ice cream) solid:
- 6 pieces using Template II for the right hand ice cream ball
From the Peacock (bowl) solid:
- 3 pieces 3 1/2” sq. for the HST units, Row 5
- 6 pieces 3” sq. for the middle of the bowl, Row 5
- 3 pieces 3 1/2” sq. for the HST units, Row 6
From the floral backing fabric:
- 1 piece 34” wide x 50” tall
From the sash/binding fabric:
- 2 pieces 1 1/2” wide x 31” long for the sashes
- Bias tape cut 1 1/2” wide and joined to make a continuous strip 4 1/2 yards long
From the batting:
- 1 piece 33” wide x 49” tall
Sewing Instructions:
PREPARATION:
The quilt has three dessert blocks which are constructed in squares and each one is ‘read’ in rows. There is no paper piecing. Instead, we use snowball techniques for the leaf and the cherry, Half Square Triangles (HSTs) for the bowl base, Drunkard’s Path blocks for the ice cream balls and an easy split and join technique for the wafer. The cutting list gives the amounts for all three of the blocks.
To make a dessert block:
- Row 1: Join two background squares and press the seam open. Add the snowballed leaf and another background square. Press all seams open.
- To snowball the leaf, attach a background square to the top right hand side of the jade cream square with a diagonal seam.
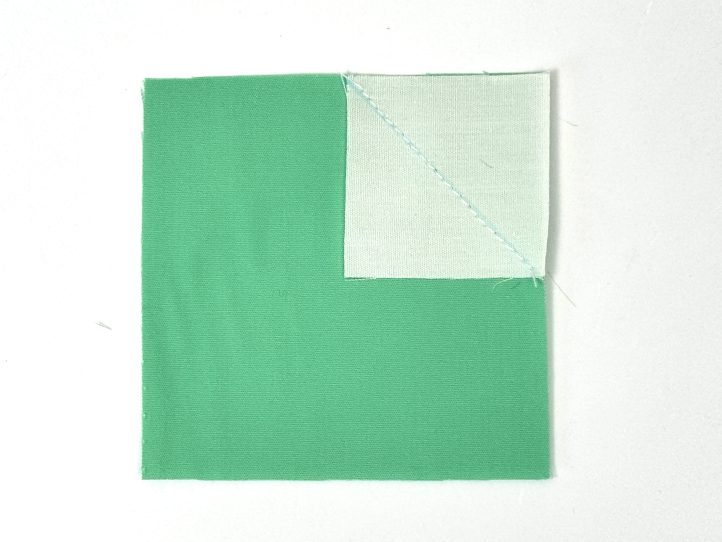
- Trim the seam allowance to 1/4”.
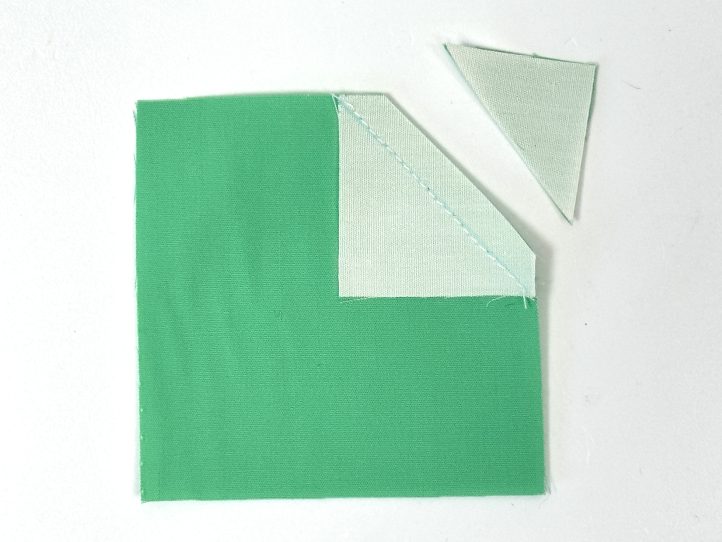
- Open the snowballed background part out and press the seam open.
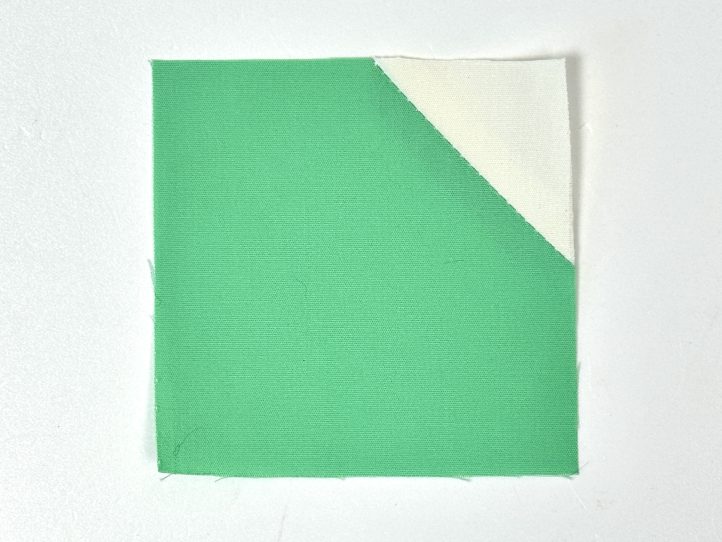
- Add the other snowball square to the left hand side corner and repeat.
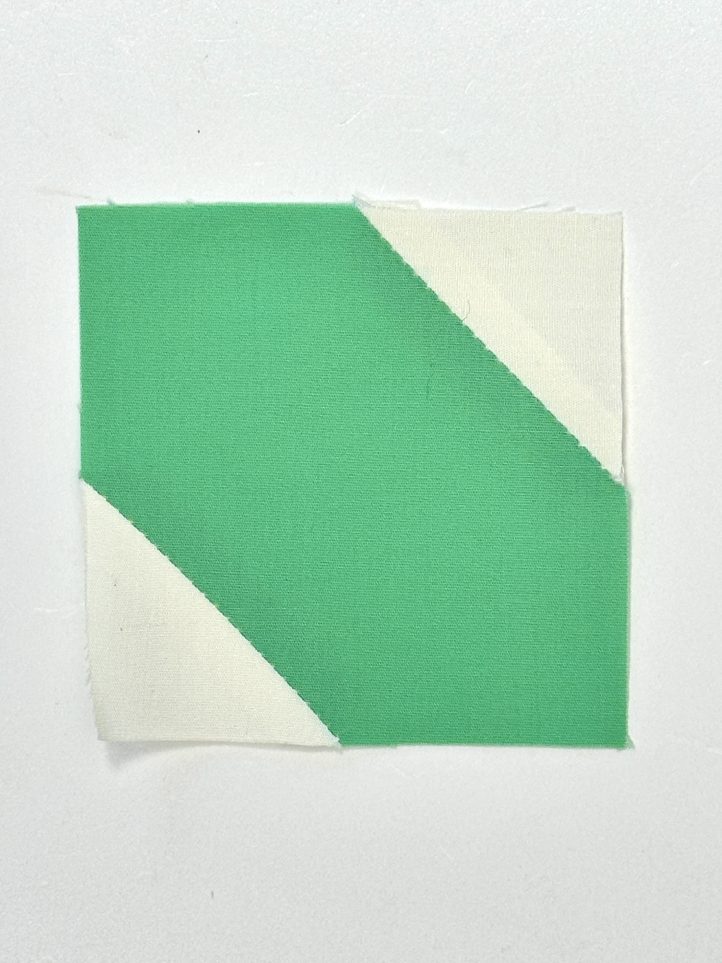
- Row 2: Snowball the cherry using the same technique as above (but this time snowballing all four corners) and add a smaller strip to the left and right hands sides of the cherry. Build the row with a background square, the snowballed cherry unit and another background square.
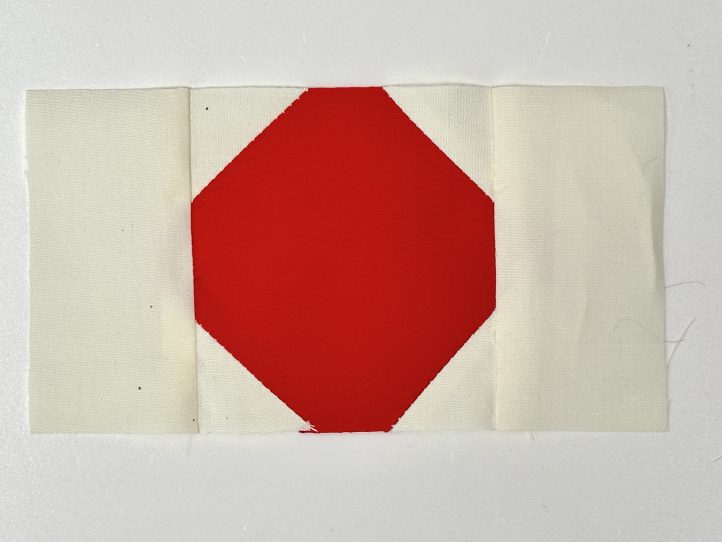
- TIP: Row 2 is actually the only row where there is a unit not measuring exactly 3” sq. Nevertheless, the whole cherry unit adds up to two squares plus seam allowance to make the pattern work.
- Lining the seams up, add Row 2 to Row 1 and press.
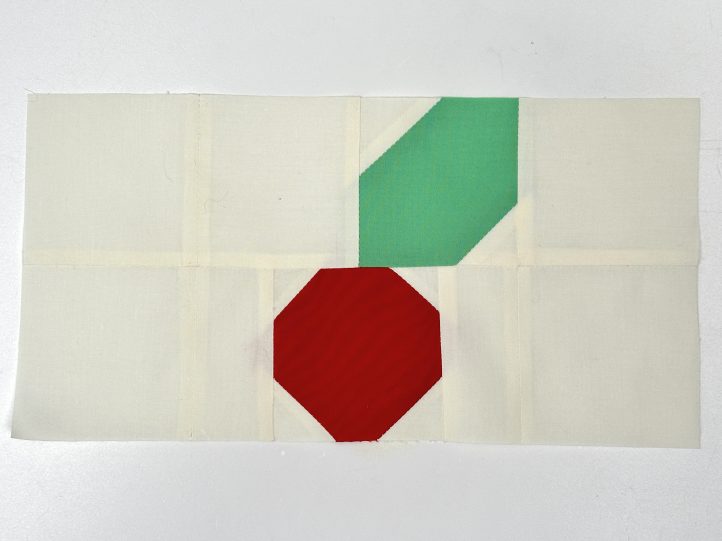
- Row 3: Contains the wafer unit, two Drunkard’s Path units to start the top ice cream ball and a background square. To make the wafer unit, cut the first background square in half diagonally.
- Sew the wafer strip to one half of the diagonally split square.
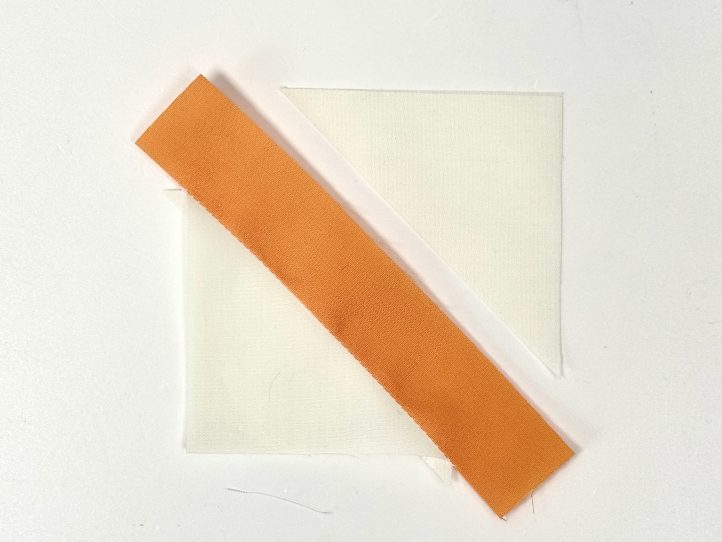
- Add the other side of the square to the remaining side of the wafer and press. Trim the square to 3”.
- To make a Drunkard’s Path unit, pin the pie shaped (Template II) section with the right sides together to the corresponding outer (Template I) section along the curve. Sew the curve, open the right way out and press. Trim to 3” sq.
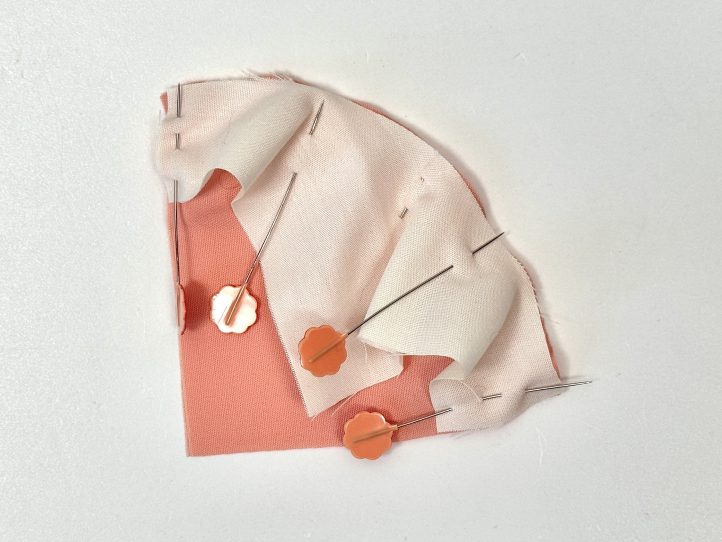
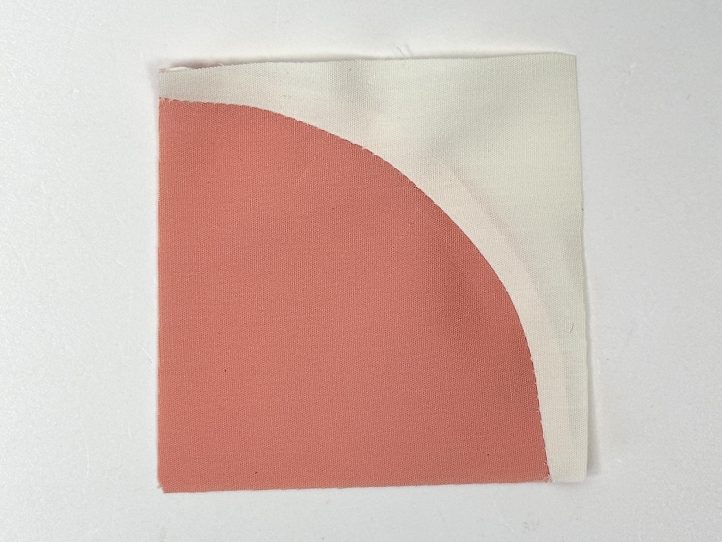
- TIP: When you trim the Drunkard’s Path square, conserve as much as the ice cream as possible by trimming mainly the background.
- Row 3 now reads – wafer unit, ice cream half, mirror image ice cream half, background square.
- Row 4: The rest of the ice cream balls made from Drunkard’s Path units.
- Row 5: A cream/green HST unit, two solid green squares and a green/cream HST unit make up the row.
- To make a HST unit, draw a diagonal line from corner to corner onto a 3 1/2” cream background square. Lay the cream square onto a green one of the same size with the line facing up.
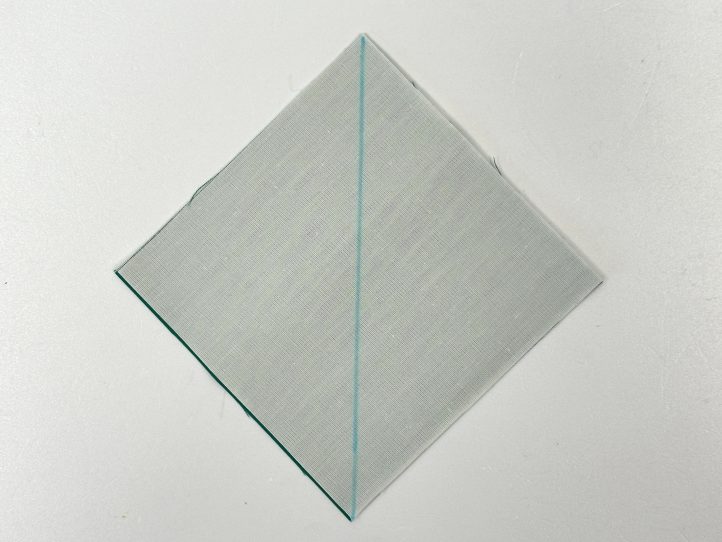
- Sew a normal seam 1/4” on each side of this line and then cut along the original line. This makes two HST units each time which is perfect for this pattern as everything is in even numbers.
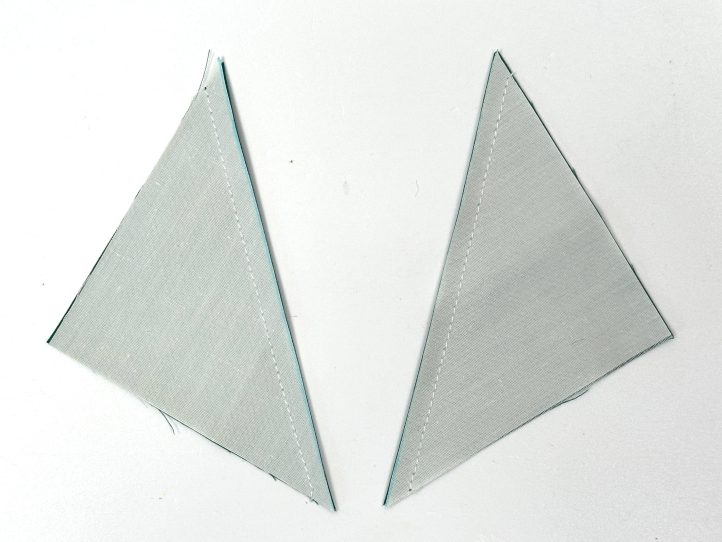
- Open the HST units out, press the seam flat and trim the unit to 3” sq.
- Row 6 is a background square, 2 green/cream HST units back to back and another background square.
- Join all of the rows together if you have not already done so and press. Trim the block and make two more ice cream sections.
- TIP: You can chain piece and make the blocks together once you know what you are supposed to do.
- To make the bias tape, fold the long strip in half, wrong sides together, length ways and press to obtain a center crease. Unfold and fold the long raw side edges to the center crease and press again.
- Re-fold along the pressed center crease and roll until it is needed.
MAKING:
- Join the dessert blocks together to make a row and press. Add a sash to the top and bottom and then the upper background panel to the top and the lower background panel underneath the bottom sash.
- Press really well and make a quilt sandwich with the backing fabric face down, the batting centered on top of it and the pieces top panel, right side up on the top. Pin or baste to keep the layers together and prevent movement in any direction.
- Quilt with your favorite pattern. Debbie loves a random diagonal wave, which is super easy to do on most home sewing machines and almost impossible to get wrong. You will need your walking (dual feed) foot.
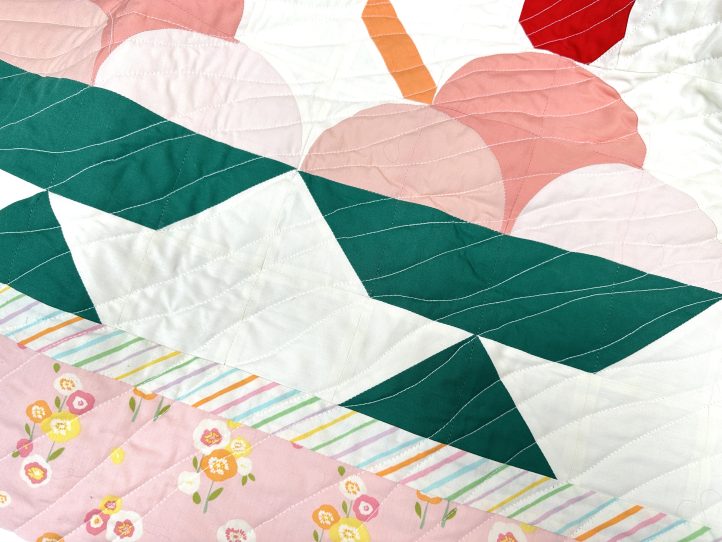
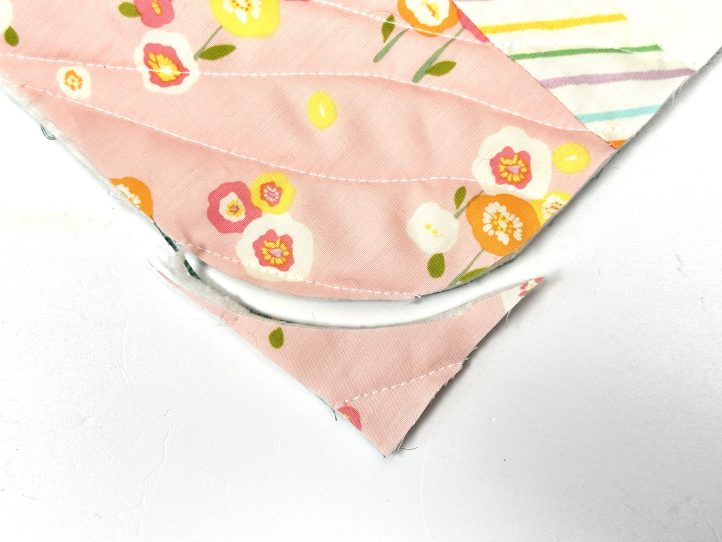
- Trim the three layers back to the same size as the pieced quilt top and round the corners using the pie shaped section of Template II.
- Bind your quilt with the bias tape.
