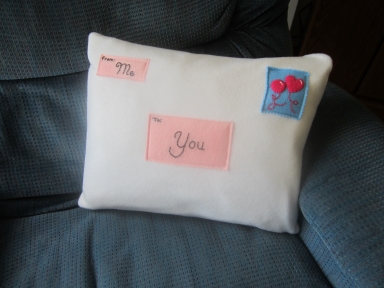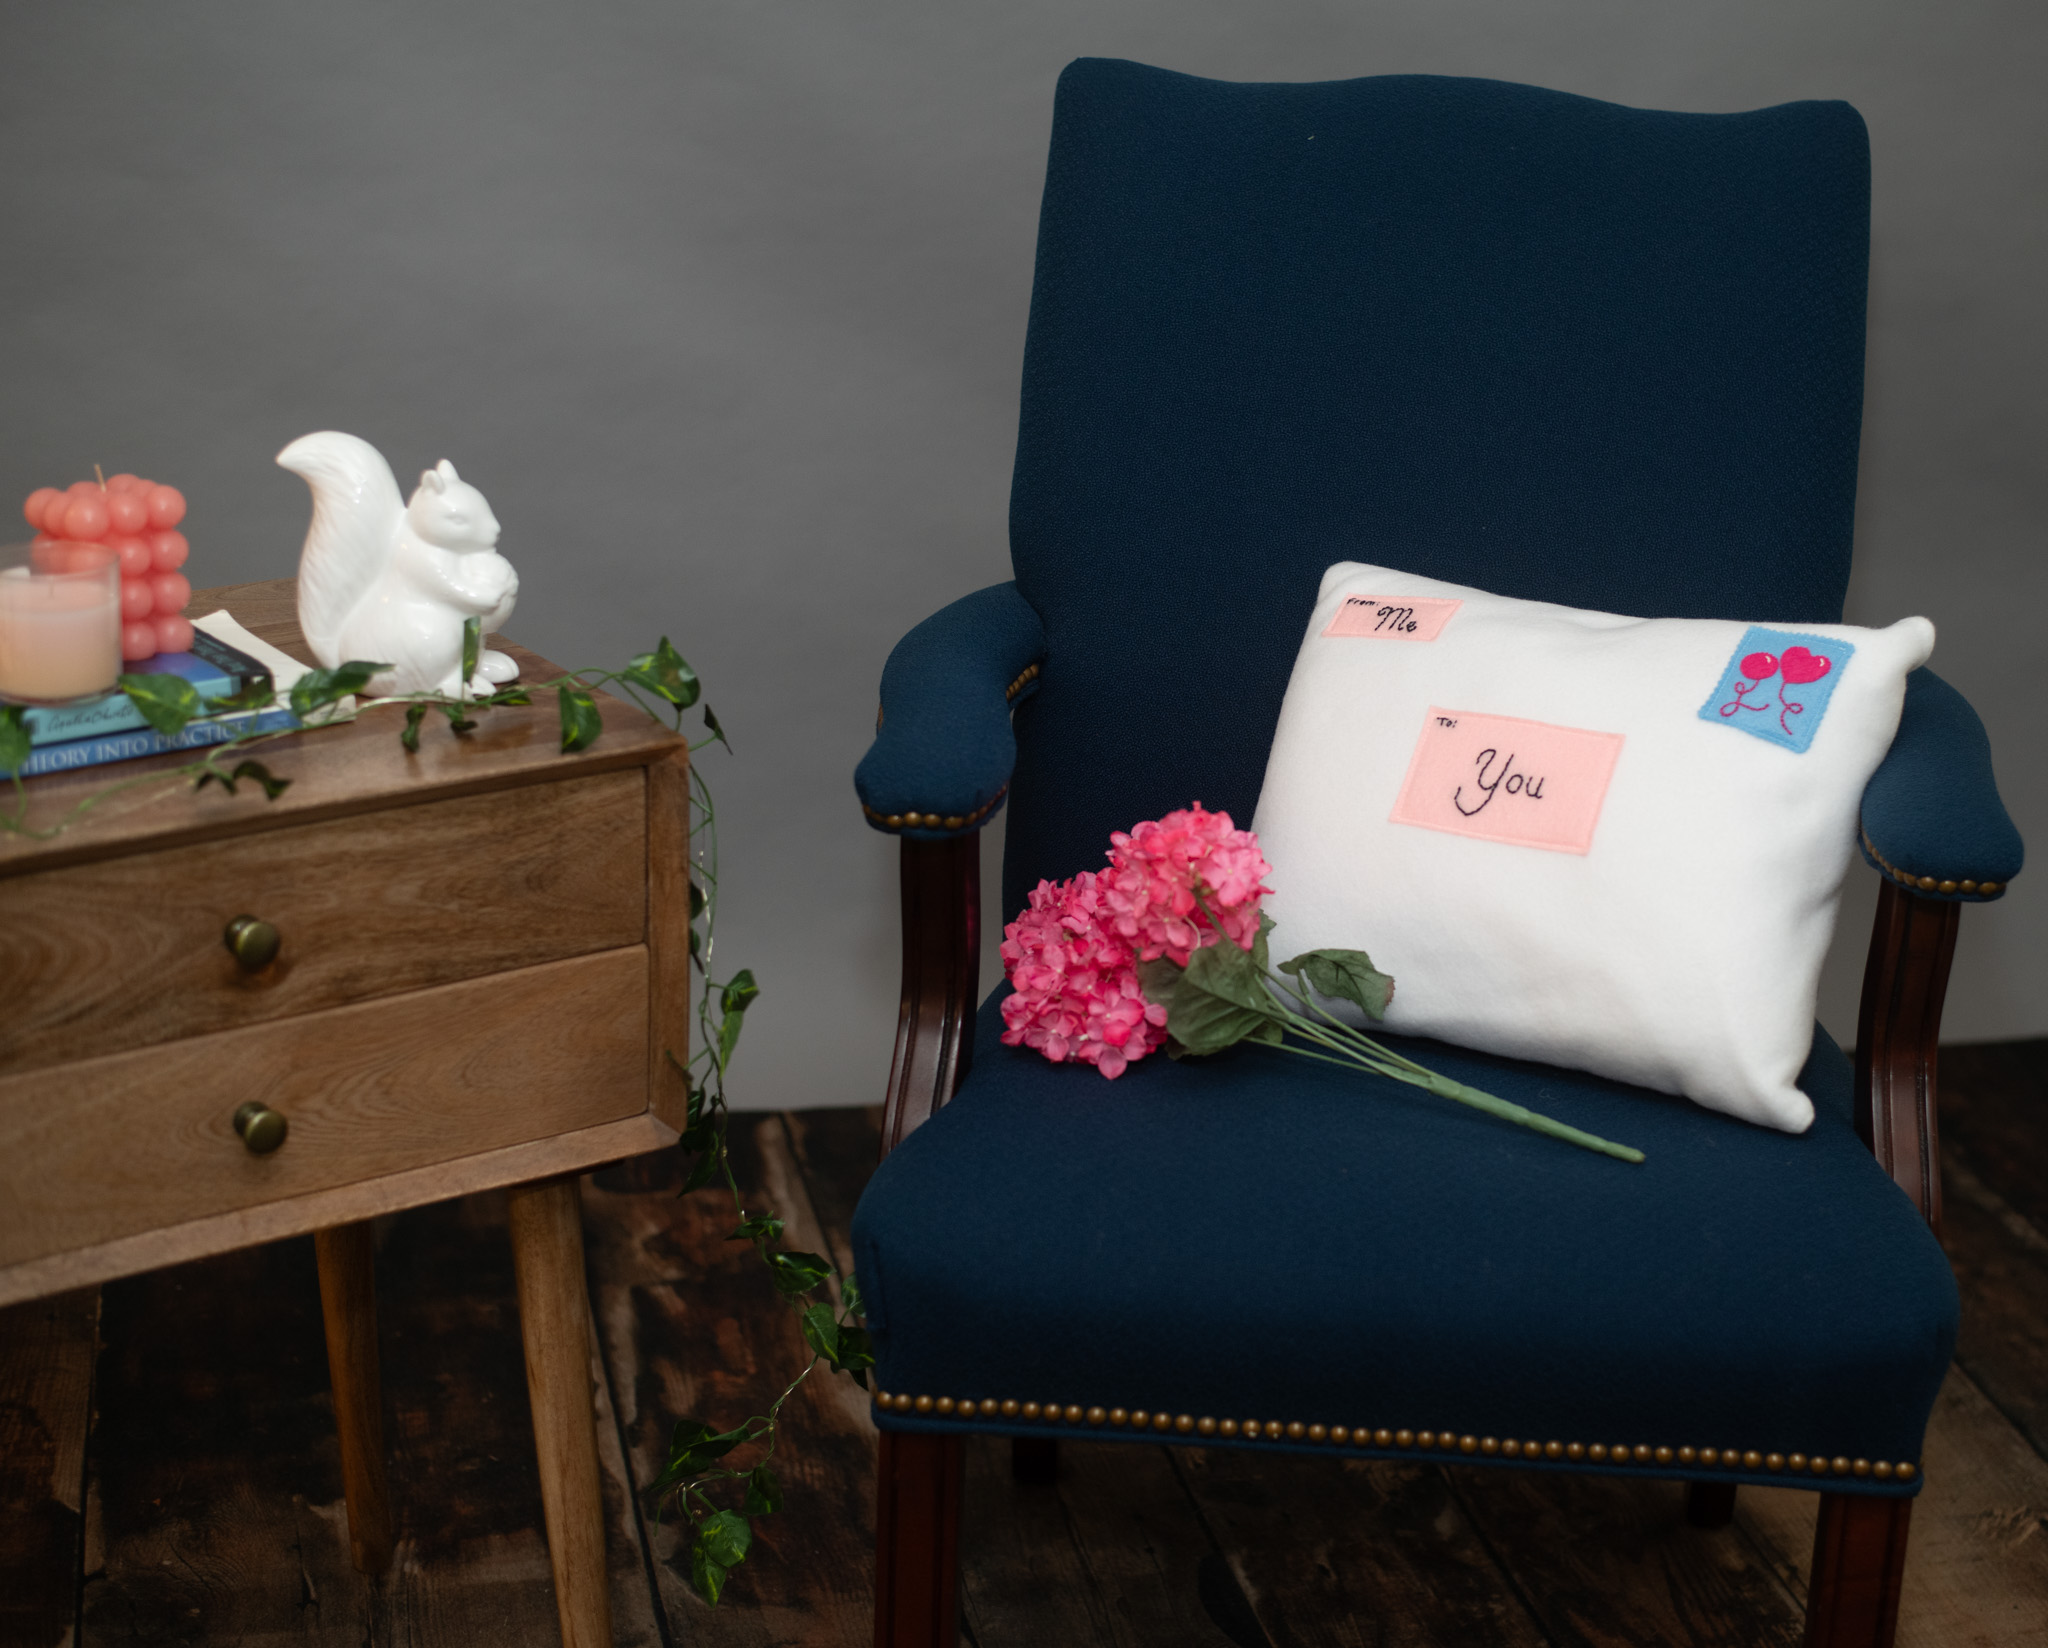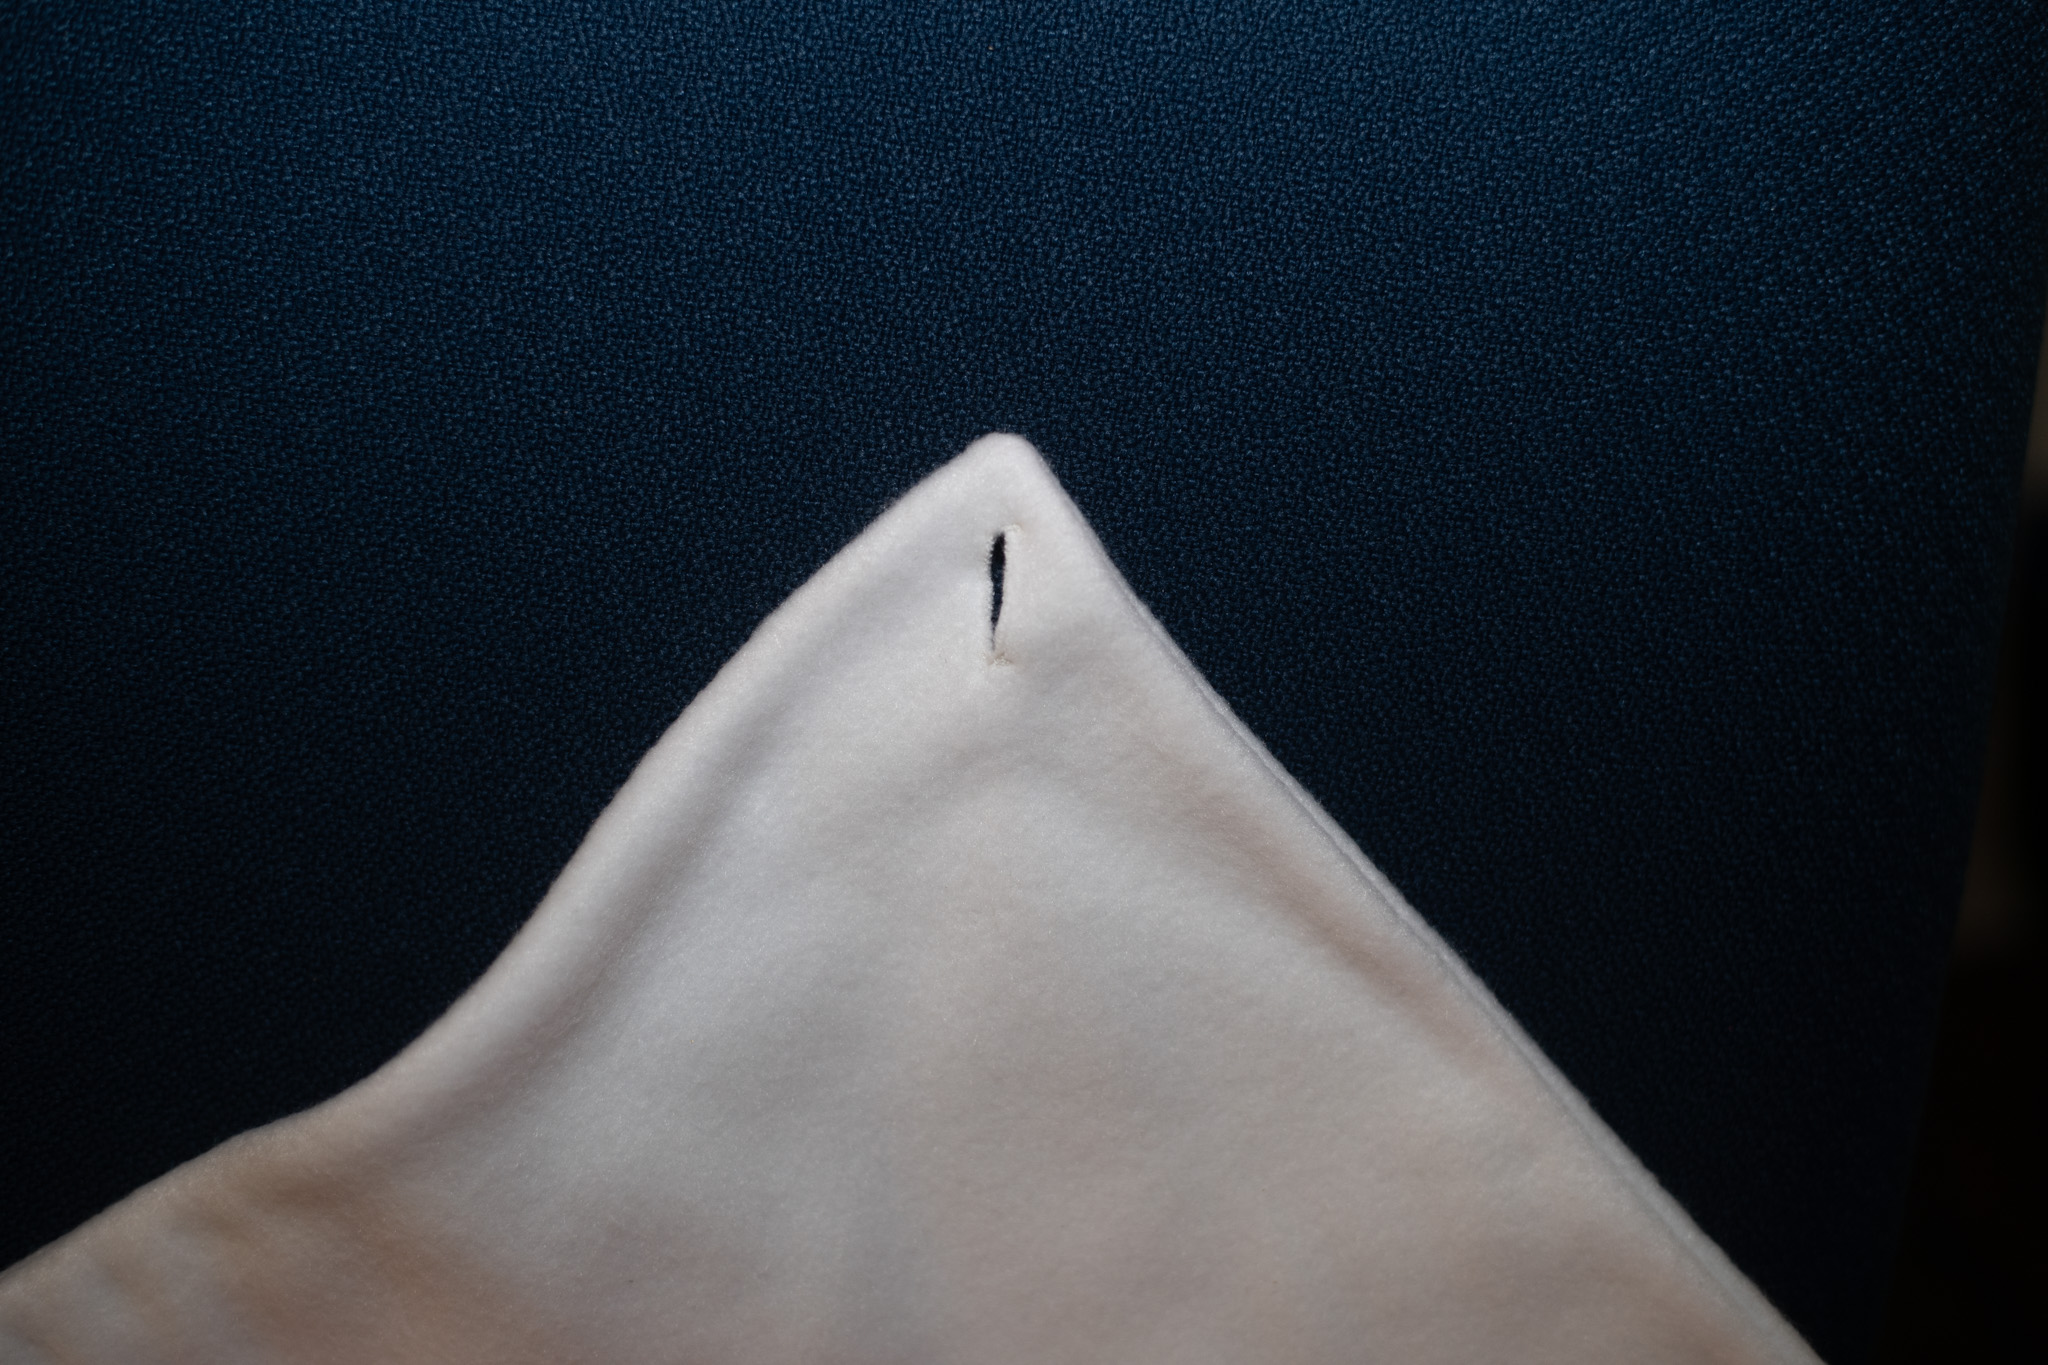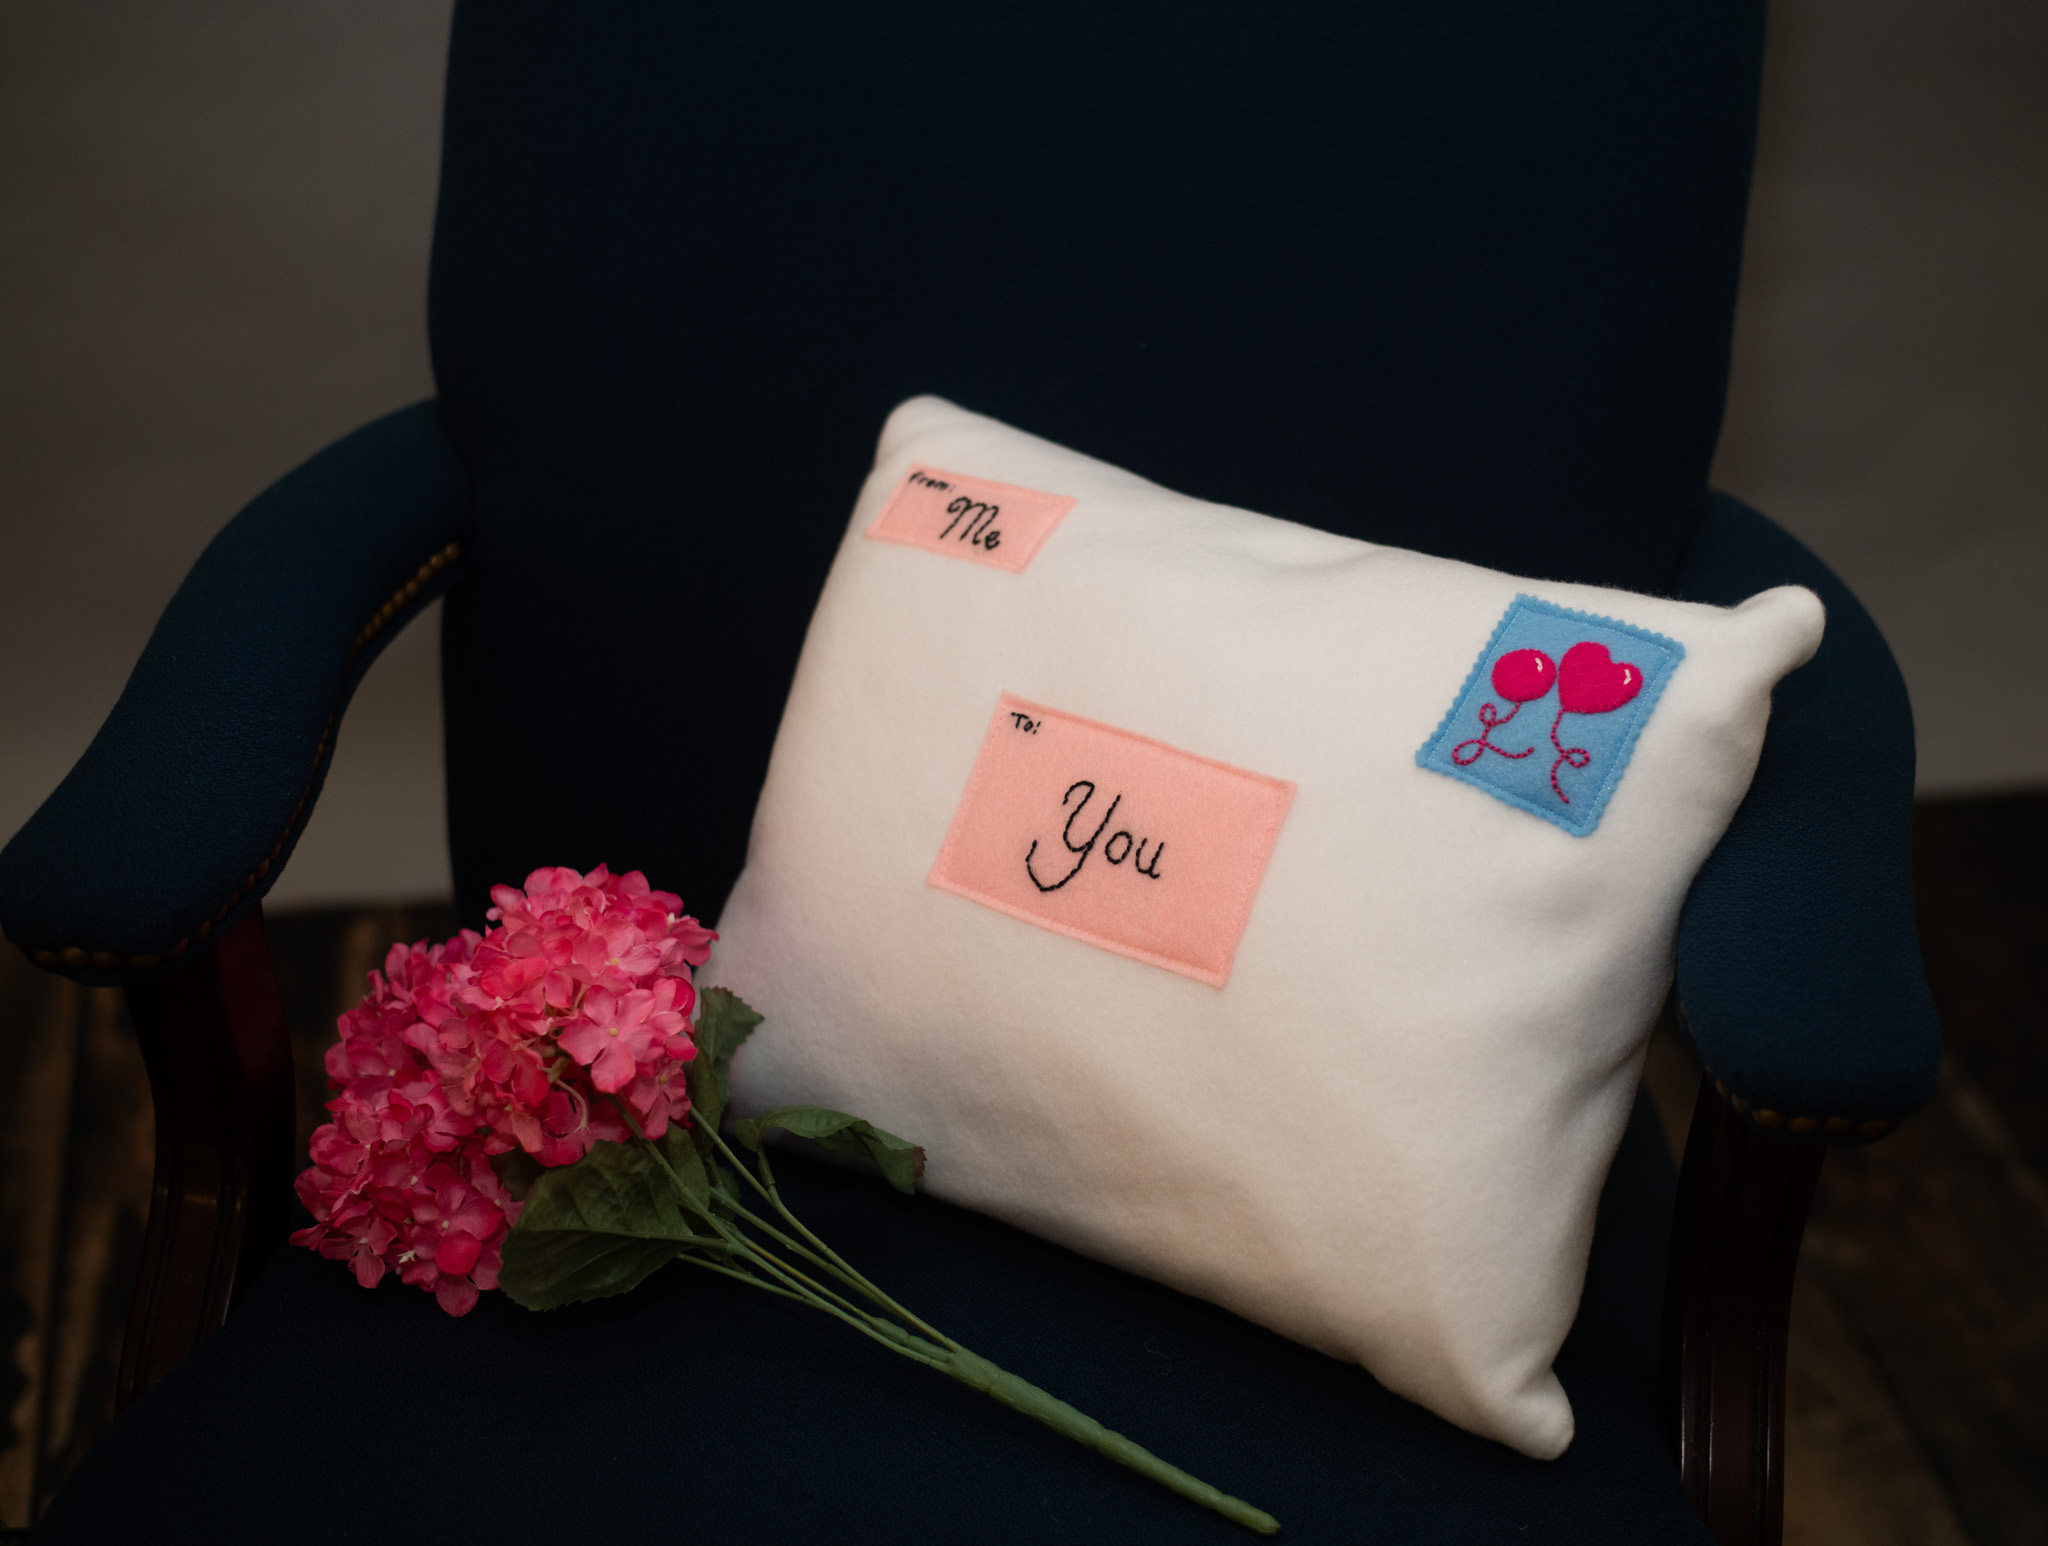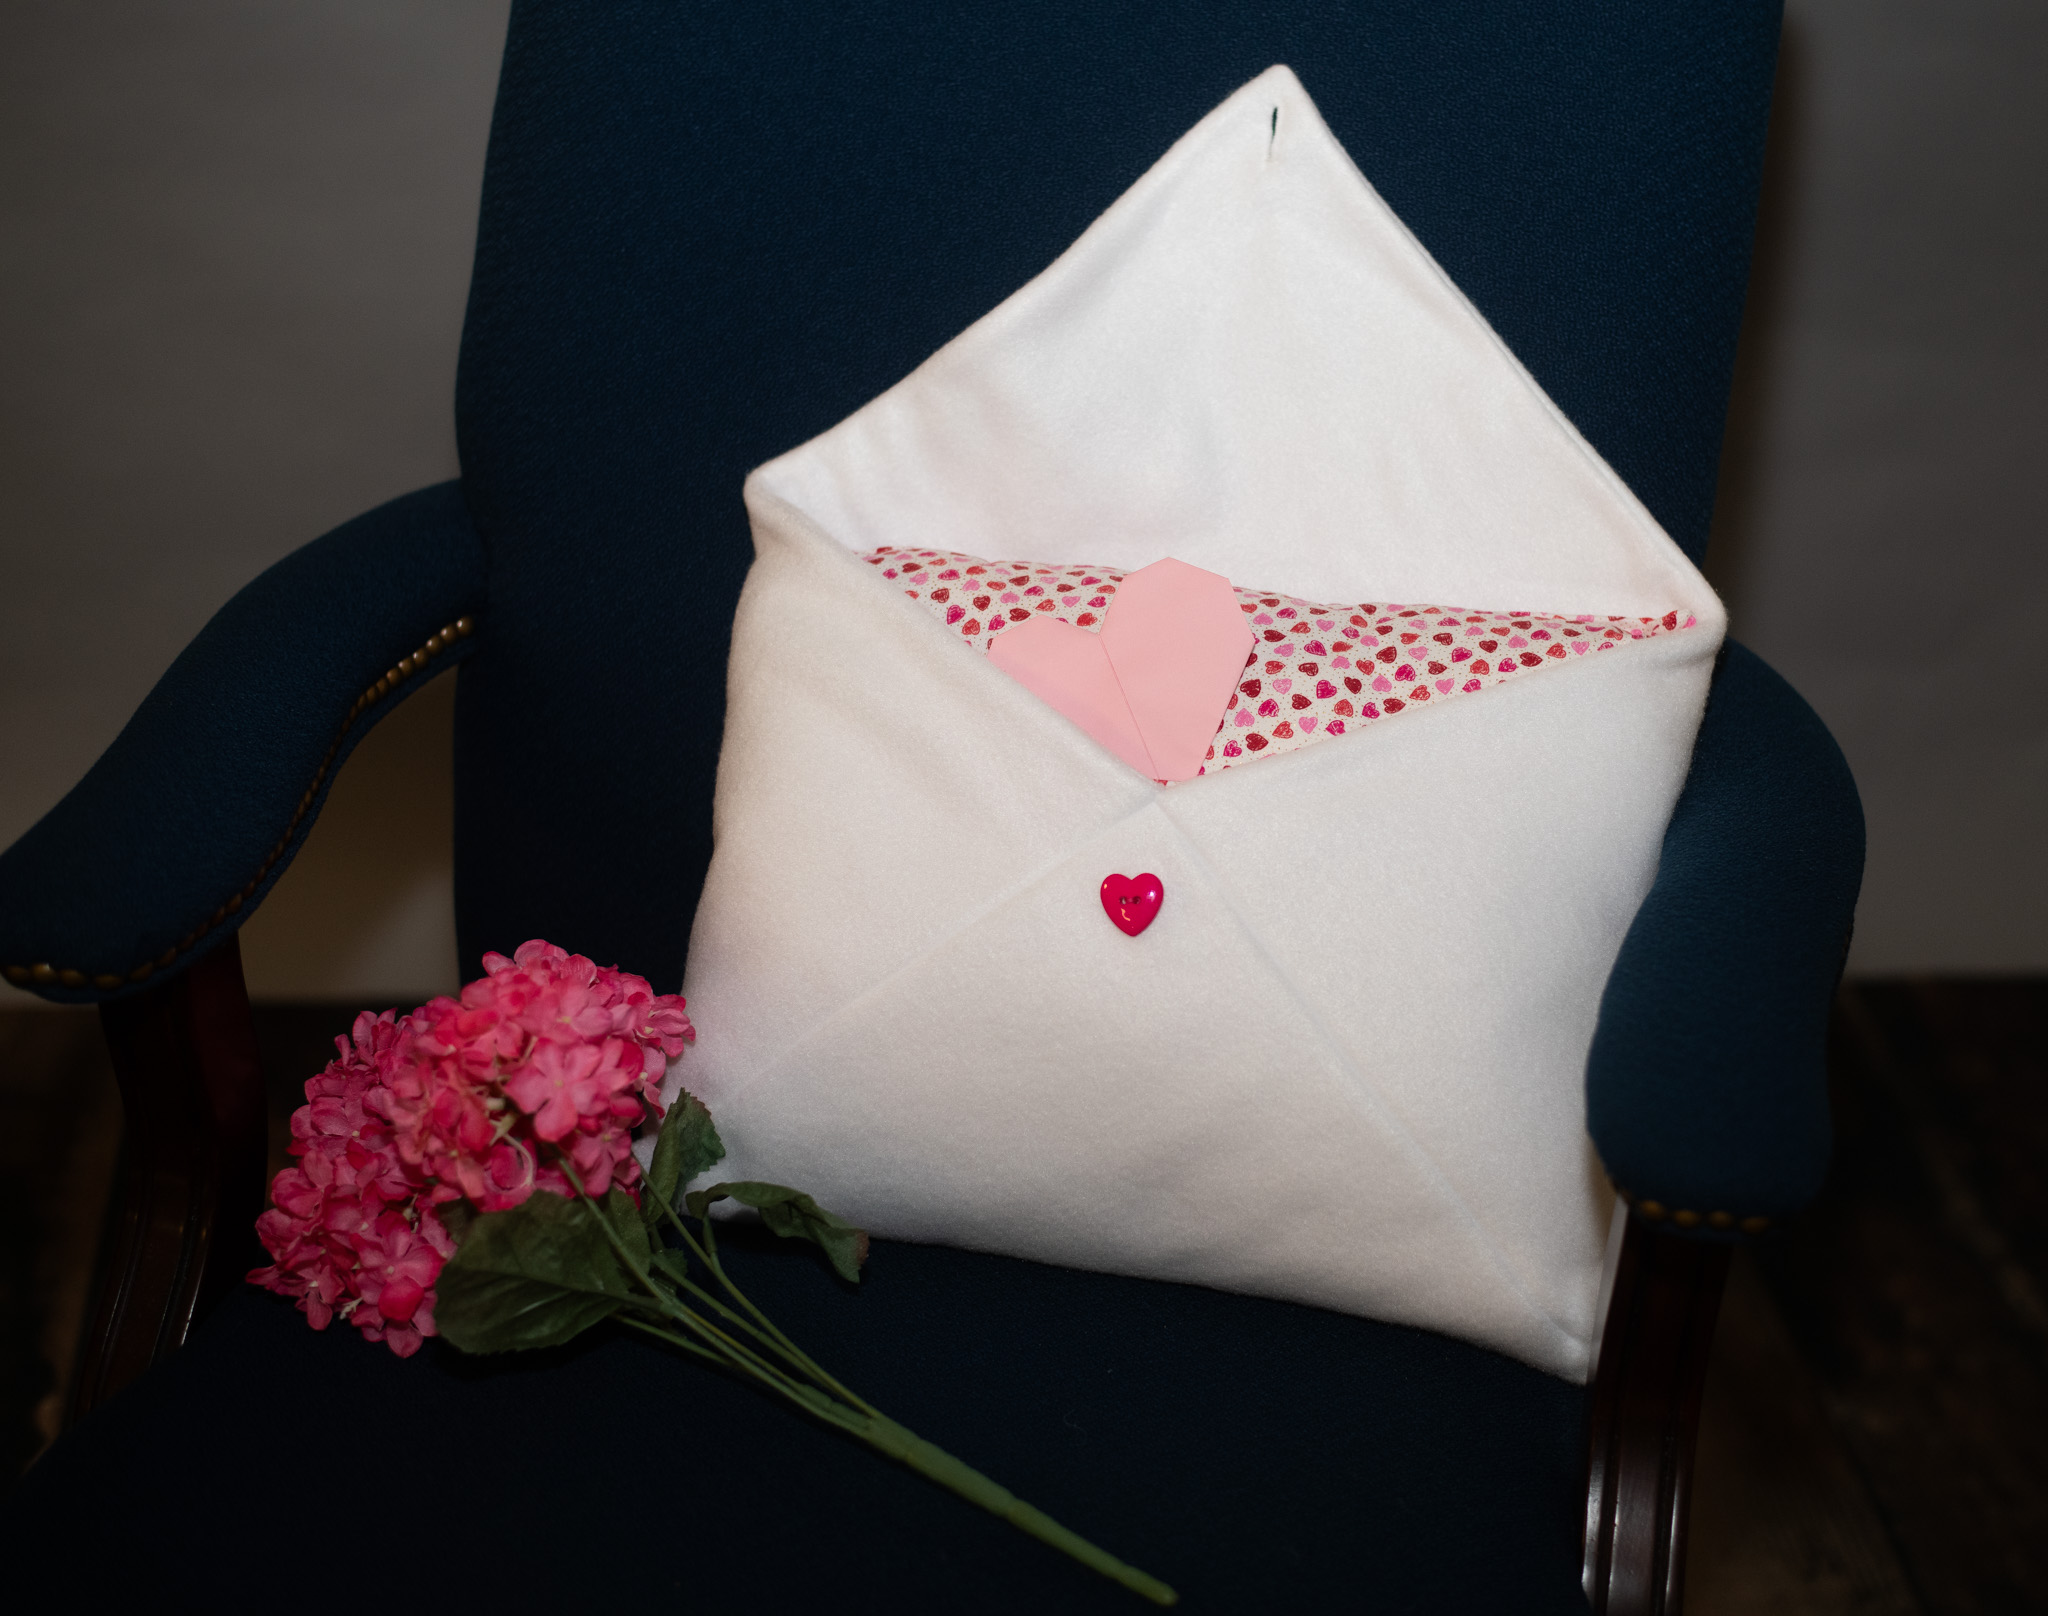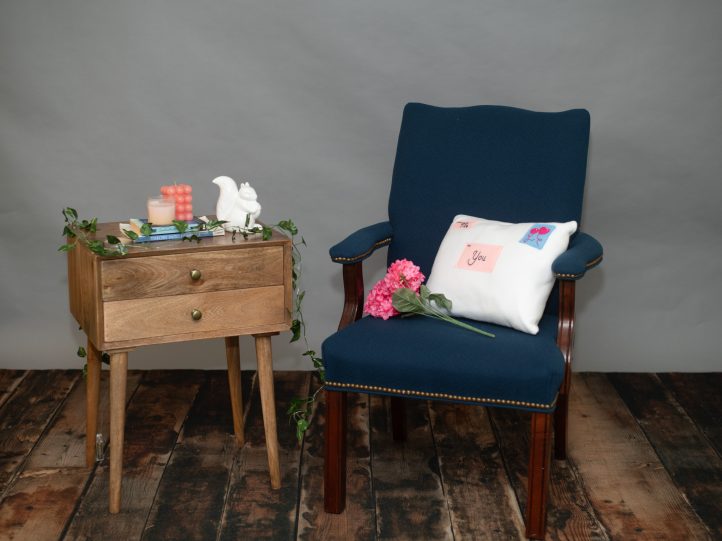
Valentine’s Day décor doesn’t get cuter than this playful throw pillow from Christy Jones! Featuring an adorable envelope design, this Valentine’s Day sewing pattern features a heart button closure at the back so that you can safely tuck away notes to your loved ones. Customize this sewn gift idea with the recipient’s name or address and finish it off with a handmade heart balloon stamp made from felt.
Skill Level: Beginning-Intermediate
Time: 3-4 hours

Materials:
- 3/4 yard white fleece
- 1/2 yard heart-themed cotton
- 12 inch x 16 inch pillow form
- Small scrap of bright pink felt for stamp balloons
- Scrap of medium or pale blue felt for stamp
- Square of light pink felt (6 inches x 6 inches or larger)
- Black, white, and bright pink embroidery floss OR fabric paints
- Fine-tipped black washable fabric marker
- 1-inch heart button
- White and bright pink thread
- Pinking shears (optional)
- PDF Pattern – This is located at the bottom of this page. Please see printing instructions below.
PRINTING INSTRUCTIONS:
Note: To download the pattern, click on the pattern download button at the bottom of the page. We recommend opening your pattern download using Adobe Acrobat.
Sewing Instructions:
PREPARE THE PATTERNS:
- Print 1 copy each of:
- envelope_abcpatterns.pdf
- envelope_defpatterns.pdf
- envelope_labelpatterns.pdf
- Cut out all the patterns.
- Overlap the upper edge of envelope top part B with the lower (gray) edge of part A. Overlap the upper edge of part C with the lower (gray) edge) of part B. Tape the patterns together.

- Assemble parts D, E, and F the same way.

- Rotate the patterns so they form a right angle.
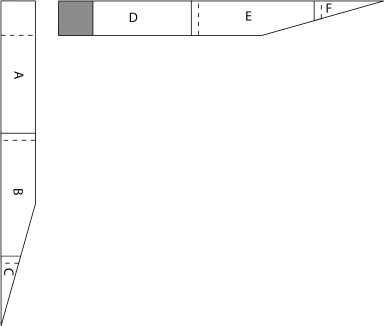
- Overlap the upper square area of pattern ABC with the gray upper square area of pattern DEF. Tape the patterns together.

Note: The envelope top is a “negative” pattern for the part of the fabric to be cut away and discarded.
SEW THE PILLOWCASE:
Cut and Hem the Fabric:
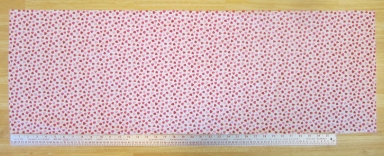
- Cut a rectangle of heart-themed cotton 13 1/2 by 40 inches. Save the leftovers for making the pocket.
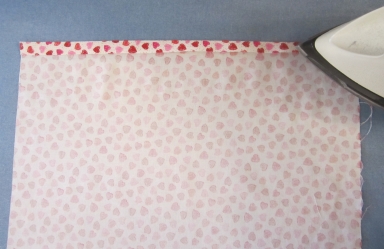
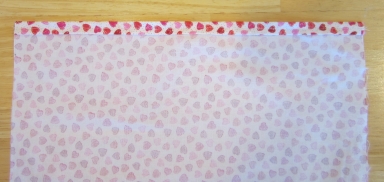
- Fold each short end over 1/2” toward the wrong side. Press.
- Fold each short end over 1/2” toward the wrong side again, enclosing the raw edges. Press.
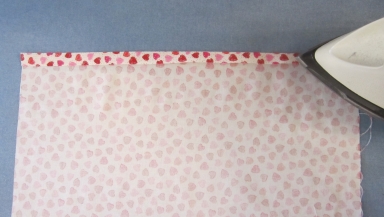
- Topstitch along each short end.
Make the Pocket:
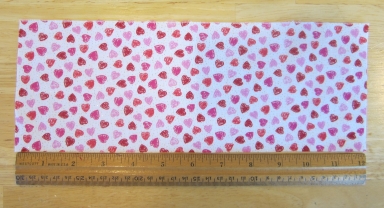
- Cut a rectangle approximately 4 1/2 by 12 inches from the leftover fabric.
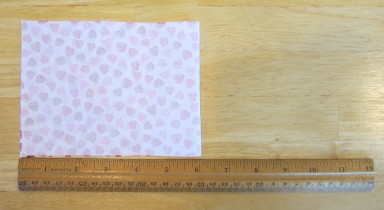
- Fold the fabric in half right sides together, so that it’s about 4 1/2 by 6 inches.
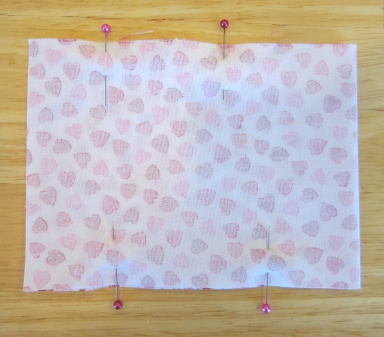
- Pin the upper and lower edges. Stitch along the upper and lower edges using 1/4-inch seam allowance. (Do not stitch the sides.)
- Turn the pocket right side out. Use a pencil or other turning tool to gently poke the corners all the way right side out. Then turn the raw edges 1/2 inch toward the inside of the pocket. Press.
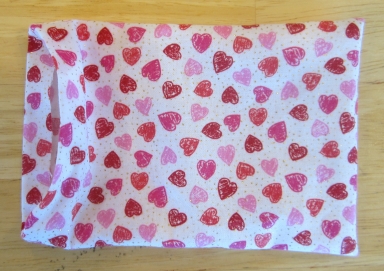
- Topstitch along the top long edge of the pocket only. (The other edges will get stitched when the pocket is attached to the pillowcase.)
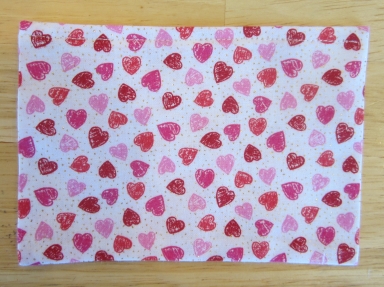
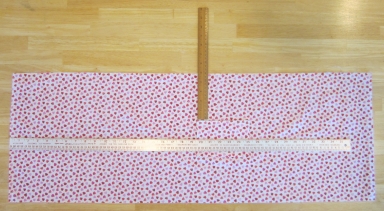
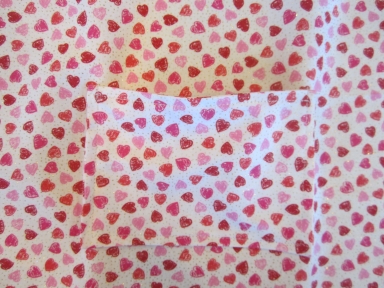
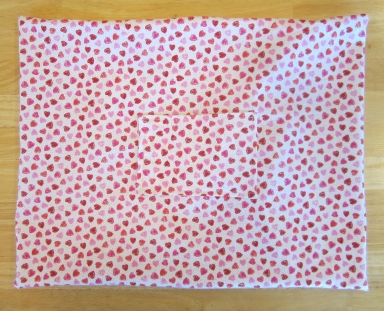
- Place the fabric right side up, with the hemmed edges on the left and right ends. Position the pocket about 13 1/4 inches from the right side and 19 1/4 inches from the left side. Center the pocket vertically, about 4 3/4 inches from the top and bottom. Make sure the pocket is positioned so that the stitched edge is at the top.
- Pin the pocket to the fabric.
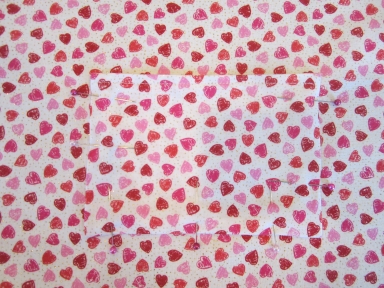
- Topstitch along the left, lower, and right sides of the pocket. Leave the top open.
Sew the Pillowcase:
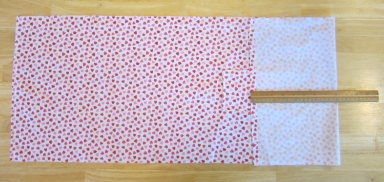
- Place the fabric right side up, with the hemmed edges on the left and right ends. Fold the right hemmed edge over 8 inches.
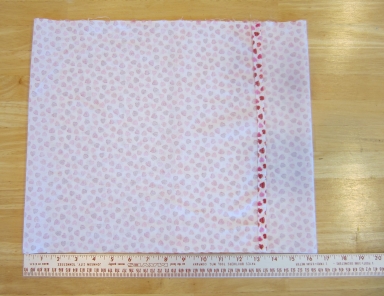
- Fold the left hemmed edge over until the fabric measures 16 1/2 inches across. (This fold will overlap the first fold.)
- Pin along the upper edges of the fabric and the lower edges of the fabric.
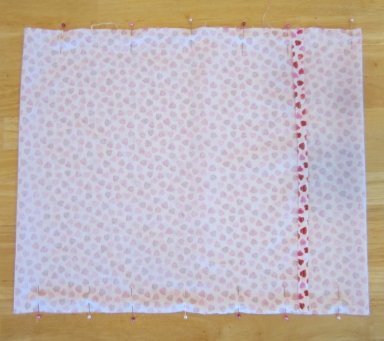
- Stitch along the upper edge and lower edge using 1/4-inch seam allowance. (Do not stitch the left and right sides.)
- Turn the pillowcase right side out (using the opening in the overlap area).
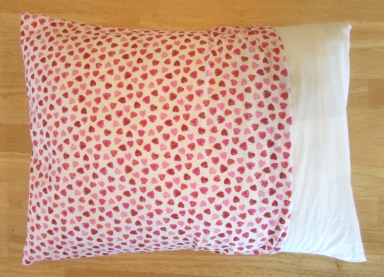
- Insert one end of the pillow form into the case through the opening in the overlap area.
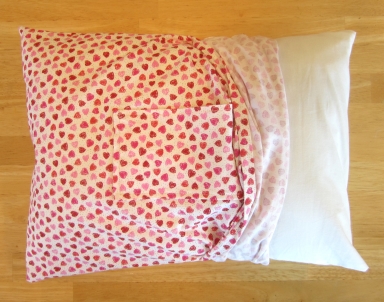
- Squish the pillow slightly to bring the other side of the overlap area over the other end of the pillow.
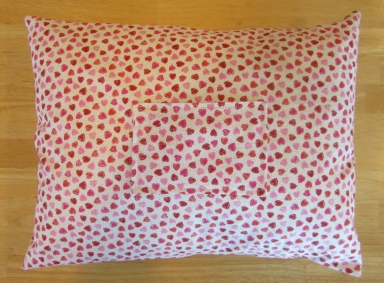
SEW THE ENVELOPE COVER:
- Cut 2 pieces of white fleece, each 24 inches square. Rotate each piece so that it looks like a diamond, with a point at the top.
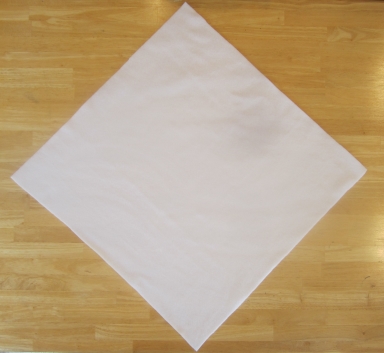
- Place the assembled envelope top on the fabric, with the square part of the pattern on the top point. Pin the assembled envelope top pattern to the fabric.
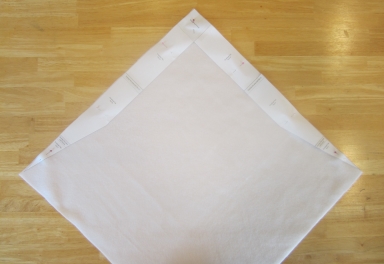
- Cut away and discard the area covered by the pattern.
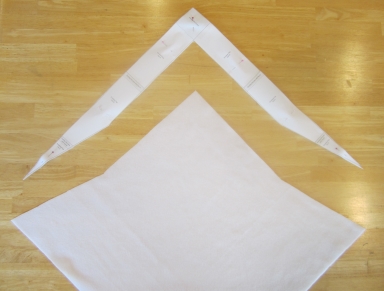
- Use the envelope top pattern to cut away the top of the second piece of white fleece the same way.
- Place the two pieces of fleece right sides together, and pin them together along the top edges.
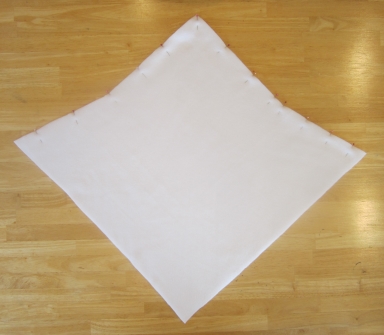
- Sew the top edges together using 1/4-inch seam allowance. (Use white thread—bright pink thread shown here for visibility.)
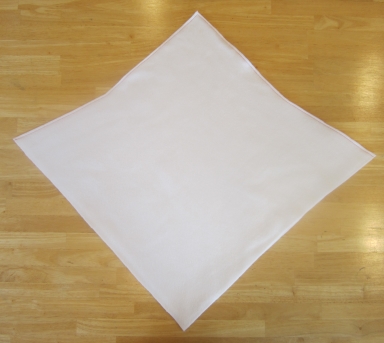
- Turn the envelope right side out. Pin the lower (unstitched) edges of the envelope together.
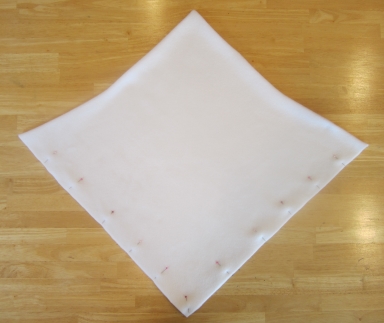
- Baste along the lower edges of the fleece using scant 1/4-inch seam allowance (as close to the edge as possible). This will hold the layers together for the next step.
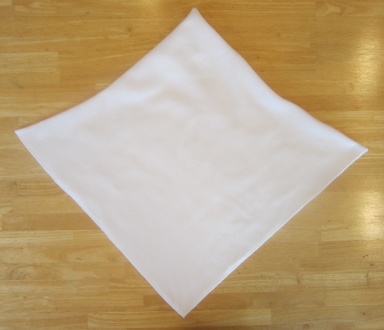
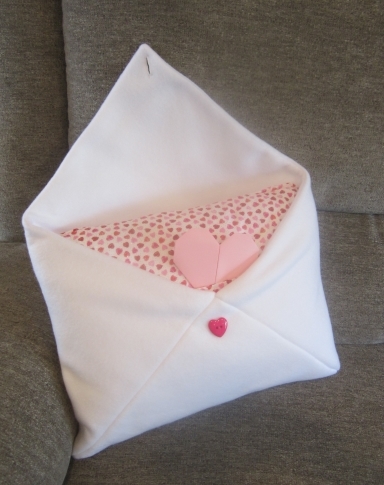
- Fold the bottom corner of the envelope up toward the middle.
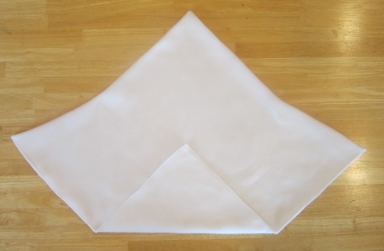
- Fold the left corner toward the middle.
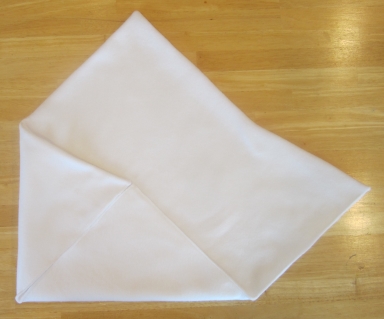
- Fold the right corner toward the middle. Adjust the folds as needed so that the envelope flaps line up.
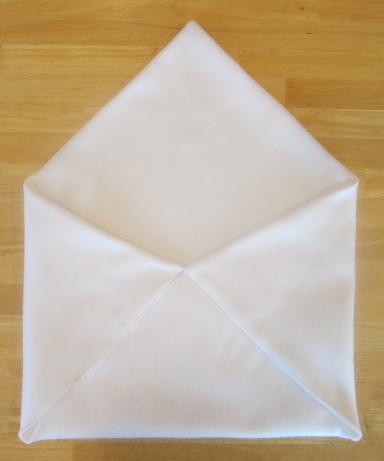
- Pin the left, bottom, and right flaps together.
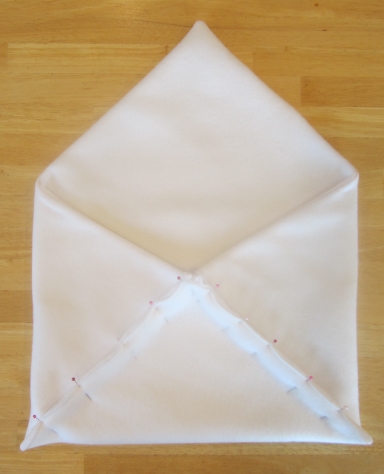
- Stitch along the areas where the left, bottom, and right flaps meet using 3/8-inch seam allowance.
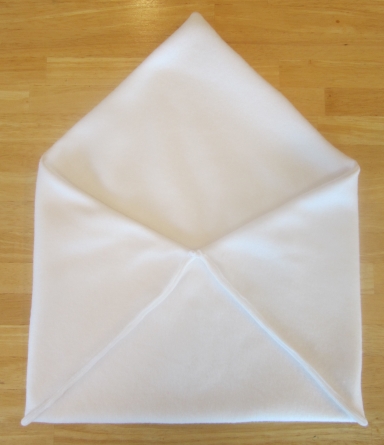
- Turn the envelope right side out.
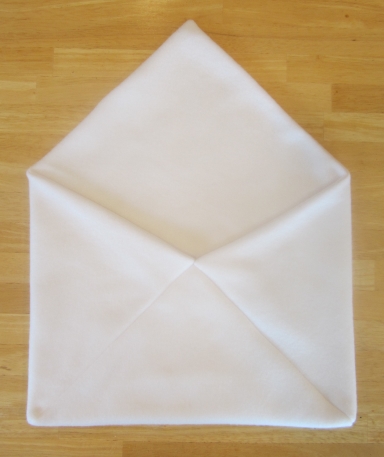
Add the Button and the Buttonhole:
- Close the top envelope flap. Position the heart button near the tip of the flap, and mark the top and bottom of the button with pins.
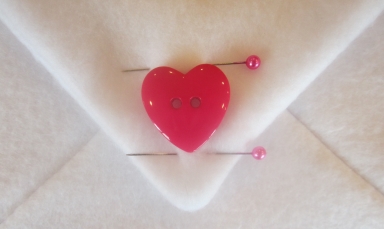
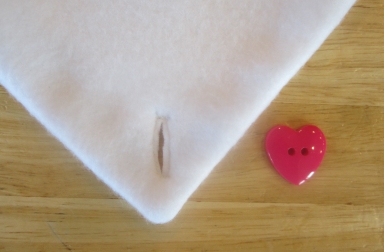
- Set aside the button and sew the buttonhole.
- Insert the pillow, pocket side up, into the envelope.
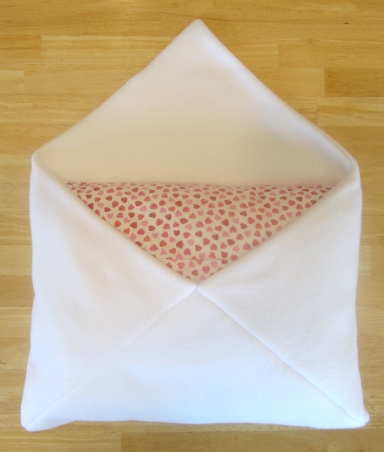
- Position the button on the envelope so that it lines up with the buttonhole in the top flap when it is closed.
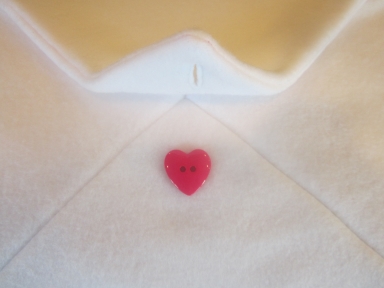
- Sew the button to the envelope.

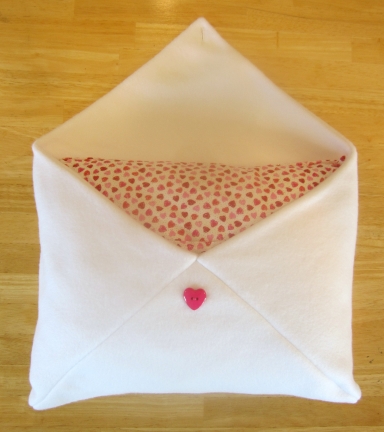
- Close and button the top flap.
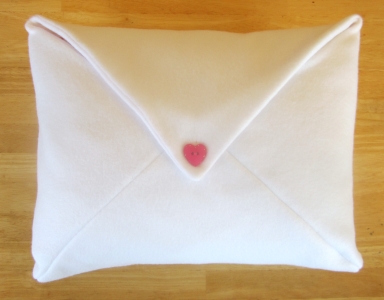
MAKE THE ADDRESS LABELS:
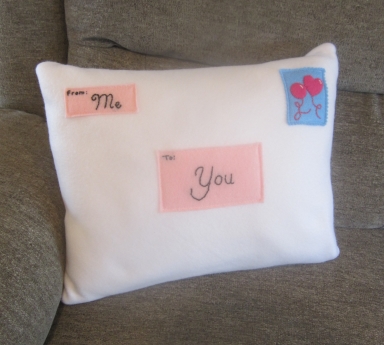
- Use the envelope label patterns to cut out the return address label and main address label from pink felt.
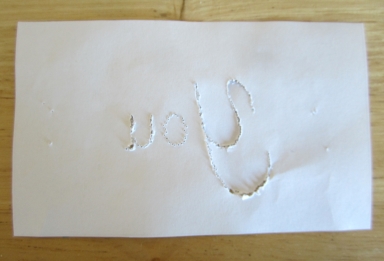
- Write the “to” and “from” names on the return and main address labels. You can personalize the labels with your own custom names, or use the provided guidelines. To copy the guidelines onto the felt, use a pin to punch many small holes along the letter lines. Continue punching until the holes form a nearly continuous line, creating a stencil.
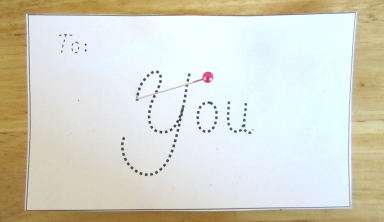
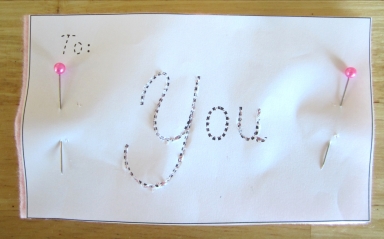
- Pin the pattern to the felt. Press a fine-tipped fabric marker through the holes in the pattern to mark the felt. Or, simply write a custom name on the felt.

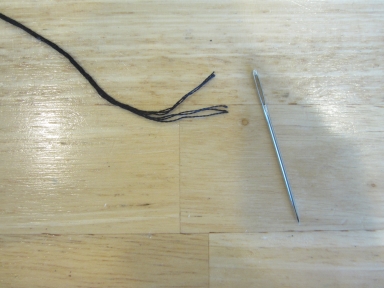
- Backstitch over the letters using black embroidery floss (use all 6 strands for large letters, and only 3 strands for small letters such as “To” and “From”), or go over the letters with black fabric paint or a permanent black fabric marker.
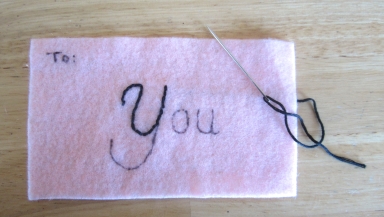
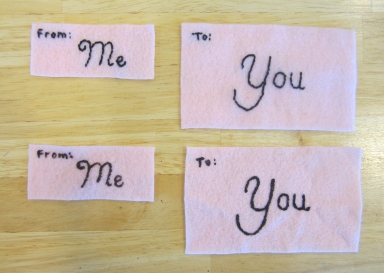
Embroidered labels (top) vs. fabric paint labels (bottom)
SEW THE LOVE STAMP:
- Pin the stamp pattern to the blue felt, at least 1/4 inch away from the edges (if using pinking shears).
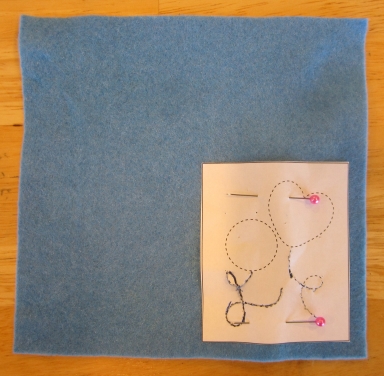
- Cut out the stamp using pinking shears for a perforated look.
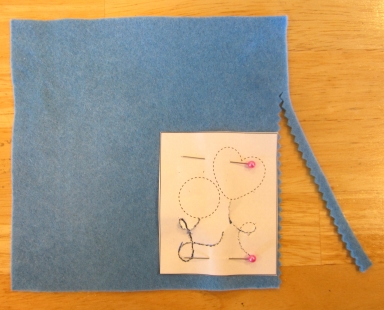
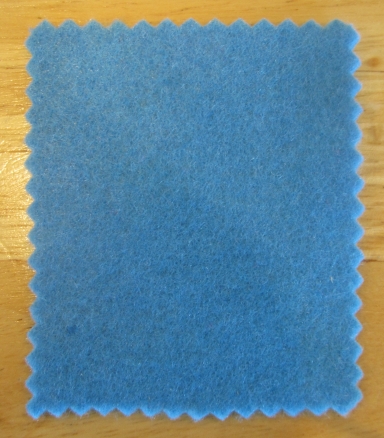
- Cut out the “O” and “V” balloons from bright pink felt.
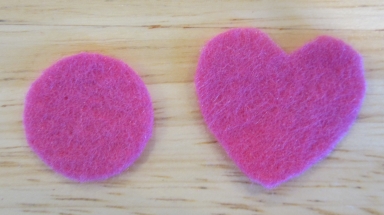
- Add a white highlight to the upper right corner of each balloon using two stitches of white embroidery floss (all six strands) or a dab of white fabric paint.
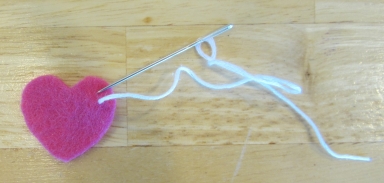
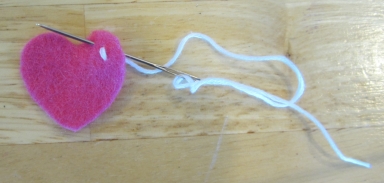
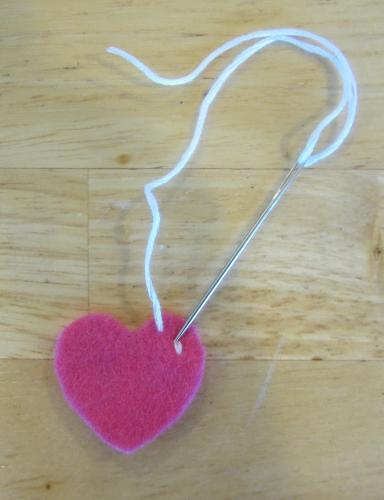
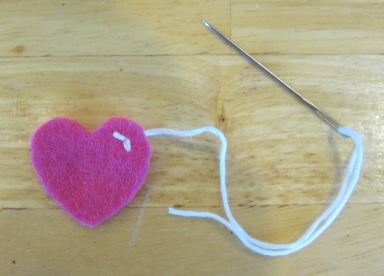
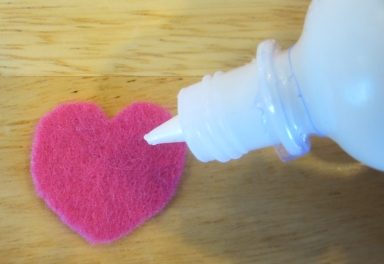

Embroidery highlights (top) vs fabric paint highlights (bottom)
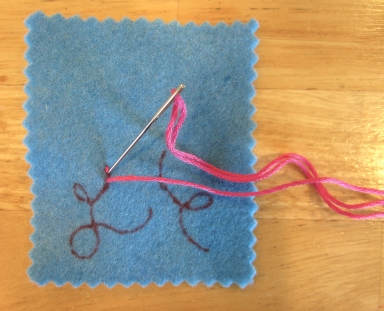
- Copy the balloon string letters onto the blue felt (freehand, or using the same pattern punch method as for the address labels).
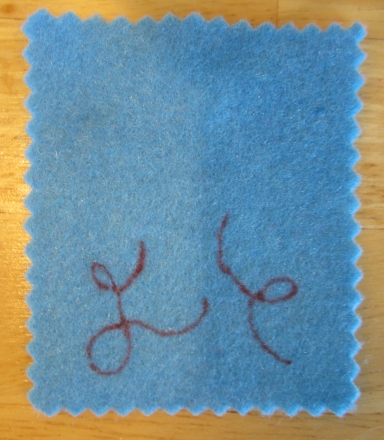
- Backstitch over the string lines using bright pink embroidery floss (all six strands), or go over them with pink fabric paint.
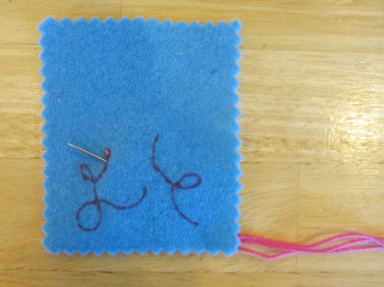
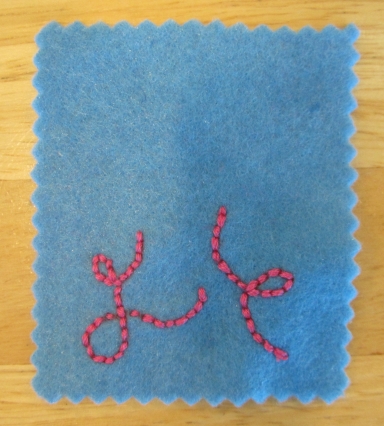
- Position the “O” and “V” balloons so they slightly overlap the tops of the strings.
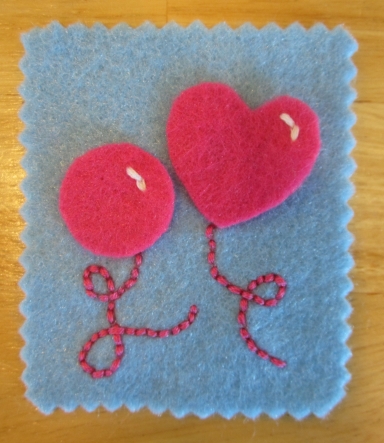
- Whipstitch the balloons to the stamp using bright pink thread.
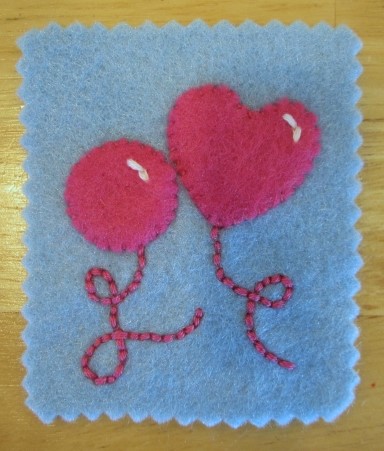
ATTACH THE ADDRESS LABELS AND STAMP:
- Make sure the pillow is inside the fleece envelope and the flap is buttoned. Flip the pillow over. Position the address labels and stamp on the front of the envelope.
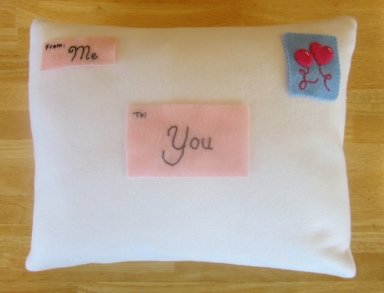
- Pin the labels and stamp to the fleece layer only.
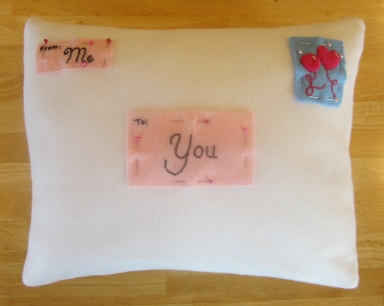
- Unbutton the envelope and remove the pillow. Zigzag stitch around each label and the stamp, about 1/8-inch from the edge. Take care not to stitch the envelope closed.
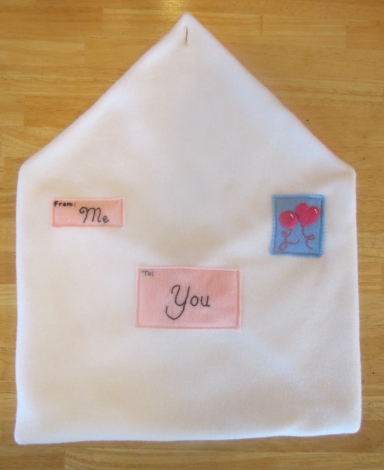
- Put the pillow back in the envelope and button the flap.
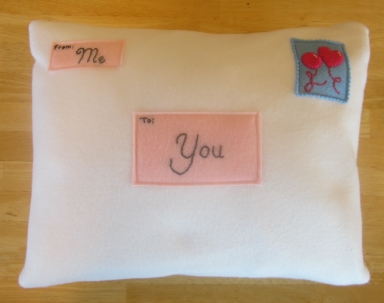
This love letter pillow is ready to send!
