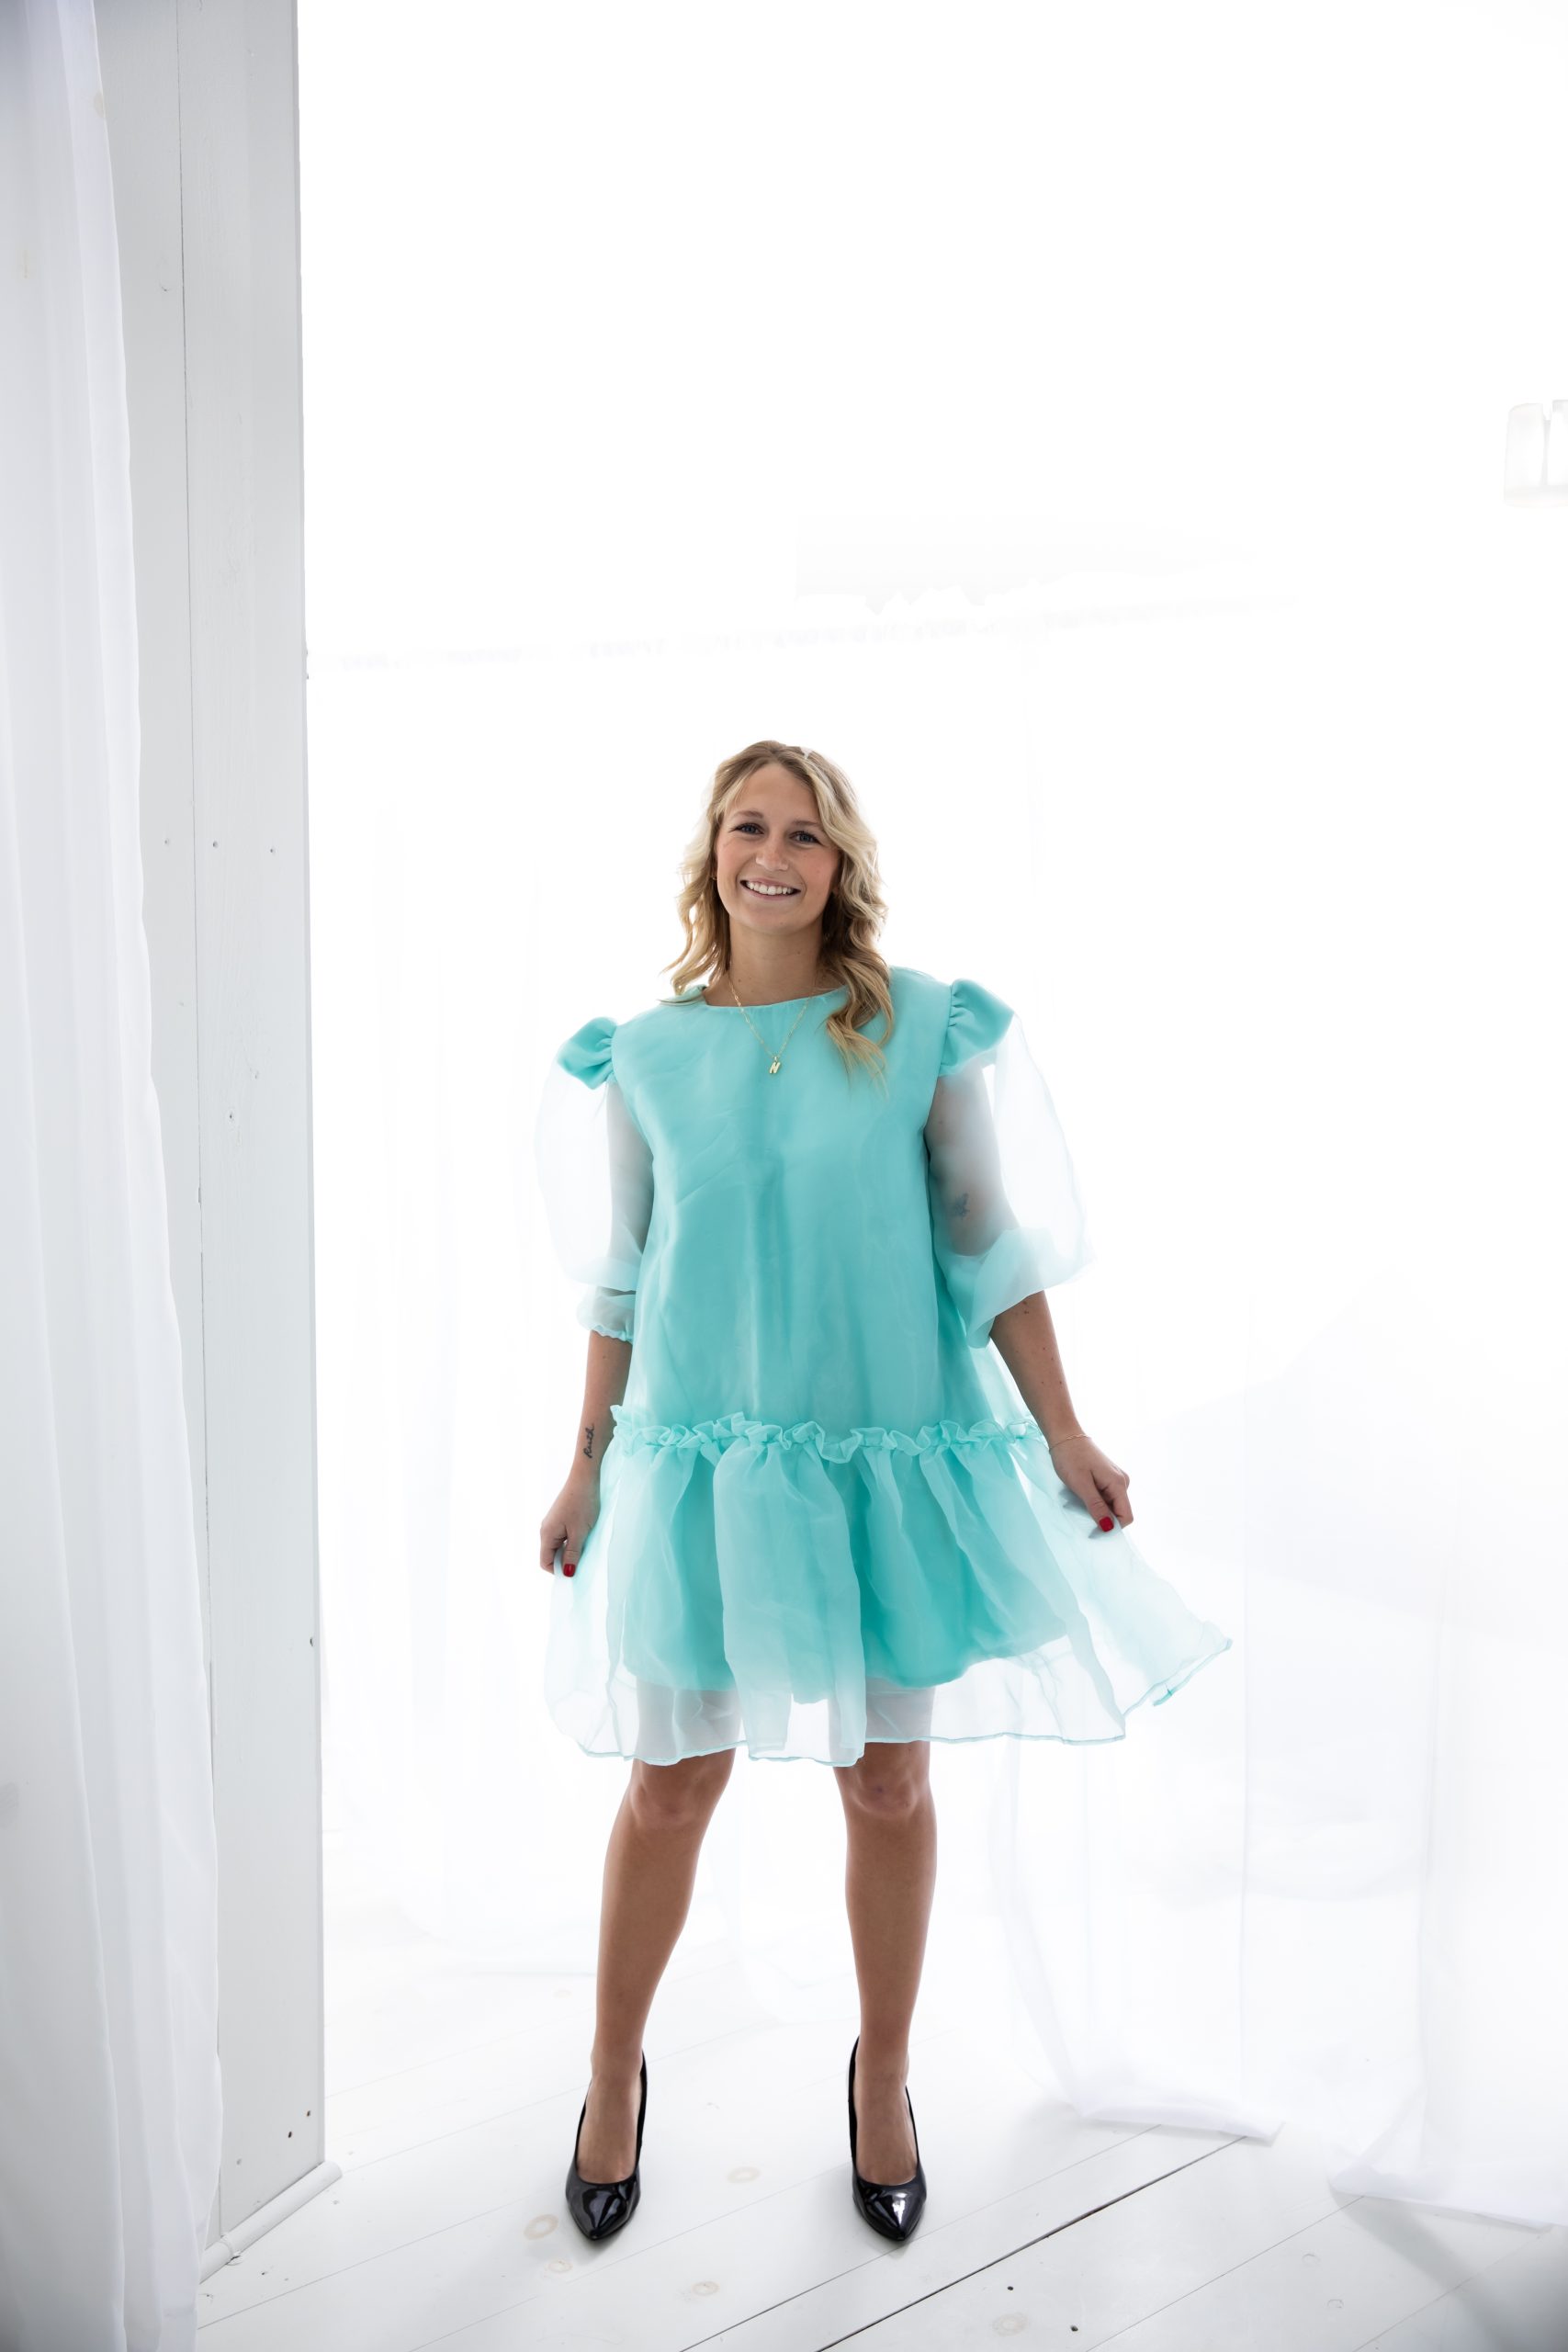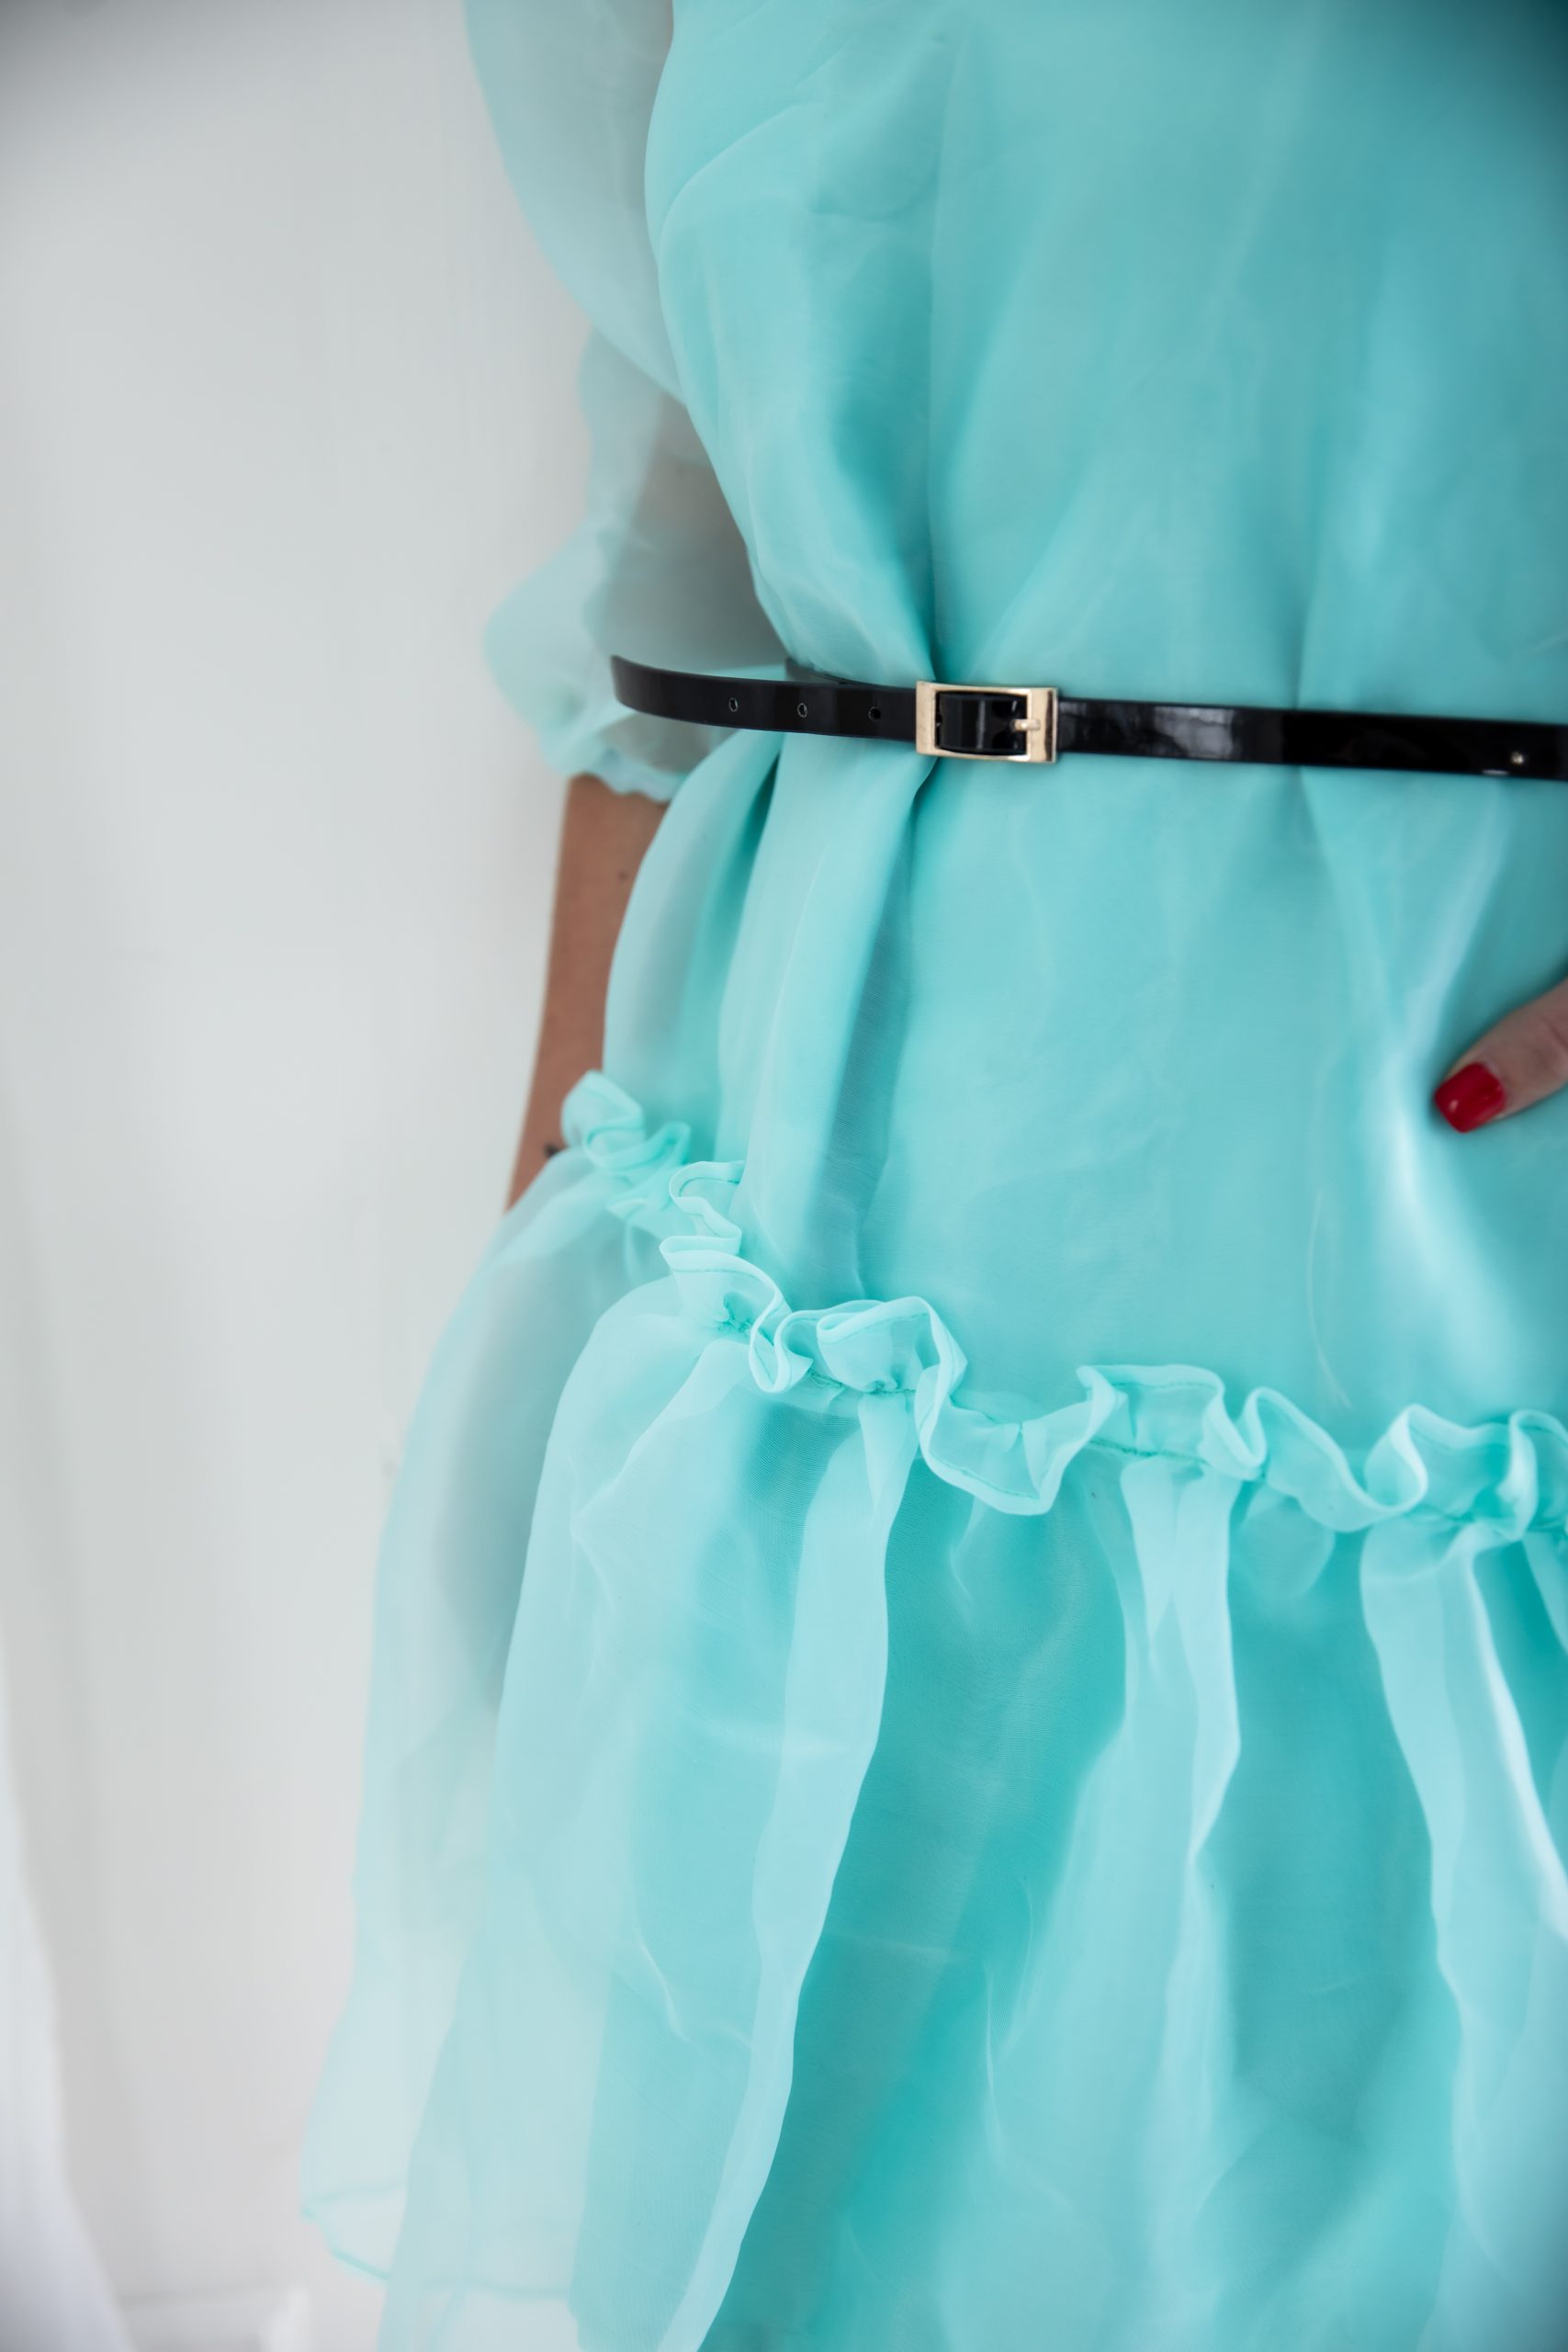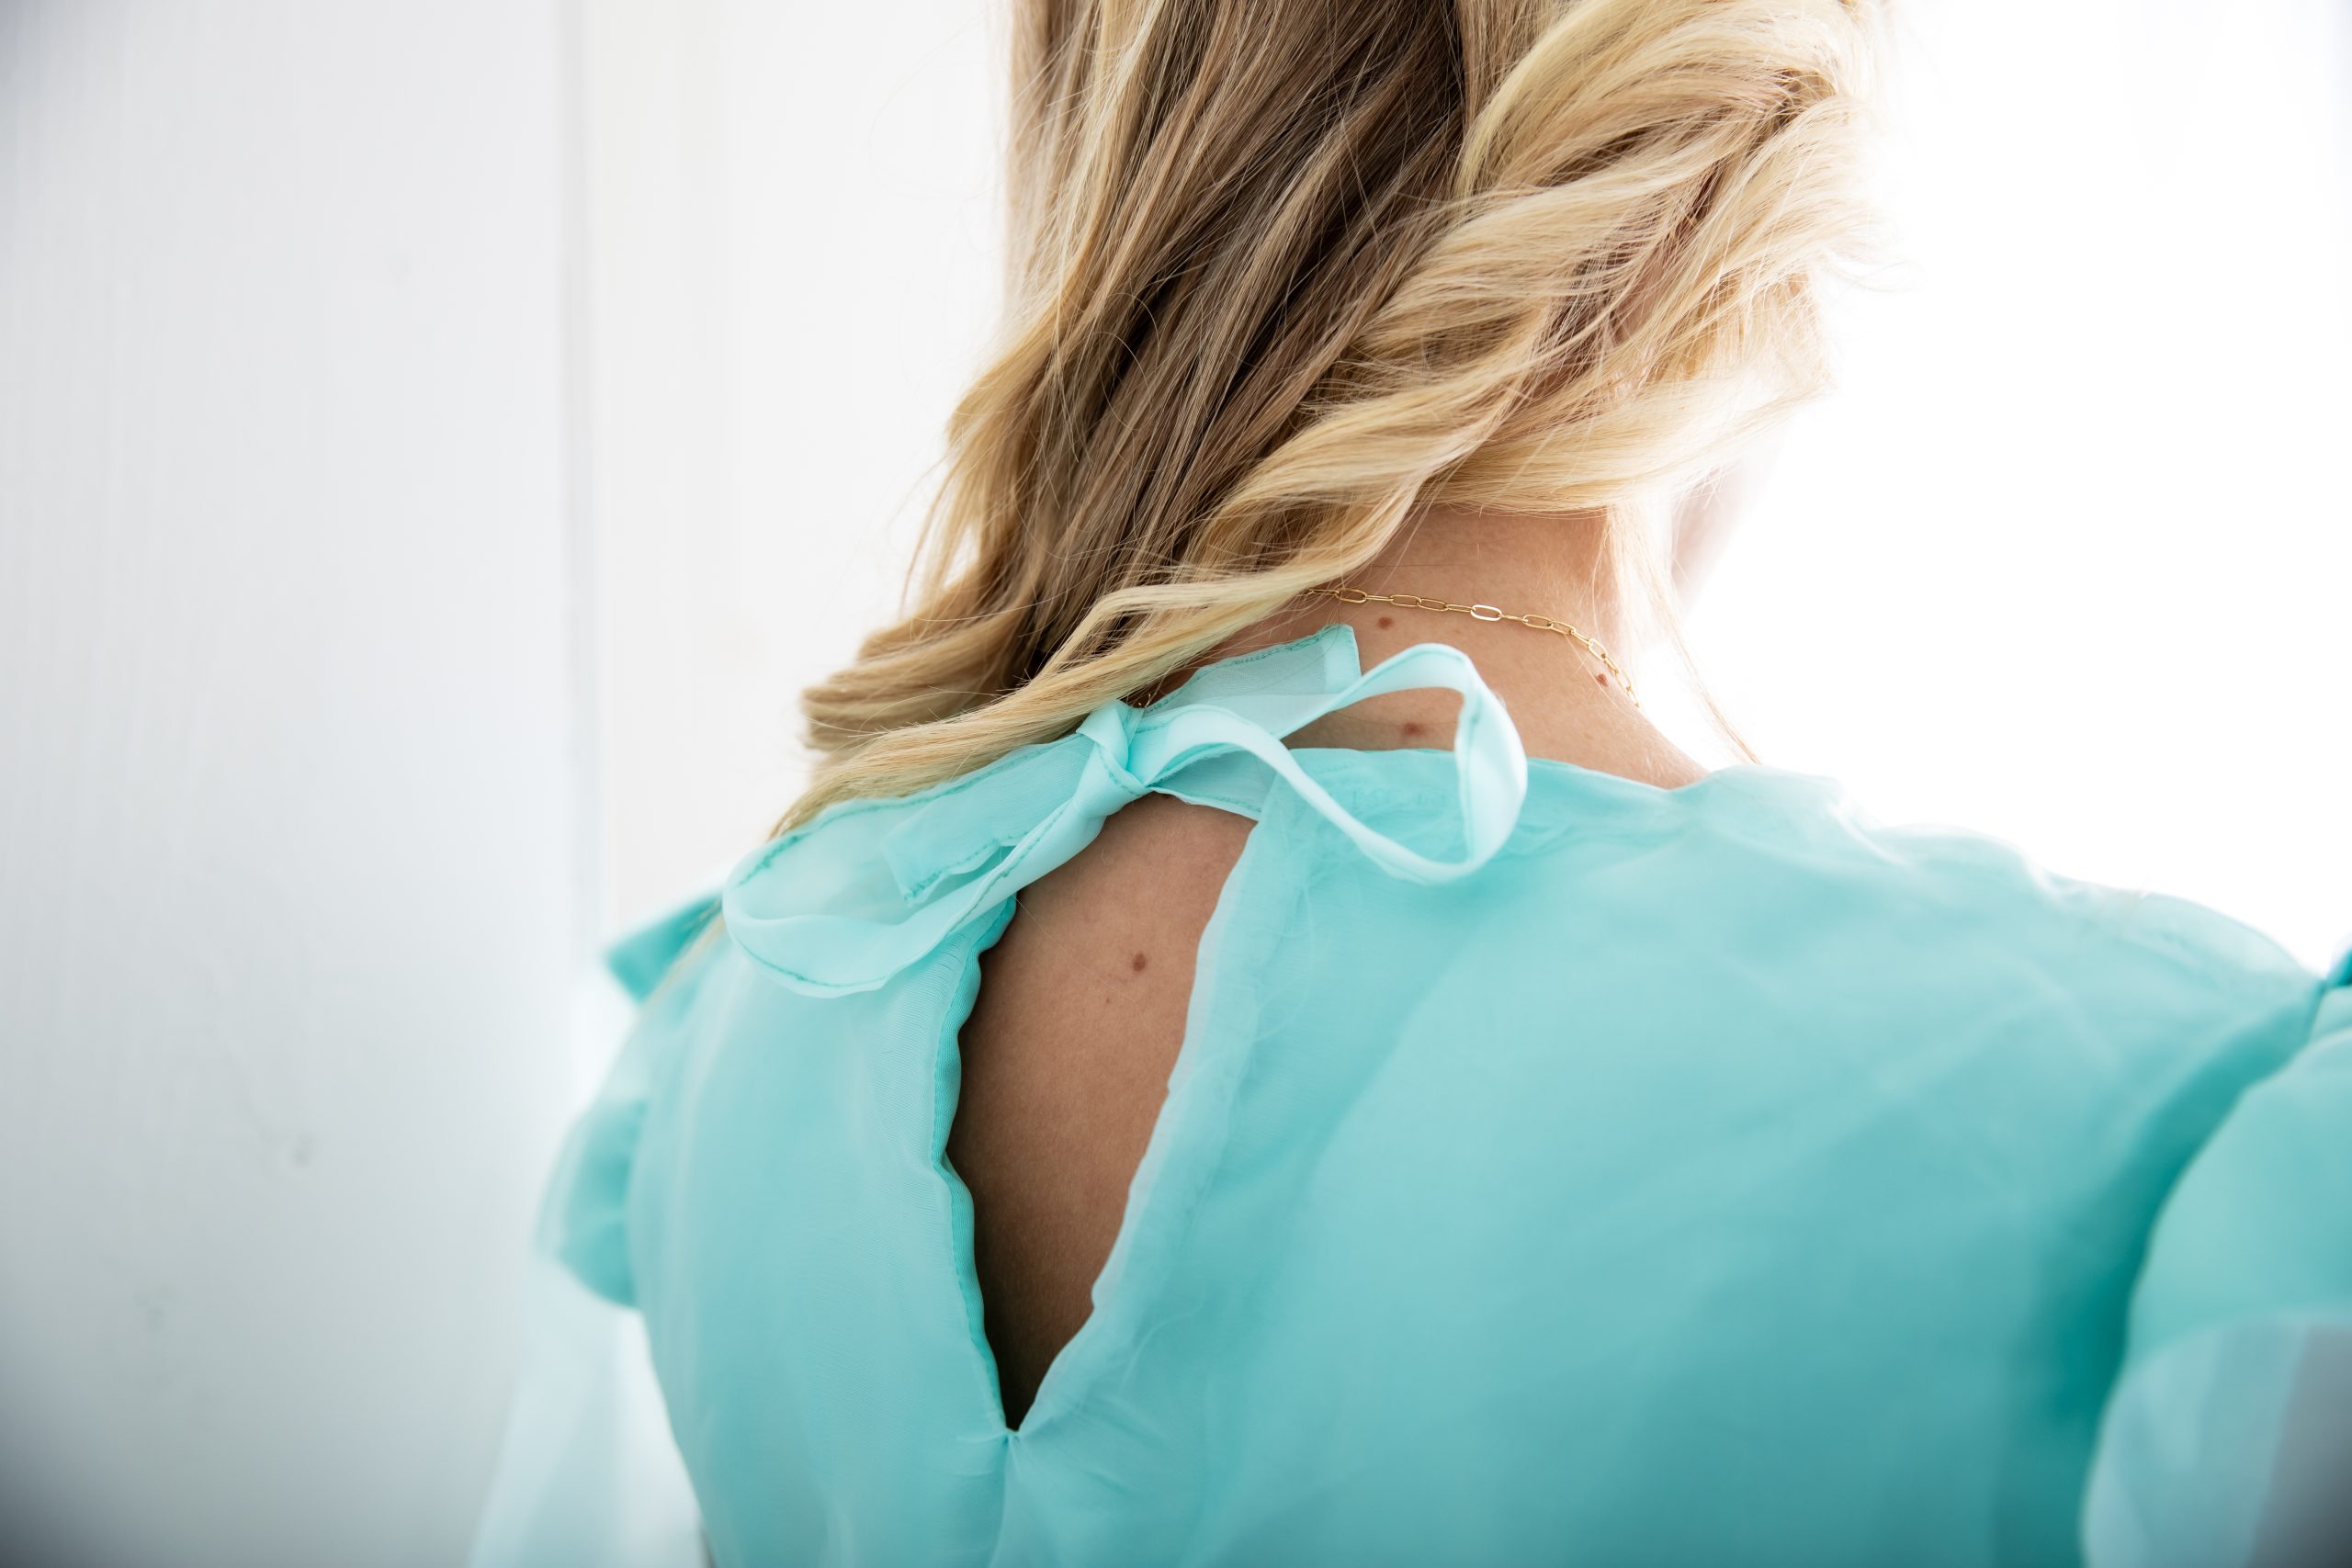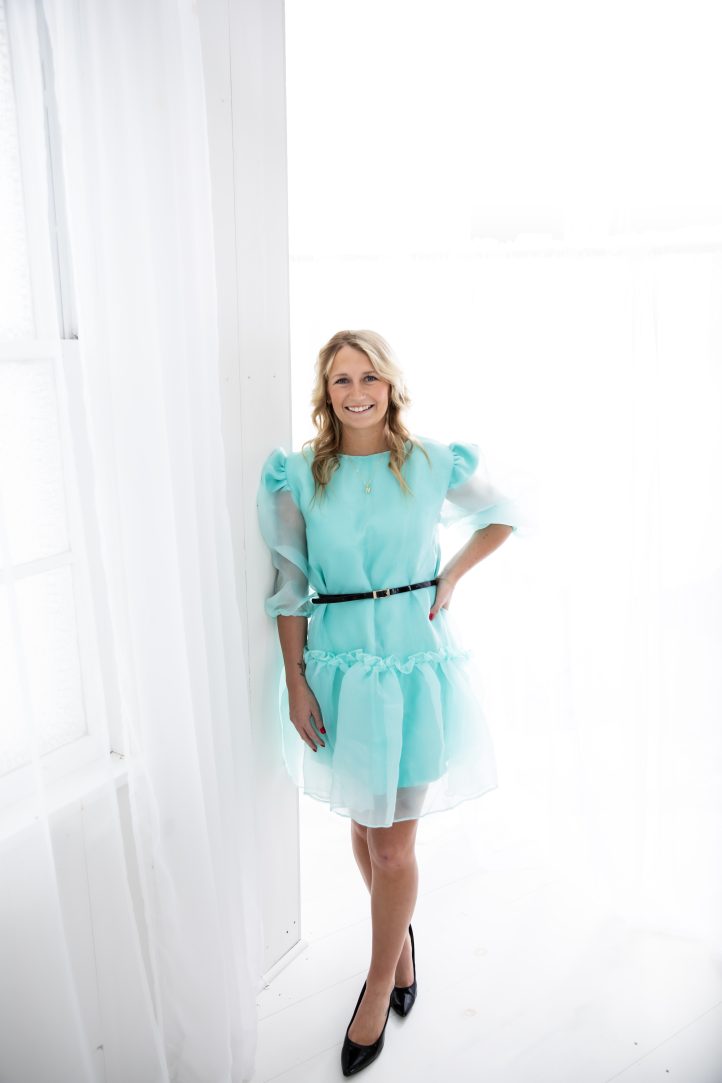
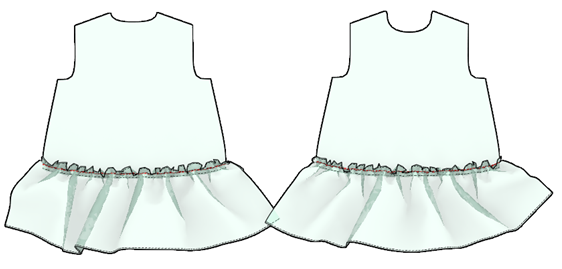
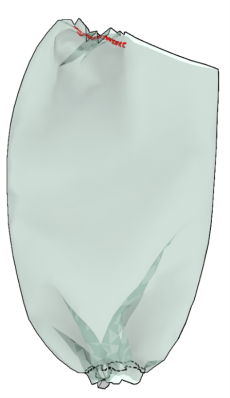
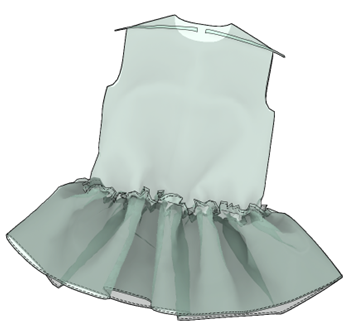
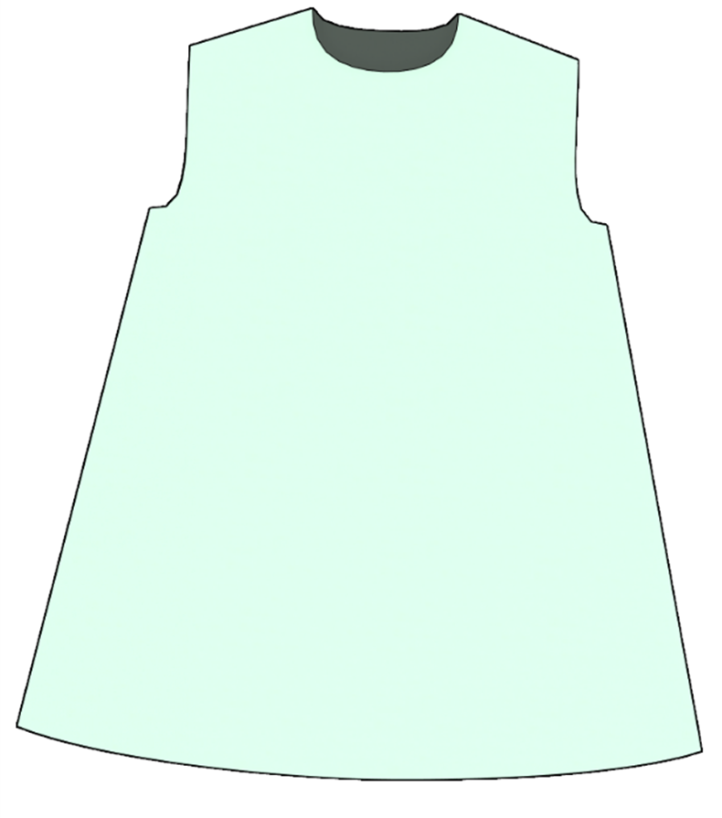
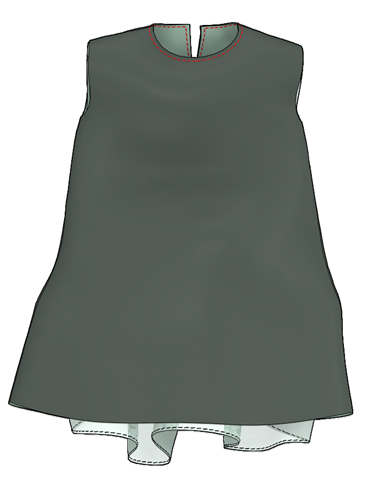
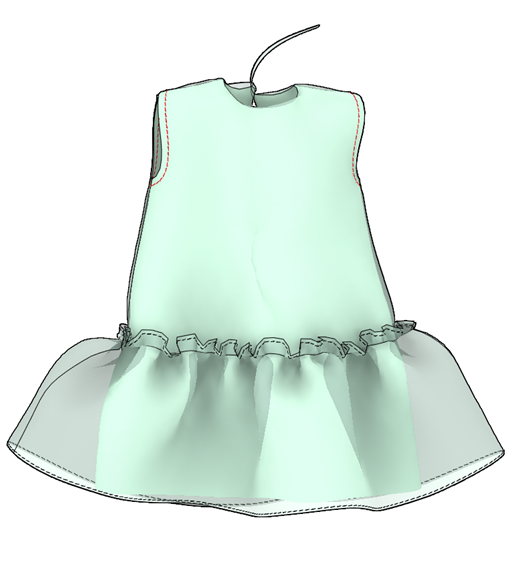
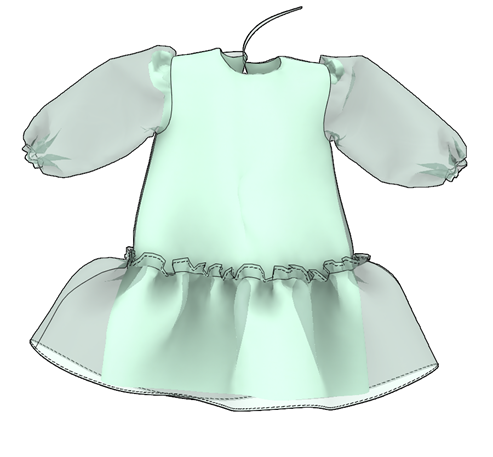
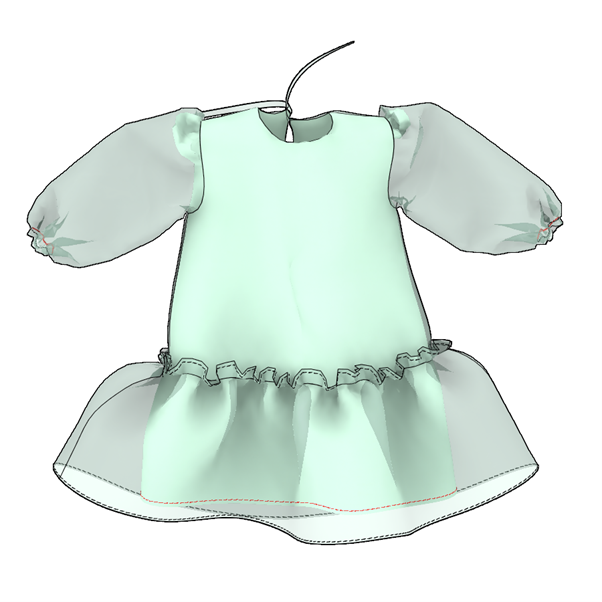
Step out in style for your next special occasion in a beautiful organza dress. Designed by Aishat Sulaiman, this spring mini dress pattern features puff sleeves, a loose fit, and tie at the back neckline and looks gorgeous made in pastels like cool mint. We love the versatility of this dress, which can be worn as is for an ultra-romantic, flowy look or belted (as shown in our styled photos) for a more streamlined silhouette.
Pattern Overview:
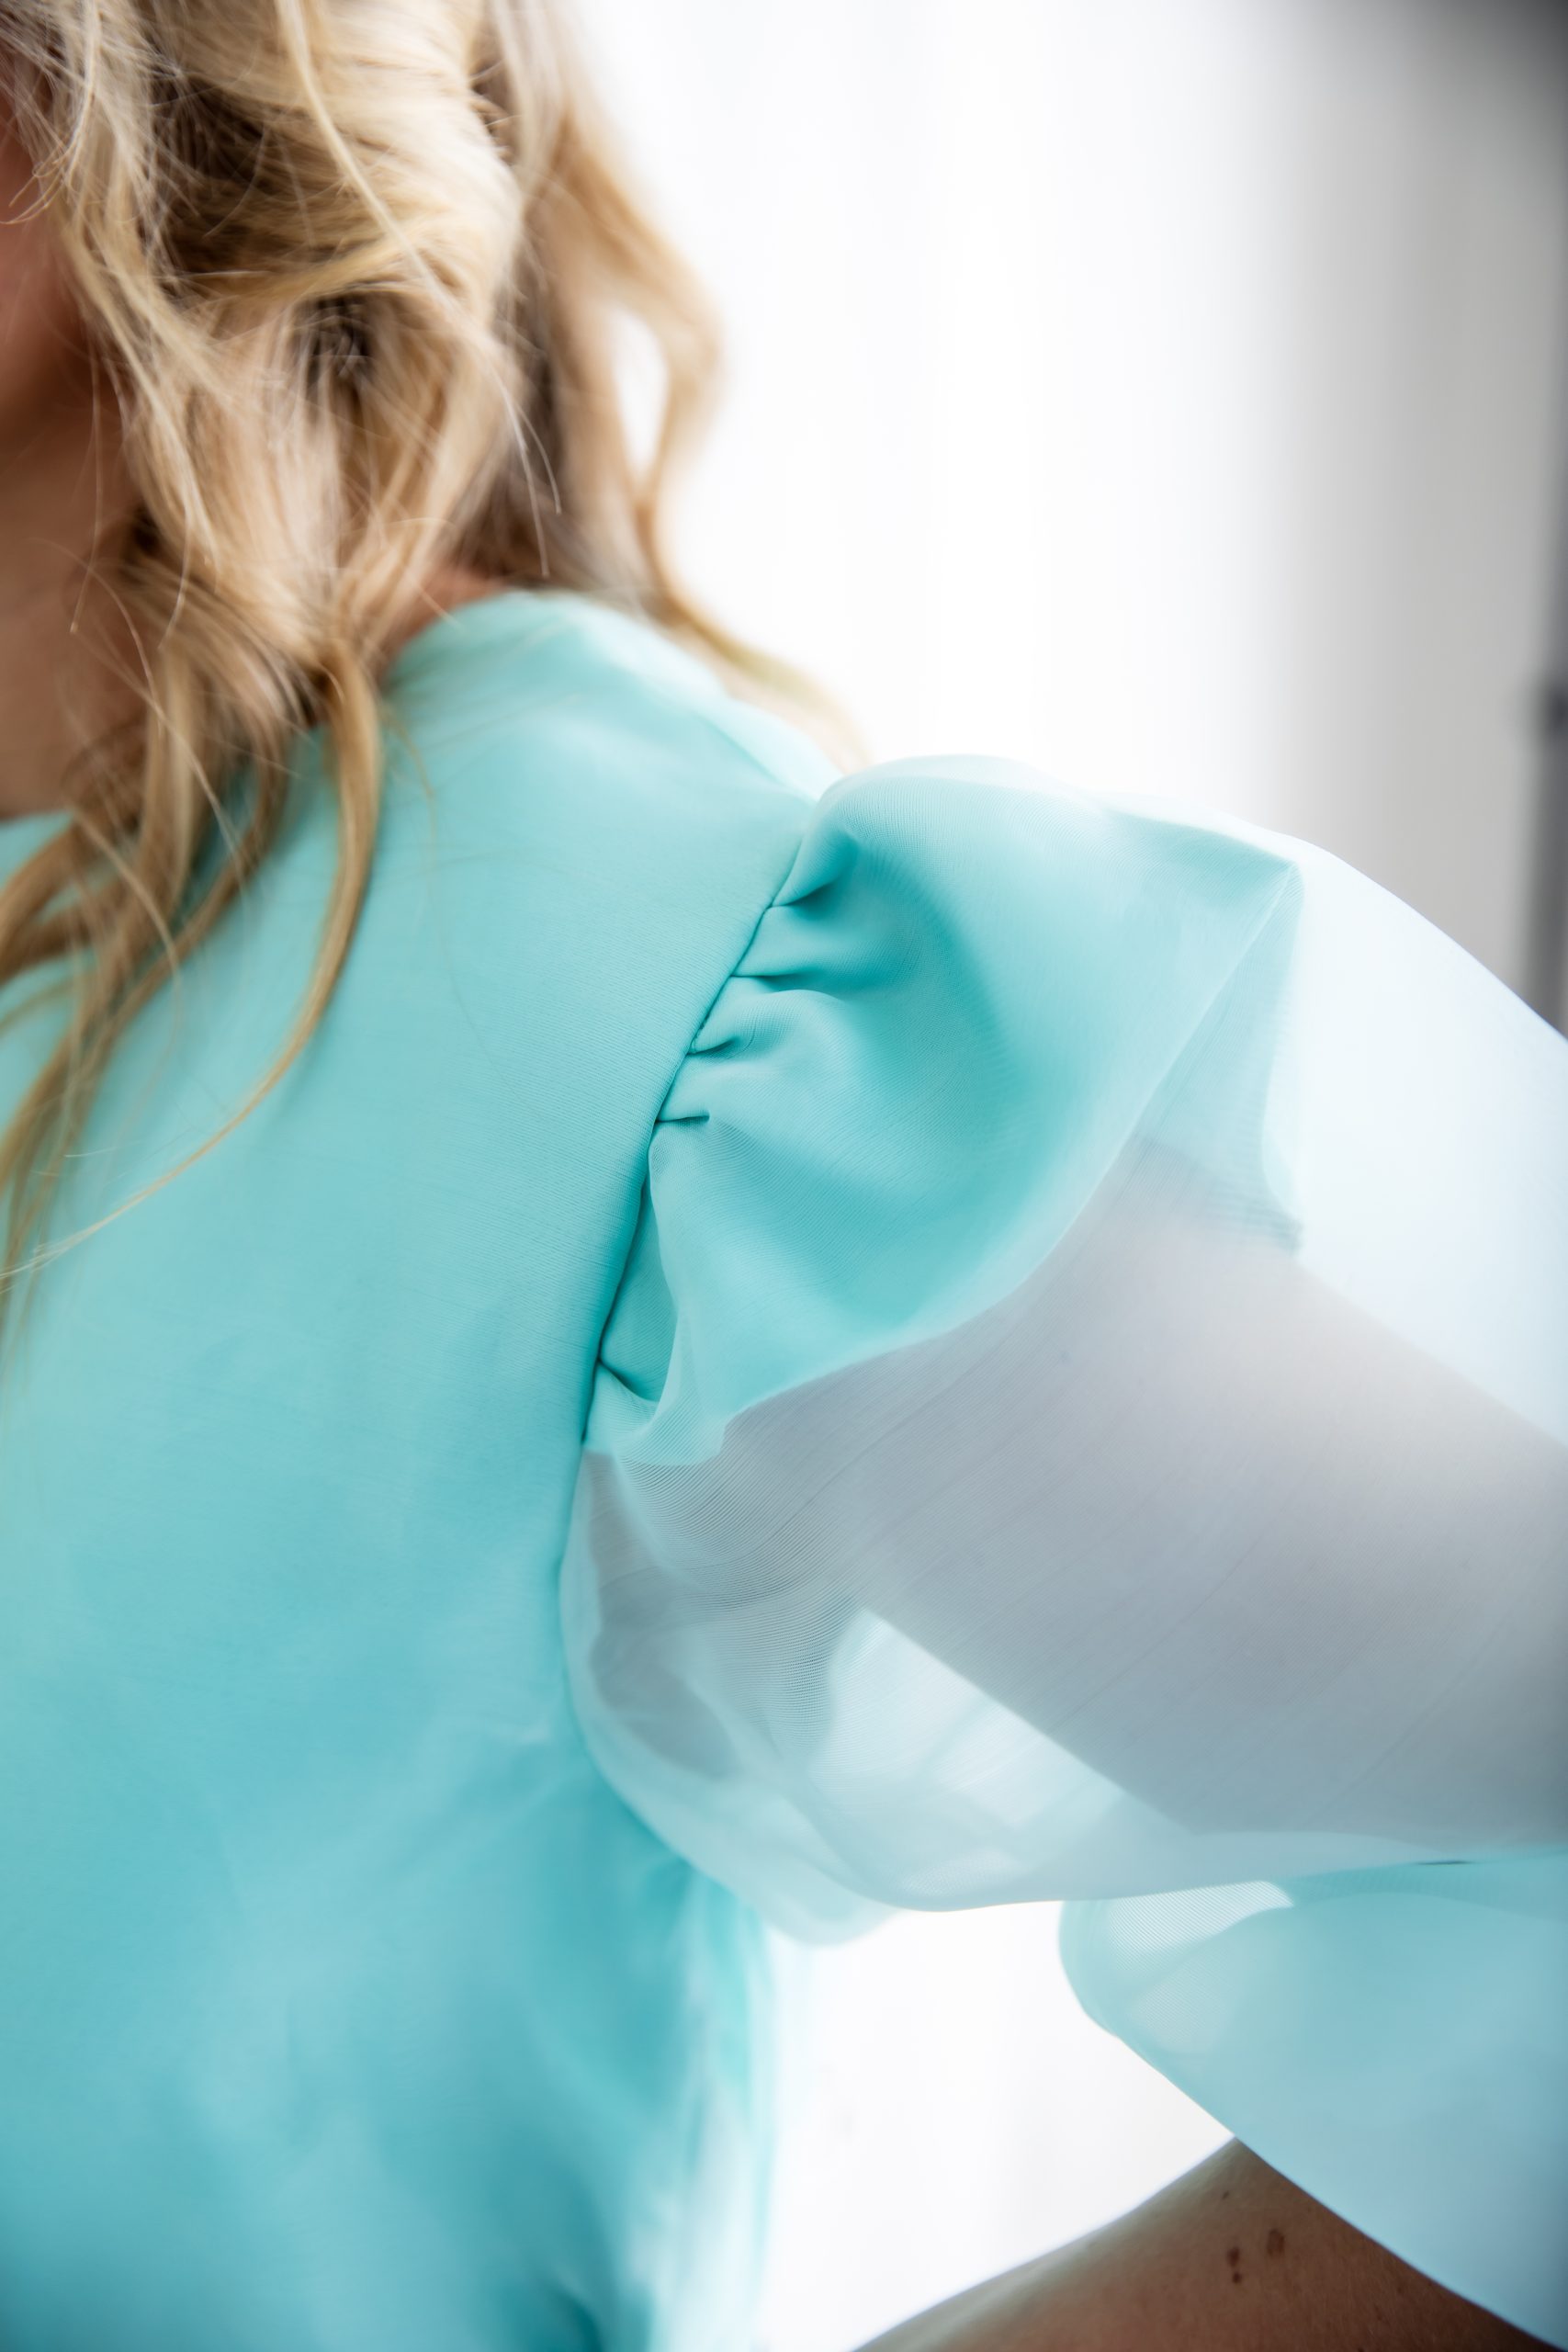
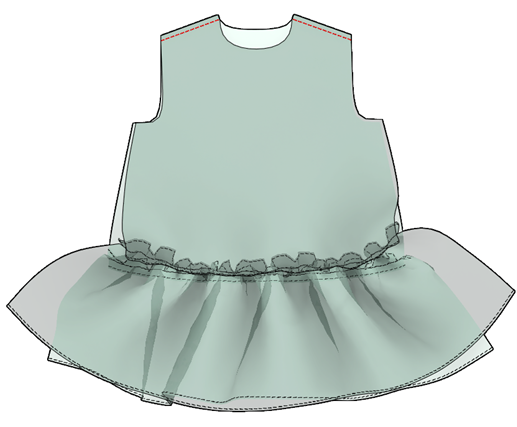
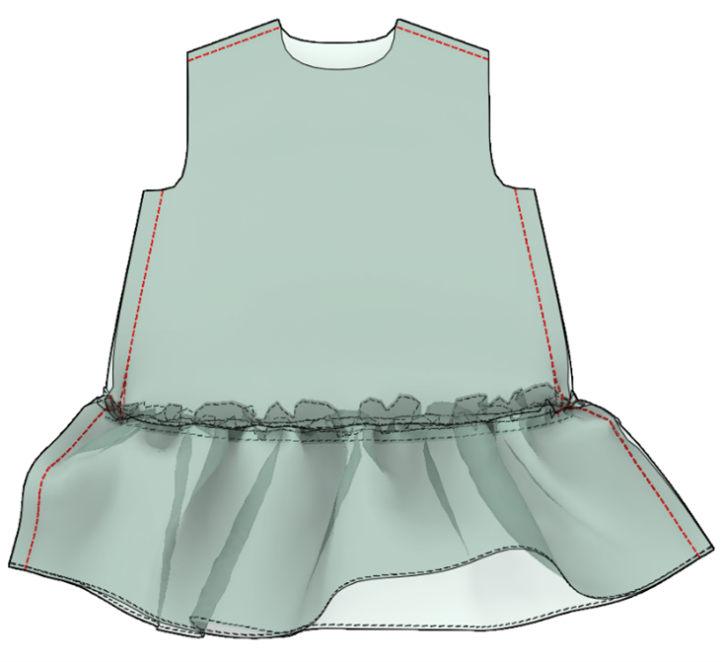
The dress pattern is a lined, loose fit mini dress with puff sleeves and a back neckline slit.
Editor’s Note: This dress features a loose fit, as noted above. We have provided readers with photos of the dress as sewn (see additional photos at the bottom of the pattern) as well as styled and belted to highlight this pattern’s versatility.
Materials:
All calculations are on a single layer. If you want to cut your fabric on the fold, increase consumption by 1/2 yard. When purchasing fabric, please account for shrinkage and purchase 5% more than required.
FABRIC REQUIREMENTS – YARDAGE:
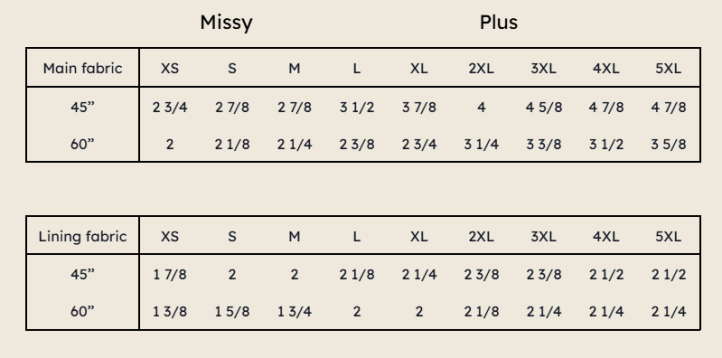
- Recommended fabrics: Light to medium weight fabric (Sample was made with organza and lined with satin).
- All-purpose polyester thread
- Sewing machine (capable of a straight stitch)
- Machine needle
- 1 yard elastic, 3/8” width
- Loop turner
- PDF Pattern – This is located at the bottom of this page. See printing instructions below.
Tips: All-natural fiber and some synthetic materials undergo shrinkage during their first wash, which can change the texture and hand feel. (The designer prefers the look and feel of washed fabrics.) Pre-washing is necessary if you want your garment washable after sewing (without shrinking). Giving the washed material a light press before cutting will ensure your paper pattern pieces can lay smoothly on top.
SELECTING YOUR SIZE:
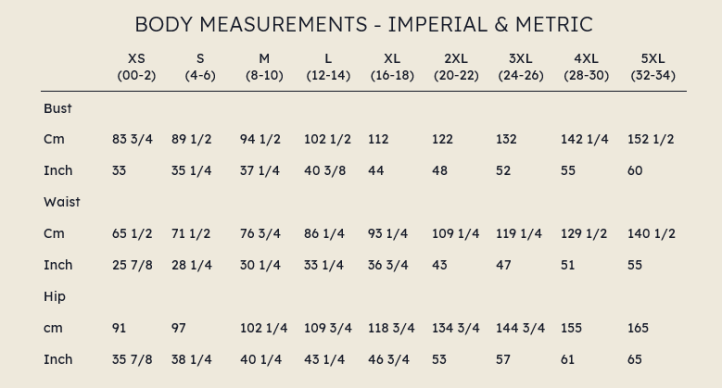
Body Measurements:
Start by taking your body measurements. Measure the circumference of your bust, waist, and hips by pulling the measuring tape snugly; it should fit tightly around your skin but not too tightly. Measure directly over bare skin or typical-for-you undergarments. Keep the tape parallel with the floor, and ensure it is not twisted. Compare your measurements to the “body” measurements in the chart above to see your recommended size.
PRINTING INSTRUCTIONS:
Note: To download the pattern, click on the pattern download button at the bottom of the page. We recommend opening your pattern download using Adobe Acrobat.
First, determine if you will print your pattern at home or have it printed by an online or local copy shop. This pattern includes a file for both printing options. Download the pattern file for the printing option you’ve chosen.
Once your file is open, you can proceed to print. You may also use the “Layers” panel to toggle on or off pattern lines for various sizes. Toggle off the pattern lines for any sizes you do *not* wish to print. You should now see only the lines for the size you did not toggle off displayed.
NOTE: Pattern lines may overlap; you are advised to print one size at a time. It is easiest to cut out the pattern when only one size is printed at a time.
Print at a Copy Shop: A0
Online pattern printers and local copy shops can print a large-format paper pattern economically.
Print at Home: Letter Size or A4 Paper
Each “Print at Home” file can be printed on letter- sized or A4 Paper. You will need a PDF viewer to print this pattern. You can download Adobe Reader for free if you do not have a PDF viewer already.
PATTERN PREPARATION:
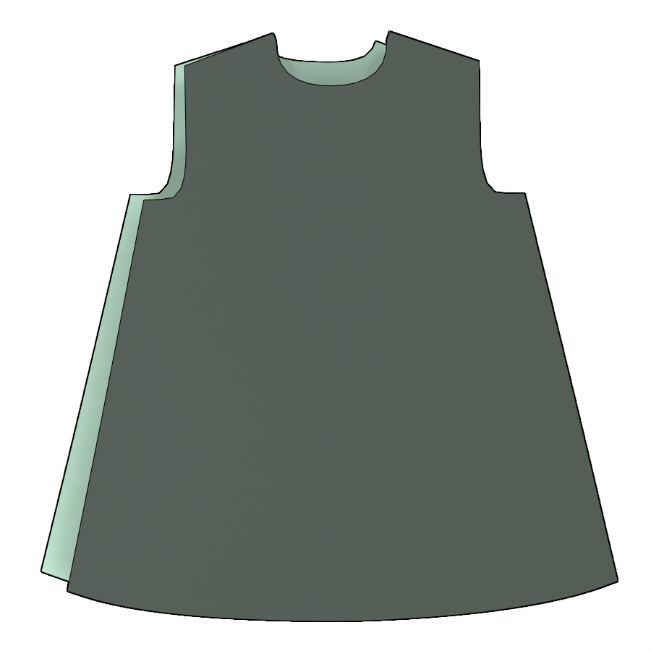
The front and back patterns can be traced off from the lining pattern, stopping at the line labeled main fabric hem. You can also fold or trim at the line labeled main fabric hem to obtain the pattern pieces for the main fabric after cutting out the pattern pieces for the lining.
Ready to cut? Check out the pattern inventory.
PATTERN INVENTORY:
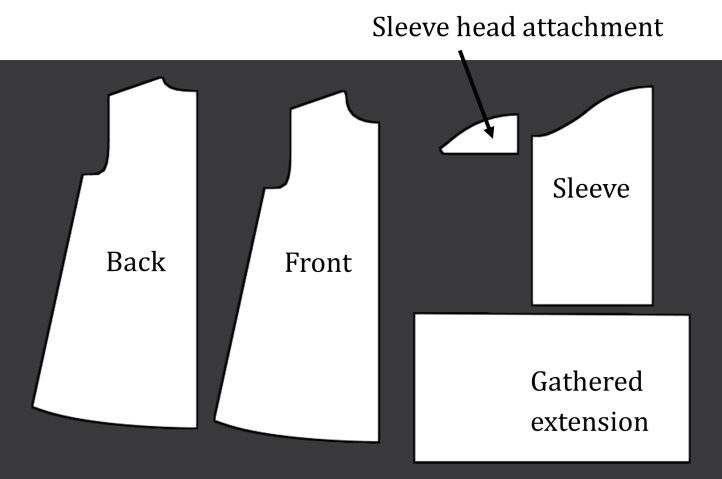

PATTERN LAYOUT:
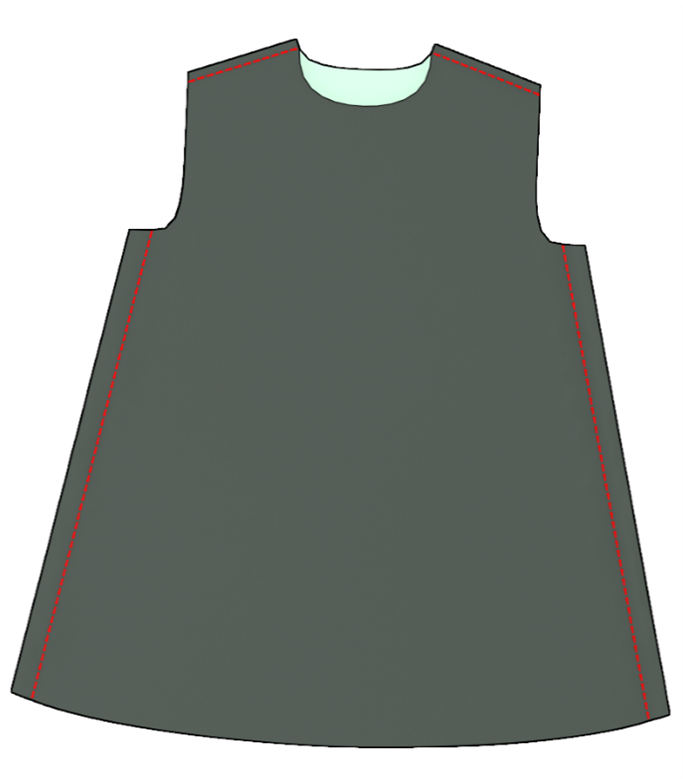
Play around with the pattern placement to minimize fabric waste, but ensuring the grainlines remain parallel to the selvedge or your preferred cutting direction. Transfer all markings to the main fabric and lining fabric, and cut out patterns.
Sewing Instructions:
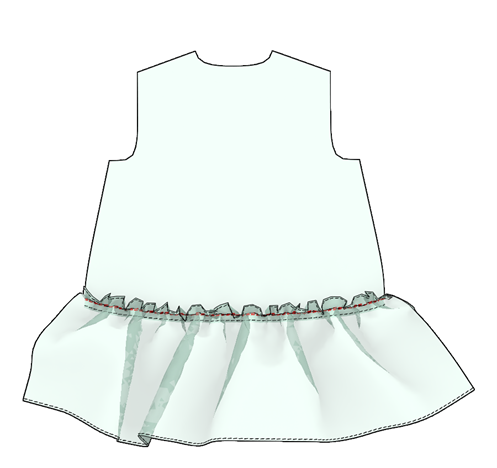
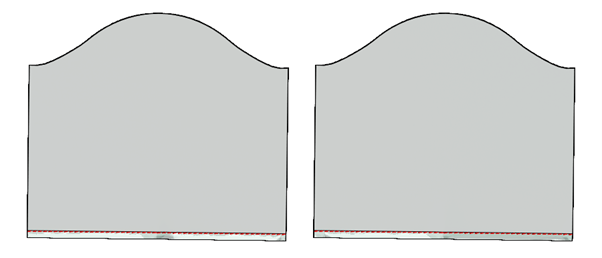
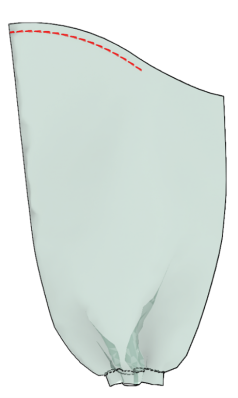
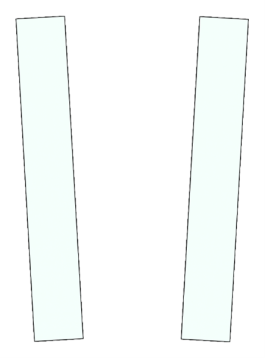
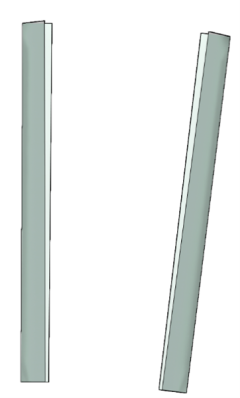
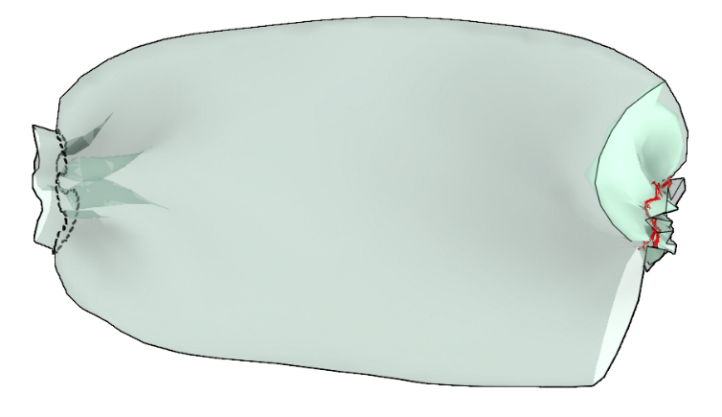
The image below shows how all patterns should look after cutting in the main and lining fabrics.

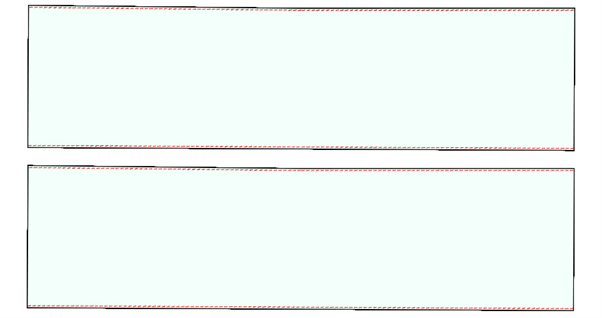
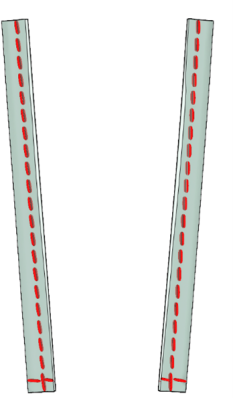
- Using 1/2 inch seam allowance, sew a rolled hem on the main fabric front and back main fabric piece as shown below.
- Now press in place and turn to the right side of the fabric.
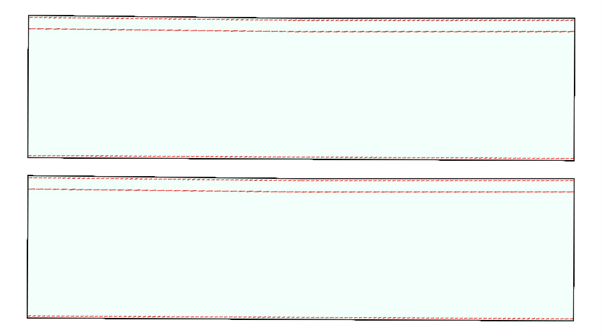
- Also, sew a rolled hem on both ends (lengthwise) of the gathered extension.
- Sew a gathering stitch on both gathered extensions, starting and ending at the notch mark.
- Now pull the gathering stitch to gather the extension, ensuring it is now equal to the width of the front and back main fabric piece hem.
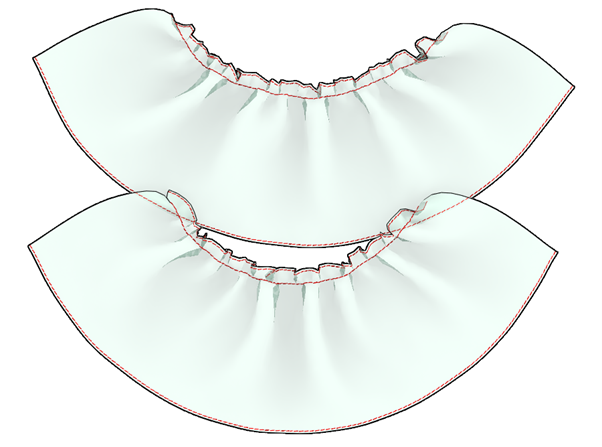
- Place one of the gathered extensions over the front main fabric piece with both pieces right side up. Then sew in place from notch to notch following the curve of the hem.
- Repeat the previous step for the back main fabric piece.
- With the right side together, sew the shoulder of the front and back pieces of the main fabric together using a 1/2-inch seam allowance and iron in place.
- Sew the front and back main fabric sides together with the right side together using a 1-inch seam allowance, and repeat for the other side.
- Now turn it to the right side.

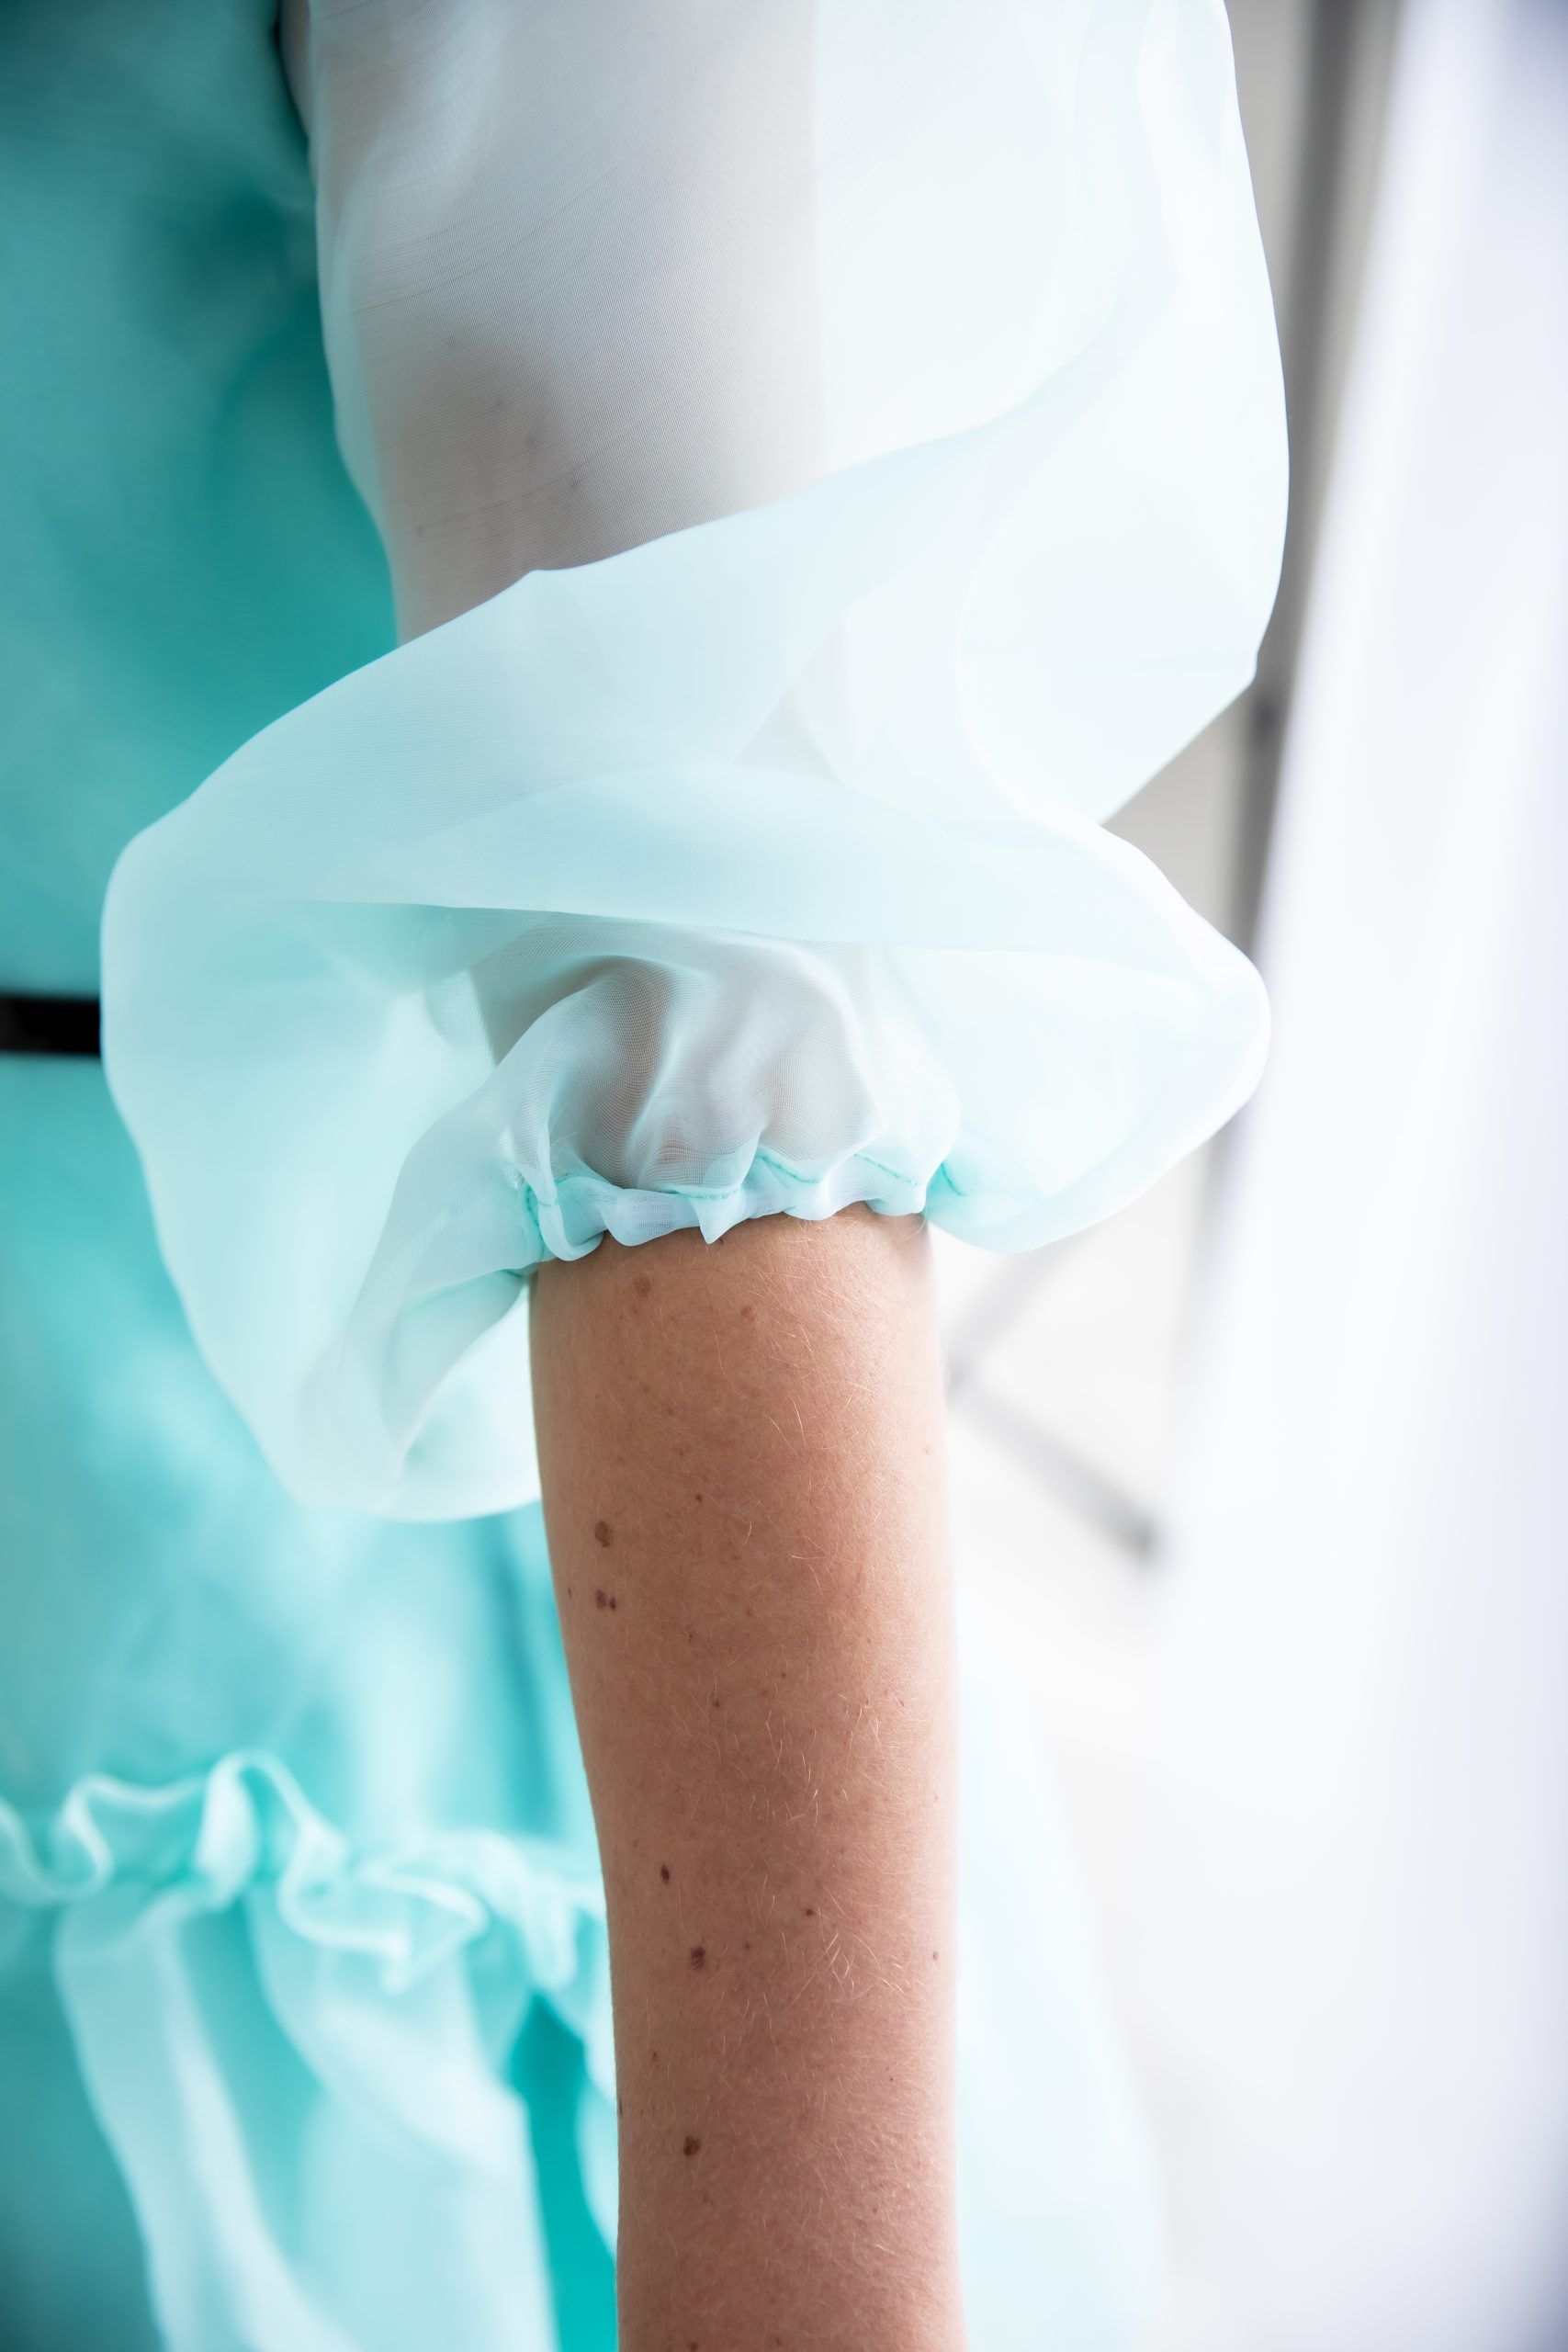
- Hem the sleeves using 5/8 inch creating a casing for the elastic.
- Measure your three-quarter sleeve circumference, cut two elastic strings to your preferred measurement. Insert the elastic into the previously created casing and stitch it in place.

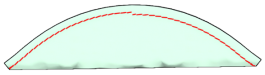
- Sew a gathering stitch between the notches on the sleeve cap.
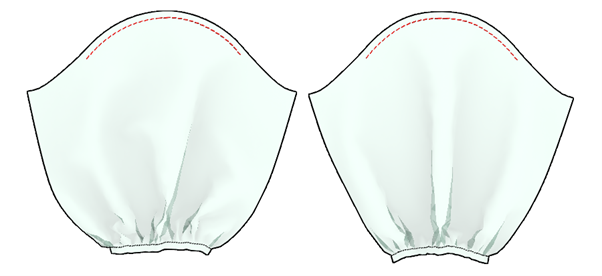
- Fold the sleeve in half. Now sew the sides of the sleeves using a 1-inch seam allowance.
- Turn the sleeves to the right side. Now pull the gathering stitch to gather the sleeve cap, ensuring it is now equal to the front and back main fabric pieces of the armhole.
- Cut two strips of fabric about 10 inches in length and 1 1/2 inch width. Then fold in half along the width with the right side of the fabric together and sew the two sides together using 1/4 inch seam allowance. Also, sew one end closed and leave the other open.
- Now turn the strip to the right side through the open end and iron in place. On the back pattern, 1/2 inch below the neck line, stitch the tie onto the slant line traced on the center back.
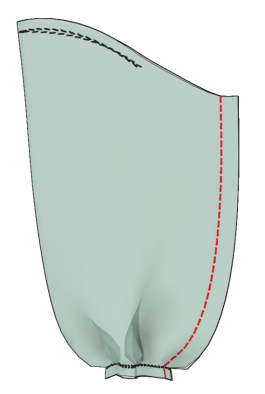
- With the right side together, sew the shoulder of the front and back lining pieces together using 1/2 inch seam allowance.
- Sew the front and back lining fabric sides together with the right side together using a 1-inch seam allowance and repeat for the other side and iron in place.
- Now turn it to the right side.
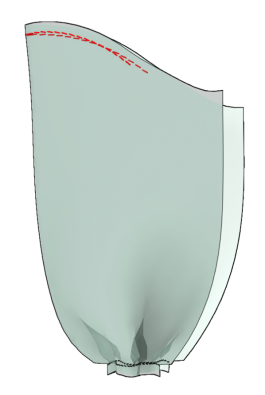
- Fold the sleeve head attachment, sew a gathering stitch around the head, and gather, ensuring it is equal to the gathered part of the sleeve.
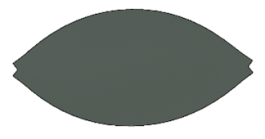
- Now insert the sleeve head attachment into the wrong side of the sleeve and sew it in place.
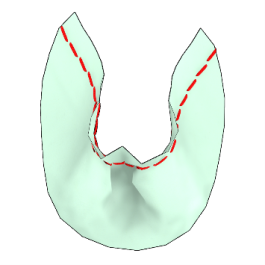
- Sew the lining onto the main fabric using 1/2 inch seam allowance along the neckline, and sew along the traced slant line on the pattern with right sides together.

- Notch the neckline and slit through the center back to the end of the stitch (middle of the two slant lines) while ensuring no stitch is broken in the process.
- Turn the lining to the wrong side of the back piece, iron in place, and staystitch the armhole of the lining to that of the main fabric.
- Now it’s time to sew the sleeve. Turn the dress inside out, put the sleeves into the dress, pin in place, and sew using 1/2 inch seam allowance.
- Hem the lining using a 1/2 inch hem allowance.
You’ve done it! I hope you’re so proud.