What’s a Pattern Weight?
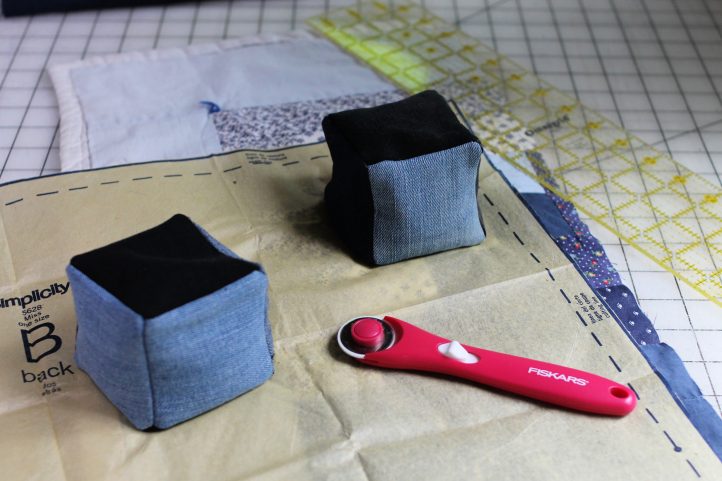
A pattern weight is an alternative to pinning a pattern piece to fabric, especially ideal for delicate or slippery fabrics which may be misshapen by the pins. Some people think rotary cutters are only for quilting, but they work just as well on curves and clothing patterns! Pattern weights can also hold fabric in place while you’re cutting measurements without a pattern piece, preventing the material from skewing or pulling while you cut.
They can be multiple shapes or styles, but pattern weights need to be heavy enough to prevent the pattern piece from moving around. A minimalist approach is using a stack of heavy washers or cans of food but there are much more attractive options!
What Materials Are Best for Making Pattern Weights?
Making DIY pattern weights is a simple project that leaves a lot of room for creativity. Woven fabrics are best so the shape doesn’t stretch out; denim and canvas are ideal. Thinner quilting cottons can also work by themselves but adding fusible interfacing to the back first will keep their shape more secure.
Choosing what to fill the pattern weight with is the other variable for making pattern weights. Beans or rice are the most economical options and give a nice weight, but they will mold or sprout if they ever get damp. Plastic or glass pellets add the same amount of weight but can then be machine washed; mixing in shredded fabric scraps helps add weight and also reduce your trash output.
Make Your Own DIY Pattern Weights
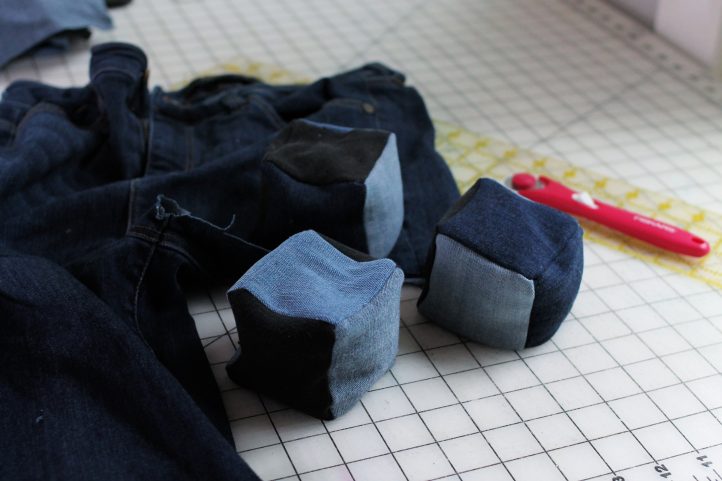
This is a tutorial for making a simple cube pattern weight. The example is sewn with upcycled denim but all the same steps would apply with other fabrics! It will vary by size and style, but a pair of adult jeans will usually yield at least 2 pattern weights.
Materials:
- 3 pairs of jeans in various colors
- Scissors
- Iron
- Coordinating thread
- Filling material (a mixture of shredded fabric scraps and glass pellets is my preference)
- Hand sewing supplies
- Rotary cutter
- Acrylic quilt ruler
Sewing Instructions:
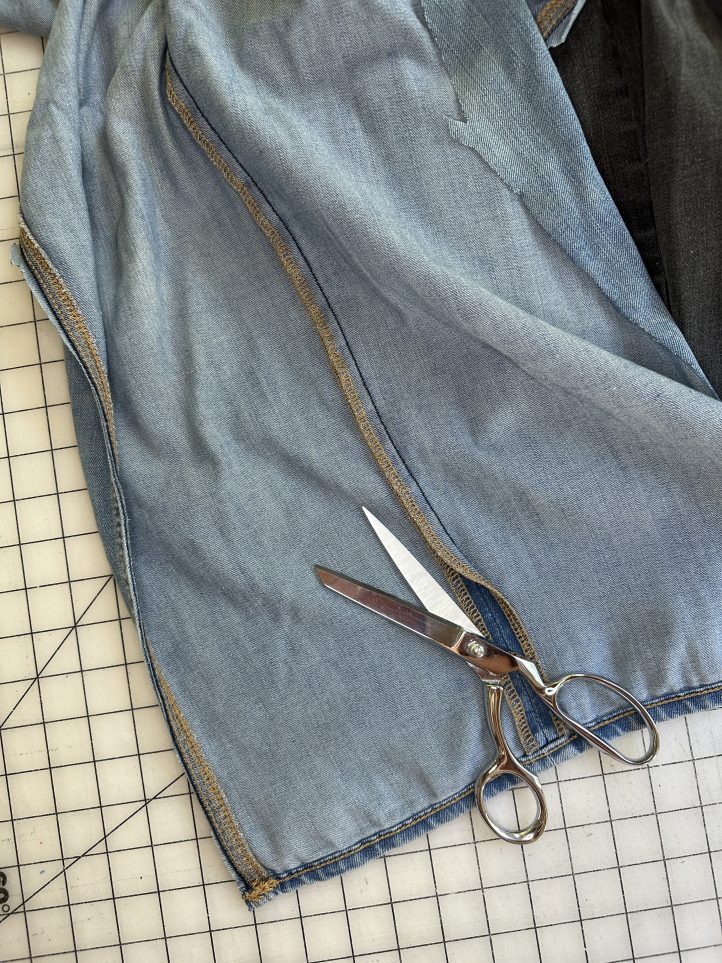
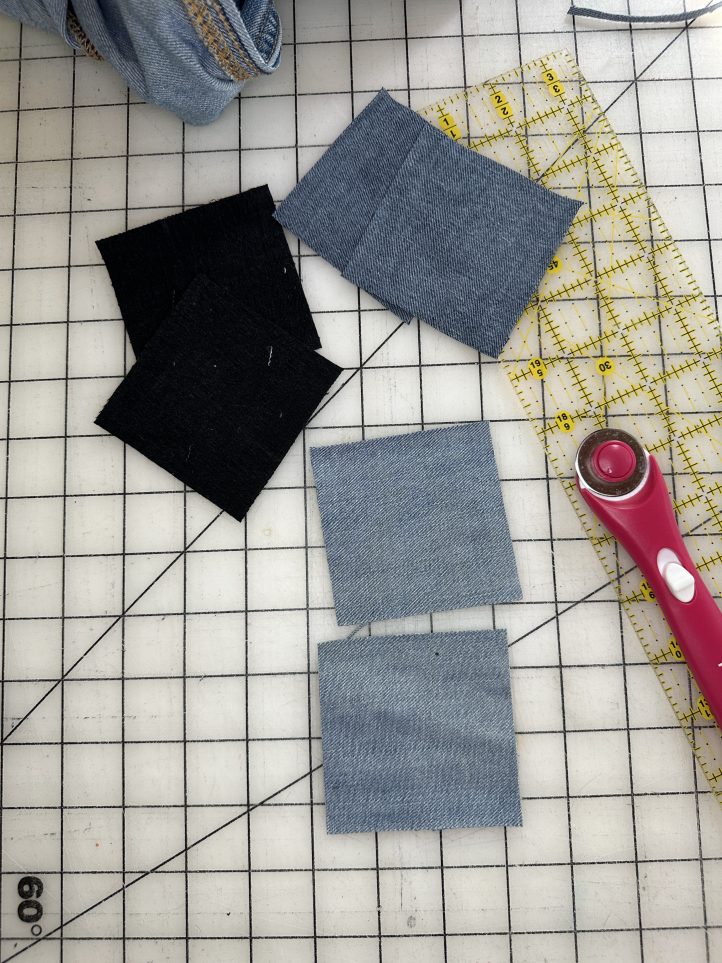
- The easiest way to upcycle denim is cutting up the side seams and cutting out any hems or seams so the fabric lays flat. Cut (6) 3” squares of differing colors. If you want to paint, stencil, embroider, or otherwise embellish the pattern weights, now is the easiest time before you start sewing!
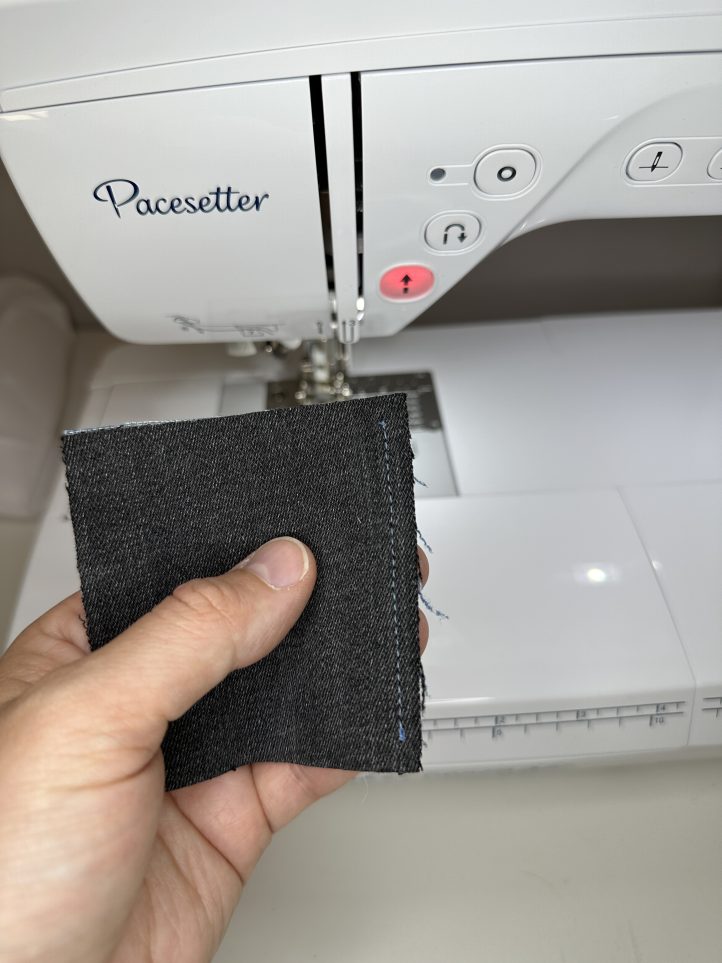
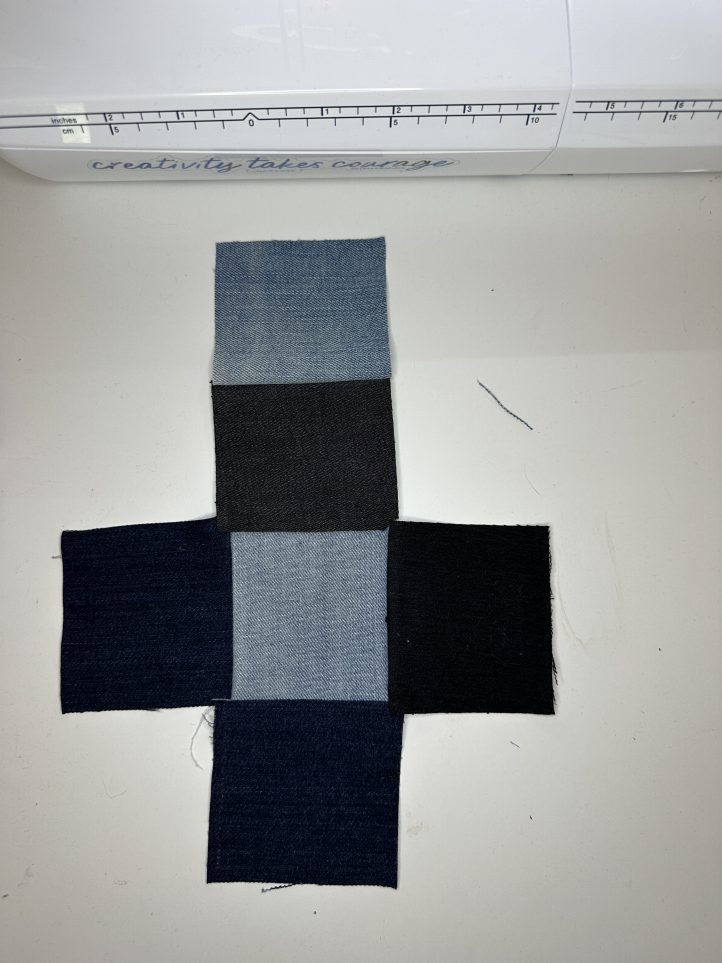
- Pin or clip squares together and sew with 1/4” seam allowance, layout as shown, leaving 1/4” space at the beginning and end of each seam so the corners can properly shape 3D. Consider using both sides of each square; denim often has different shades on the exterior vs. interior.
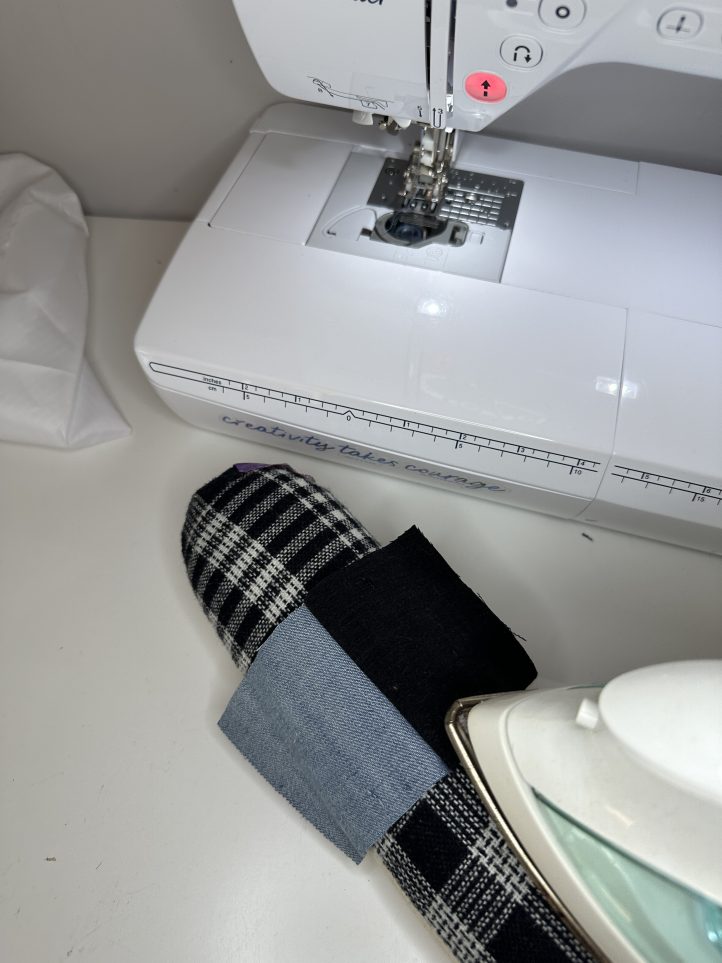
- Use an iron to press all seams to one side or open as you sew.
- Sew all sides up to form a cube. When sewing up the very last side seam, leave a 1.5” gap.
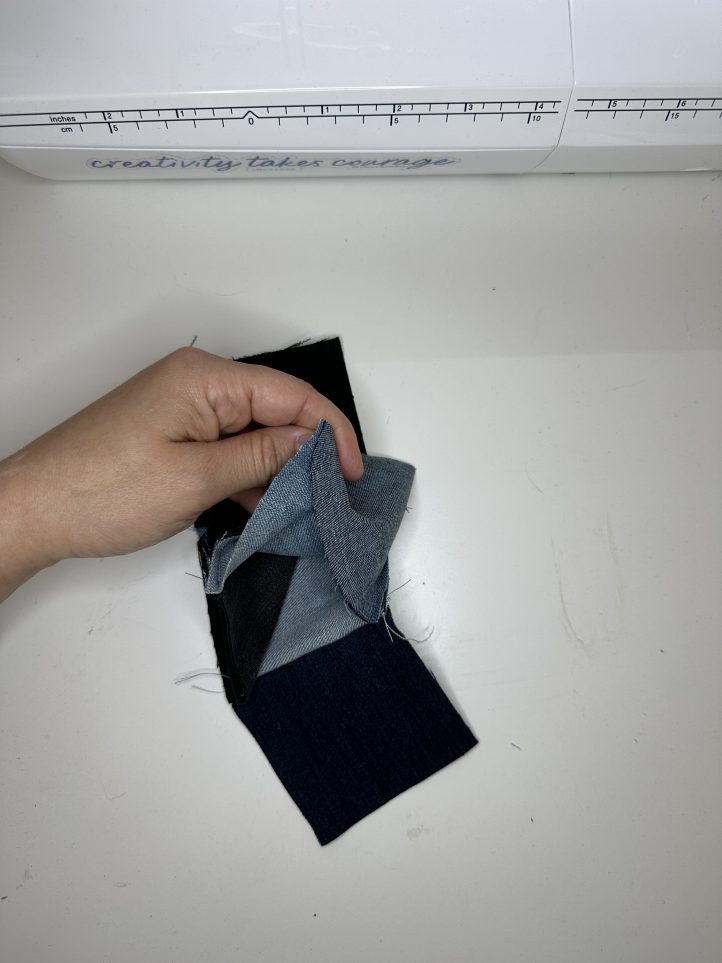
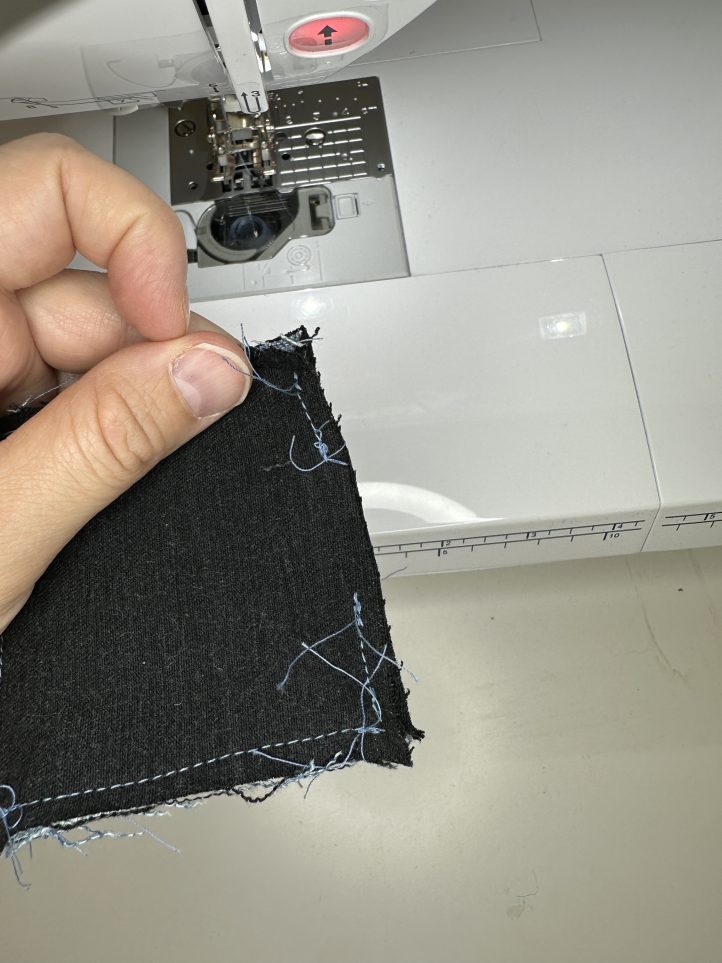
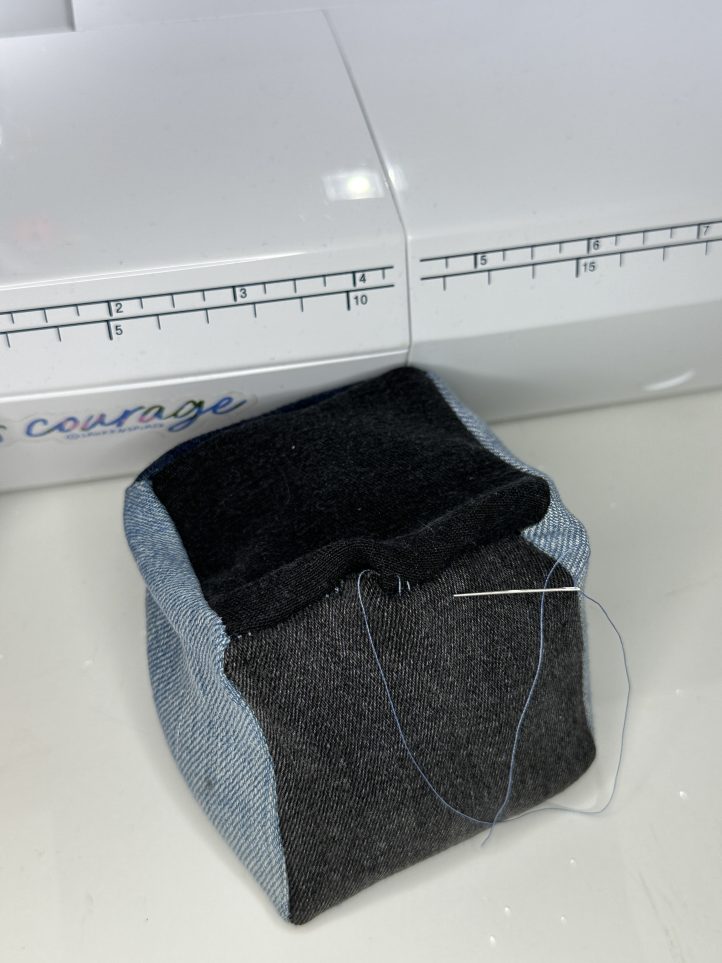
- Gently pull the cube through the 1.5” gap and use a blunt pen to push out all the corners. Fill with your preferred filling.
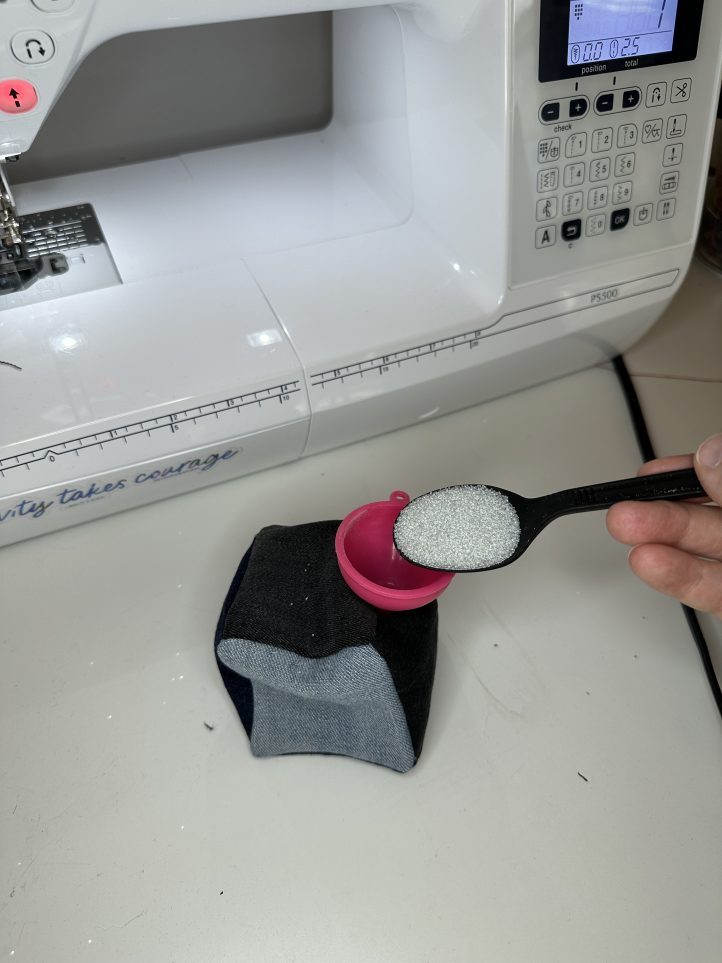
- Use a ladder stitch to sew the opening closed and repeat Steps 1-6 until you have at least 4 or 5 pattern weights to hold your pattern down!
