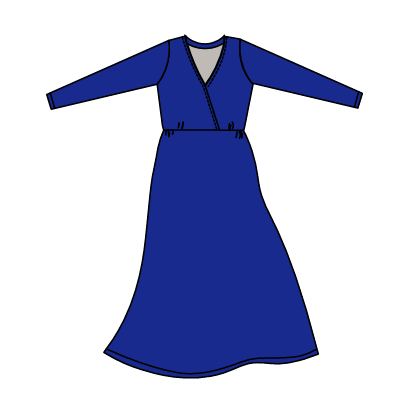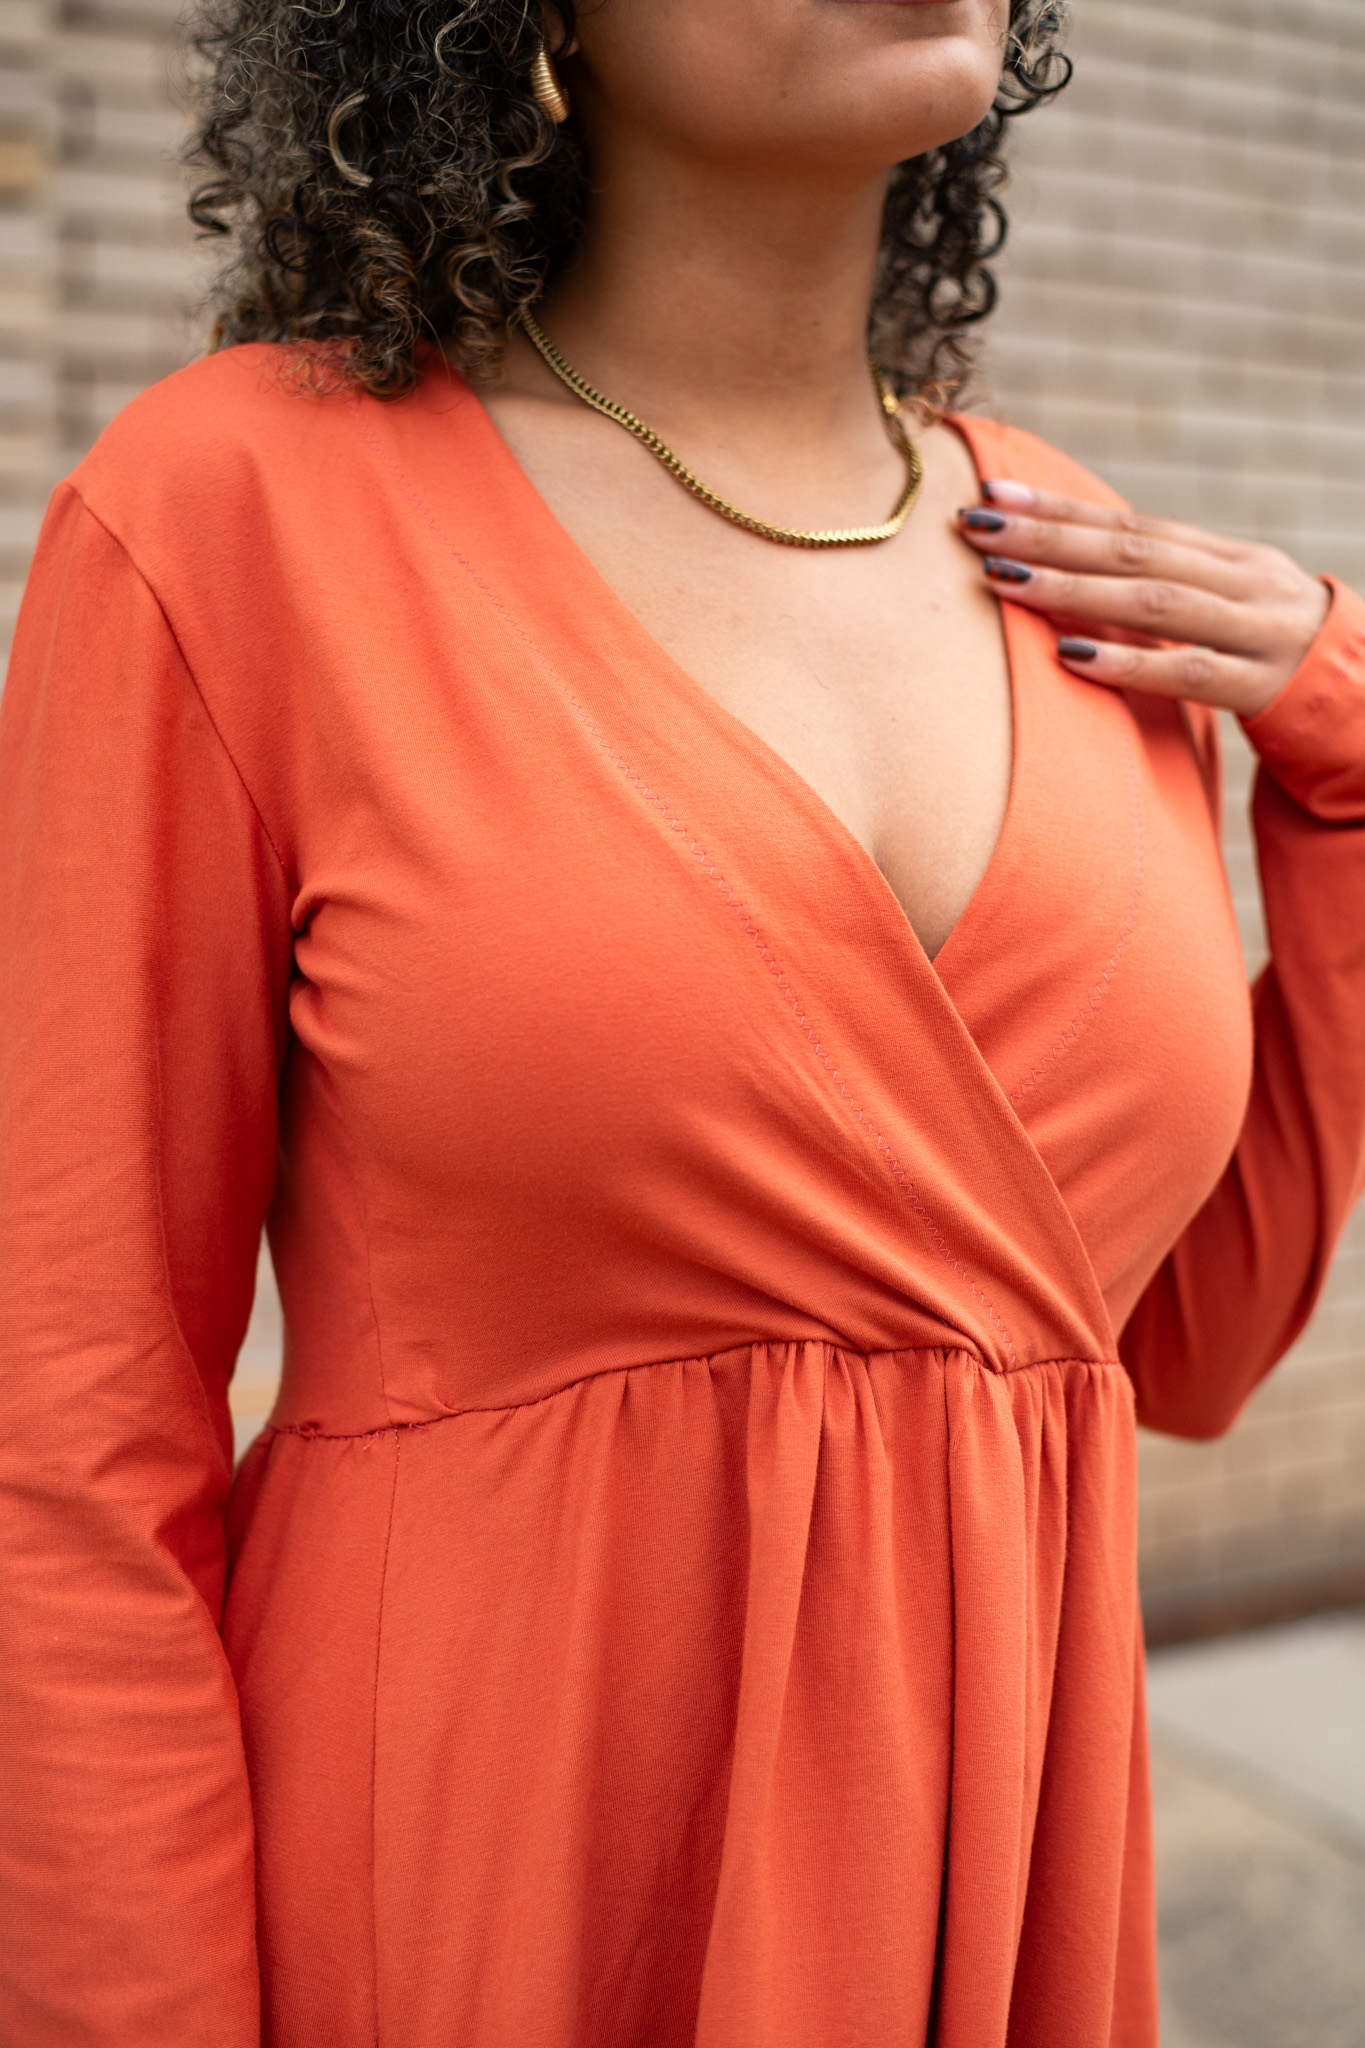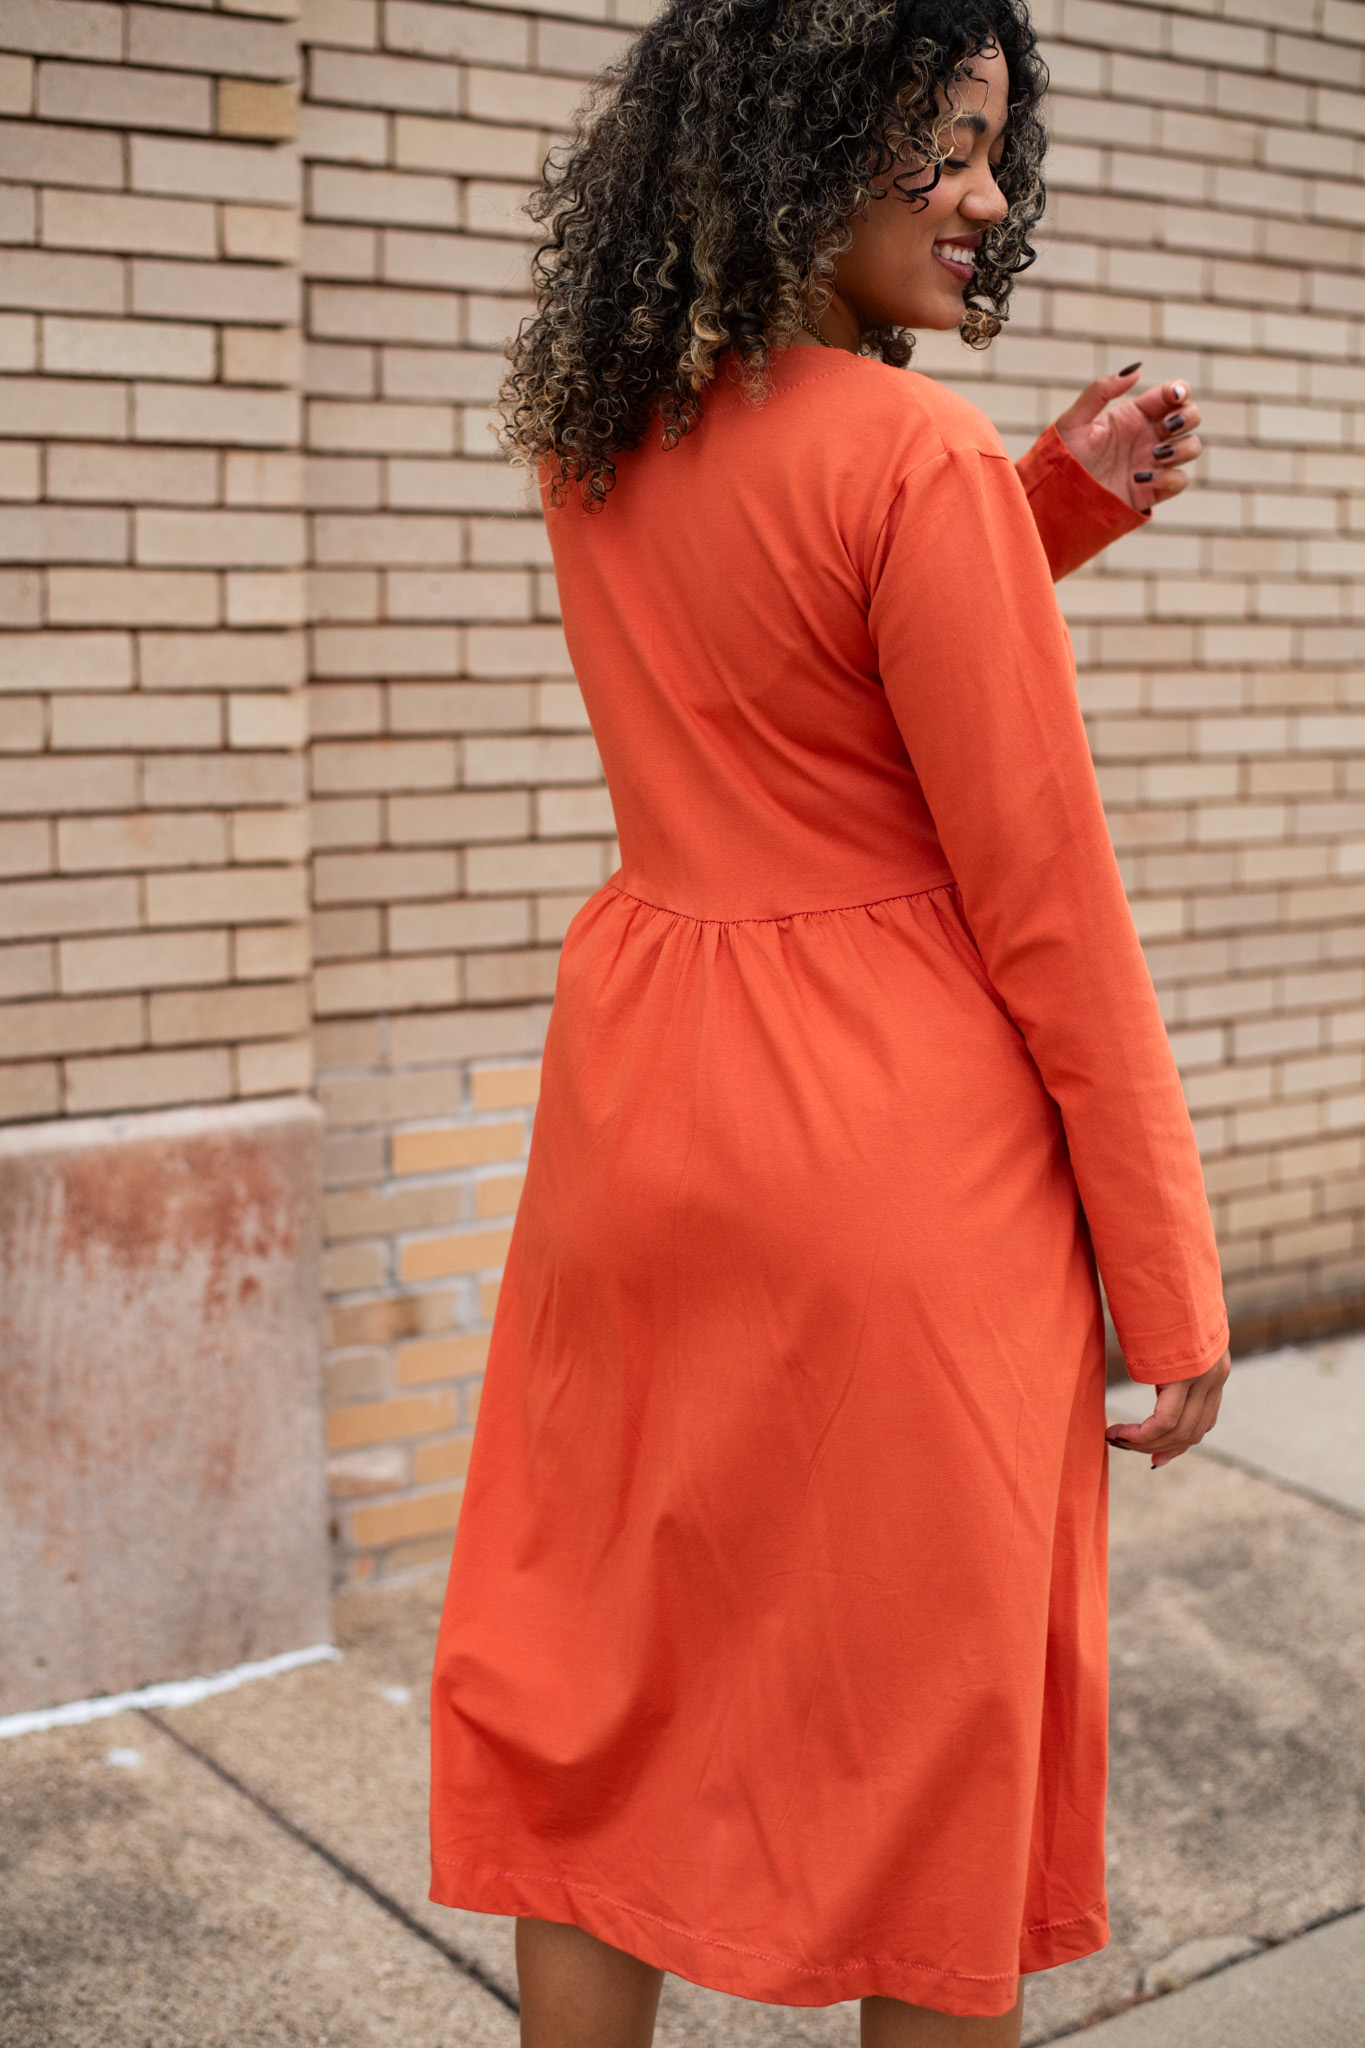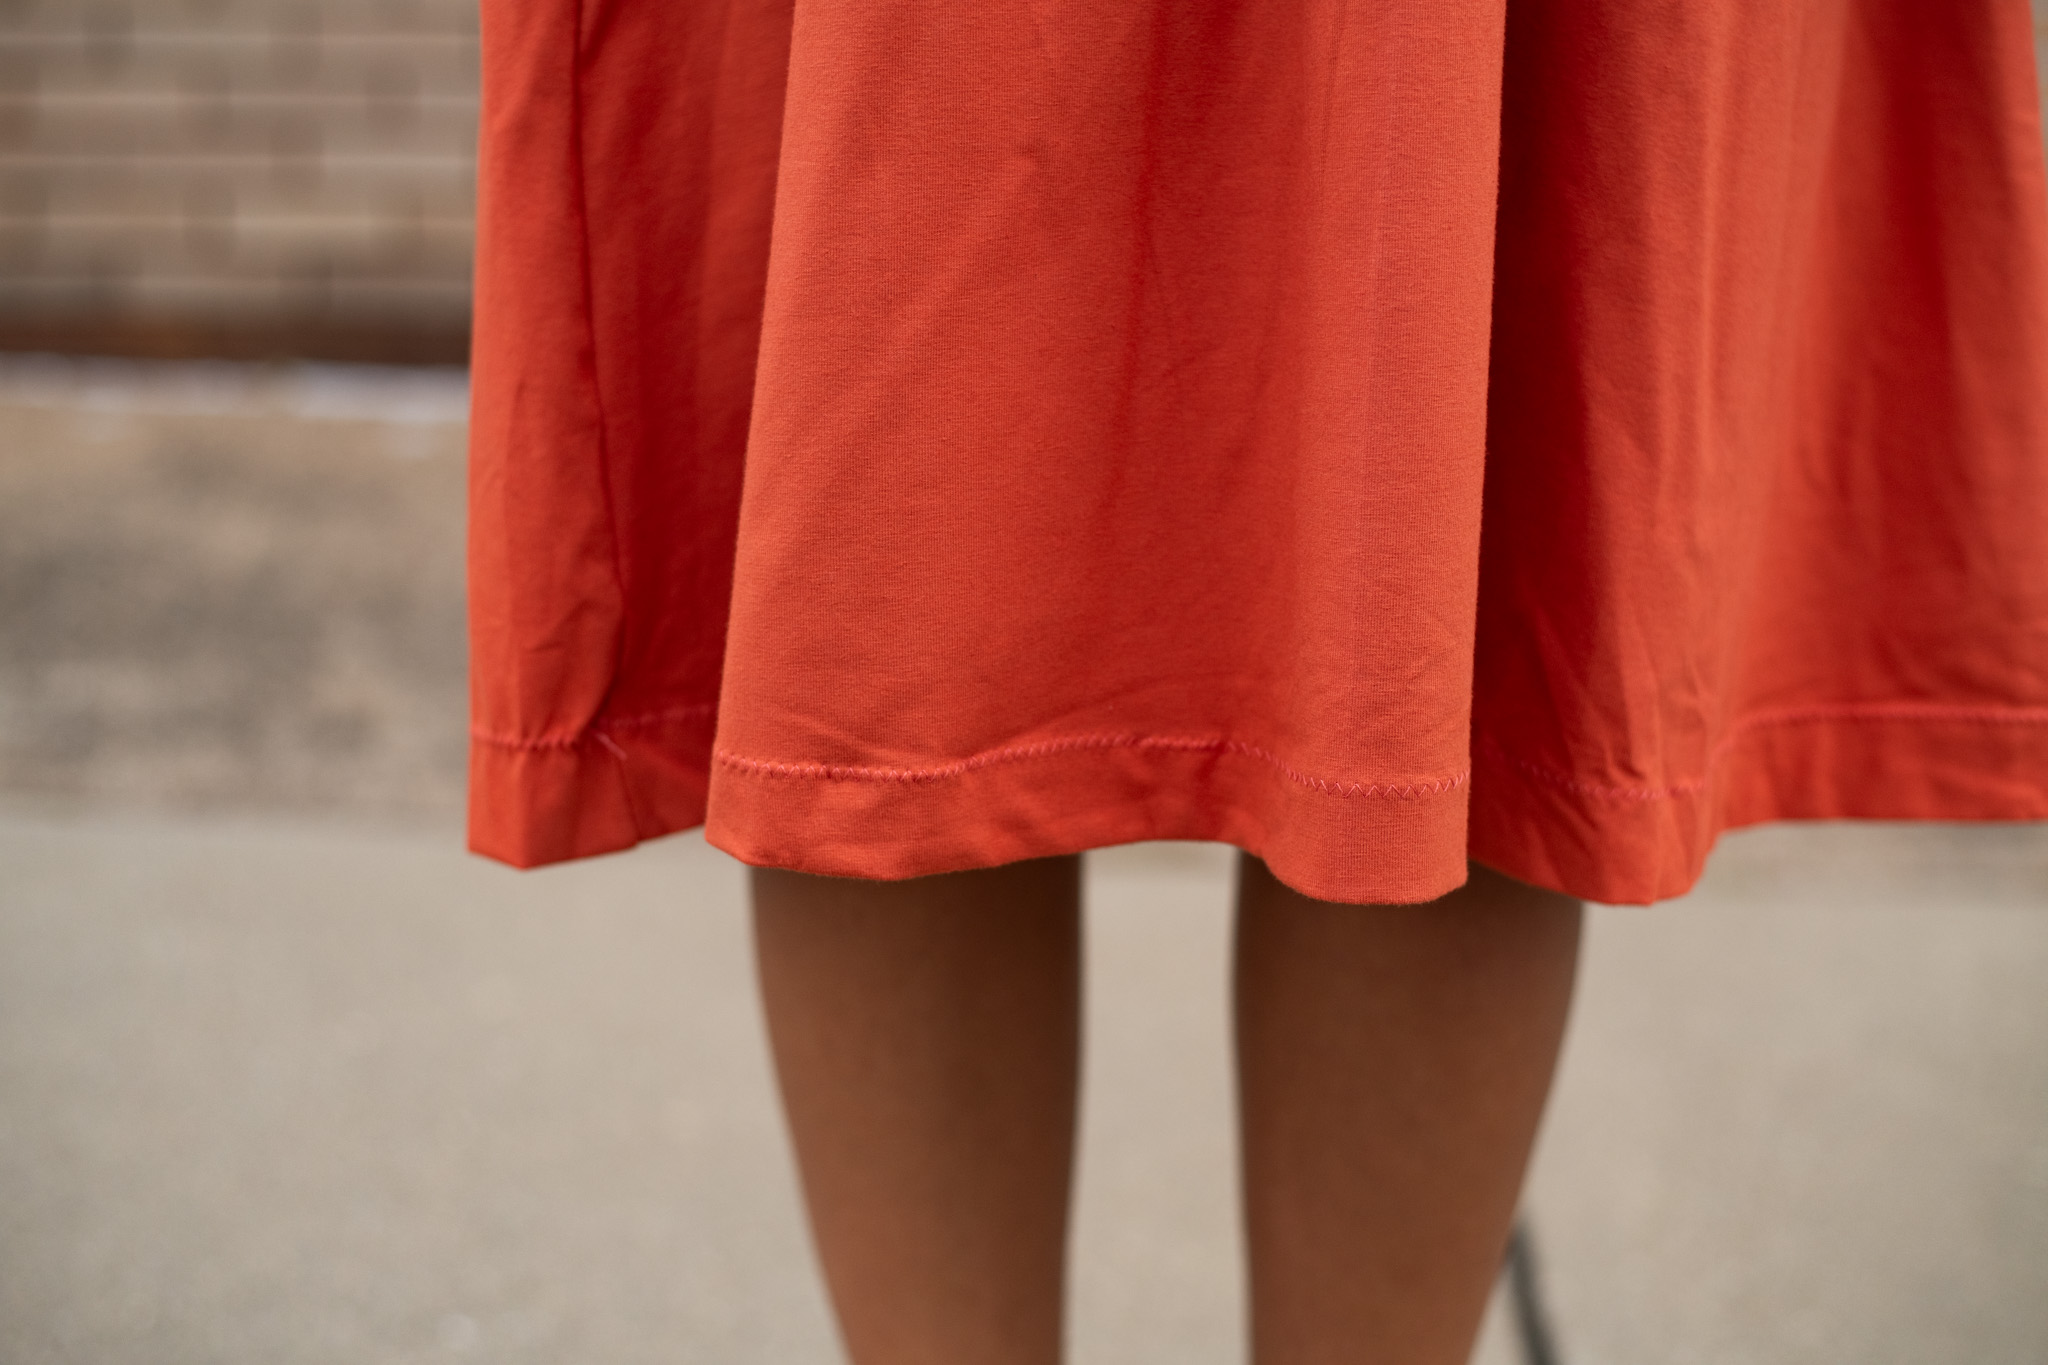
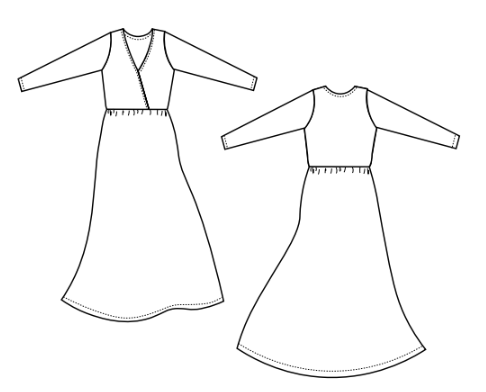
Sew yourself a sleek and flirty midi dress ahead of your next evening out with this winter sewing pattern from Daniela Paz Gutierrez-Diaz. Designed for advanced beginners, this winter dress pattern features a tea-length skirt and flattering crossover bodice and is recommended for light to medium knit fabrics such as cotton jersey. Stand out against the whites and grays of winter by making your design in an attention-grabbing color.
Skill Level: Advanced beginners
Materials:
- 3 yards of light to medium weight knit fabric
- Note: Recommended fabrics for this pattern include ponte roma, double brushed jersey, bamboo jersey, cotton jersey, and other blends.
- Coordinating polyester thread
- Stretch needle
- PDF Pattern – This is located at the bottom of this page. Please see printing instructions below.
PRINTING INSTRUCTIONS:
Note: To download this pattern, click on the pattern download button at the bottom of the page. We recommend opening your pattern download using Adobe Acrobat.
Before you begin, a few notes on printing this pattern from the designer:
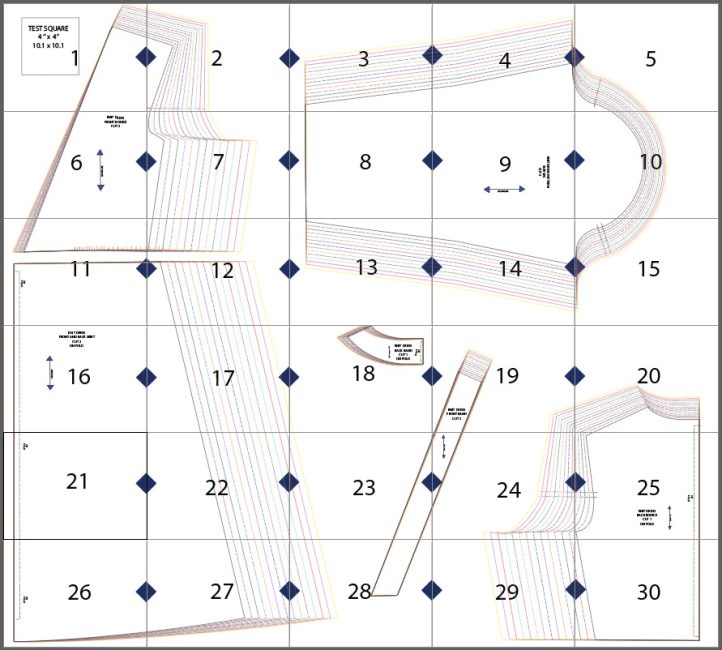
- This printable PDF pattern is assembled BY OVERLAPPING THE PAGES 1/2 inch.
- This pattern is available in A4 and Letter options. That will make it easier to assemble and reduce fitting issues.
- To print this pattern, open the PDF document. Select FILE — PRINT.
- Choose the ACTUAL SIZE or SCALE 100%.

HOW TO ASSEMBLE THE PATTERN PIECES:
PRINTED PATTERN LAYOUT:
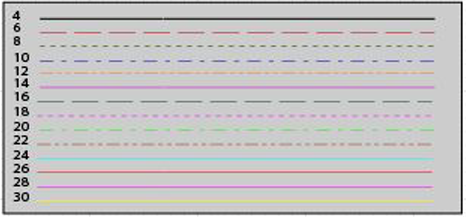
PATTERN SIZES AND COLOR-CODED LINES:
PATTERN FEATURES:
A long sleeve knit dress with a midi skirt and crossover bodice.
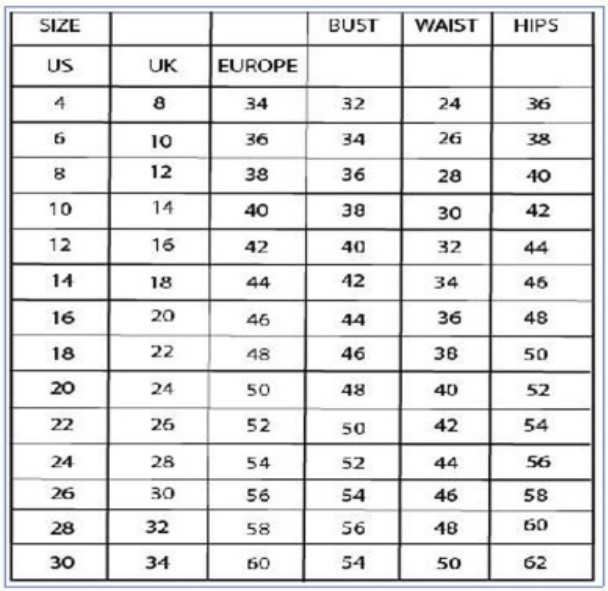
SIZES FOR SAMPLE PATTERNS:
Note: Please, select your DRESS size with this chart. The patterns have 1’’ ease at bust point for the dress and 3/8 inch seam allowance.
CUTTING LAYOUT AND FABRIC REQUIREMENT:
3 yards of light to medium weight fabric.
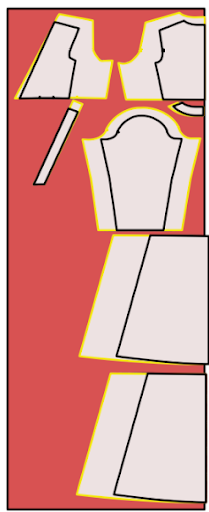
PIECES YOU WILL NEED:
Please check the correct pieces you will need to start your project.
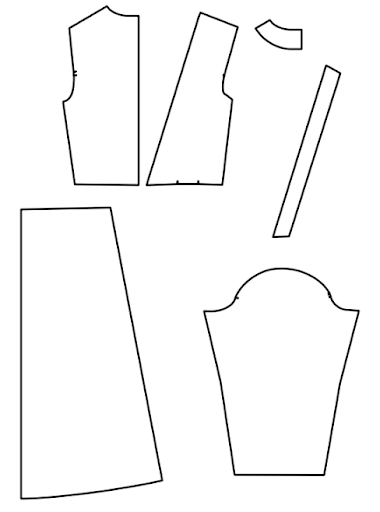
COLOR-CODED PIECES TO READ THIS TUTORIAL:
Through this tutorial, you will see TWO main colors to easily identify the side of the fabric OR piece you are working with.
Right Side:

Wrong Side:

PREPARING YOUR PATTERN PIECES:
- Wash your fabrics before cutting to prevent shrinking.
- It is recommended to make a muslin or use a cheap fabric to check that the fitting and style of the pattern are exactly what you are looking for.
- Read the instructions carefully before starting this pattern.
- Gather all supplies you will need for this project.
- It is recommended to practice on areas and techniques that you are not familiar with before doing them on the final project.
Sewing Instructions:
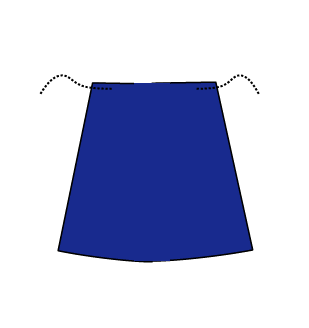
- Start by gathering the skirt top seams.
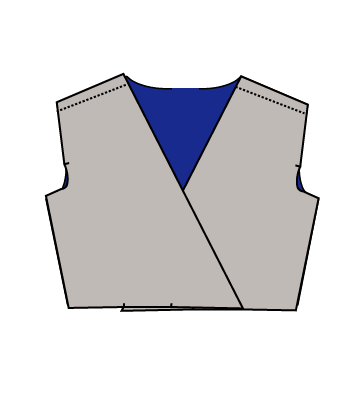
- Place the front pieces on top, right sides facing, and pin the shoulder seams together.

- Stitch the shoulder seams with a 3/8 inch seam allowance. Press flat.
- Now, open the bodice and place the sleeve on the armhole. Mark the middle of the sleeve and pin it to the shoulder seam in the armhole.
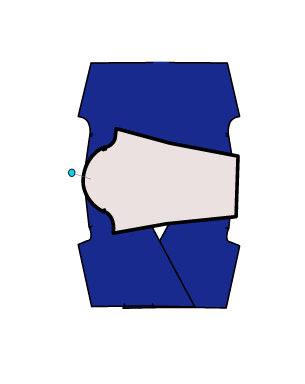
- Stitch the sleeves to armholes together.

- Turn the sleeves to the right side of the fabric and press them flat.

- Set the bodice aside and bring the neckline facing pieces to the table. Place the back and front neckline facing pieces together, joining the shoulder seams with a 3/8 inch seam allowance.
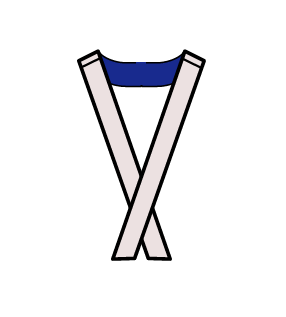
- Place them on top of the neckline bodice and stitch them together with a 3/8 inch seam allowance.

- Now, bring the fabric for the waistband and overlap them. Fold neck facing edge with a 3/8 inch seam allowance through the front and bottom and press flat. Fold again and press flat. Then, stitch along the fold again and press flat. Then, stitch along the fold with a 1/8 inch seam allowance.

- Fold the bodice and stitch the side seams and sleeves with a 3/8 inch seam allowance.

- Fold the sleeve opening up 3/8 inch. Press flat and stitch them with a 1/8 inch topstitching.

- Turn the bodice to the right side of the fabric.
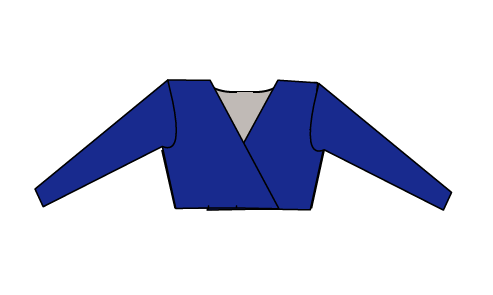
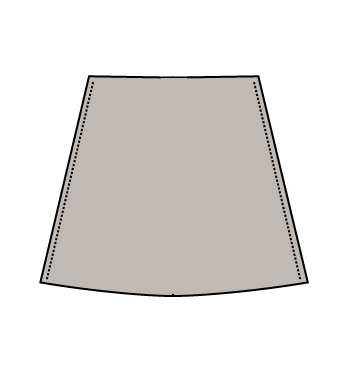
- Bring the skirt pieces to the table. Place both pieces together and pin the side seams.
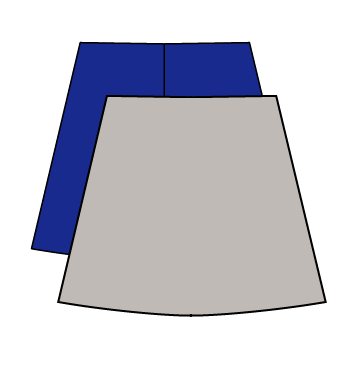
- Stitch them together with a 3/8 inch seam allowance.
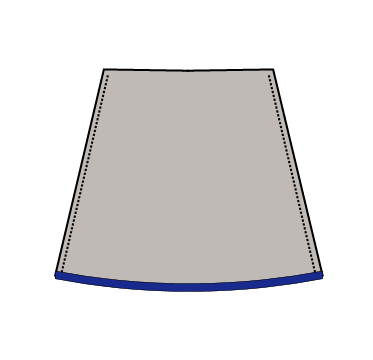
- Fold the hemline with a 3/8 inch seam allowance. Press flat and stitch it with a 1/8 inch topstitch.
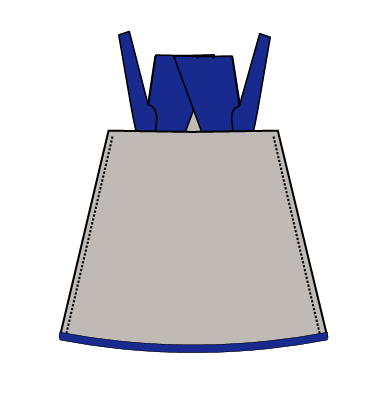
- Insert the bodice to the skirt and match the side seams.
- Stitch them with a 3/8 inch seam allowance. Press flat.
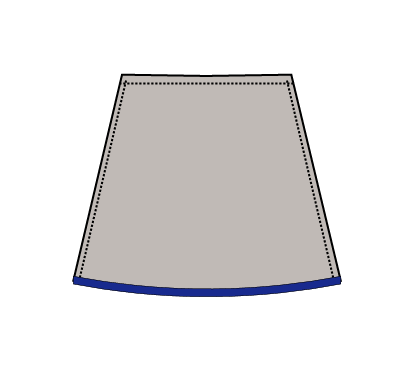
- Turn to the right side of the fabric and press flat.
