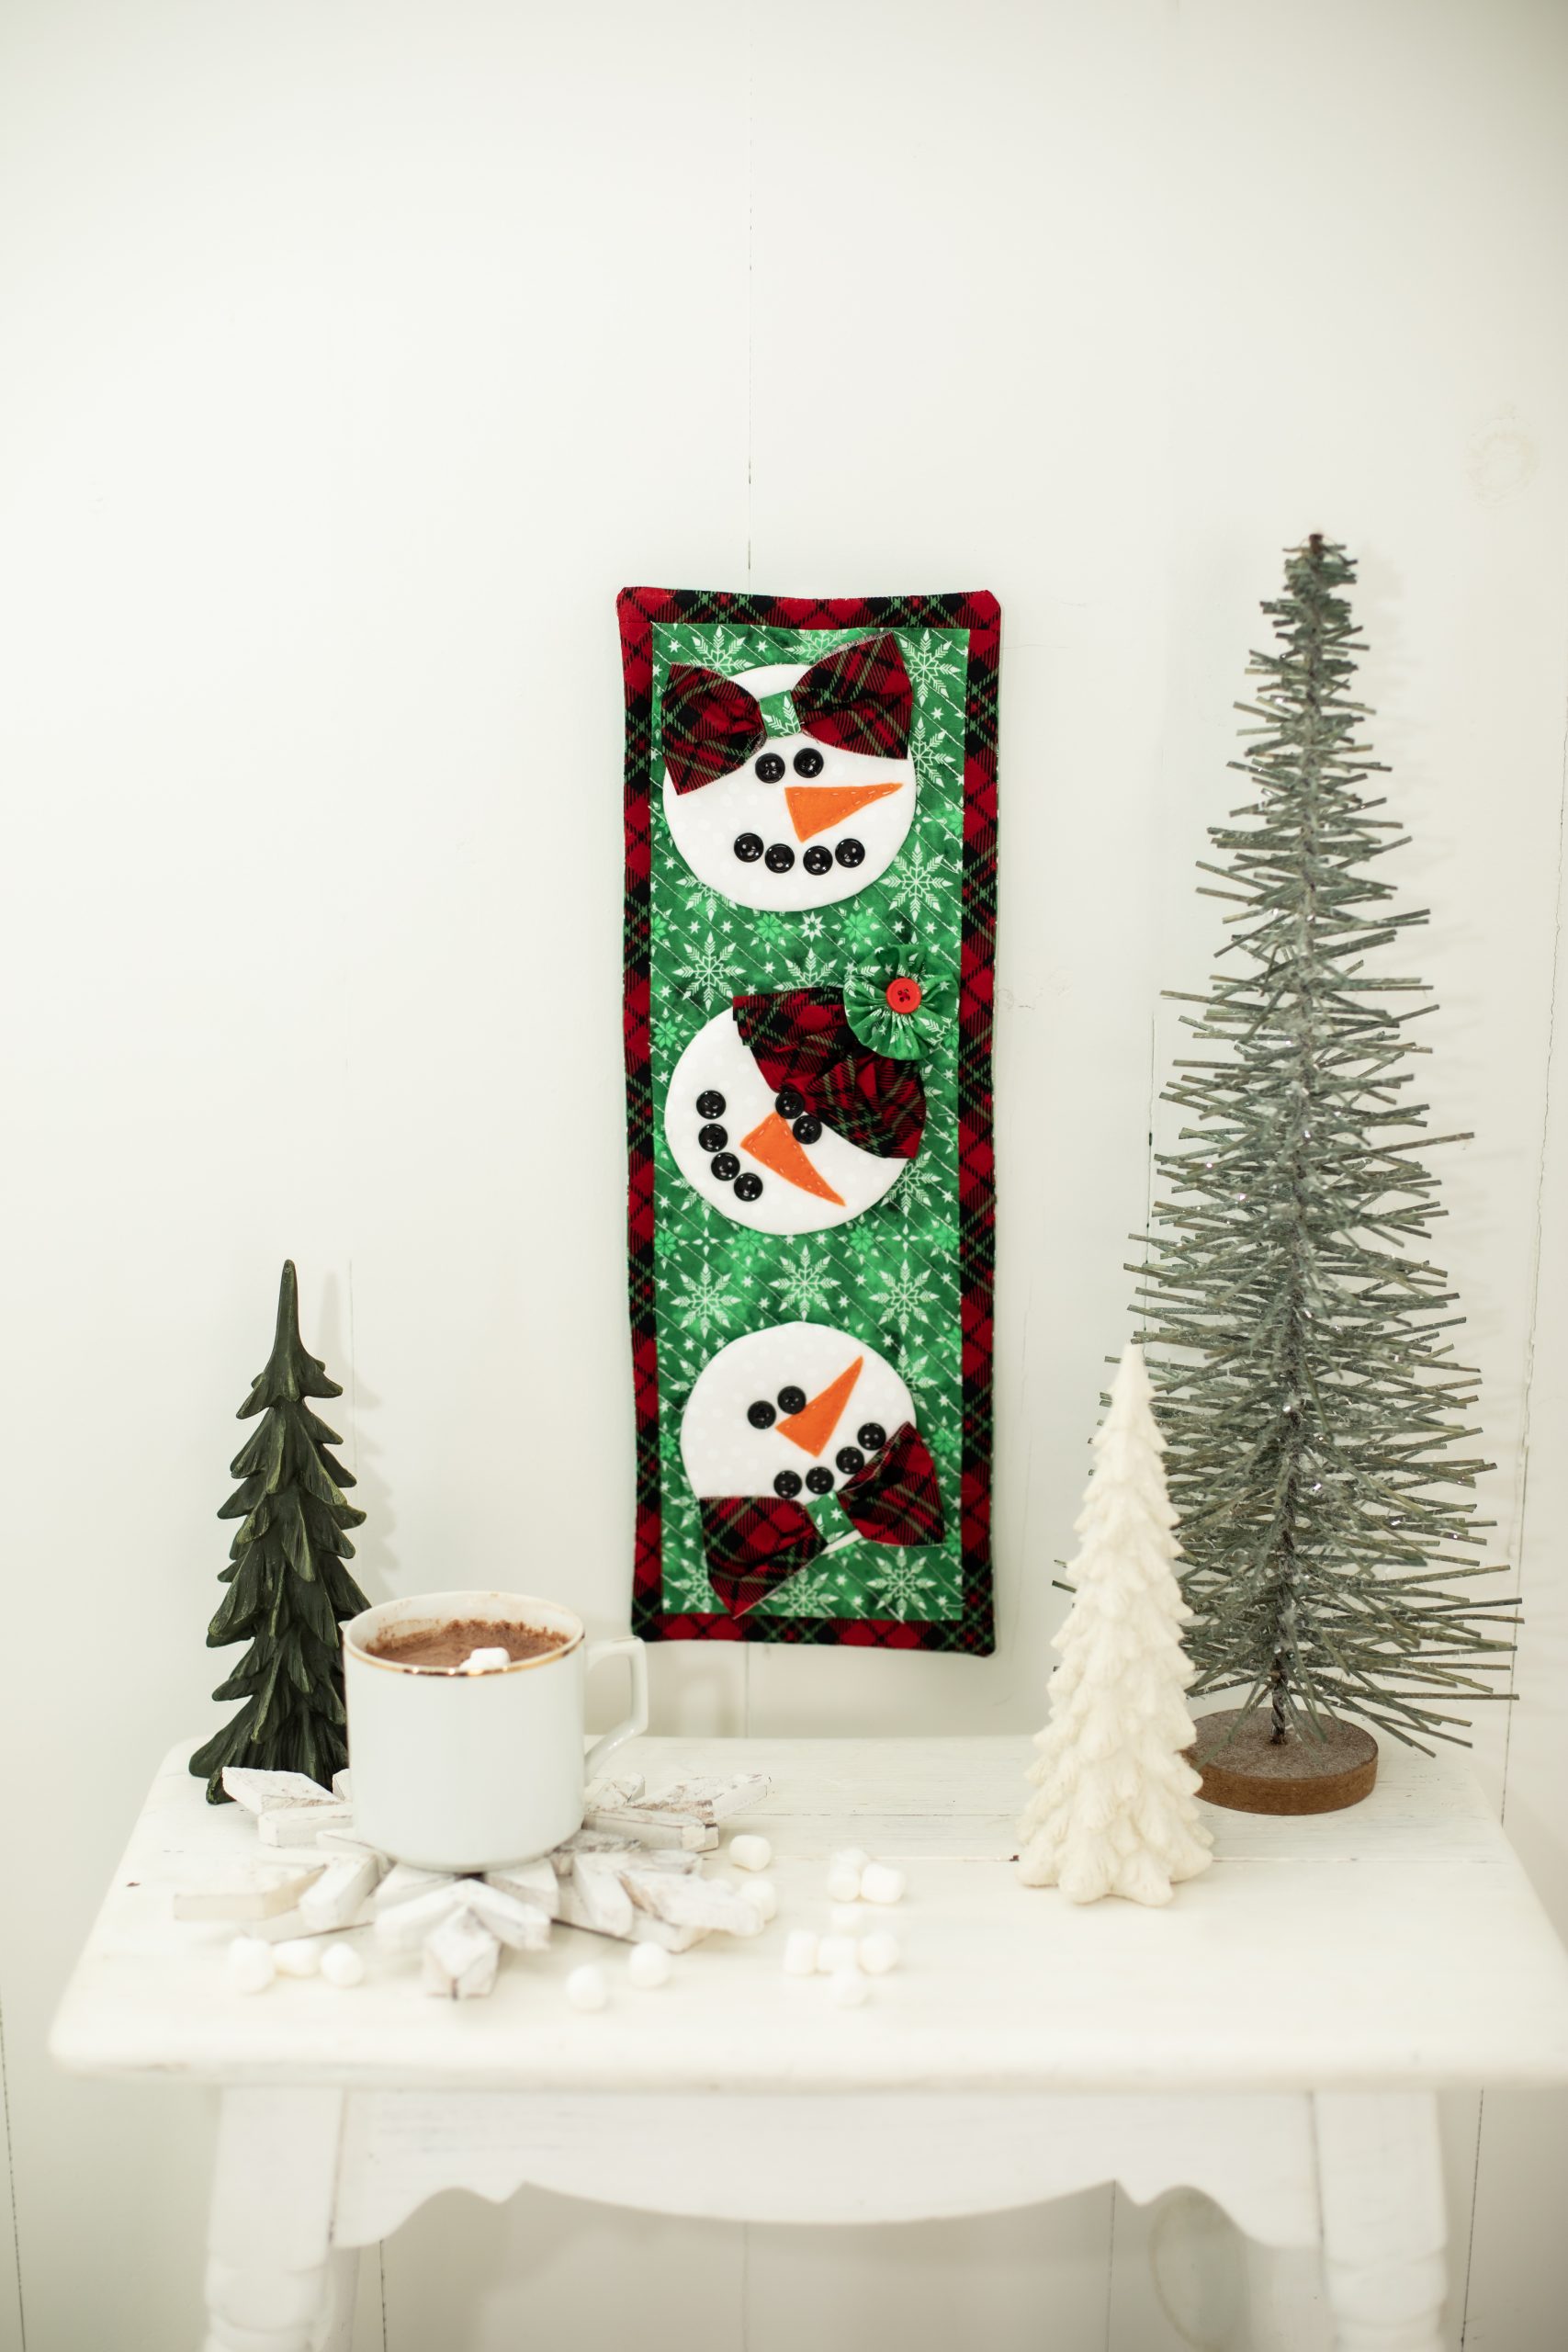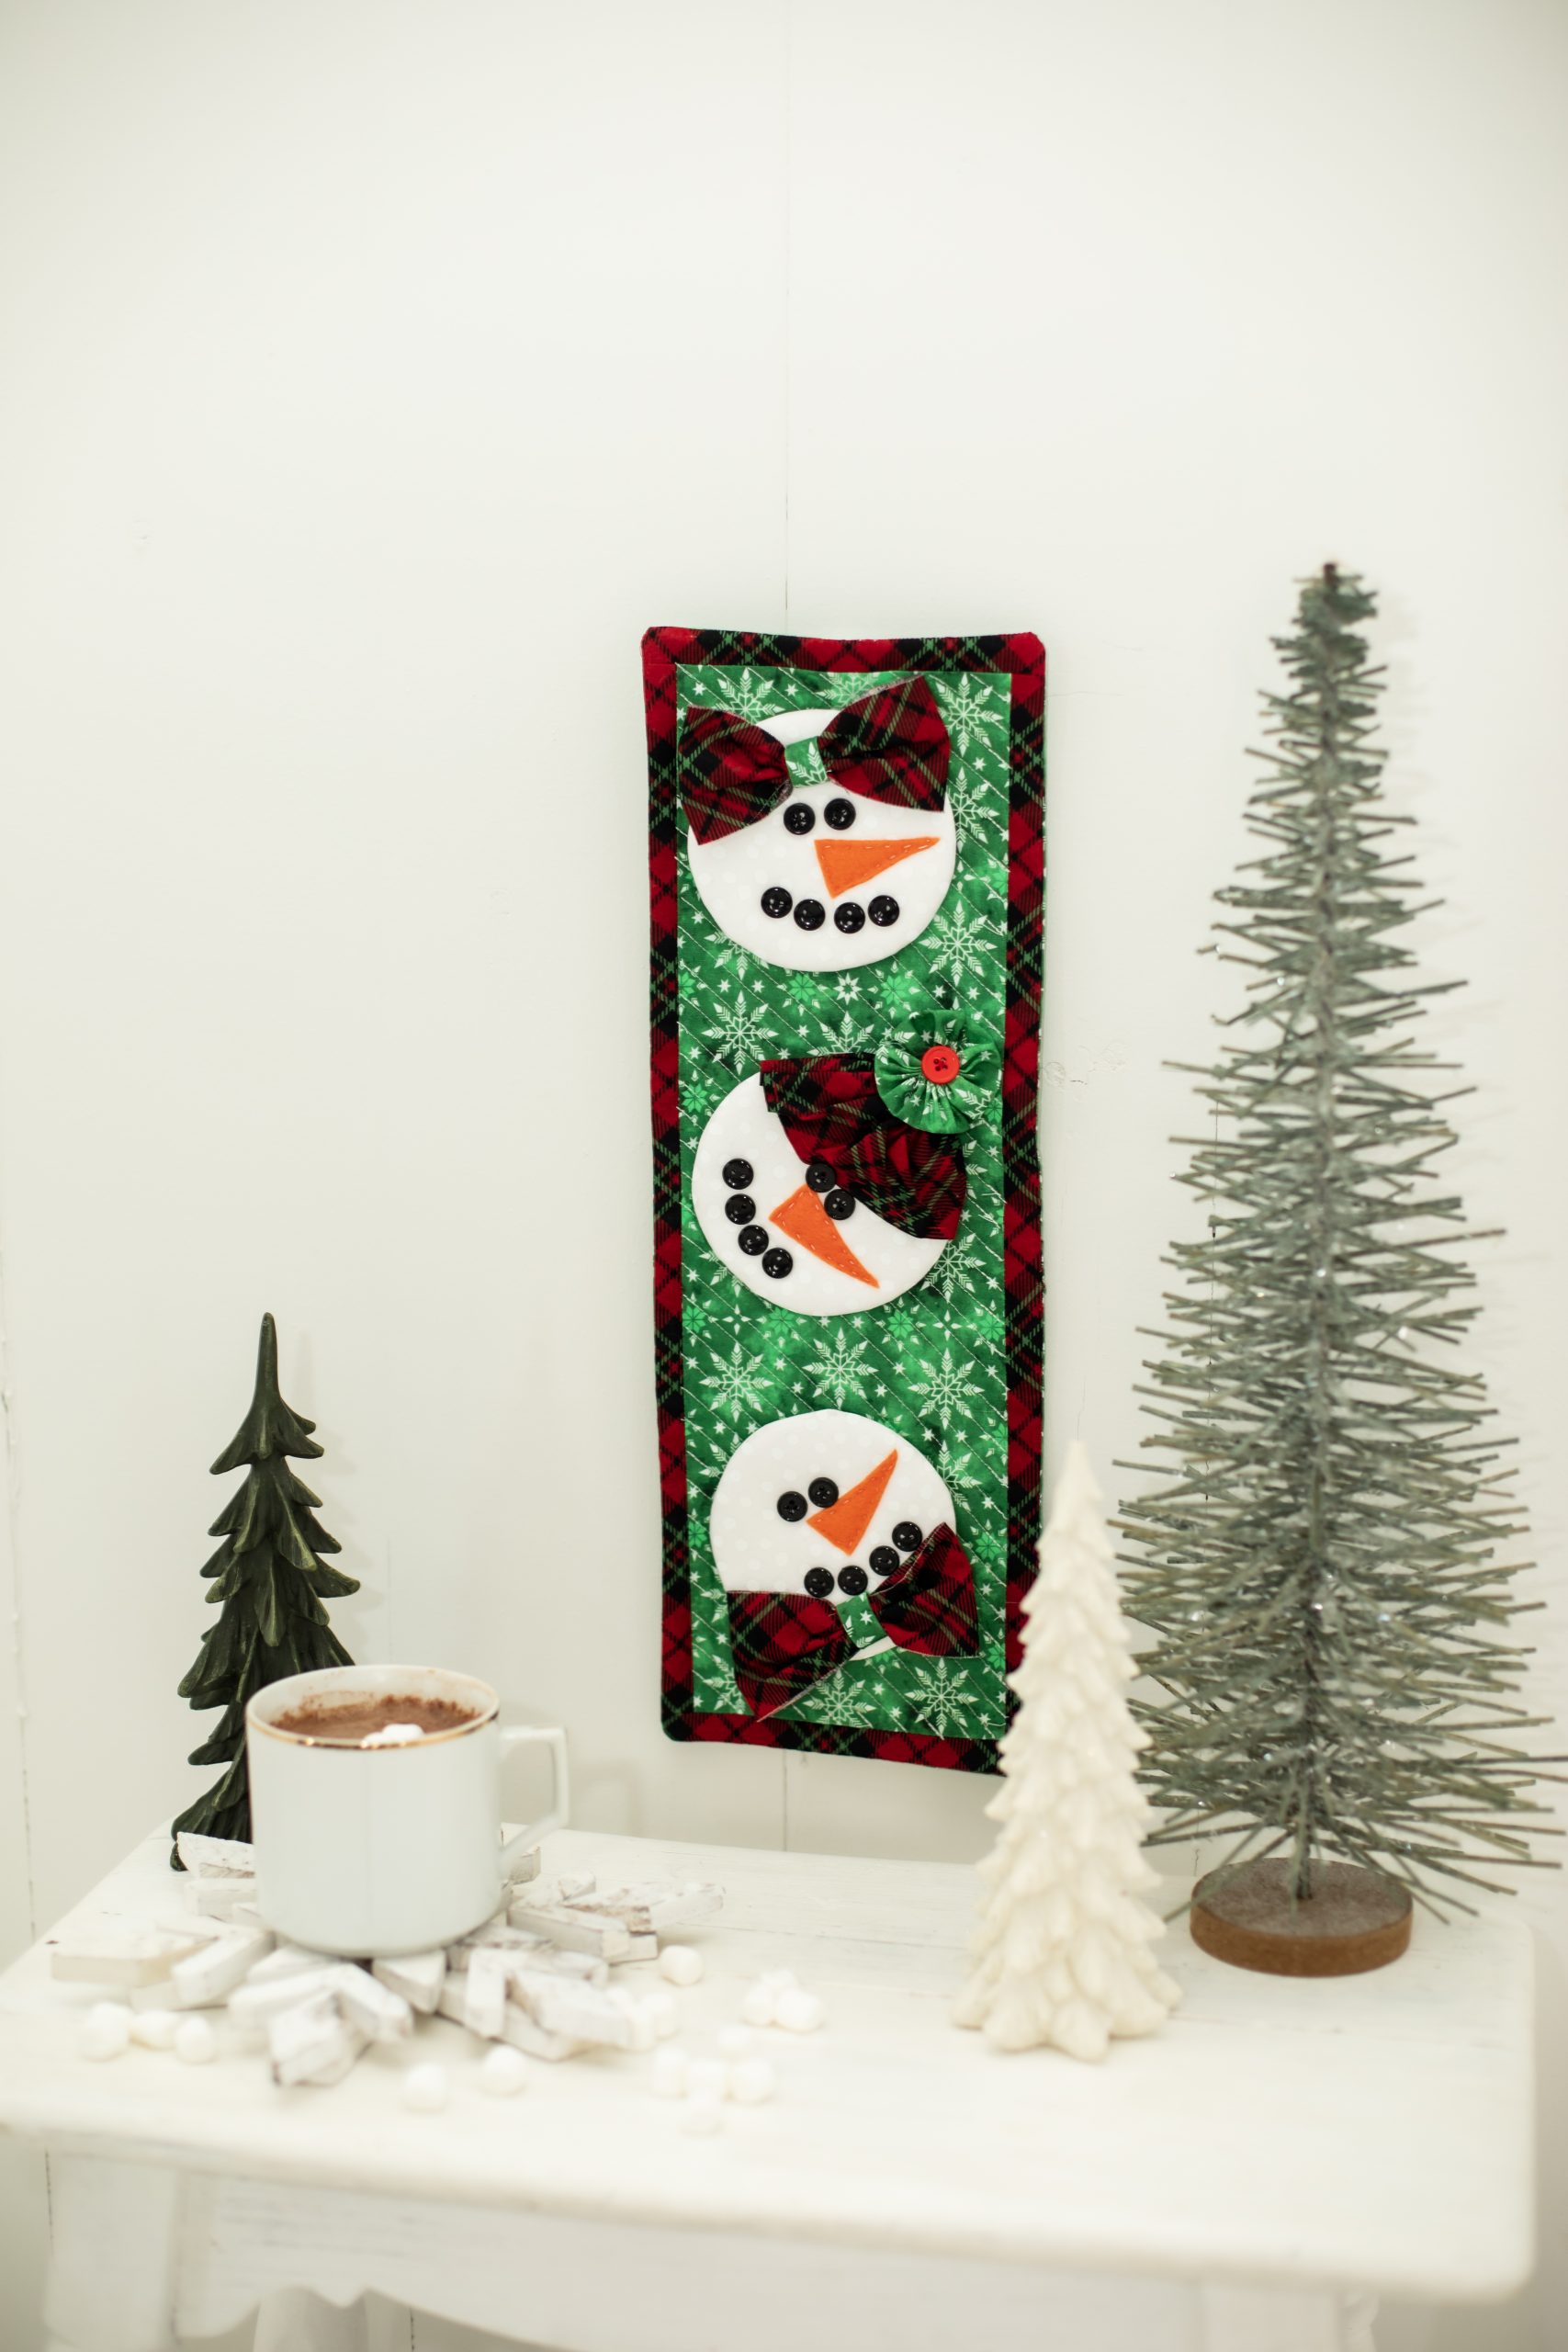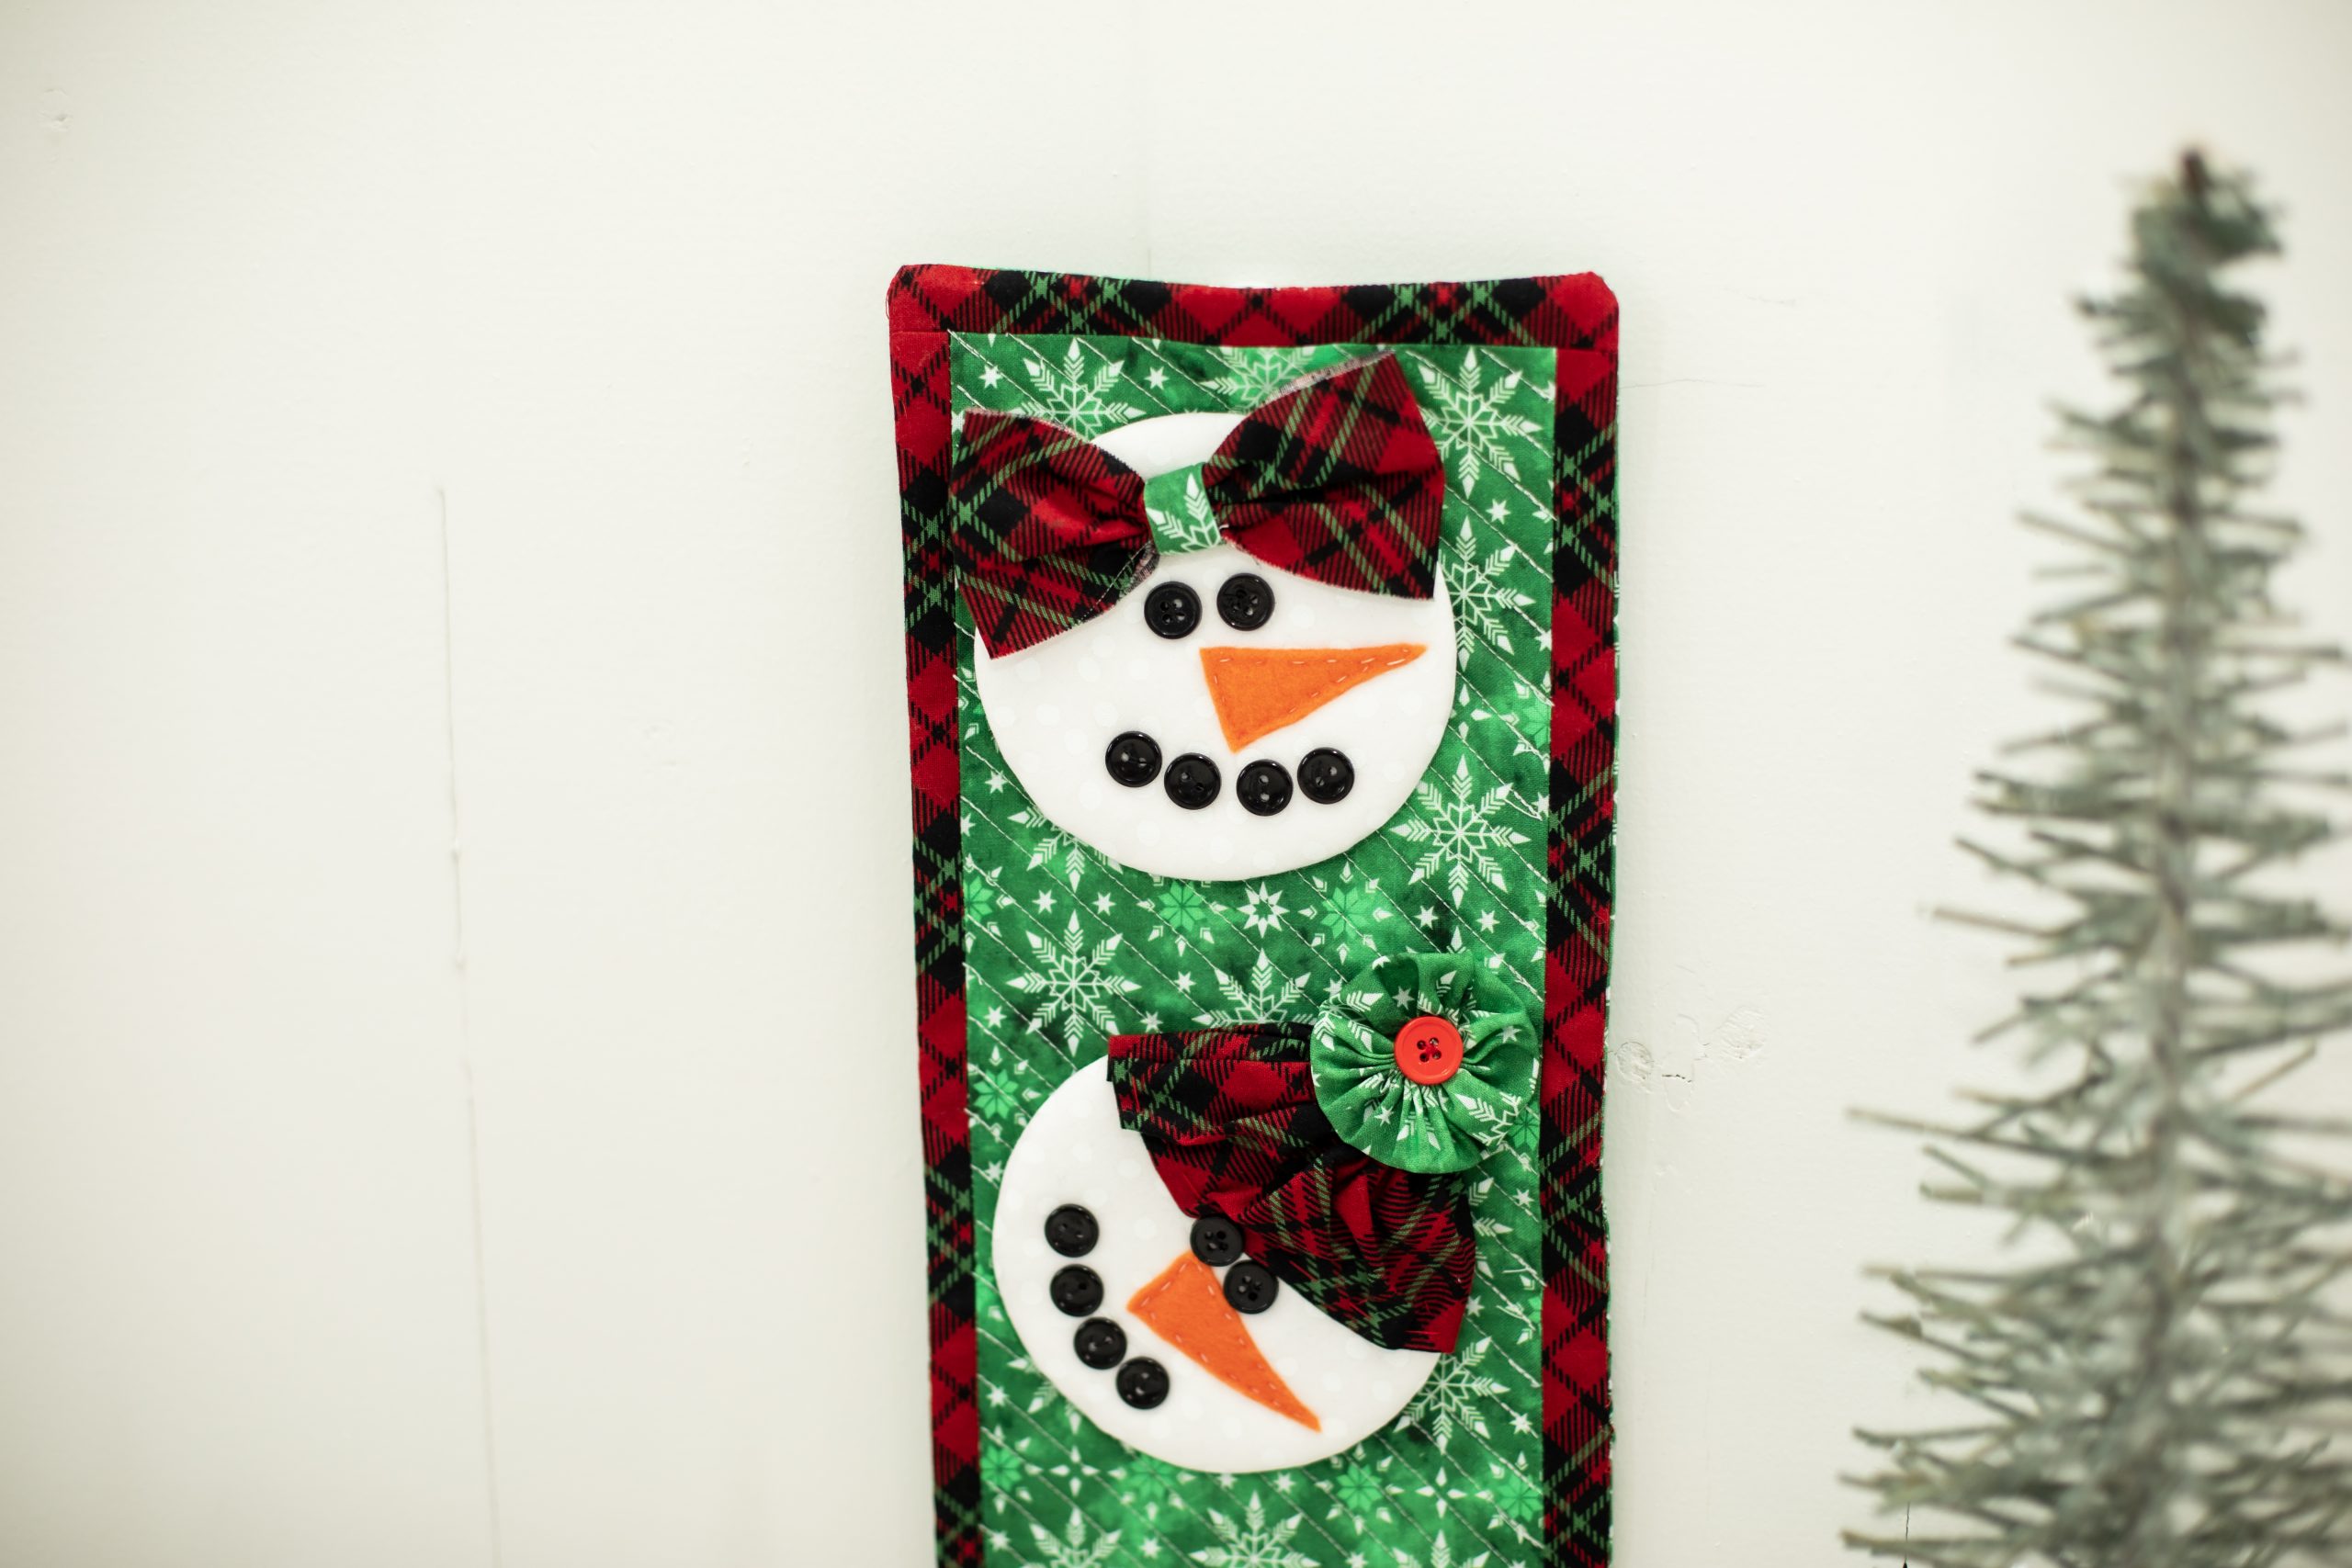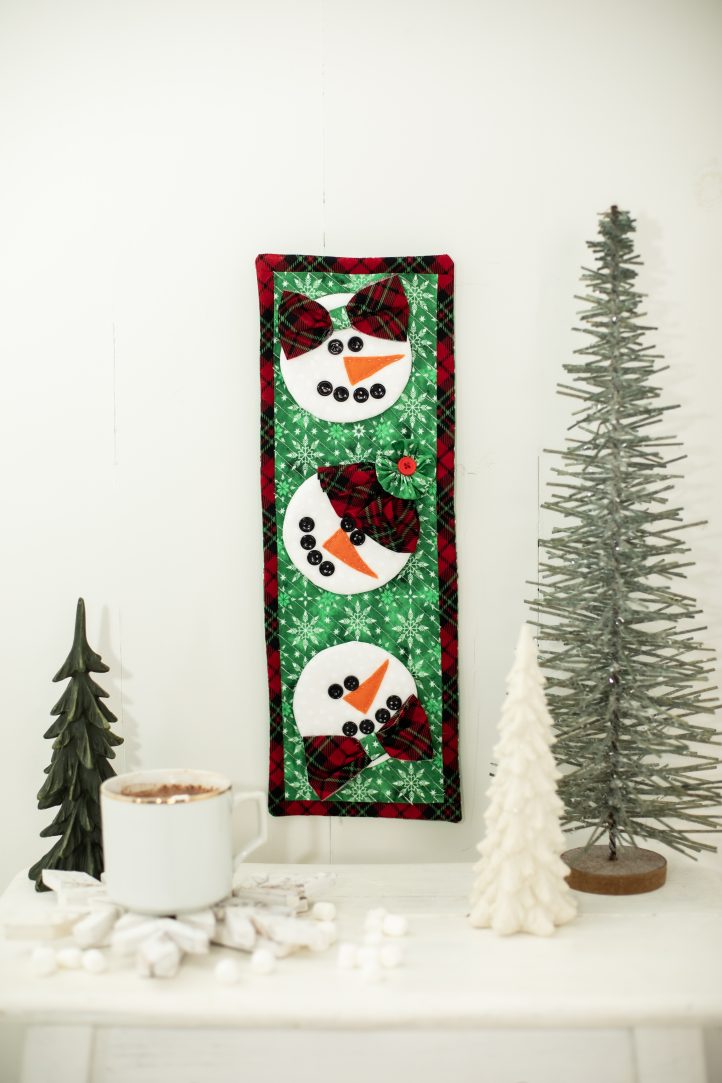
Celebrate the arrival of snowy weather with this precious snowman wall hanging from Debi Schmitz. Featuring three snowman designs, this wall hanging pattern is a fantastic project for emptying out your stash of winter prints and uses cardstock to give your snowmen stability. Display your wall hanging above your mantel, in your foyer, or on your front door as you complete your design with a helpful plastic ring for hanging.
Seam Allowances: All seams are 1/4″.
Materials:
- 1/3-yard green snowflake cotton fabric- 44” wide
- 1/4-yard white cotton fabric- 44” wide
- 1/4-yard red plaid cotton fabric- 44” wide
- 1 square of orange felt
- 24” x 24” white needled cotton batting
- (18) 1/2” black plastic buttons
- (1) 5/8” red plastic buttons
- (1) 1” plastic ring
- White, black, and red thread (Sew and quilt with the white thread.)
- (3) 6 1/2” x 6 1/2” pieces of heavy cardstock
- Fabric basting spray
- Scissors
- Cutting mat
- Acrylic ruler
- Rotary cutter
- Hand sewing needles
- Iron
- Pins
Cutting Instructions:
Green snowflake fabric:
- (2) 6” x 18” pieces
- (1) 5” circle
Red plaid fabric:
- (2) 1 1/2” x 7 1/2”
- (2) 1 1/2” x 18”
- (1) 3” x 12”
- (2) 2 1/2” x 9”
White:
- (3) 6” circles
Cardstock:
- (3) 4” circles
Batting:
- (6) 4” circles
- (1) 6” x 18”
Sewing Instructions:
- Spray one side of a 4” cardboard circle with basting spray. Lay (1) 4” circle of batting on top of the spray. Lay another 4” circle of batting on top of the first. It doesn’t need to be glued for next step.
- Lay the batting/cardboard circle in the center of a 6” piece of white fabric, batting down to fabric. Hand-stitch the white fabric tightly around the cardboard.
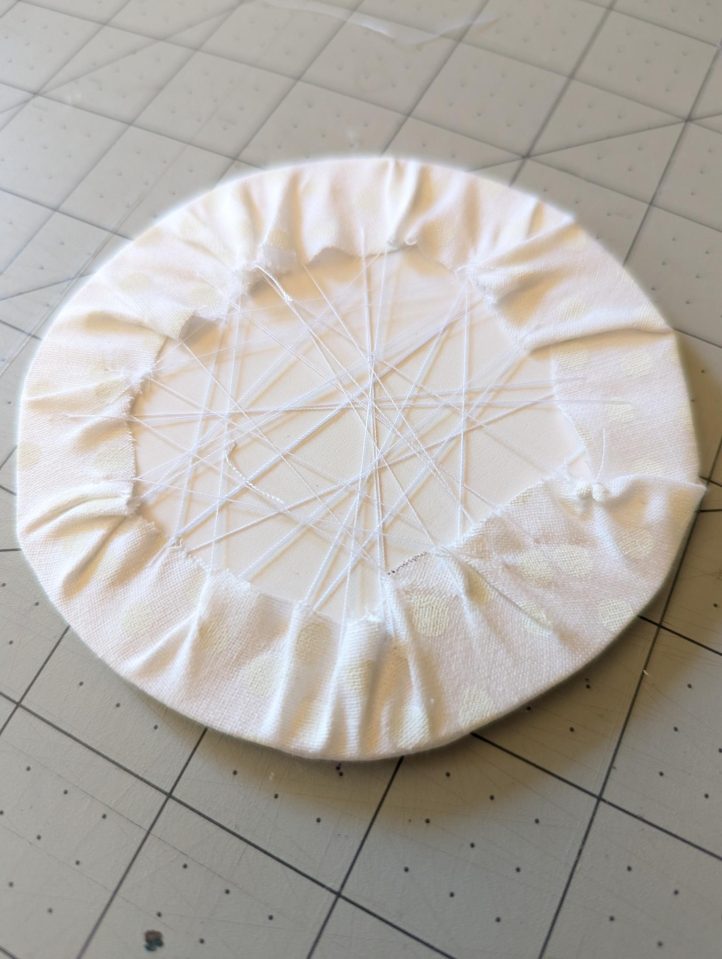
- Fold and press the (2) 1 1/2” x 18” and (2) 1 1/2” x 7 1/2” red plaid strips in half lengthwise. Open one strip and press the fabric edges to the middle fold for a bias strip. Each of the remaining three plaid strips will be pressed the same.
- Sew one (1) of the 1 1/2” x 18” red plaid strips, right sides together, to the 6” x 18” green fabric like bias tape. Repeat for the other long plaid fabric strip.
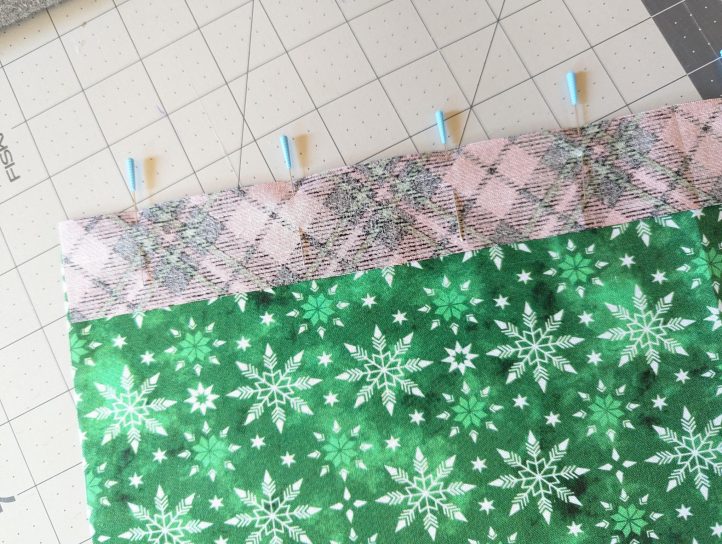
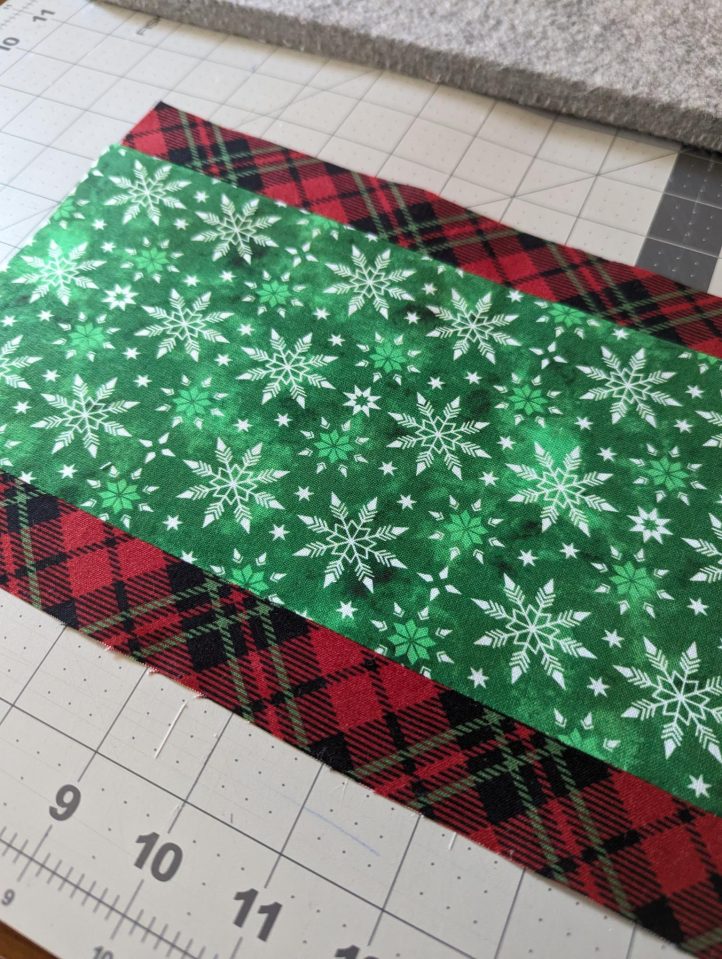
- Sew one of the 1 1/2” x 7 1/2” with right sides together to the top edge of the green fabric like bias tape. Repeat with the other red plaid fabric strip.
- Fold the bias tape strips to the back of the green panel and press.
- Lay the finished front panel right sides together with the back green panel. Lay the batting on top of the stack. Pin in place.
- Stitch around the entire panel through the two fabric pieces and batting, leaving 2” open on one long side for flipping.
- Clip the corners, flip the panel, push out the corners and press. Hand stitch the opening closed. Press the completed panel.
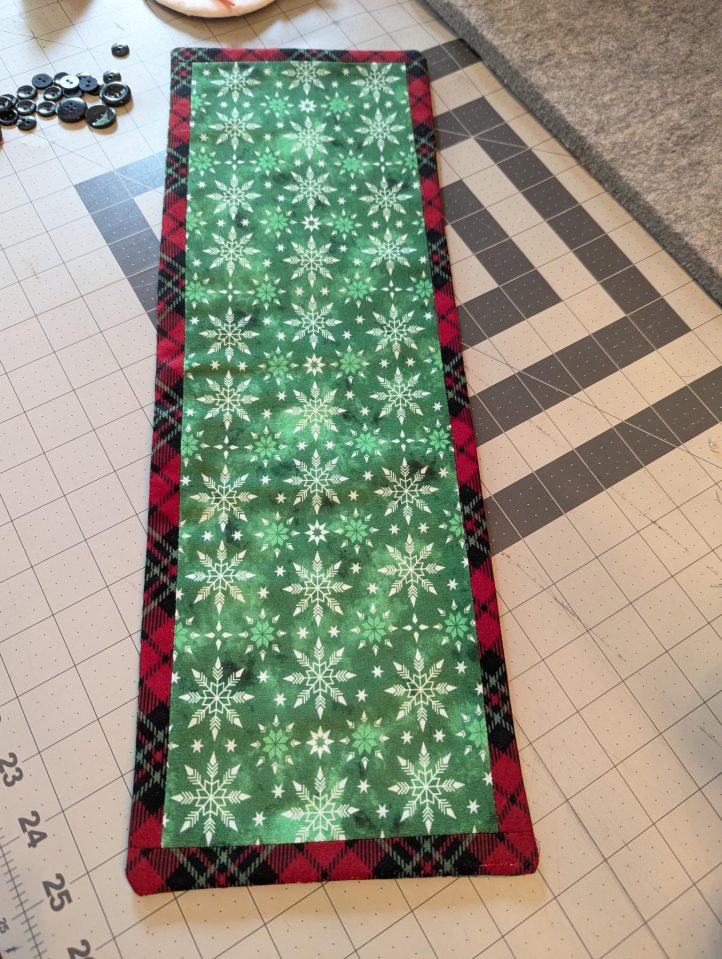
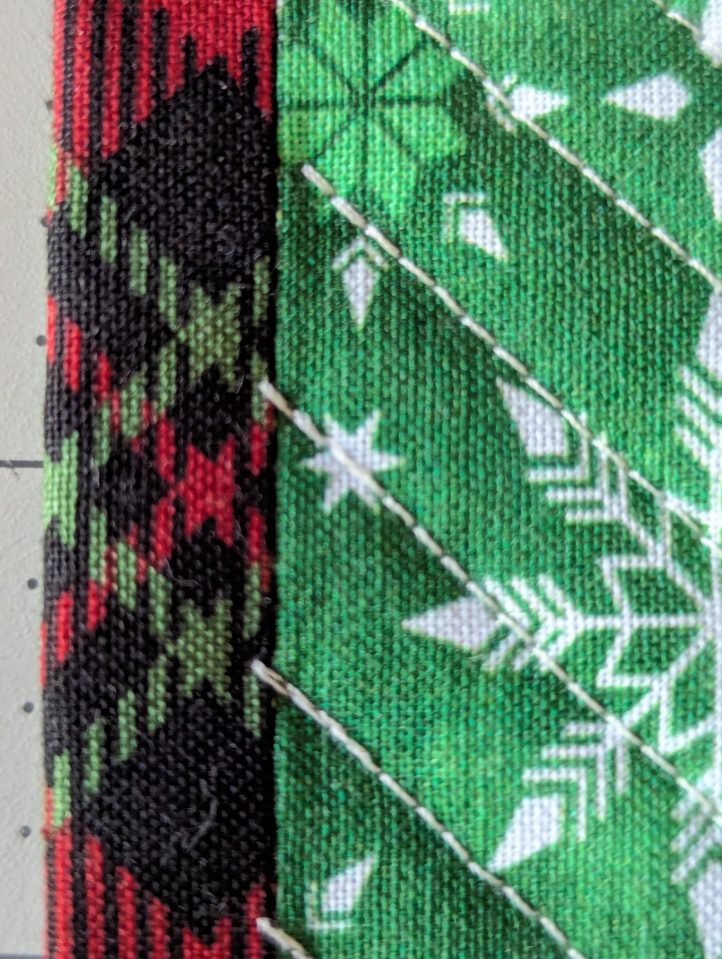
- Stitch diagonal quilting lines from the top of the panel to the bottom from one side of the red frame to the other. Do not quilt the red plaid. (Use acrylic ruler to stitch the first line of stitching. Then use your sewing machine to stitch the other lines 3/8” apart.)
- Decorate the three snowmen as follows:
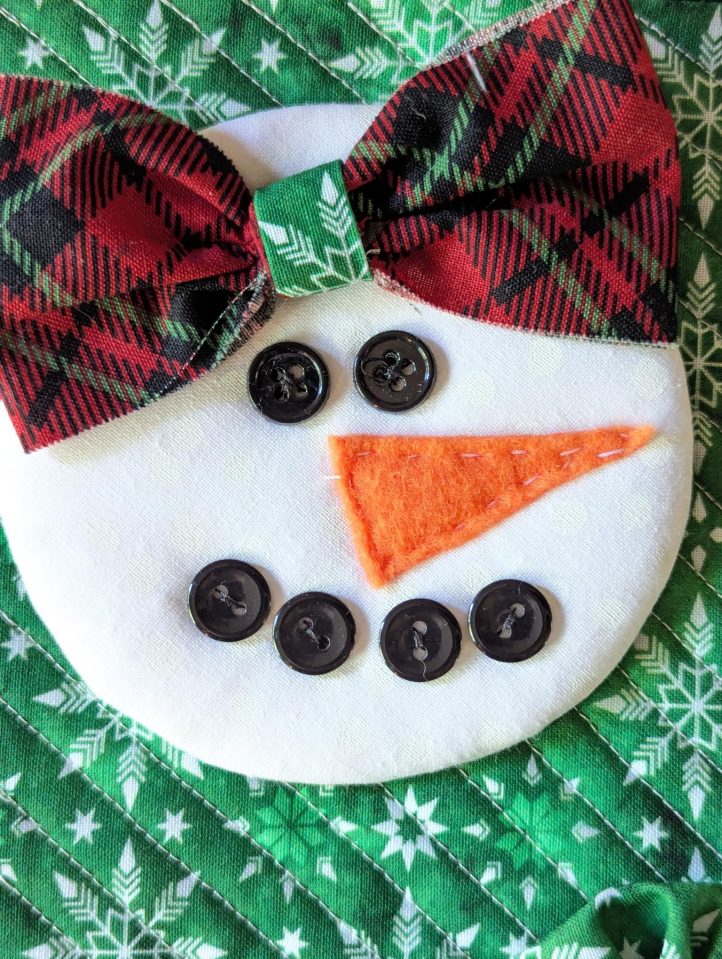
- Top:
- Stitch four black buttons for a mouth with black thread.
- Cut nose to your preferred shape and stitch the nose in place with white thread as shown in Photo 2.
- Fold (1) 2 1/2” x 9” red plaid fabric in half lengthwise. Reopen, and fold each end 1/2” past the half fold creating a 1” overlap at the ends.
- Wrap a scrap of green fabric folded like bias tape about 5/8” or so wide around the center and stitch to secure. Stitch the bow on the head. Note: Do not stitch the eyes. Set aside.
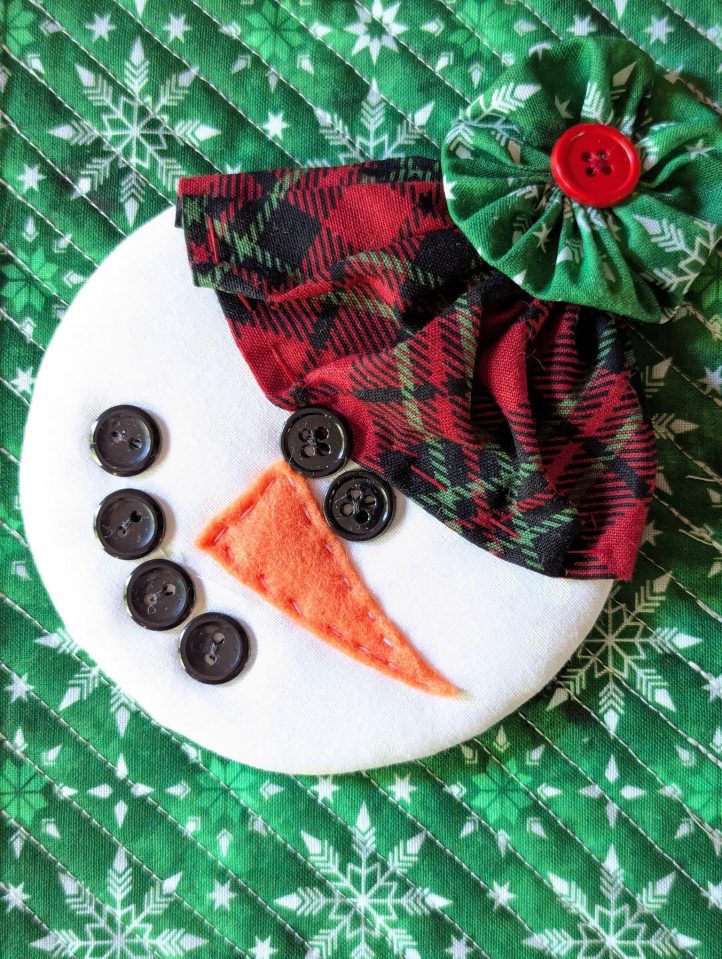
- Middle:
- For the hat, fold the 3” x 12” strip of red plaid in half for a 3” x 6” doubled piece. With the overlapped ends in the back, gather one 6” side tightly with red thread and knot. This will be the top of the hat. Gather the opposite side of the strip with the red thread to fit the top of one of the white circles, snowman head. Knot thread.
- With the 5” green fabric circle, gather around the outside edge for a fabric yoyo. Pull thread tight and knot.
- As in the top snowman, stitch the mouth buttons and stitch the nose. Note: Do not stitch the eyes. Set aside.
- Bottom:
- Make this snowman the same as the top snowman, but with the fabric bow under the chin. Note: Do not stitch the eyes. Set aside.
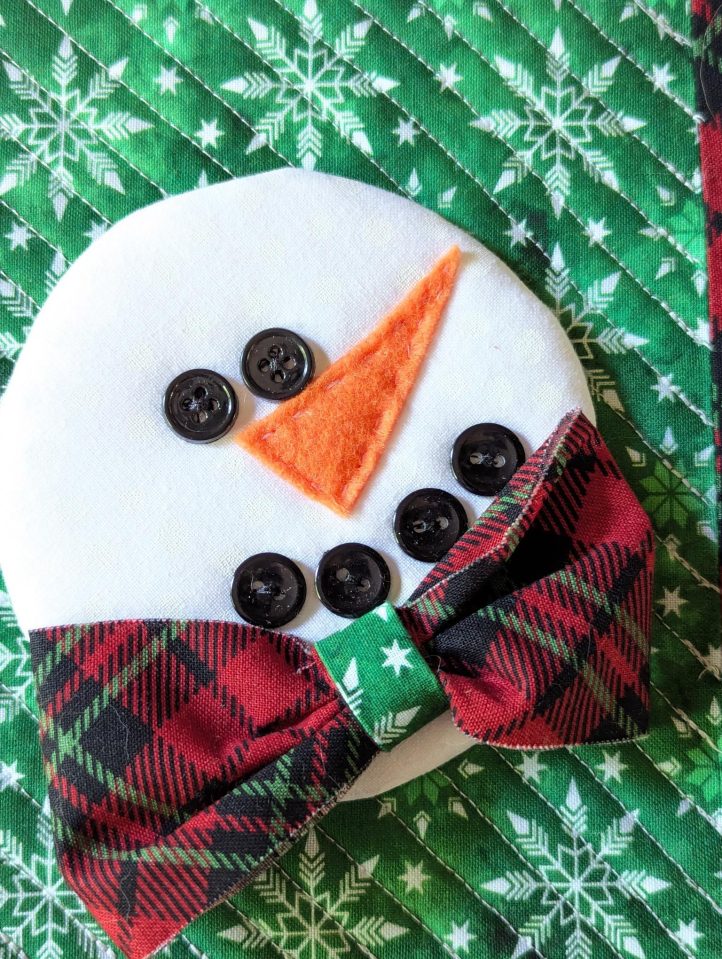
- Make this snowman the same as the top snowman, but with the fabric bow under the chin. Note: Do not stitch the eyes. Set aside.
- Top:
- Lay the snowmen on the panel as desired. Stitch the snowmen onto the panel with the eyes. The button stitches will go through the panel. Attach each snowman with the buttons for eyes. Attach the yoyo for the middle snowman in the same manner, with the 5/8” red button. Do not carry the thread across the back of the panel. Start and stop stitching with each button to keep the back neat. Stitch mouth buttons to the panel in the same way as needed for stability.
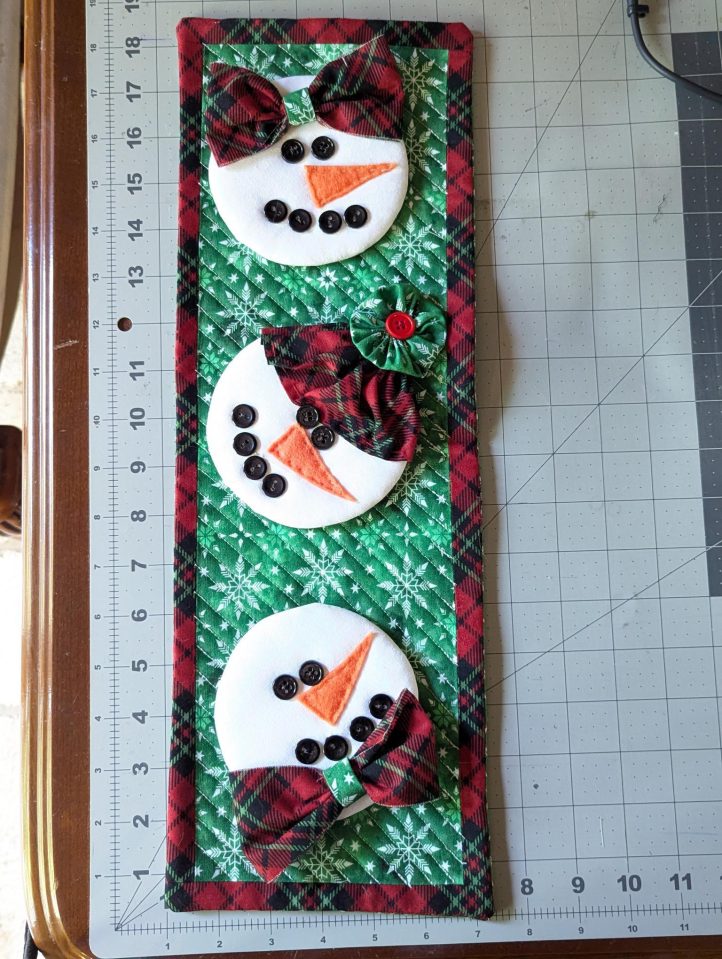
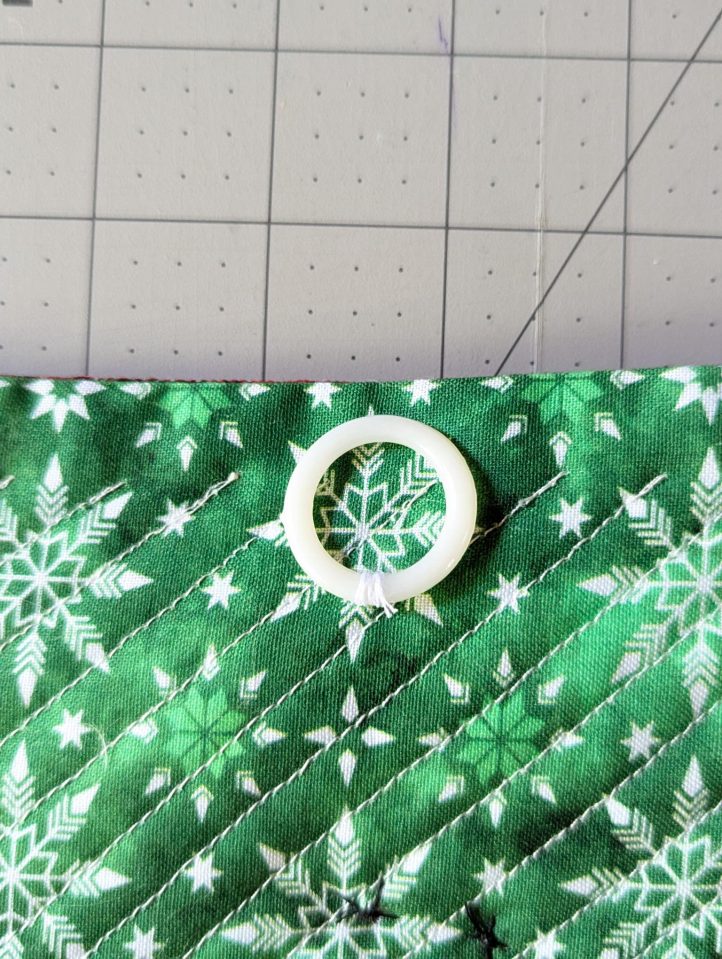
- Stitch the plastic ring to the top center back, 1” under the edge for a hangar.
