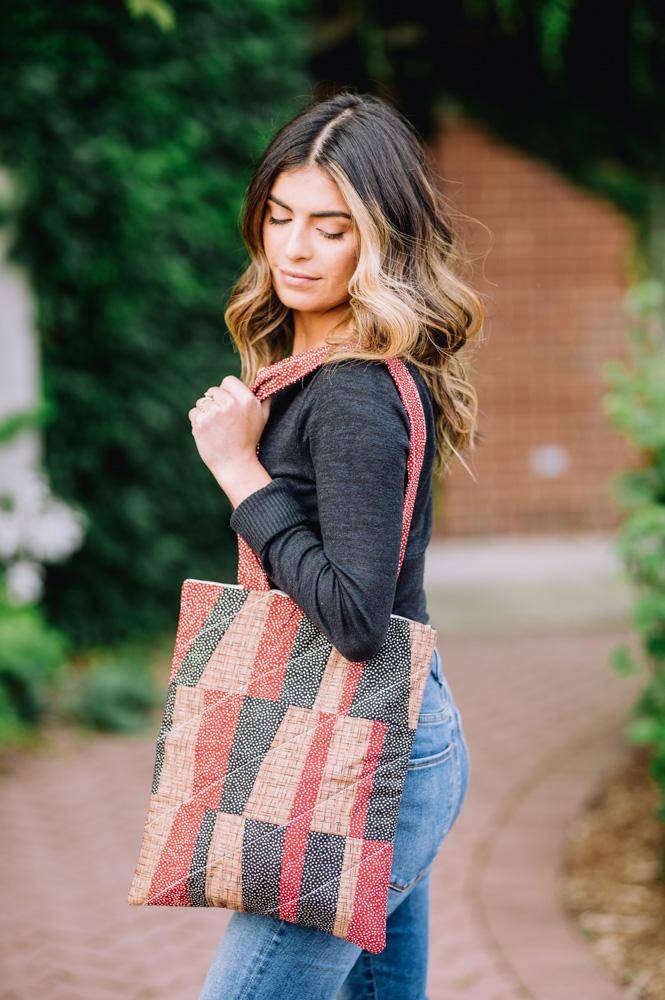
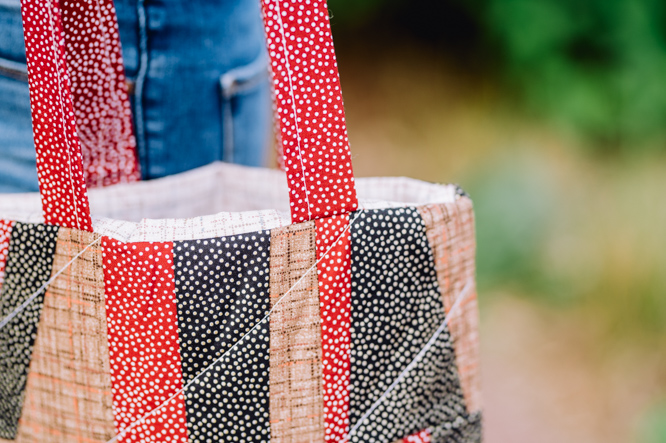
Don’t settle for a boring store-bought bag and create a quilted tote that’s uniquely you! Using the stack and slice quilting method, you can design a quirky and playful tote bag to hold your daily essentials. This quilting project is simple enough for those new to quilting and can be made with scrap fabric or fat quarters. Inject some serious fun into your wardrobe with this clever quilted tote bag.
Finished Size: 11.5” (29 cm) wide x 14” (35.5 cm) tall, not including straps.
Materials
- 100% cotton thread in coordinating or contrasting colors for bobbin and top thread.
- Cotton or cotton blend batting (I used Fairfield Quilter’s 80/20) – 1/2 yard.
- 100% cotton quilting fabric.
- Color A – 1/4 yard – Michael Miller Fabrics CoCo CX9316-CAPP-D Cappuccino (brown)
- Color B – 1/4 yard – Michael Miller Fabrics Garden Pindot CM1065-BLAC-D Black (black)
- Color C – 1/3 yard – Michael Miller Fabrics Garden Pindot CX1065-WINE-D Wine (red)
- Color D – 1/2 yard – Michael Miller Fabrics CoCo CX9316-SAND-D Sand (sand)
- Muslin or “ugly” fabric for backing – 1/2 yard.
Tools
- Sewing machine with free arm and universal sewing needle.
- 45 mm rotary cutter, acrylic ruler, and cutting mat.
- Fabric shears or thread snips.
- Fabric marker, pen, or chalk.
- Quilting pins or fabric clips.
- Iron and iron safe surface.
- Basic sewing supplies (seam ripper, etc.)
Note: This quilted tote uses a method of quilting referred to as stack and slice (or stack and slash) quilting. Stack and slice quilting refers to the improvisational style of quilting in which quilters stack together pieces of fabric (using either pre-cut or scrap fabric) and then make a random slice across the stack. This method is repeated and the quilt blocks are pieced together from the sliced fabric to create unique blocks in an assortment of colors and patterns
Instructions
- Press fabric, batting, and muslin to remove wrinkles.
Stack and Slice Blocks
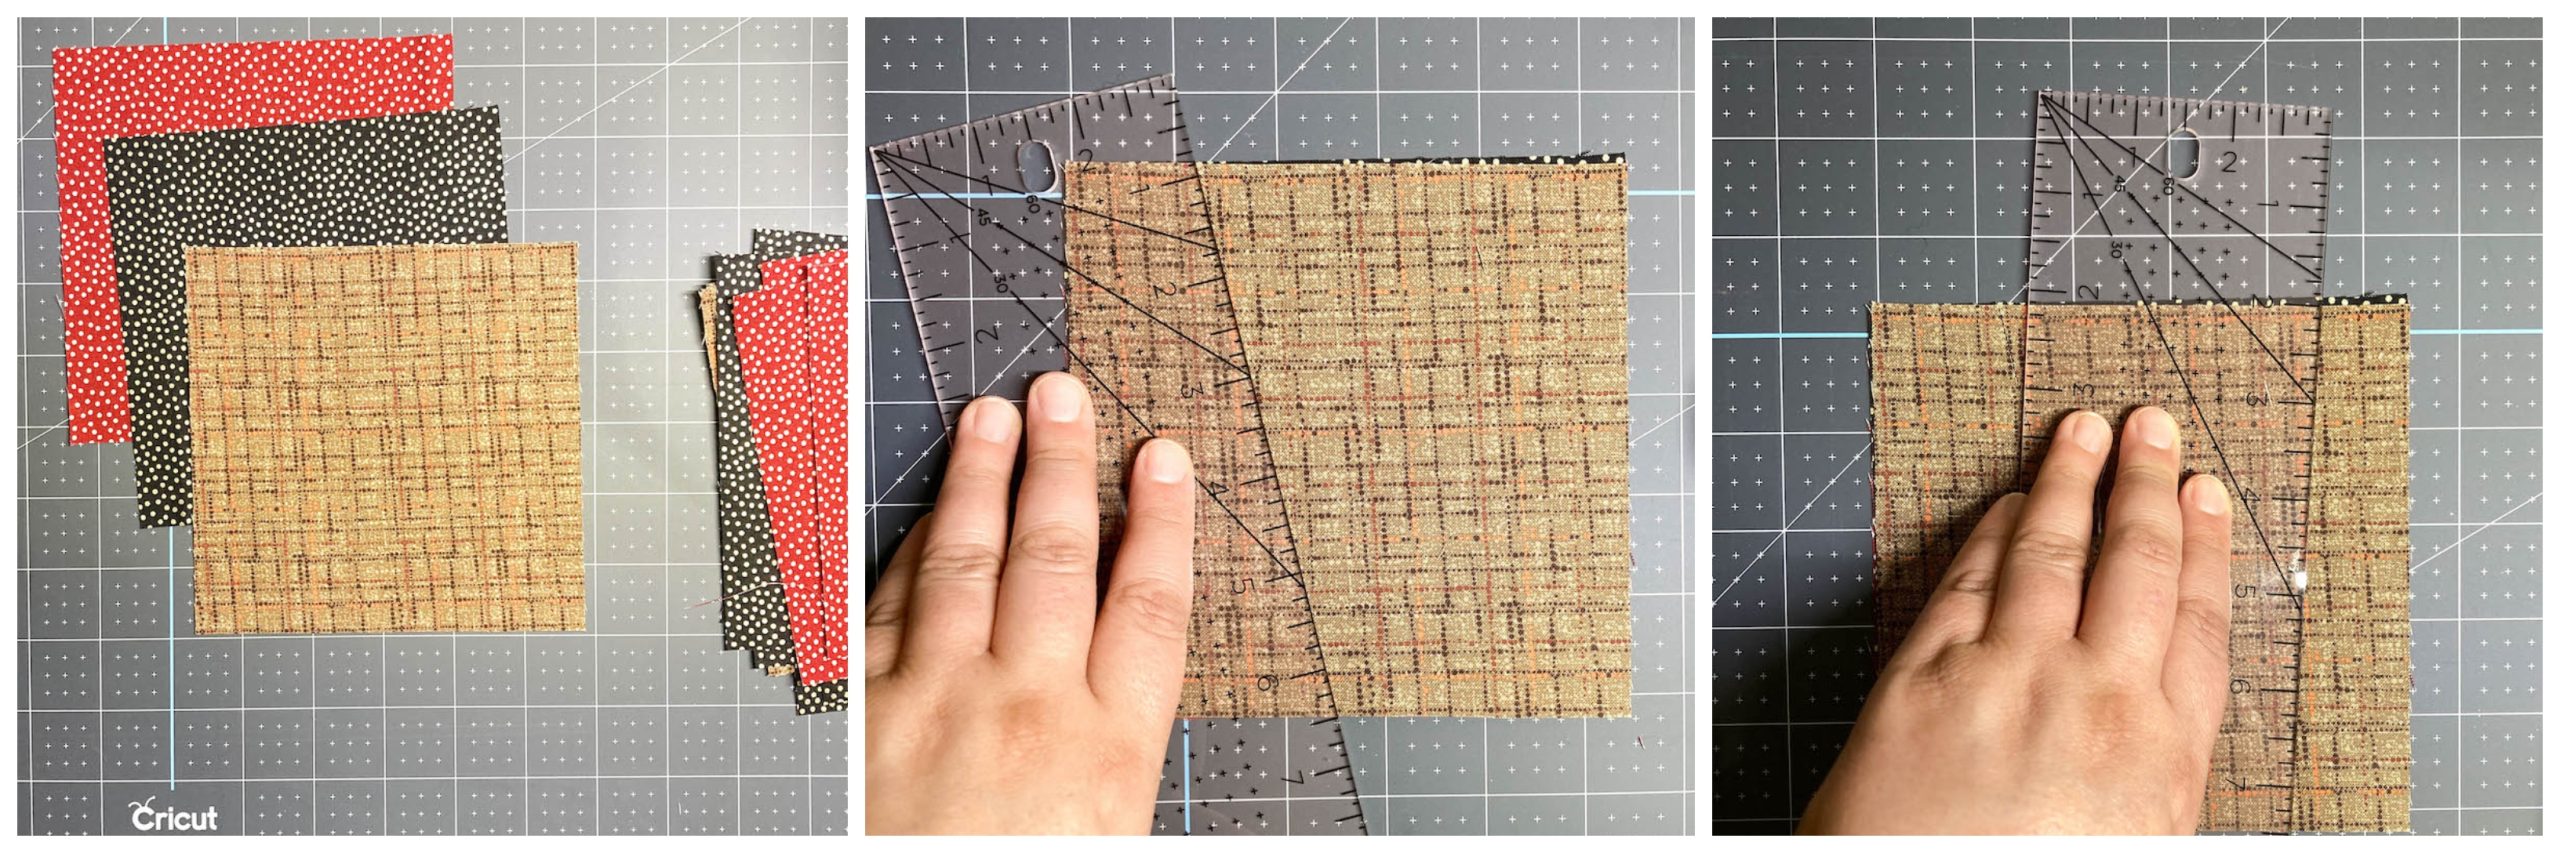
- Cut 6 squares each measuring 5.5” square from Color A, Color B, and Color C. (18 squares total)
- Stack your squares in 6 groups as follows. With right sides facing up, position Color C on bottom, Color B in the middle, and Color A on top. Each group will have 3 squares, 1 in each color.
- Slice your squares as follows. Position acrylic ruler and slice through group of 3 squares with rotary cutter twice at intervals of your choosing. Both slices should move from bottom to top in straight lines.
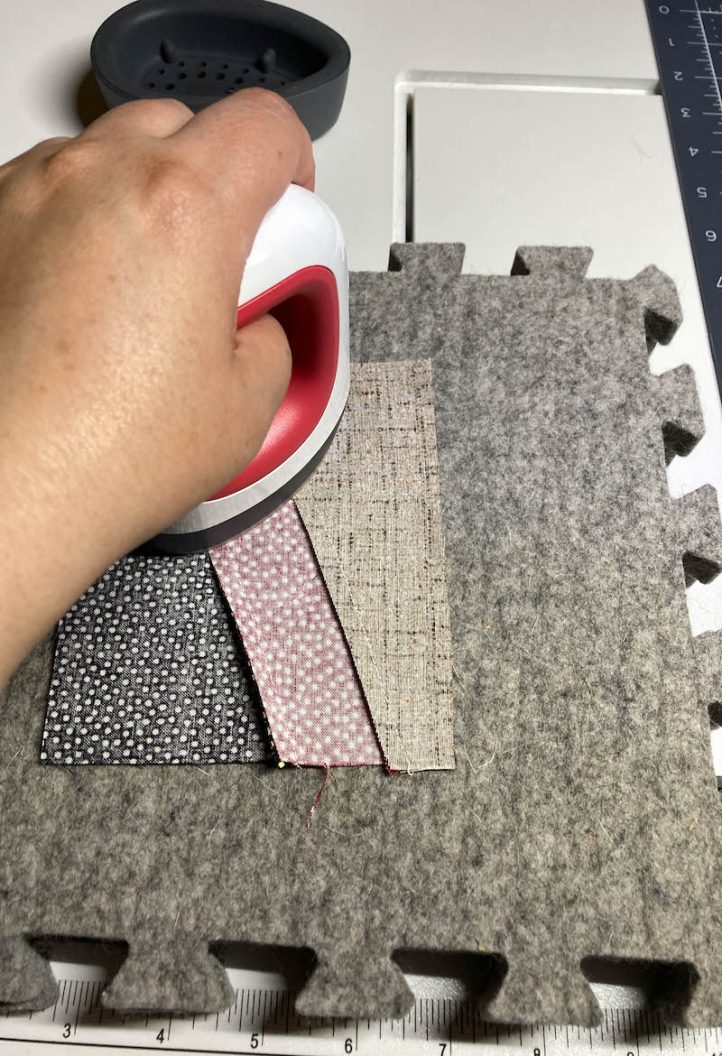
- Separate slices. Keep left slice pile in same position. For middle slice pile, move Color B to top position. For right slice pile, move Color C to top position.
- Starting with top layer, sew 3 slices together into a block with 1/4” seam allowance. Continue by sewing middle layer block and then bottom layer block together with 1/4” seam allowance.

- Repeat stack and slice process until you have 18 blocks, each with 3 colors.
- Press seams on each block towards dark color.
- Trim blocks so that each measures 4-1/2” x 5-1/2”.
- Arrange blocks for front in 3 rows of 3 blocks so that long edges will be seamed together. Sew rows of 3 blocks together with 1/4” seam allowance.
- Press seams on each row towards dark color.
- Sew together 3 rows of 3 blocks for front with 1/4” seam allowance.
- Press seams on each row flat.
- Repeat for back.
Quilt Front and Back of Tote
- Trim front and back piece to 12-1/2” x 15-1/2”, or to same size.
- Cut 2 pieces of batting and 2 pieces of muslin or “ugly fabric” to 13-1/2” x 16-1/2”, or to 1” larger on all sides than tote front and back pieces.
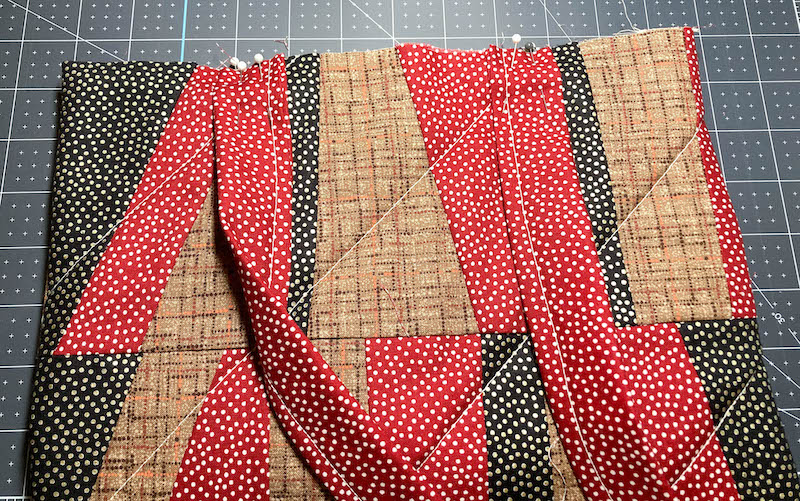
- Make a “quilt sandwich” for the front piece as follows. Position muslin on bottom, batting in middle, and front piece on top with right side facing up. Pin or clip layers together. With acrylic ruler, mark quilting lines using fabric pen.
- Repeat quilt sandwich for the back piece.
- Quilt through all 3 layers of front piece and back piece as desired.
- Trim front and back pieces to 12” x 14-1/2”, or to same size.
- Position front and back pieces with right sides together. Starting at long edge, sew along 3 sides with 1/4” seam. Clip bottom corners. Turn right side out.
Prepare Bag Straps
- Cut 2 strips, each 5-1/2” wide, from Color C. Trim each strip to 29”.
- Fold over short edge of first strip with right sides together, and sew along long edge with 1/4” seam.
- Turn right side out.
- Press wrinkles out of strip and fold over at short edge again, covering seam. Sew along long edge with 1/4” top stitch seam.
- Repeat for second strap.
- Trim straps to 28” long or desired length.
Prepare Lining
- Cut 2 pieces in Color D to 12” x 14-1/2”, or to size of quilted tote front and back pieces.
- With right sides together, and starting at long edge, sew along 3 sides with 1/4” seam, leaving a 4” opening on one of the long side seams. Clip bottom corners. Do not turn right side out.
Assemble Tote
- Starting with first strap, pin short edges of first strap on front of tote, being careful not to twist strap. Repeat for second strap on back of tote.
- With sewing machine free arm, attach straps by sewing 1/4” seam around top edge.
- Position tote with straps right side out on inside of liner. Liner wrong side is out, with right sides facing tote right sides.
- With sewing machine free arm, attach liner to tote by sewing 1/2” seam around top edge.
- Turn lining right side out and pull tote out through lining opening. Sew lining opening closed.
- Optional: With sewing machine free arm, sew a decorative 1/4” seam through tote and liner working around top edge with right side facing out.
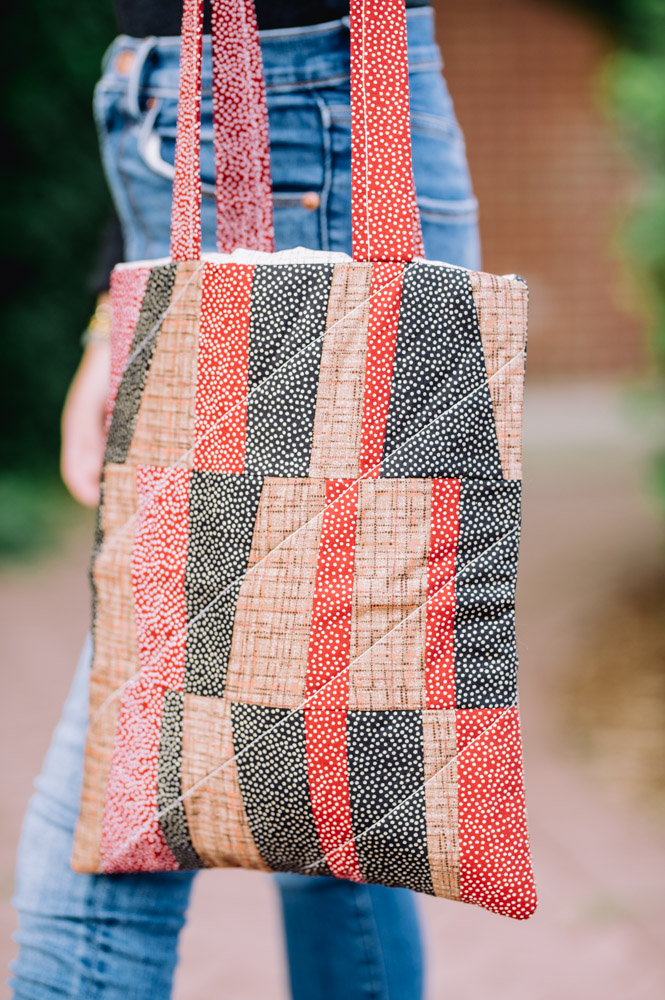
Stack and Slice Quilted Tote Bag
Stack and Slice Quilted Tote Bag
above links do not work
Hi Jen! Thanks for letting us know about this issue. These were images that were accidentally uploaded as PDFs; they should now be appearing on the site. Let us know if you have any difficulty viewing these. Have a great day!
– Ashley, WeLikeSewing
Thank you
You’re welcome, Jen! Have a great day! – Ashley, WeLikeSewing