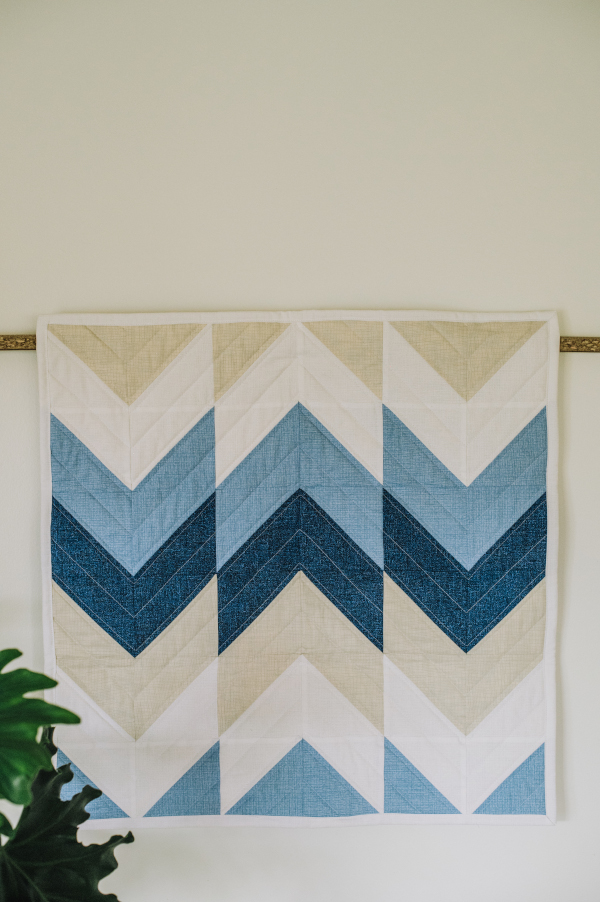
Add a beautiful mini quilt to your collection with this chevron-inspired quilt pattern. Made using half square triangles, this beginner quilting project uses shades of white and blue to create a wave-like design that’s easy enough for new quilters. This mini quilt pattern is perfect for pre-cuts and would look breath-taking as a wall hanging or table topper. Make this mini quilt in your favorite color, so that you can show off an elegant array of hues in this stylish design.
Skill Level: Easy
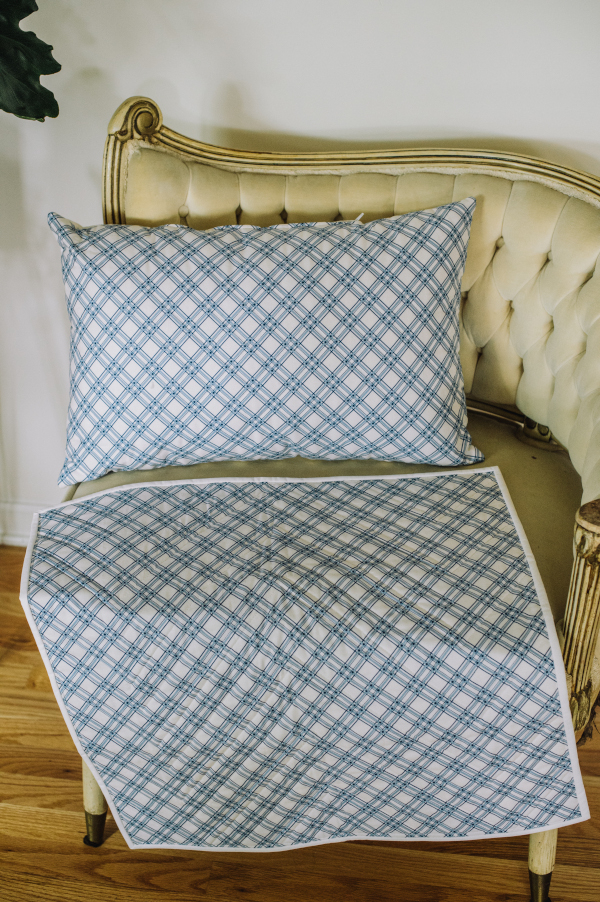
Finished Size: 24 x 24”
Seam Allowances: 1/4”
Materials:
- Fabrics
- Beige cotton fabric – cut 9 – 5 1/8 x 5 1/8” – A
- White cotton fabric – cut 12 – 5 1/8 x 5 1/8” – B
- Light blue cotton fabric – cut 9 – 5 1/8 x 5 1/8” – C
- Dark blue cotton fabric – cut 6 – 5 1/8 x 5 1/8” – D
- Cotton fabric for back: 28 x 28”
- Cotton batting: 28 x 28”
- Cotton fabric binding: 2 1/2 x 110”
Instructions
ASSEMBLY
- This mini quilt is made using half square triangles.
- To begin the quilt, draw a diagonal line, corner to corner, on the wrong side of each piece A and C.
- Pin 6 pieces A to 6 pieces B with right sides together and the drawn line on A facing up. Stitch 1/4” from each side of the drawn line on A. Cut along the line.
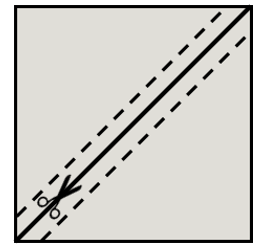
- Press each square open with the seam toward the darker fabric. The squares should measure about 4 3/4” at this point. Trim each to 4 1/2 x 4 1/2”.

- Repeat the process by matching the remaining 3 pieces A with 3 of the D pieces. The drawn line on A should be facing up. Match up 3 pieces C with the remaining 3 D pieces. Stitch and trim in the same manner.
- Sew and trim the remaining 6 pieces C to the 6 pieces B.
- Lay out the squares to match the diagram.
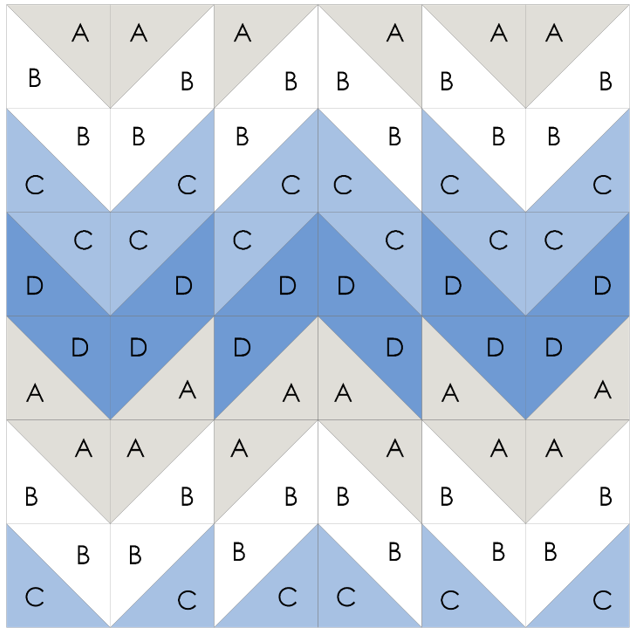
- Sew the squares together in horizontal rows. Alternate the direction the seams are pressed in each row to help them nest together in the next steps.
- Stitch the rows together, matching the seams.
- Trim the quilt top to square.
- Lay the backing fabric out, right side down. Top with the cotton batting. Center the quilt top overall, right side up. Pin well.
- Quilt as desired. Trim the backing and batting to square up and match the top.
- Finish the edge with binding.
I have a interest in quilting and needed a beginner pattern. This pattern looks intermediate. I will keep shopping in the collections. This is a beautiful pattern that can be made in different sizes.
Hi Serena! If you’re new to quilting, you might enjoy the Garden Walk Spring Sheet Quilt from our April 2023 issue. Have a great day! – Ashley, We Like Sewing
How would I make this pattern larger…36×36 or 72×72
Hi Sue! We reached out to the designer of this project about how to make the pattern larger and here are her suggestions: “For a 36 x 36” quilt, cut the initial squares to 7 1/8”, then trim them to 6 1/2” after sewing. For a 72 x 72”, cut initial squares to 13 1/8” and trim to 12 1/2”.” We hope this is helpful! Have a great day! – Ashley, WeLikeSewing
Hi Sue! We reached out to the designer about how to increase the size of this pattern and this is her response: For a 36 x 36” quilt, you would need to cut the initial squares to 7 1/8”, then trim them to 6 1/2” after sewing. For a 72 x 72”, cut initial squares to 13 1/8” and trim to 12 1/2”. We hope this helps! – Ashley, WeLikeSewing