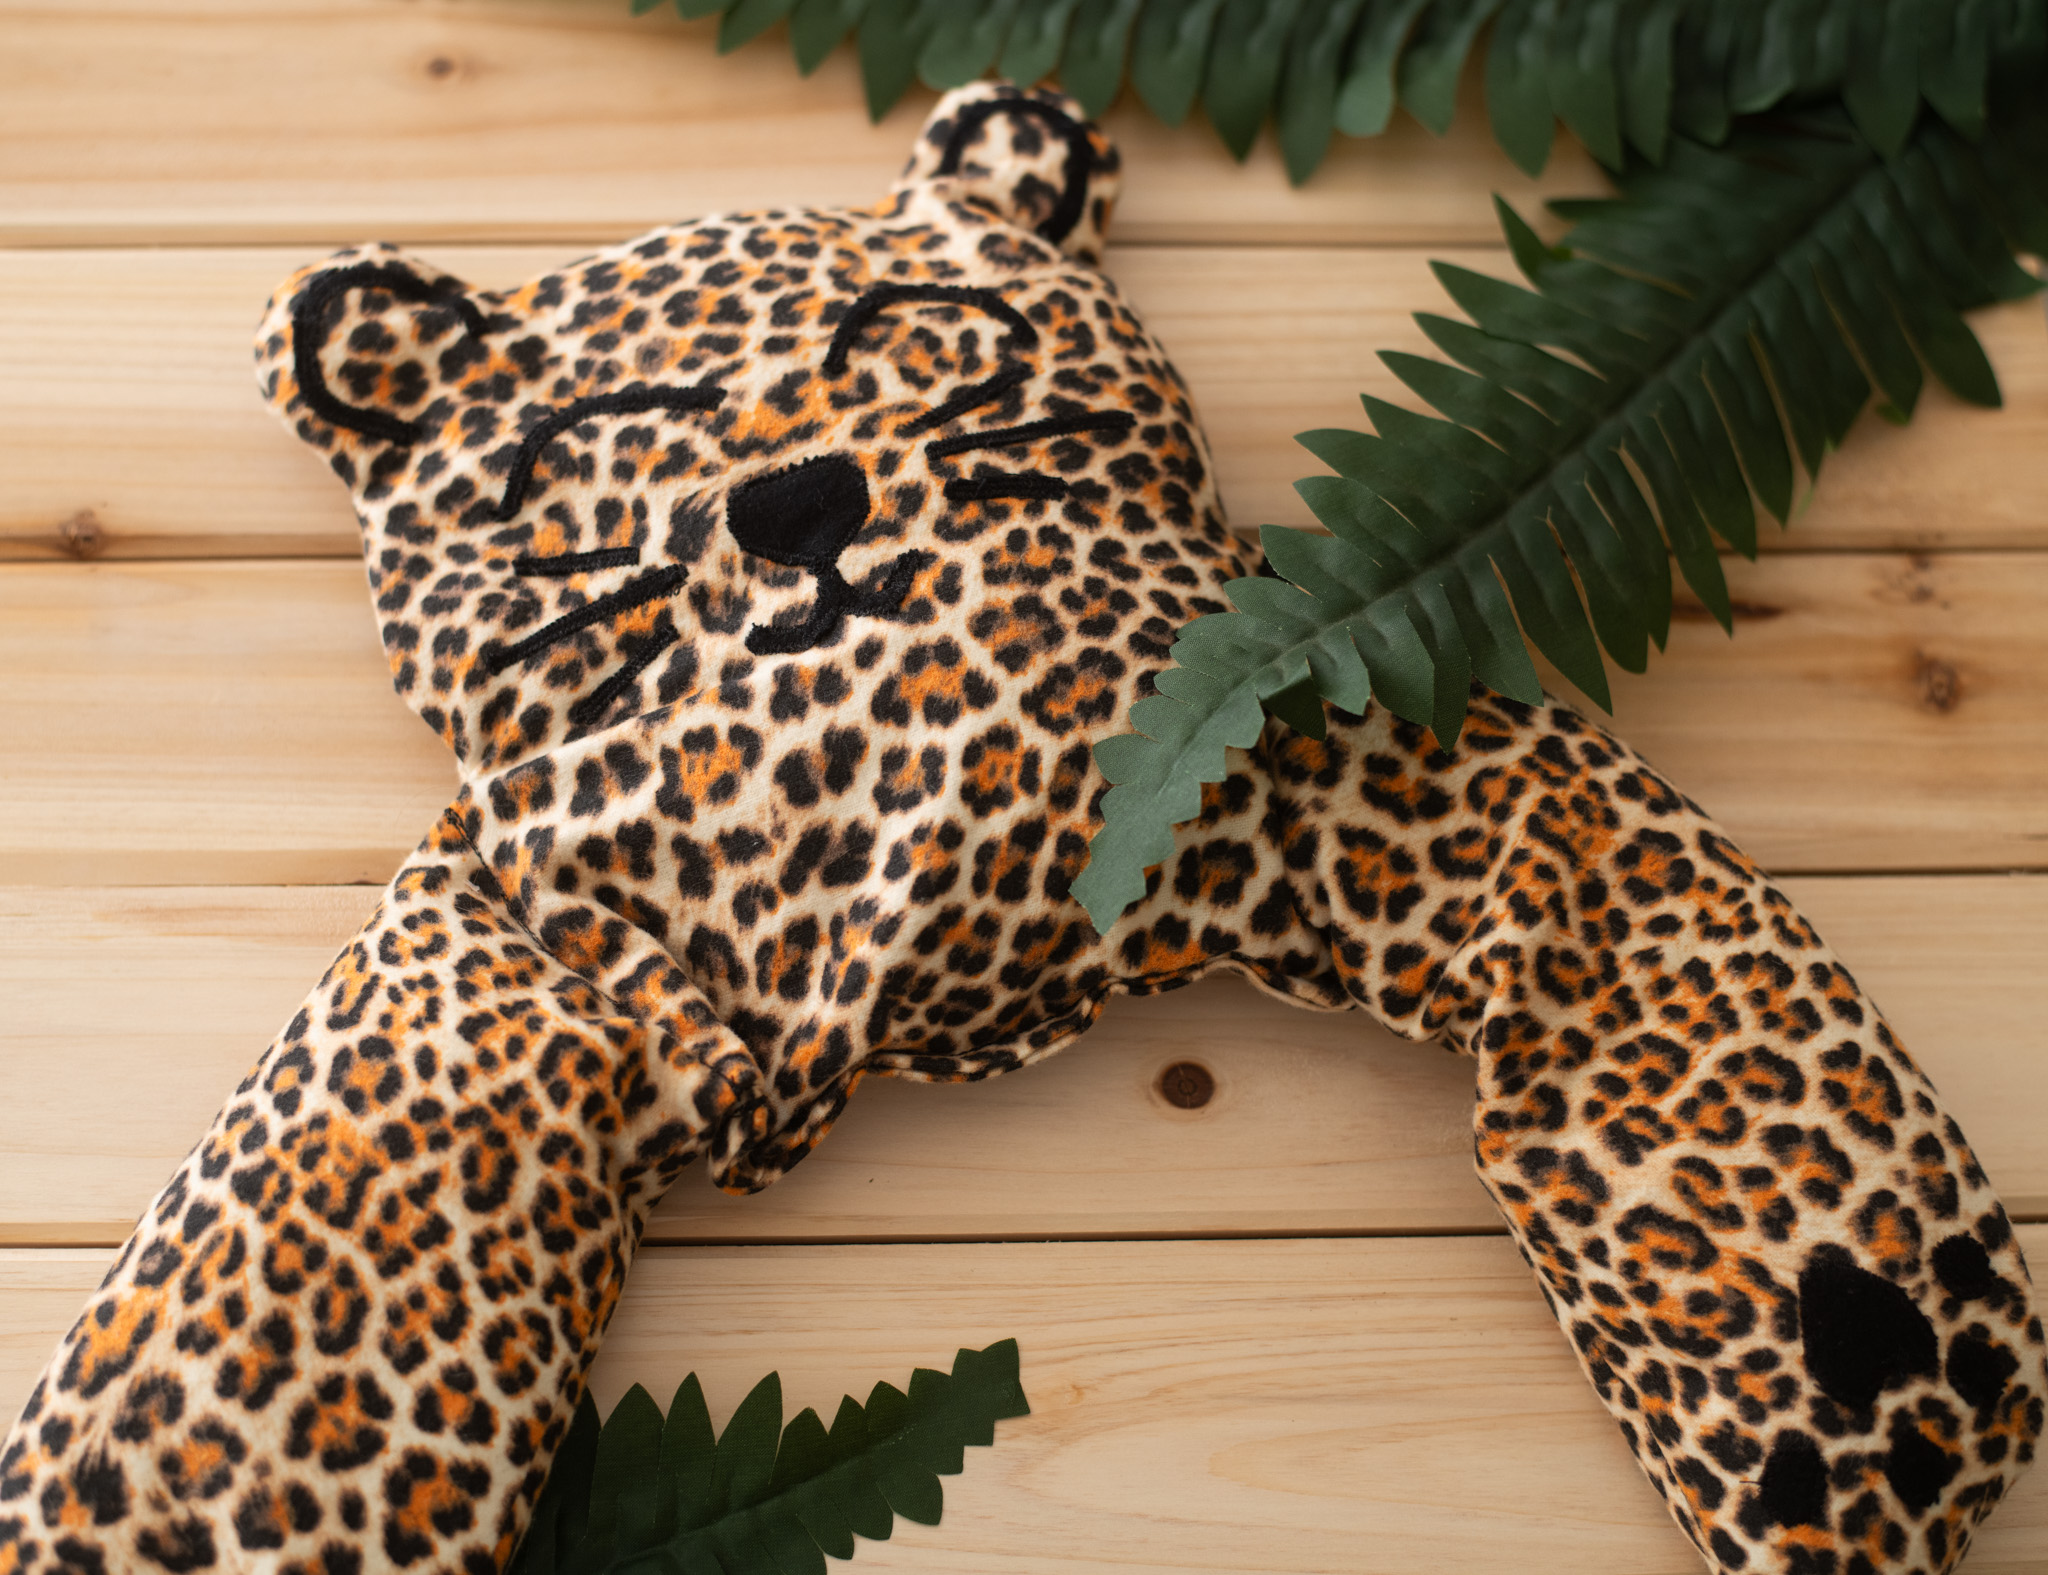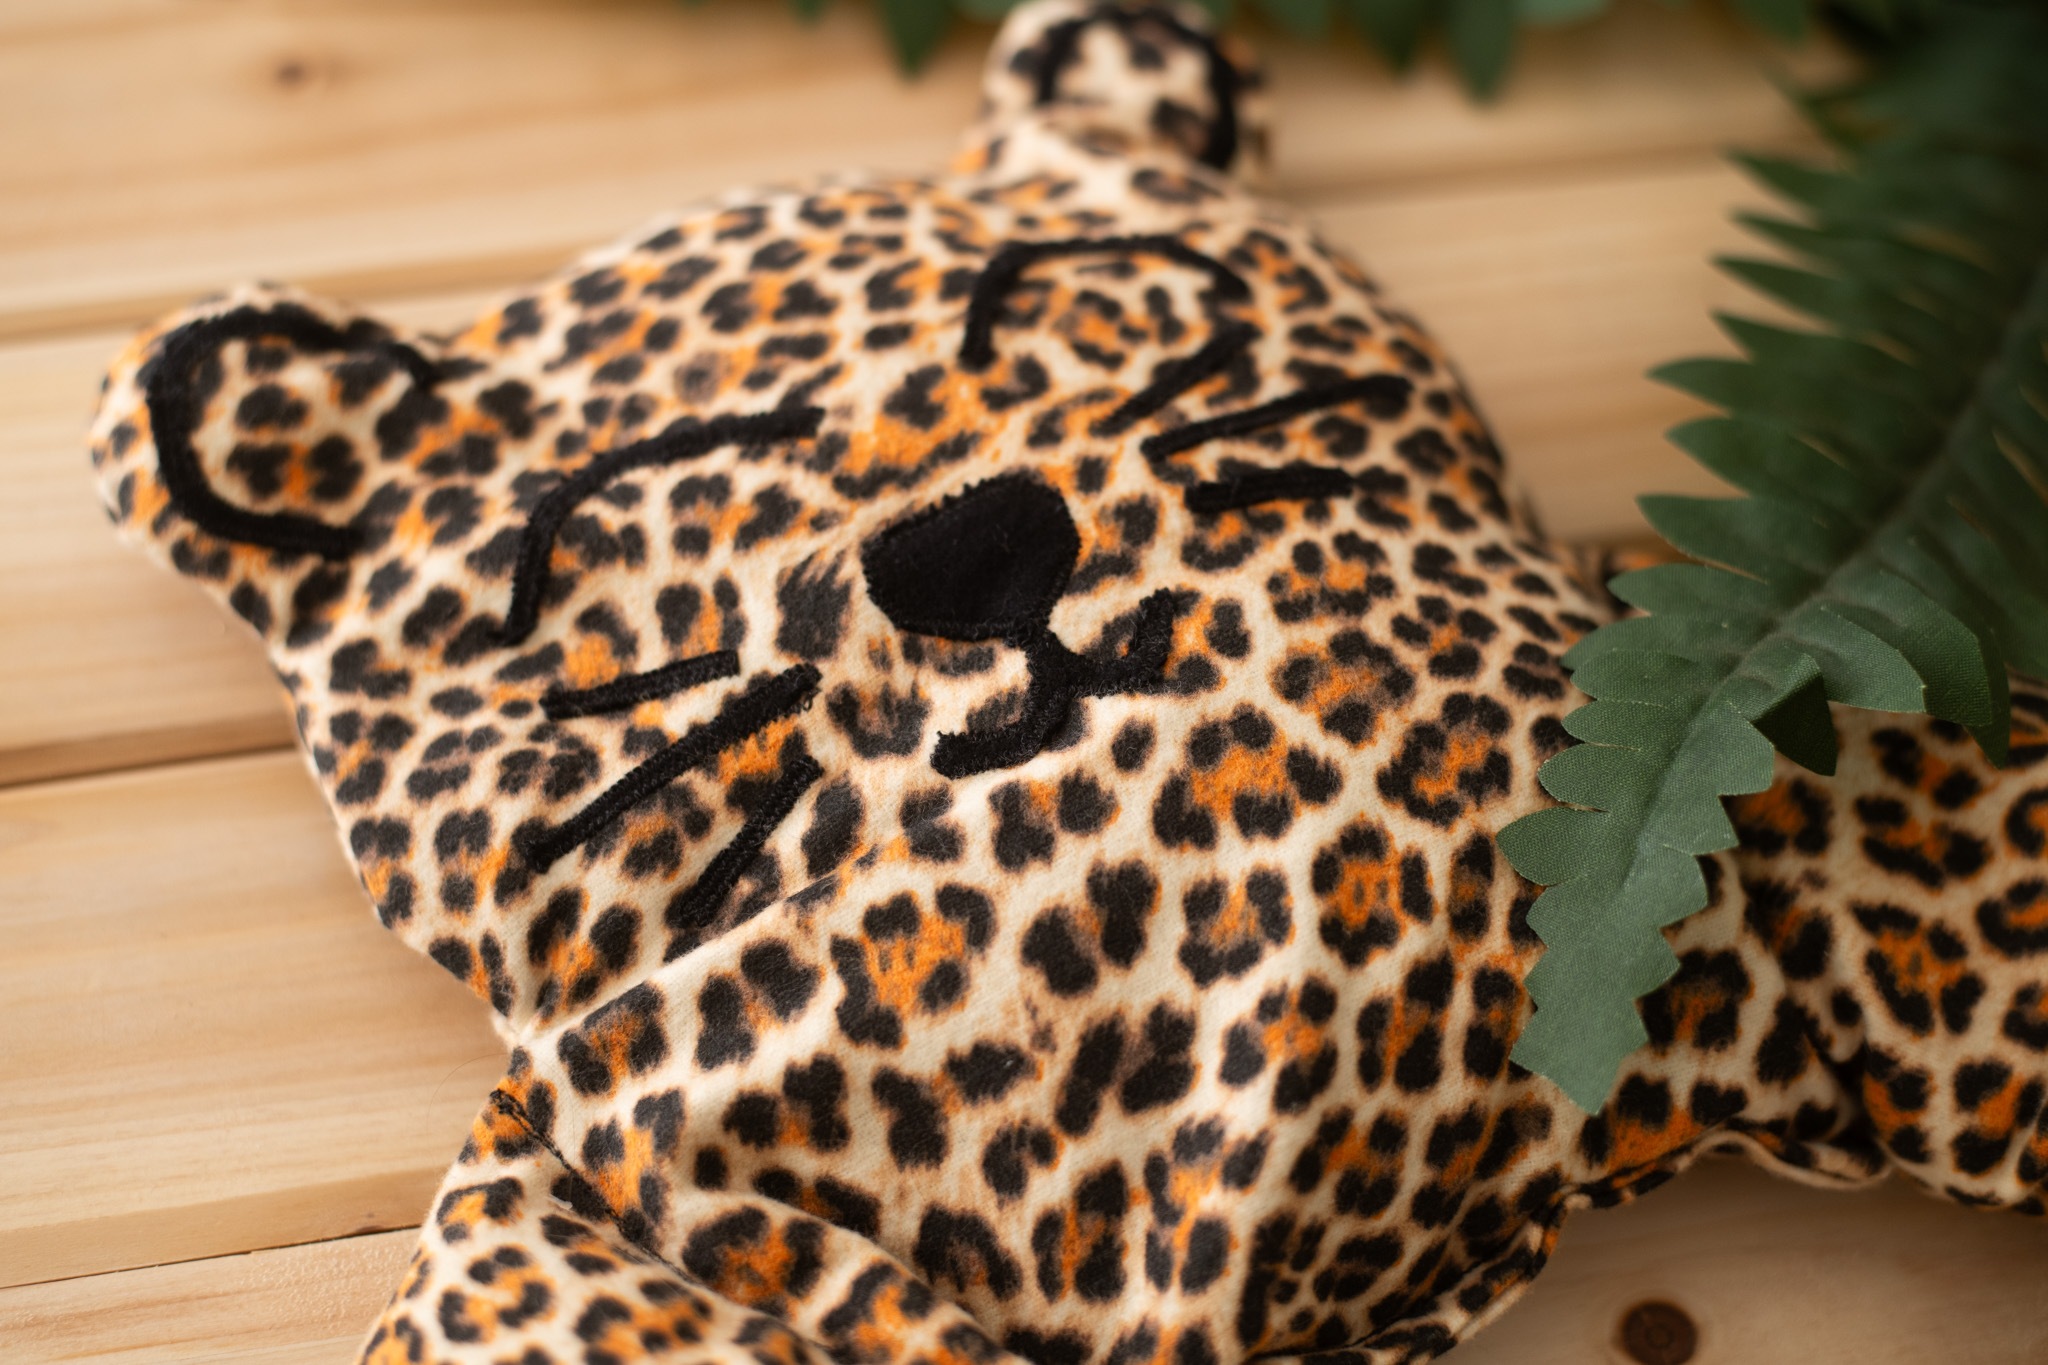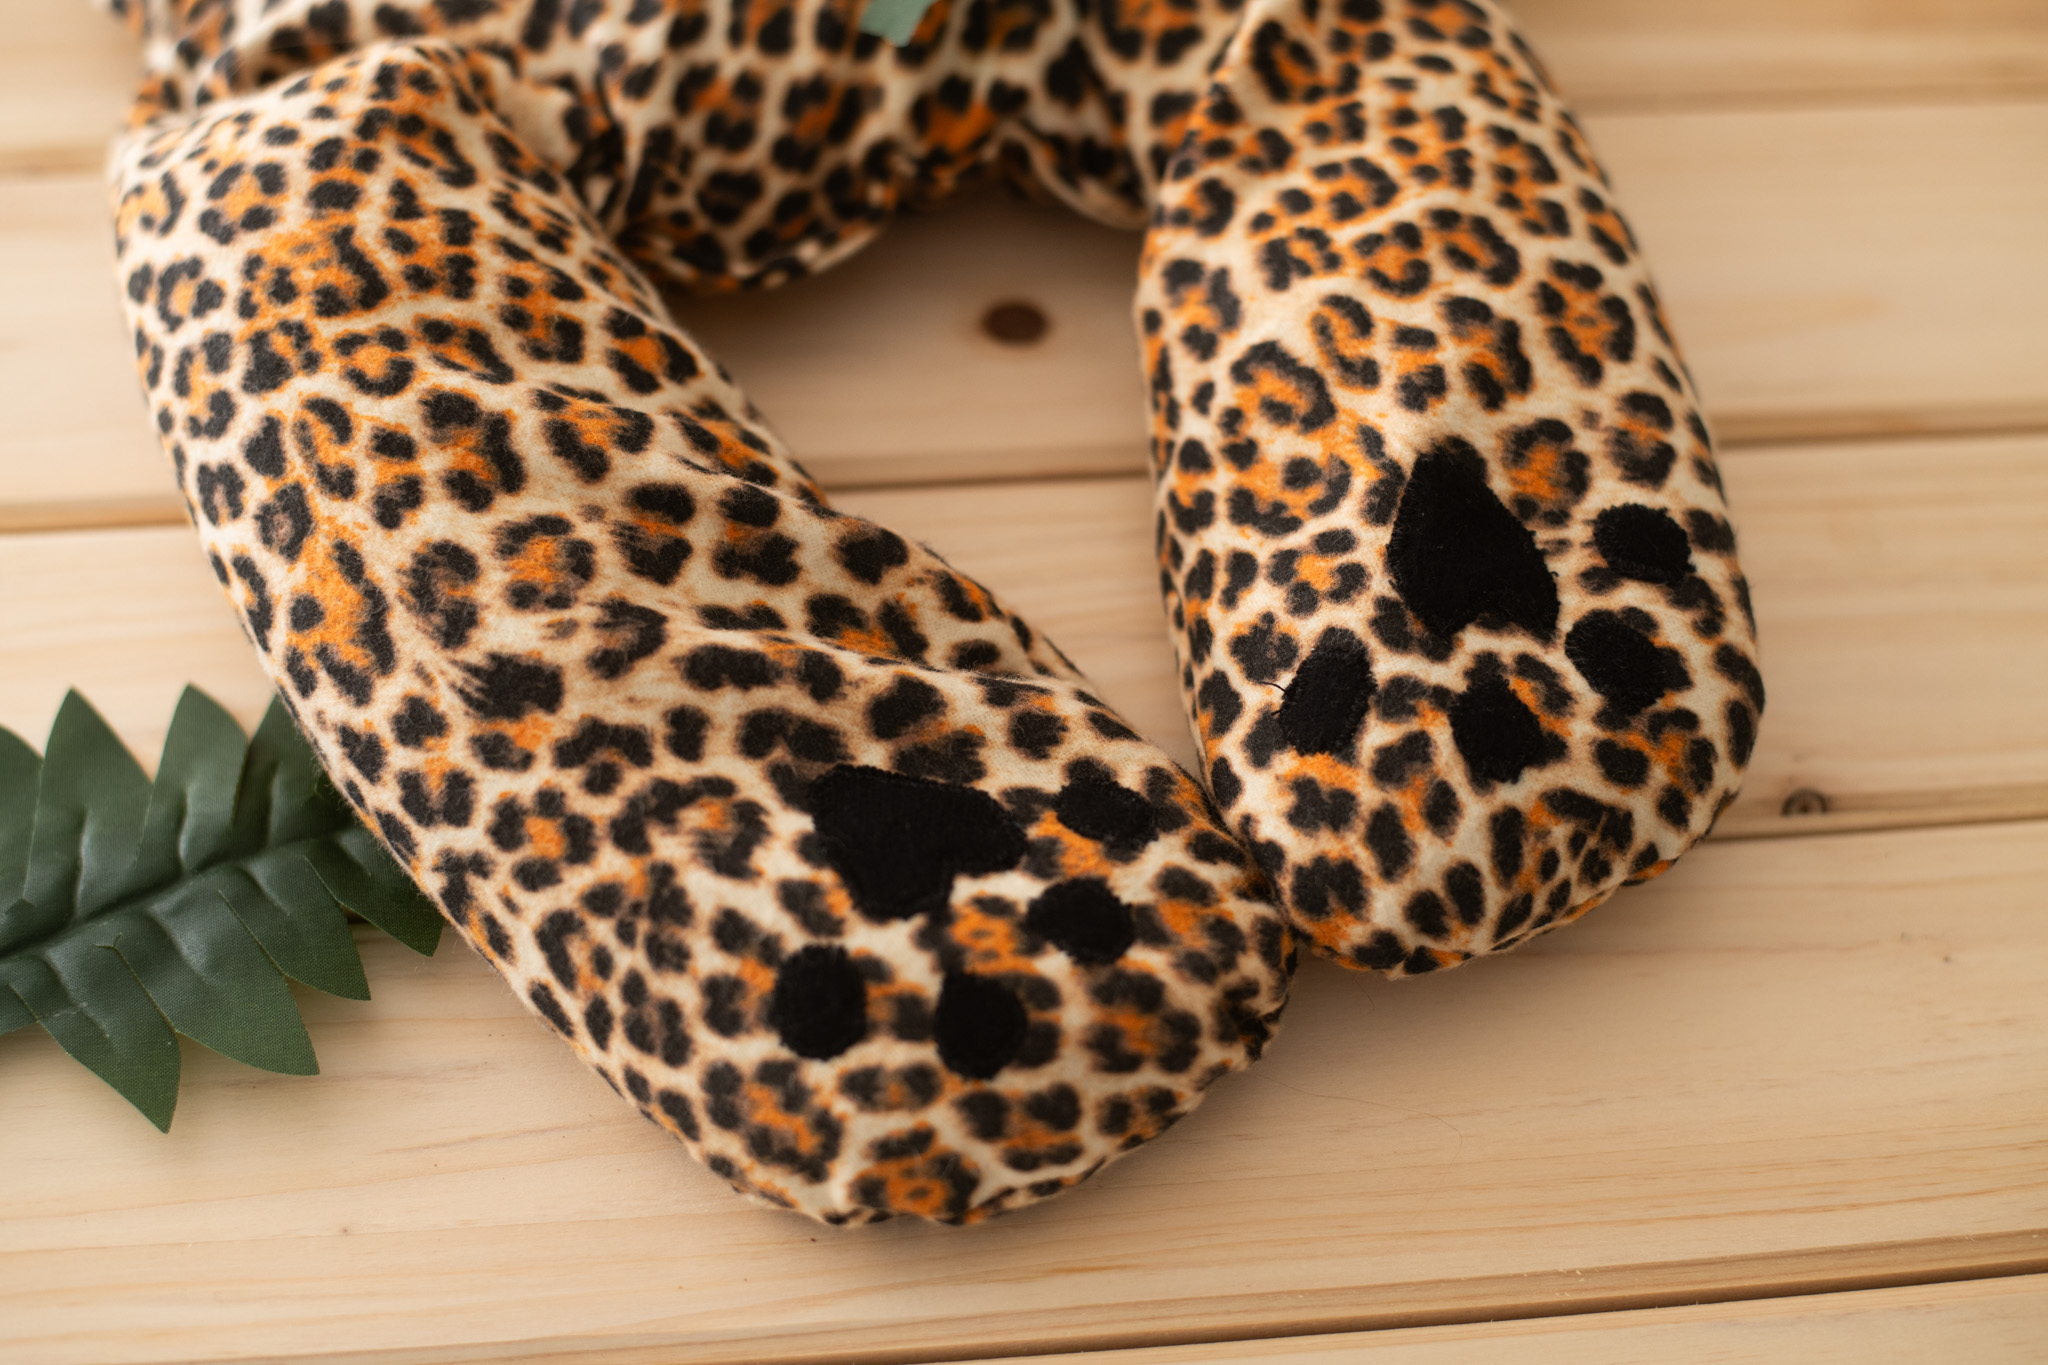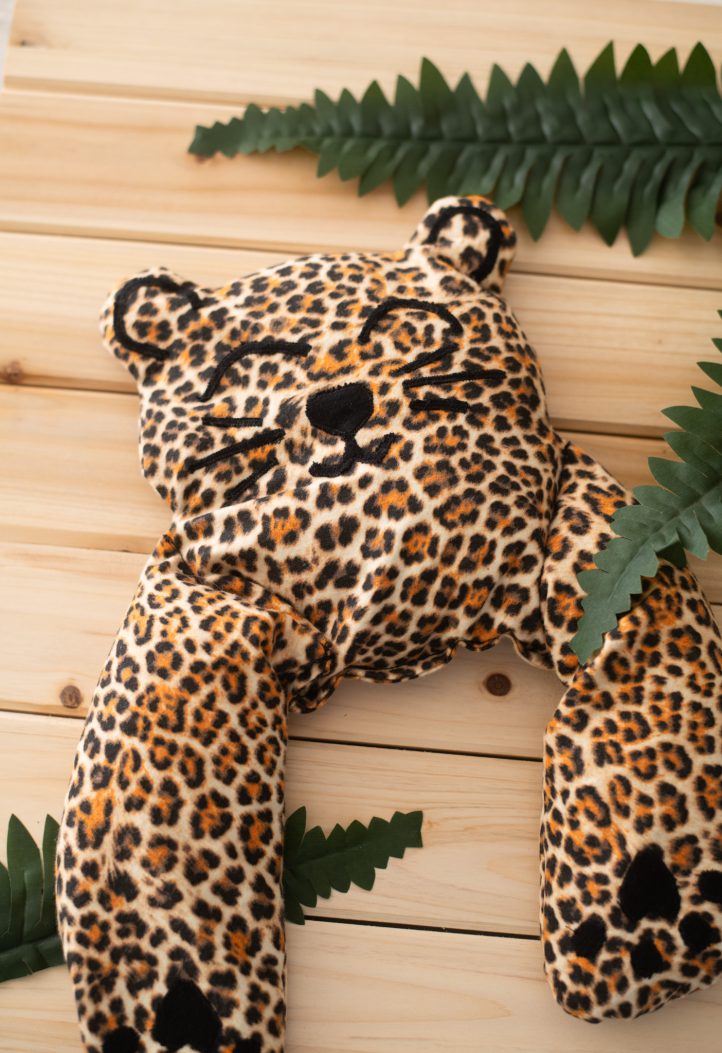
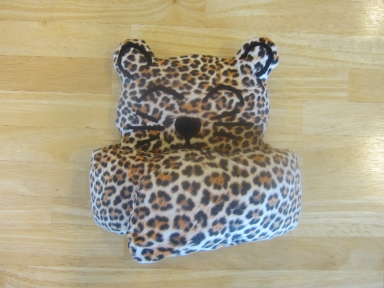
Keep cozy on cold winter nights with this adorable warmer sewing pattern from Christy Jones. Made in a delightful leopard design, this winter sewing pattern is filled with dry rice, making it easy to warm up in the microwave. Wrap your leopard friend around your neck and shoulders in a comforting hug and let its warmth soothe your tense muscles.
Skill Level: Beginner (fabric marker option) to Intermediate (appliqué option)
Time: Estimated 2-3 hours
Designer Note: Since the leopard winter warmer will be heated in the microwave, 100% cotton fabric is recommended. Prewash, dry, and iron the fabric before using.
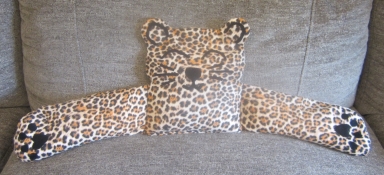
Materials:
- 1/2 yard leopard-print cotton flannel
- 1/8 yard of black cotton flannel (for appliqué option)
- 1 fine-tipped and 1 medium-tipped permanent black fabric marker (for marker option)
- Black thread
- 6 to 7 1/2 cups of dry, uncooked rice (about 3-4 pounds), depending on how full (and heavy) you want the warmer
- PDF Pattern – This is located at the bottom of this page. Please see printing instructions below.
PRINTING INSTRUCTIONS:
Note: To download the pattern, click on the pattern download button at the bottom of the page. We recommend opening your pattern download using Adobe Acrobat.
Sewing Instructions:
PREPARE THE PATTERNS:
- Print 1 copy of the PDF pattern (3 pattern pieces).
- Cut out the leopard head, left arm, and right arm patterns.
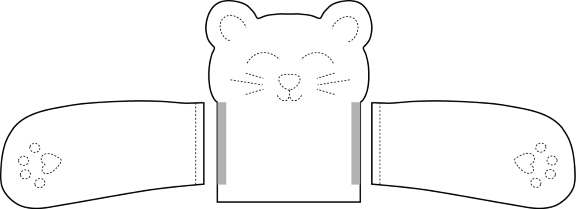
- Overlap the straight end of each arm with the shaded area on the leopard head pattern. Tape the arm patterns to the leopard head pattern, forming a complete leopard body pattern.
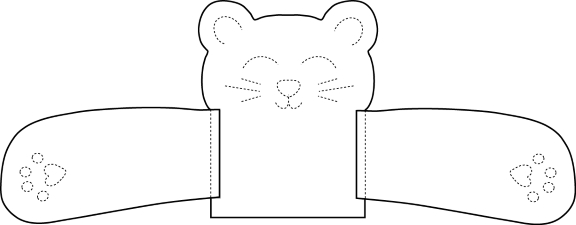
- If using the appliqué method to add the face and paws, cut out the rest of the pattern pieces. (Skip this step if using the permanent fabric marker option.)
CUT OUT THE LEOPARD BODY:
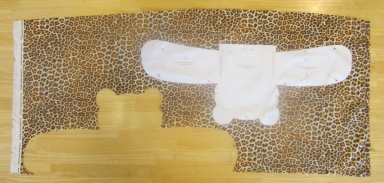
- Pin the leopard body pattern to the lower left corner of the leopard-print fabric. Cut out 1 leopard body. This will be the front (face side) of the warmer.
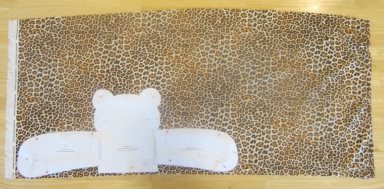
- Rotate the pattern so that it will fit on the remaining fabric. Pin the pattern in place and cut out 1 more leopard body. Set this piece aside to be the back of the warmer.
ADD THE FACE AND PAWS (APPLIQUE OPTION):
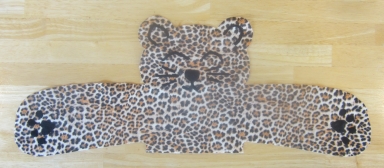
- Cut 2 eyes, 2 ears, 1 nose, 1 mouth, 2 long whiskers, 4 short whiskers, 2 paws, and 8 toes from black flannel.
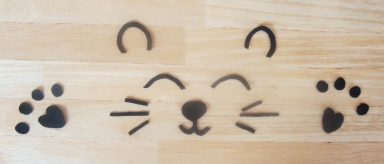
- Position the appliqué pieces on the leopard body front as shown on the pattern. Make sure that all appliqué pieces are at least 1/2 inch away from the edge of the fabric, so they don’t get sewn into the seams.
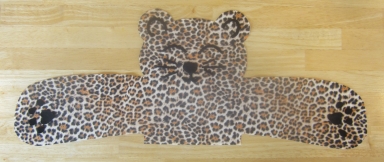
- Pin the appliqués in place.
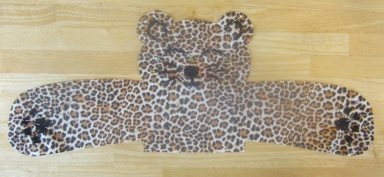
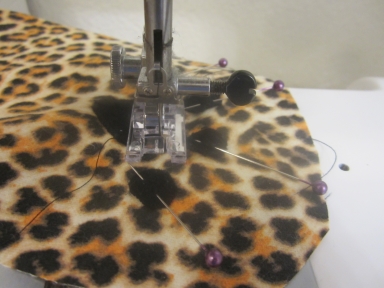
- Thread the sewing machine with black thread, and set it to a closely spaced zigzag stitch. Attach a clear presser foot (if available).
- Zigzag stitch slowly and carefully around each black flannel piece, so that the stitches overlap the edges of the black flannel. Trim the threads after each appliqué, to prevent tangling.
ADD THE FACE AND PAWS (FABRIC MARKER OPTION):
First, you’ll need to transfer the markings from the pattern to the fabric. You can use your preferred technique, or the “stencil” method below.
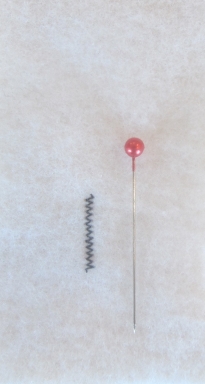
- Use a pin to punch many small holes along the dotted lines for one ear, eye, set of whiskers, and half the nose and mouth. (Since the face is symmetrical, you only need to punch one side of the pattern, then flip the pattern over.) The holes should be so close together they form a nearly continuous line.
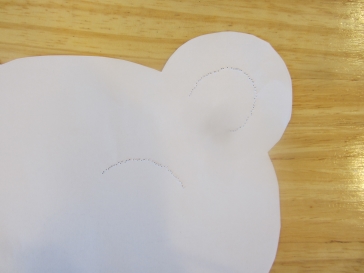
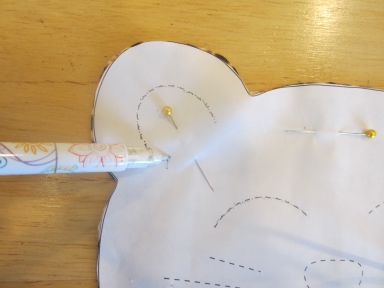
- Pin the pattern to the leopard front, and press a fine-tipped marker through the holes to mark the lines on the fabric.
- Remove the pattern from the fabric.
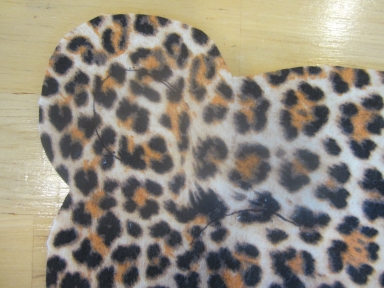
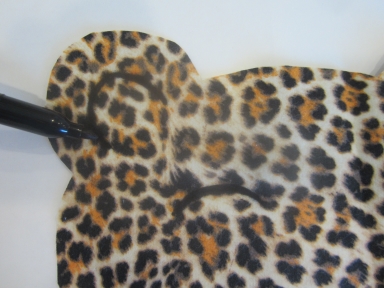
- Place a few sheets of paper or a piece of cardboard under the fabric to prevent the permanent marker from seeping through onto the work surface. Go over the marked lines with a medium-tipped permanent fabric marker, darkening and widening them.
- Flip the punched pattern over and pin in to the leopard front again. Trace the punched areas on the other side of the face.
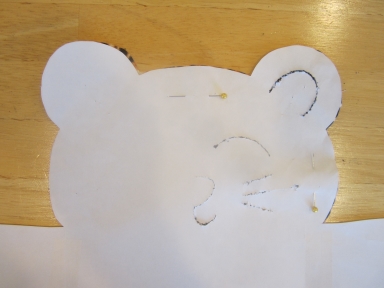
- Go over the traced lines with a medium-tipped permanent fabric marker the same way as the first side.
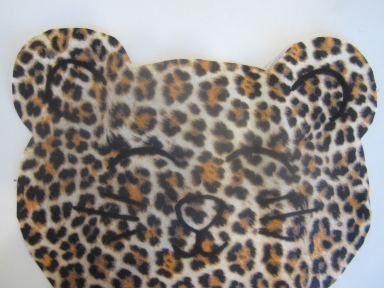
- Fill in the nose with a fabric marker.
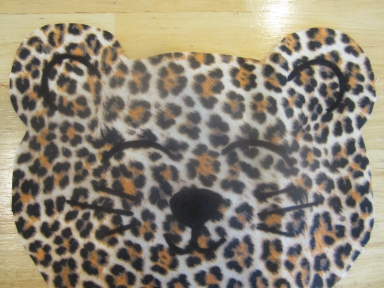
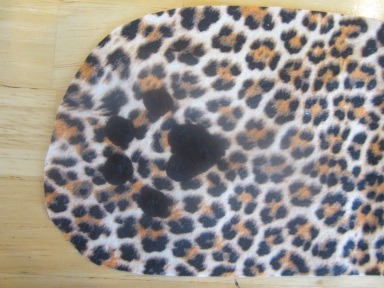
- Mark and fill in the paw pads the same way. (Since the paw pattern is also symmetrical, you only need to punch one paw, then flip the pattern over.)
ASSEMBLE THE WINTER WARMER:
- Place the leopard front and leopard back right sides together, lining them up along the edges. Pin them together.
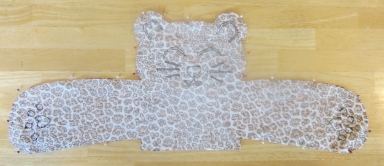
- If your sewing machine has a “triple straight stitch,” set it to that option for extra strength, since the rice is heavy. (If it does not, use a regular straight stitch. You can sew over the seam a second time for reinforcement if desired.)
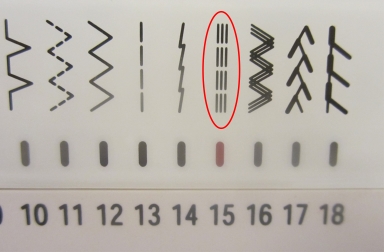
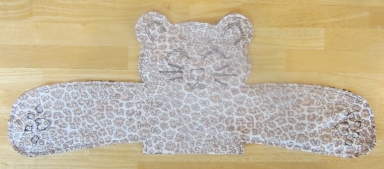
- Stitch around the edges of the leopard body using 1/4-inch seam allowance, leaving the straight edge at the bottom of the body open for turning and filling.
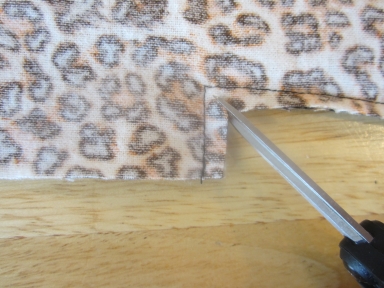
- Clip the seam allowance along all corners and curves, cutting small slits about 1/2 inch apart and taking care not to cut the seam. This will help the fabric lie flat when turned right side out.
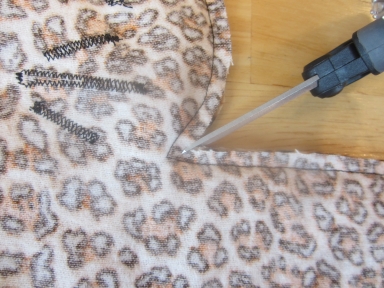
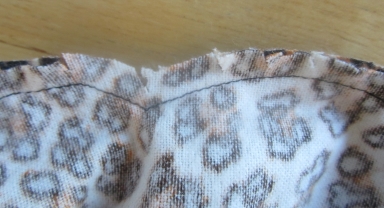
- Turn the winter warmer right side out.
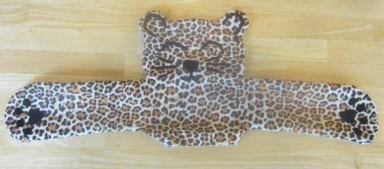
FILL THE WARMER WITH RICE:
- Roll a sheet of paper into a funnel and tape it together. (It doesn’t need to be pretty—it just helps get the rice in the right place.)

- Insert the narrow end of the paper funnel into one of the leopard’s arms. Pour 1 1/2 to 2 cups of rice into the arm.
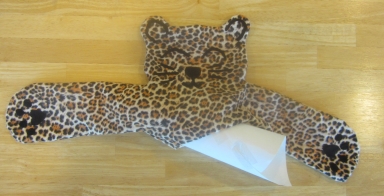
- Tip the leopard so that all of the rice falls into the paw end of the arm. Place a row of pins along the top of the rice area, overlapping the pins so that they hold the rice in place. This will keep the rice out of the way during the next step.
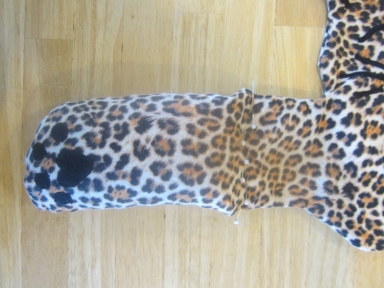
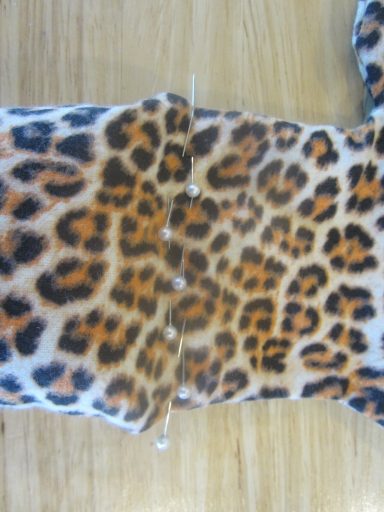
- Stitch across the open end of the arm, close to where it meets the body. Do not stitch over the opening in the body.
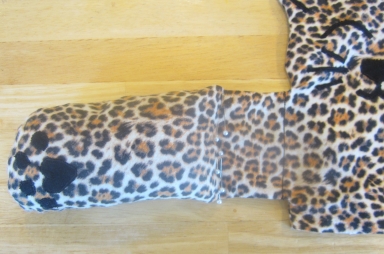
- Remove the pins, letting the entire arm fill with rice.
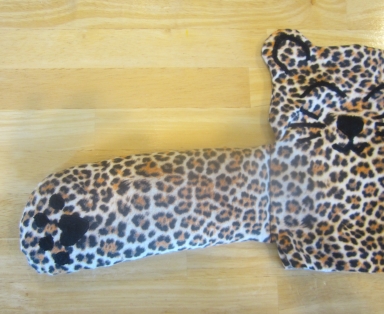
- Fill the other arm with rice and stitch the arm opening closed the same way.
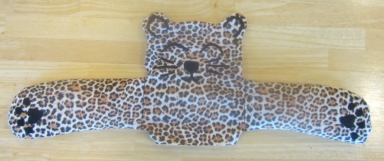
- Pour 3 to 3 1/2 cups of rice into the opening of the body.
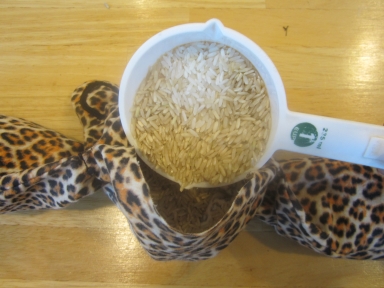
- Tip the leopard so that all the rice falls into the head. (You may need to shake or push it a little to get the rice to go into the ears.) Place a row of pins along the top of the rice, overlapping the pins so that they hold the rice in place.
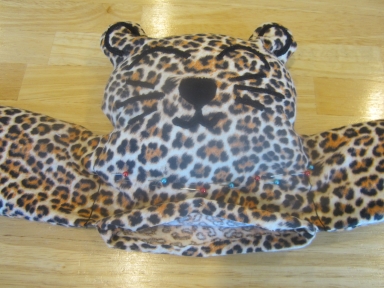
- Turn the raw edges of the body opening about 1/2 inch toward the inside. Pin the opening closed.
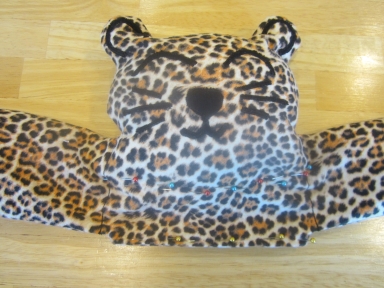
- Topstitch the bottom edge of the body closed, using a triple straight stitch if available. (If not, you may want to go over the stitching an extra time or two for added strength, since the rice is heavy.) Remove the pins.
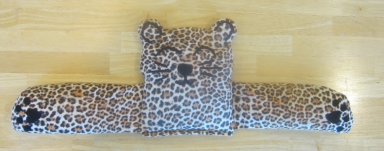
The winter warmer is complete and ready to use!
USE THE LEOPARD WINTER WARMER:
- Fold the leopard’s arms inward into a hug position to help the warmer fit in the microwave.
- Place the warmer inside the microwave, alongside 1 cup of water (the warmer should not be in the water). The water will help prevent the rice from scorching. Depending on the size of your microwave, the water can be right next to the warmer, or in a corner.
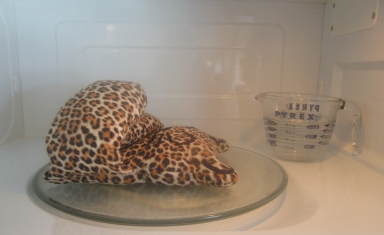
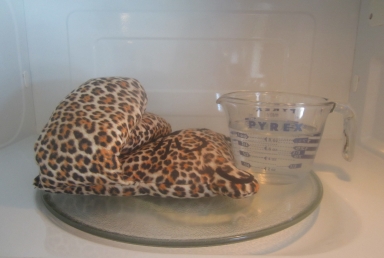
- Heat the warmer on high for about 3 minutes.
Enjoy the warmth of a cozy leopard hug!

