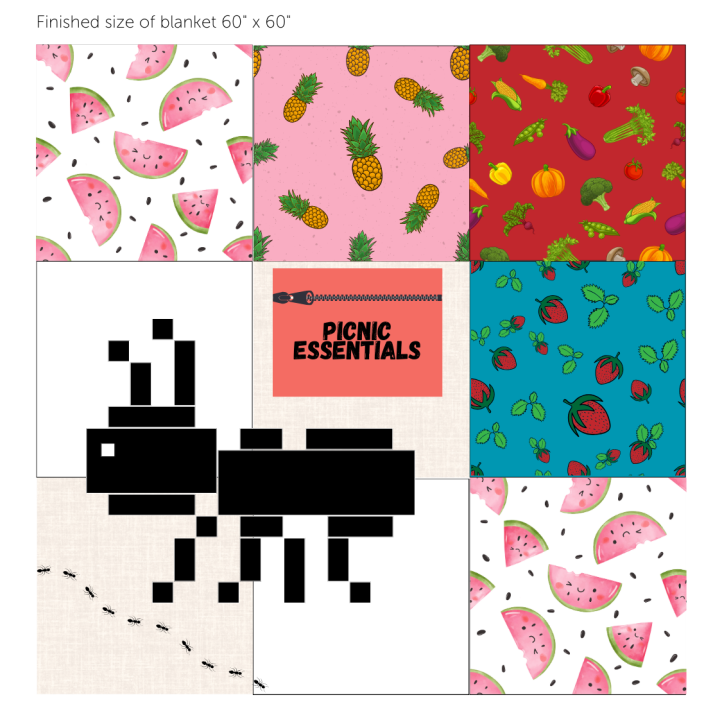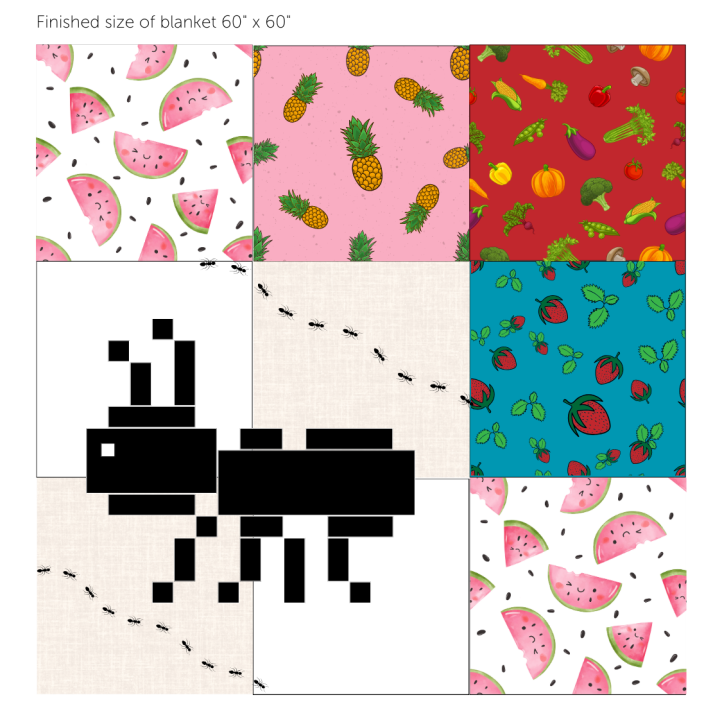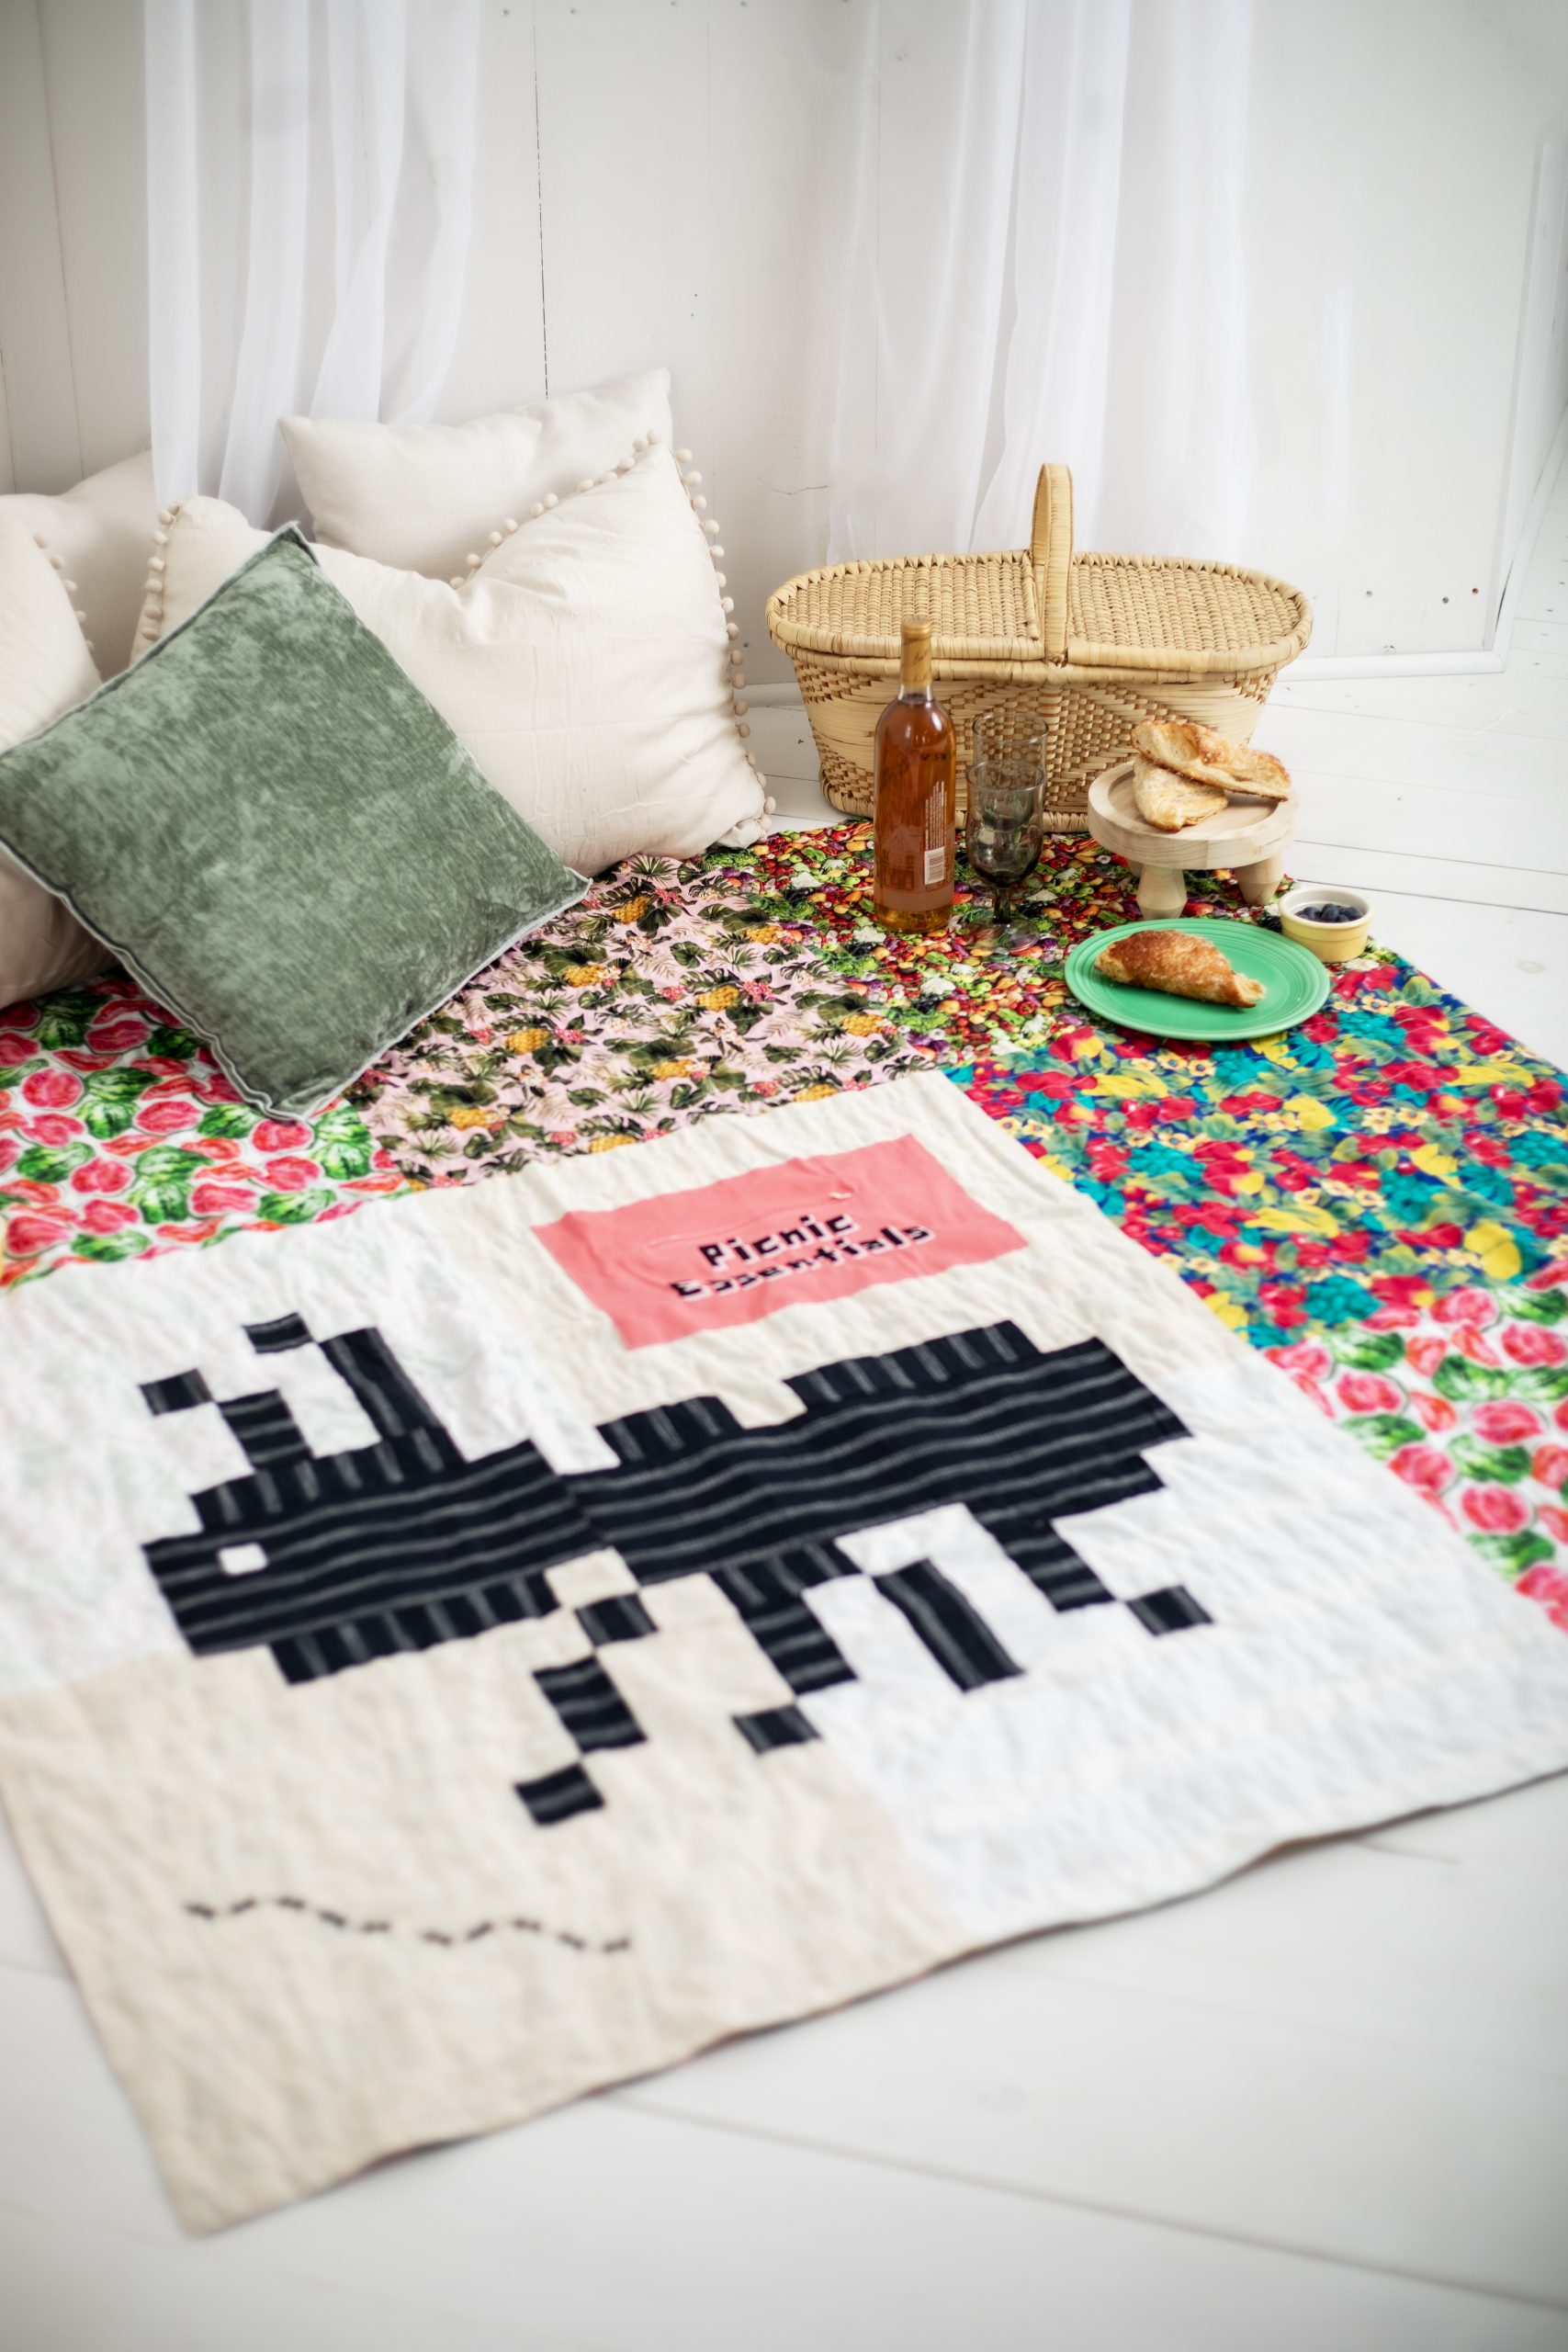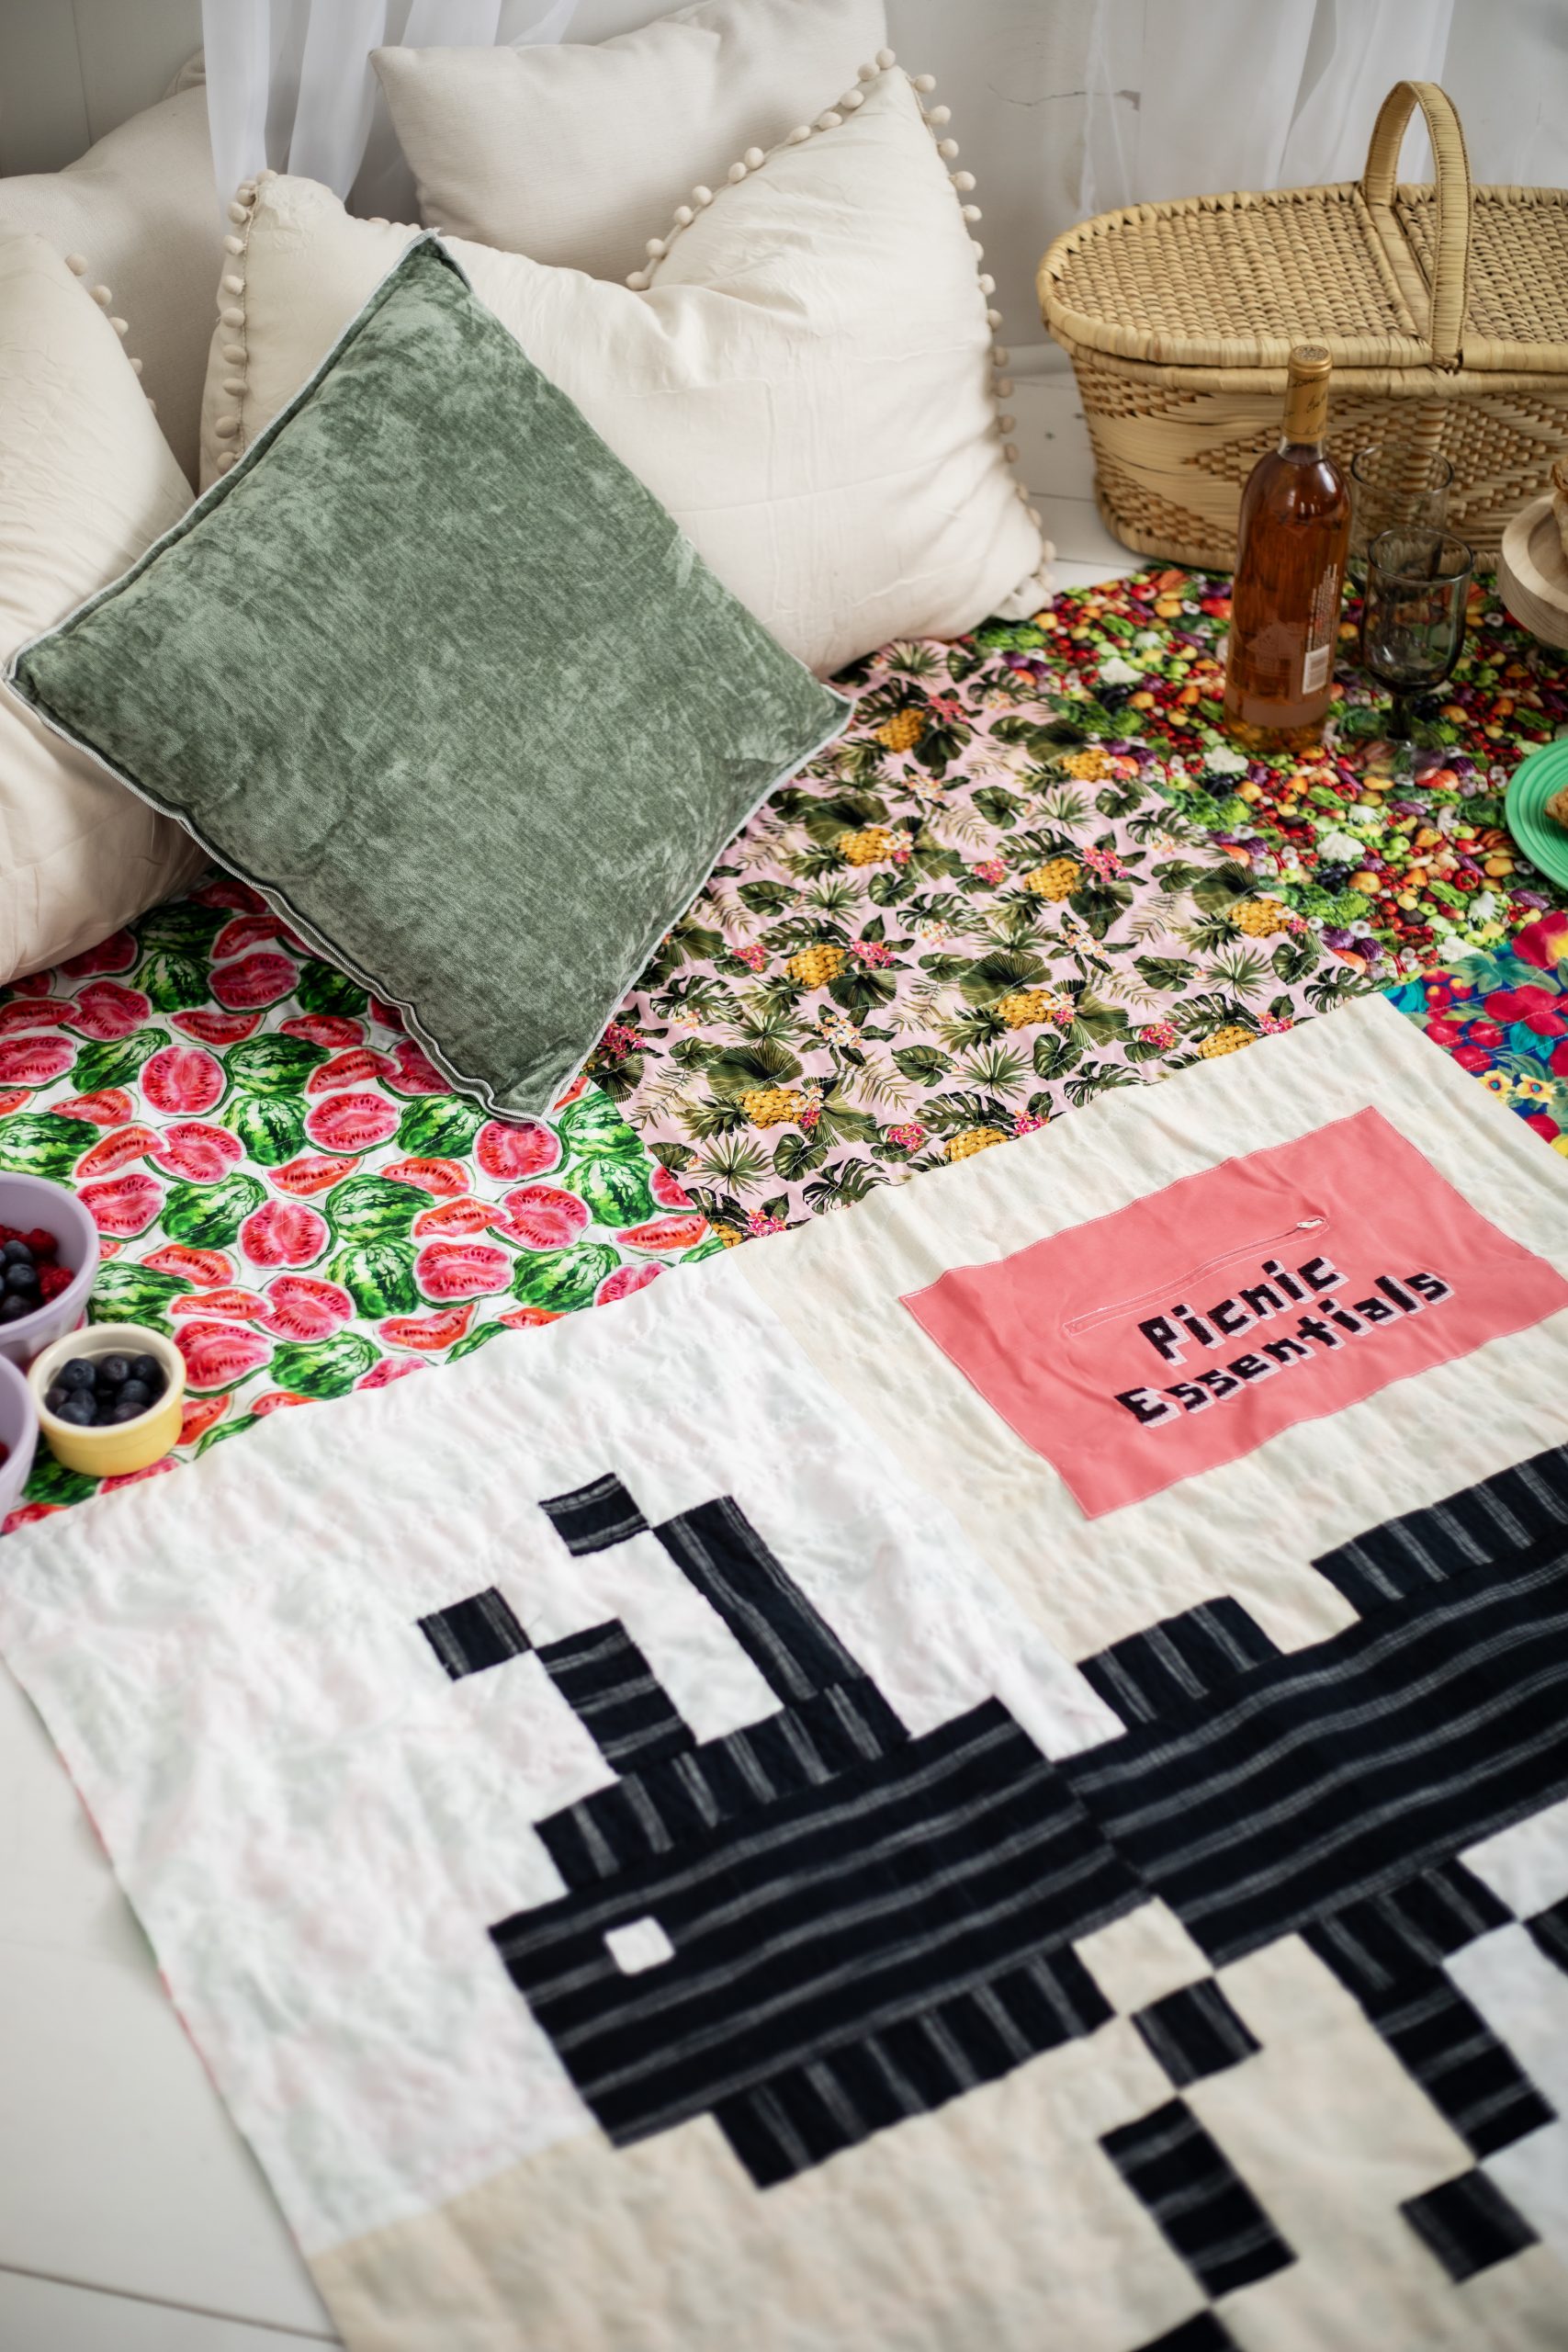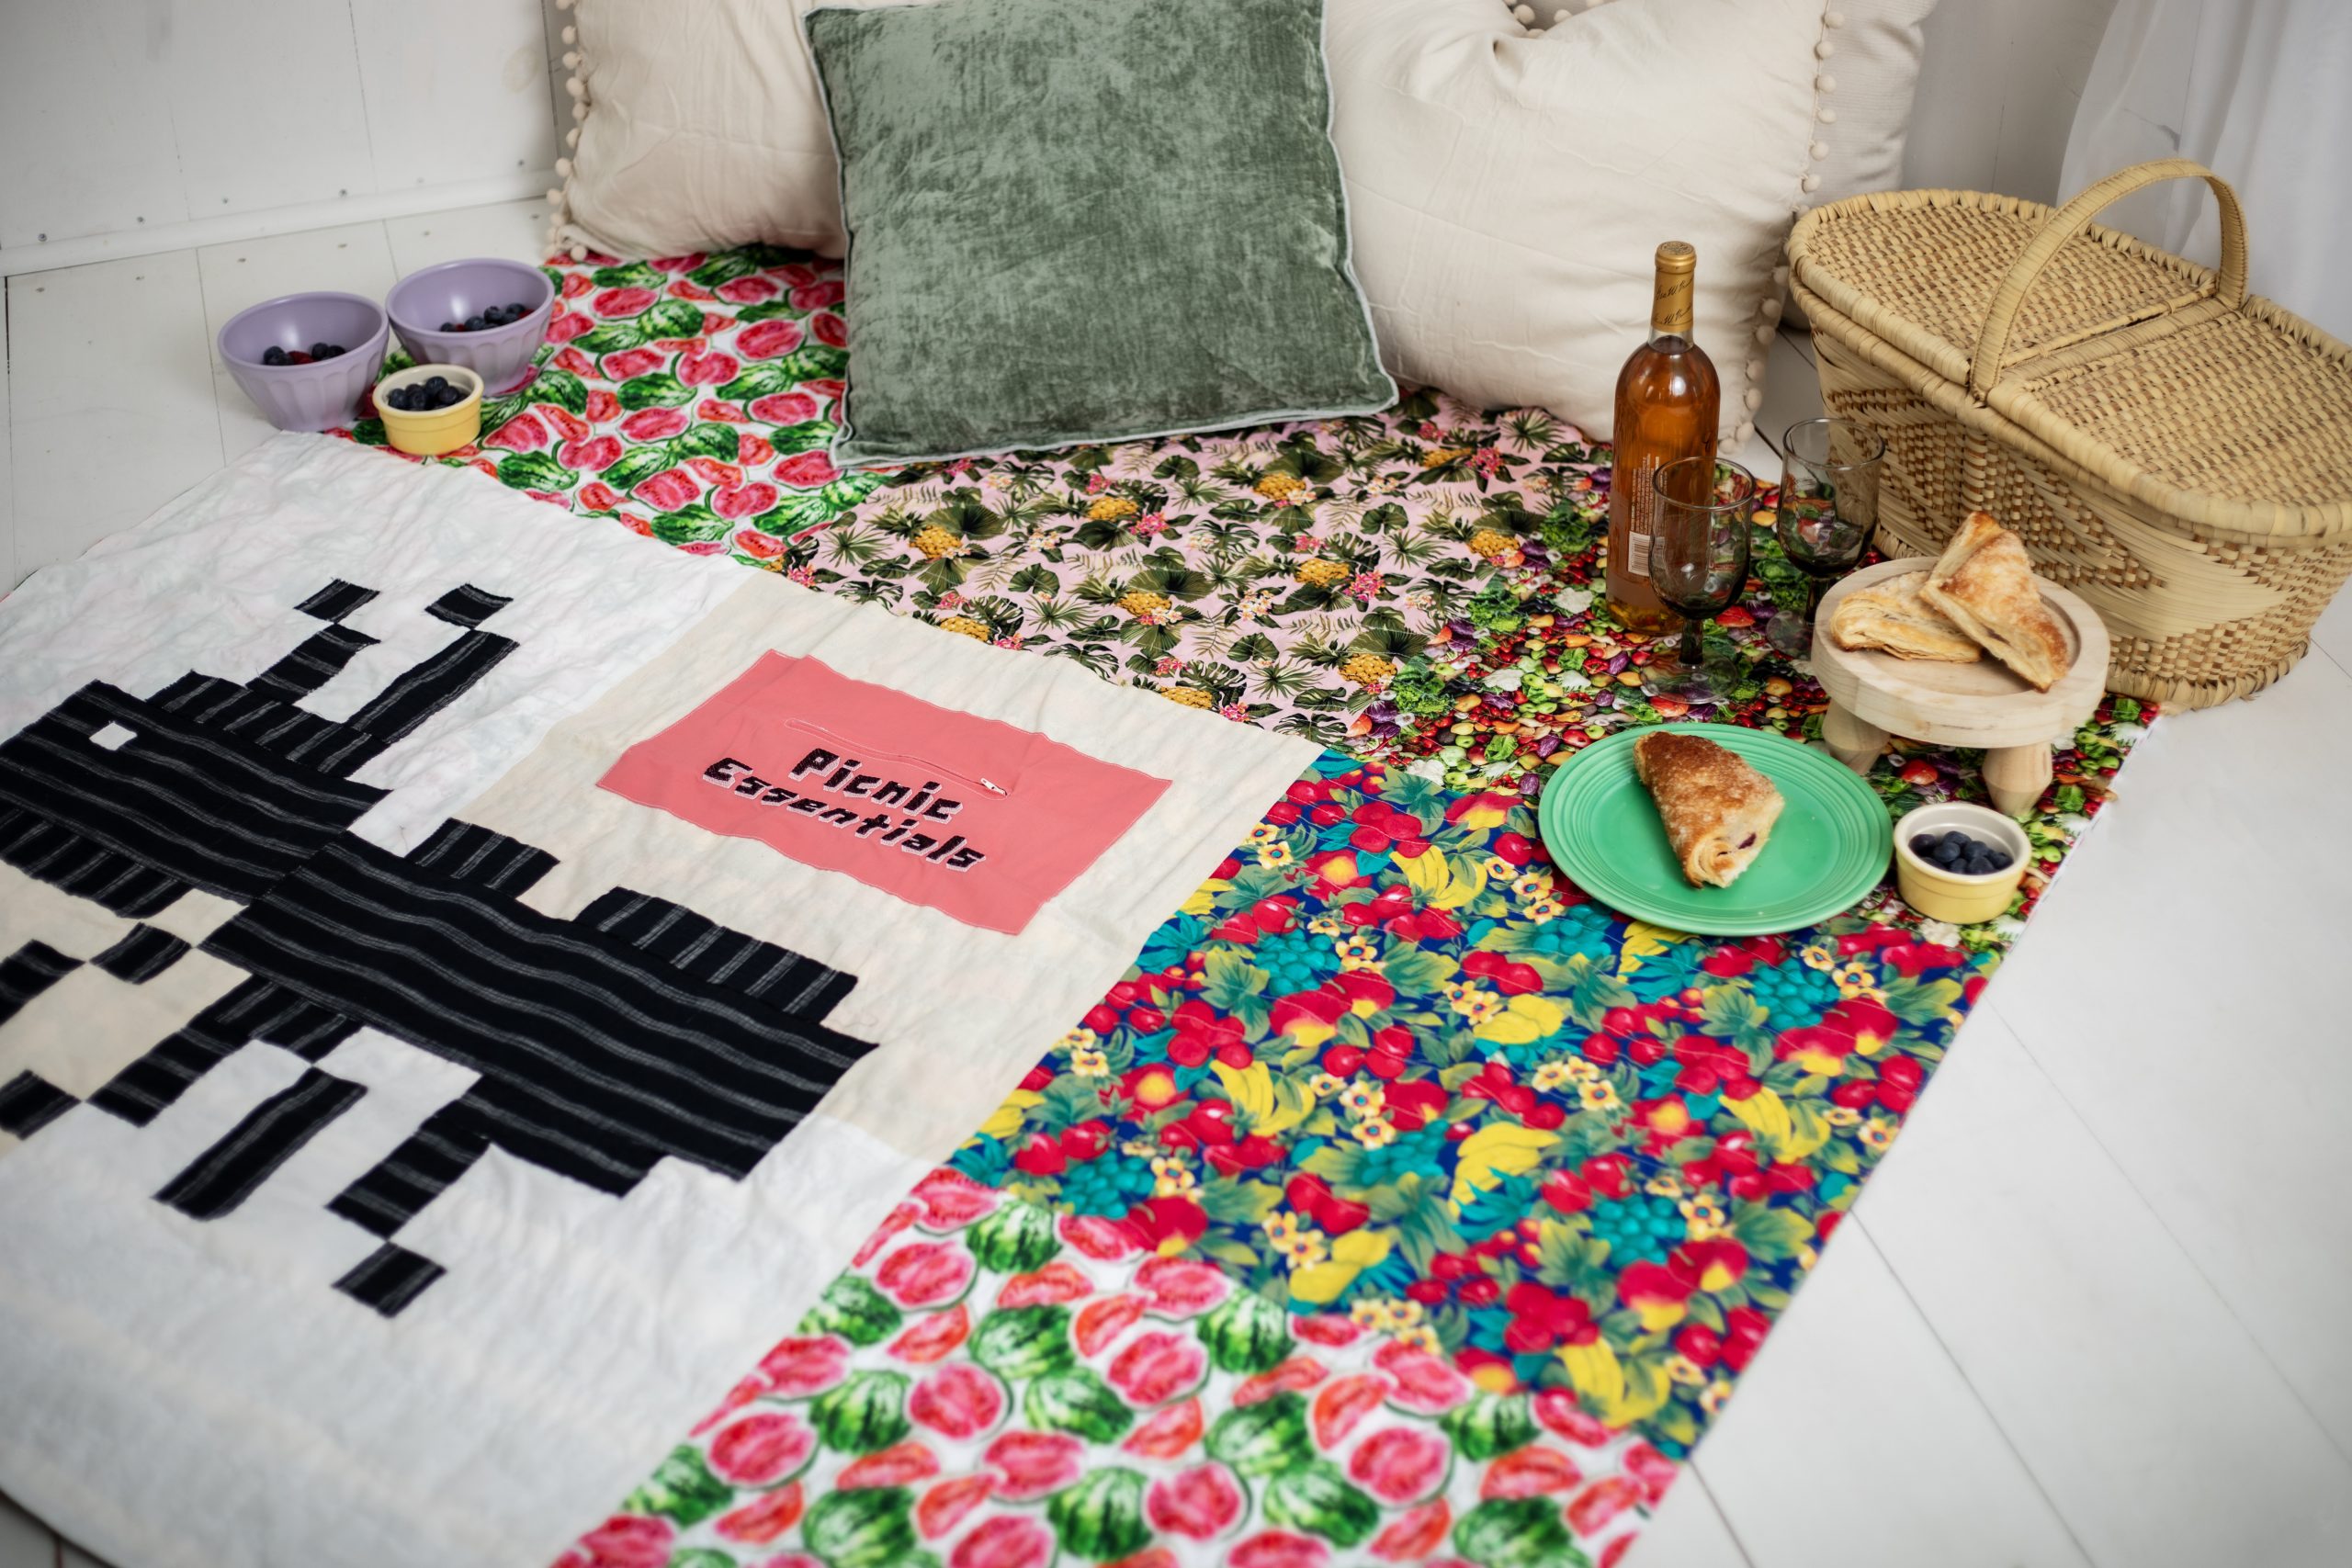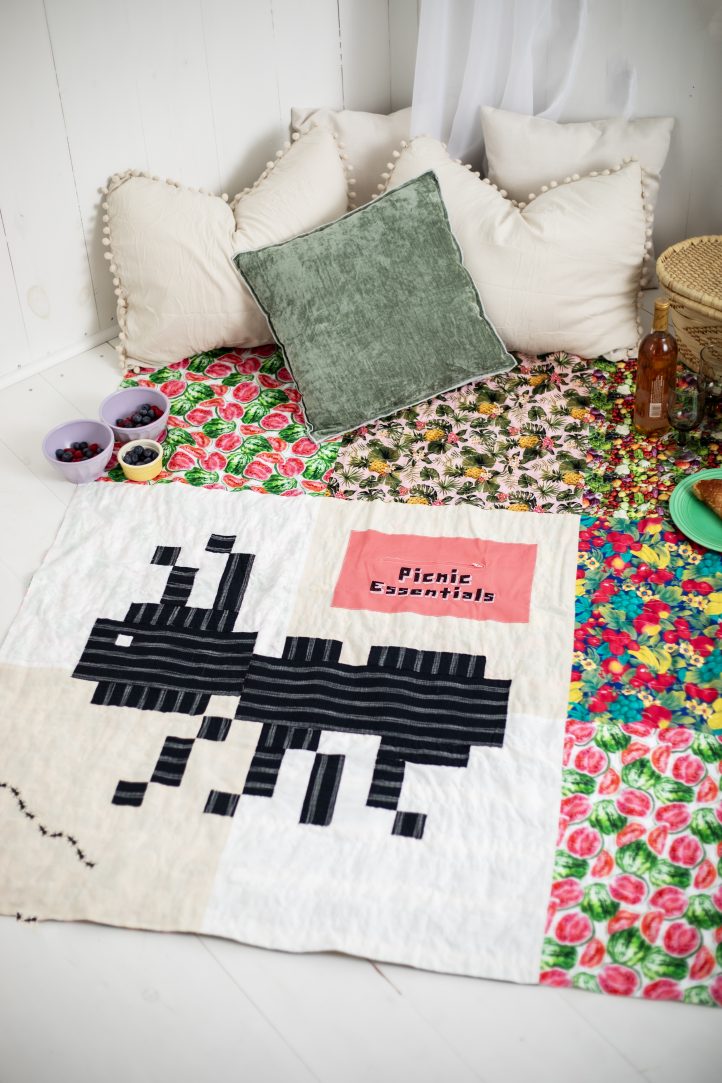
Picnic season will be here before you know it, so why not prepare ahead of warm spring weather by designing your own scrappy picnic quilt? This colorful picnic quilt pattern from Meg Healy features so many playful details like a large ant block, zippered pouch to store your picnic utensils and tiny embroidered ants! Aimed at quilting beginners, you’ll love getting to experiment with several different sewing techniques in this spring sewing project.
Skill Level: Beginner
Finished Size: 60” x 60”
Seam Allowances: 1/2” unless otherwise stated
Materials:
- Fabrics:
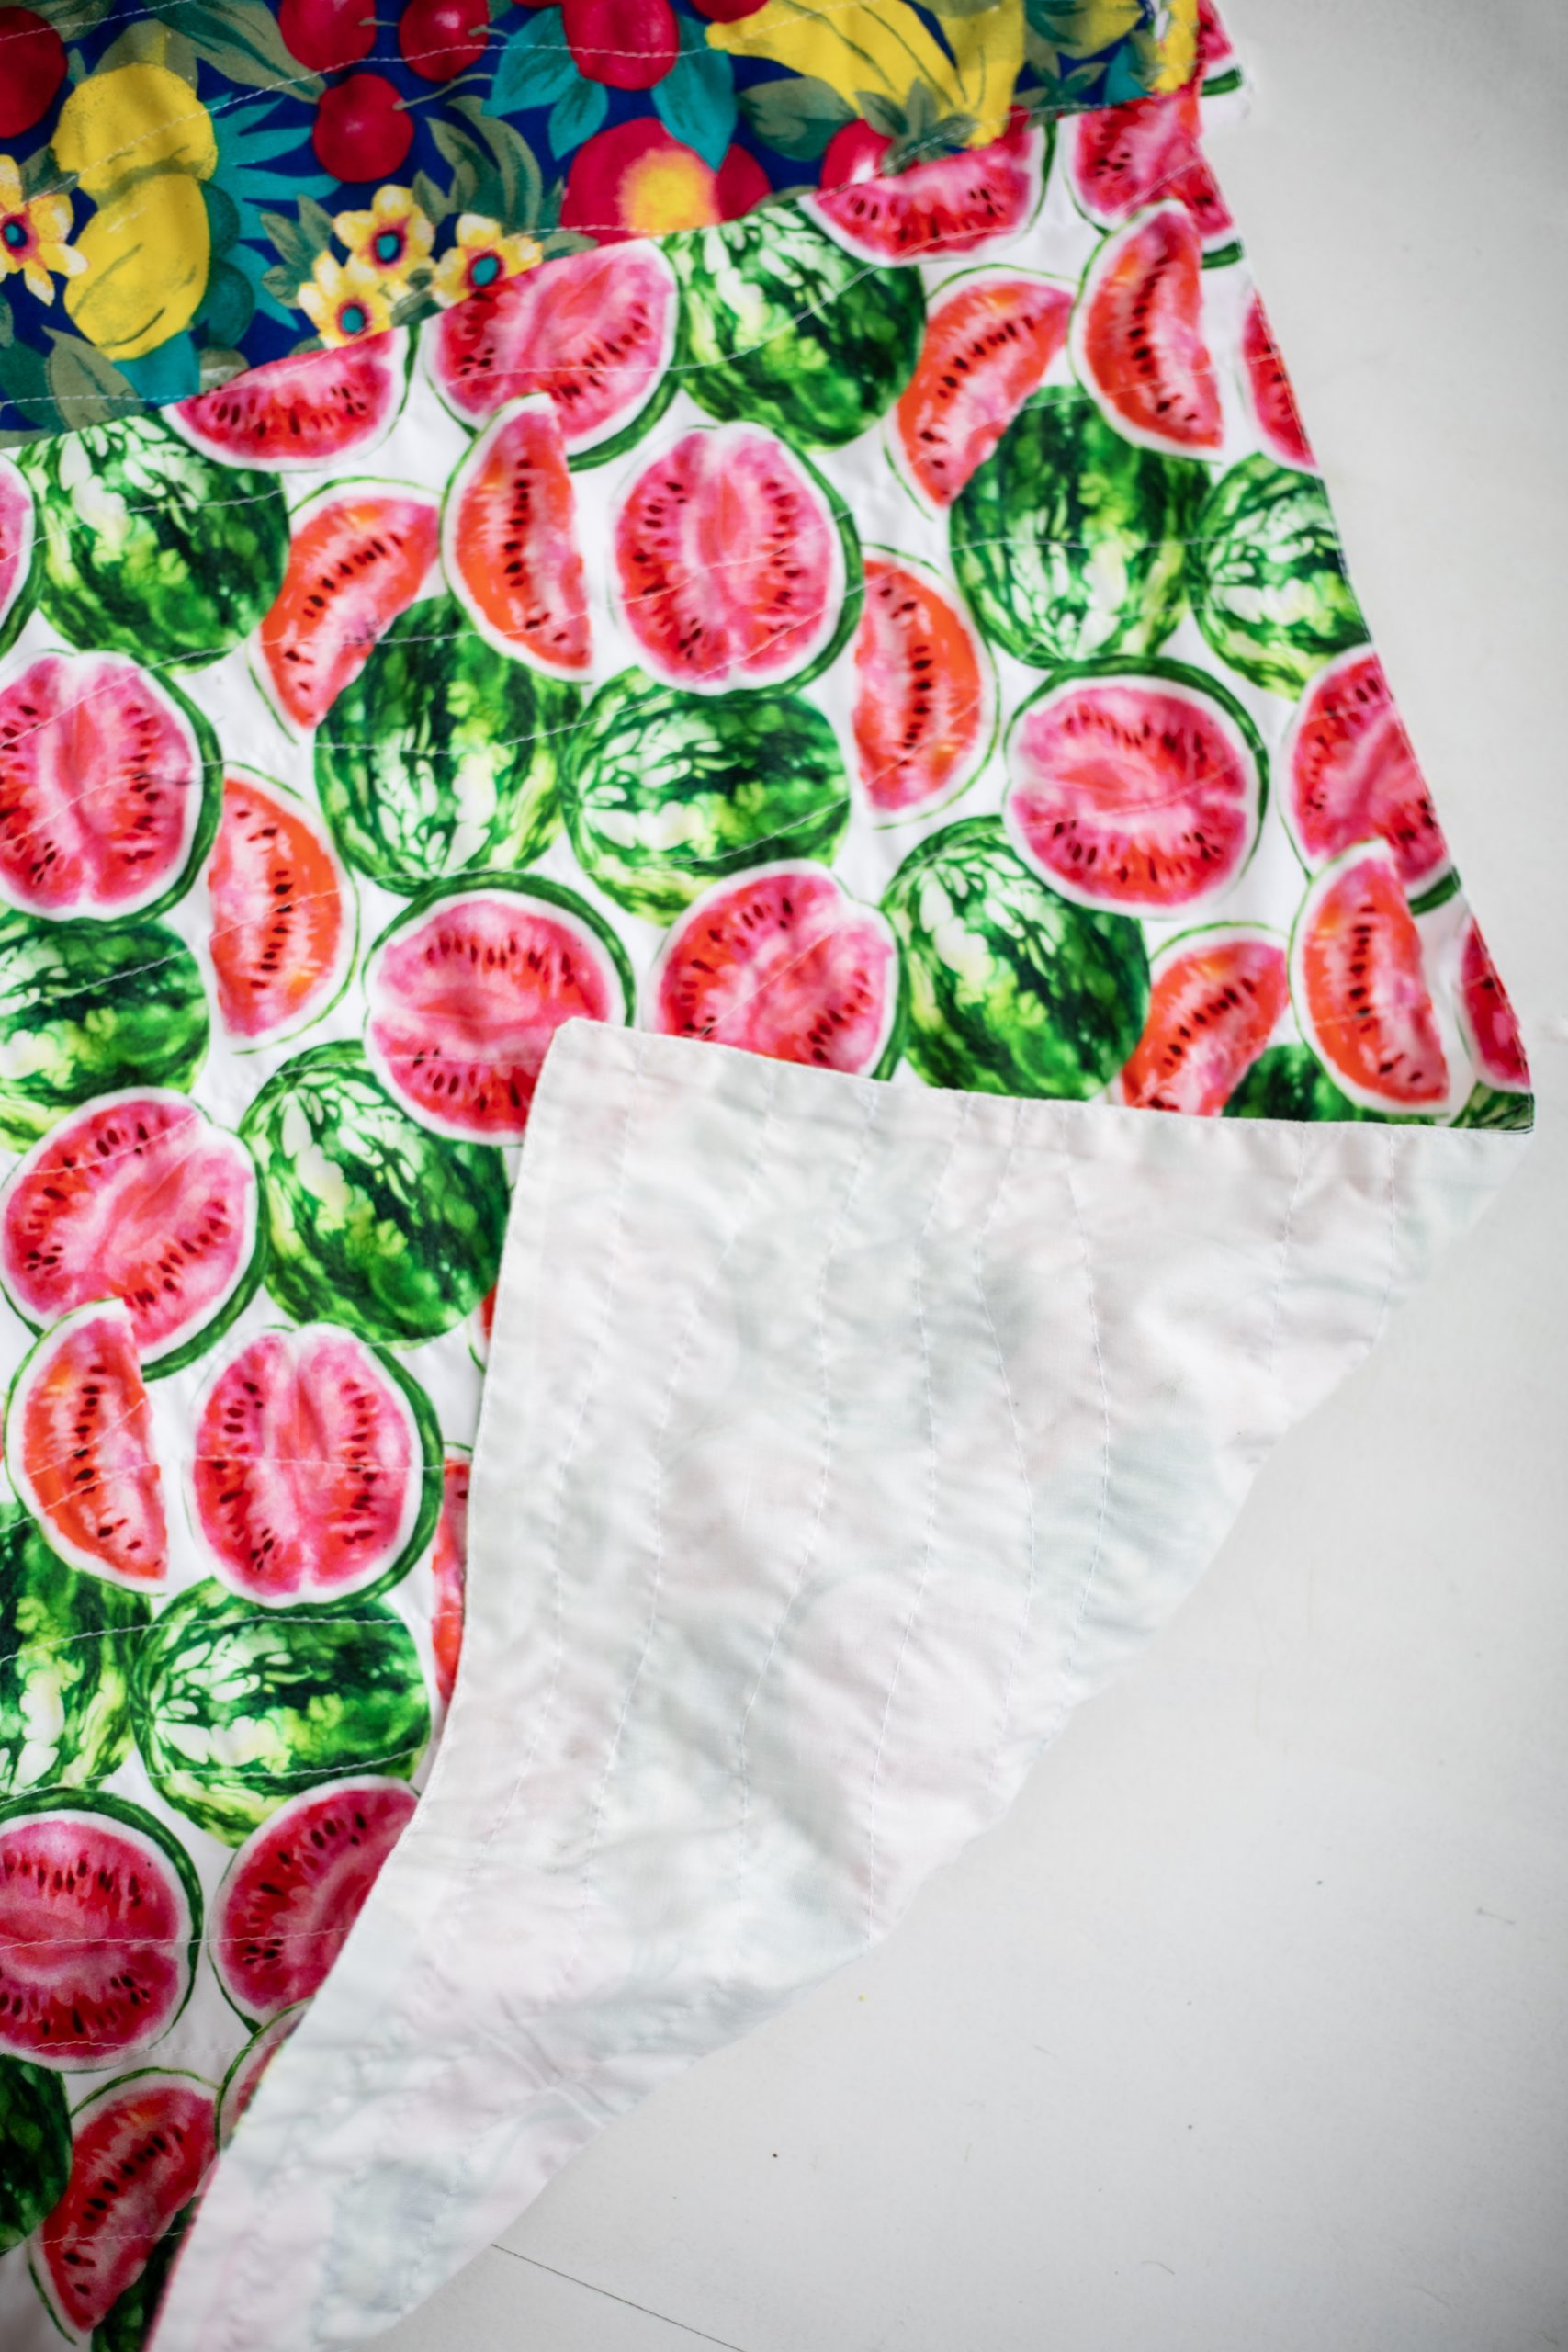
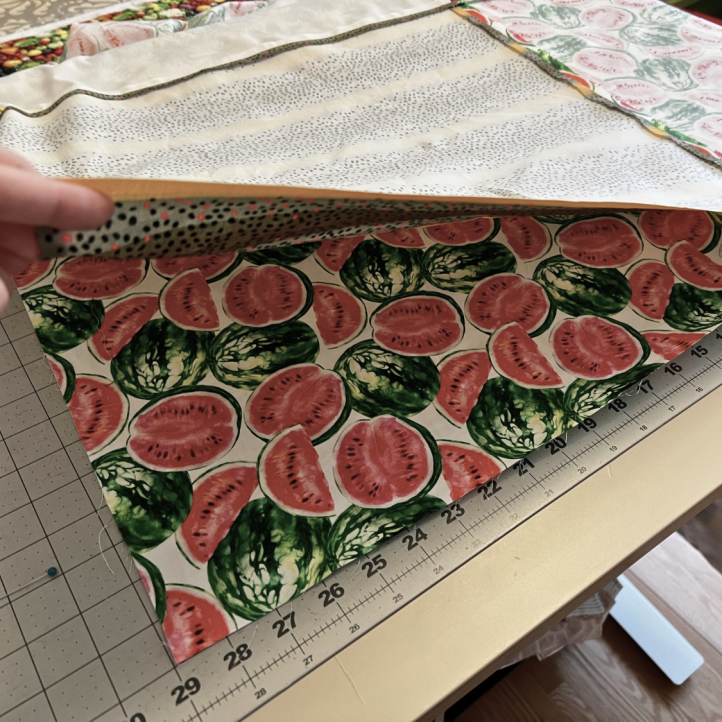
- Food printed cotton fabric – various scrap pieces at least 21” by 21”
- Light colored plain cotton fabric – various scrap pieces at least 21” x 21”
- Black fabric (for the ant applique) – various scrap pieces
- Contrast plain cotton fabric (for the zipper pouch) – fat quarter
- 1 zipper 8 1/2” long
- Machine feet: walking and free motion
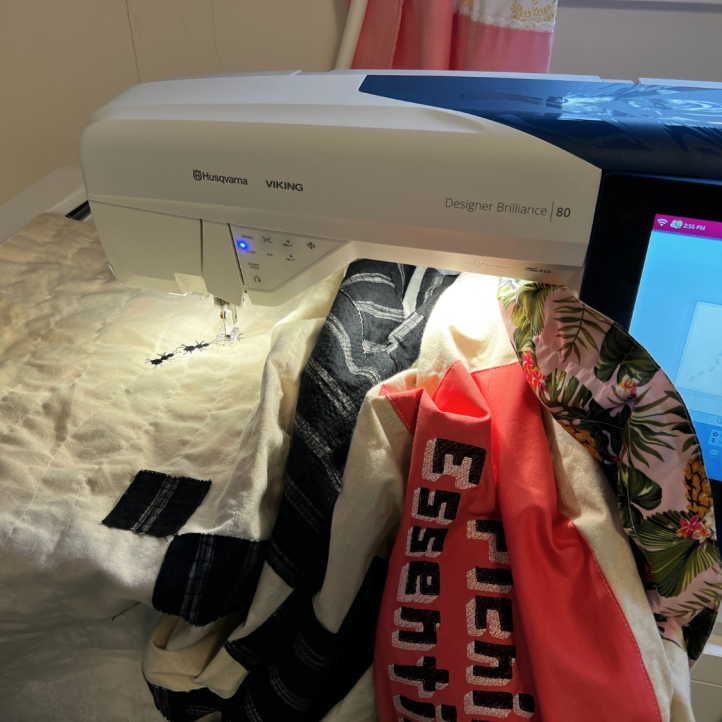
- Optional: Marching ants embroidery design with thread
- Note: You can find this specific embroidery design at EmbroideryDesigns.com (Design: Free MARCHING ANTS Embroidery Design)
Cutting Instructions:
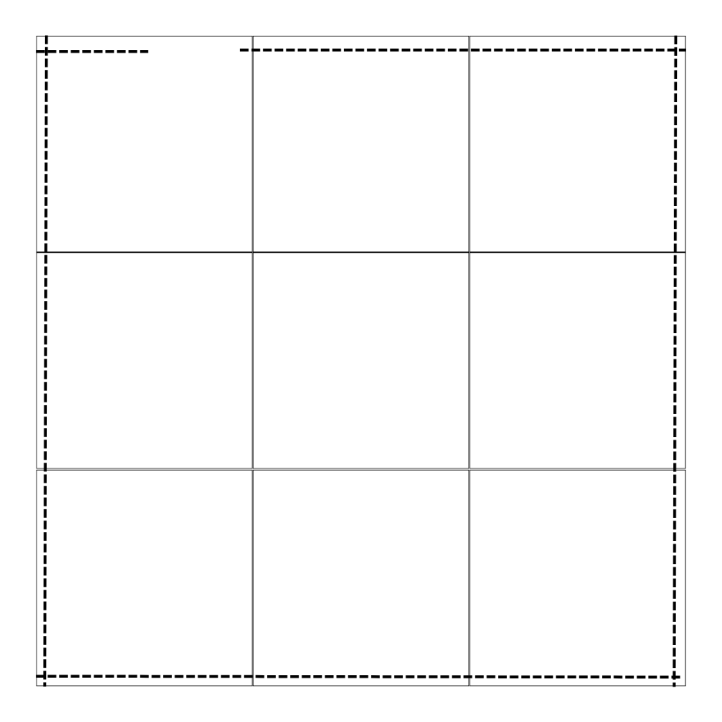
Cut the the following fabric pieces from your fabric stash:
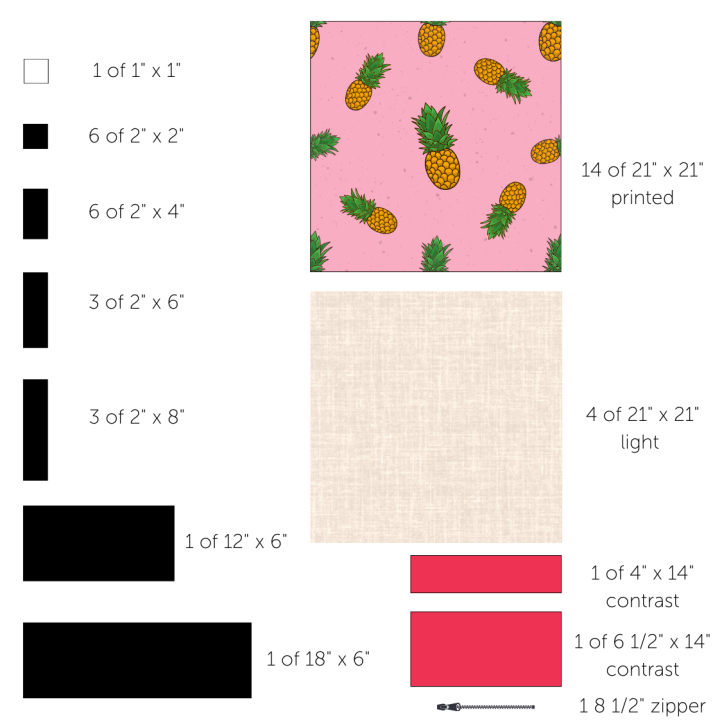
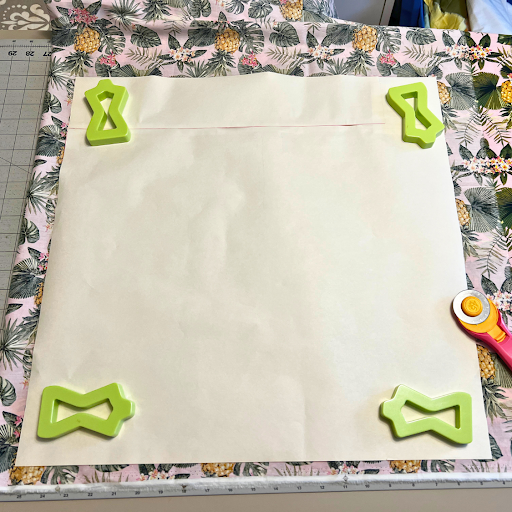
Tip: Make a paper template 21” by 21” to make the cutting process faster.
Piecing Instructions:
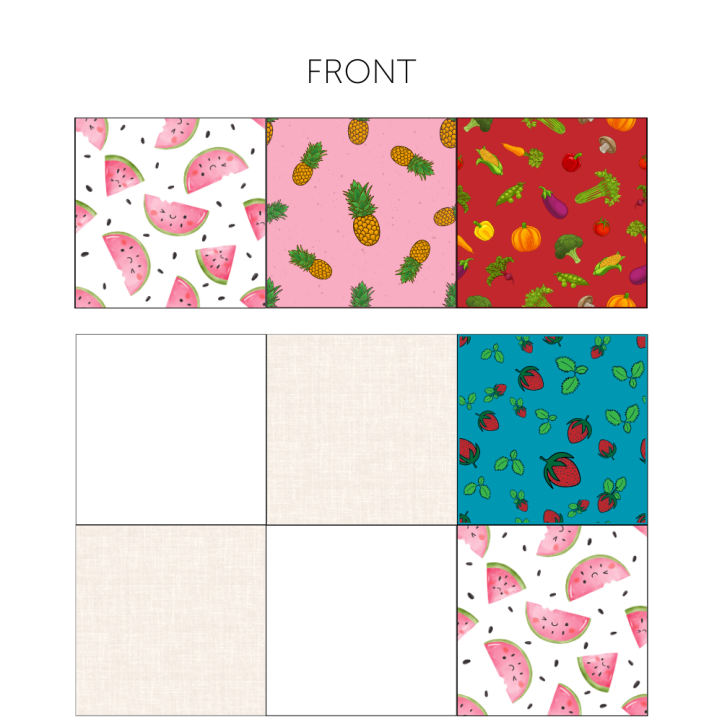
- For the front of the blanket, piece together the top row and the bottom two rows. Press seam allowances open.
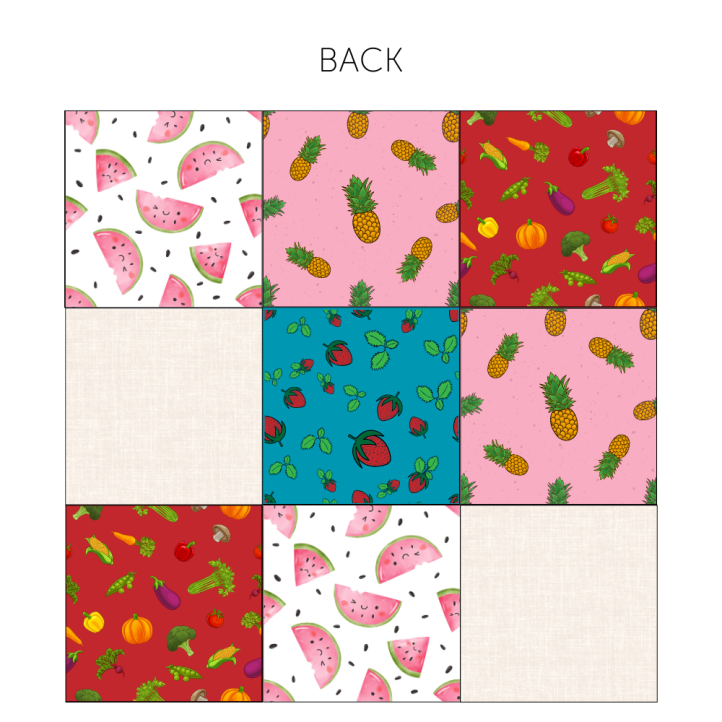
- For the back of the blanket, piece together all the squares and set aside.
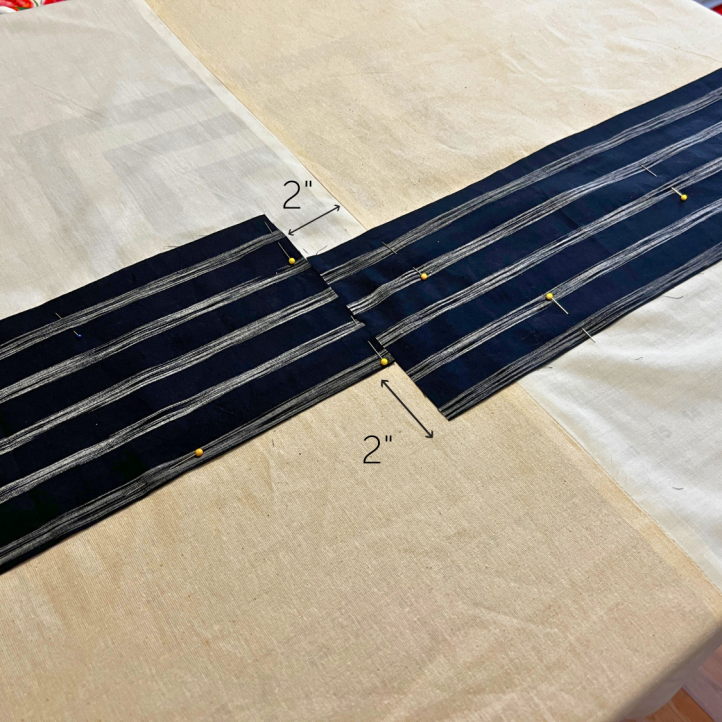
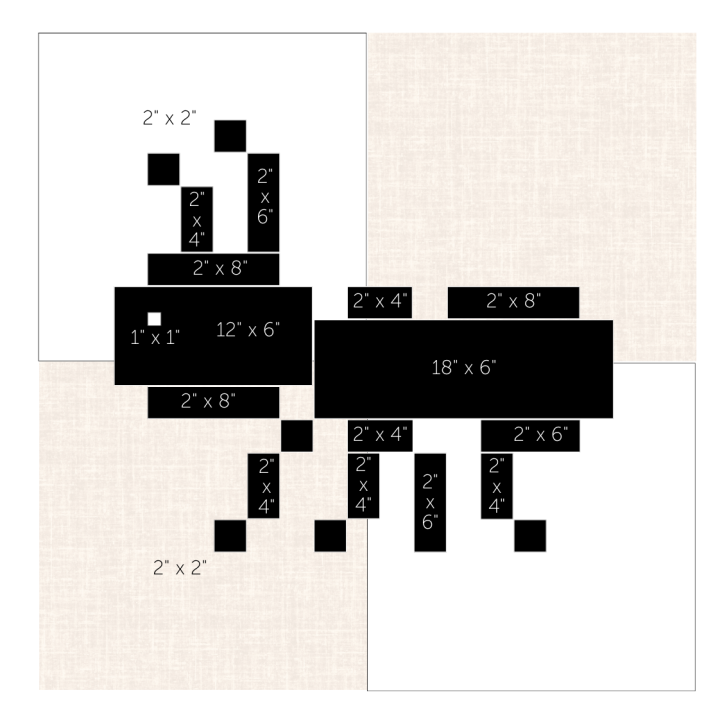
- On the pieces light colored fabric blocks on the front of the blanket, place the large two rectangles of the black fabric so the 18” by 6” piece is centered on the horizontal seam and 2” away from the vertical seam. Then place the 12” x 6” piece right beside the first piece laying the bottom right corner 2” up.
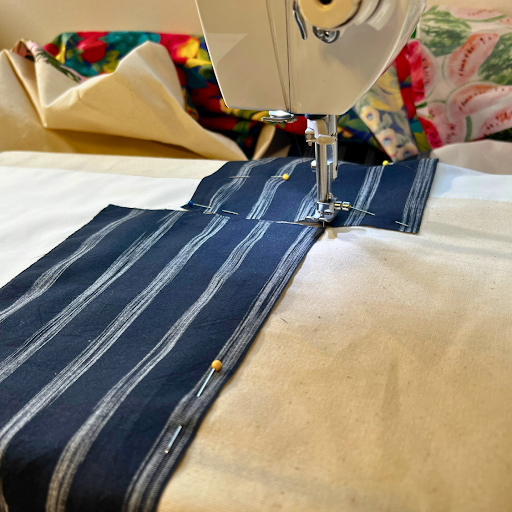
- Pin and topstitch around the outer edges to keep in place.
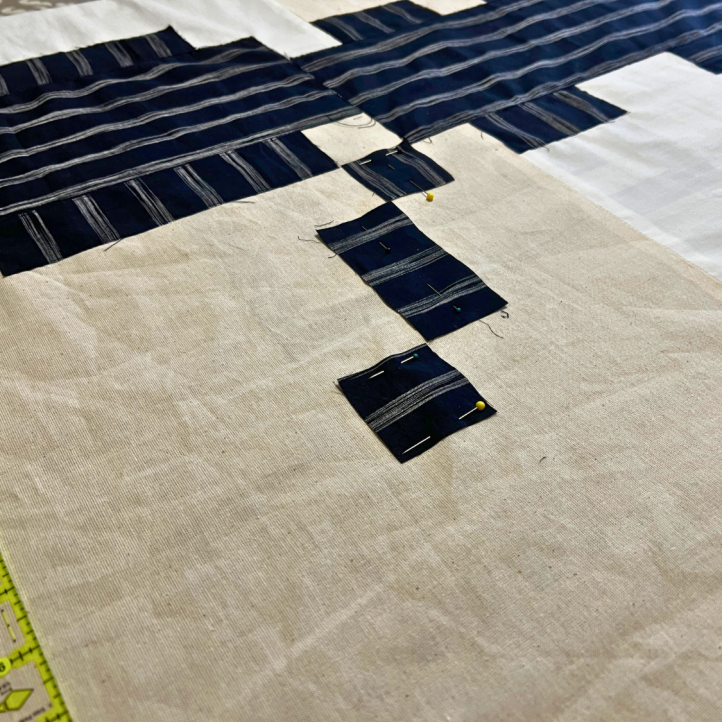
- With the ant applique foundation pieces secured on the blanket, using the diagram to place, pin and stitch the other pieces.

- Stitch the bottom two rows of the front blanket with the ant design to the top row.
- Place the front and back blanket pieces right sides together and stitch around the entire blanket pivoting at the corners and leaving a 5” opening. NOTE: This quilt/blanket does not have batting to make it lighter and easier to carry to a picnic, but you could add a batting layer if desired before quilting the layers together.
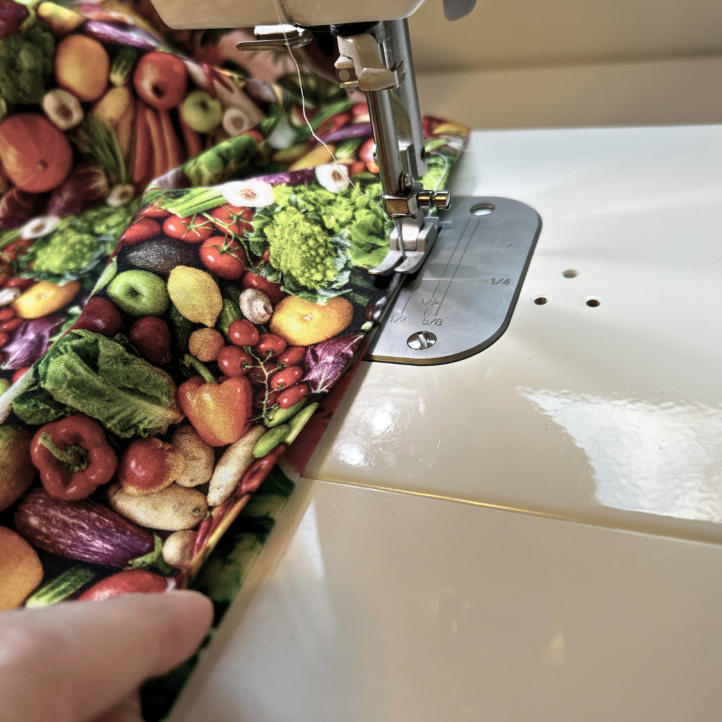
- Trim seam allowances and clip corners before turning the blanket right side out through the opening. Press 1/2” seam allowances to the wrong side of the opening and stitch the opening closed while topstitching around the entire blanket at 1/8”.
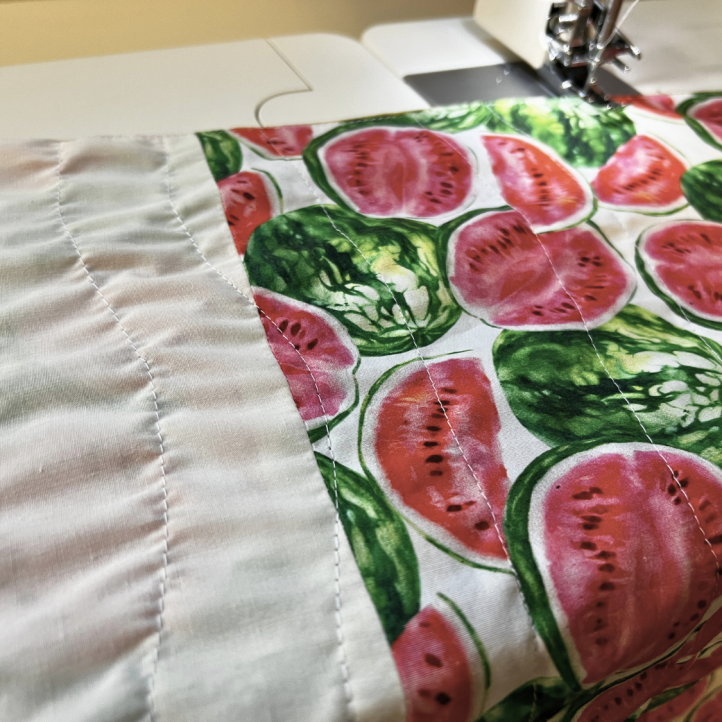
- Install walking foot on machine and quilt wavy stitches down the entire quilt pivoting around the ant applique.
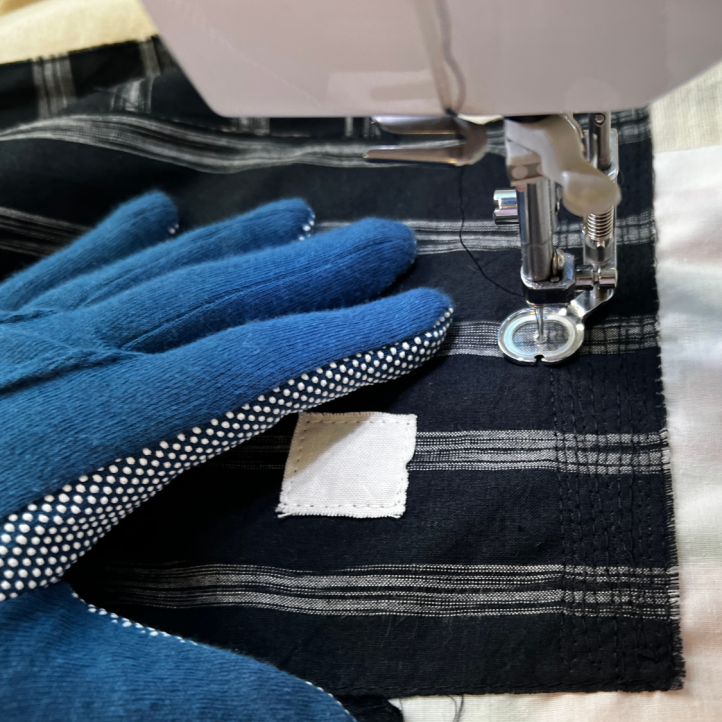
- Install free motion foot on machine and quilt ant pieces using straight line stitches.
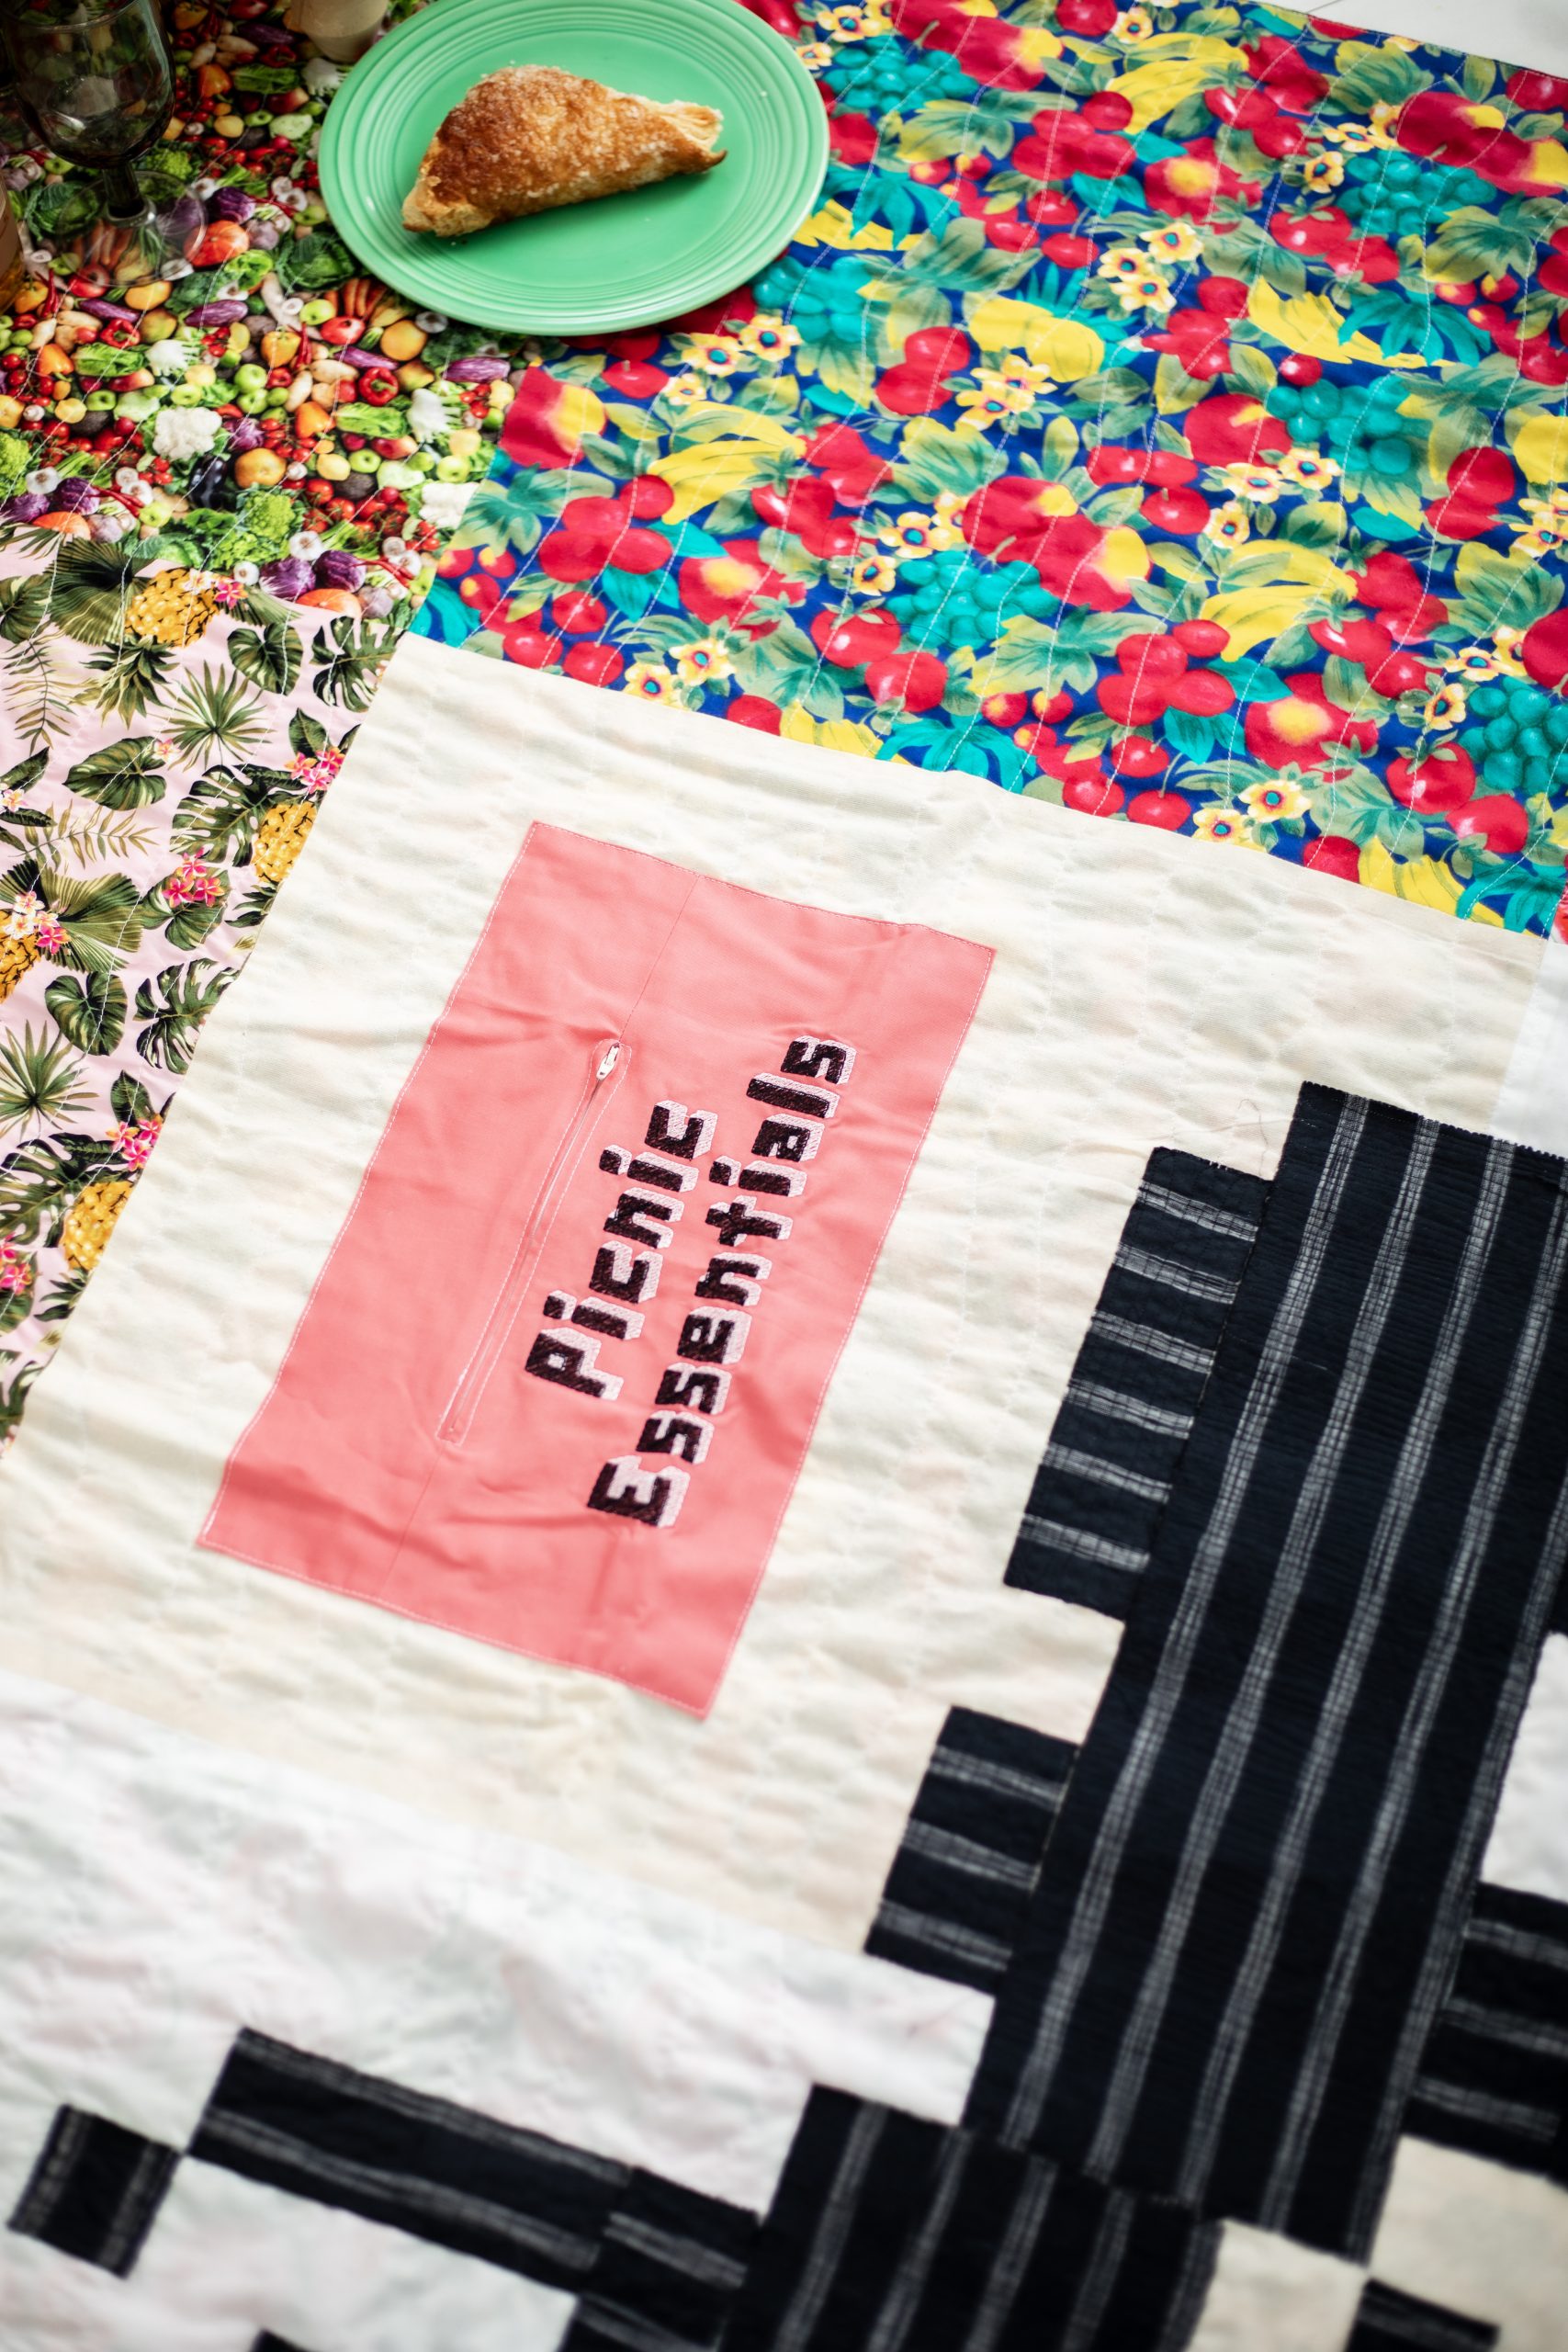
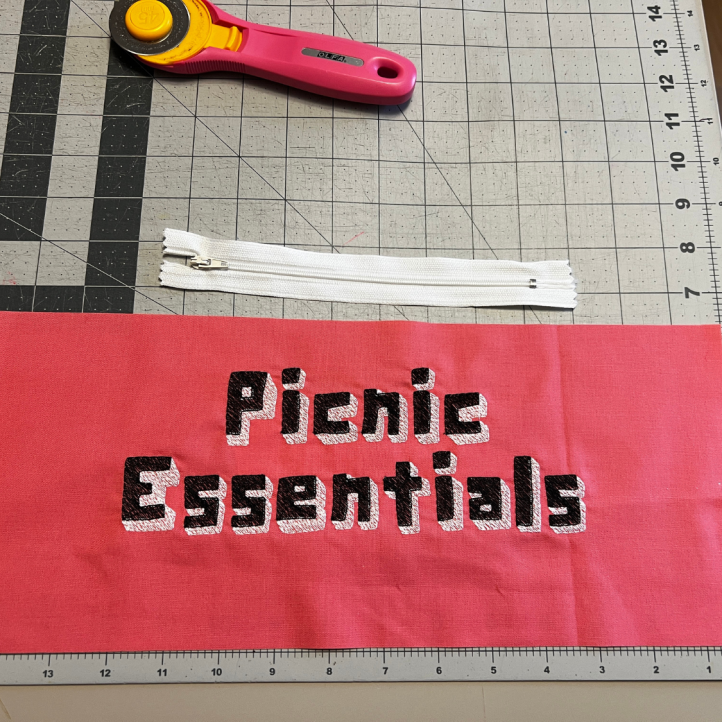
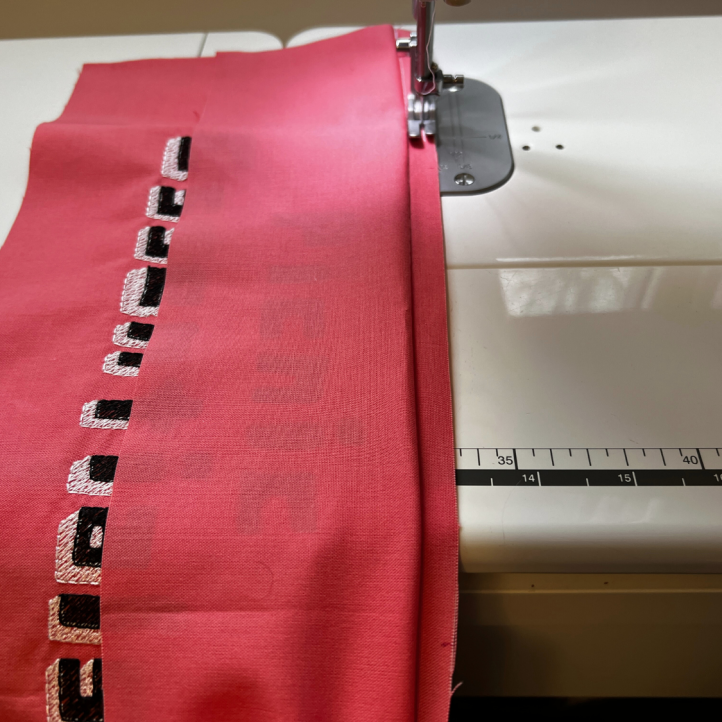
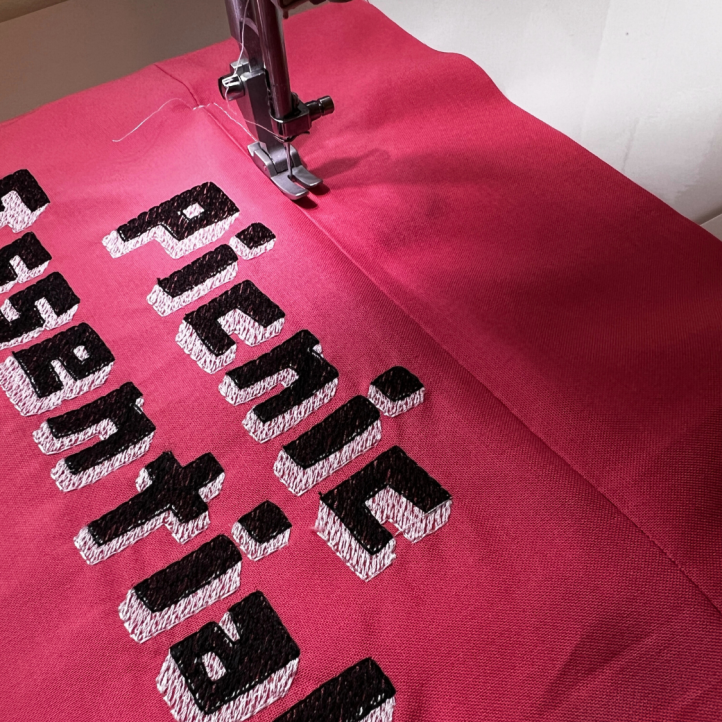
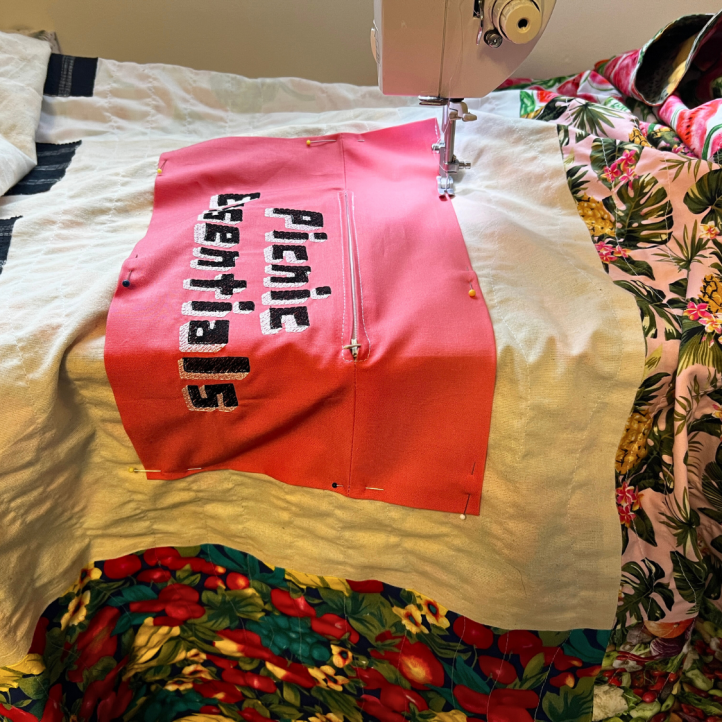
- Optional: On the larger piece of the zipper pouch, embroider “Picnic Essentials”.
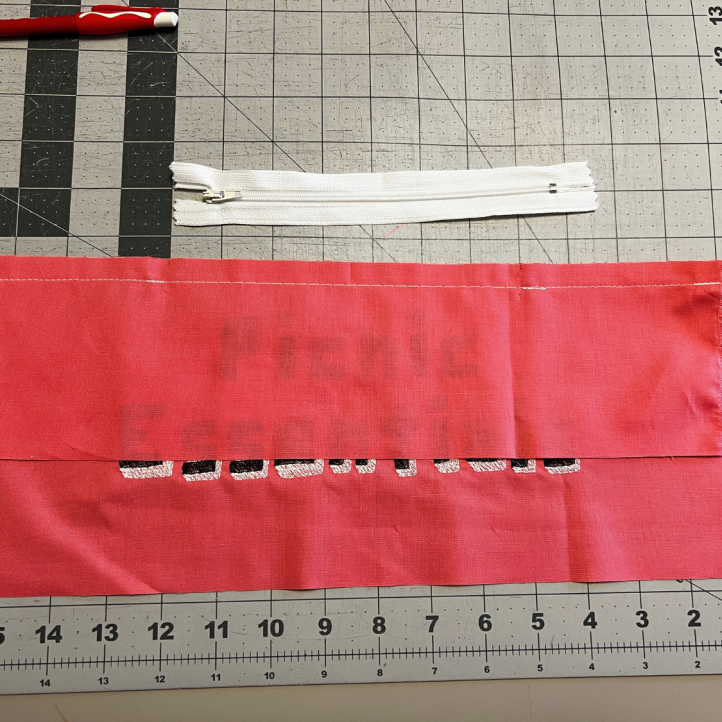
- Place the zipper pieces right sides together along the long edge and stitch together with the zipper length basted. To do this, you can center the zipper on the seam and mark the zipper stop and pull with notches. While sewing the seam use a regular stitch length, then backstitch at the notches and switch to a basting stitch length.
- Stitch the zipper tape to each corresponding seam allowance.
- From the right side, topstitch around the zipper. Tip: If your regular machine foot is wide, you can switch to a zipper foot.
- Press all edges 1/2” to the wrong side of the pouch and place on the blanket above the ant. Topstitch around the edges.
- Optional: Hoop the lower left corner of the quilt and embroider marching ants.*See “Material” section for information about the ants embroidery design.
- You can choose to embroider more ants and/or skip the picnic essentials pouch! Customize your picnic blanket to your liking!