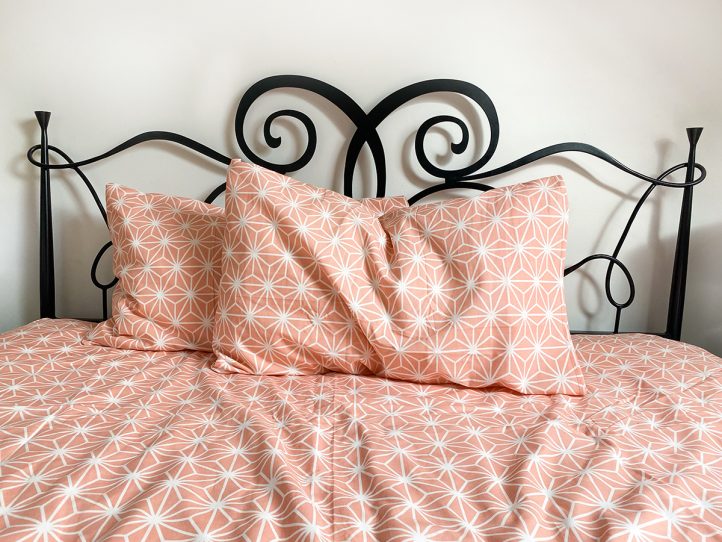
Give your bedroom décor a quick and stylish update by adding a set of new handmade pillowcases. This easy pillowcase pattern is designed for beginner sewists and is an excellent skill-building project for sewing newbies. We’re all for creating custom décor that fits your personal aesthetic, so if you’re in the mood for an update with a professional looking finish, this is the project for you!
Materials:
- 1m or 1-yard of fabric (cotton, polycotton sateen, silk, satin…)
- Pins
- Scissors
- Ruler or tape measure
- Thread
- Sewing machine
- Iron
- Overlocker (optional)
Instructions:
- Cut 2 rectangles. Front: 52cm x 96cm. Back: 52cm x 76cm or Front: 20 1/2 in x 37 3/4 in. Back: 20 1/2 in x 30 in.
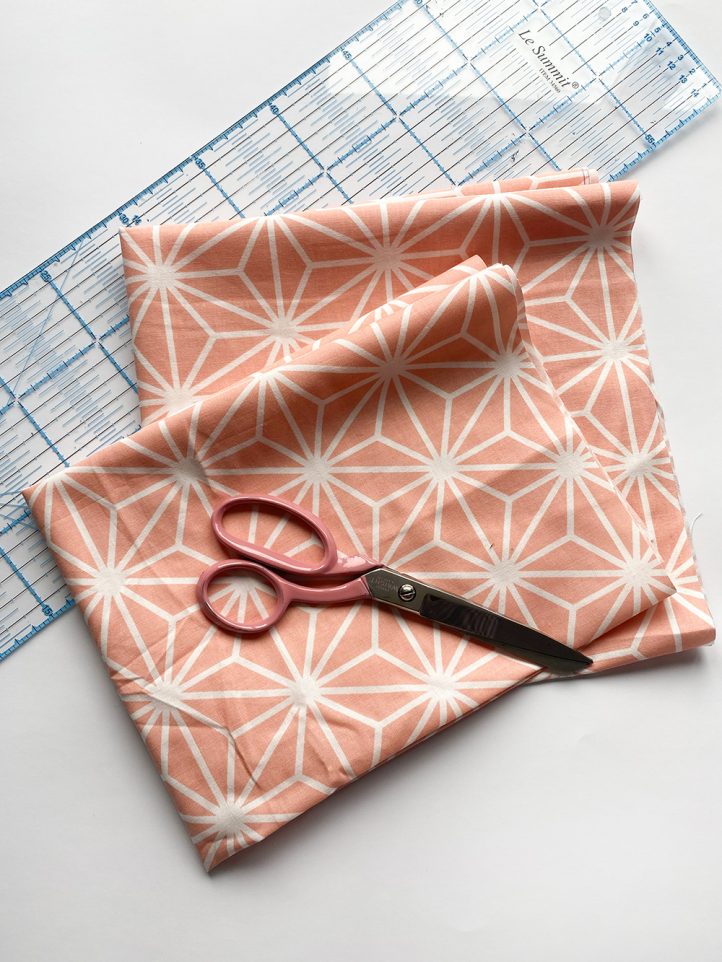
- Lay one rectangle on top of the other with right sides together, lining up one short end.
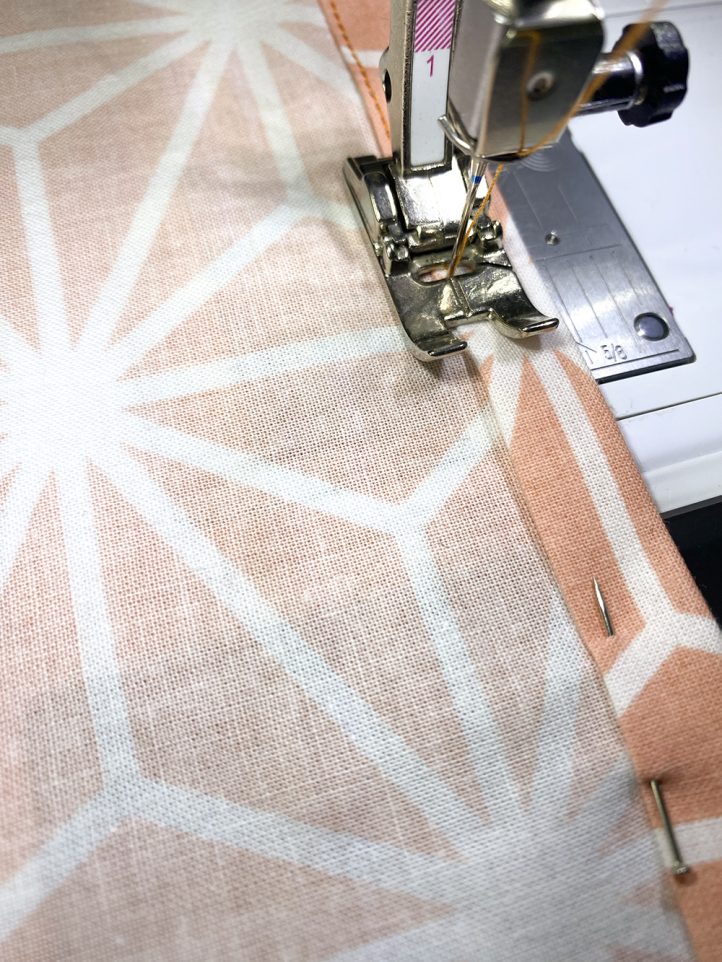
- Pin and stitch together with a 1cm (3/8 in) seam allowance.
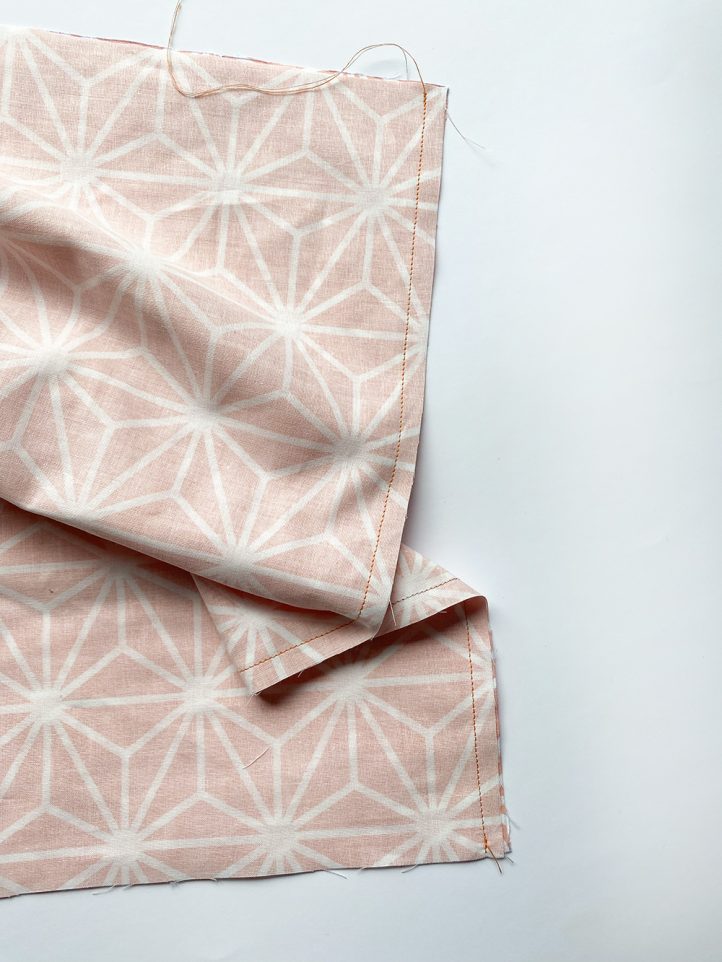
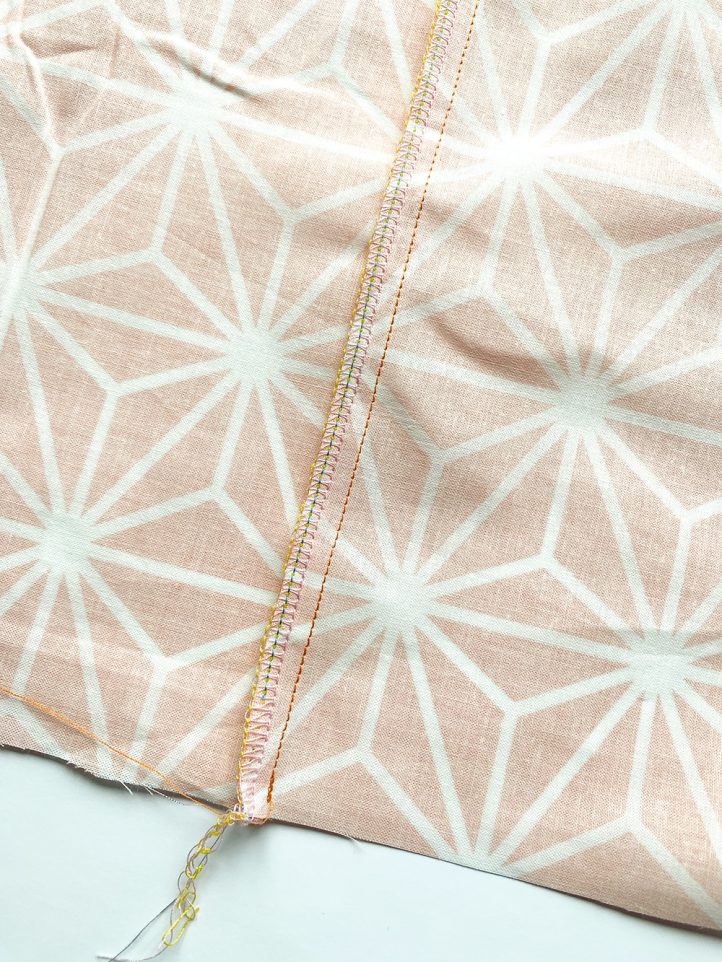
- Neaten the raw edges with your overlocker (or a zigzag stitch). Press the seam to one side.
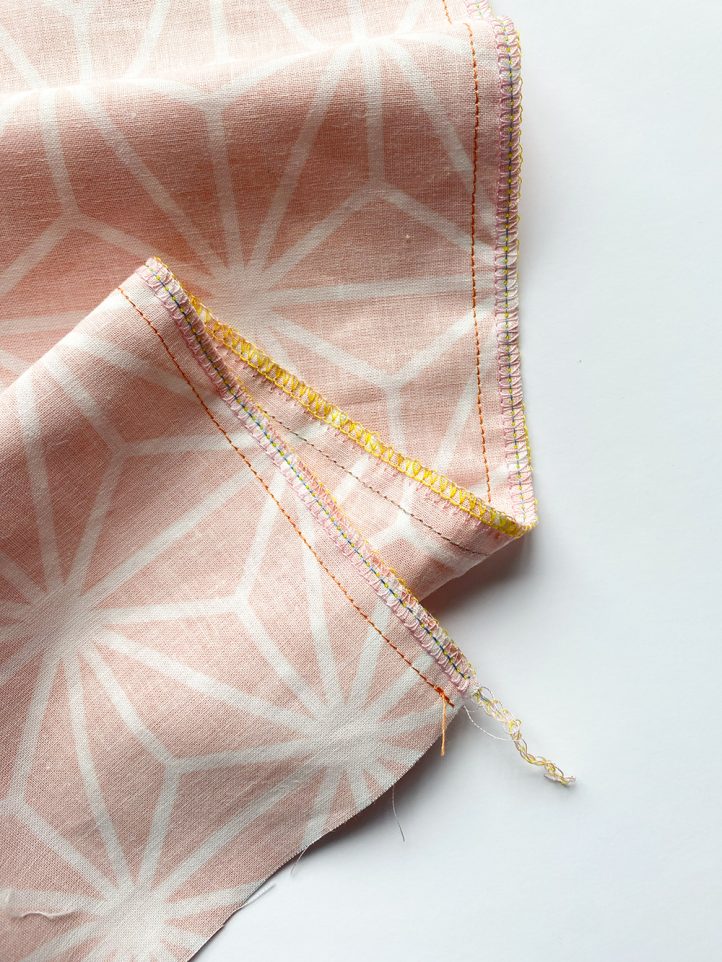
- Fold the opposite sides of short ends to the wrong side by 1cm (3/8 in). Press. Fold in again by another 1cm (3/8 in) to enclose the raw edges. Press.
- Stitch in place to create a hem.
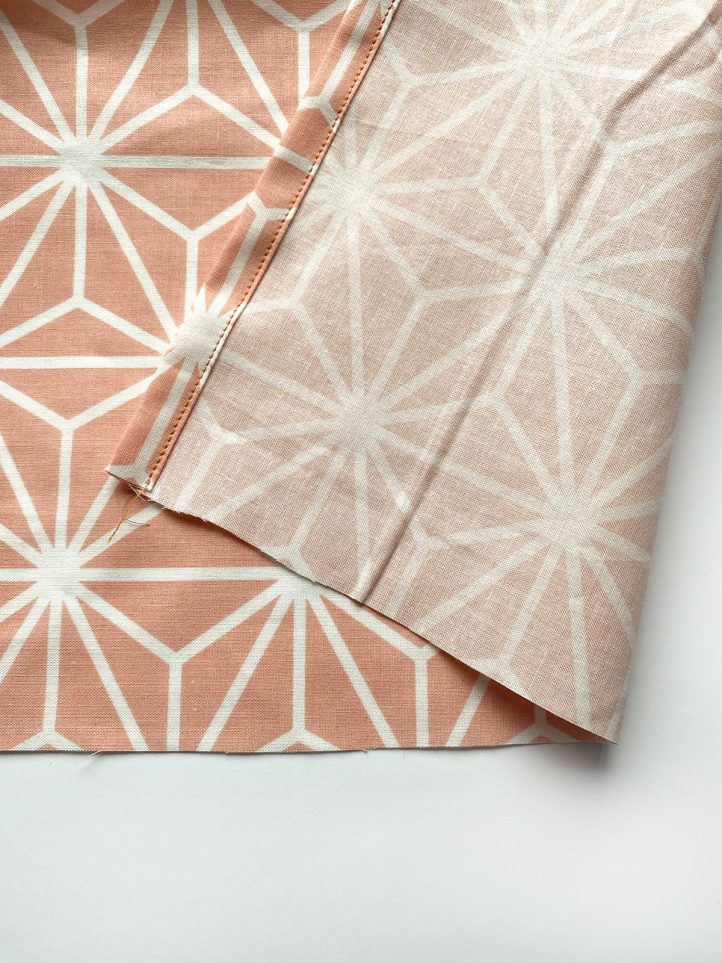
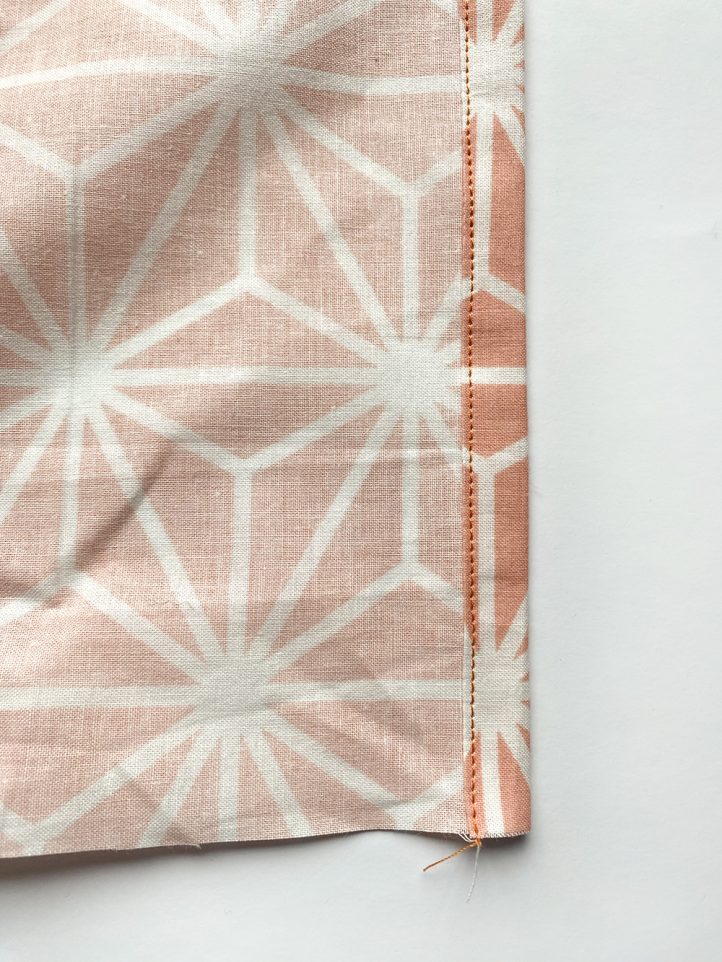
- With right sides together (fold the longer Front piece over the shorter Back piece), mark or notch 20cm (8 in) down on the front piece.
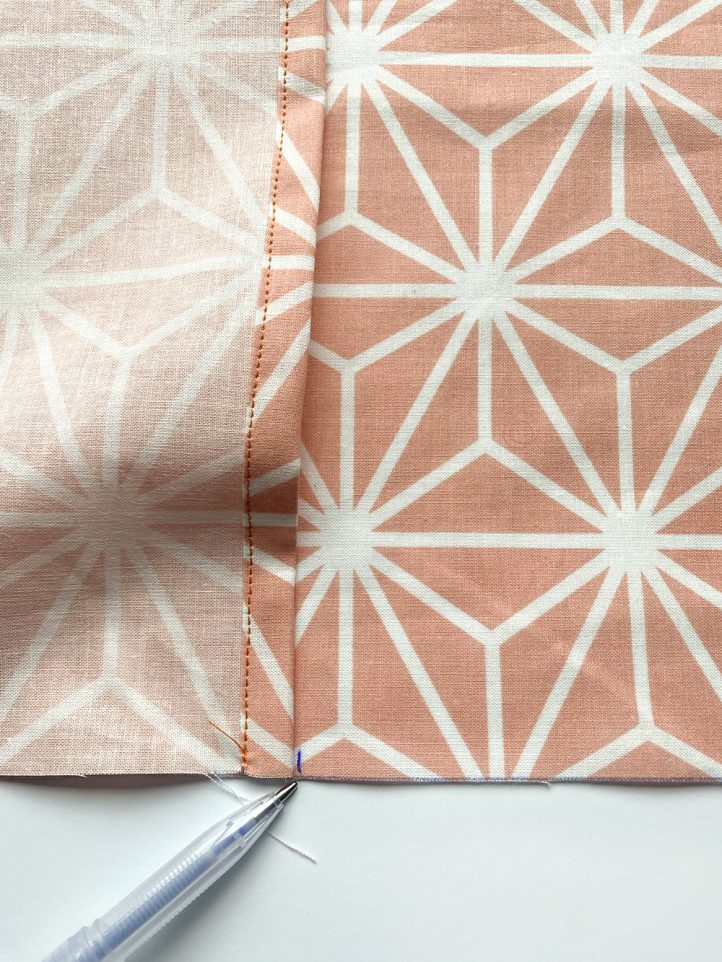
- Fold the front piece at the notch, so that it sits on top of the back piece (right side to wrong side).
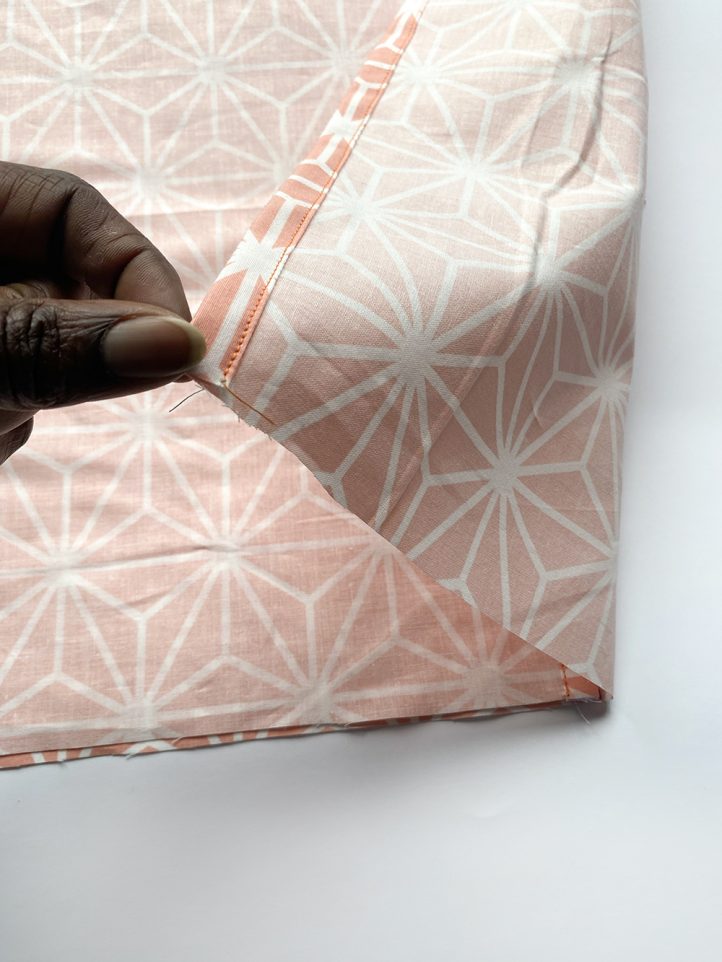
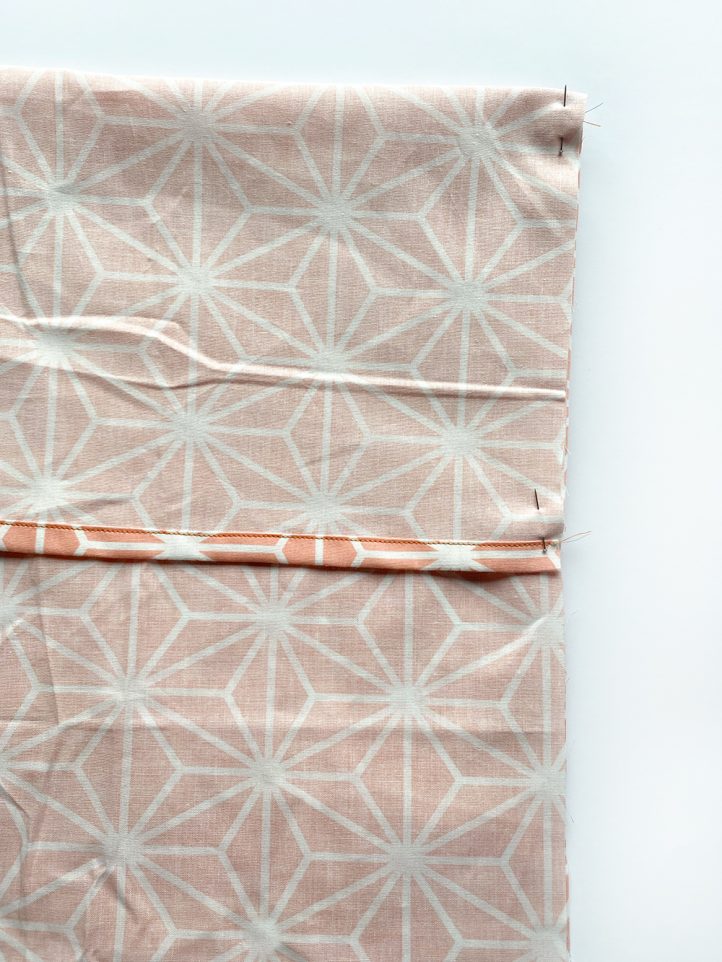
- Lining up the long raw edges on each side of the top and bottom, pin and stitch with a 1cm (3/8 in) seam allowance.
- Overlock or zigzag stitch the raw edges to neaten and prevent fraying.
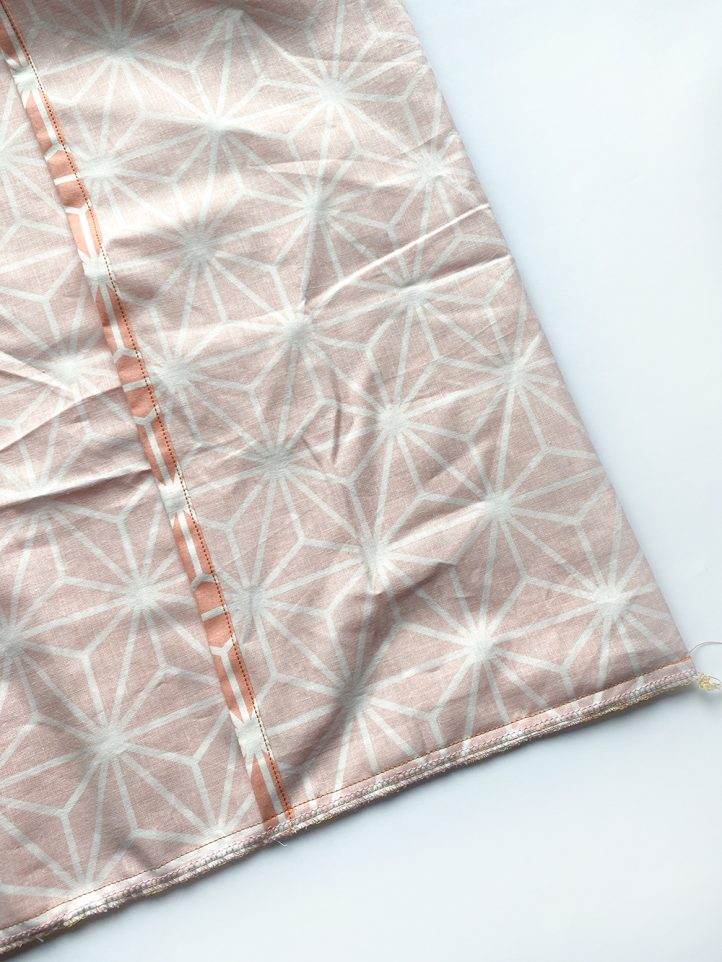
- Turn right sides out and give it a good press.
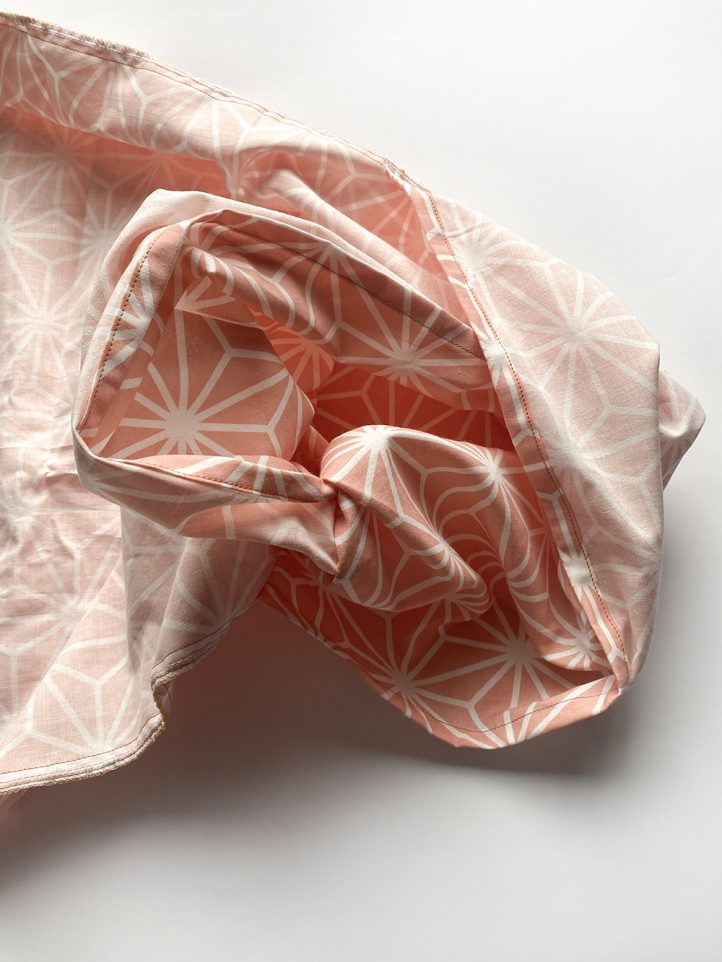
- Slide your pillow into the pillowcase, pull the flap up and over so that the pillow is hidden inside.
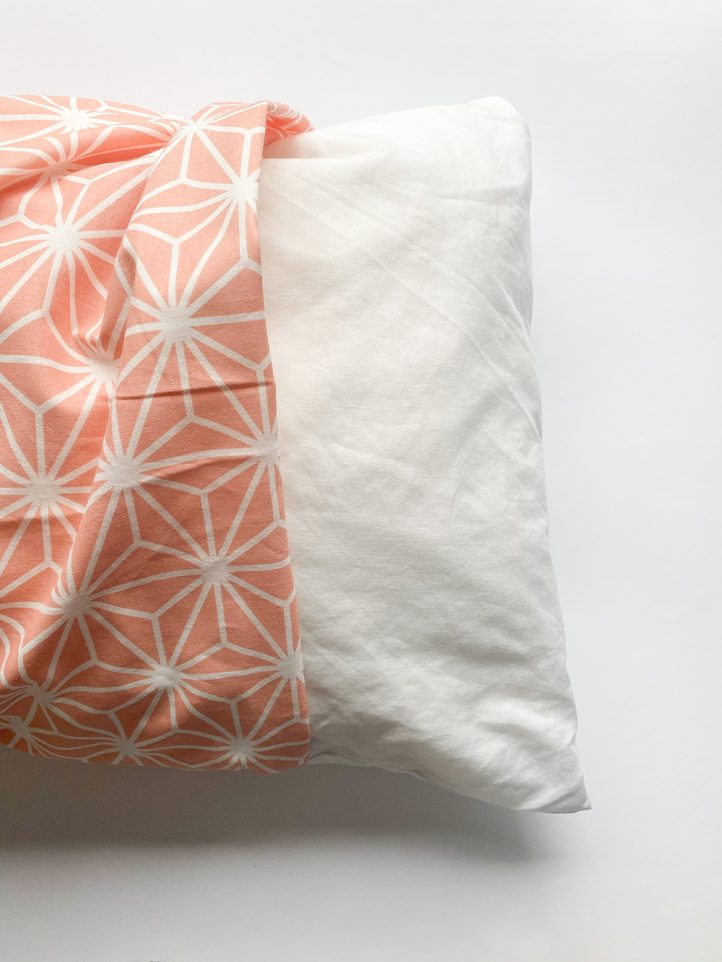
- That’s it. You’ve made your first (but not last) handmade professional looking pillowcase.

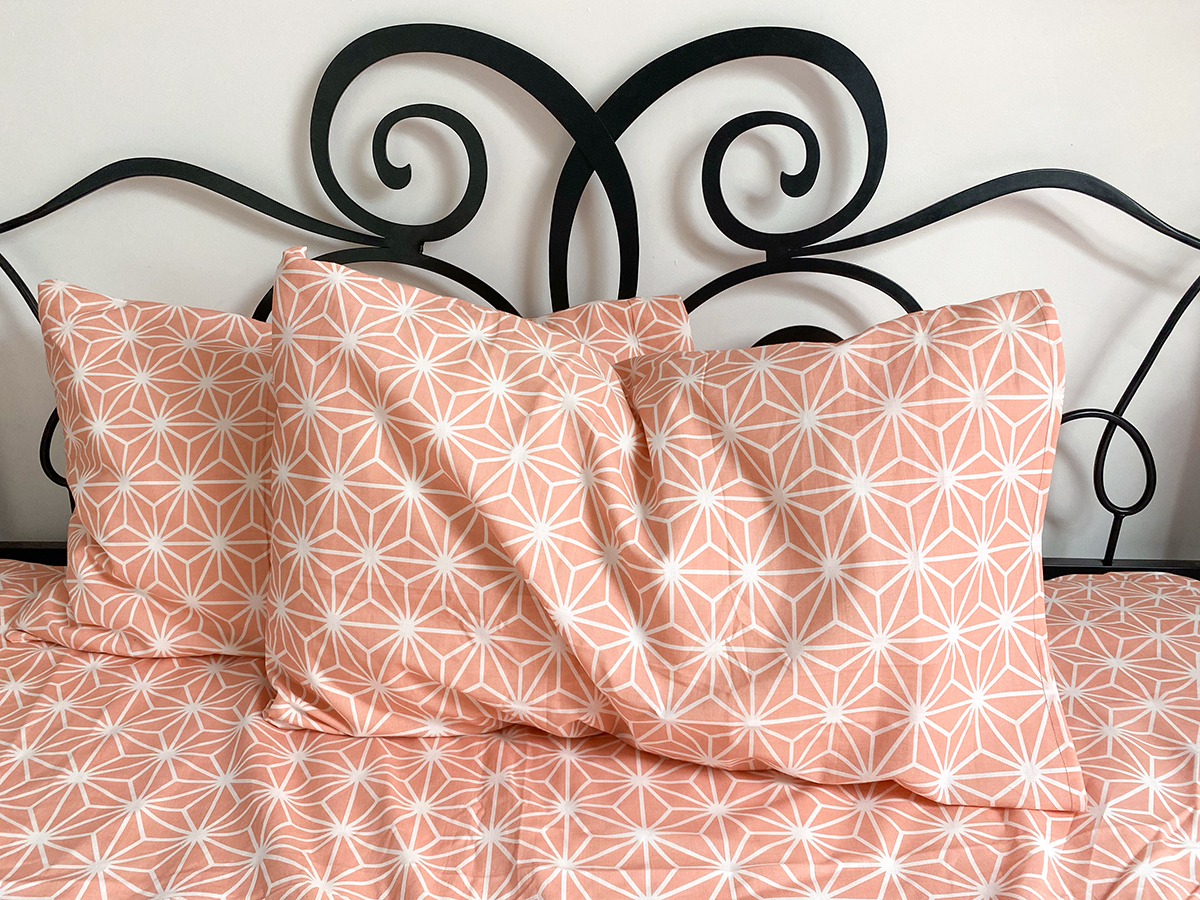


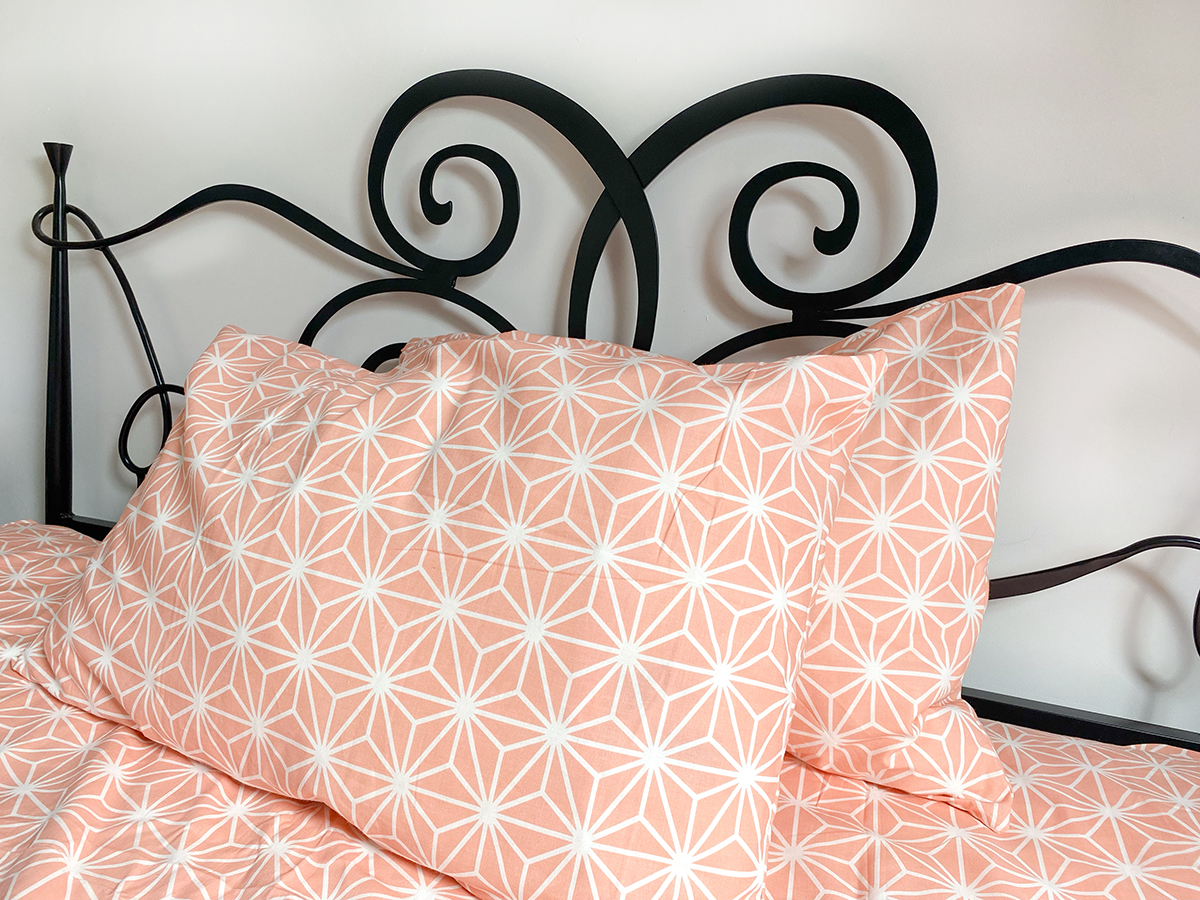
I have made multiples of these! I altered mine slightly, too. Have one edge tucked so your pillow doesn’t come out. I love it it’s amazing.