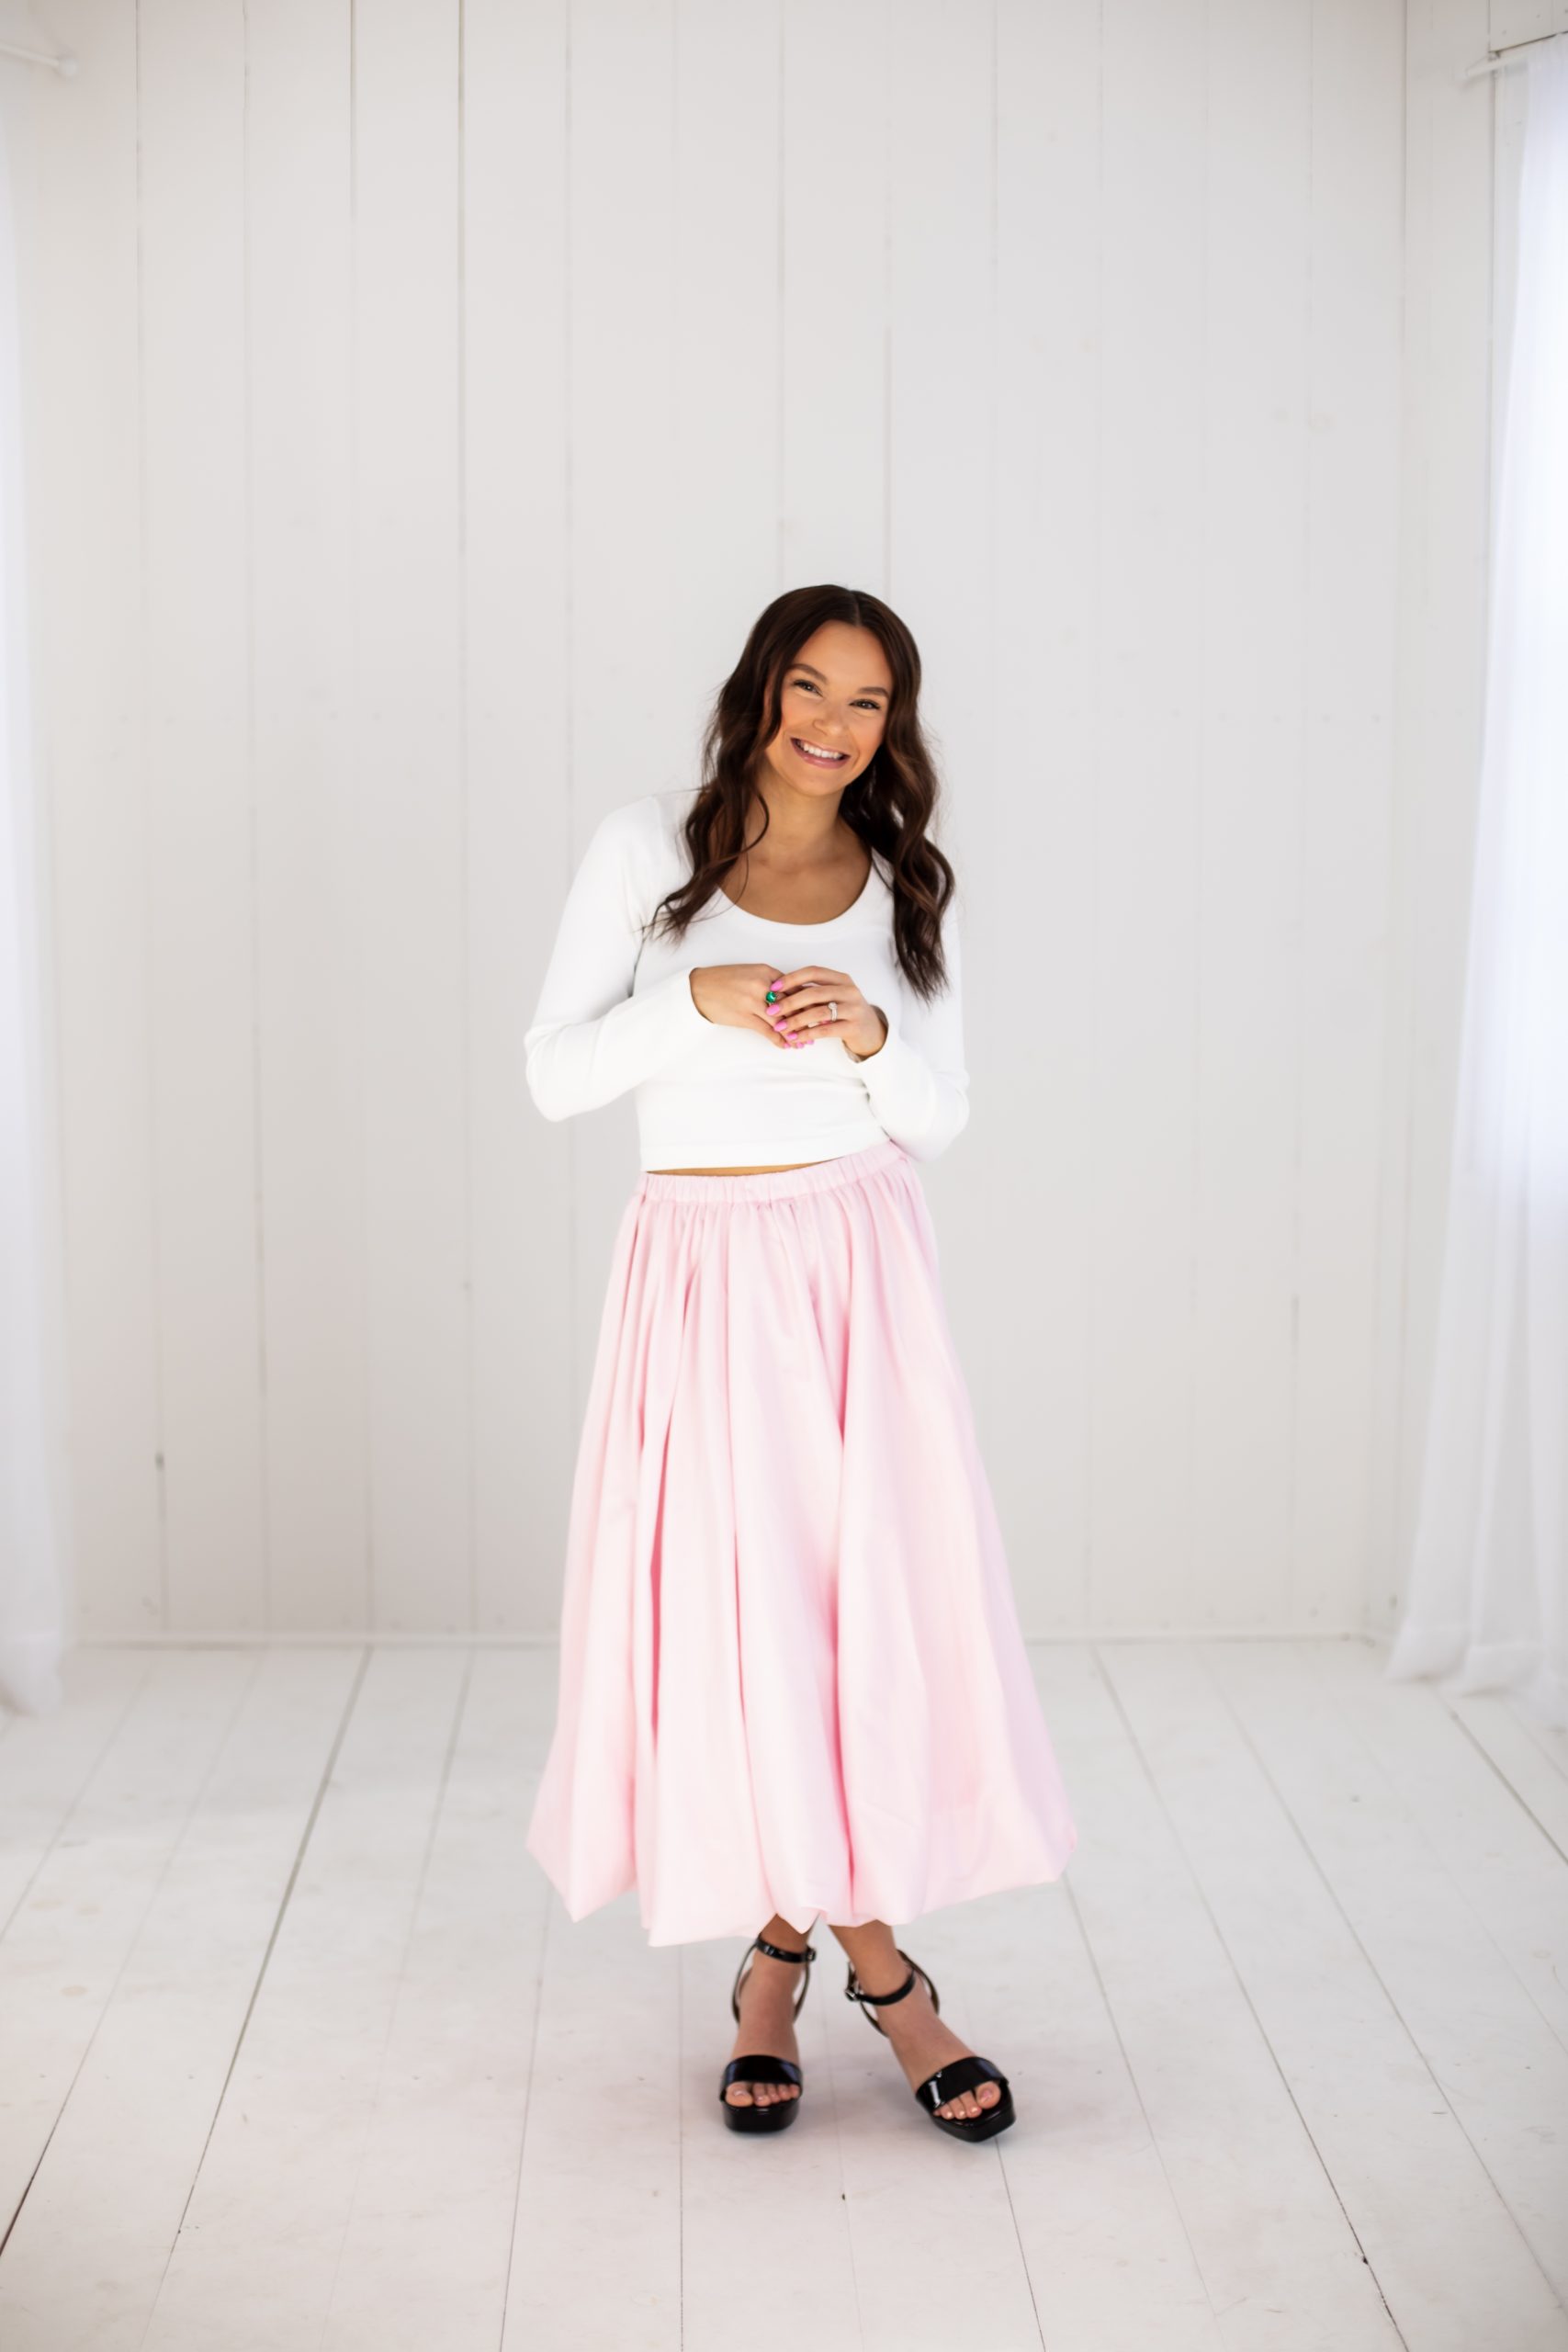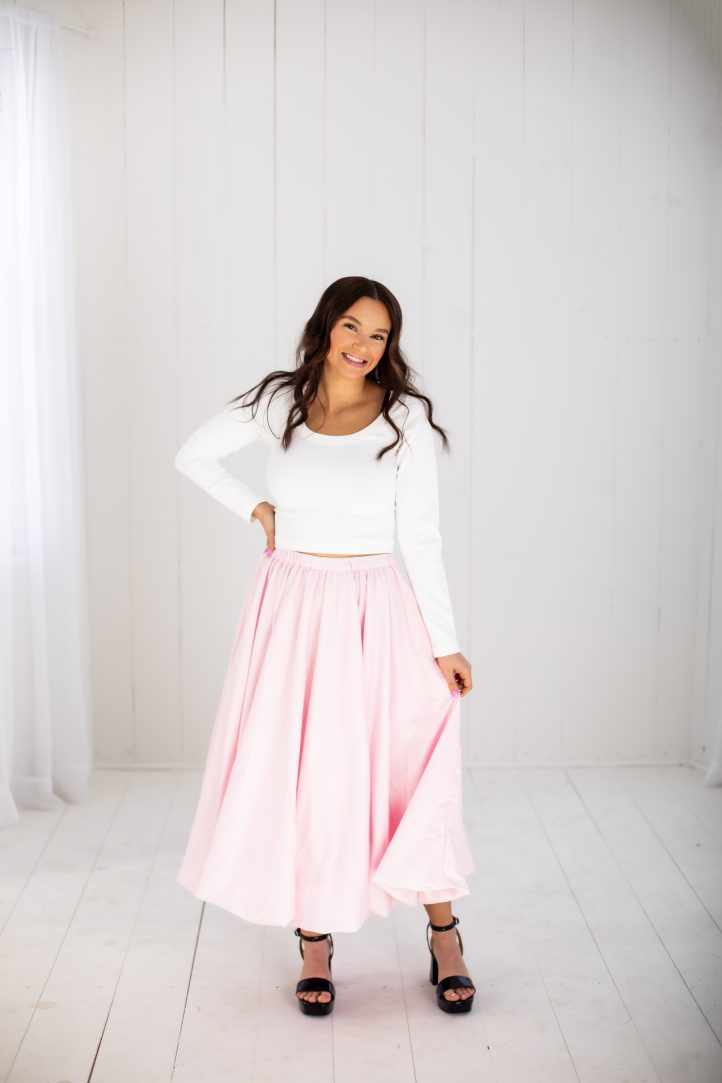
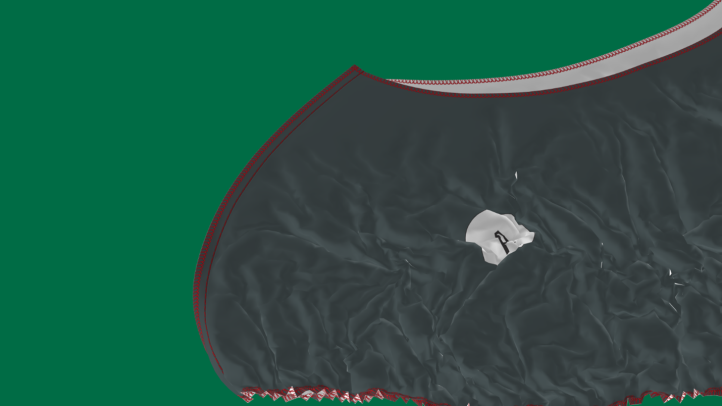
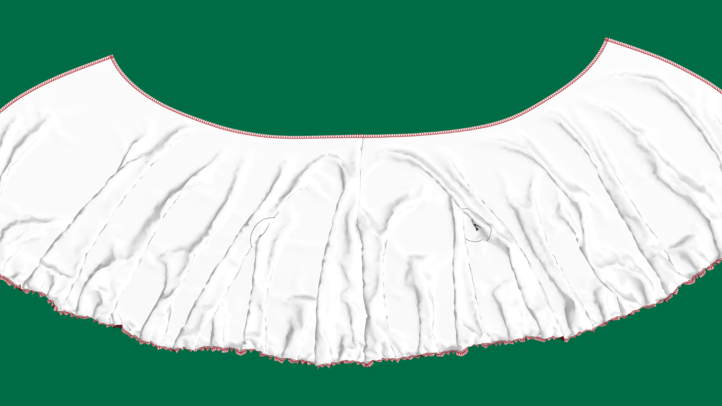
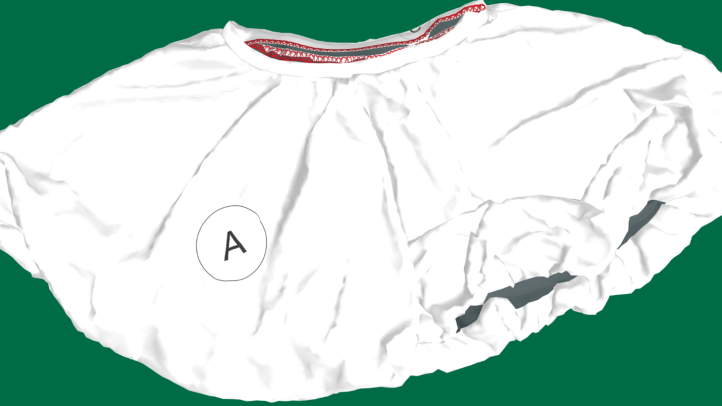
Add a dreamy spring skirt to your wardrobe with this fun and full bubble skirt! Designed by Aishat Sulaiman, this gorgeous bubble skirt pattern is made in flirty bubblegum pink and can be made in light to medium weight wovens like silk or taffeta. A fabulous look for special occasions, sew this bubble skirt and style it with a sleek, fitted top and heels or embrace your inner Carrie Bradshaw and pair this skirt pattern with an unexpected graphic tee.
Designer Notes:
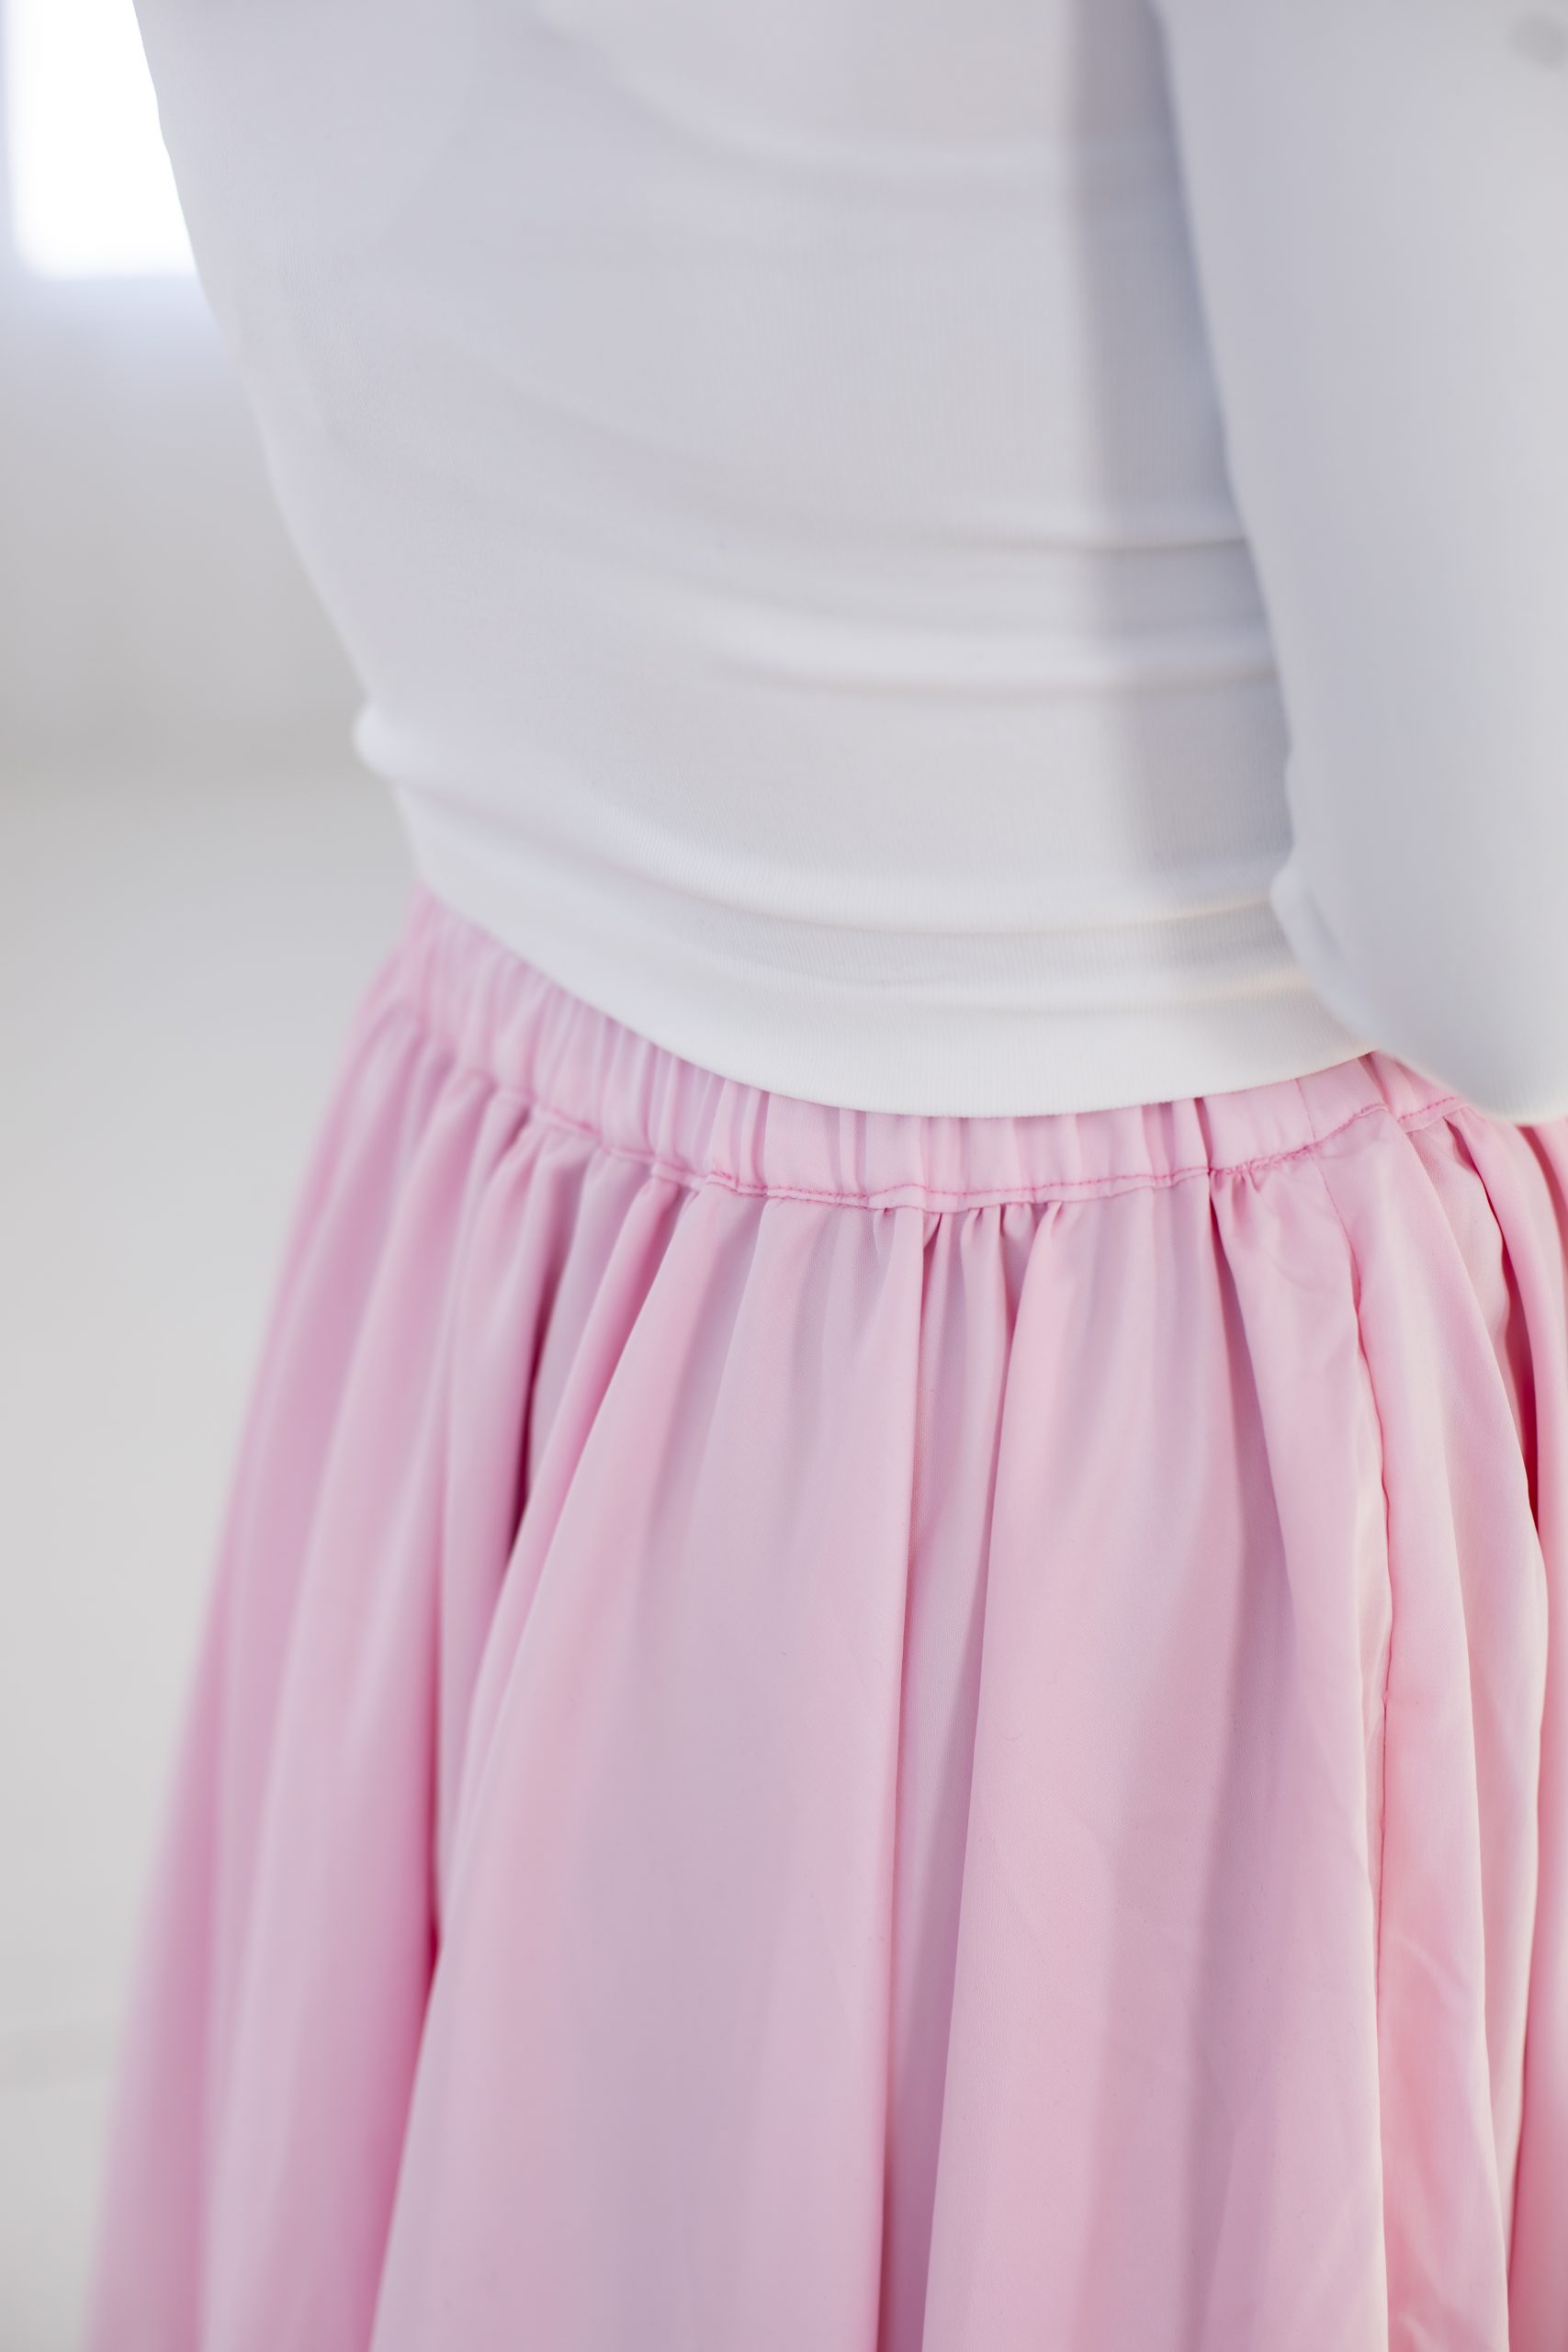
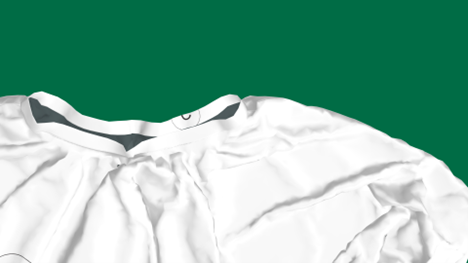
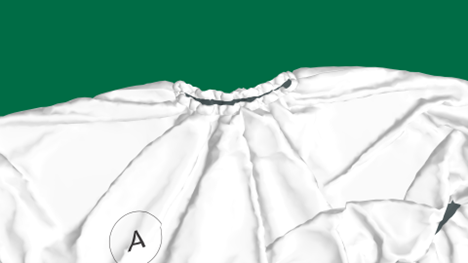
- This pattern is a self-drafted bubble skirt featuring an elastic waistband.
- The length of the skirt can be customized to suit your preference.
Materials:
Note: Before purchasing fabric, it is important to read through all instructions first.
- Fabric: Light to medium-weight woven fabrics such as silk, cotton poplin, denim, taffeta, dupion, or polyester.
- All-purpose polyester thread
- Sewing machine (capable of a straight stitch)
- Needle
- Elastic (for waistband) *Choose your preferred width
- Pattern drafting paper
Tips: All-natural fiber and some synthetic materials undergo shrinkage during their first wash and can change the texture and hand feel. (Aishat prefers the look and feel of washed fabrics.) Pre-washing is necessary if you want your garment washable after sewing (without shrinking). Giving the washed material a light press before cutting will ensure your paper pattern pieces can lay smoothly on top.
SELECTING YOUR SIZE:
Body Measurements:
Since this is a self-drafted pattern, start by taking your body measurements. These measurements should be taken with high accuracy and precision. Measure the circumference of your waist and hips by pulling the measuring tape snugly. It should fit tightly around your skin but not too tight. Measure directly over bare skin or undergarments. Keep the tape parallel with the floor, and ensure it is not twisted. Also, measure your preferred skirt length starting from your waist and record all measurements.
PATTERN CALCULATIONS:
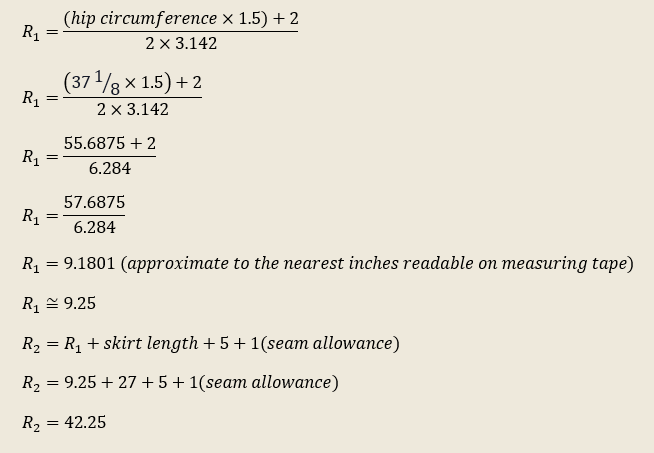
Note: All measurements are in inches.
- Waist circumference = 27 1/8″
- Hip circumference = 37 1/8″
- Skirt length = 27″
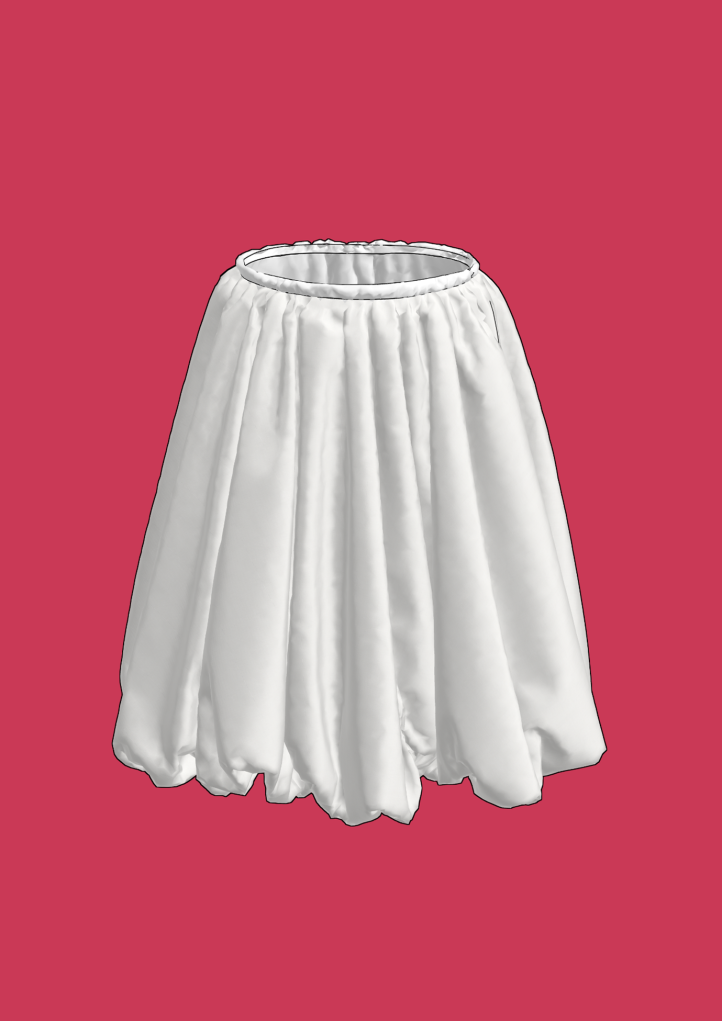
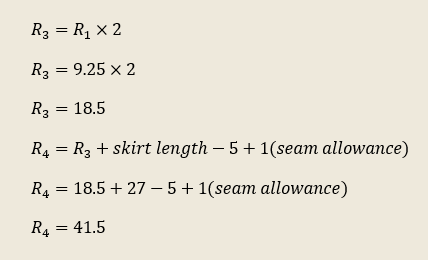
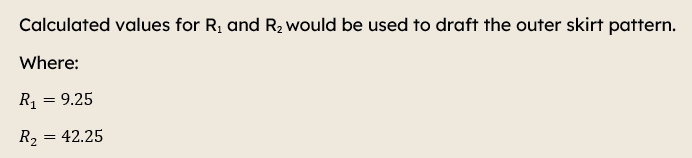
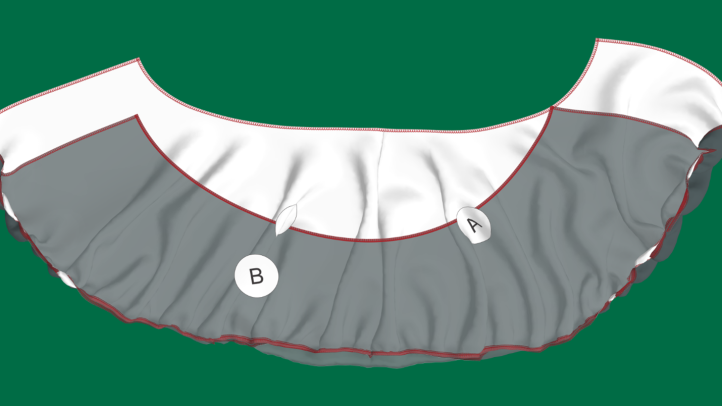
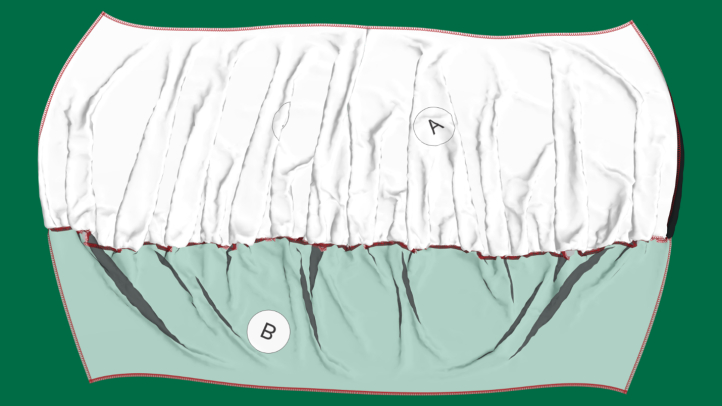
Outer Skirt:
Calculation (R=radius)
Inner Skirt (Lining):
Calculation
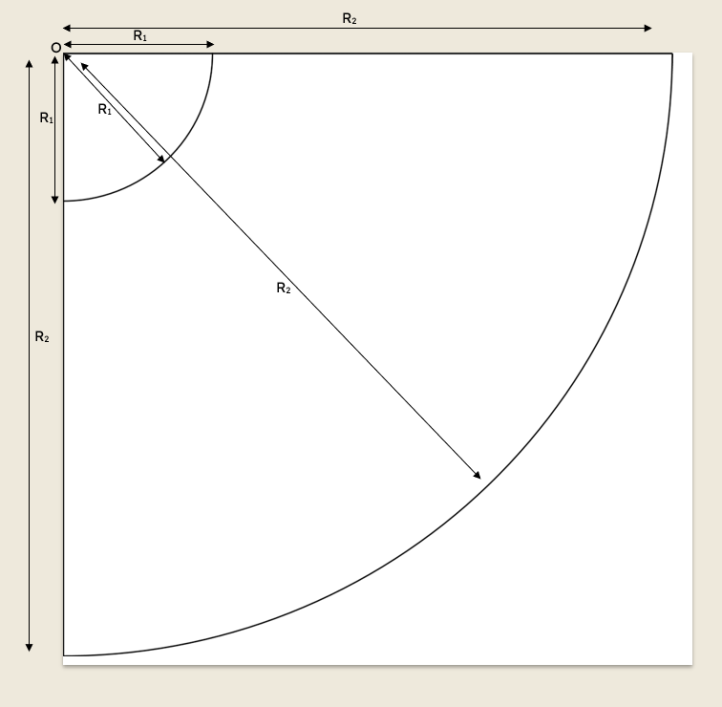
PATTERN DRAFTING:
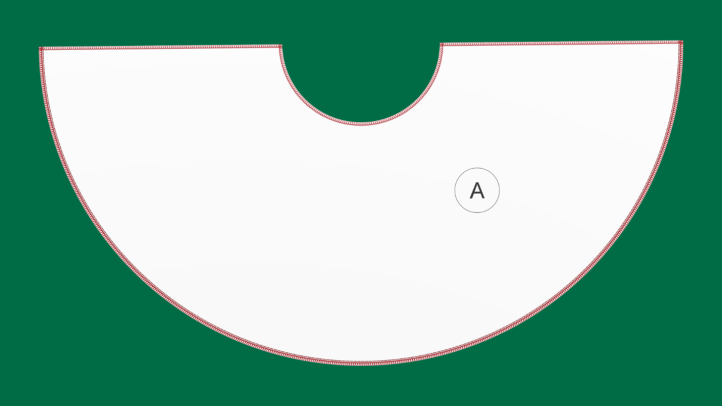
Outer Skirt:
Instructions:
- Get a square paper with a length of all four sides equal to R2 or more.
- Label a corner of the paper O; this is the point where all measurements would originate from.
- Measure out R1 from O in all directions and connect markings to form a curve (quarter circle) representing the waistline.
- Also, from point O, measure out R2 in all directions to form the bigger circumference representing the hemline.
- Now cut along the waistline and hemline and the inner skirt pattern is ready for use.
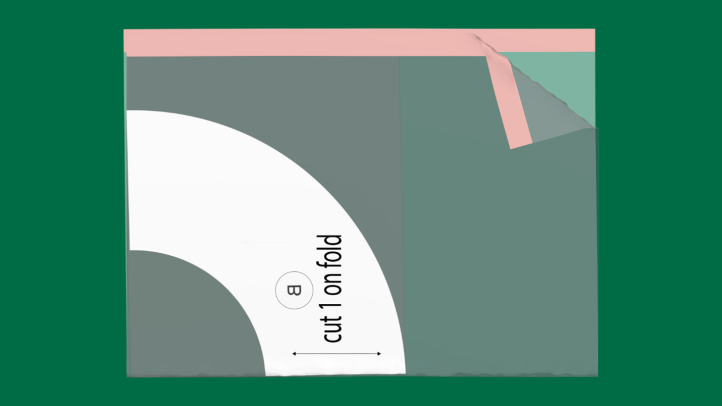
Inner Skirt (Lining):
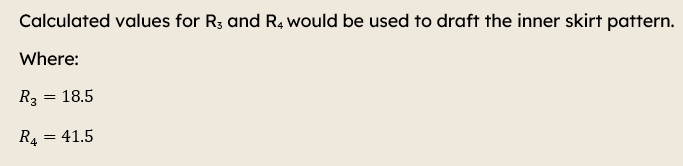
Instructions:
- Get a square paper with a length of all four sides equal to R4 or more.
- Label a corner of the paper O; this is the point where all measurements would originate from.
- Measure out R3 from O in all directions and connect markings to form a curve (quarter circle) representing the waistline.
- Also, from point O, measure out R4 in all directions to form the bigger circumference representing the hemline.
- Now cut along the waistline and hemline and the outer skirt pattern is ready for use.
Waistband:

FABRIC AND SUPPLIES:
To estimate the fabric needed, first decide if the inner skirt will be cut in the main fabric or lining.
For the outer skirt:
If the width of fabric is less than 2 × R2, then required fabric equals R2 multiplied by 4 (R2 × 4). If the width of fabric is greater than 2 × R2, then required fabric equals R2 multiplied by 2 (R2 × 2).
For the inner skirt:
If the width of fabric is less than 2 × R4, then required fabric equals R4 multiplied by 2 (R4 × 2). If the width of fabric is greater than 2 × R4, then required fabric equals R4.
For the waistband:
If the width of fabric is greater than waistband length, then required fabric equals Waistband width. If the width of fabric is less than waistband length, then required fabric equals waistband width.
When purchasing fabric, please account for shrinkage and buy 5% more than required.
For tea-length and ankle length skirt, 60” width fabric is recommended.
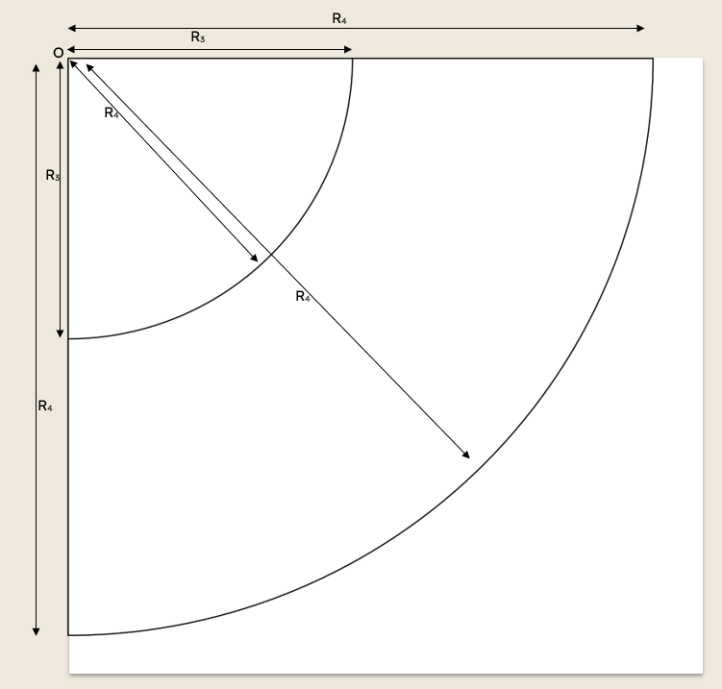
PATTERN INVENTORY:
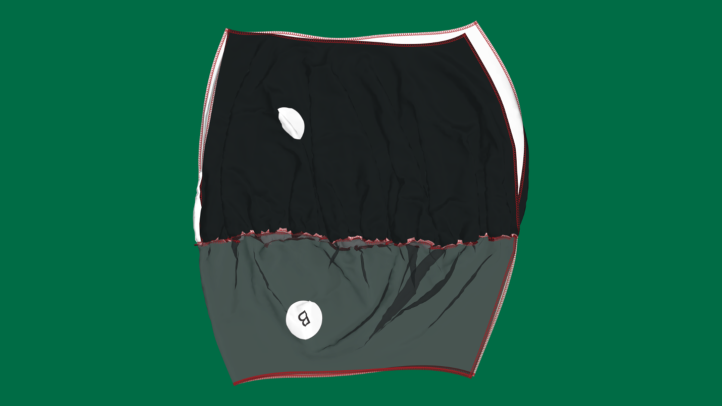
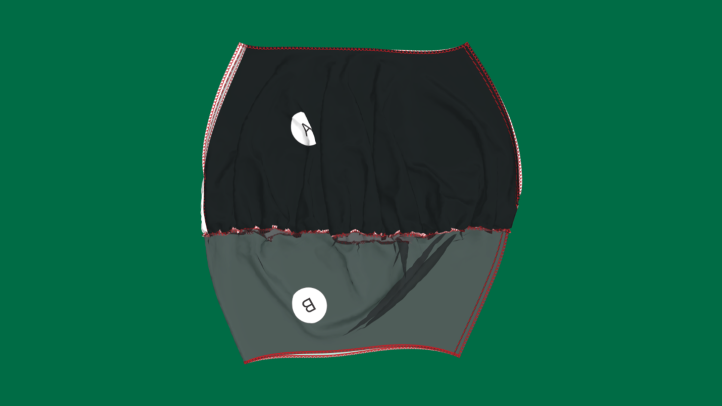
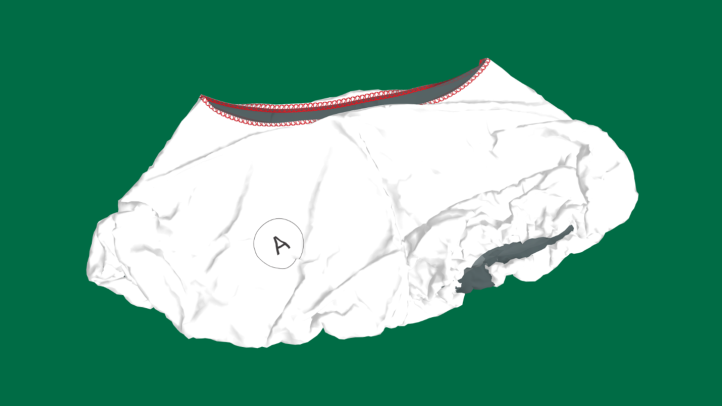
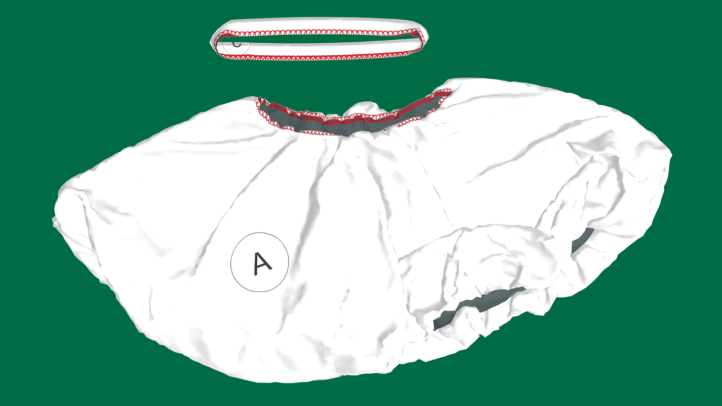
A – Outer skirt (Cut x2 on the fold in fabric)
B – Lining/inner skirt (Cut x1 on the fold in lining fabric)
C – Waistband (Cut x1 on the fold in fabric)
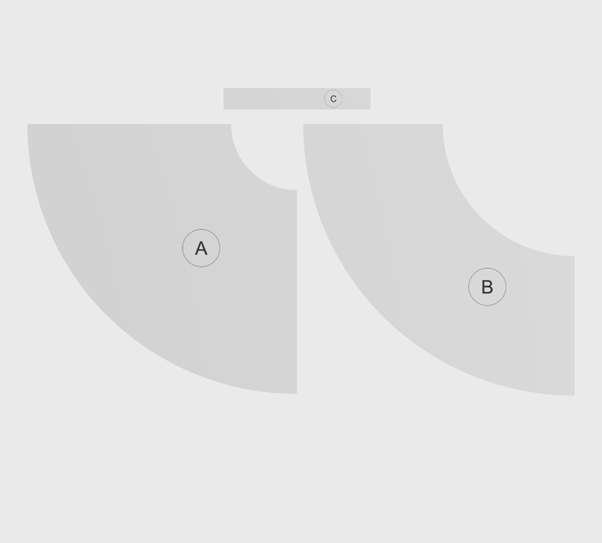
PATTERN LAYOUT:
The layout in the sewing instructions below is a suggestive layout on a single-layer of fabric that may not work for all sizes. Feel free to play around with the pattern placement to minimize fabric wastage but ensure the grainlines remain parallel to the selvage or your preferred cutting direction.
Sewing Instructions:
- Layout outer skirt and waistband pattern on main fabric (on fold) and cut out the patterns.
- Repeat the same process for lining (inner skirt) pattern using preferred lining fabric.
- Serge raw edges of every piece to prevent fabric from fraying.

- Gather the hem of the outer skirt evenly to equal that of the lining.
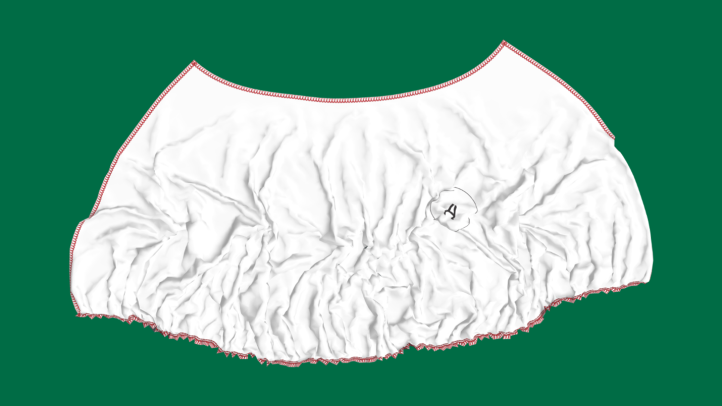
- With the right sides facing each other, align one side of the outer skirt and sew them together using a 1/2 inch seam allowance.
- Now open up the outer skirt to expose the right side of the fabric.
- Layer the lining skirt over the outer skirt with the right side facing each other. Align the hem and sew the hem using 1/2 inch seam allowance.
- Now open up the outer and lining skirt to expose the right side of the fabric.
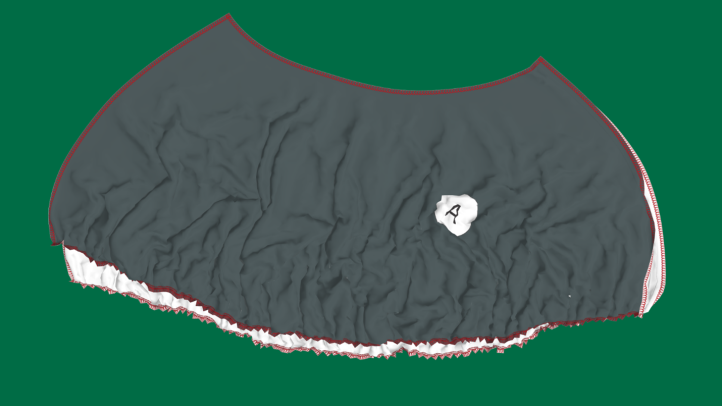
- Fold the skirt into two with the right side facing each other.
- Align the open sides and seam using 1/2 inch seam allowance.
- Now turn the outer skirt to the right side while folding the lining into the outer skirt.
- Fold the waistband in half. Align the open end and sew using 1/2 inch seam allowance.


- Now open the waistband and fold the waistband height in half.

- Align the waistline of the outer skirt and the lining. Gather evenly ensuring the waistline is now equal to the length of the waistband.
- With the right side facing each other, sew one edge of the waistband to the skirt waistline.
- Now attach the second edge in place leaving a small space for the insertion of elastic.
- The length of the elastic equals waist measurement minus 1 1/2 inches. Now insert the elastic. Use 1/2 inch for overlap and close the space.
From Aishat: You’ve done it! I hope you’re so proud.