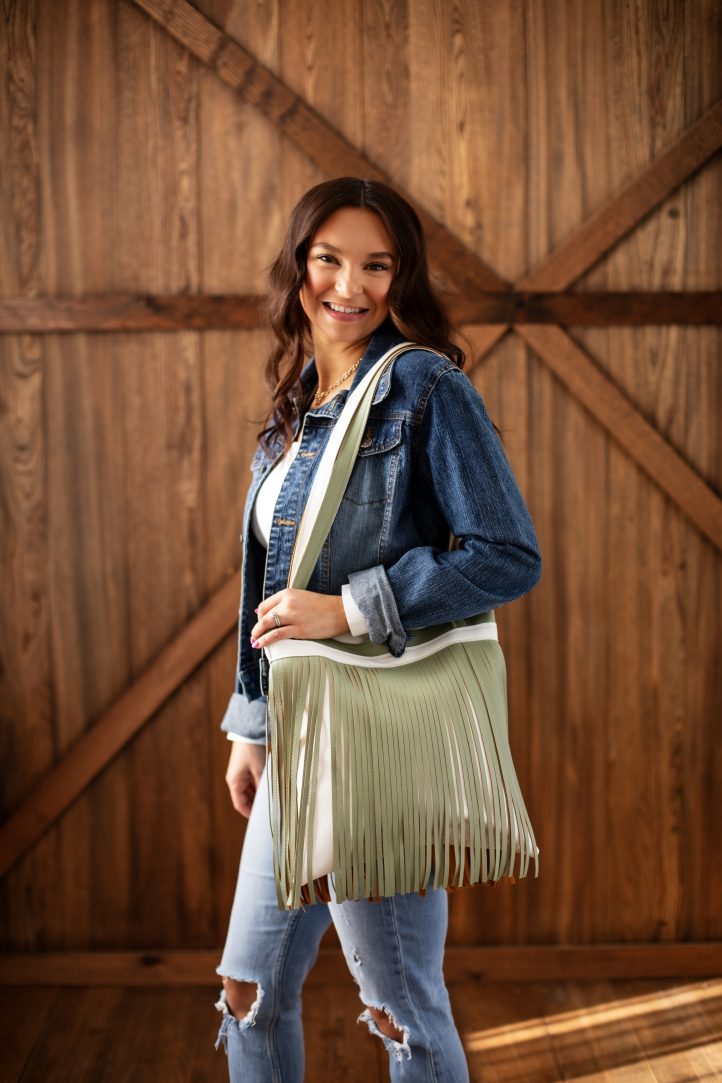
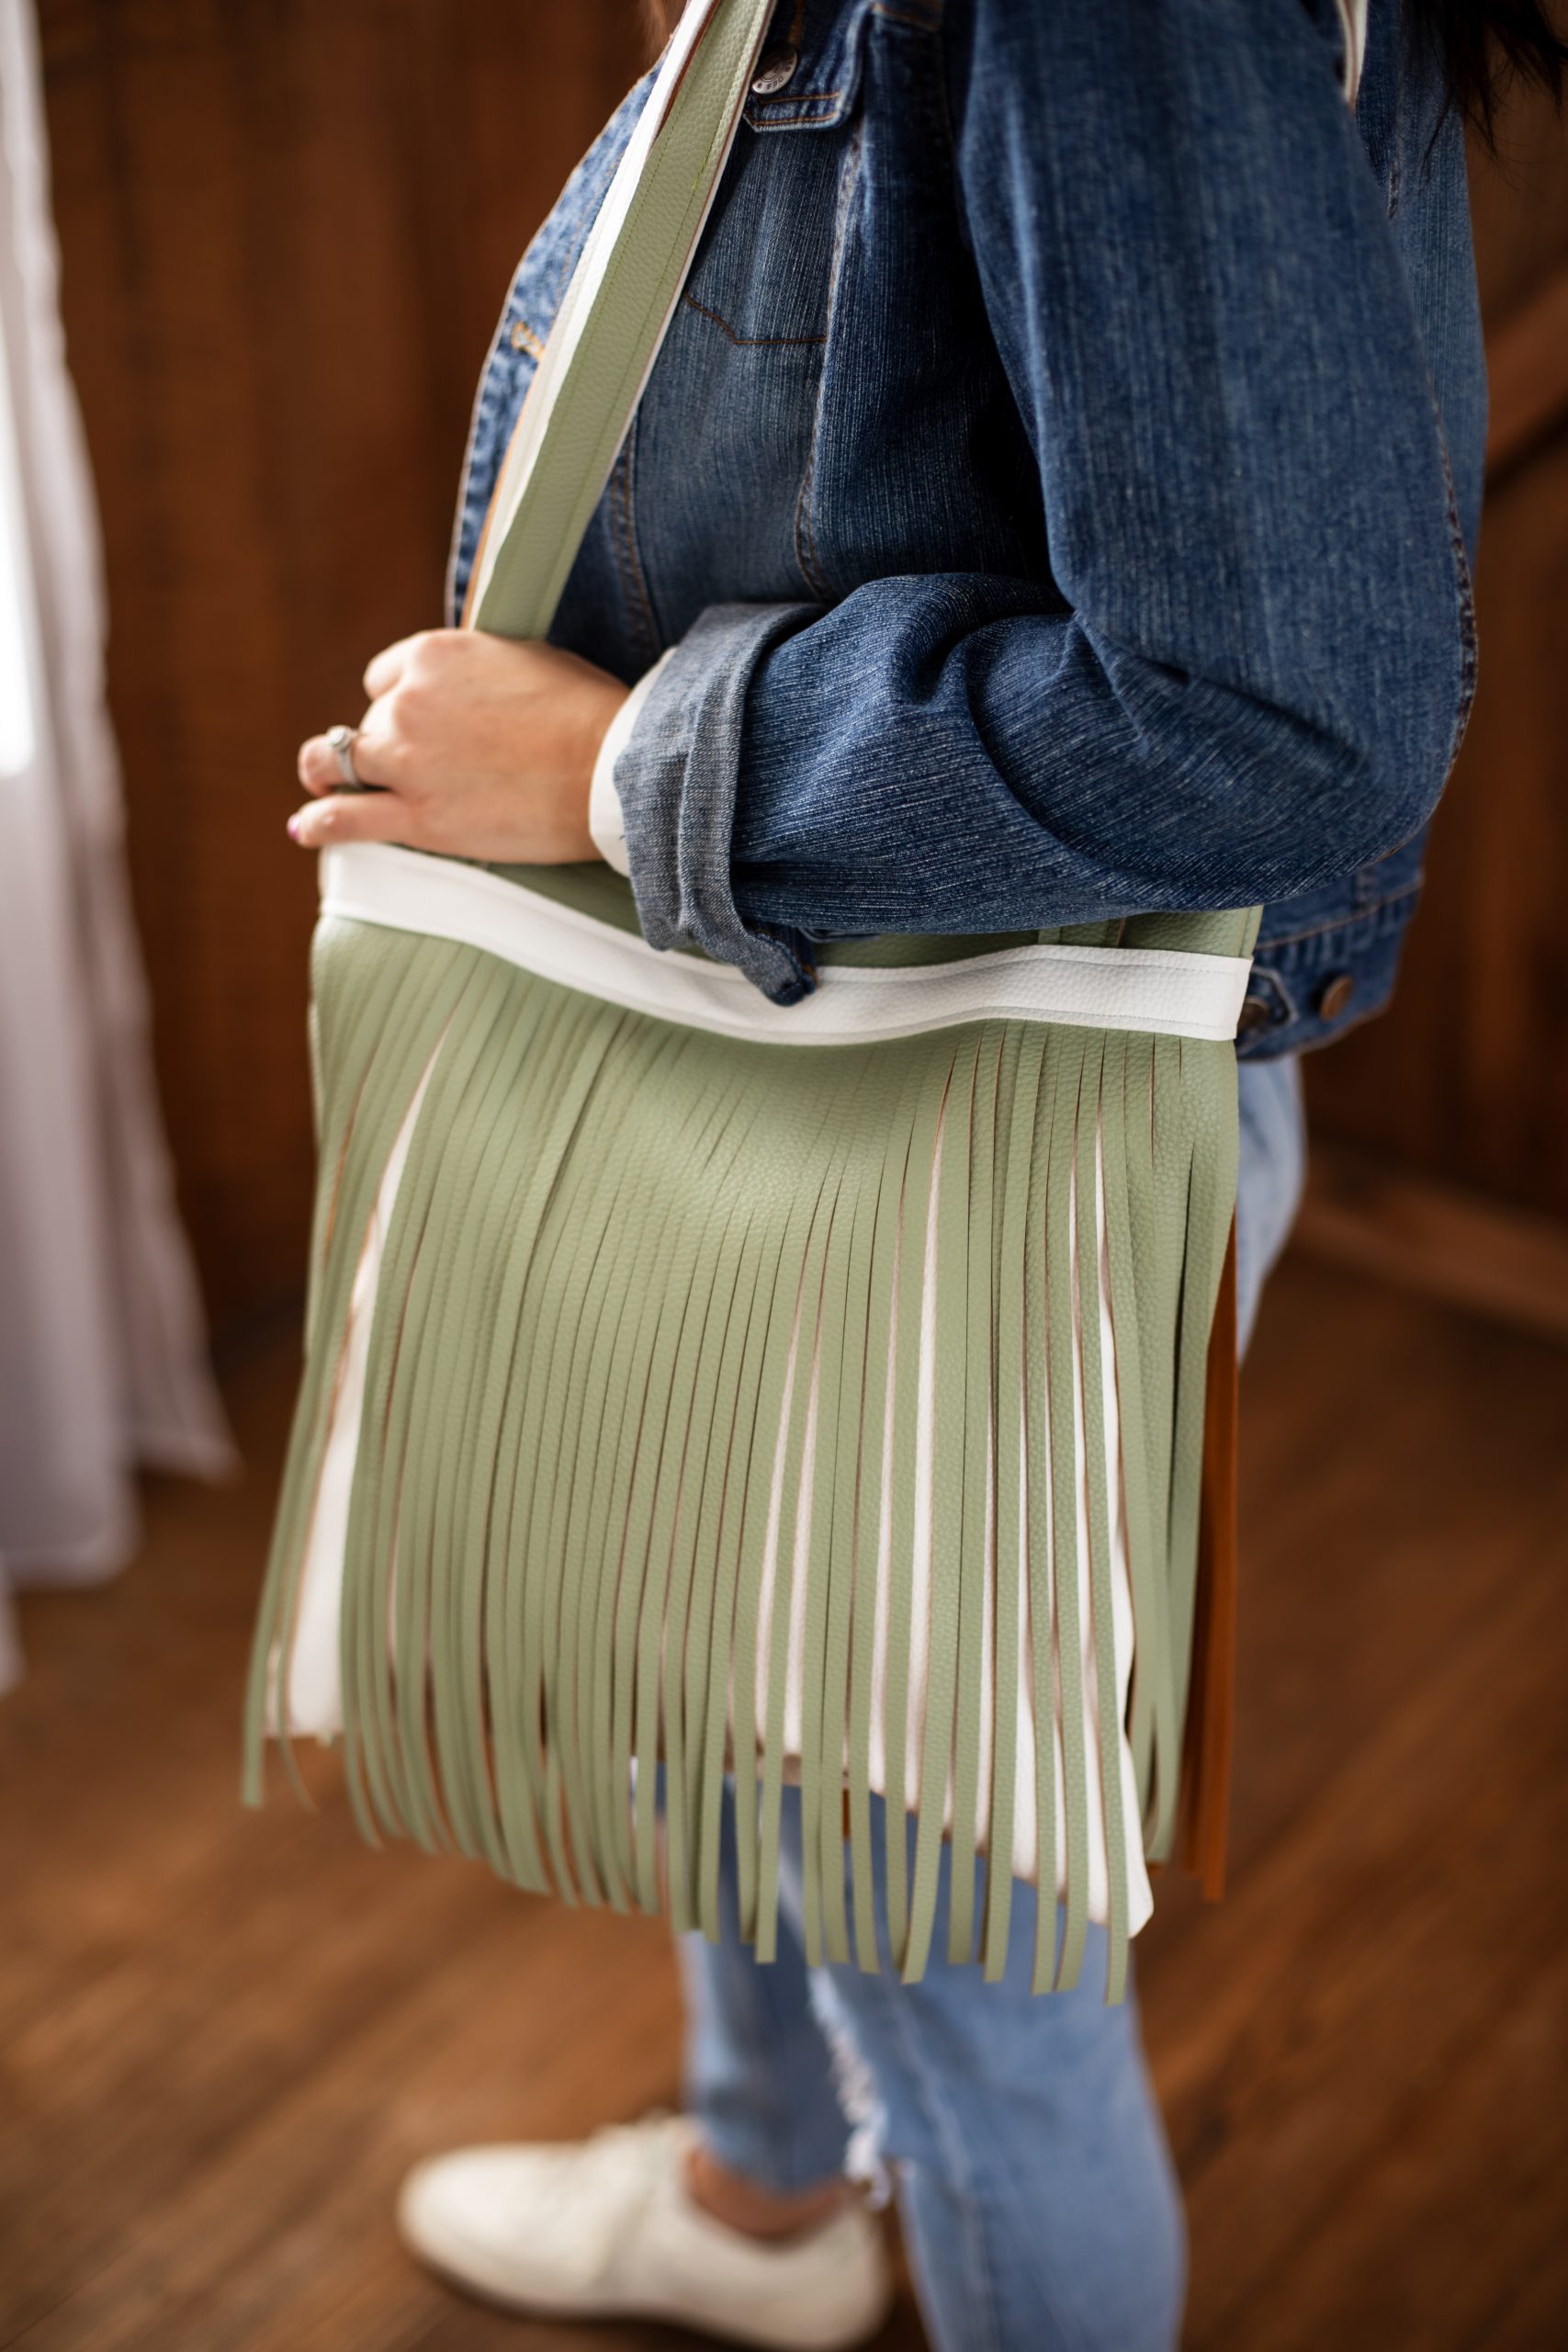
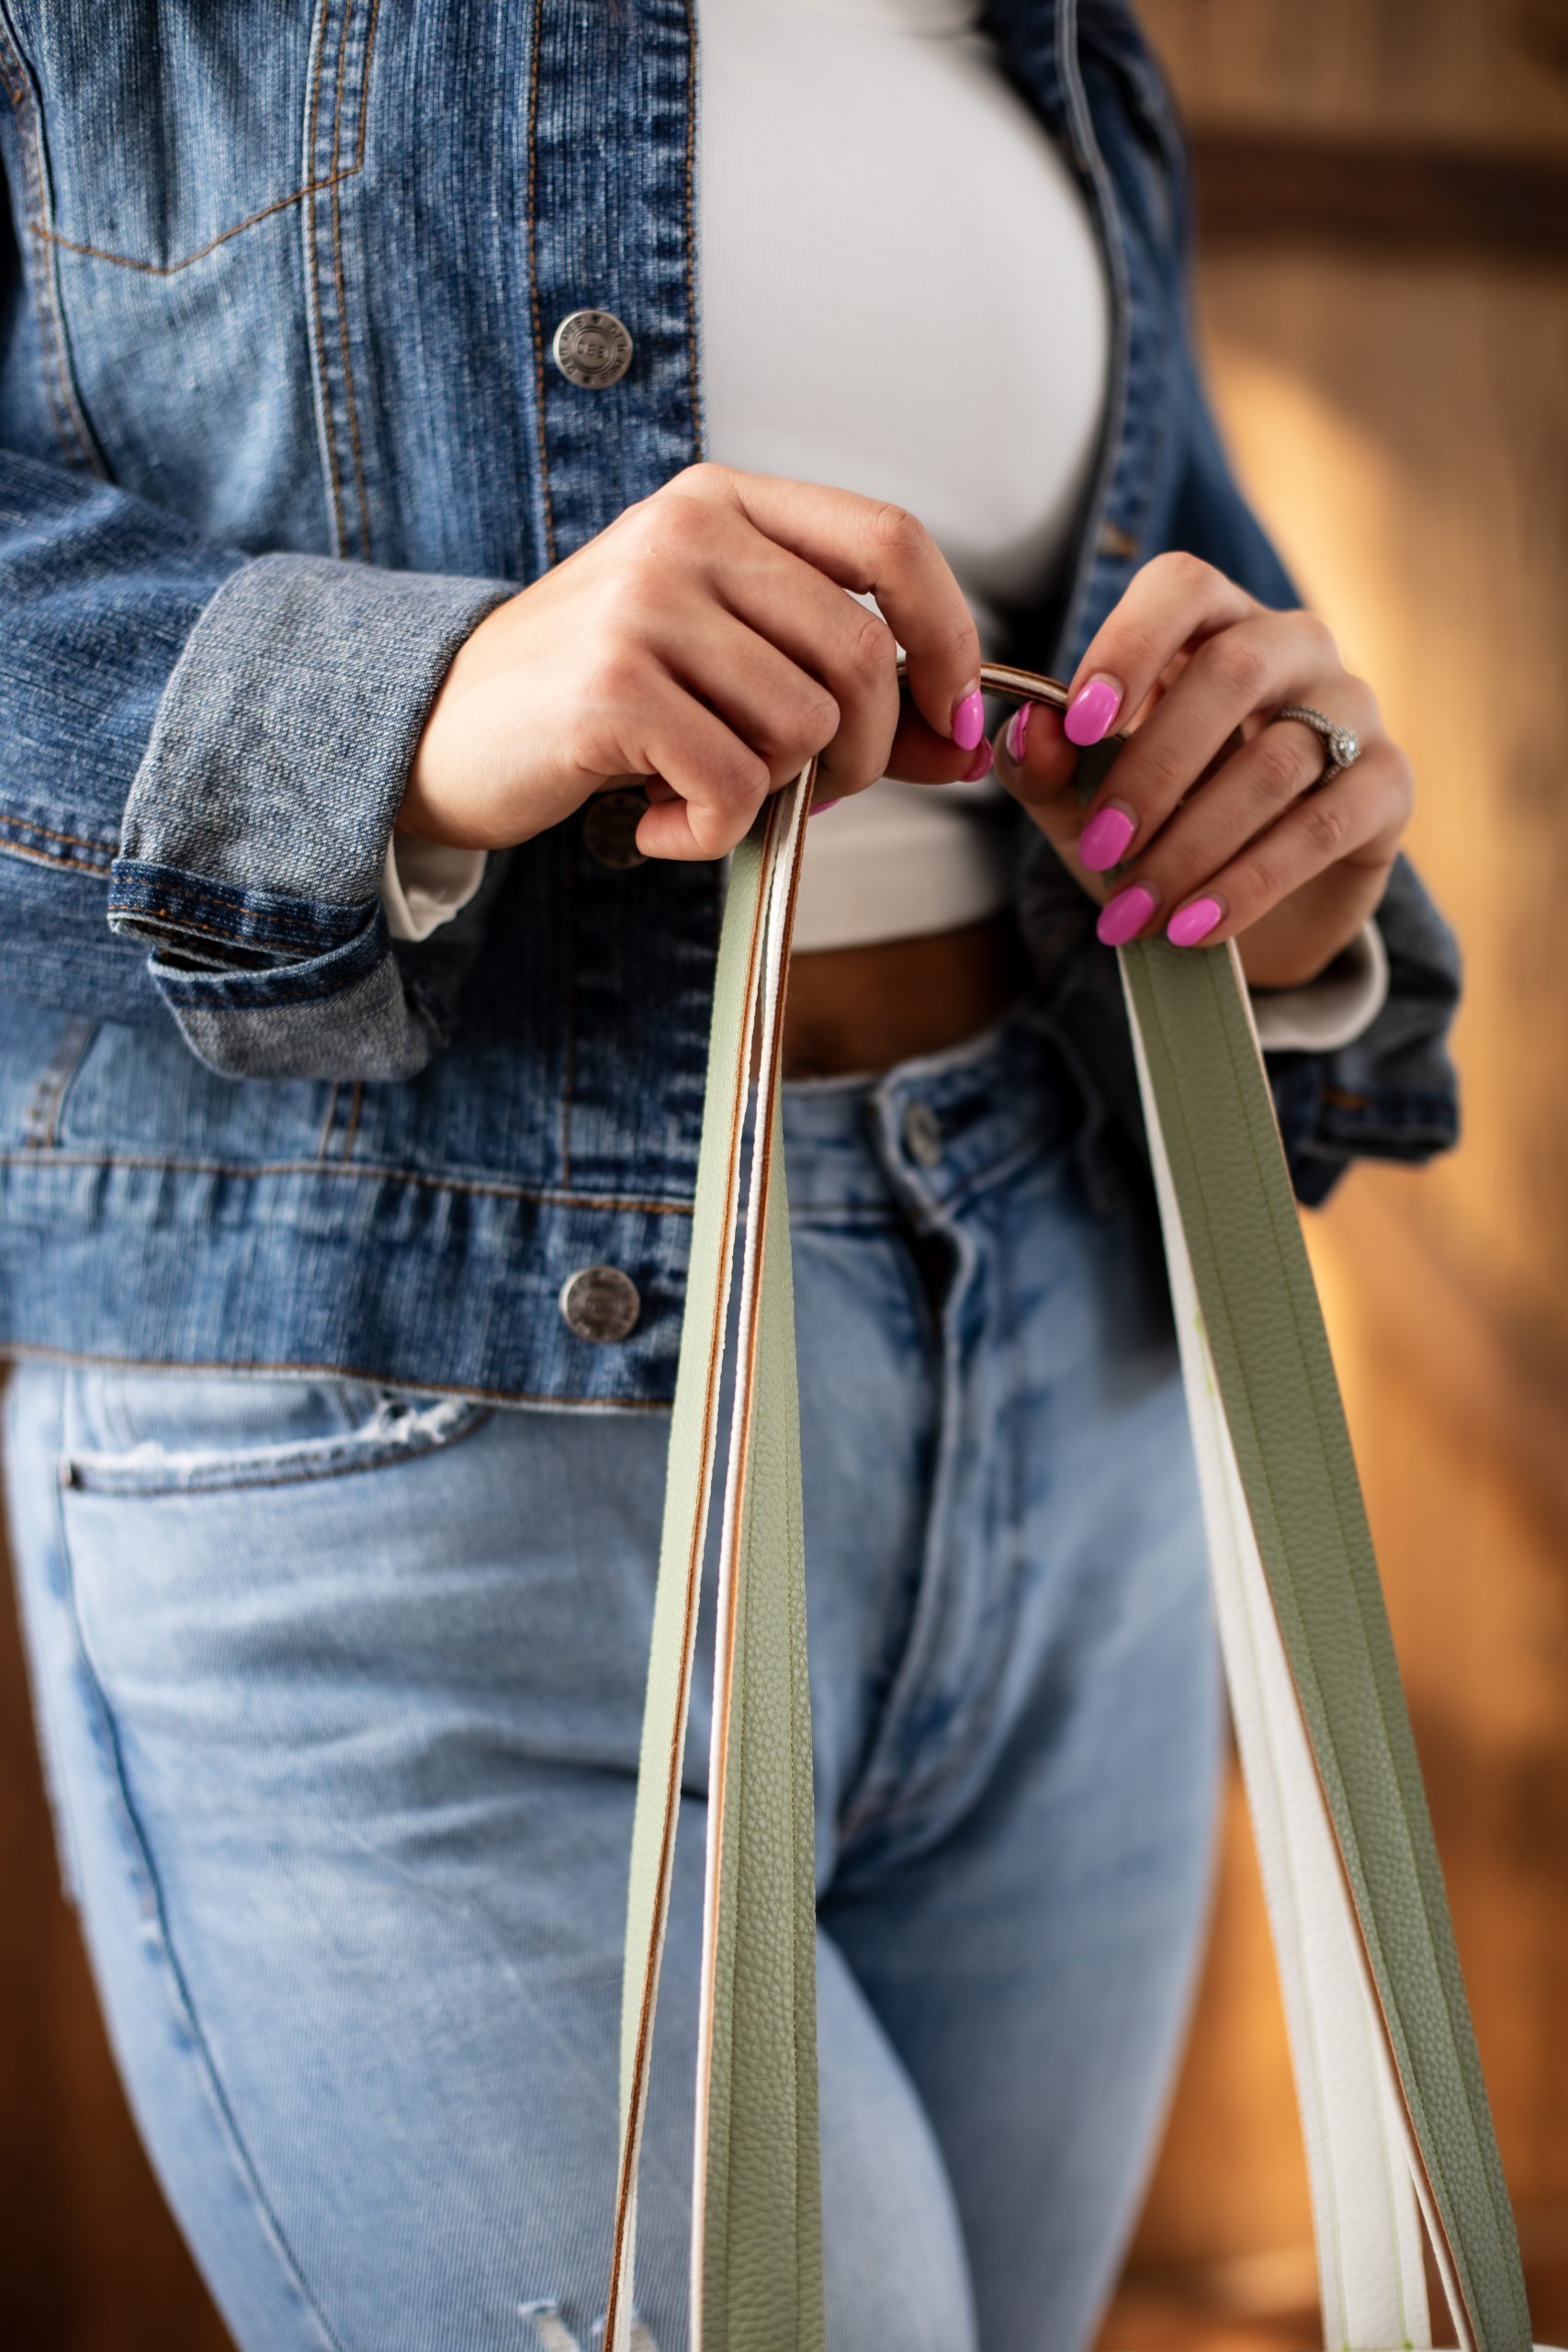
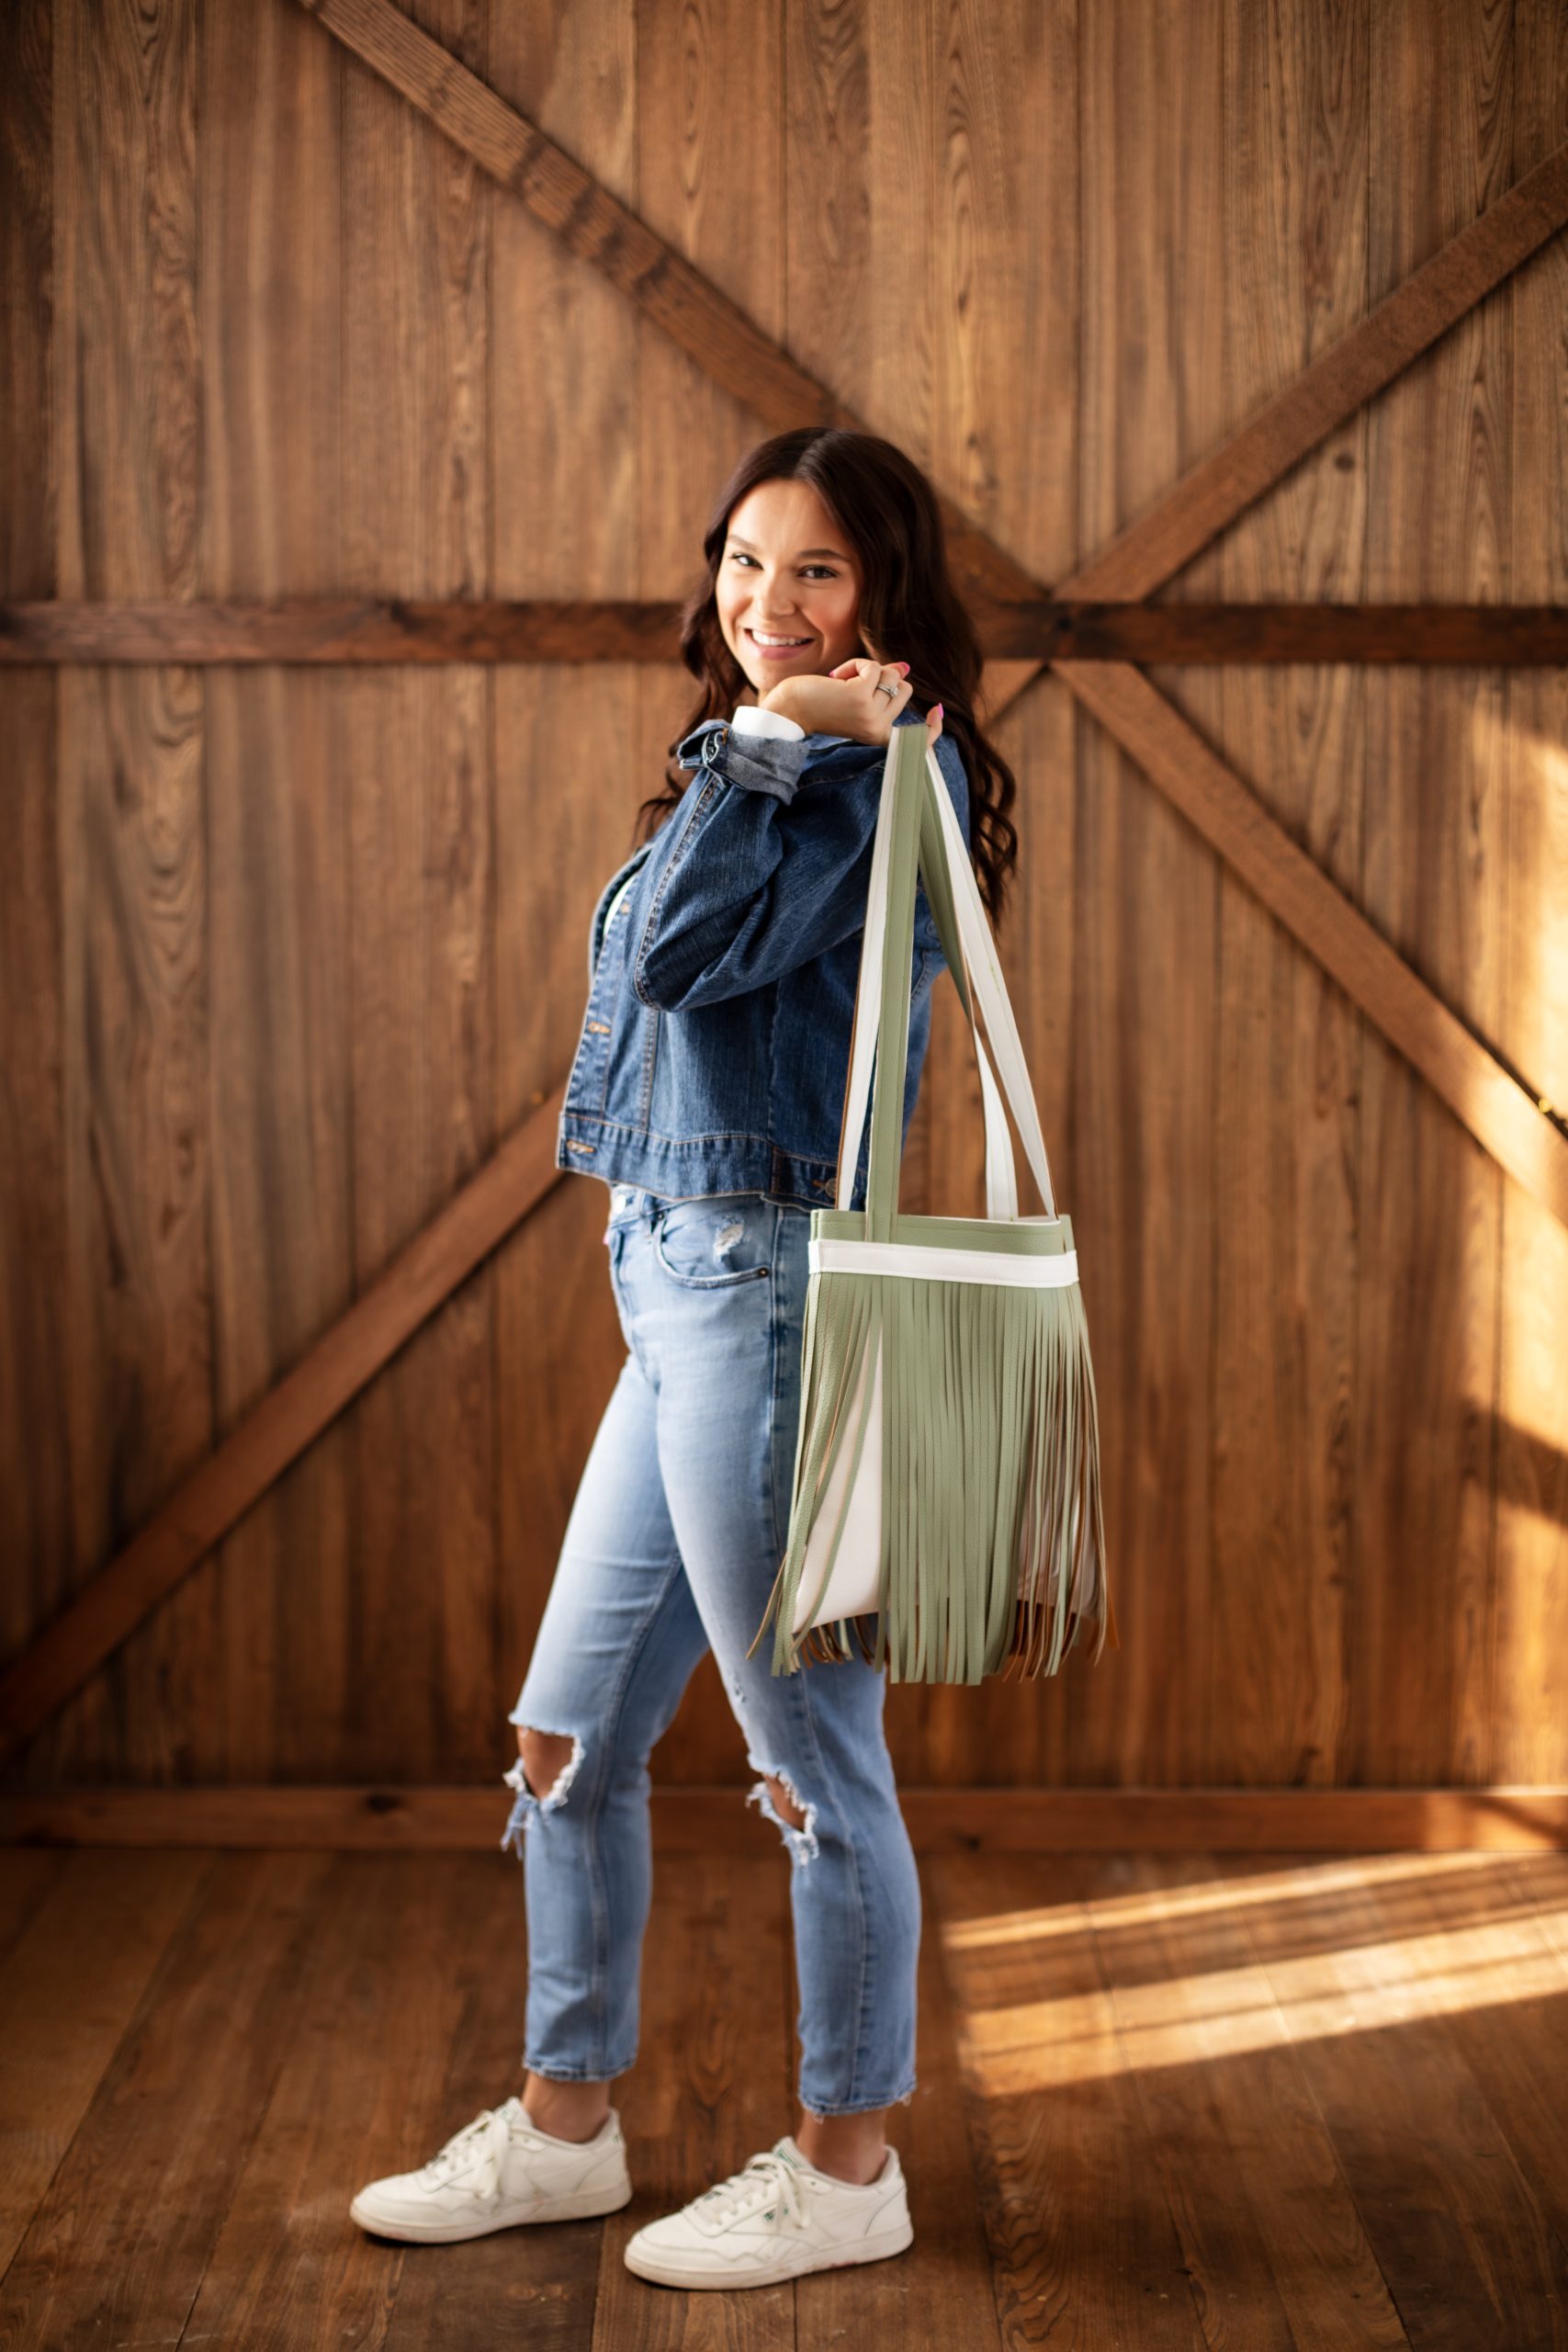
One trend that we’ve fallen in love with is everything fringe. Add movement and color to your wardrobe with this stylish tote bag pattern from Debi Schmitz. Made in stark white and moss green vinyl, this spring bag pattern features a chic fringe around the outside of the bag and is deep enough to hold your essentials as well as a book and water bottle. Dress your bag up by pairing it with a slinky slip dress or go for a casual look and wear this bag with your favorite denim jacket.
Materials:
- (1) Belagio Vibrant Vinyl (17” x 36”) – Light green
- (1) Belagio Vibrant Vinyl (17” x 36”) – White
- 1 1/2” wide masking tape
- Pins
- Clips
- Sewing machine
- Cutting mat
- Clear acrylic ruler
- Rotary cutter
- White thread
Note: When sewing with Belagio Vibrant Vinyl, try to avoid using pins. This vinyl heals itself well but there is no guarantee that the tiny holes will not show. Practice on a small piece of vinyl, especially if using a different brand.
Cutting Instructions:
Light green vinyl:
- (2) 14” x 14” outside bag and fringe
- (2) 1” x 33” handle
White vinyl:
- (2) 14” x 14” inside bag
- (3) 1” x 33” handle and strip on top of fringe
Sewing Instructions:
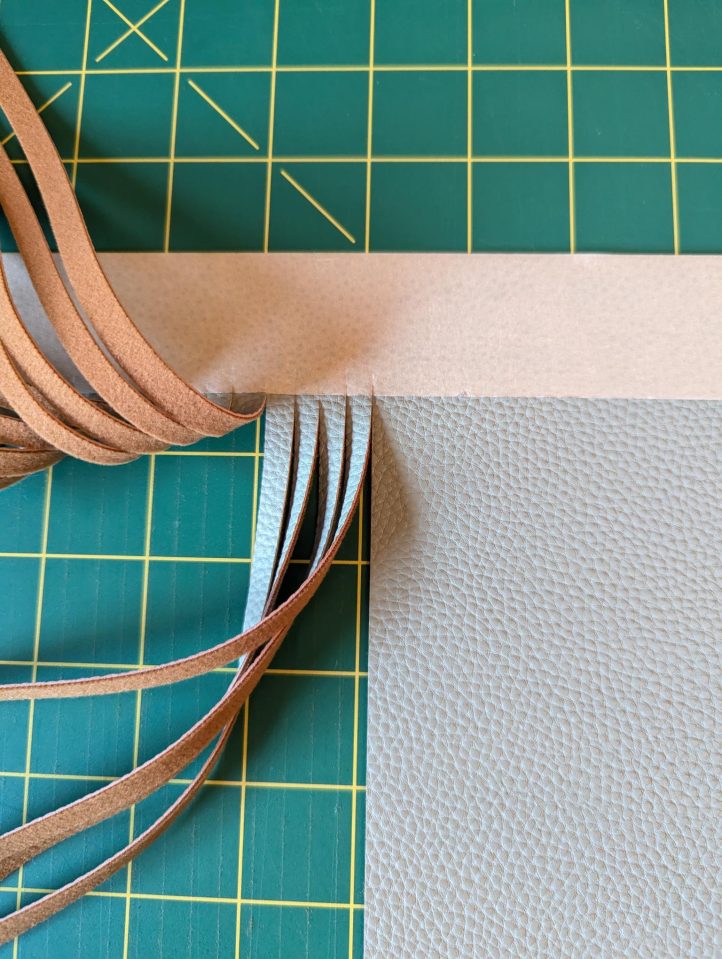
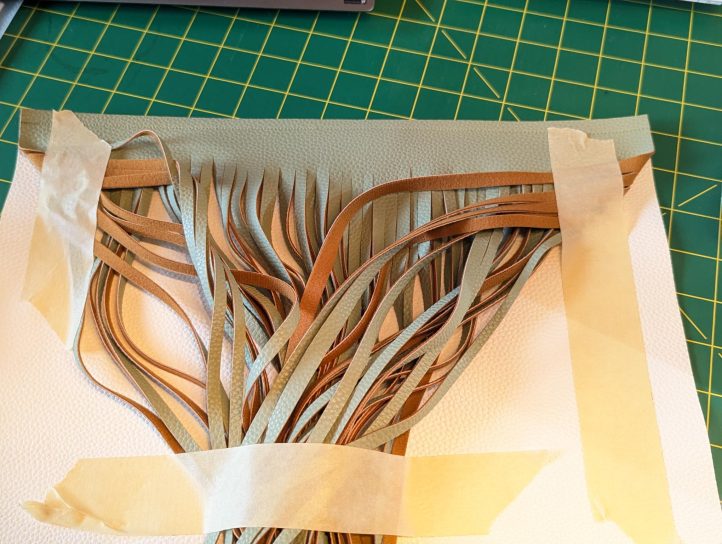
- Lay (1) green 14” x 14” piece of vinyl on the cutting mat. Attach an 18” length of the 1 1/2” masking tape across the top, lining up top of tape with the edge of the vinyl.
- Using an acrylic ruler and rotary cutter, cut 1/4” slits from the bottom of the vinyl piece to the bottom edge of the masking tape, which is 1 1/2” from the top edge of the vinyl. (If easier for you, draw the 1/4” lines on the back of the vinyl and cut with scissors.)
- Repeat Steps 1 and 2 with another 14” x 14” piece of green vinyl.
- Stitch the wrong side of the green fringe to the right side of (1) white 16” x 16” across the top where it is not slit. Repeat with the other fringe piece and the remaining white 16” x 16”.
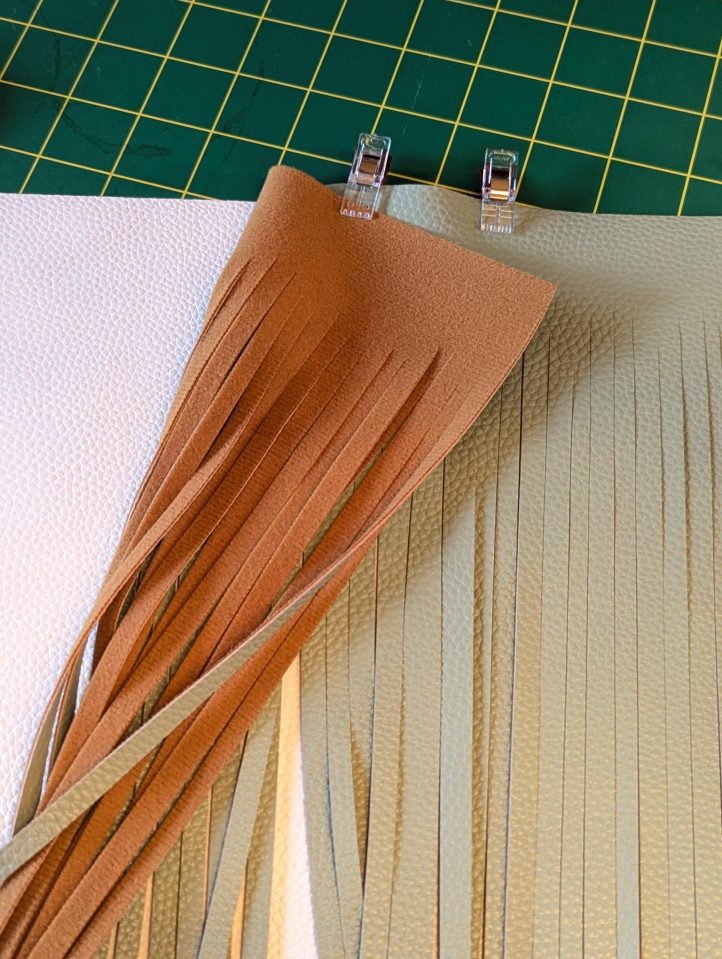
- Tape the fringes to the center of the bag away from the edges. Attach the white bag with green fringe front and back with sewing clips, right sides together. Sew both sides and the bottom without catching any of the fringe. The top of the bag does not have any fringe.
- Cut the corners off to the stitching line and then flip inside out. This will help the corners shape better.
- Stitch (1) green 1” x 33” strip to (1) white 1” x 33” strip with wrong sides together. Stitch along each long edge. Repeat for another green strip and white strip. Two handle straps completed.
- Stitch the end of one handle to the left front of the bag 2” from the side seam and 2” from the top edge. Repeat for the other end on the same side of the bag, but 2” from the right side.
- Attach the other handle strap to the back of the bag as in Step 8.
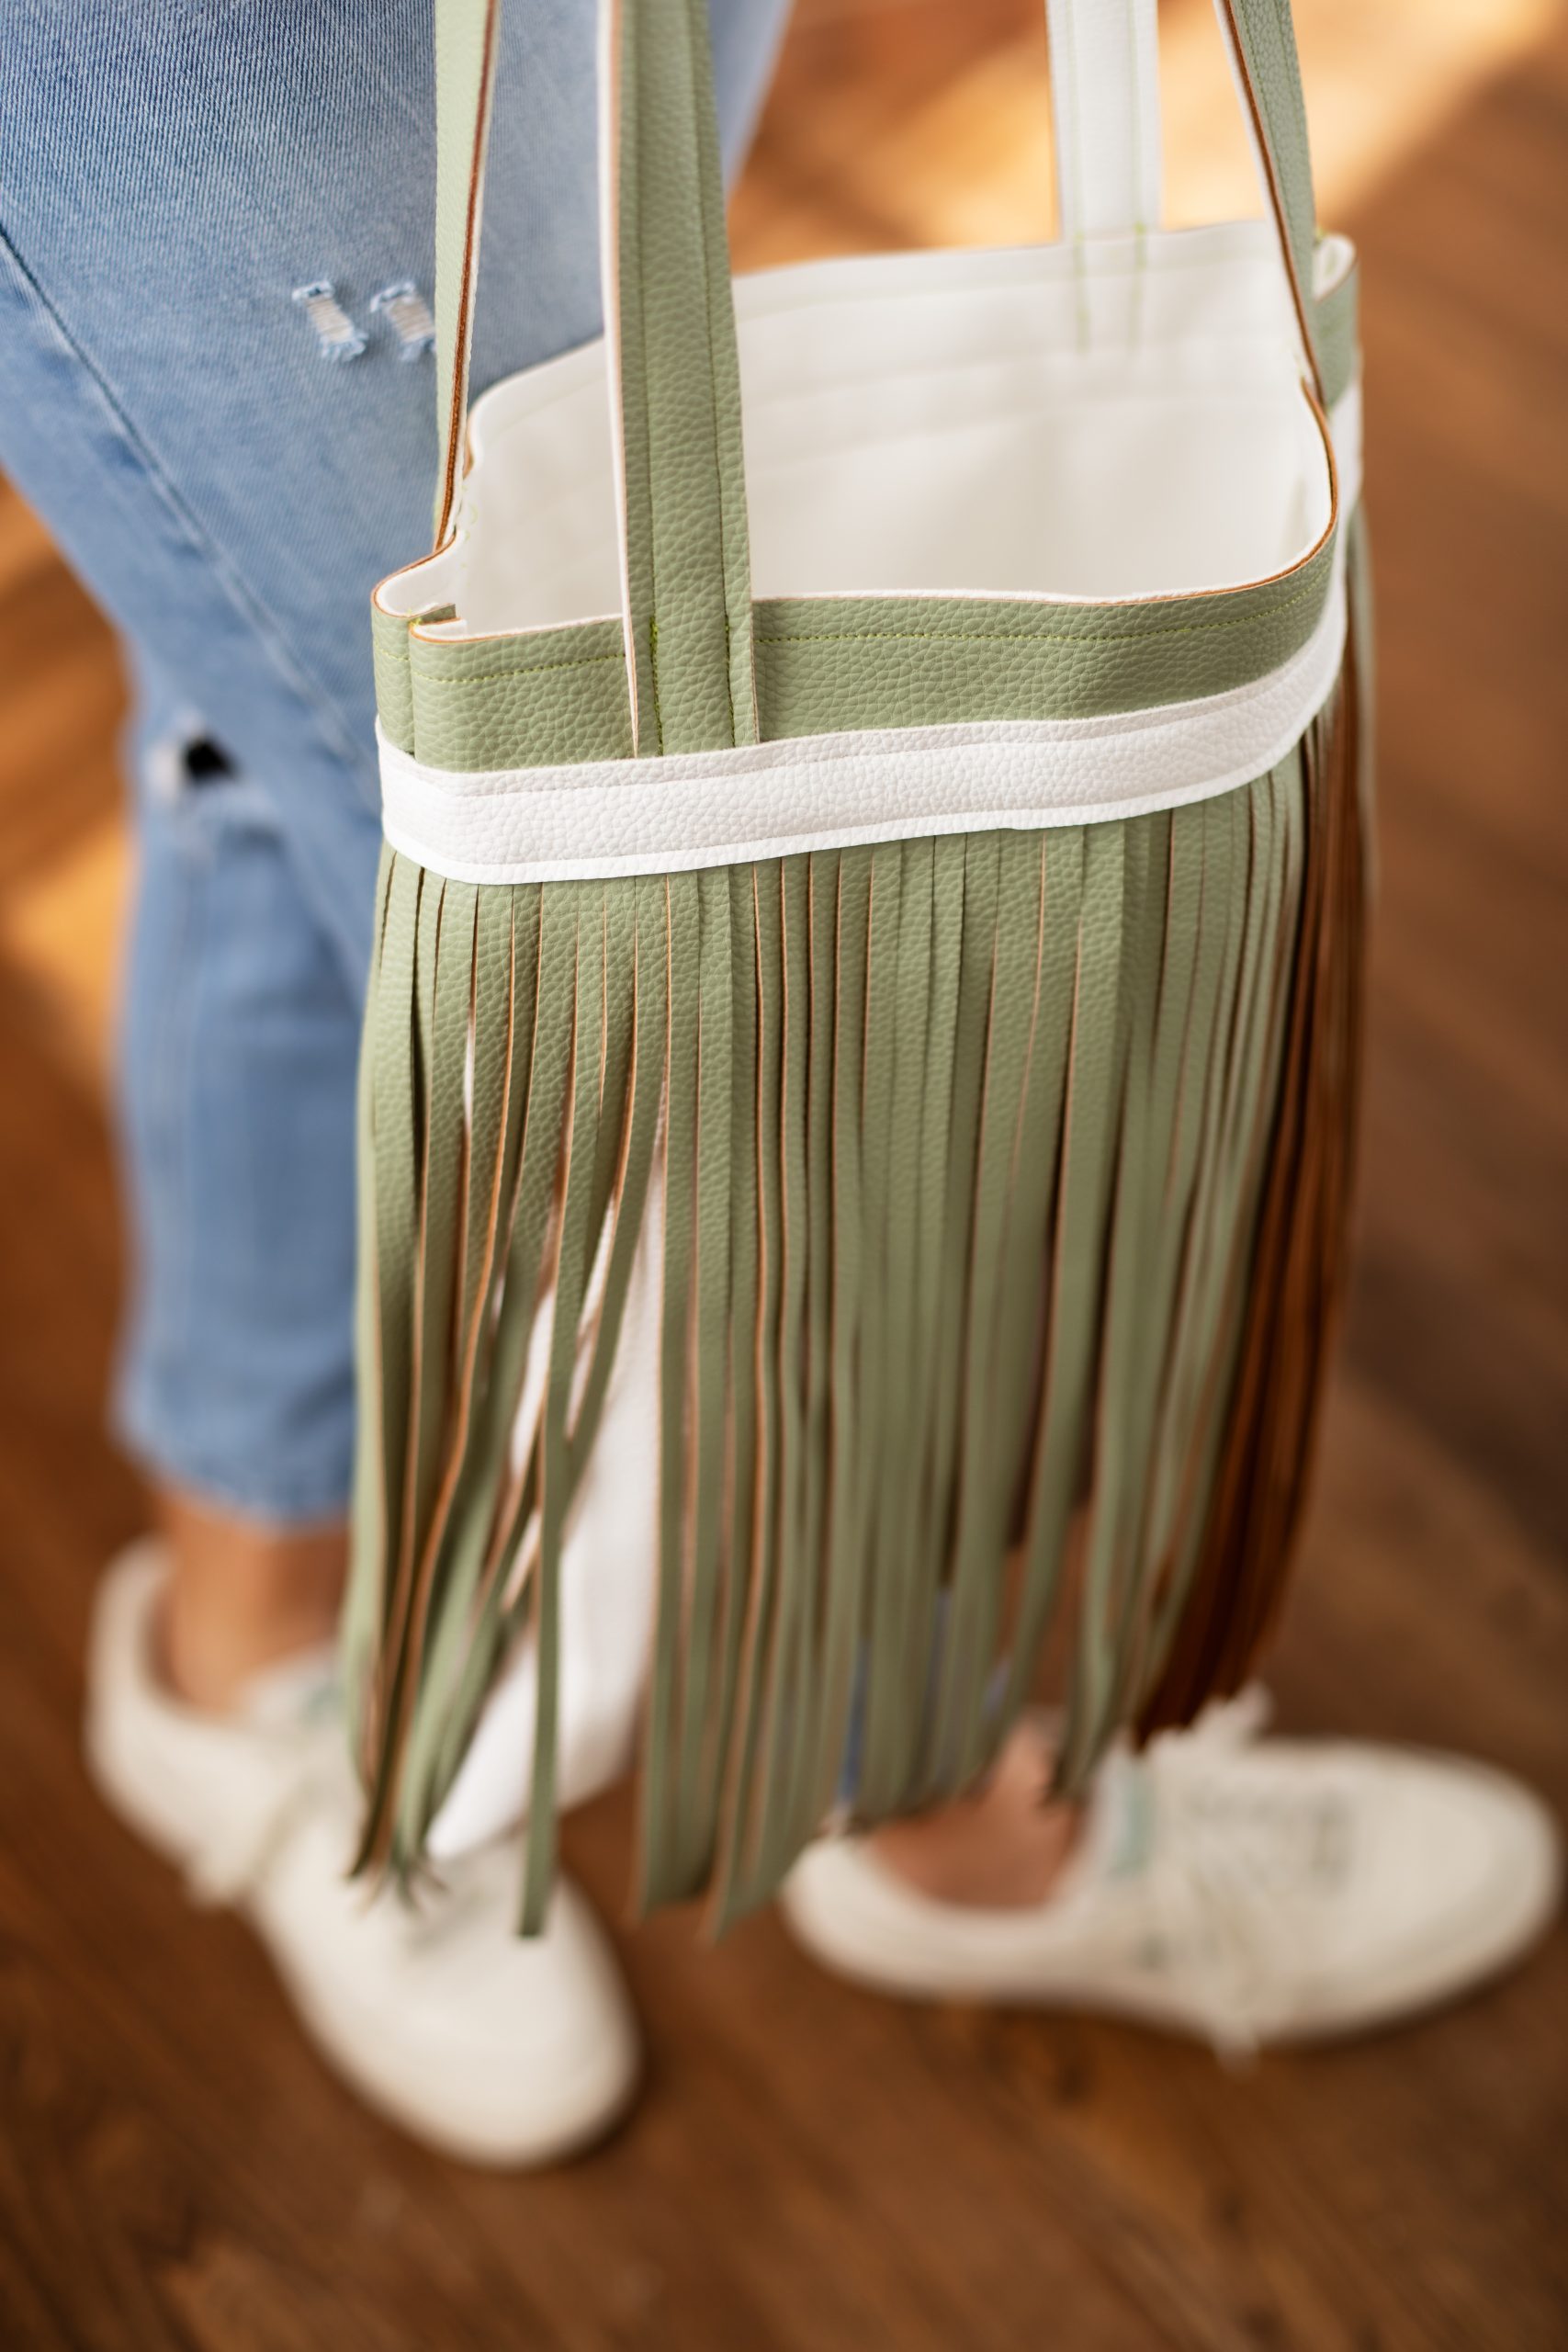
- Stitch the remaining white 1” x 33” strip around the bag at the top of the fringe and over the handle ends. The bottom of this white strip will be 2 1/2” from the top edge of the bag.

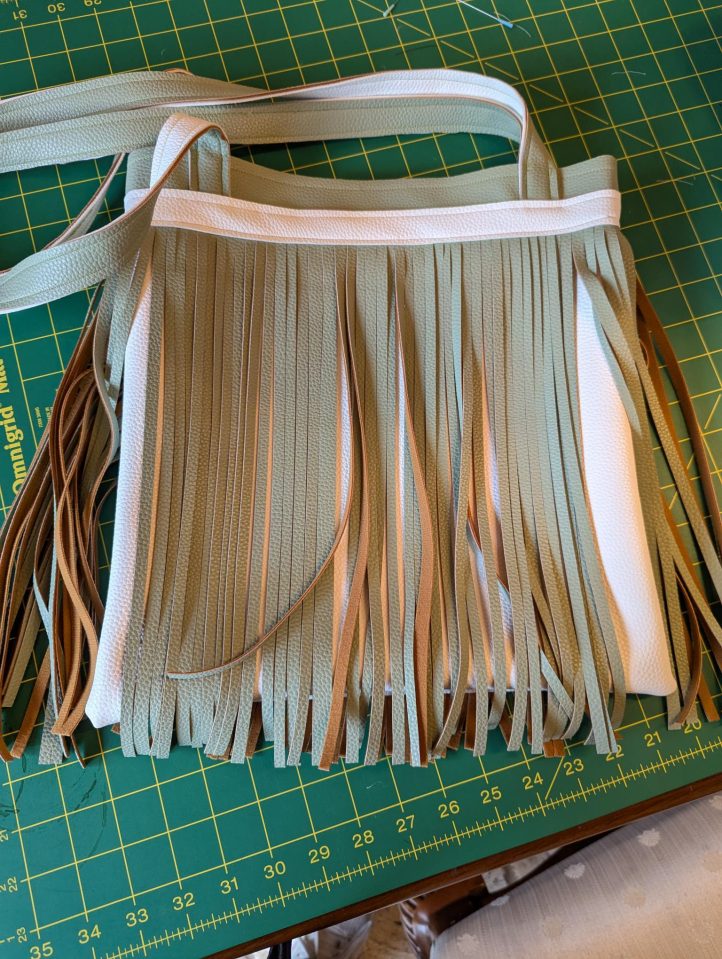
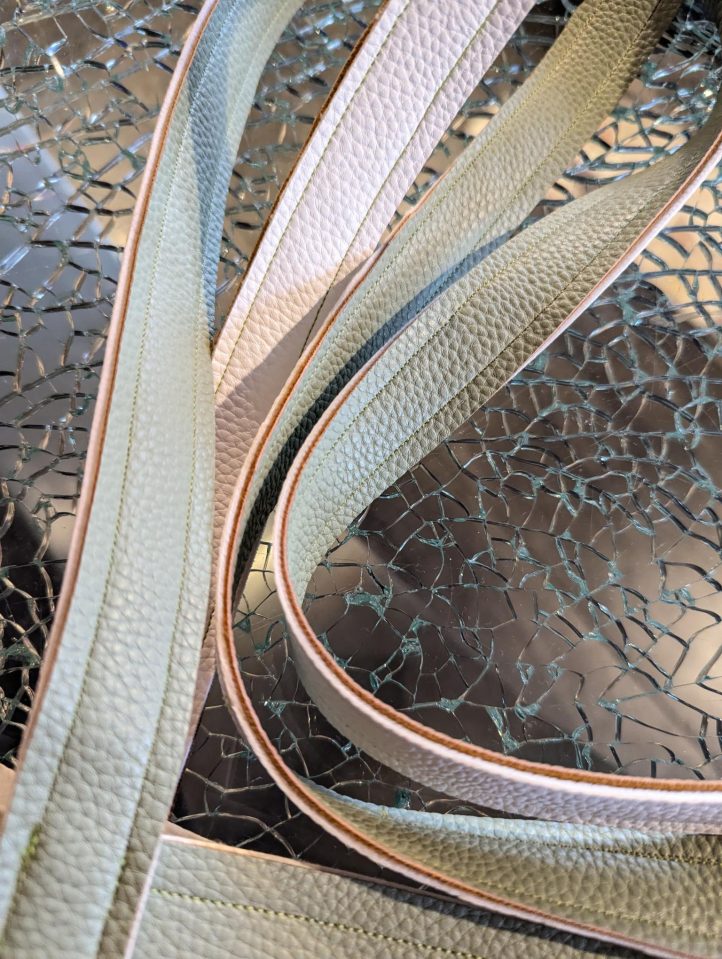
- Trim the fringe as desired.

Great easy-to-follow directions and pictures!