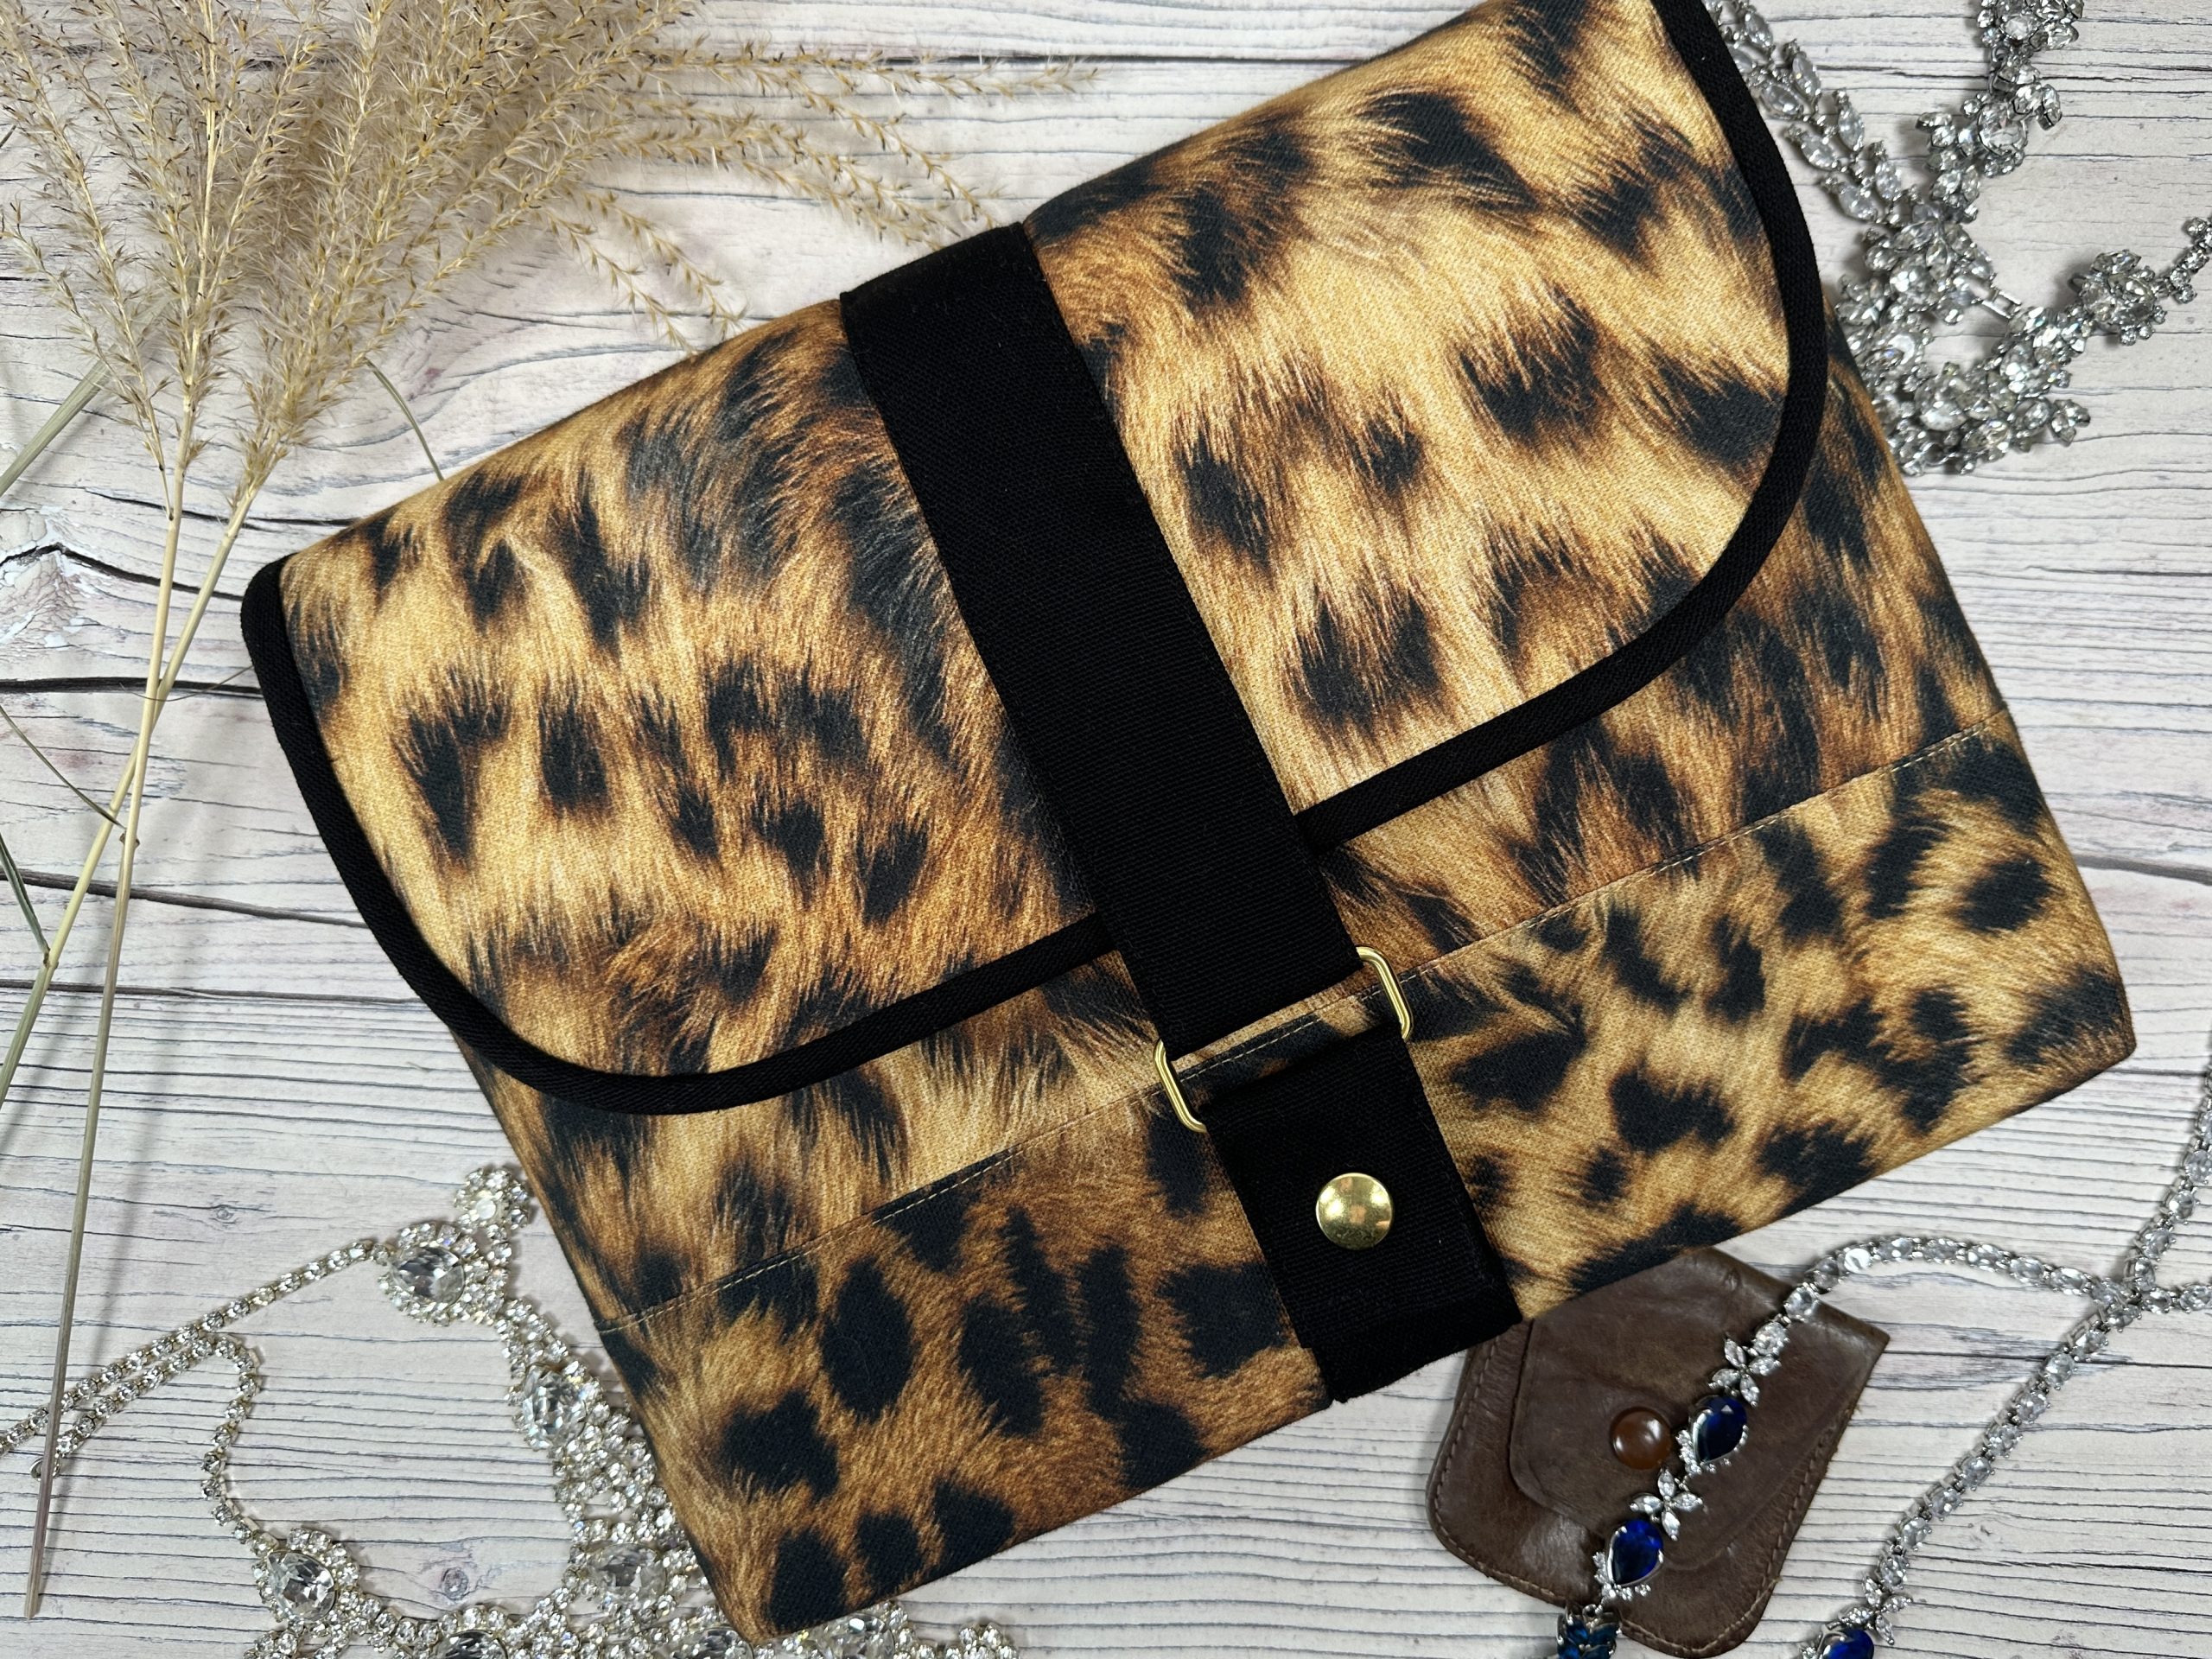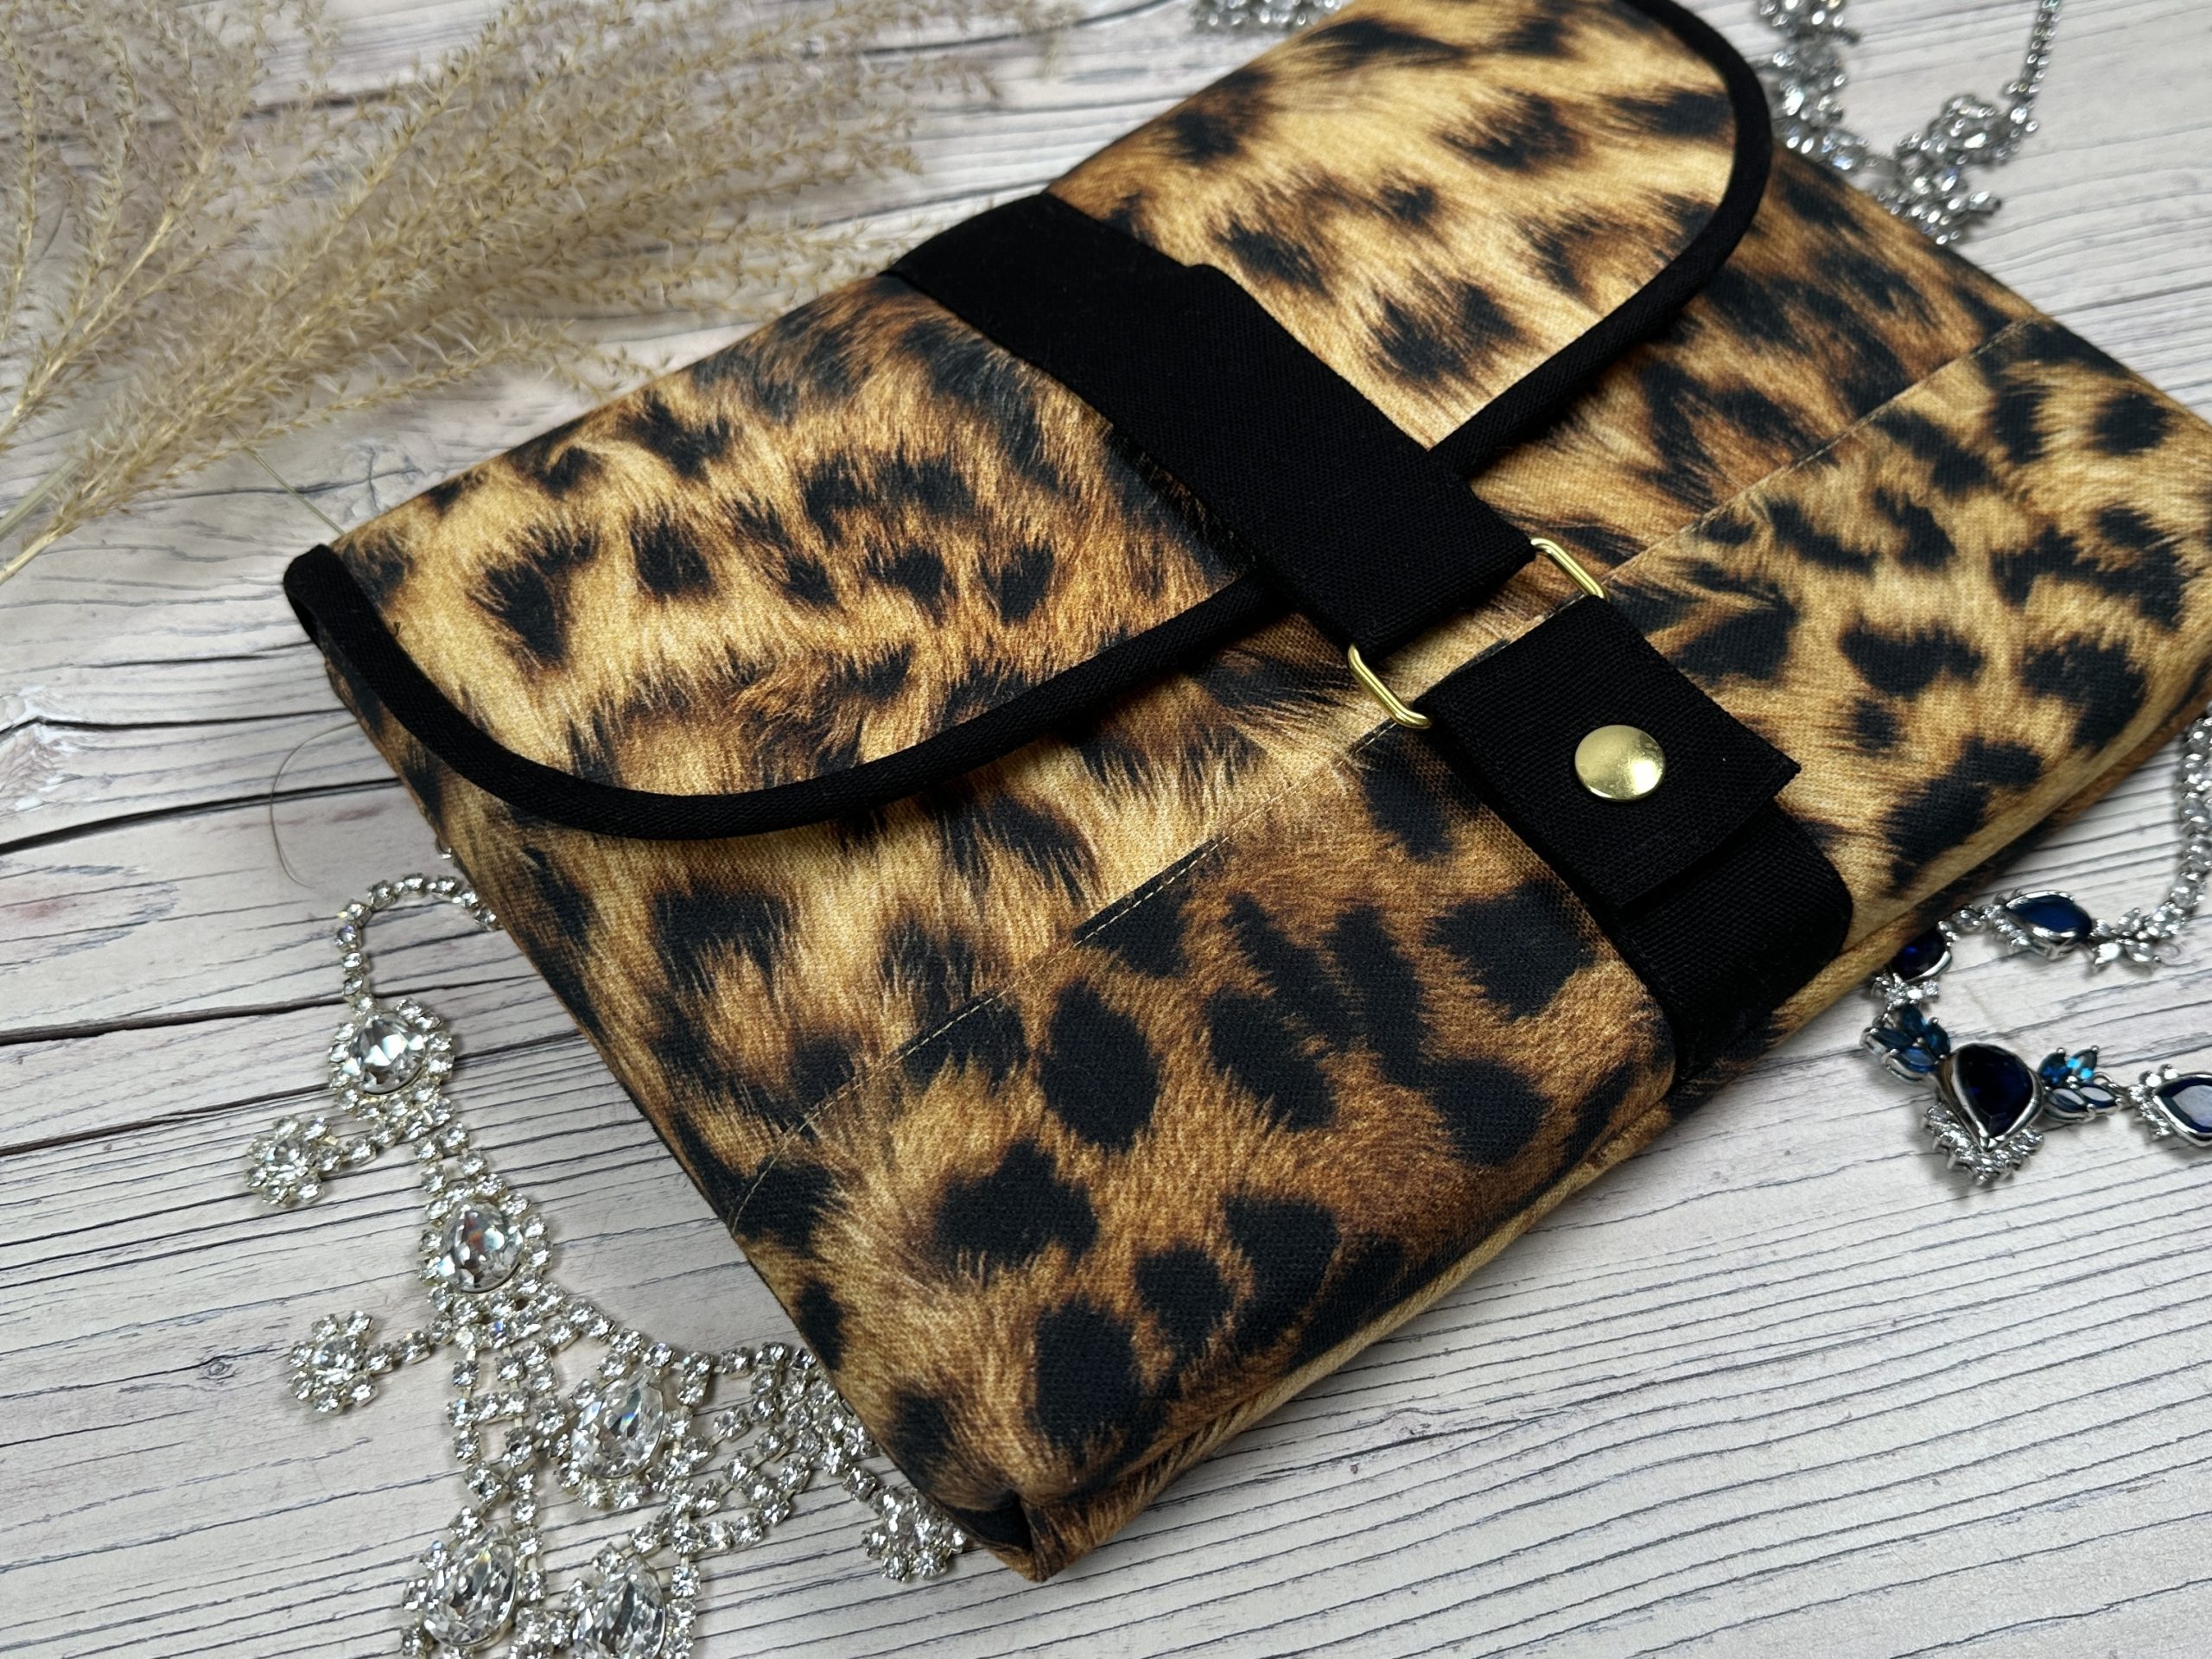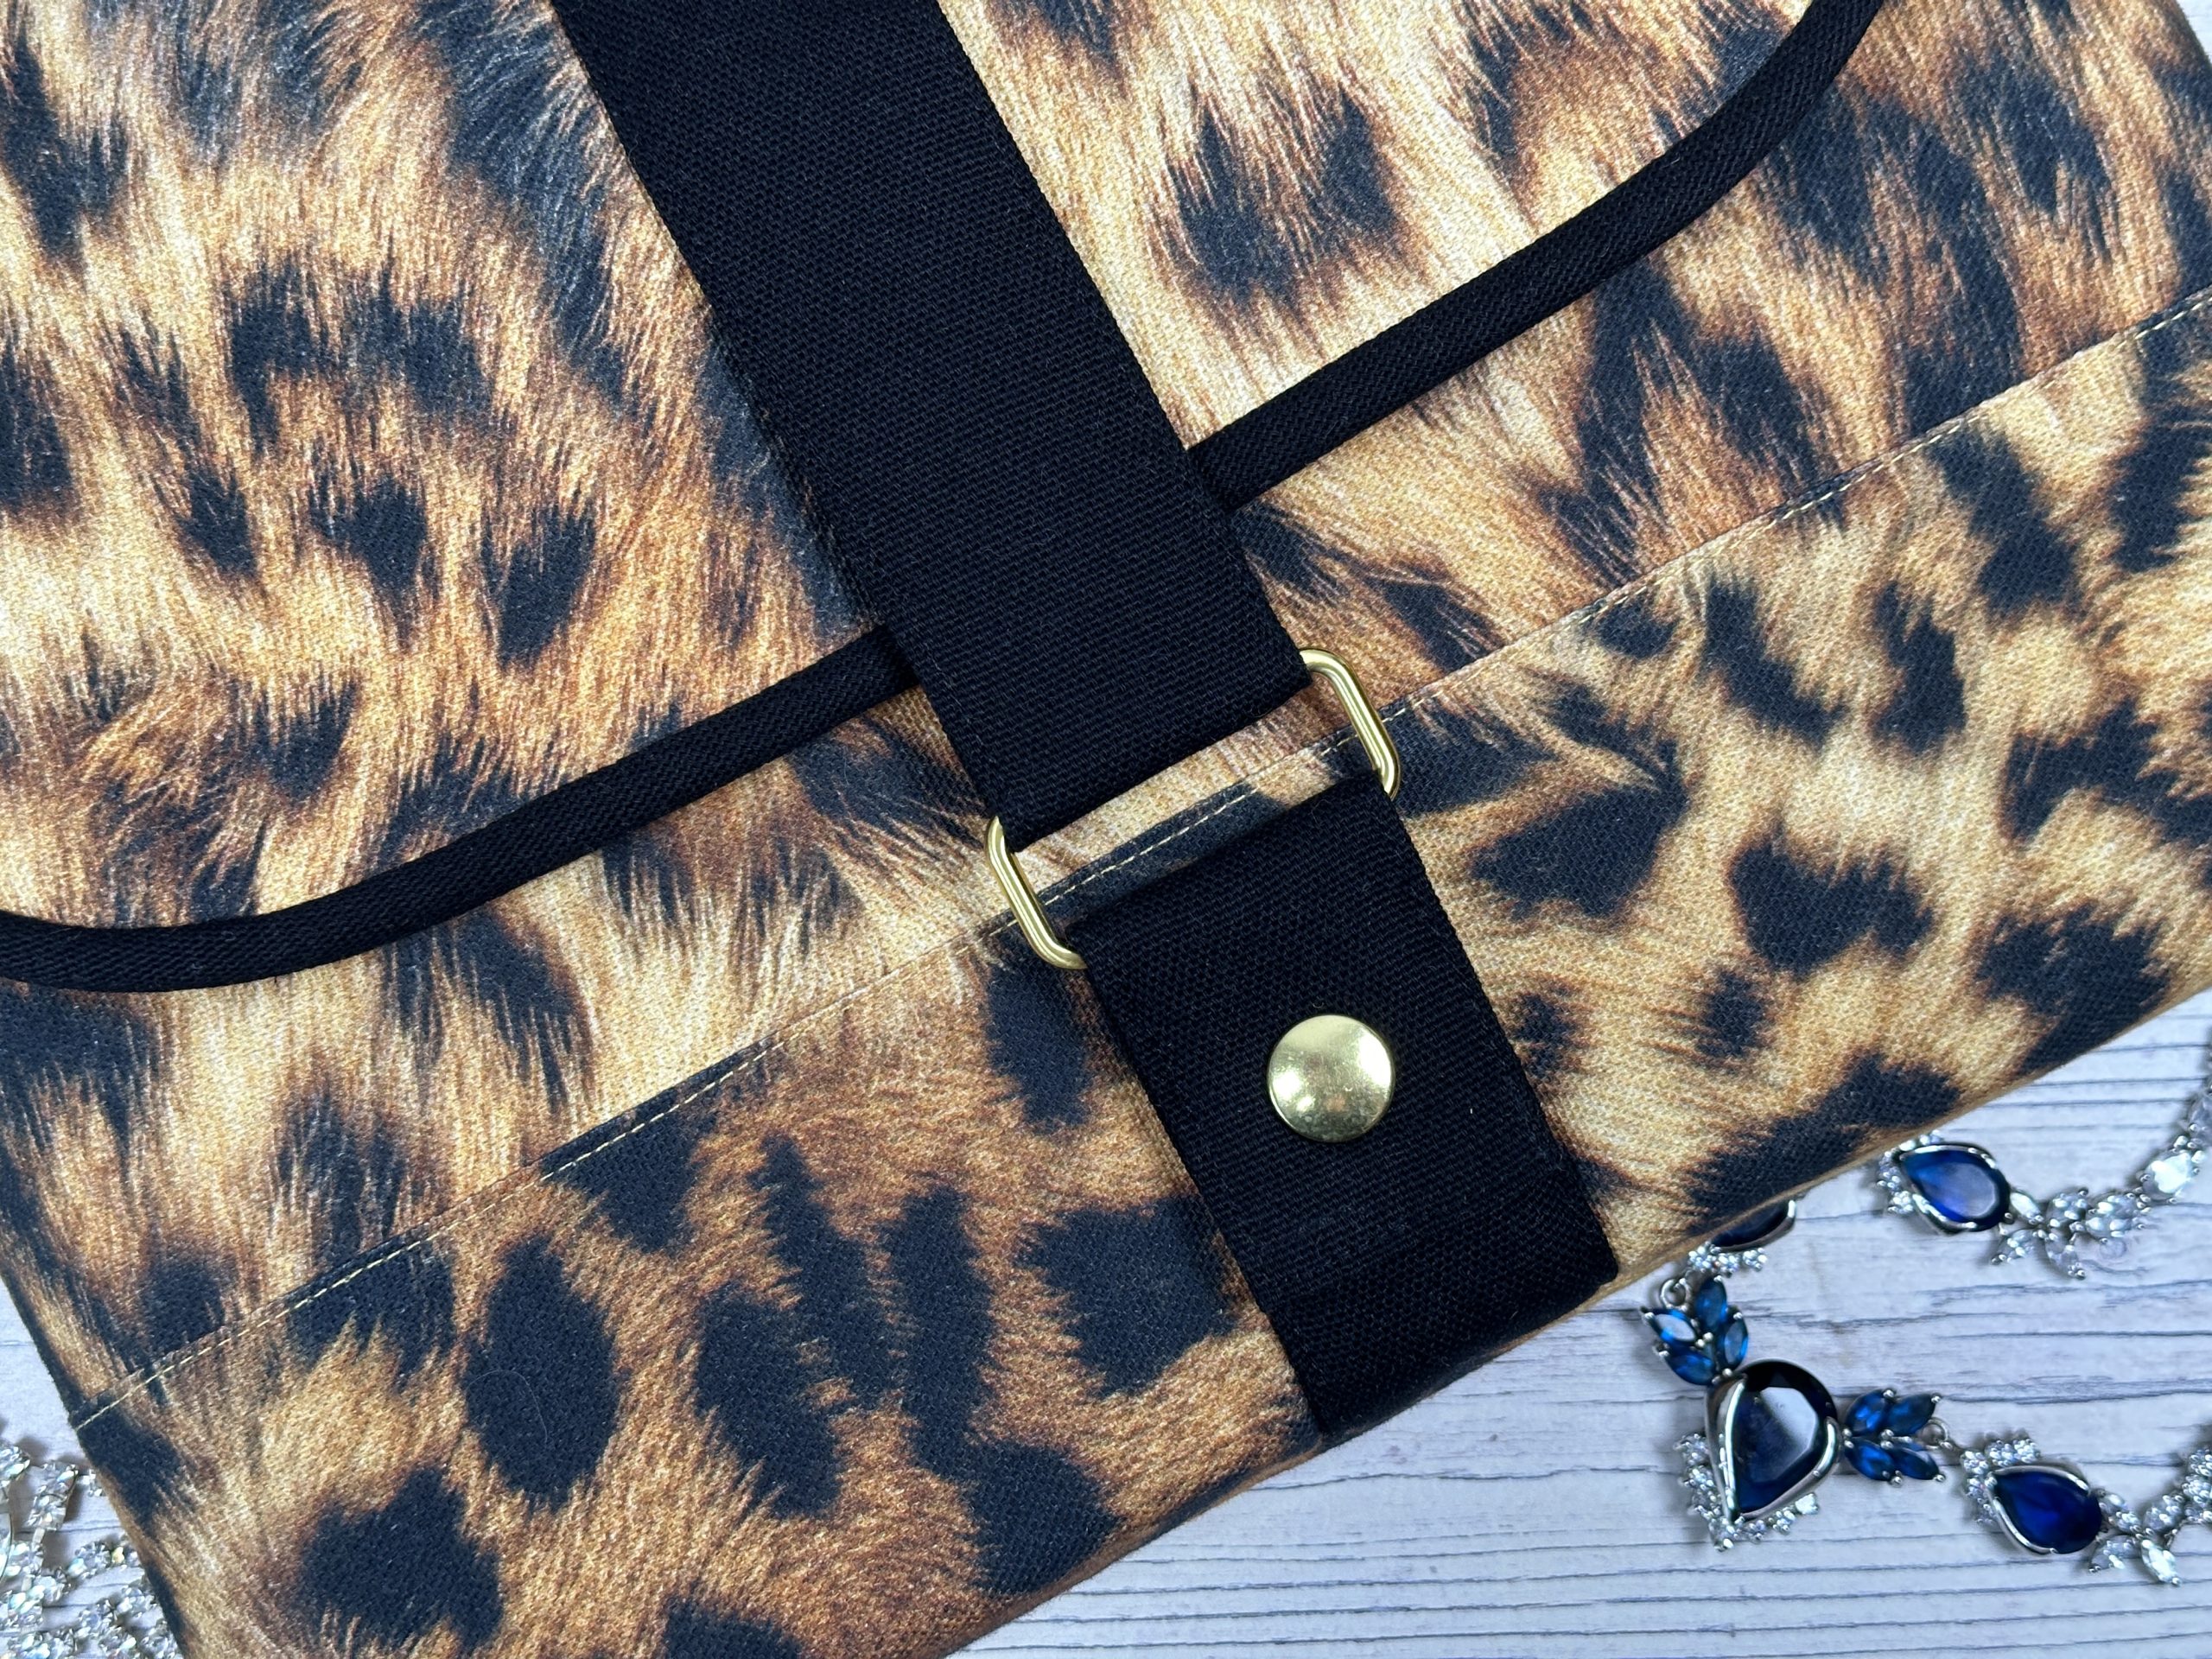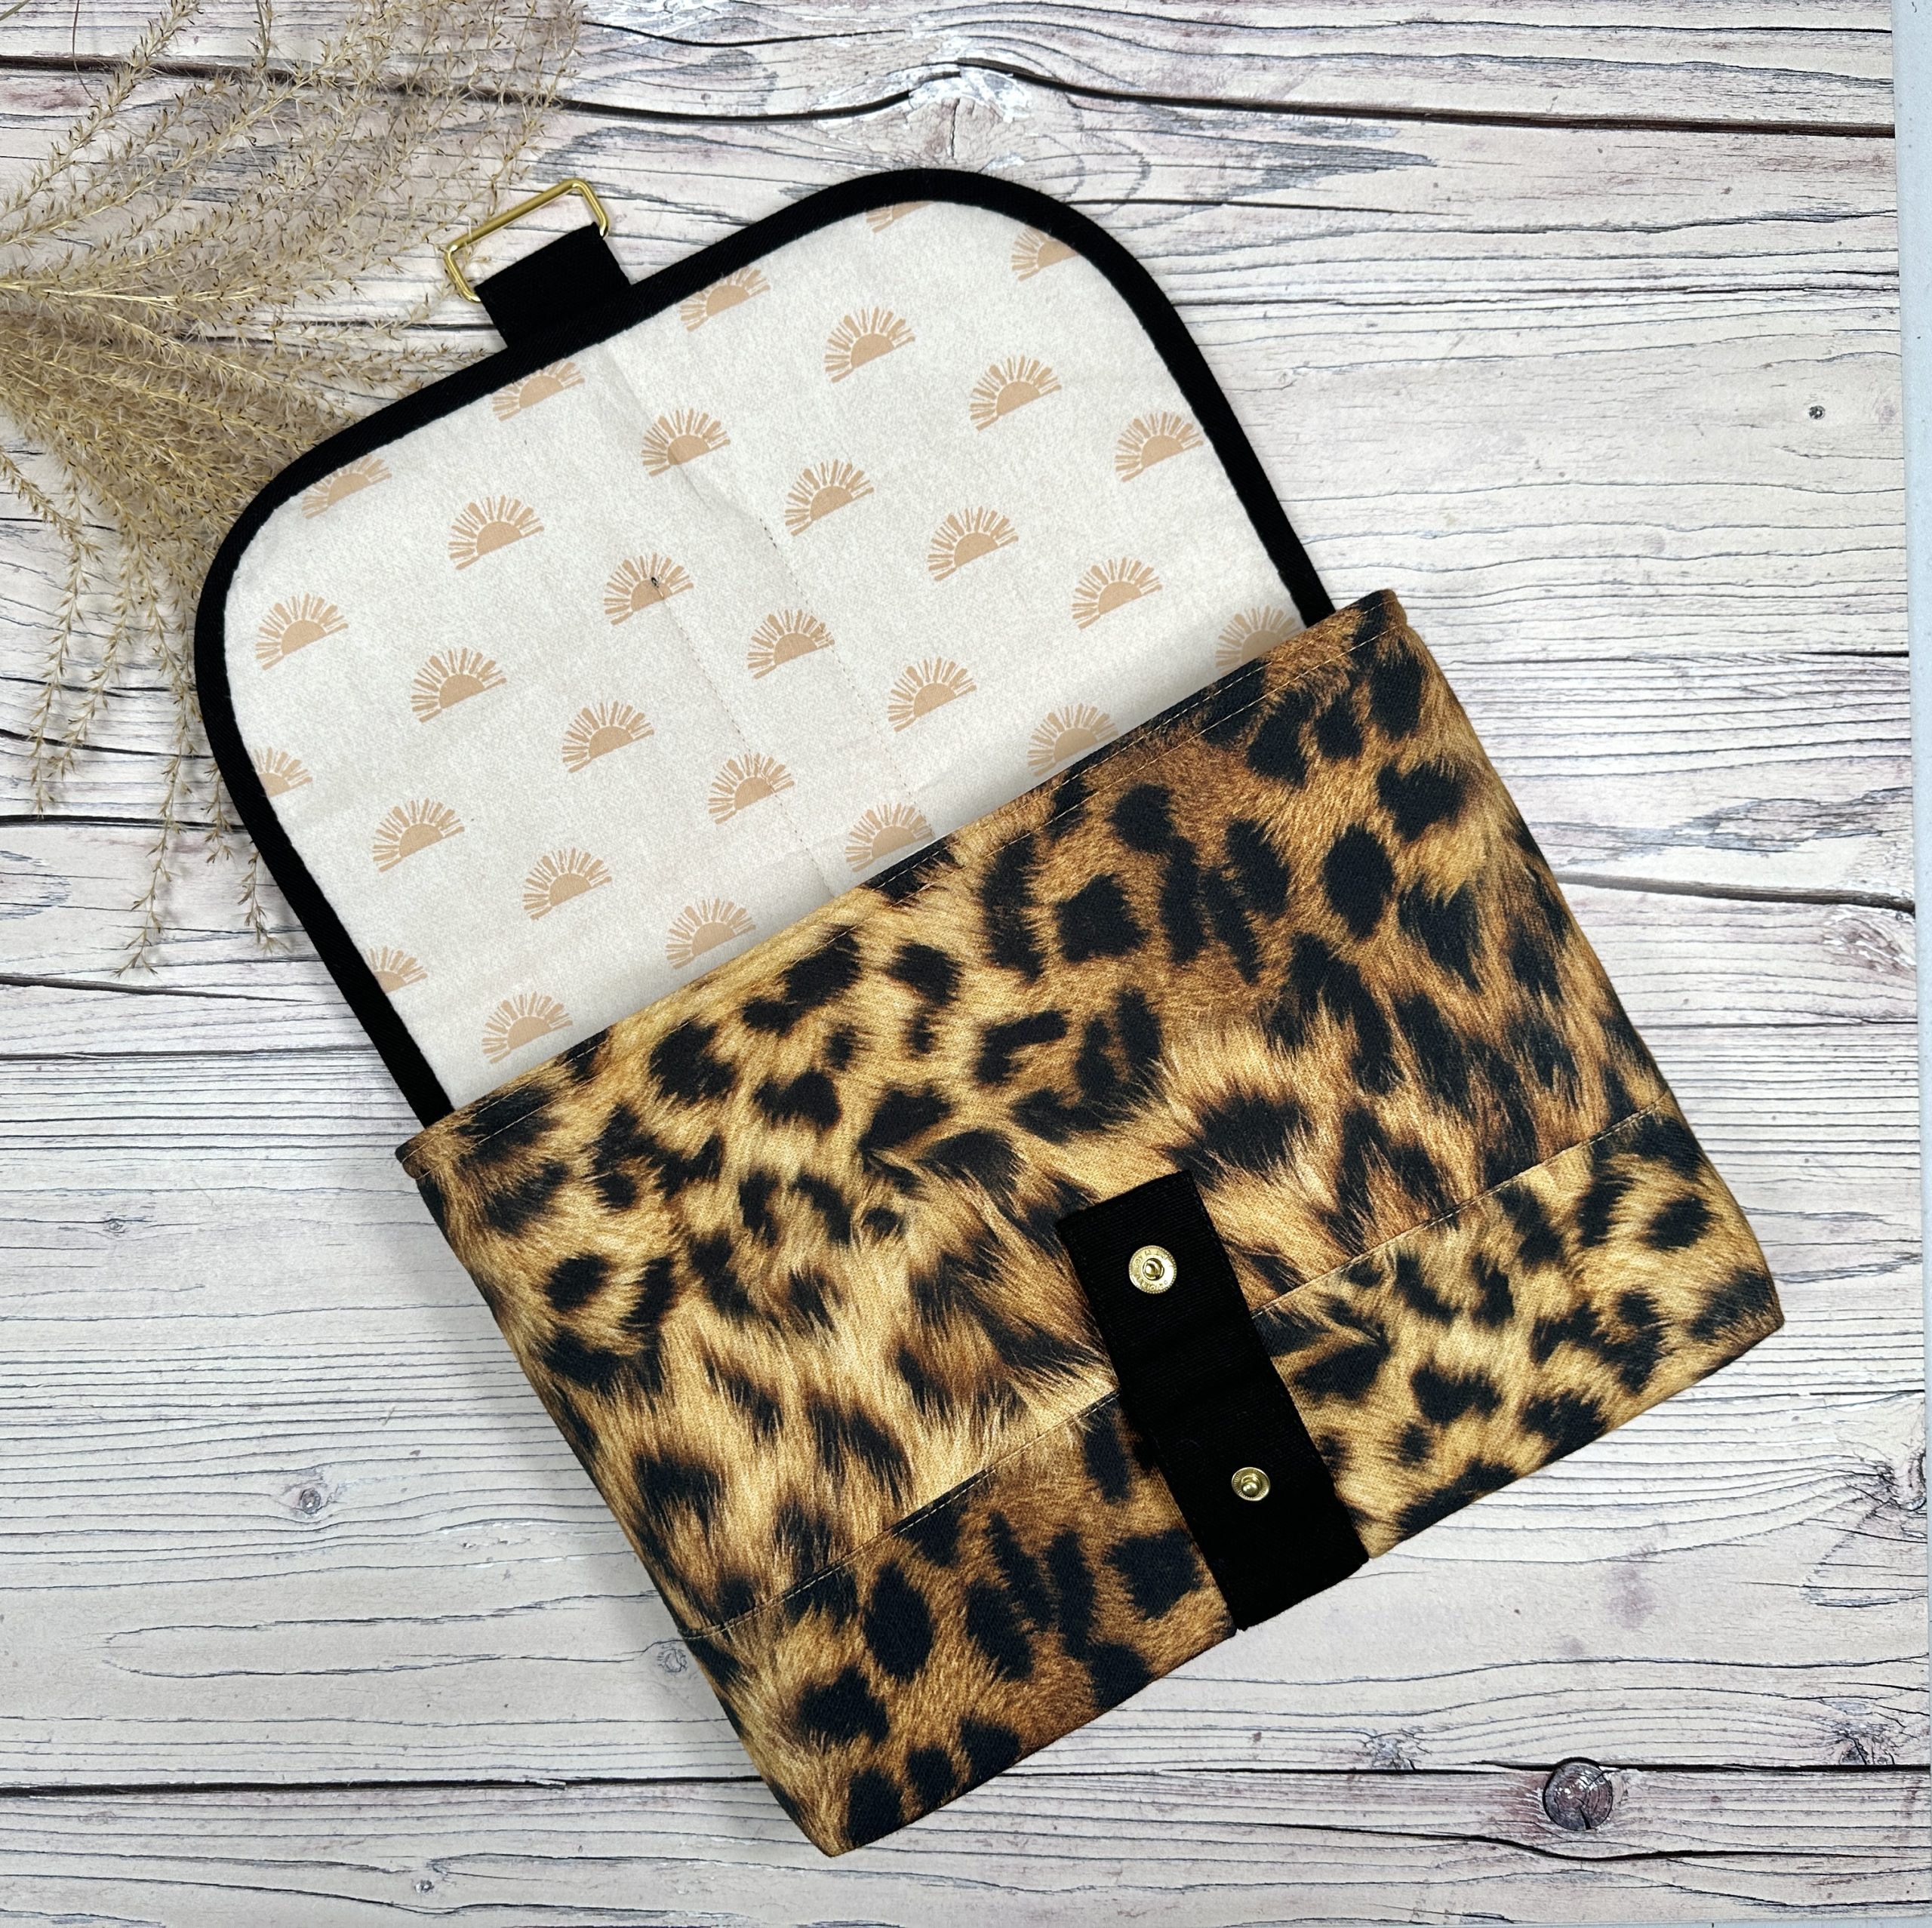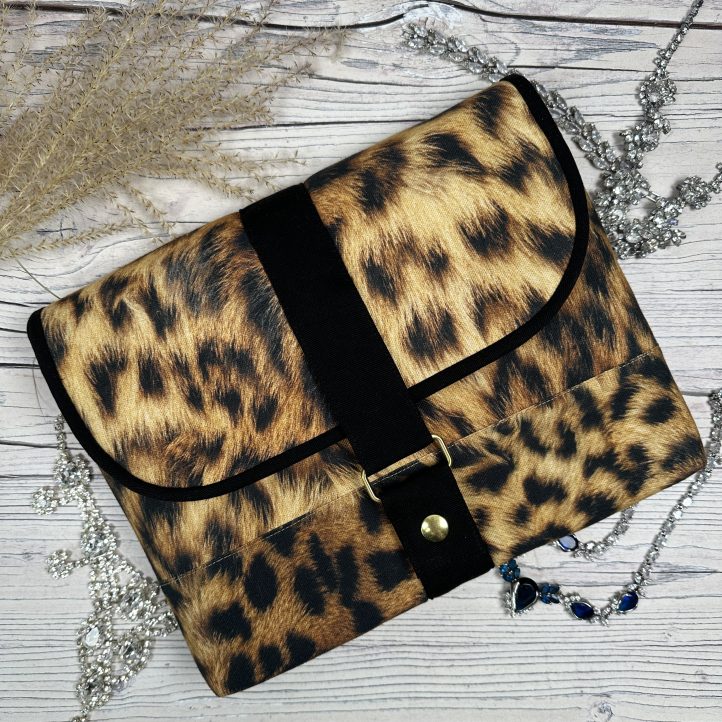
Leopard print was predicted as a huge trend for Winter 2024 and we’re so excited to share this chic and timeless clutch pattern with our readers! Designed by Debbie von Grabler-Crozier, this bag sewing pattern is made in a pretty leopard print canvas for its exterior and features a sturdy stud closure. This attention-grabbing accessory is a fantastic bag option for your next night out or celebration, so choose your favorite animal print and start sewing.
Designer Note: Seam allowances are all 1/4” and have already been added.
Materials:
- Fabric:
- 1/2 yd. leopard print canvas for the bag exterior
- 1/4 yd. solid coordinating canvas for the trims
- 1/2 yd. lining fabric. The designer loves Morning Horizon Warm from the Abstract collection by Katarina Roccella for Art Gallery Fabrics.
- Interfacing:
- 3/4 yd. Style-vil foam interfacing (Vlieseline) alternatively, By Annie’s Soft & Stable
- Fat Quarter H630 fusible fleece (Vlieseline) or Bosal #326LF
- Fat Eighth Decovil I Light fusible interfacing (Vlieseline)
- Fat Eighth G740 fusible interfacing (Vlieseline) or Pellon 860F Ultra Weft
- TIP: G740 is a whisper thin fusible woven interfacing about the same weight and texture as cheesecloth. It adds just enough structure to the pockets.
- 1 1/2” wide rectangle ring
- 1/2” anorak stud or similar stud to match the rectangle ring
- Clear drying glue suitable for fabric
- Coordinating threads for all fabrics and trims
- Scissors
- Fabric marking tools
- Clips/ pins
- Extra feet for your sewing machine (zipper foot, for example)
Cutting Instructions:
You will see in the cutting list that sometimes the designer will say wide x long and sometimes wide x tall. This gives you an idea of how the fabric should be aligned (especially important if you are working with directional prints like animal prints). So when it says wide x long, that means the panel will be aligned horizontally. When it says wide x tall, it means vertically.
From the canvas (leopard print) exterior:
- 1 piece 11 1/2” wide x 9” tall for the flap panel
- 1 piece 13 1/2” wide x 6 1/2” tall for the center front panel
- 1 piece 13 1/2” wide x 4 1/2” tall for the center back panel
- 1 piece 2 1/4” wide x 13 1/2” long for the back panel top trim
- 2 pieces 4” wide x 13 1/2” long for the front and back base trims
From the canvas (solid) exterior:
- 1 piece 6” wide x 11 1/2” long for the long closure strap
- 1 piece 6” sq. for the short closure strap
- 1 piece bias binding cut at 1 1/2” wide and 29” long (joined as necessary) for the flap binding
From the lining fabric:
- 1 piece 12” wide x 9 1/4” tall for the flap lining panel
- 2 pieces 13 1/2” wide x 9 3/4” tall for the main front and back lining
- 4 pieces 13 1/2” wide x 4 1/2” tall for the slip pockets
From the H630 interfacing:
- 2 pieces 12” wide x 9 1/4” tall for the flap lining
From the Decovil I Light interfacing:
- 1 piece 12” wide x 9 1/4” tall for the flap interfacing
From the G740 fusible interfacing:
- 2 pieces 13 1/2” wide x 4 1/2” tall for the slip pockets
TIP: There are no cutting notes for the Style-Vil foam interfacing. Instructions will be given as we go along but the basic idea is to press the piece to be interfaced and then pin it to a slightly larger piece of foam interfacing. Use a machine basting stitch to attach the panel to the foam, gently keeping a taut tension on it. Then trim the excess foam away.
Sewing Instructions:
PREPARATION:
The Front Closure Strap:
Begin with the long strap.
- Fold the canvas strip in half lengthways with the wrong sides together and finger press to obtain a center crease.
- Open out and fold the two long raw edges to the center crease, and also to the folded edges to make a strap 1 1/2” wide. Press.
- On one end, open the strap out and fold the end up by 1/2” to the wrong side.
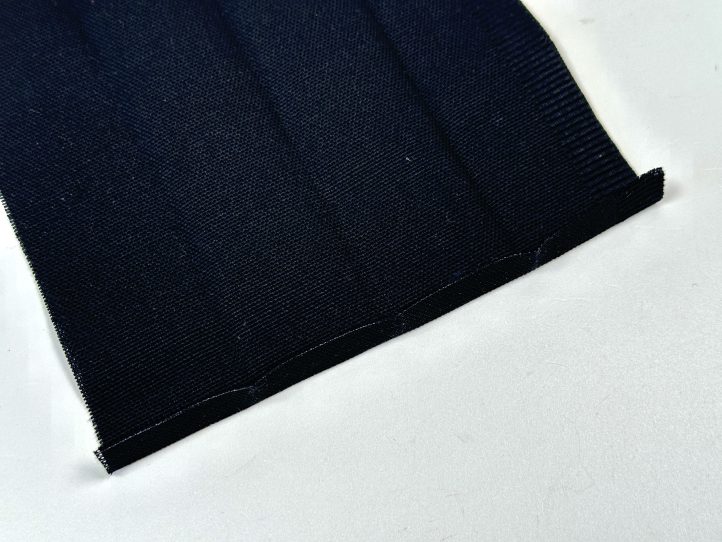
- Re-fold this end using the original creases, trimming any excess fabric to make a closed end.
- Lightly glue the end to make it as perfect as possible.
- Allow the glue to dry.
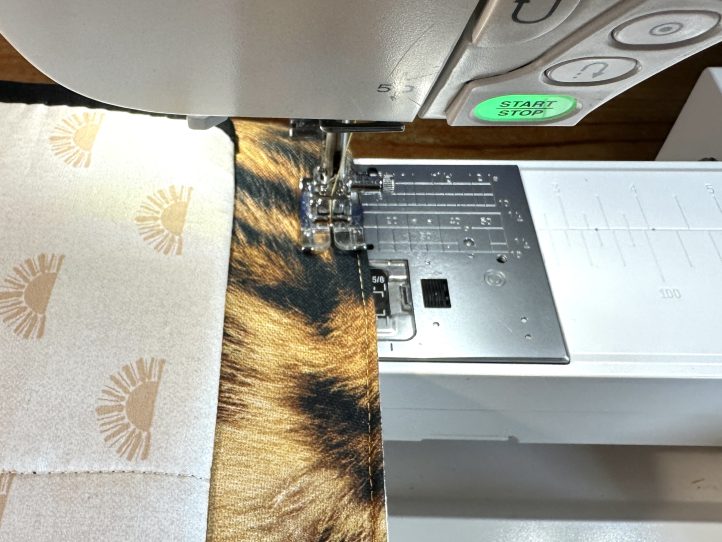
- Topstitch narrowly (1/8”) down one long side, across the folded short end, and back up the other long side of the strap.
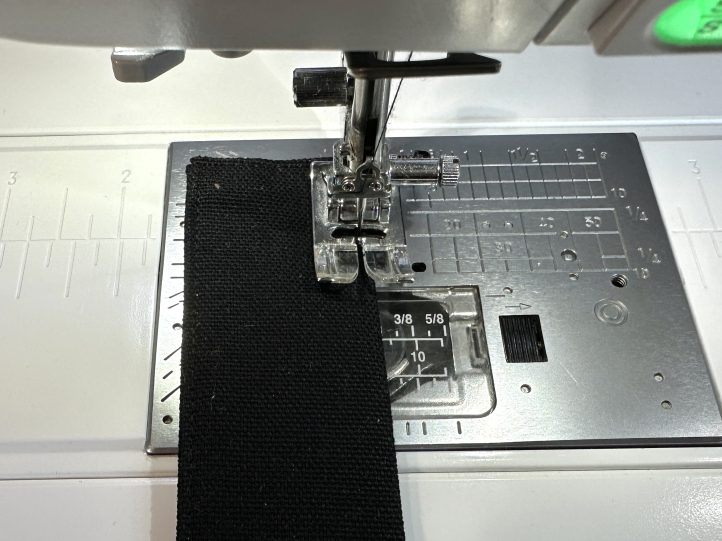
- Repeat all of this with the short closure strap.
Adding the Hardware:
- On the finished short strap, make a hole 3/4” from the closed end, right in the middle, and attach the female half of the stud.
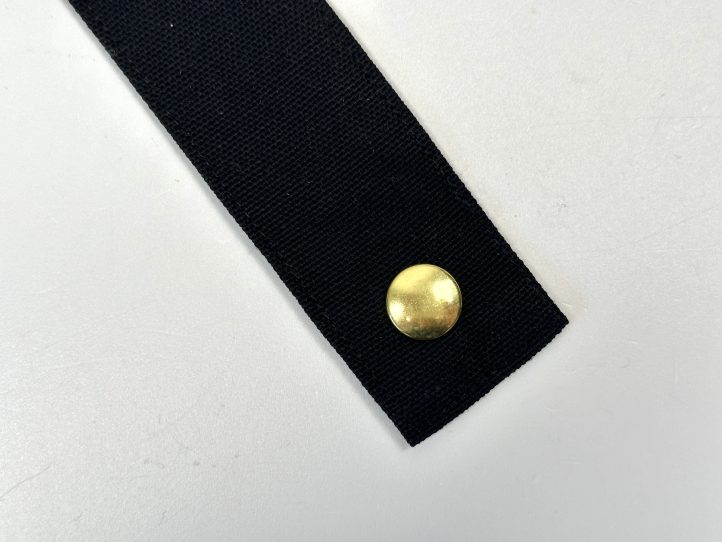
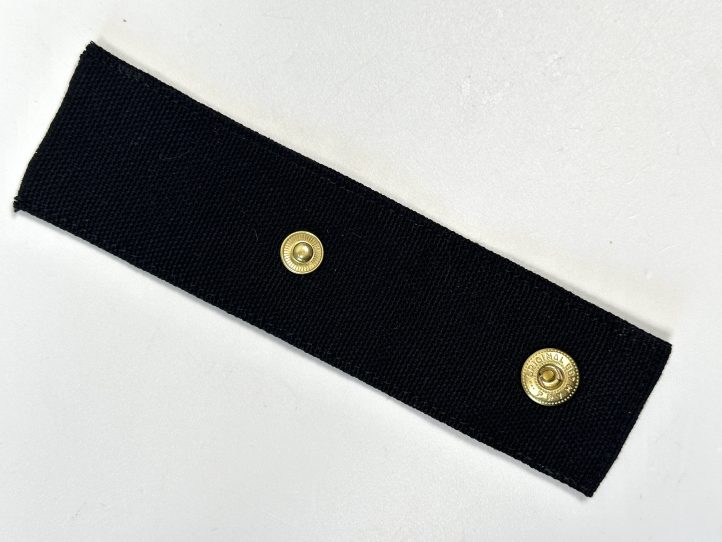
- Measure in a further 2 1/2” and attach the male half, also in the center.
- TIP: The short strap has to go through the rectangle ring and then close so make sure that the studs are aligned the correct way. They should look like this.
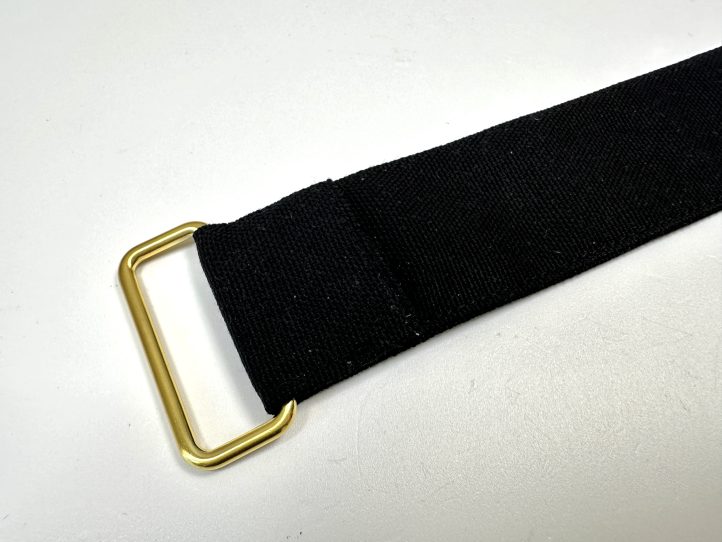
- On the closed end of the long strap, fold over by 1” and enclose the rectangle ring.
- On the wrong side, hand stitch closed with tiny stitches.
Make the Bias Tape:
- Fold the joined length of binding in half, lengthwise with the wrong sides facing.
- Press to obtain a center crease.
- Open out and fold the two long raw sides to the center crease and press again.
- Re- fold along all creases enclosing the raw side edges in the folds and roll until needed.
Constructing the Flap:
- Fuse a piece of H630 to the flap exterior panel and trim the interfacing back to the canvas.
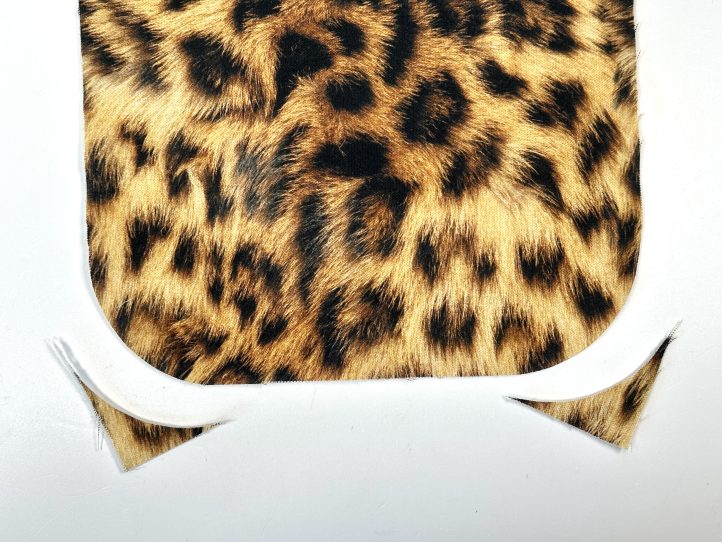
- Round two corners of the flap (this will become the front).
- Fuse the other piece of H630 to the wrong side of the flap lining panel.
- Fuse the Decovil I Light over the top of the H630 on the flap lining panel.
- TIP: This sort of layering of interfacing will give a really professional look and feel to the flap. Note that the lining is slightly larger than the flap at this point and untrimmed. This is for ease of handling and precision.
- Pin or clip the interfaced flap exterior panel onto the double interfaced and untrimmed flap lining panel with the wrong sides facing (all of the interfacing will be in the middle of the ‘sandwich’).
- Sew the sides and front of the flap.
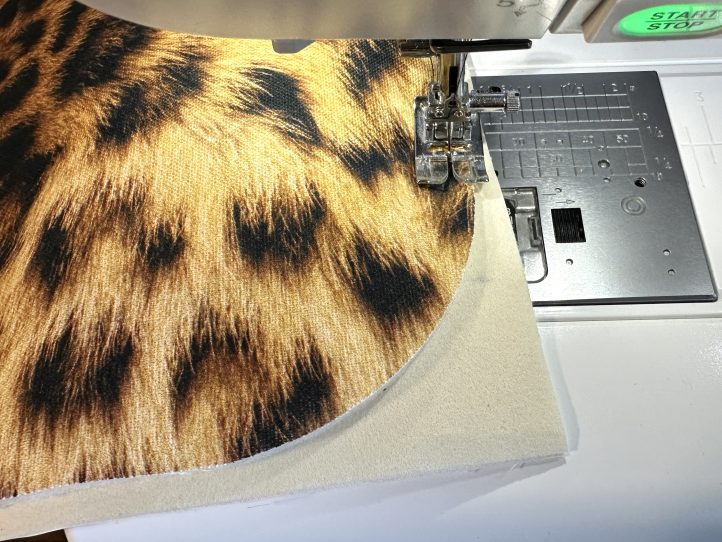
- Trim all layers to match the canvas exterior.
- Bind with the bias binding.
- TIP: The flat back edge of the flap is all raw. Simply machine baste the layers together at this point.
Attaching the Closure Strap to the Flap:
- Pin the long strap centrally to the flap. The closed end with the rectangle ring will be pointing towards the front of the flap (with the rounded corners).
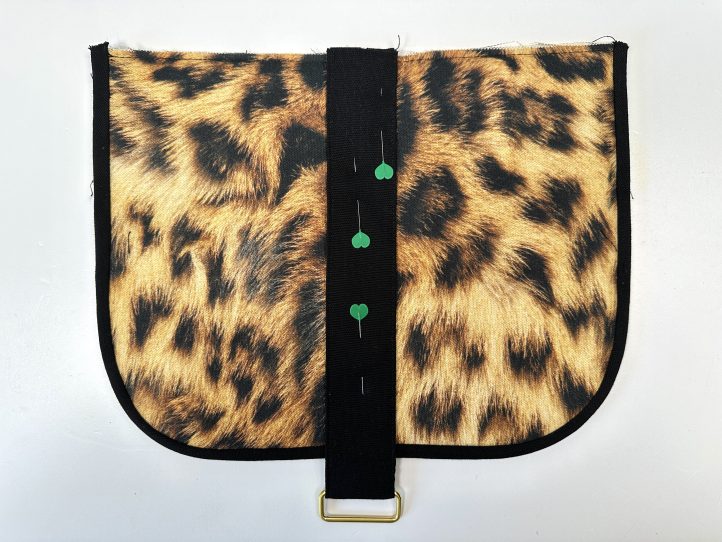
- Measure 6” from the raw back edge on each long side of the strap, mark and re-topstitch this going through all layers.
- TIP: The designer only topstitches down each side and not across the strap. In this way, you can keep your stitching pretty invisible even on a plain fabric.
Constructing the Bag Front:
- Attach the front base trim to the center front panel with the right sides facing.
- Flip the layers the right way out and press. The seam points down.
- Topstitch very narrowly (1/8”) along the seam.
- Trim and square the front panel.
- Machine baste the front exterior panel to a slightly larger piece of foam interfacing.
- Trim the excess foam back to the seam allowance.
Attaching the Short Part of the Closure Strap:
- Center the short strap onto the front of the bag right at the bottom.
- TIP: Double check that it is the right way around. The stud end will be pointing up and the studs themselves will look like this.
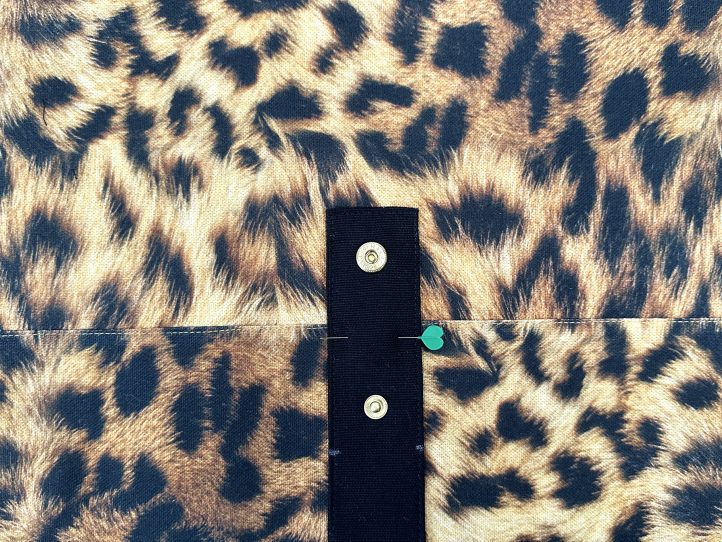
- As you did on the long strap, re-topstitch to attach but this time go up 1 3/4” on each side.
Constructing the Back:
- Attach the base trim to the center back panel as you did in the front and topstitch narrowly (1/8”) along the seam. The seam points down.
- Find the centers of the top edge of the center back panel and also the flat raw edge of the flap and mark both.
- With the right sides together and the center marks matched, attach the flap to the top edge of the middle back panel.
- With the right sides together and the flap sandwiched in between, attach the top trim.
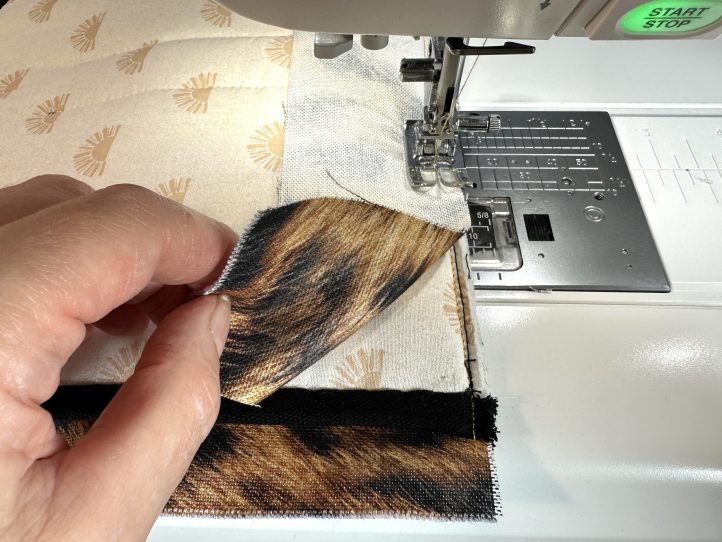
- Open the top trim panel the right way out and press.
- TIP: The weight of the flap will encourage the seam to point downwards, which is ideal.
- Trim the back panel if needed and attach it to foam interfacing as you did for the front.
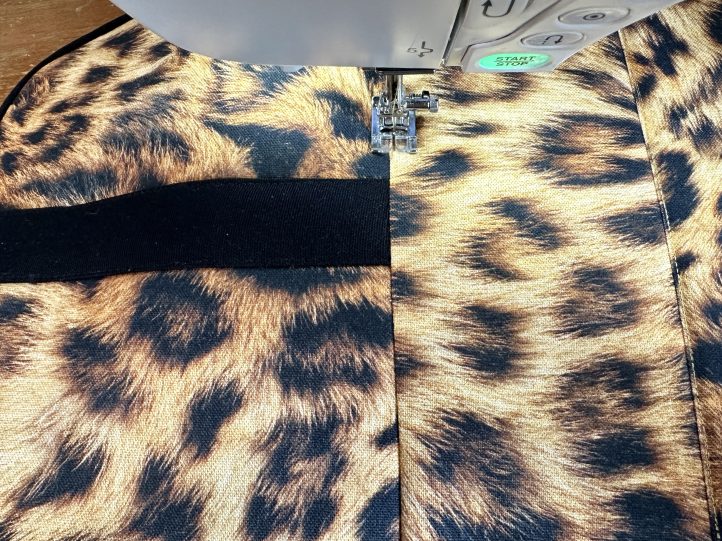
- Lengthen your machine stitch and topstitch the flap edge seam going through all layers.
The Lining-Slip Pockets:
- Fuse a piece of G740 interfacing to two of the pocket pieces.
- TIP: These pieces will now be the pocket exterior panels and the un-interfaced pocket pieces will be the ‘lining’.
- Pin or clip an interfaced and an un-interfaced pocket piece right sides together.
- Sew the top and bottom long edges only.
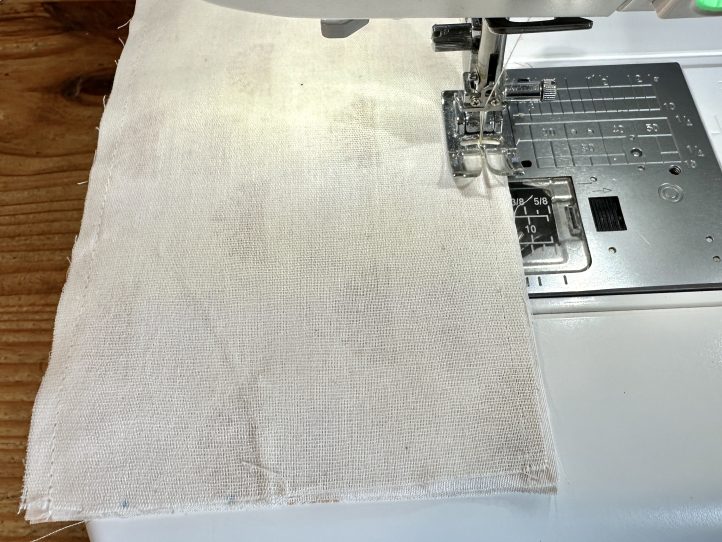
- Turn the pocket the right way out through a side gap.
- Press so that the top and bottom seams are perfect.
- TIP: There will be raw ends to the pockets but these will be hidden in the side seams.
- Topstitch along one long edge narrowly (1/8”). This will become the top of the pocket so pay attention to directional prints.
- Repeat for the other pocket pieces.
Attaching the Pockets to the Lining:
- Fold the lining panel and the slip pocket in half vertically and finger press to find the center of both.
- Site the pocket onto the lining panel 2” up from the bottom edge, lining up the two vertical centers and pin well.
- Topstitch the bottom edge of the pocket narrowly (1/8”) to attach it.
- Machine baste both raw pocket sides to the side of the lining.
- Slip pockets of this size can sag so divide them up with a vertical seam along the center crease.
- Repeat all of this on the other lining panel with the other lined slip pocket.
MAKING:
Constructing the Exterior:
- With the right sides together, pin or clip the exterior front to the exterior back panel matching the seams up perfectly.
- Sew the side and base seams.
- Cut a 3/4” square from the two lower corners and box the corners.
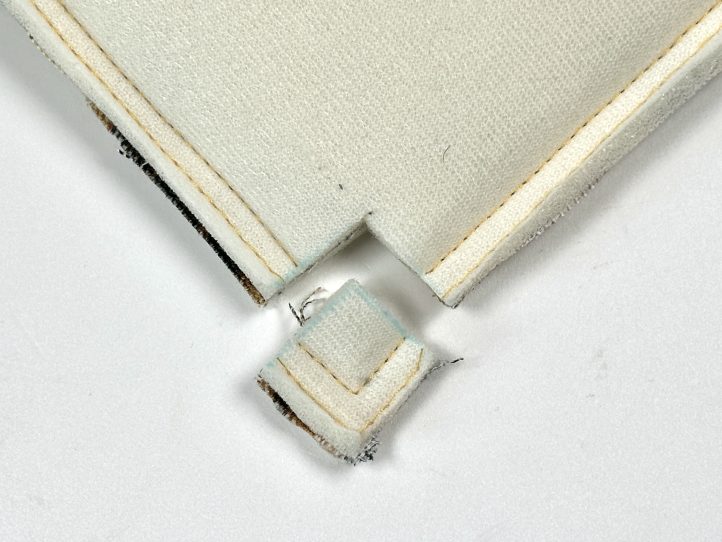
- Turn the bag exterior the right way out and gently push the corners into place.
Constructing the Lining:
- Sew the lining panels together right sides facing, leaving a turning gap in the base seam.
- Cut the corner squares out ready for boxing (Boxing is attaching corner squares to create corner depth).
- TIP: Before boxing the corners, fit the lining into your bag, and if it is too big, slightly increase the seam allowance to get a good fit.
- When you are happy with the fit, box the corners.
Finishing:
- With the exterior the right way out and the lining inside out, pull the lining over the exterior and match the side seams. The right sides of both exterior and lining should be facing. Tuck the flap down in between the exterior and the lining.
- Sew right around the top edge of the bag, leaving no gaps.
- Turn the bag out through the gap in the lining and then close that gap.
- Stuff the lining down into the bag exterior and push everything into place.
- Topstitch twice around the top edge, 1/8” on the first pass and then 1/4” under that.
