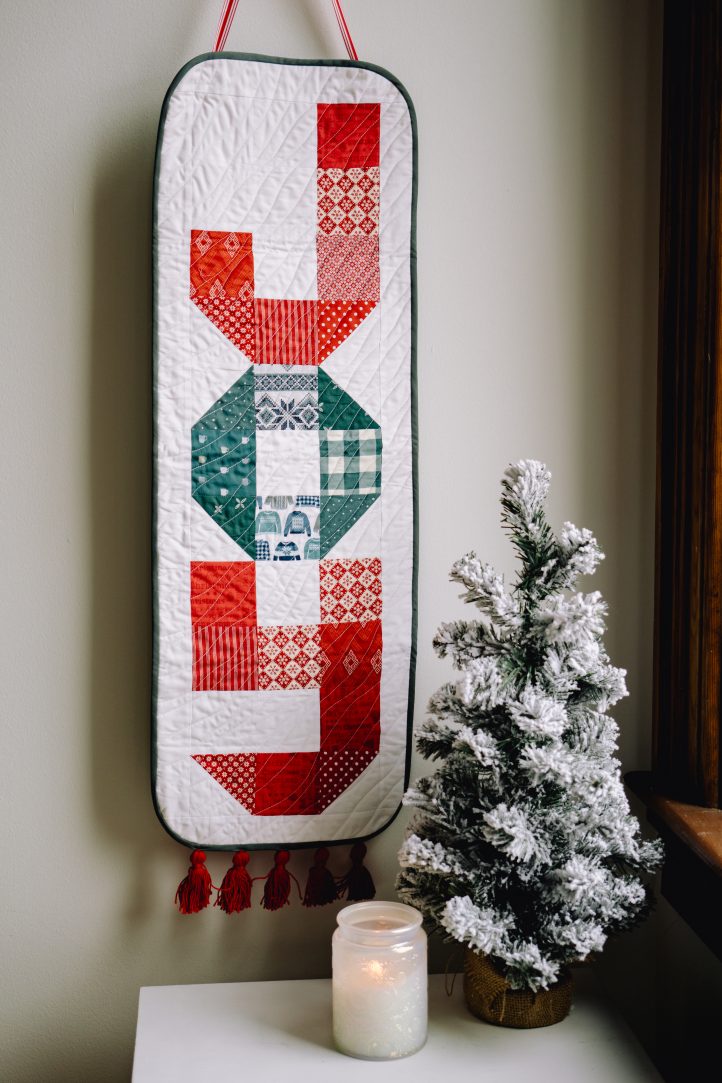
Welcome guests to your home with a joyful front door quilt! Originally featured in our sister magazine We Like Quilting, this Christmas quilting project is an excellent scrapbusting idea and is completed with cherry red yarn tassels. Spread the message of comfort and joy with loved ones this holiday season by making this whimsical Christmas quilting pattern.
Designer Notes:
- Please read all instructions and assembly requirements before beginning the pattern.
- Seam allowances are all 1/4” and have already been added.
Materials:
- Fabric:
- An assortment of coordinating red and green scraps. Each scrap must be at least 3 1/2” square. (The HST needs are 4 1/4”), and it is absolutely fine to use a scrap more than once.
- 1/2 yard. white solid fabric. The designed used Snow from the Pure Elements collection by Art Gallery Fabrics.
- 1/2 yard. backing fabric. The designed used Small Plaid of my Dreams Joyful from the Storyteller Plaids collection by Maureen Cracknell for AGF.
- TIP: This small amount for the backing fabric only works if you do not have a directional print. If the print is directional, you will need 1 1/2 yds. of backing fabric.
- Fat quarter solid fabric for binding. Because the designer’s greens are on the blueish side, they have chosen Balsam Fir from the Pure Elements collection by AGF.
- TIP: Match the binding to your greens. If they are more yellow or more bright, choose accordingly.
- Interfacing: 1 yd. #279 80/20 Cotton Mix Batting (Vlieseline)
- 1 ball red or green cotton yarn to coordinate with your fabric colors for the tassels
- Large (turquoise) tassel maker (Clover)
- Scissors
- Fabric marking tools
- Extra feet for your sewing machine (walking foot, for example)
- Something with which to hang your quilt. The designer used a couple of small metal rings but you can use anything that will help to hang it on your particular front door.
Cutting Instructions:
From the red scraps:
- 12 squares 3 1/2” sq. for the main part of the letters
- 2 squares 4 1/4” sq. for the HST units
From the green scraps:
- 4 squares 3 1/2” sq. for the main part of the letters
- 2 squares 4 1/4” sq. for the HST units
From the white solid fabric:
- 1 strip 3 1/2” wide x WOF (width of fabric), sub-cut into 9 squares
- 4 squares 4 1/4” sq. for the HST units
- 2 strips 2” wide x 12 1/2” long for the top and bottom sashes
- 2 strips 2” wide x 33 1/2” long for the left and right sashes
From the binding fabric:
- Strips cut on the diagonal 1 1/2” wide and joined to make a continuous strip 100” long
From the backing fabric:
- 1 piece 16” wide x 40” tall
From the batting:
- 1 piece 15” wide x 39” tall
Sewing Instructions:
This quilt is built from squares and half square triangles (HSTs) and then enclosed by sashes. The squares are simply cut but the HSTs need a small amount of preparation.
TIP: When you make a HST unit, you begin with a white square and a colored square and then you will end up with two HST units, half white, half colored. Use one half of the HST unit in one place and the other in another. There are even numbers of HSTs needed in the quilt so there is no waste.
- To make a HST unit, take a white square and a red or green one. Lay the squares right sides facing.
- Using a removable marker, draw a diagonal line from one corner to the other.
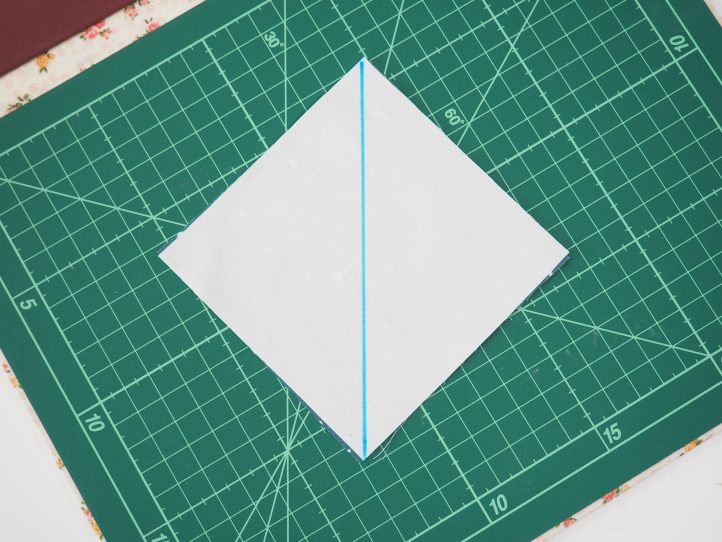
- Sew a normal 1/4” seam on either side of this line.

- Cut along the original line to make two HSTs.
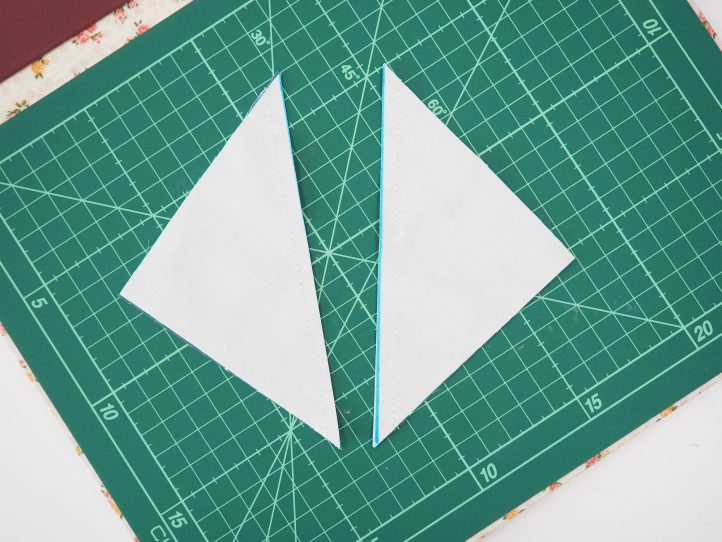
- Open each HST out, press the seam flat, and trim to 3 1/2” sq. It is now ready to use.
- TIP: You will notice that on the cutting list, the HST requirements are cut larger than the straight out squares. This is to allow for that center seam and some trimming (always necessary). When you are finished, all of the squares will be the same size and will fit together like pixels.
- Make the HST units and trim them.
- The quilt has three letters stacked on top of each other to form the word ‘JOY’. We will sew the quilt in rows of five squares and then join each row to the next. Press all seams open as much as possible and consider shortening your stitch length so that the squares stay together slightly better.
- TIP: In the interests of brevity, the word white or green will be used to refer to the patterned fabric scrap squares.
- The pattern is read as follows:
- Row 1- two white, one red
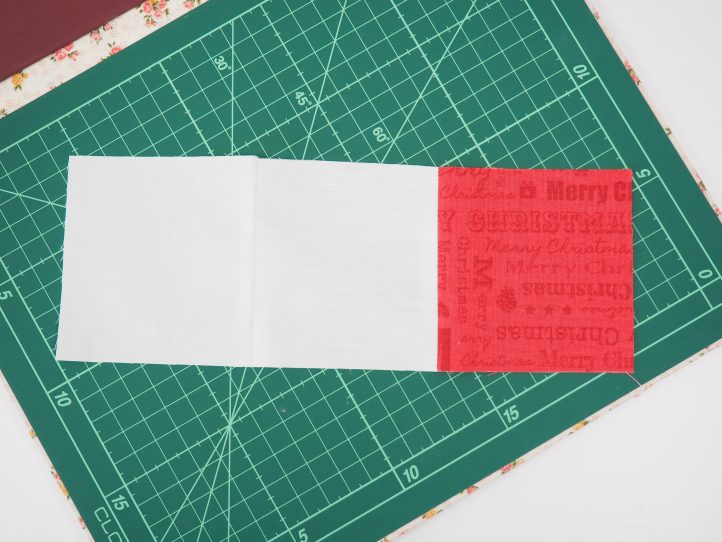
- Row 2- two white, one red
- Row 3- one red, one white, one red
- Row 4- one red/ white HST, one red, one red/ white HST
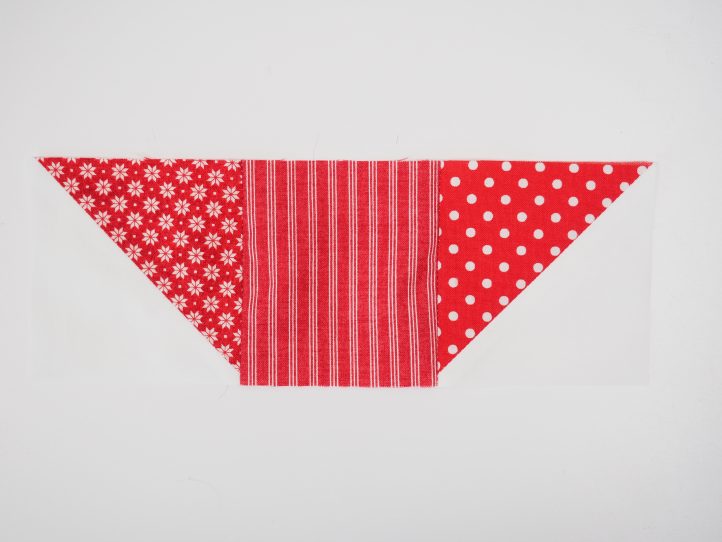
- Sew this lot together and you should be able to see the letter ‘J’ emerging.
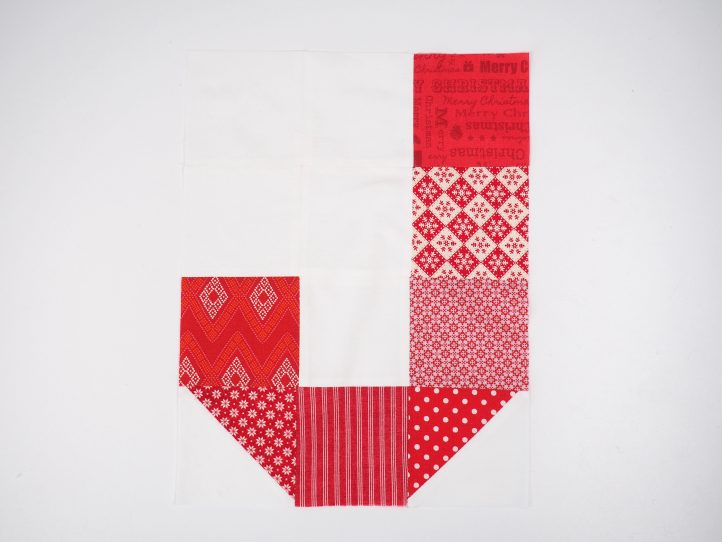
- TIP: Because the construction of the quilt is so simple, there are not many places to hide so make sure that your joins are as perfect as possible.
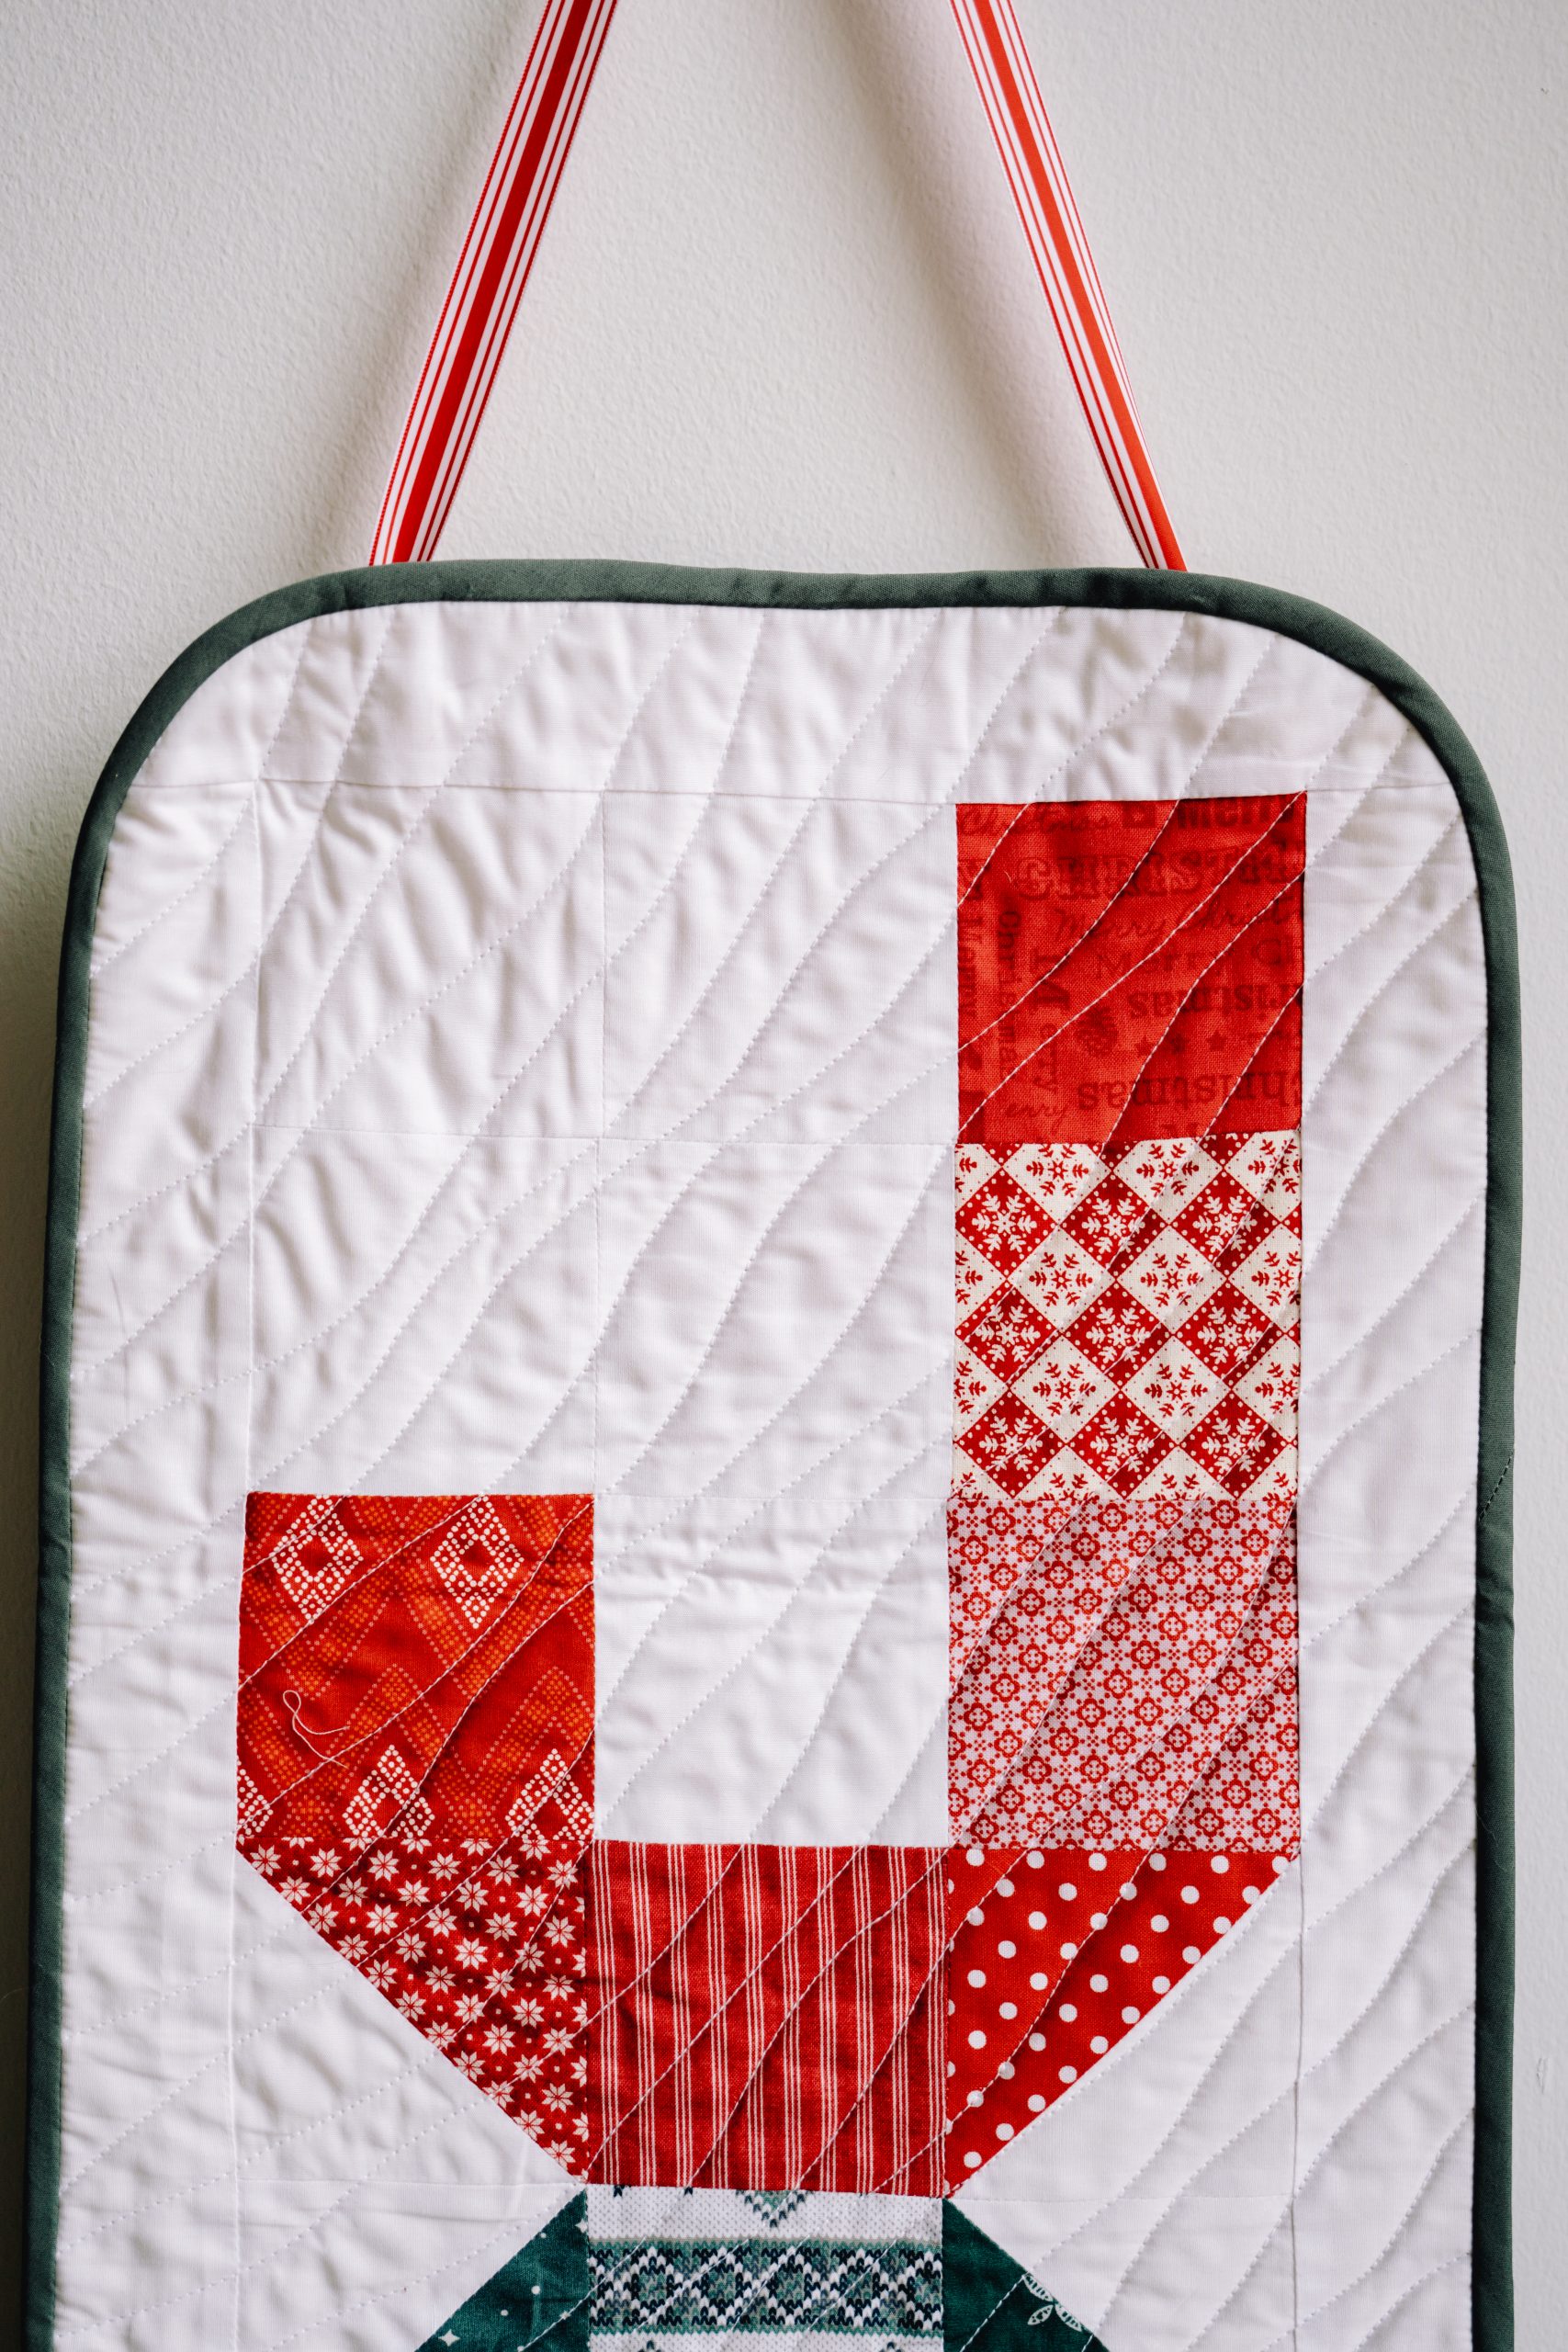
- TIP: Refer to the main photo if you need a bit of help with the orientation of the HST squares.
- Row 5- one green/white HST, one green, one green/white HST
- Row 6- one green, one white, one green
- Row 7- one green/white HST, one green, one green/white HST
- Row 8- one red, one white, one red
- Row 9- three red
- Row 10- two white, one red
- Row 11- one red /white HST, one red, one red /white HST
- Row 1- two white, one red
- Join and press to make sure that everything is beautifully aligned and add the side sashes followed by the top and bottom sashes. Press again.
- TIP: You may need to trim the sashes if they are a little too long. This will not be very much but seam allowance anomalies and fabric weight differences can cause it.
- Lay the backing fabric face down onto a flat surface and add the batting on top, centering it well.
- The patched and pressed top goes on top of this (face up) and then the whole thing needs to be pinned so that no movement is possible.
- Quilt with your favorite pattern. Debbie loves a random diagonal wave but you can do anything at all.
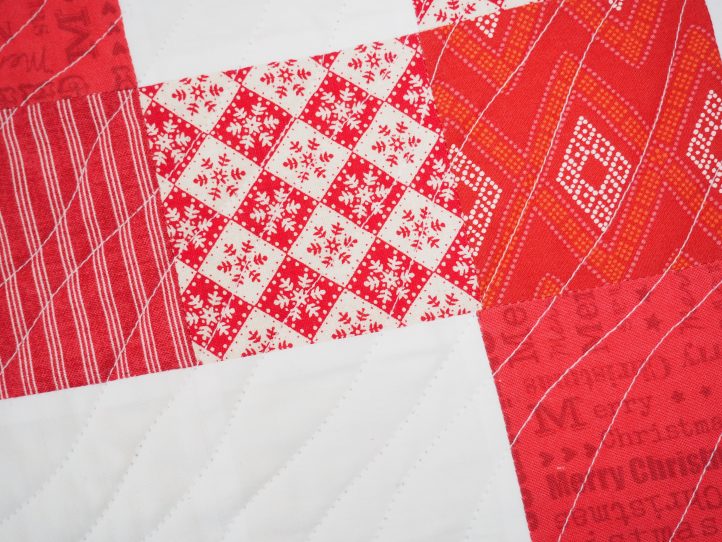
- TIP: Don’t forget to use the walking (dual feed) foot for the quilting and keep an eye on the back so that everything stays flat.
- When the quilting is finished, trim the batting and backing back to the size and shape of the top and round the corners.
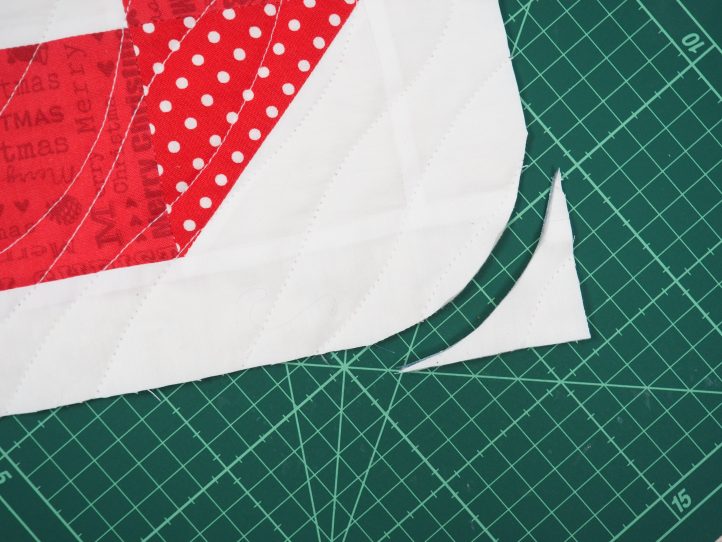
- TIP: Use anything to round the corners – the designer used an upturned tea cup. Simply draw around it and then cut it out. This means no mitering of the corners when you bind them. Yay!
- Make the bias tape by taking your long strip, folding it in half lengthways, wrong sides facing and ironing a center crease.
- Fold the two raw edges to the center crease, also the wrong sides facing, and press again.
- Use the binding to bind the raw edge of the quilt.
- TIP: The designer prefers to bind the quilt front by machine and then finish the back off by hand.
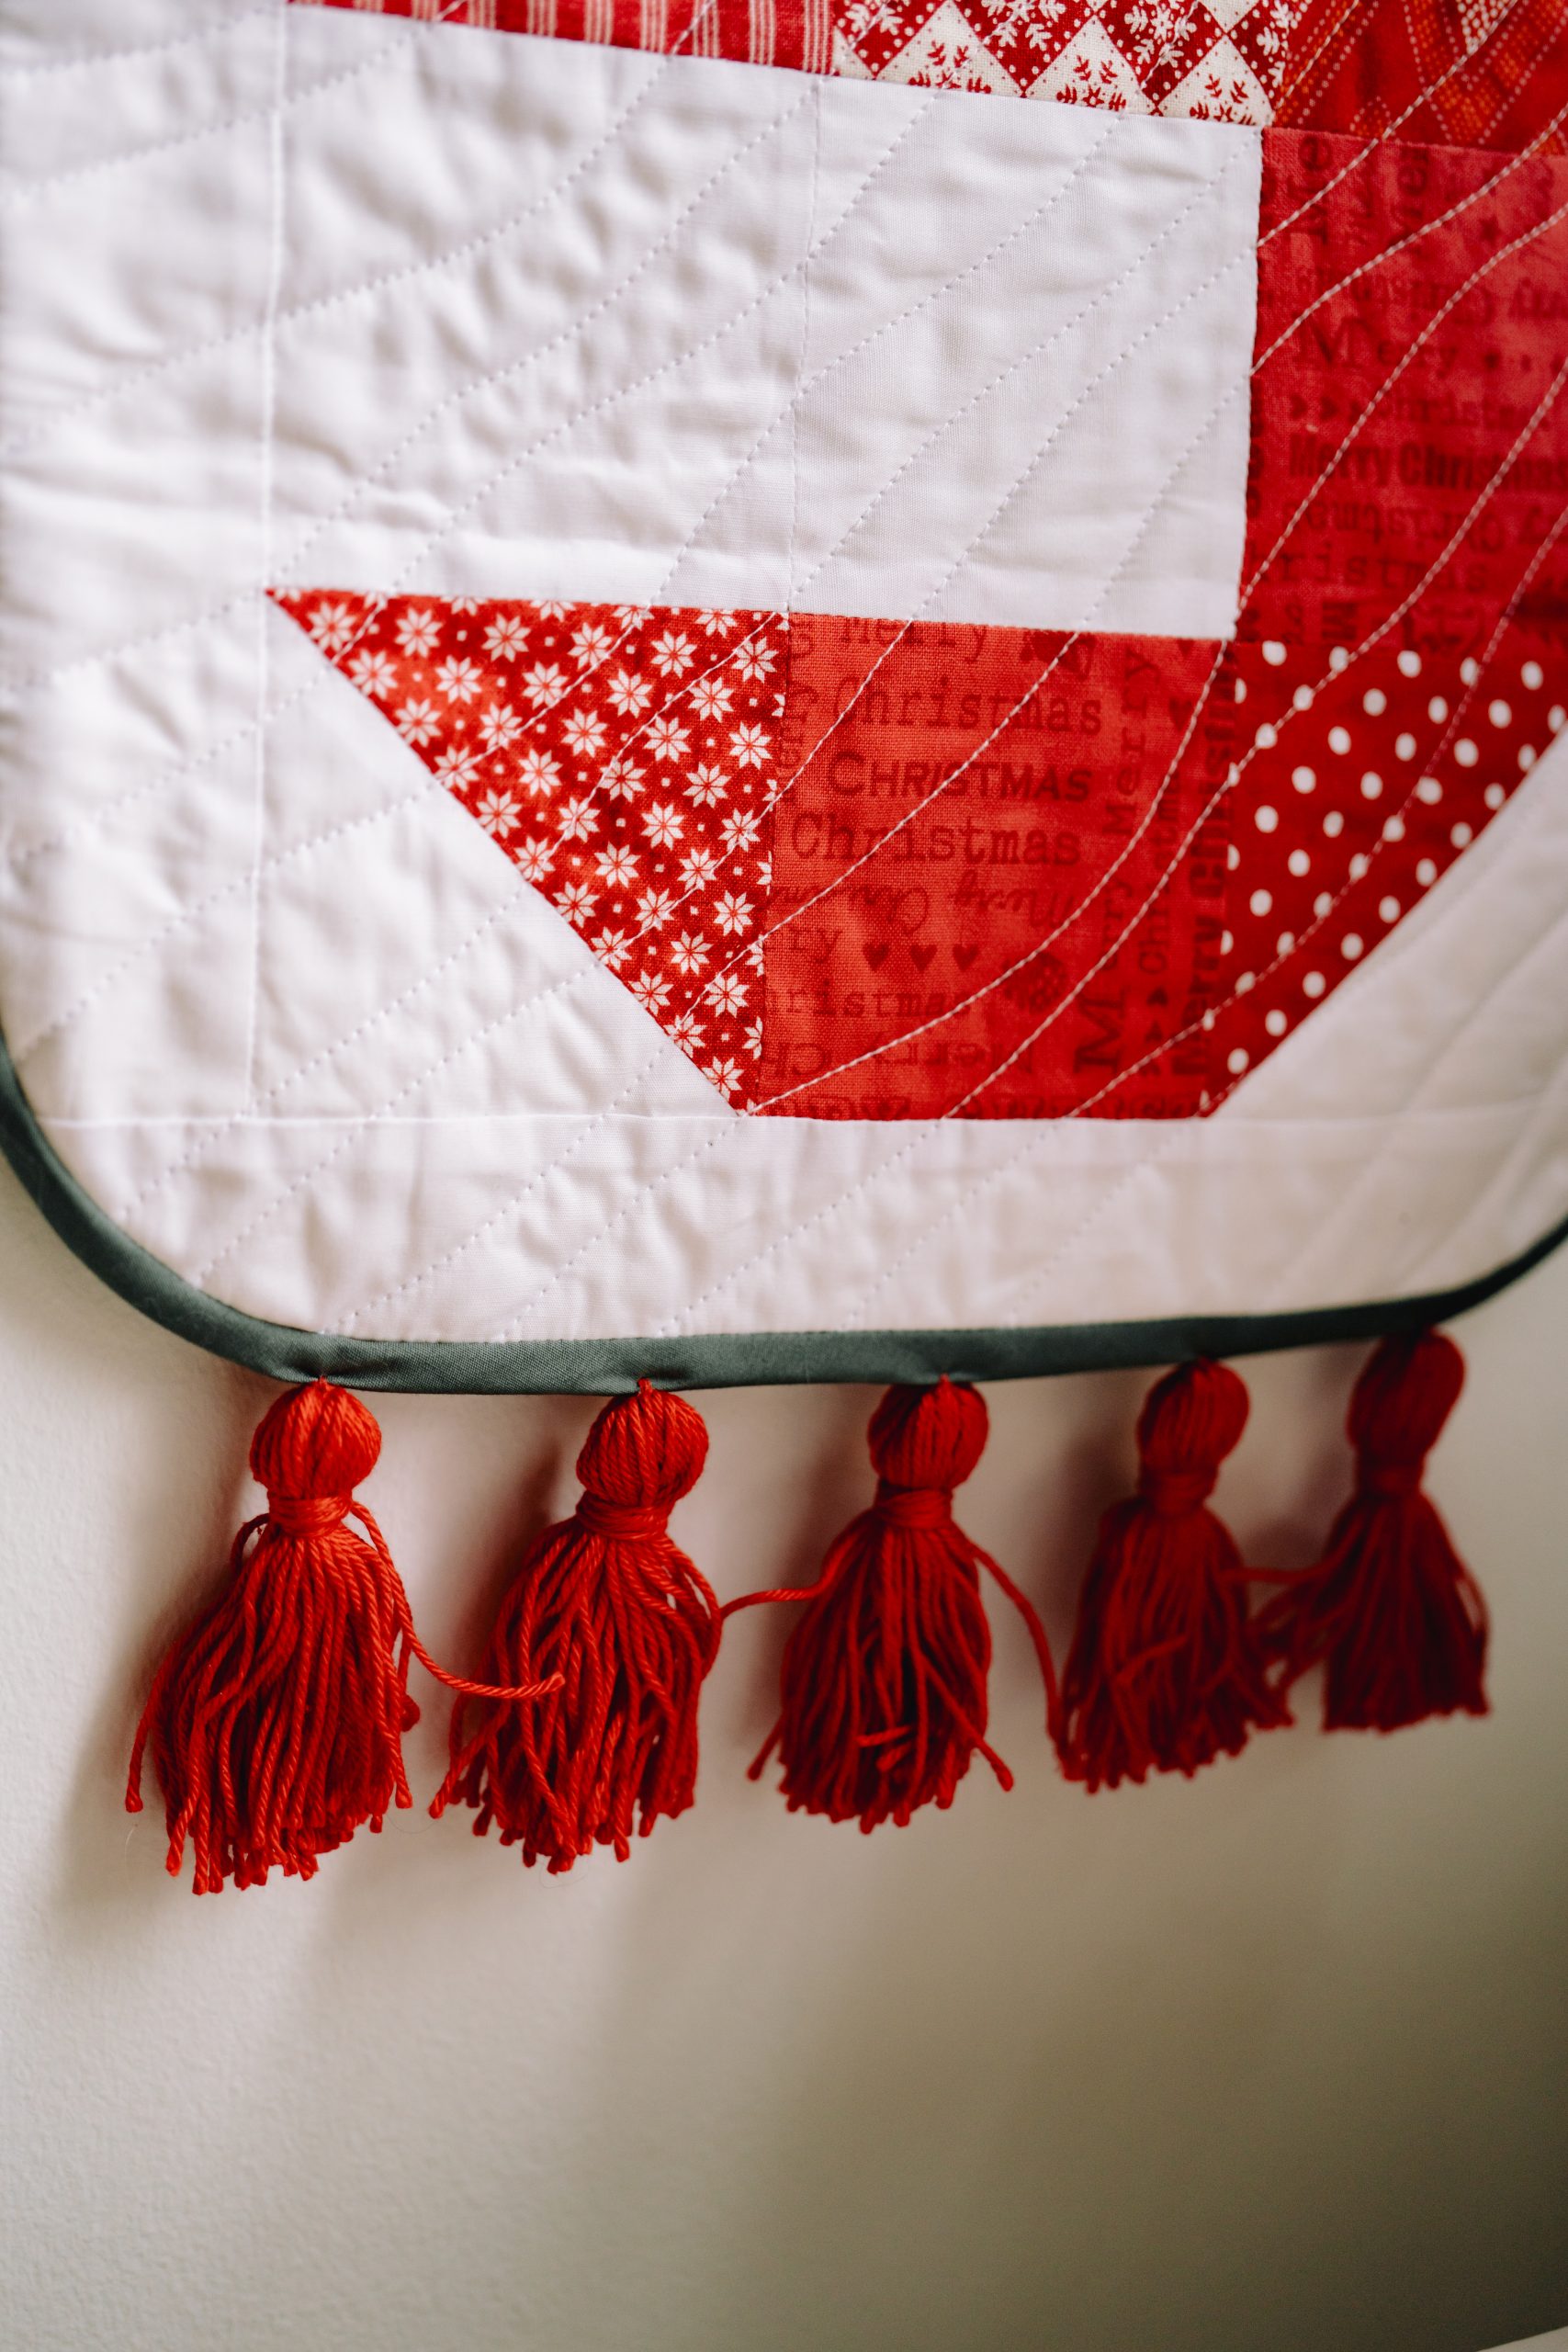
- Finally, to make the tassels, set the tassel maker on the smallest setting. Wind the yarn around the tassel maker 20 times. Tie the tassel off in the center and weave the yarn into the tassel.
- Remove the tassel from the tassel maker and fold it over. Tie the tassel ‘waist’ about 3/4” down from the top and bury all of the yarn ends inside the tassel.
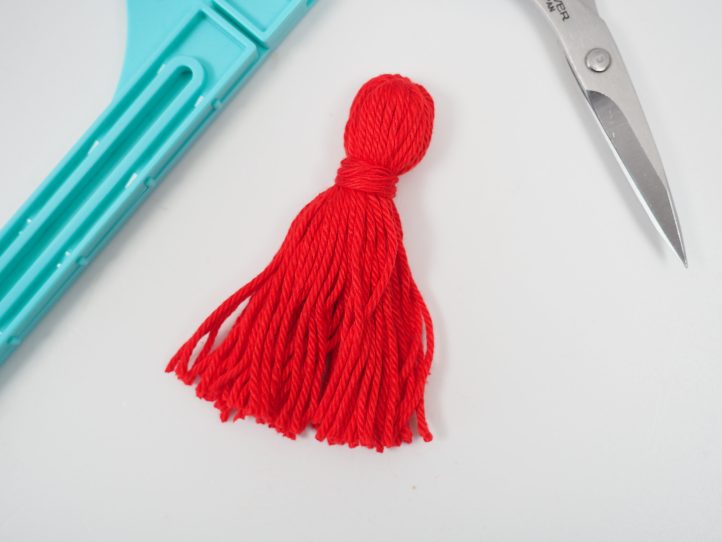
- Trim your tassel and make 4 more.
- Attach the tassels to the bottom edge of the quilt.
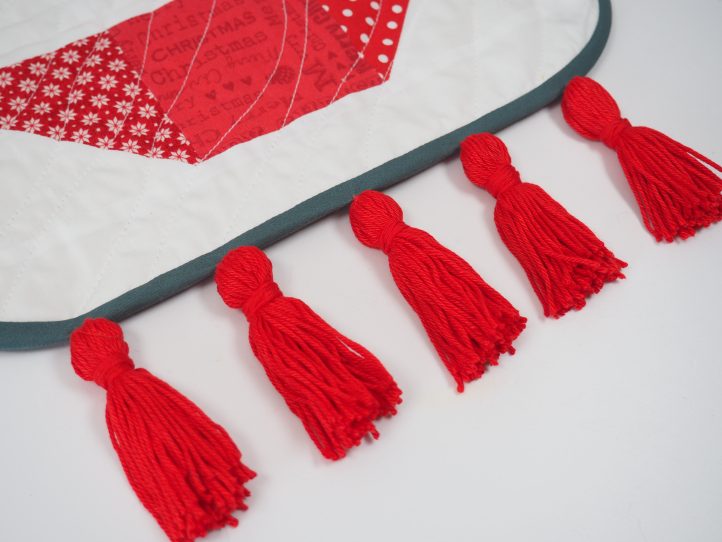
- TIP: The tassels will be 2” apart.
- Finally, use whatever you have chosen to hang your quilt.

