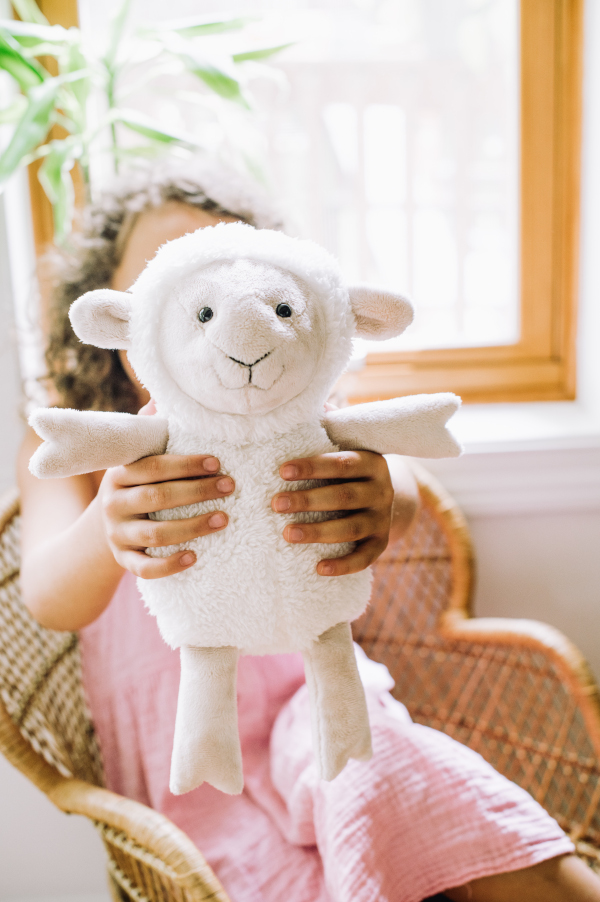
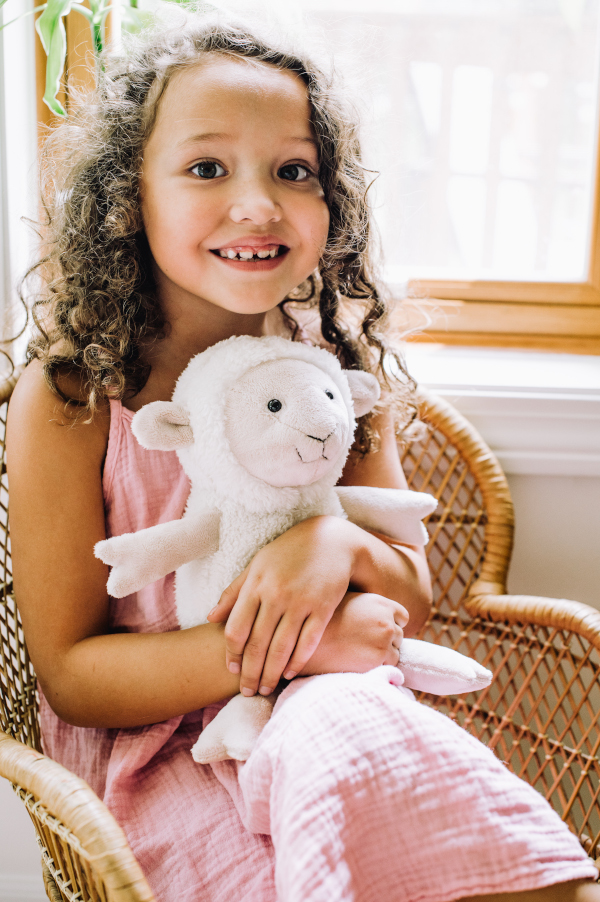
Question: Is there anything cuter than this little lamb toy? Answer: No, there isn’t! This adorable toy pattern is guaranteed to be a hit with your little ones and is an excellent stocking stuffer idea. This sweet cuddly toy is a great project to practice working with specialty fabrics, as it uses soft fur and fleece fabrics to create the lamb’s wool and body. Complete with thorough instructions and a printable pattern, this lamb toy is a perfect gift for birthdays and holidays and is sure to become a fast favorite with your child. As a fun bonus, we’ve also included an interview in this issue with project designer Jo Carter!
Finished Size: Approximately 14″ (35cm)
Materials:
- Smooth fur fabric A (for face and limbs etc): approx. 16″ x 12″ (40 cm x 30 cm)
- Longer pile ‘fleecy’ fabric B (for main body): approx. 20″ x 18″ (50 cm x 45 cm)
- Pair of 9mm black safety eyes (NOTE: Not suitable for children under 3 years)
- Black embroidery thread
- Polyester toy filling
- Matching sewing thread
- Basic sewing kit
Fabrics Used:
- Solid Cuddle in Beige (Shannon Fabrics)
- Luxe Cuddle Sherpa in Ivory (Shannon Fabrics)
Designer Notes:
- Seam allowance is 1/4″ (6mm), unless otherwise noted.
- Templates include seam allowances, unless otherwise noted.
- RST = right sides together
- Arrows on the templates indicate print/pile direction for marking and cutting out.
- Remember: When the pattern specifies ‘cut 2’ or more of a pattern piece, the template needs to be turned over halfway through marking, so that the second half (pattern piece) are cut as mirror-images to the first (pattern piece)
- When clipping, always take care to avoid any stitching.
- Contrasting thread has been used for the photographs for visibility.
Tips:
Using a fluffier, longer pile fur fabric for the body can give a fantastic end result but can be tricky to sew with. It can be helpful to tack the pieces together by hand first using a loose overcast stitch before machine sewing. This can take a little time but can save a lot in the long run.
Instructions:
- Begin by tracing and cutting out the templates. Next, draw out the pattern pieces onto the reverse of the fabric, positioning them as closely together as possible and checking that they all fit before cutting. Cut out as follows:
From smooth fur fabric A:
Cut 1 Top Face
Cut 2 Side Face
Cut 2 Front Ear
Cut 2 Back Ear
Cut 4 Arm
Cut 4 Leg
From longer pile ‘fleecy’ fabric B:
Cut 2 Outer Face
Cut 2 Back Head
Cut 2 Stomach
Cut 2 Back Body
Cut 1 Base
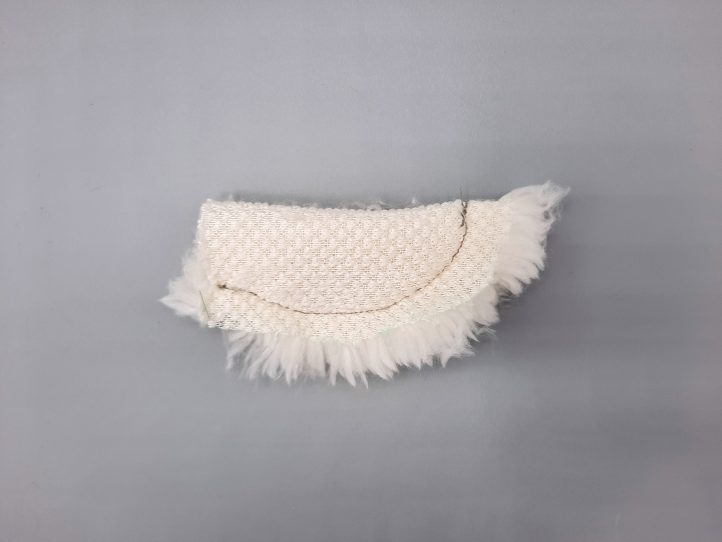
Cut 1 Tail - RST, sew a side face piece to its corresponding side of the top face; there are double notches on both pieces (ensure they match up) to aid correct fit. Repeat to attach the remaining side face to the opposite side of the top face.

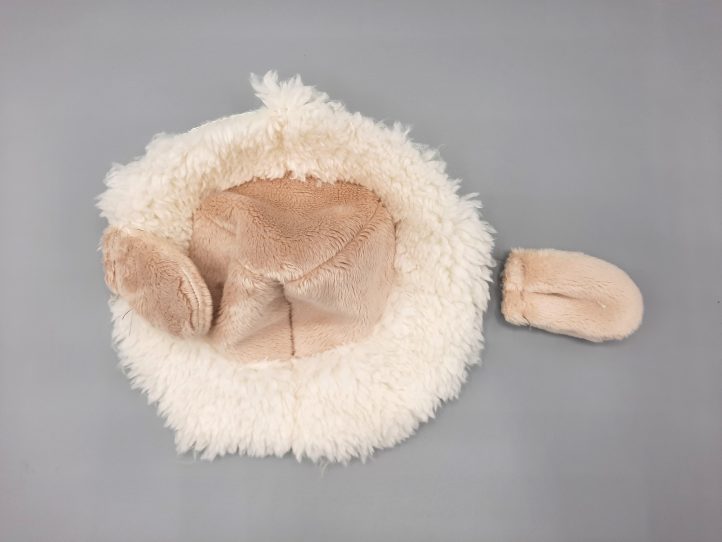
- RST, place the outer face pieces one on top of the other and sew together at the top.
- RST, sew the face around the center of the outer face. This can be done in two ways: either all in one go or in two halves. The danger with sewing all in one go from one side to the other is that the center point will not match up accurately, giving a crooked finish to the face. If sewing all in one go, it is recommended to tack by hand first, making sure that all of the seams and notches match up, particularly the center notch on the top face and the seam at the top of the outer face. If sewing in two halves, match up the center notch on the top face with the seam in the outer face and from this top point, sew them together down along one side of the face. Return to the top point and sew the remaining side; the fabric that faced up for sewing the first part will not be on the bottom, which can feel awkward. If the outer face fabric is not stretchy, it is advisable to make small clips in the seam allowance to make it more flexible for sewing.
- RST, sew the front of the face together from the bottom of the top face down to join the outer face pieces at the front center.
- RST, place a back ear on top of a front ear and sew together around the curve; the curve is the same size but the front ear is larger than the back. Clip ‘V’ shaped notches in the seam allowance around the curve if preferred (this is not always necessary with stretchy fabric). Turn the right way out and make a fold in the middle of the front ear to flatten it, so that the raw edges align and it is the same width as the back ear. Baste the fold in place. Repeat to make the opposite ear, this time making the fold in the opposite direction to give two mirror-image ears.

- With the front of the ears against the right side of the face (fold in the ear facing downward), baste the ears into position where marked.
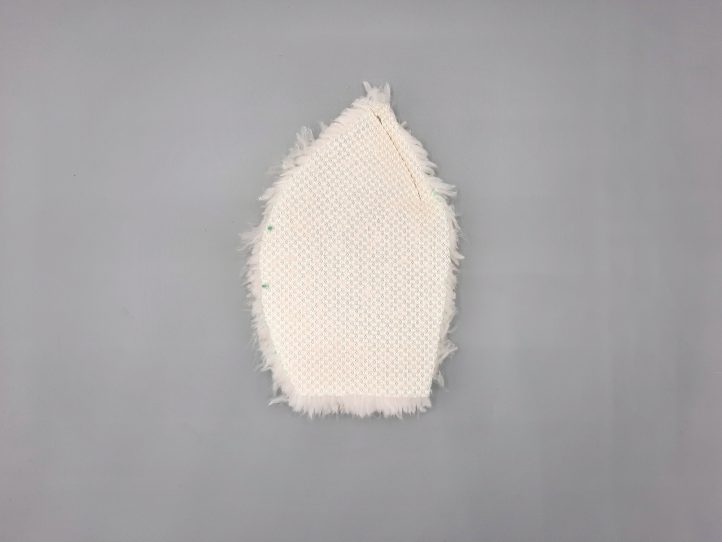
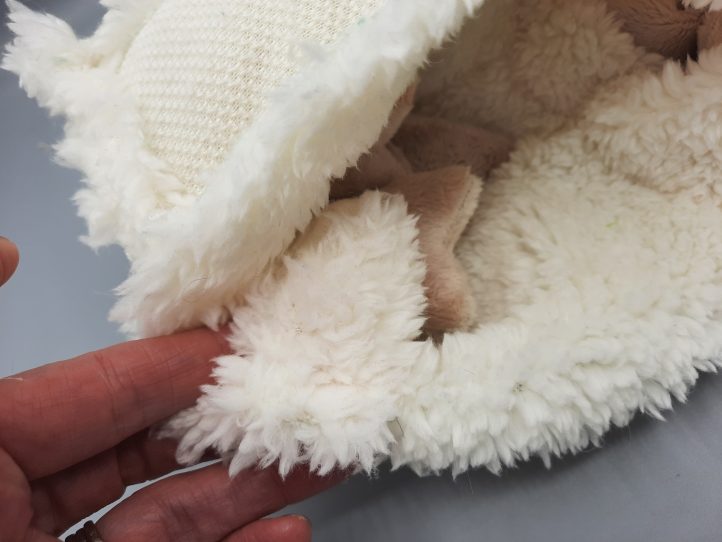
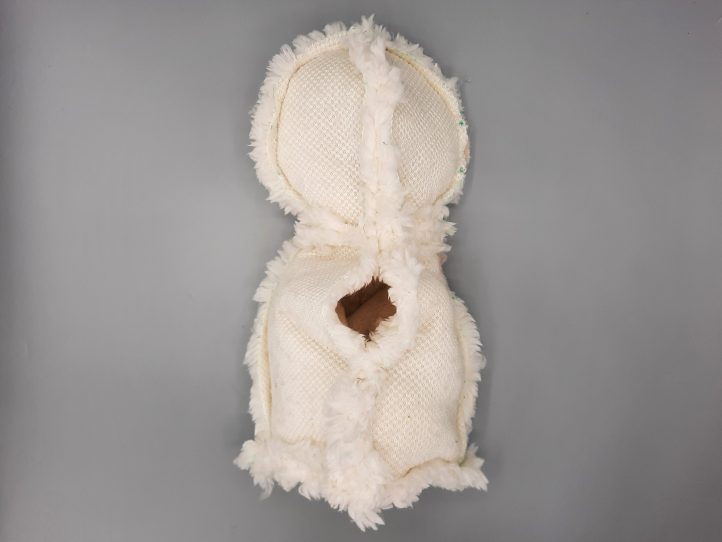
- RST, place the back head pieces one on top of the other and sew together along the back (no notches along the back, notches for the ears, etc., indicate the side of the back head) from the top down for 2 – 3″ (6 – 7cm) to partially join them (leaving the back of the head partially open makes attaching it to the body much easier).
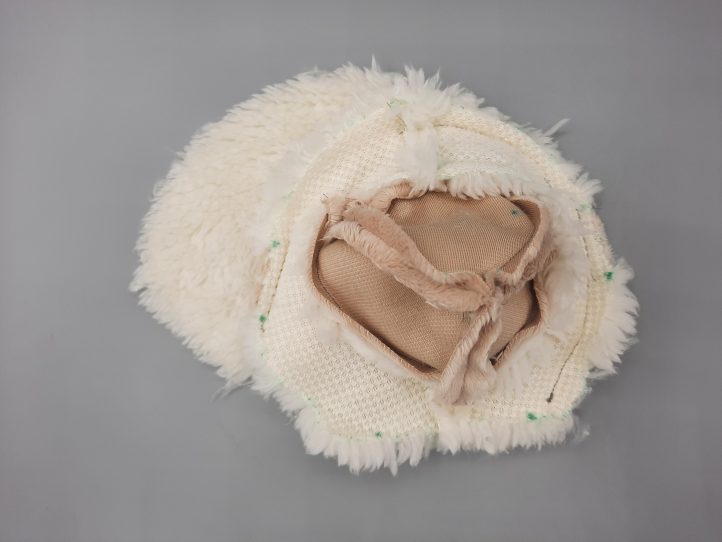
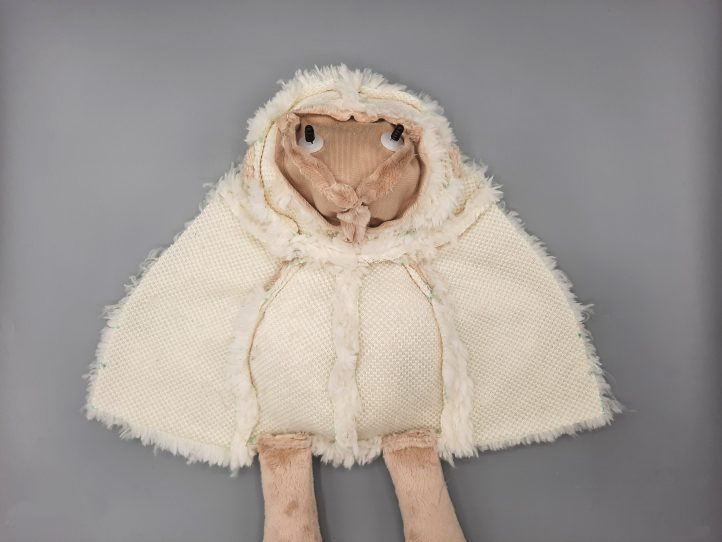
- RST, line up the center seam at the top of the outer face with the center seam at the top of the back head (made in step 8) and from this point, sew one side of the head together. Return to the top point and sew the remaining side together. Completing the seam in two halves like this helps to ensure a more even finish. Make the smallest holes possible through which to allow the shank of the eye in the middle face piece where marked. Fit the backs (flat side down) onto the eyes as tightly as possible.
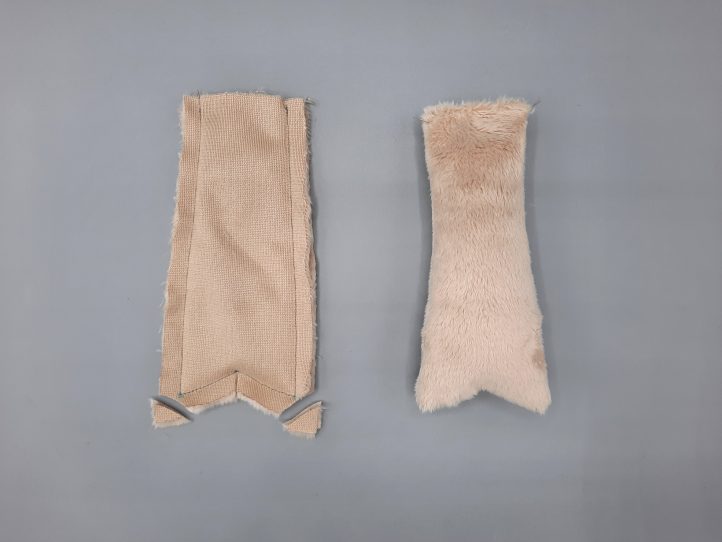
- RST, place two mirror-image arm pieces together one on top of the other and sew together around the sides and bottom using the pivot points to help at the corners. Clip the seam allowance at each corner and clip into the internal corner. Turn the right way out and stuff, leaving the top 1/2 – 1″ (about a thumb width) empty. Baste the end closed. Repeat to make the other arm.
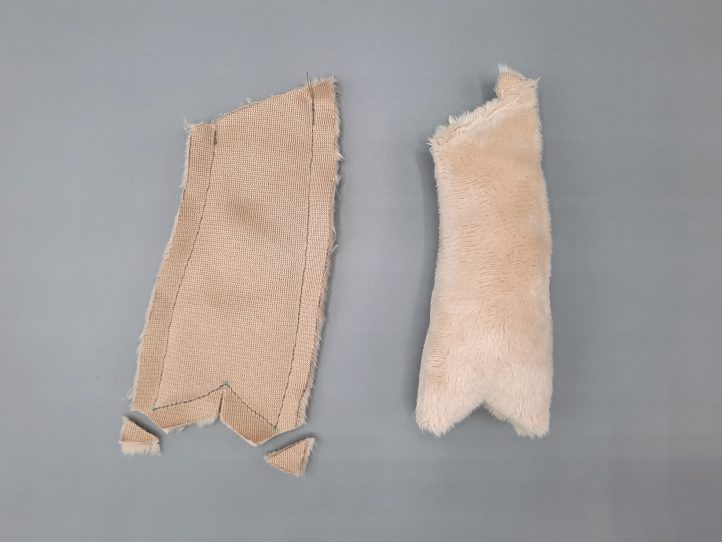
- RST, place two leg pieces together, one on top of the other, and sew together around the sides and bottom using the pivot points to help at the corners. Clip the seam allowance at each corner and clip into the internal corner. Turn the right way out and stuff, leaving the top 1/2 to 1″ (about a thumb width) empty. Baste the end closed. Repeat to make the other leg.
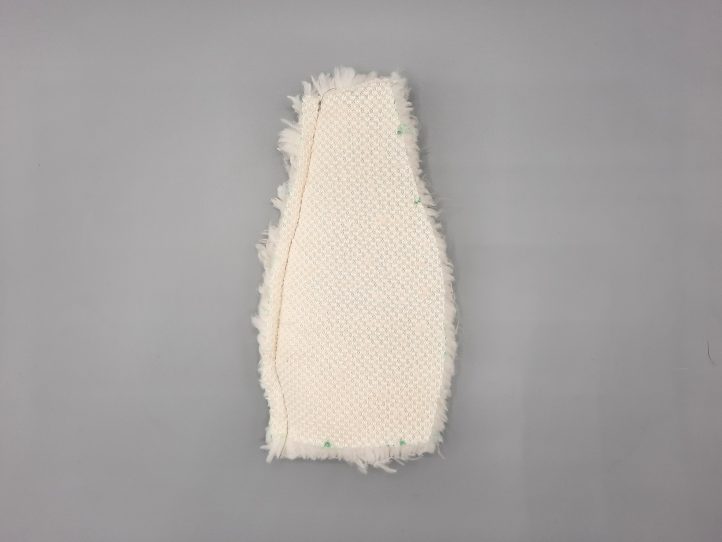
- RST, place the stomach pieces one on top of the other and sew together along the front (no notches along the front, notches for the arms, etc. indicate the side of the stomach).
- With the arms against the right side of the stomach and curving downward, baste the arms into position where marked.
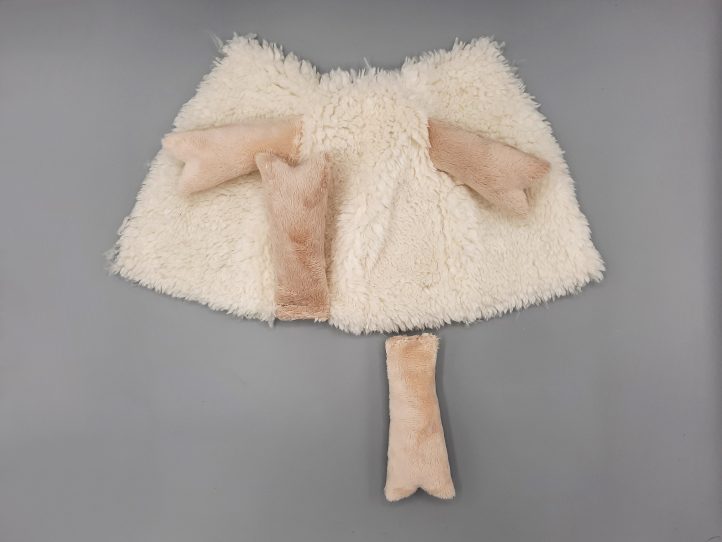
- RST, sew a back body piece to its corresponding side of the stomach (with attached arms). Repeat to attach the remaining back body piece.
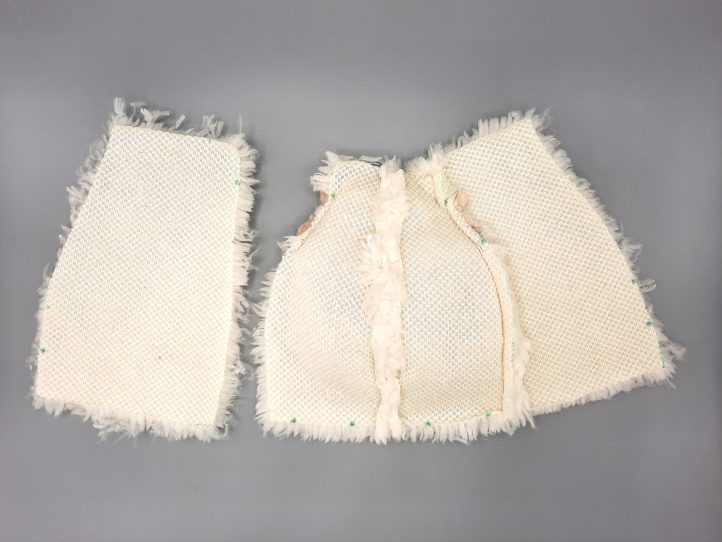
- With the legs against the right side of the stomach, baste into position where marked.
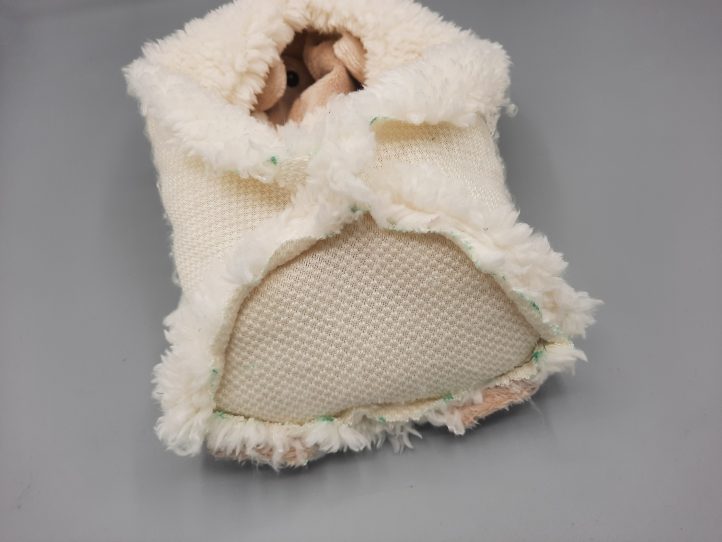
- RST, sew the bottom of the head to the top of the body, making sure that the seams correspond to the notches (the side seam in the head and the side seam in the body DO NOT line up with each other).
- RST, starting at the back of the body and center-back of the base (start 1/4″ in from the edge of the fabric on back body so the seam allowance is free) and with the base positioned on top for sewing, sew the base to the bottom of the body using the pivot points to help at the corners.
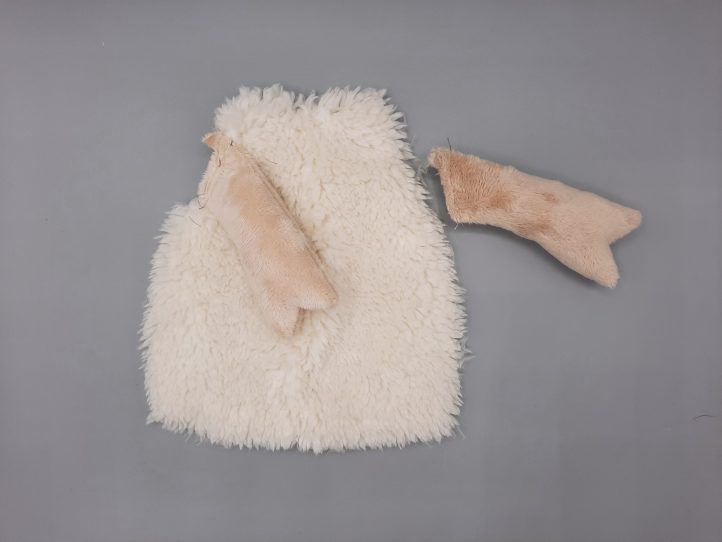
- RST, fold the tail in half and sew together, leaving the end open. Turn the right way out and baste the end closed.
- With the tail against the right side of the body, baste into position where marked.
- RST, sew the lower back of the body together from just above the tail to the base (make sure that the tail is full machine-sewn and secured in place). Sew the remainder of the back of the head together to leave an approximately 3″ opening in the back of the body.
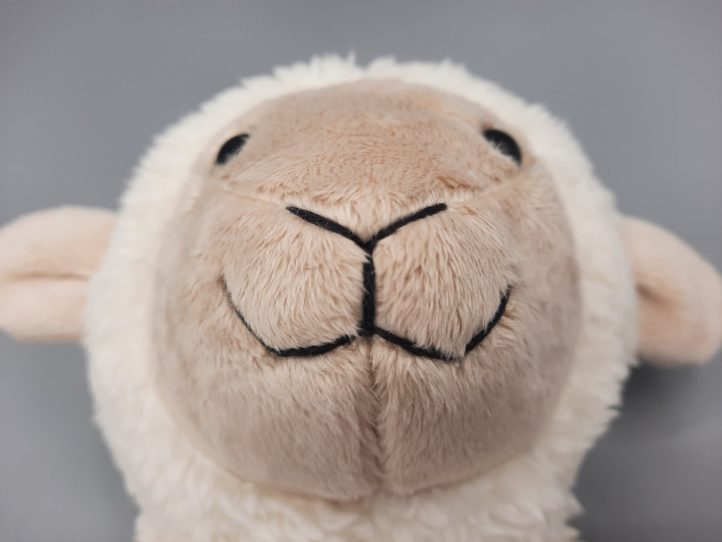
- Turn the lamb the right way out and stuff the head only. Using black embroidery thread (6 strand thickness) knotted at the end, take the needle in through the opening at the back of the empty body (avoid catching any fabric) and through the head and out where the three seams meet on the face so that the knot is hidden inside and securely anchored. Stitch a ‘Y’ shaped nose following the seams and then stitch a flattened ‘W’ shaped mouth below. Make a small stitch and before the loop closes, thread the needle through to make a small knot. Make another small stitch or two just to secure the thread and then take the needle into the head and out again anywhere and snip off the excess thread (this should leave a tail of thread inside the head, making it difficult for the stitches to work loose).
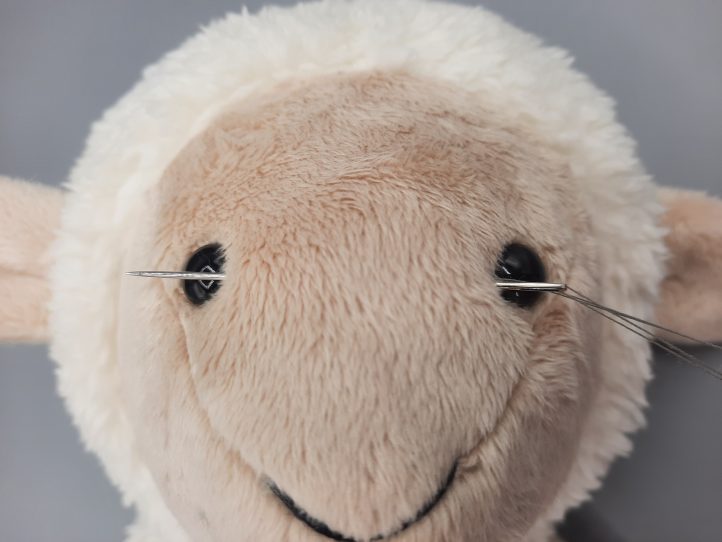
- Using a long needle and coordinating sewing thread doubled over and knotted and taken in through the back of the body as before, bring the needle out at the inside lower corner of one eye. Take the needle through the face to the same point on the opposite side and then back again. Pull lightly on the thread just to draw the eyes inward slightly and give the face a little more character. Repeat once more to hold the shaping in place, securing the thread as before, and trim away the excess.
- Re-adjust any stuffing in the head that became disturbed while stitching the mouth, etc. and stuff the remainder of the body. Hand sew the opening in the back of the body closed using ladder stitch or similar.
Adorable…..
Where do I get the pattern pieces?
Are there printable instructions? I would a copy to keep with the pattern pieces.
Hi Helen! You can print the instructions straight from the page or can copy and paste the text only into a Word doc. Please let us know if you have any other questions. Have a great day! – Ashley, We Like Sewing
Where do I get the pattern pieces?
Hi Connie! The pattern pieces for this project are available at the bottom of the page where it says “Gold Members, Download Here”. Please note that you must be a premium Gold Club member to access this pattern. Thanks so much! – Ashley, We Like Sewing
How large do I have to increase the pattern pieces to create the right sized lamb? Thank you.
Hi Rebecca! Great question! When you open/download the PDF pattern at the bottom of this page, you will notice a 2-inch square in the pattern pages as a reference guide. What you need to do when you print out the pattern is make sure that the reference square is measuring out to 2 inches. You can adjust the pattern size/scale in the print menu of Adobe Acrobat (we recommend opening/downloading PDFs using this). Hope this helps! Have a great day! – Ashley, WeLikeSewing