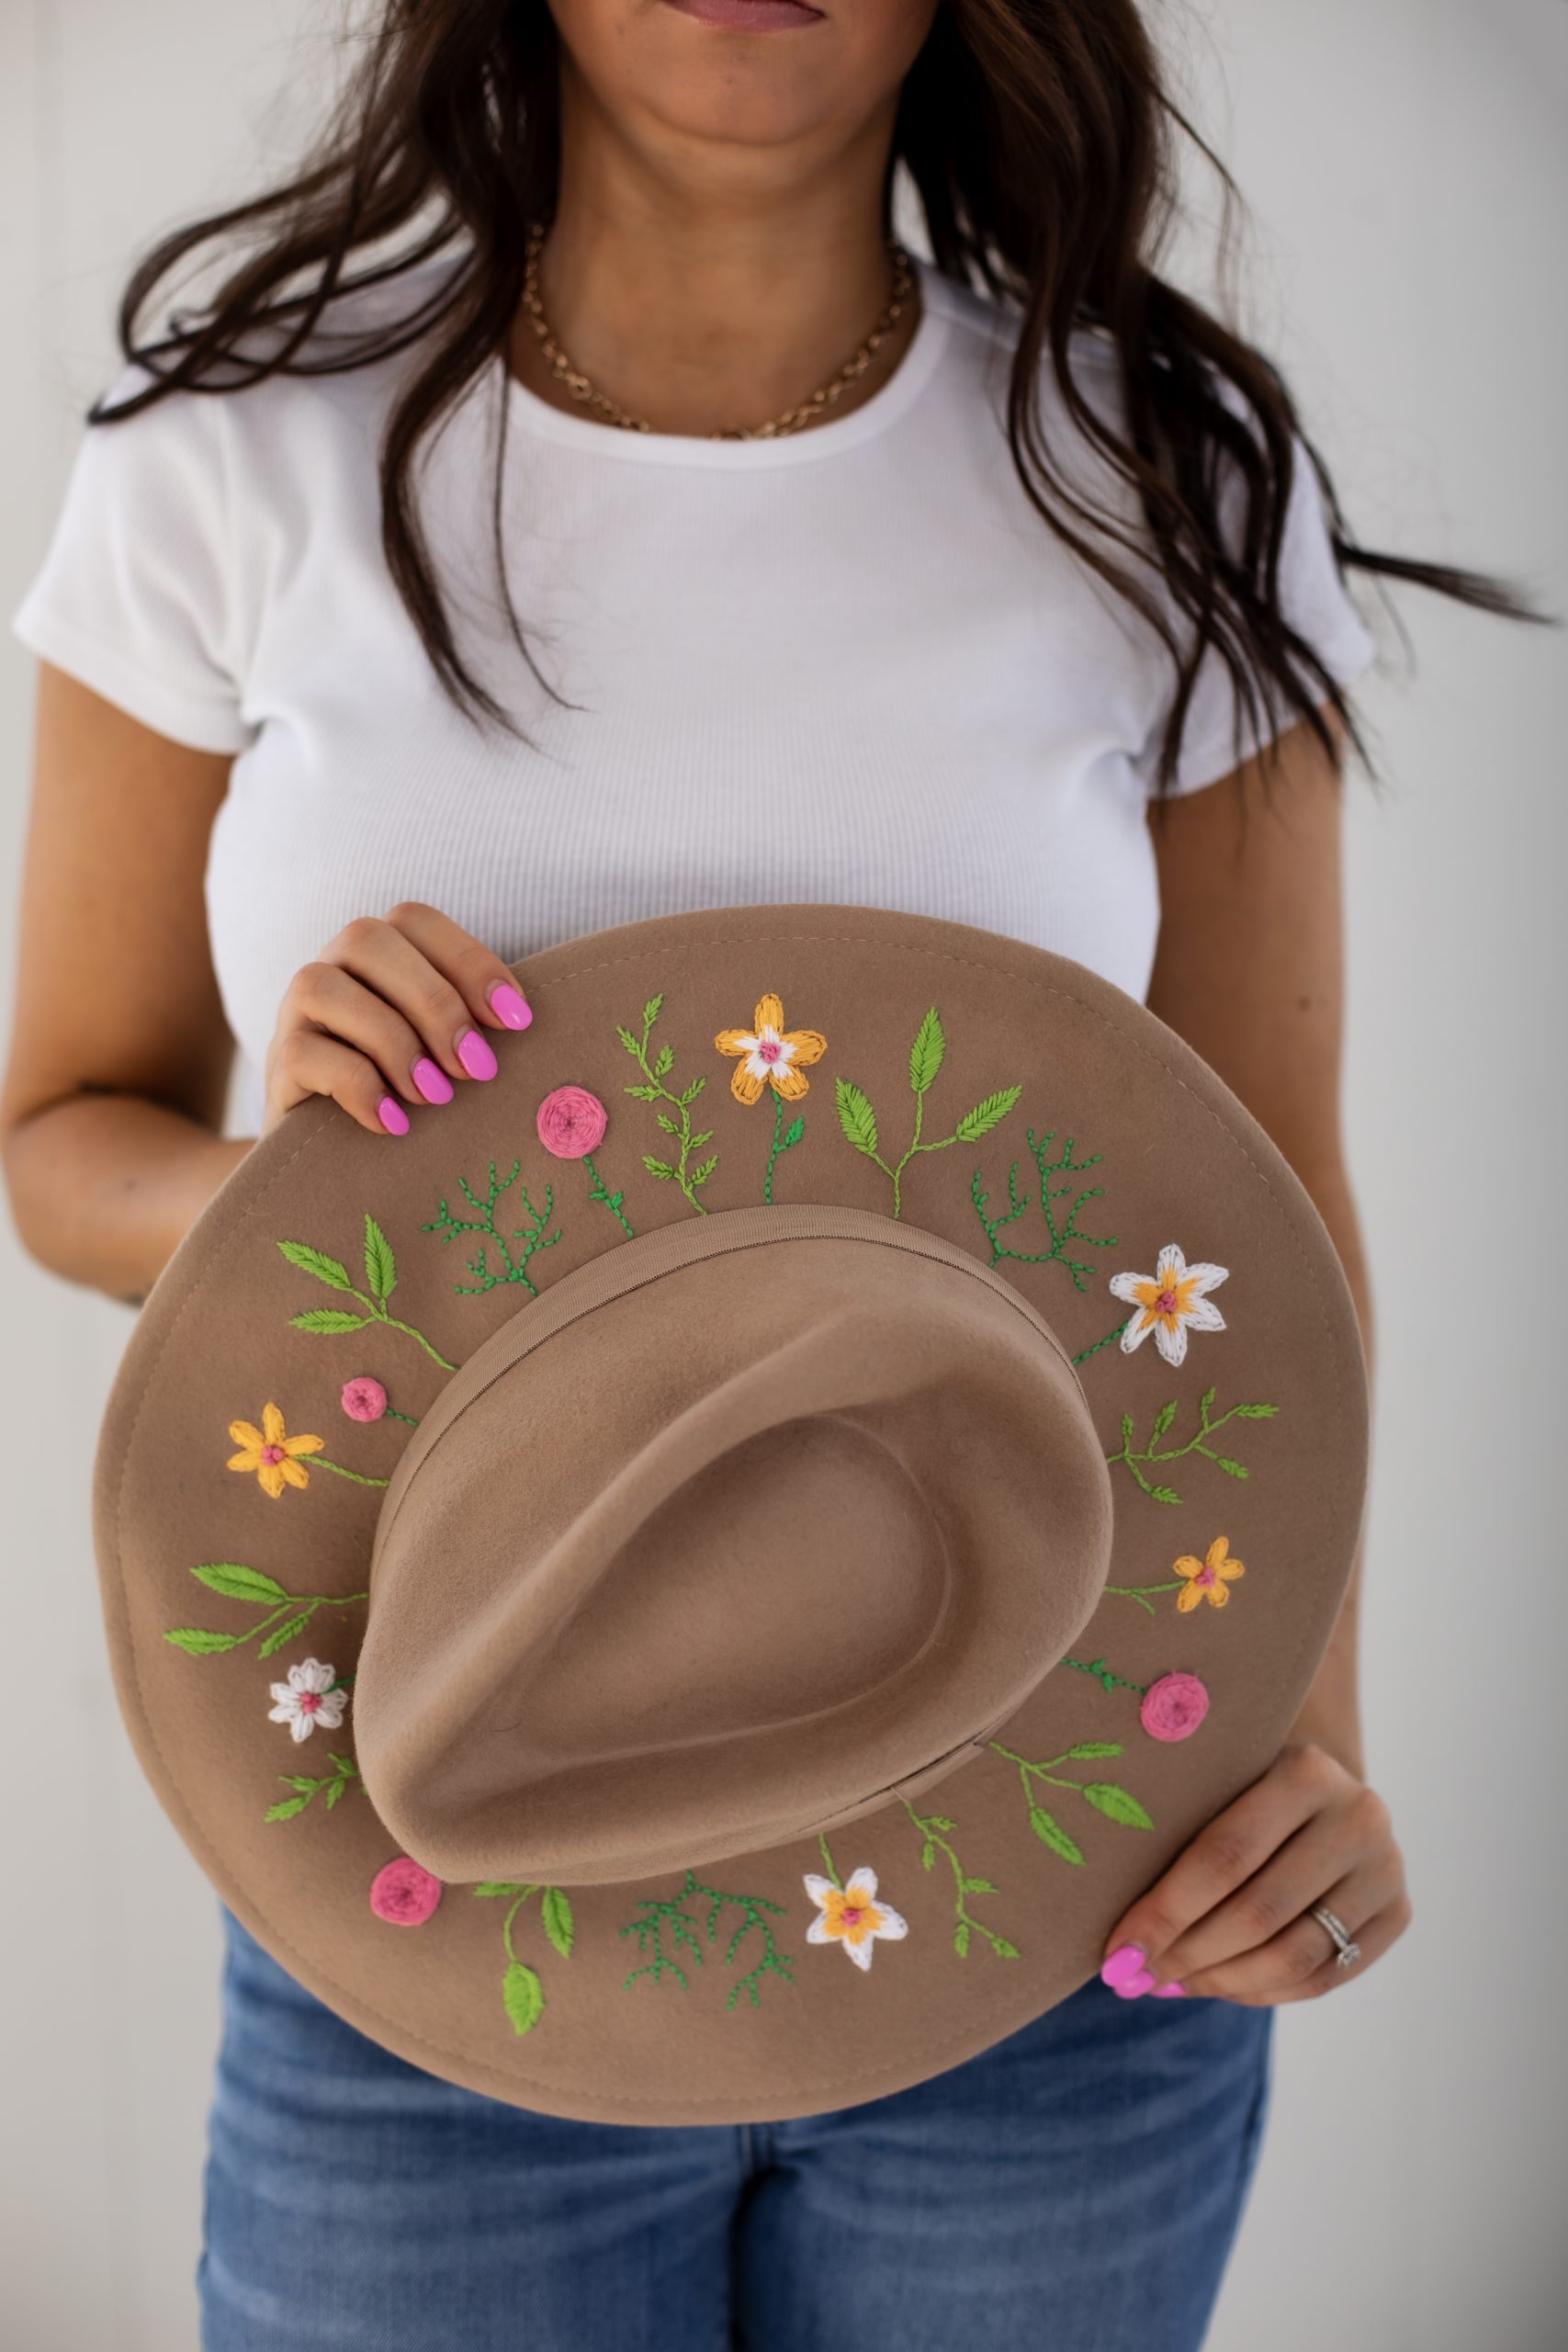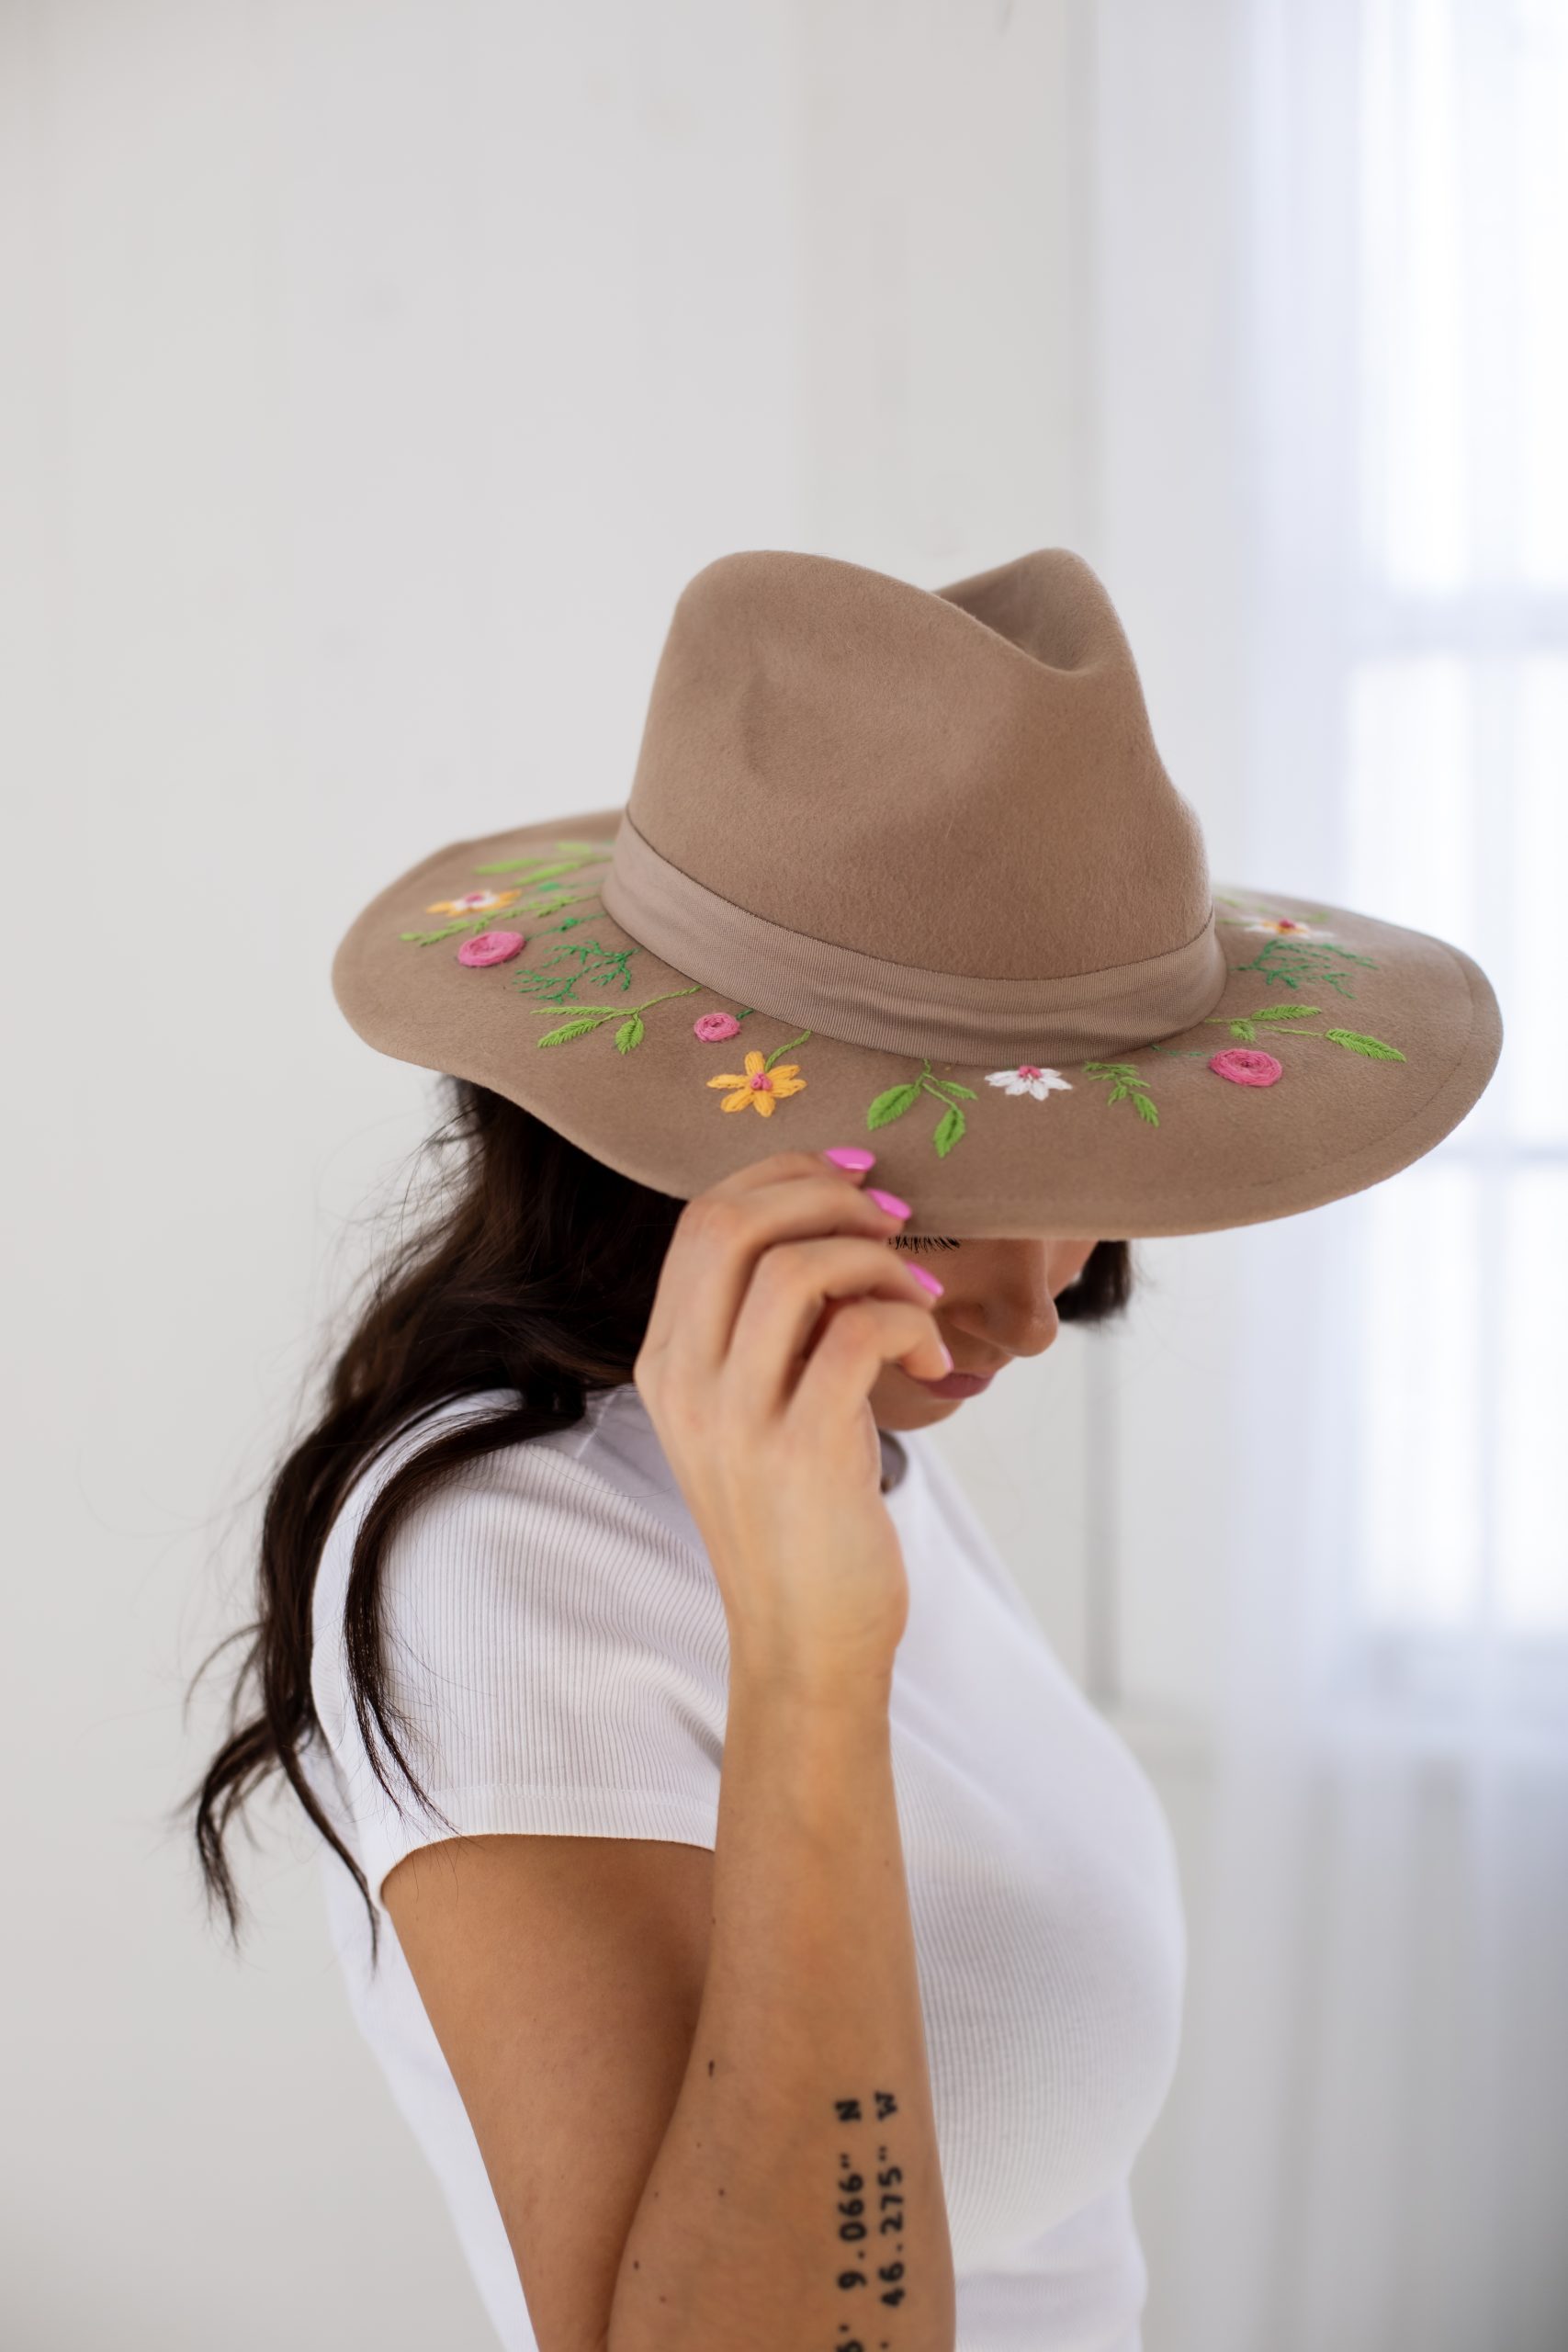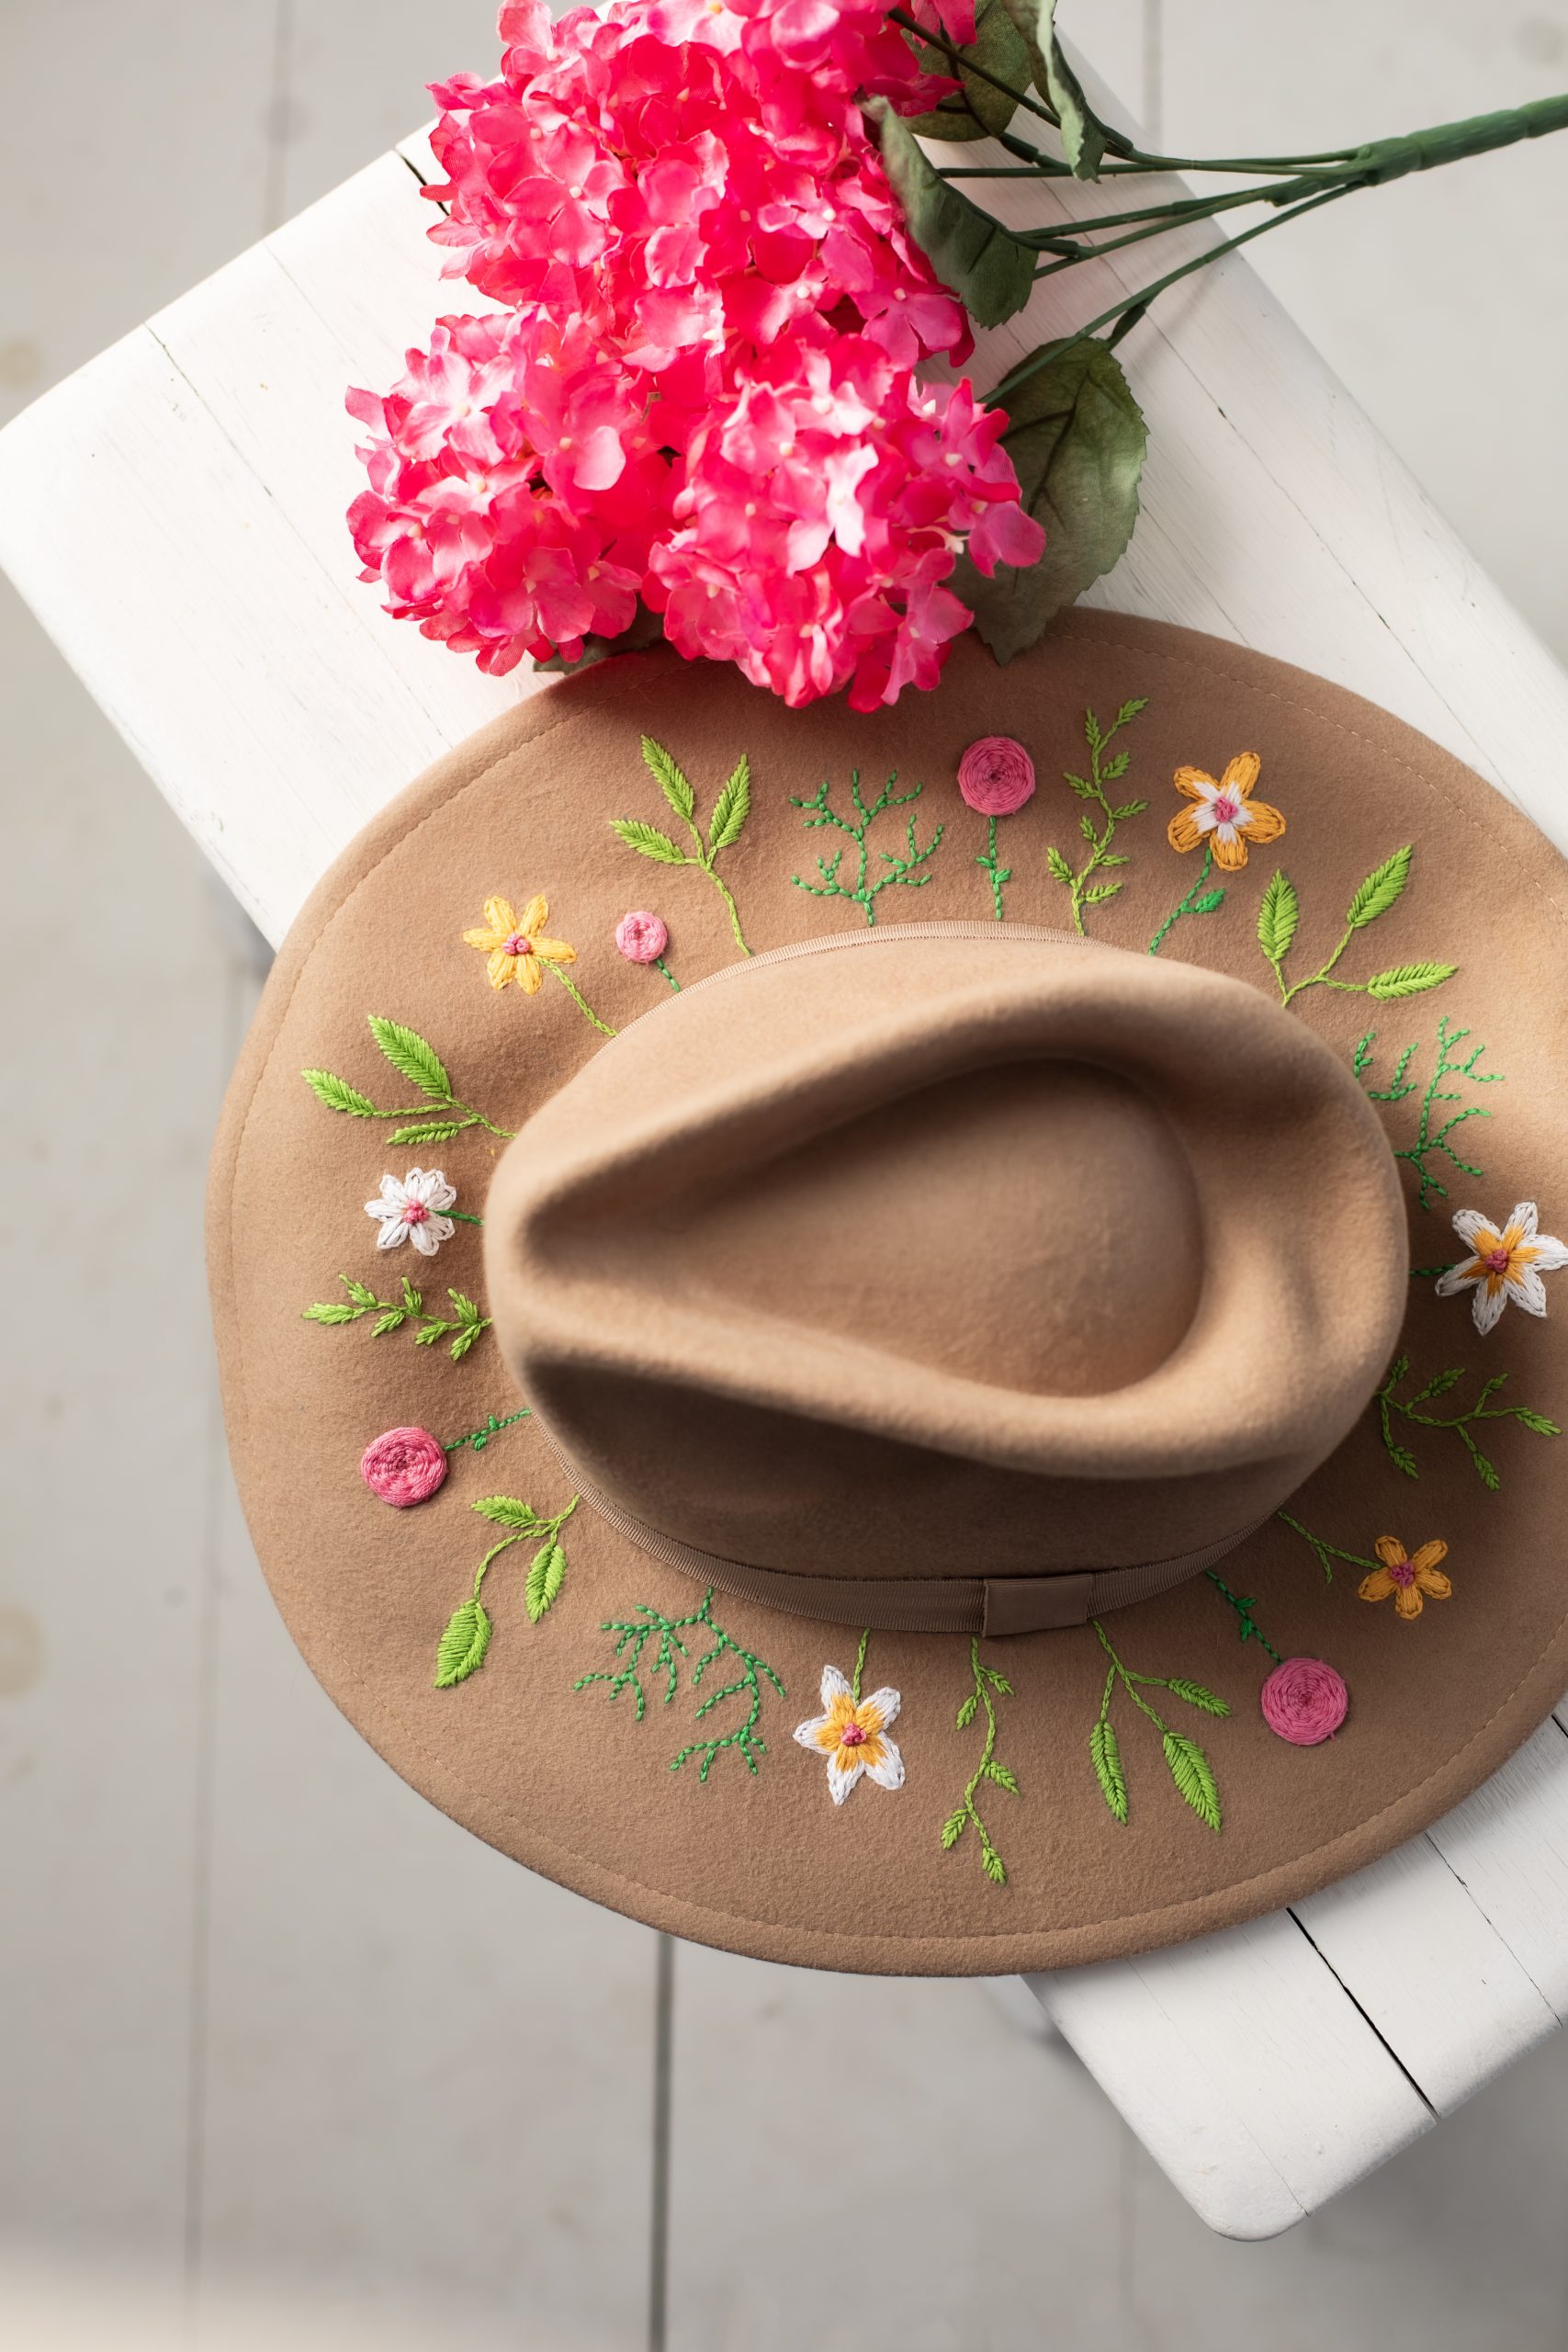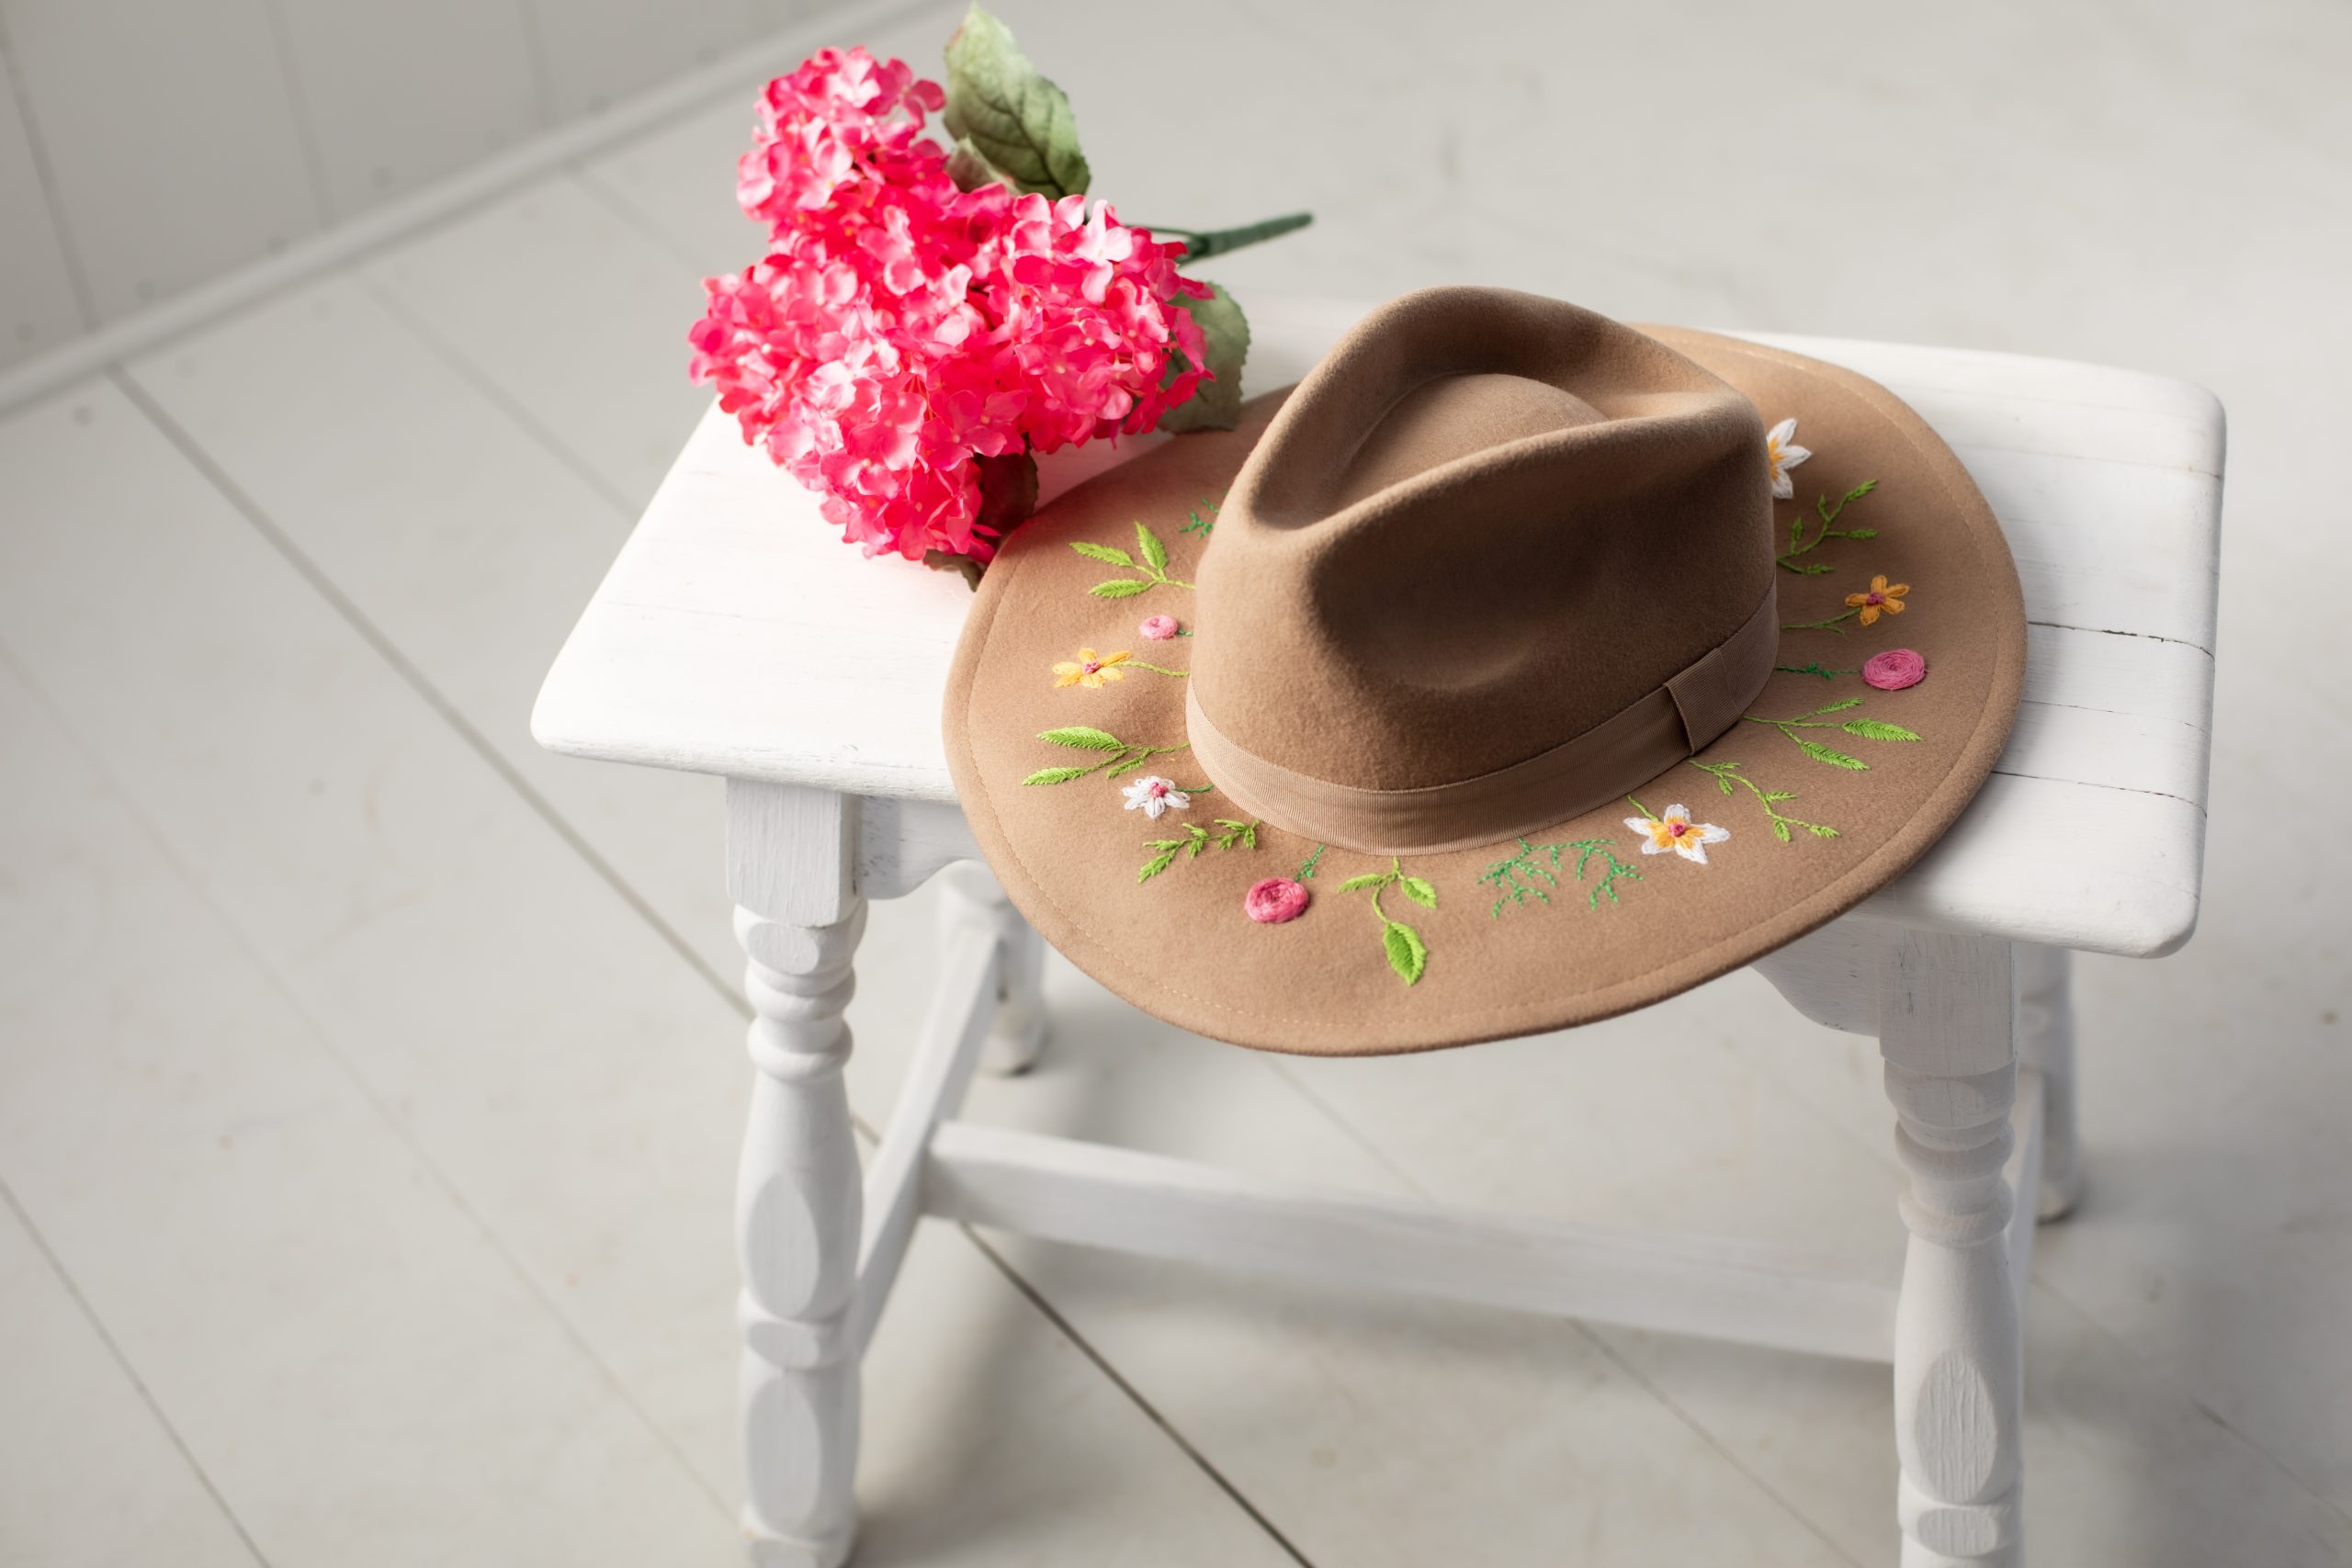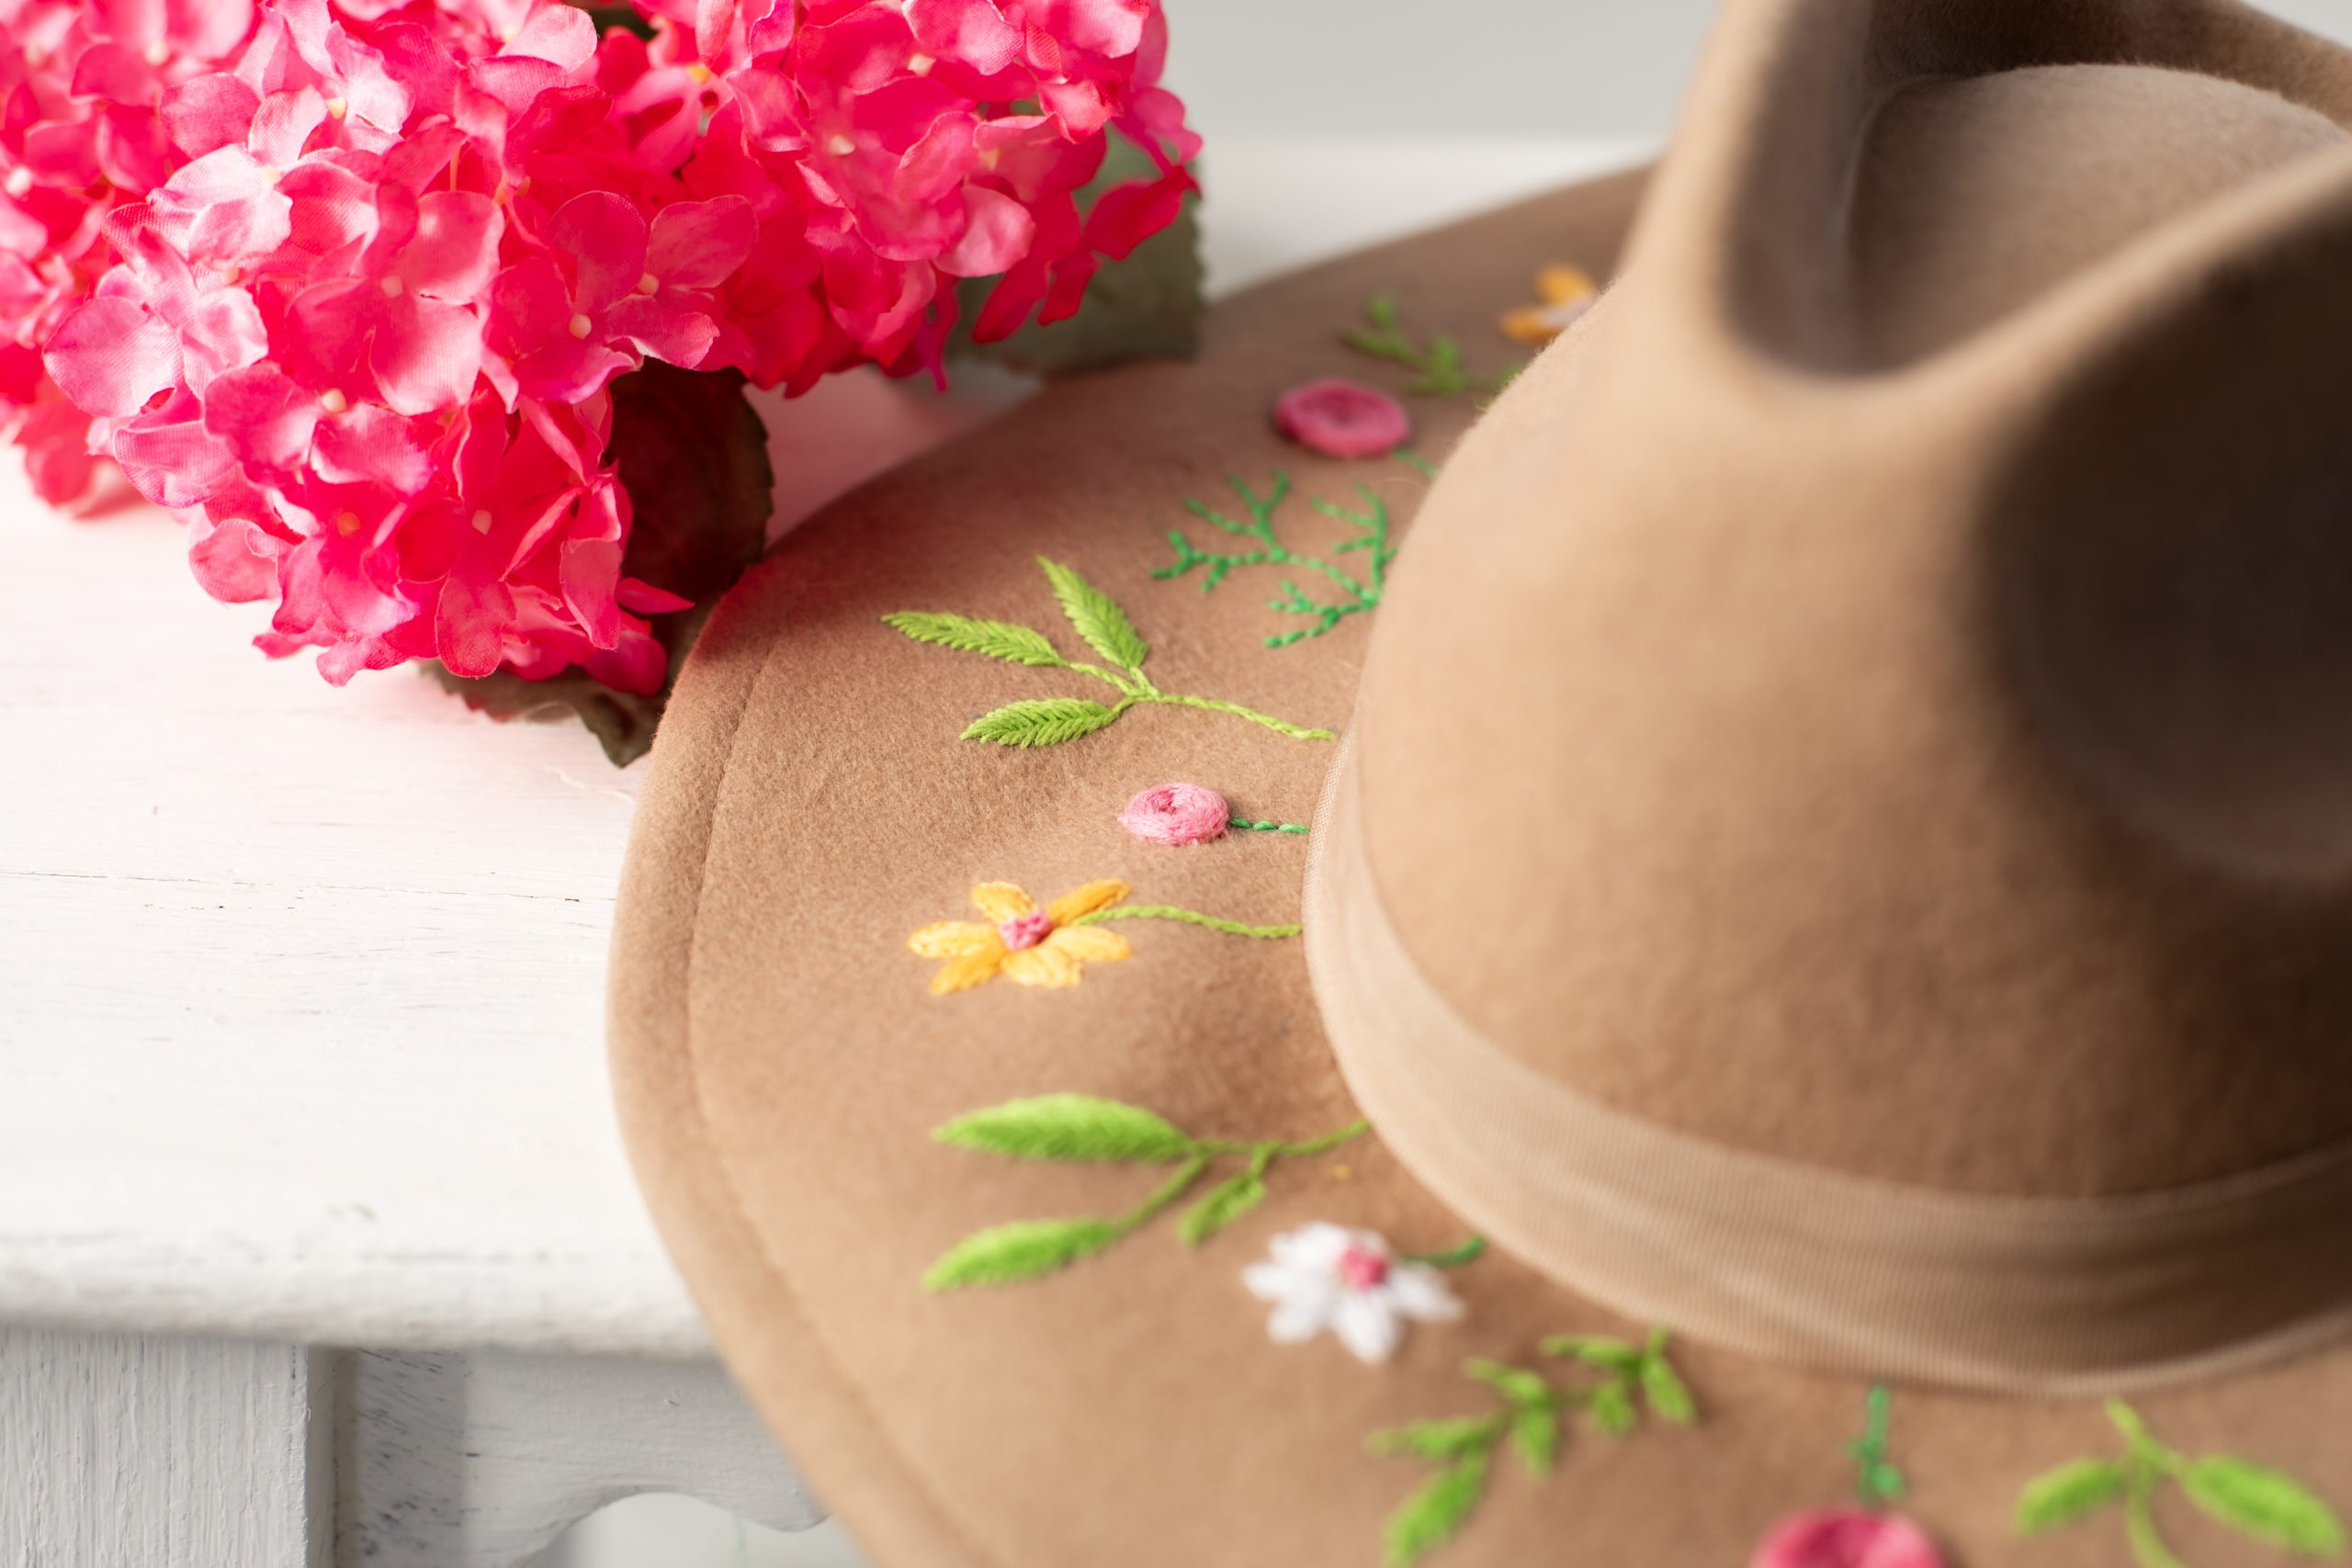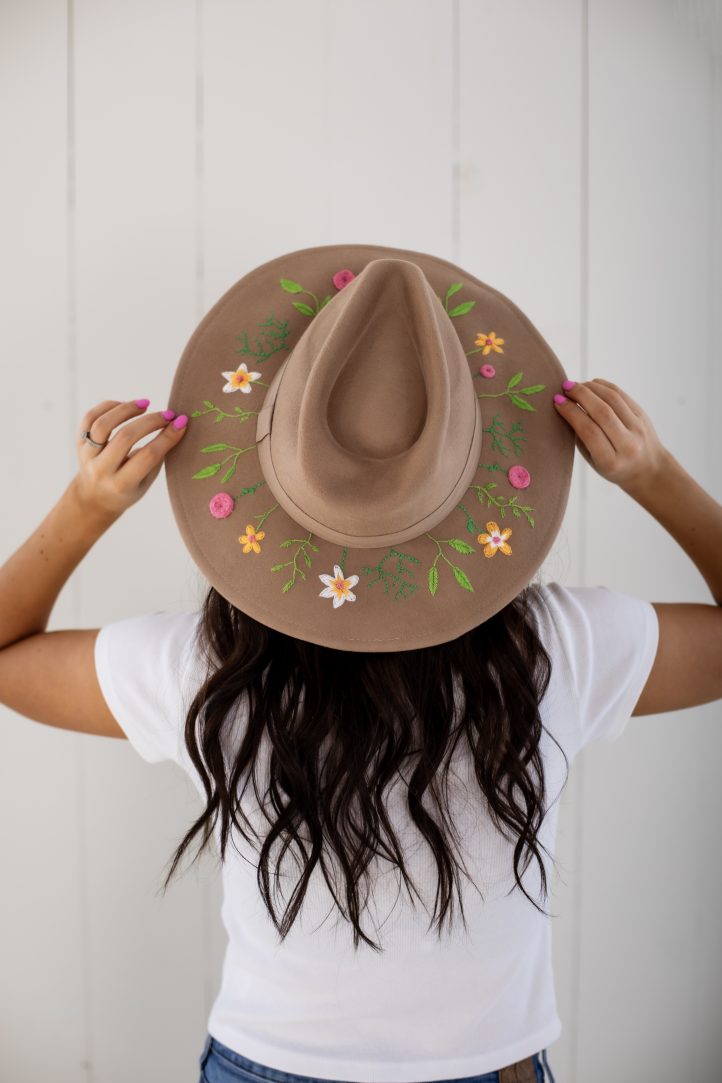
Update a simple hat with beautifully embroidered spring blossoms. Sophie Tarrant shows readers how to add hand embroidered details to a thrifted hat with this spring sewing tutorial. With this embroidery tutorial, you’ll see how easy it is to add whimsical details to your clothing and accessories, so that you can make the items in your wardrobe truly yours.
Skill Level: Beginner
Finished Size: Custom
Designer Notes:
- Go Bold: Embroidery is usually worked with just one or two strands of floss at a time to create a delicate, detailed finish. However, when stitching onto thicker or more textured fabrics such as this felt hat, using more strands—typically three to six, as used in this make—may be necessary. The additional strands provide better coverage, ensuring the stitches are visible and stand out against the heavier material.
- Stay Sharp: When embroidering onto tough fabrics like this felt hat, a sharper, more heavyweight embroidery needle is essential. It can easily pierce through the dense material without bending or breaking, making your stitching smoother and more precise. Using a thimble can also be helpful, as it allows you to push the needle through the fabric with ease while protecting your fingers from strain or injury.
Materials:
- Hat: Of your choice
- Fabric: Felt, at least as big as the brim of your hat
- Embroidery floss: Lime green, deep mint green, white, sunshine yellow, pink
Tools:
- Water-erasable fabric pen
- Embroidery needle
- Thimble
- Scissors
- Pins
Sewing Instructions:
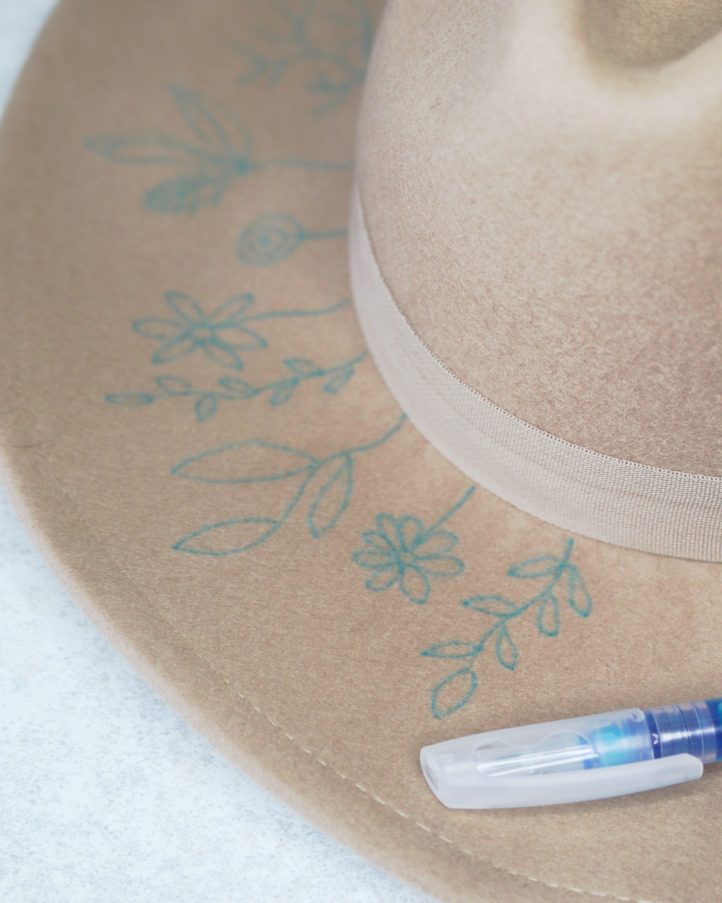
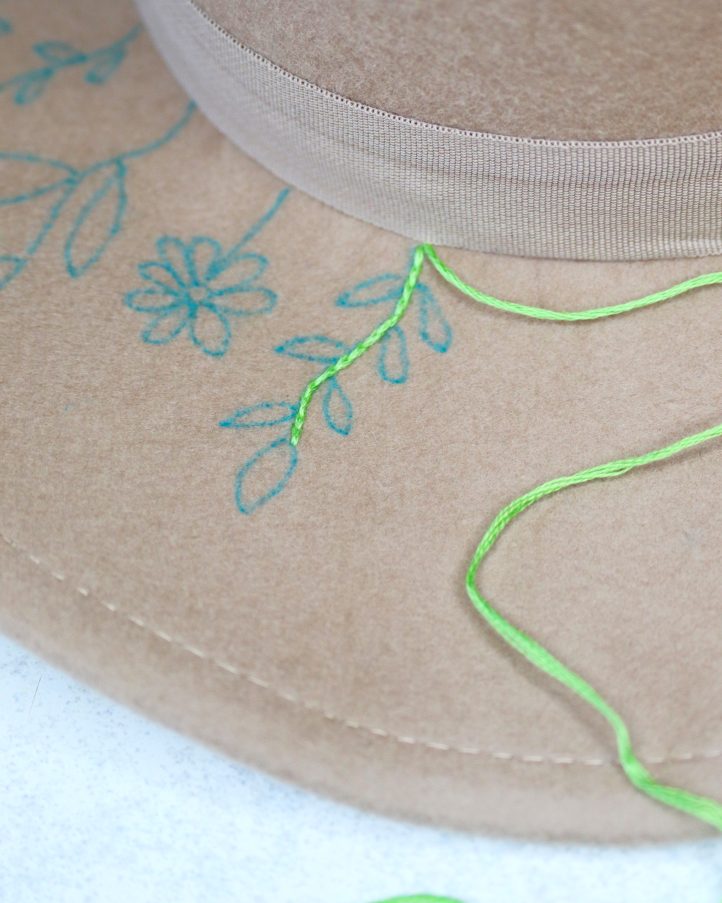
- Use a water-erasable fabric pen to draw a collection of floral designs out onto the brim of your hat. Try to space them evenly and add a mixture of different leaves, flowers, and stems of varying sizes to stop the design from looking too repetitive. If you make a mistake, don’t worry – simply use a clean damp cloth to carefully dab away the ink and re-draw the design once the felt is dry.
- Begin the embroidery. Thread a large, sharp embroidery needle with six strands of lime green floss and work along the length of the first stem using split stitch. To work a split stitch, bring your needle up through the brim at the start of the stem, then take it back down to make a short stitch. Bring the needle up again, piercing through the center of the previous stitch, then pull the thread through, splitting the stitch and creating a line. Repeat this process, splitting each preceding stitch as you work along the stem. Once you get to the end of the line, tie the thread off on the underside of the brim.
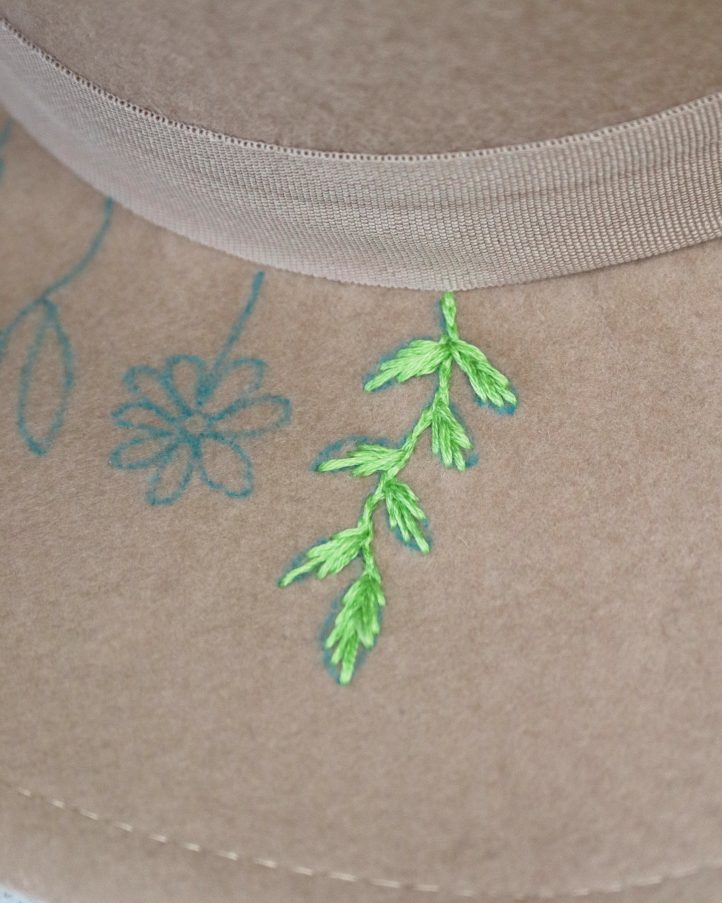
- Fill in each of the leaves of the stem you just added using a series of straight stitches, starting with the longest central stitch and then working back down to the bottom of the leaf. Repeat to add each of the leaves in the same way.
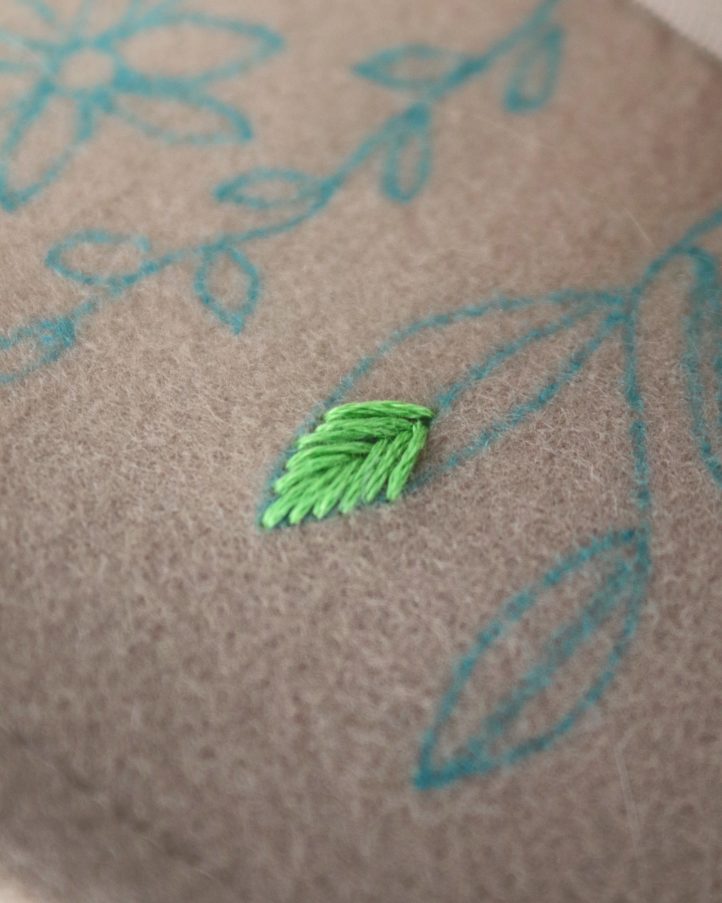
- To fill in larger leaves, you can use a fishbone stitch. To work a fishbone stitch, start by bringing your needle up through the brim, at the tip of the leaf you want to fill. Make a stitch down towards the middle of the leaf, to create the central vein. Bring the needle back up, slightly to one side of the initial stitch, then take it back down through the middle once more. Bring it back up on the opposite side and back down again, creating a ‘V’ shape. Continue working from the outer edges of the leaf towards the center vein, alternating sides and forming overlapping ‘V’ shapes as you go. Make sure the stitches are worked closely together to create a solid, textured fill that mimics the veins and structure of a leaf. Repeat to fill all the leaves of that stem in the same way.
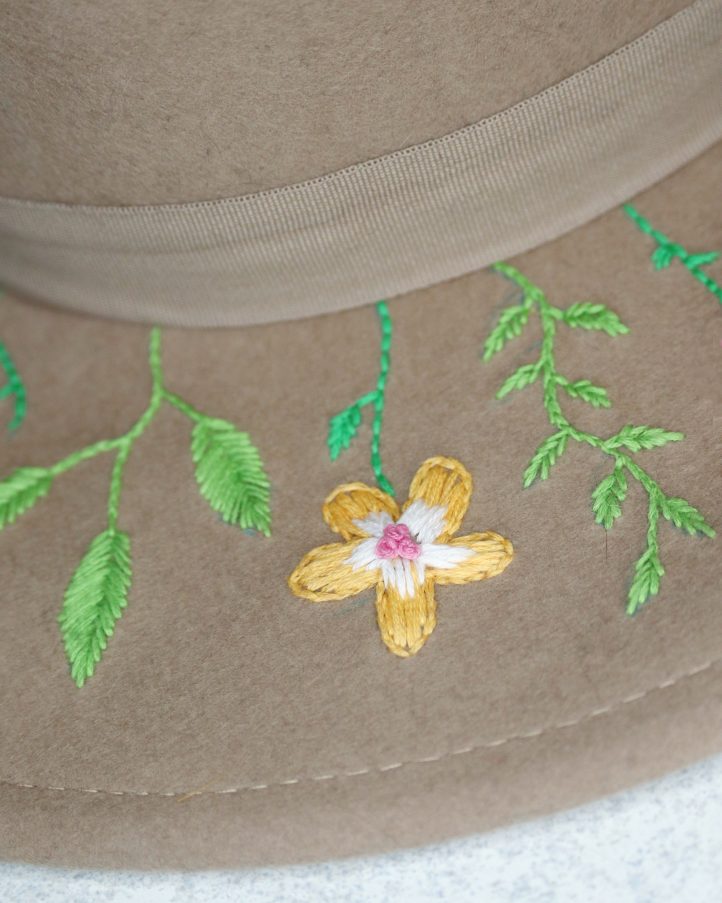
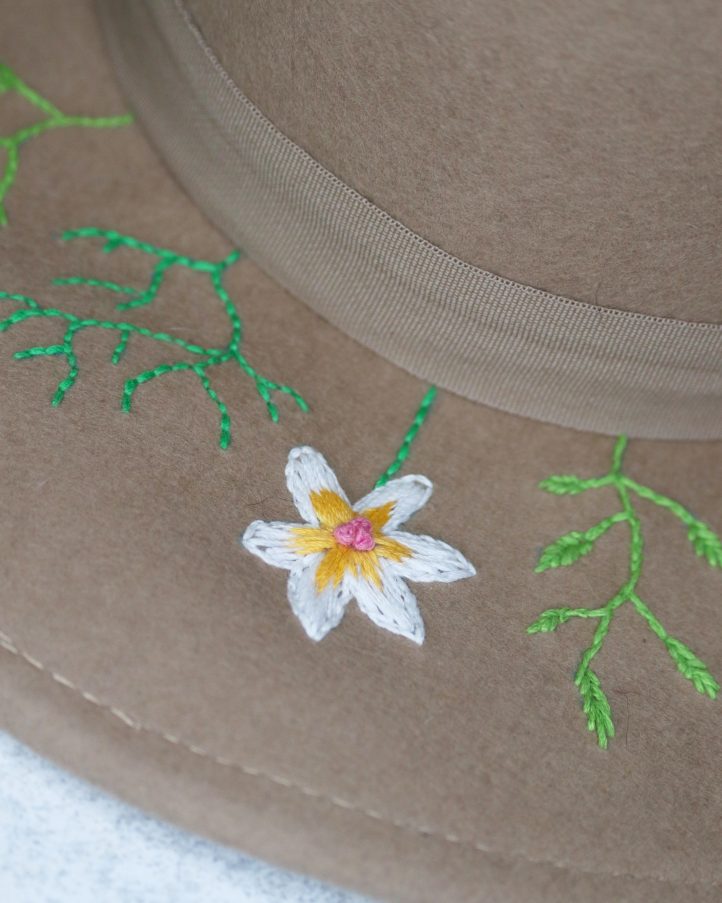
- Next, add a flower. Thread your needle with six strands of deep mint green floss and backstitch along the stem of the bloom. To work a backstitch, bring your needle up through the brim at the start of the stem, then move it a little way along the line and bring it back down, to make your first stitch. Bring the needle back up a little further along the line, then pass it back down into the same spot you just went through. Bring it back up through the fabric once more, again moving along the line by the same amount. Repeat, working up and down through the brim in this way, to create a neat, solid line. Next, thread six strands of sunshine yellow floss onto your needle and work around the edge of the flower’s petals in split stitch. Once the outline is complete, fill each petal in using satin stitch. To do this, bring the needle up at the edge of the petal you want to fill, then take it across the shape and insert it back down, directly opposite. Continue stitching back and forth across the shape in this way, filling the petal with smooth, even, parallel stitches. Tie the yellow thread off, then use six strands of white thread to add extra details to the middle of the flower, using a series of small straight stitches. Finally, add three French knots to the middle of the bloom using six strands of pink thread. To work a French knot, bring your needle up through the center of the flower, and hold the thread taut with your non-dominant hand. Wrap the thread around the needle three times, then gently insert the needle back through the brim, very close to where it came out (but not in the exact same hole). While doing this, keep the thread taut, to avoid tangling. Pull the needle and thread through to the back of the fabric to make a small, neat knot.
- As well as traditional petaled flowers, we added some pinwheel roses to our hat, too. To work a pinwheel rose, thread your needle with six strands of pink floss. Stitch a star within the outline of your rose head with an odd number of spokes that all meet in the center (our sample used nine). This is the base of your pinwheel. Bring the needle up near the center of the star, then begin weaving the needle over and under the spokes in a circular pattern, without pulling too tightly. Continue weaving until the spokes are fully covered, creating a layered, rose-like effect. Once complete, secure the thread on the underside of the brim.
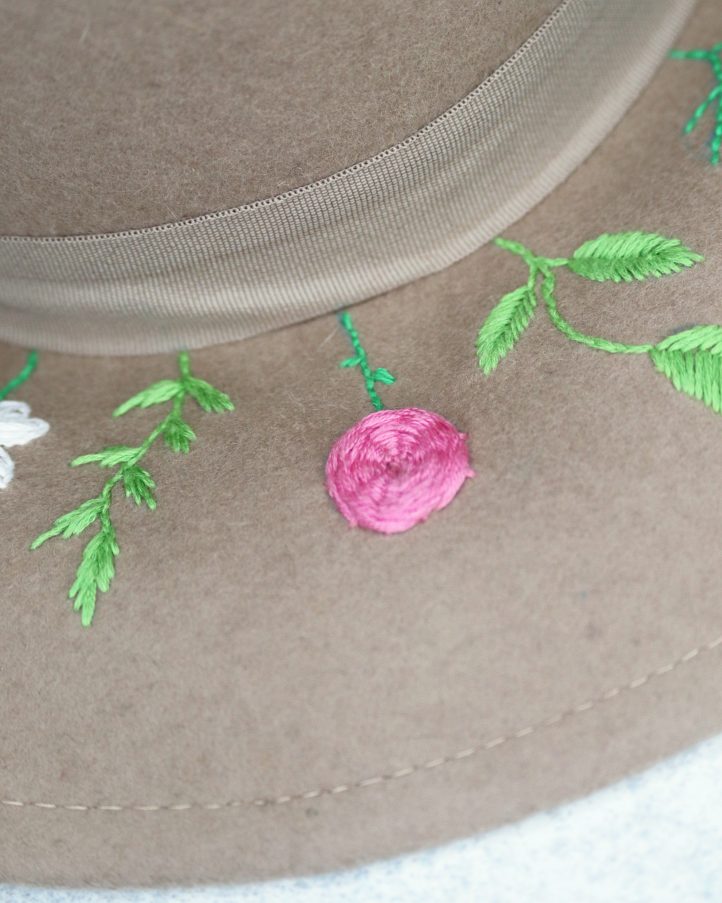
- Continue to embroider the rest of your stems, leaves, and flowers, swapping colors and sizes to create a varied effect. For example, we worked some yellow flowers with white highlights, and some white flowers with yellow highlights. We also added some backstitch vines in deep mint green.
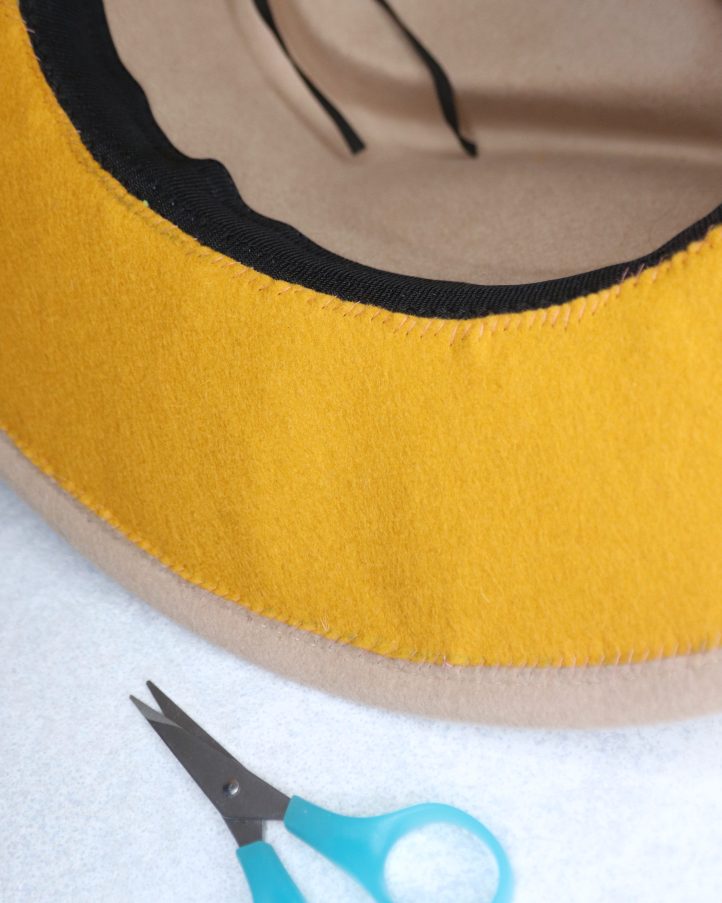
- Once your embroidery is complete, use a clean, damp cloth to dab away the water-erasable fabric pen. When the fabric is dry, you can add a lining to the underside of the brim. Lay a large piece of felt out and place your hat on top, with the brim completely flat. Draw around the edge of the brim, then cut the shape out. Pin it into place on the underside of your hat, then use sharp scissors to carefully trim away the center, leaving just the brim fabric covered. You may also need to cut away a small seam allowance from the outer edge of the brim, to get a flush finish. Once your felt brim is cut to size, pin it into position and hand sew it into place to cover the underside of the embroidery. This not only looks neater, but it lessens the chances of your hard work coming undone, too!
