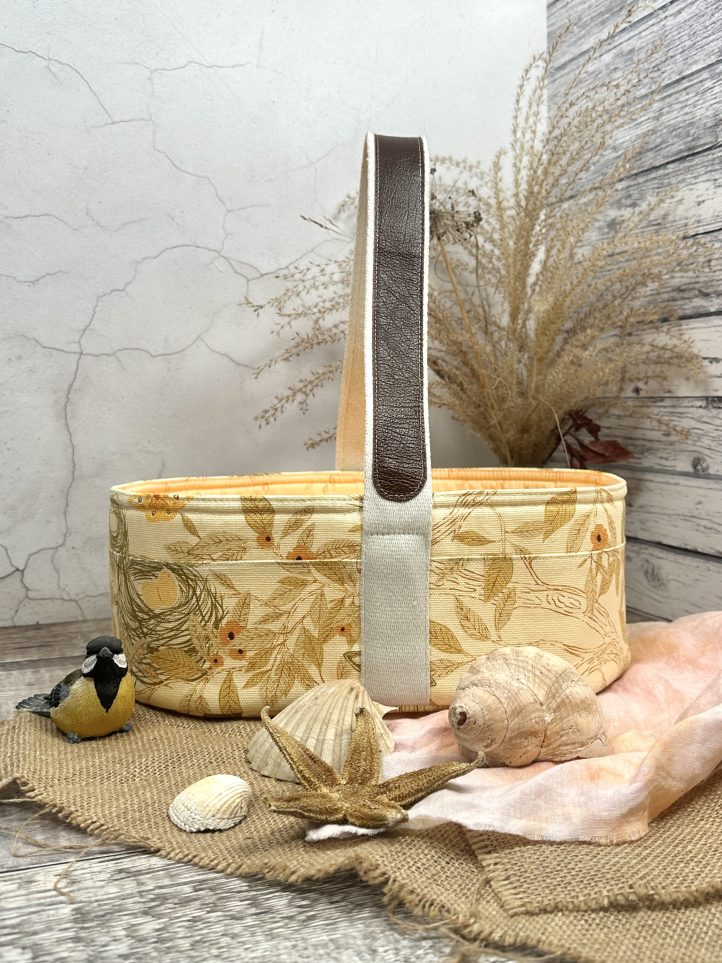
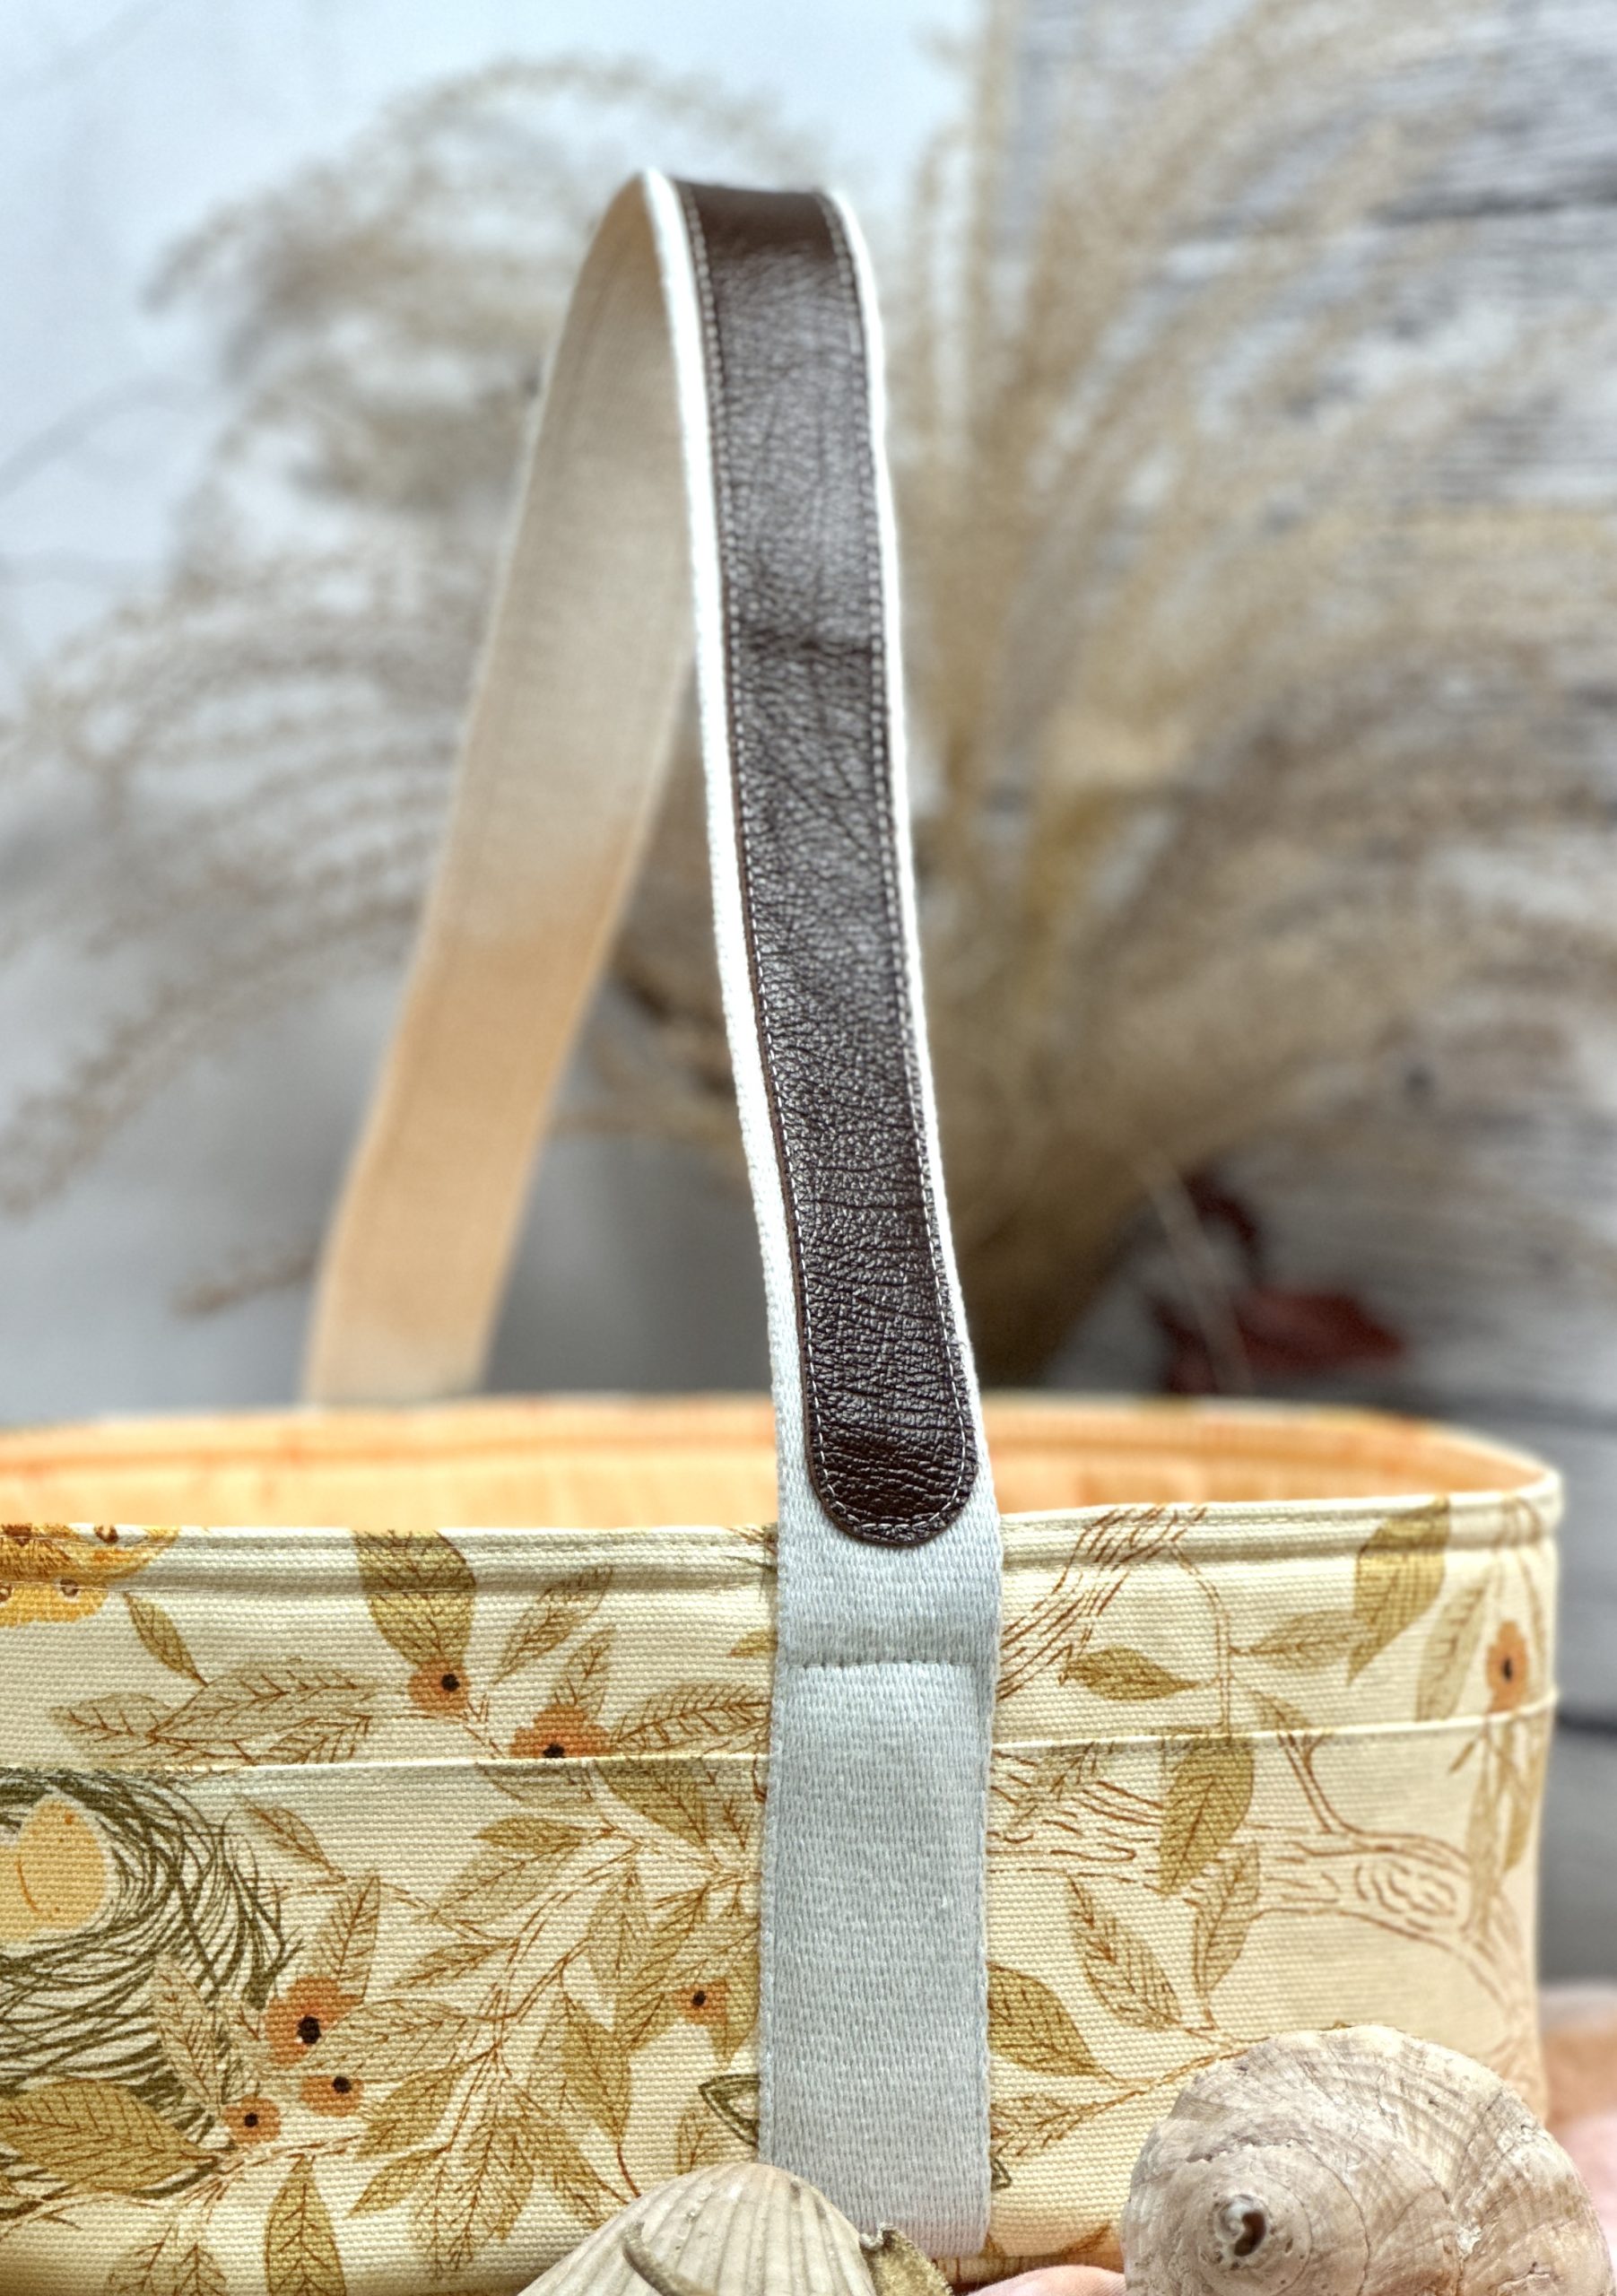
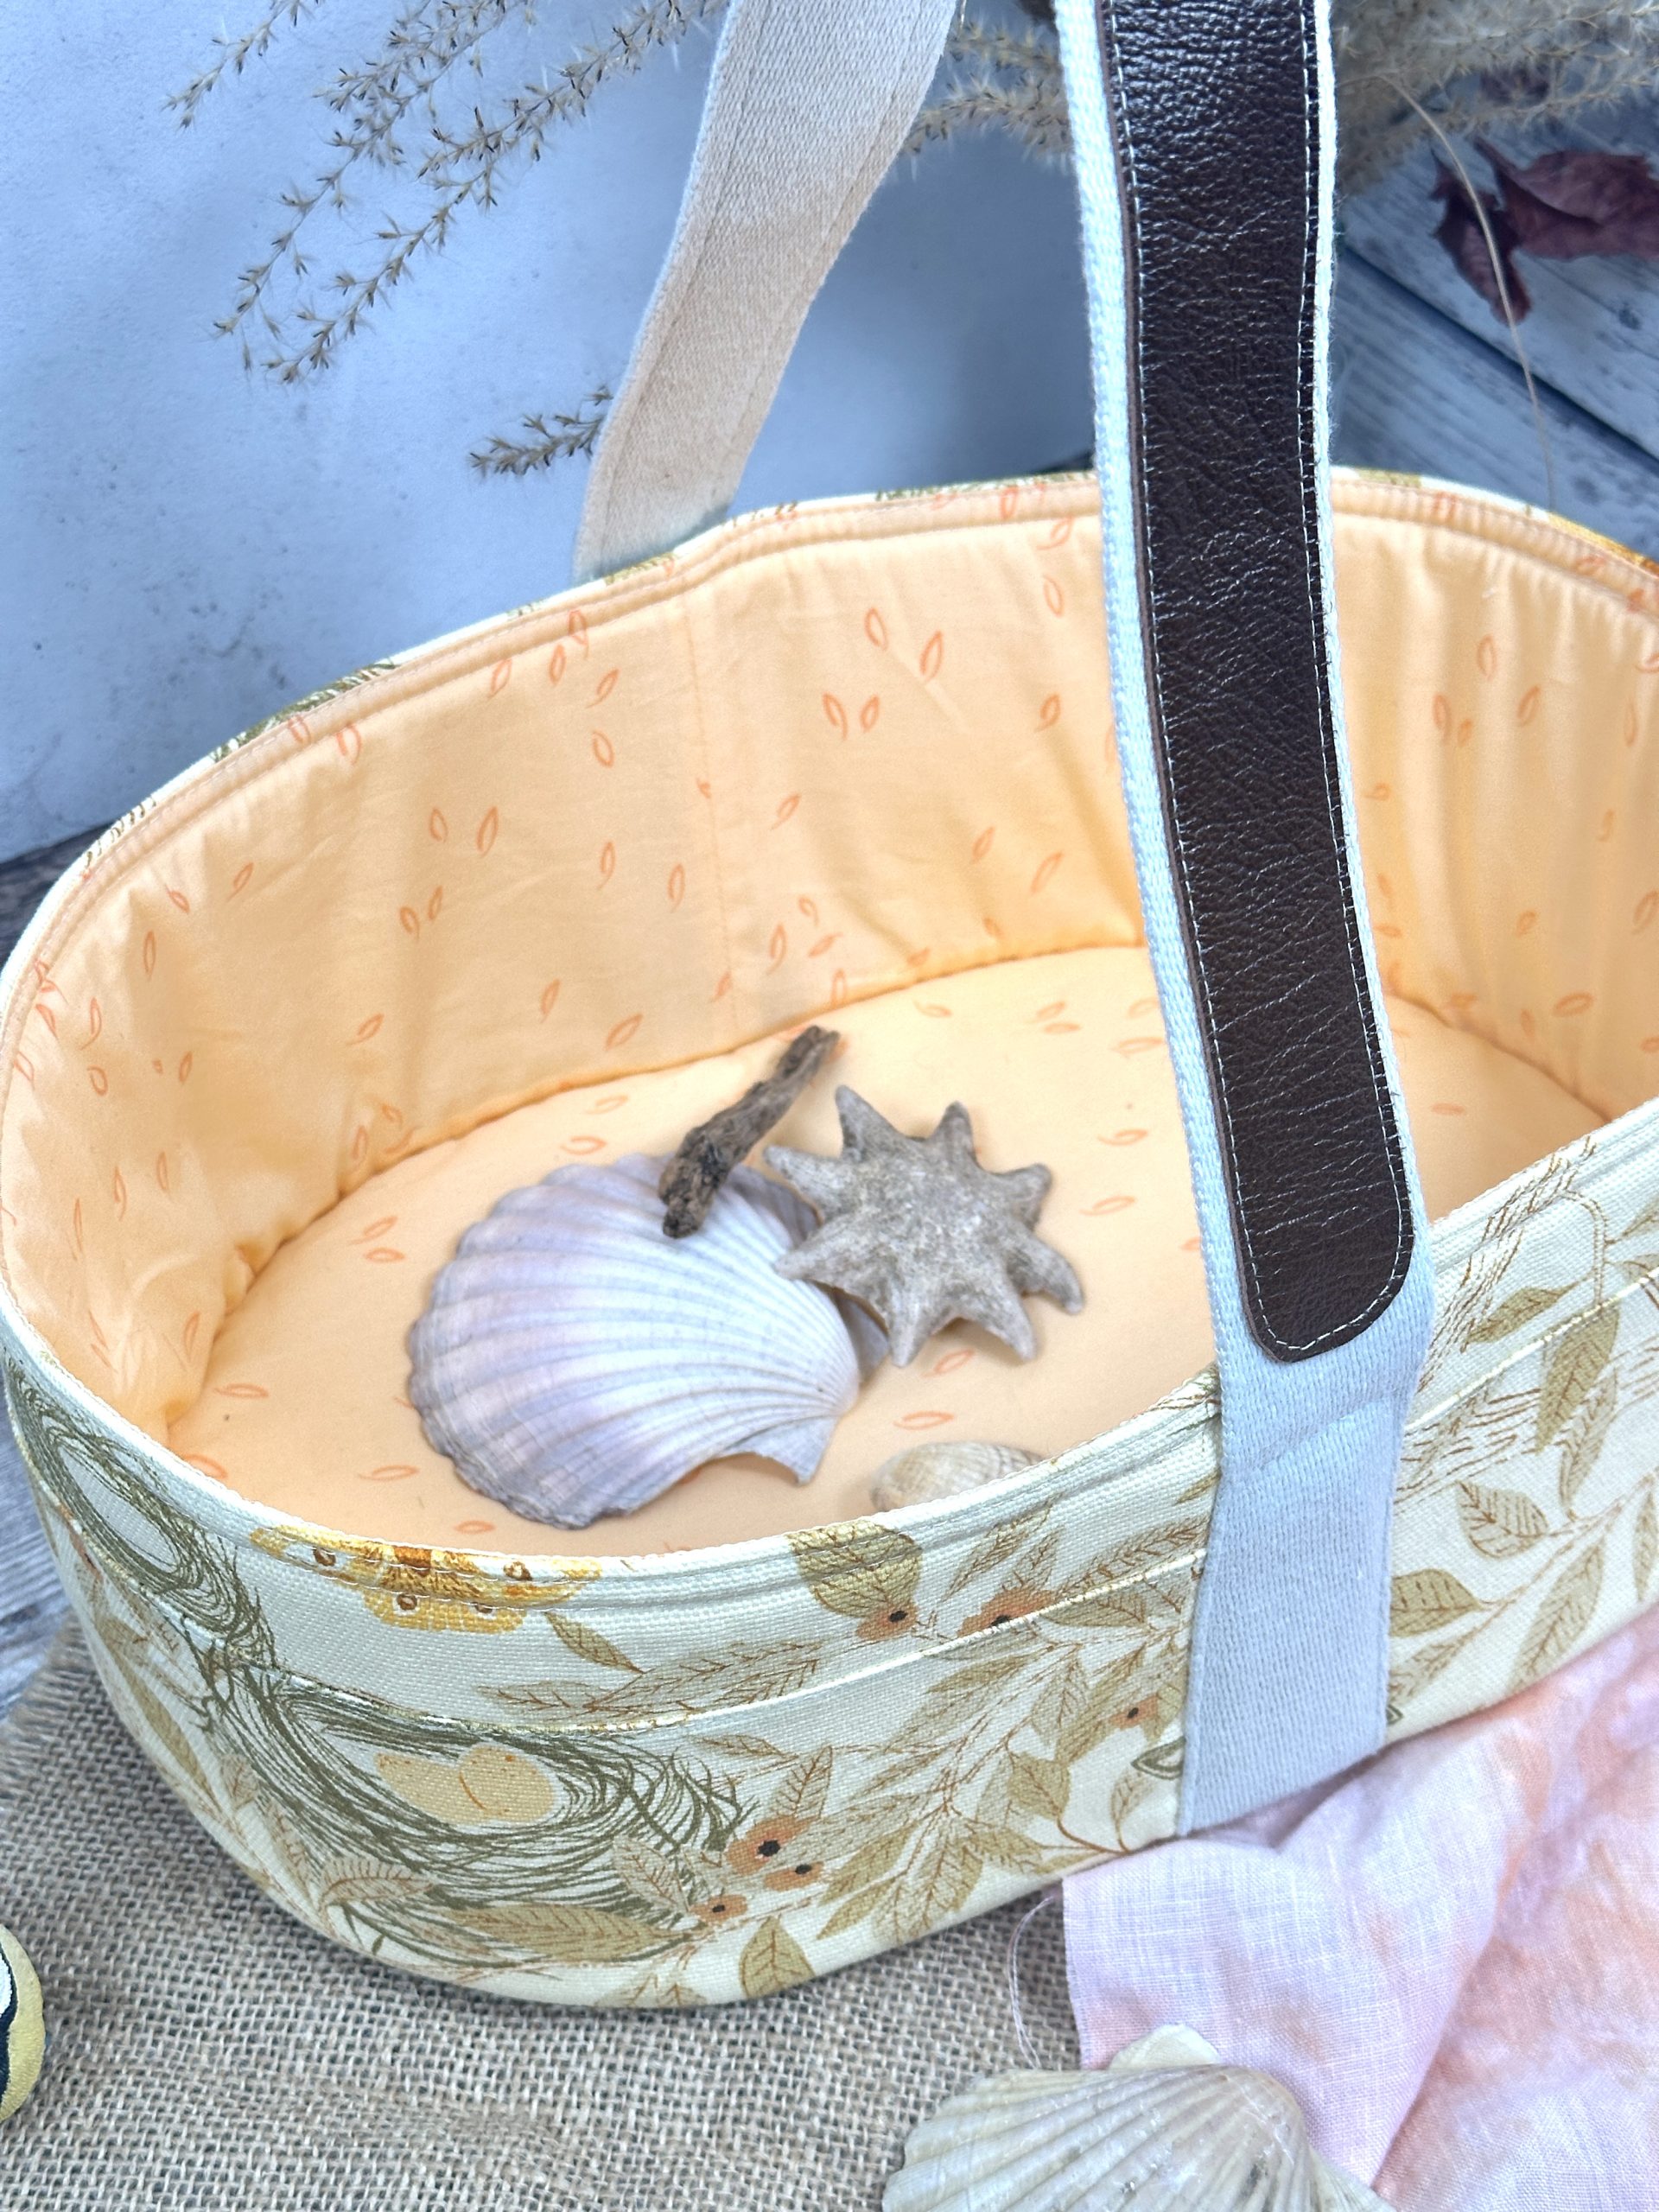
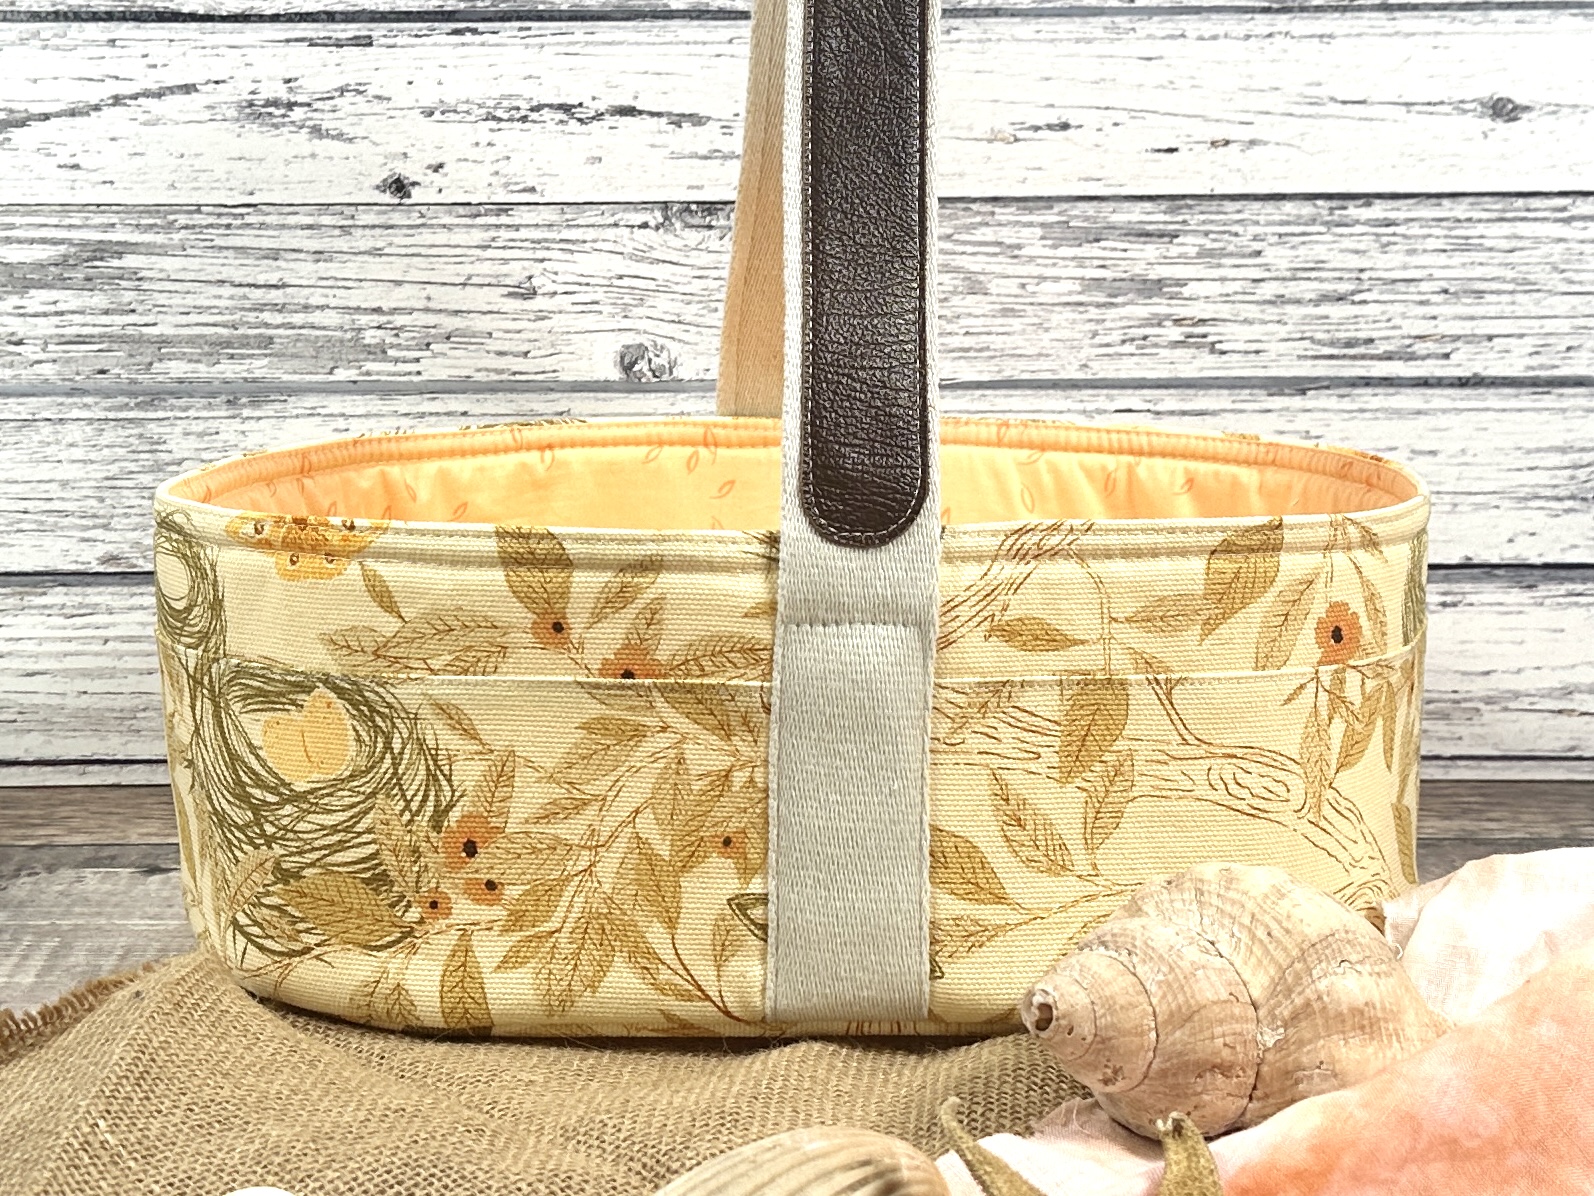
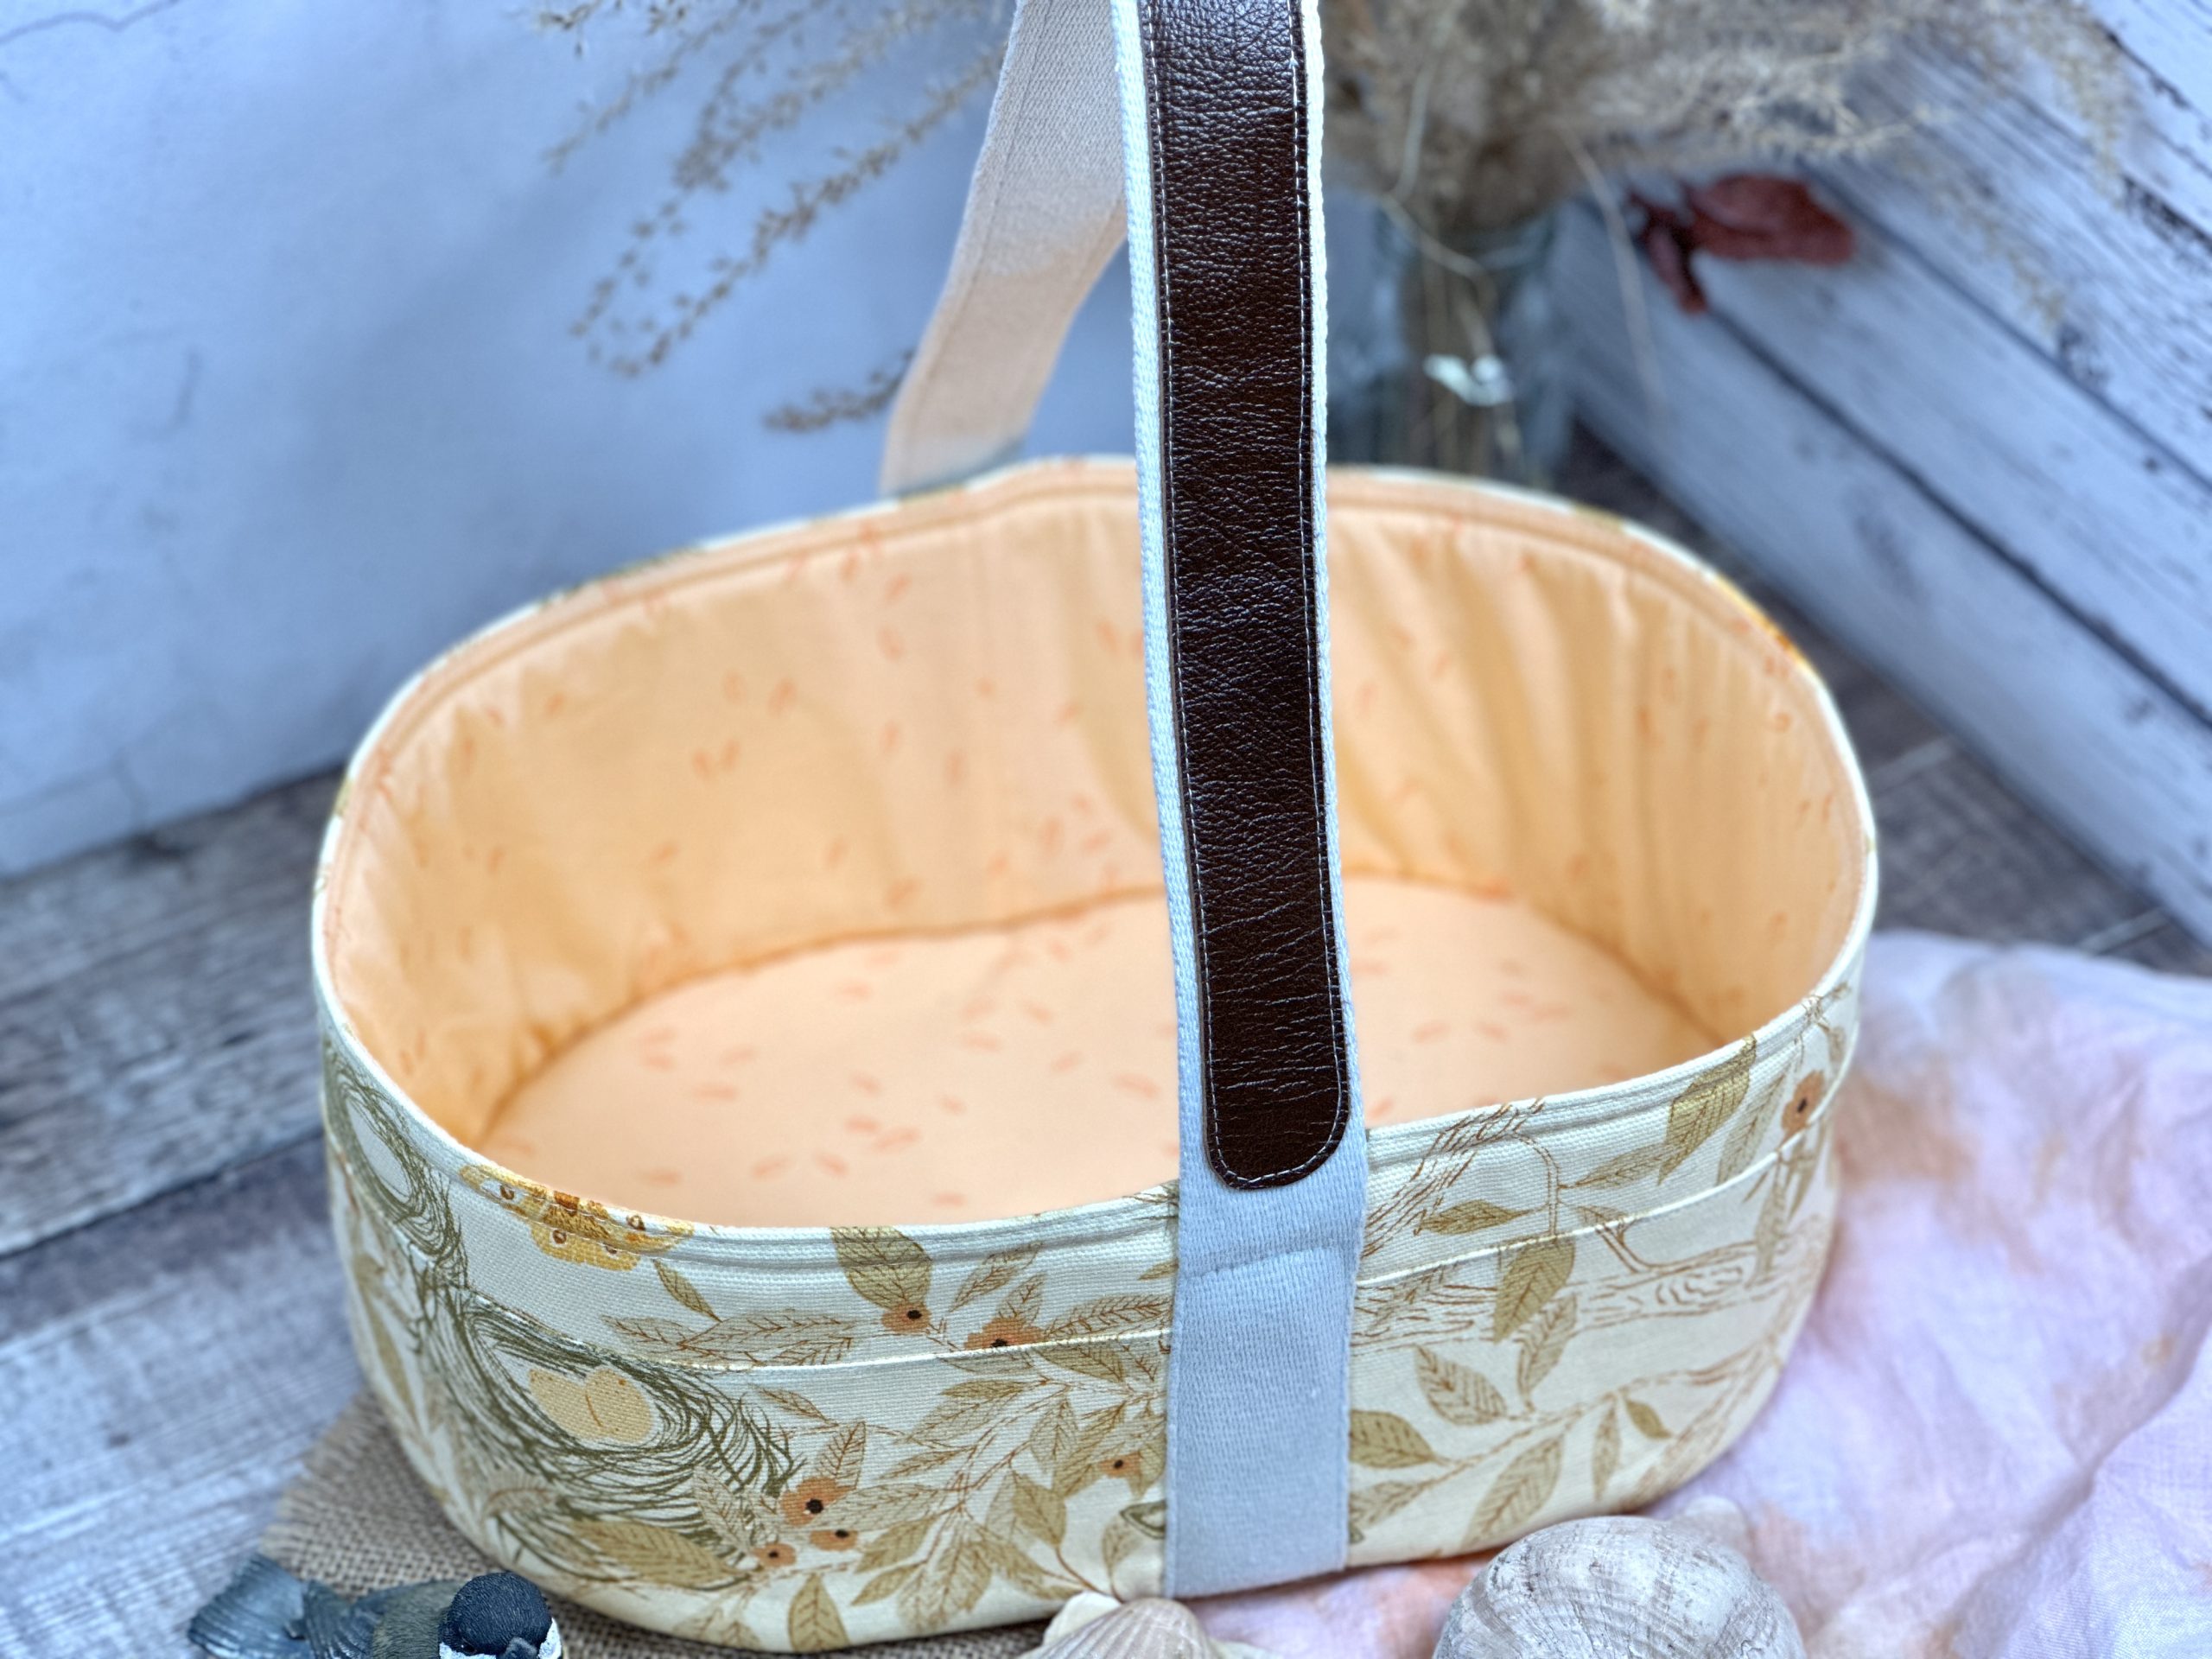
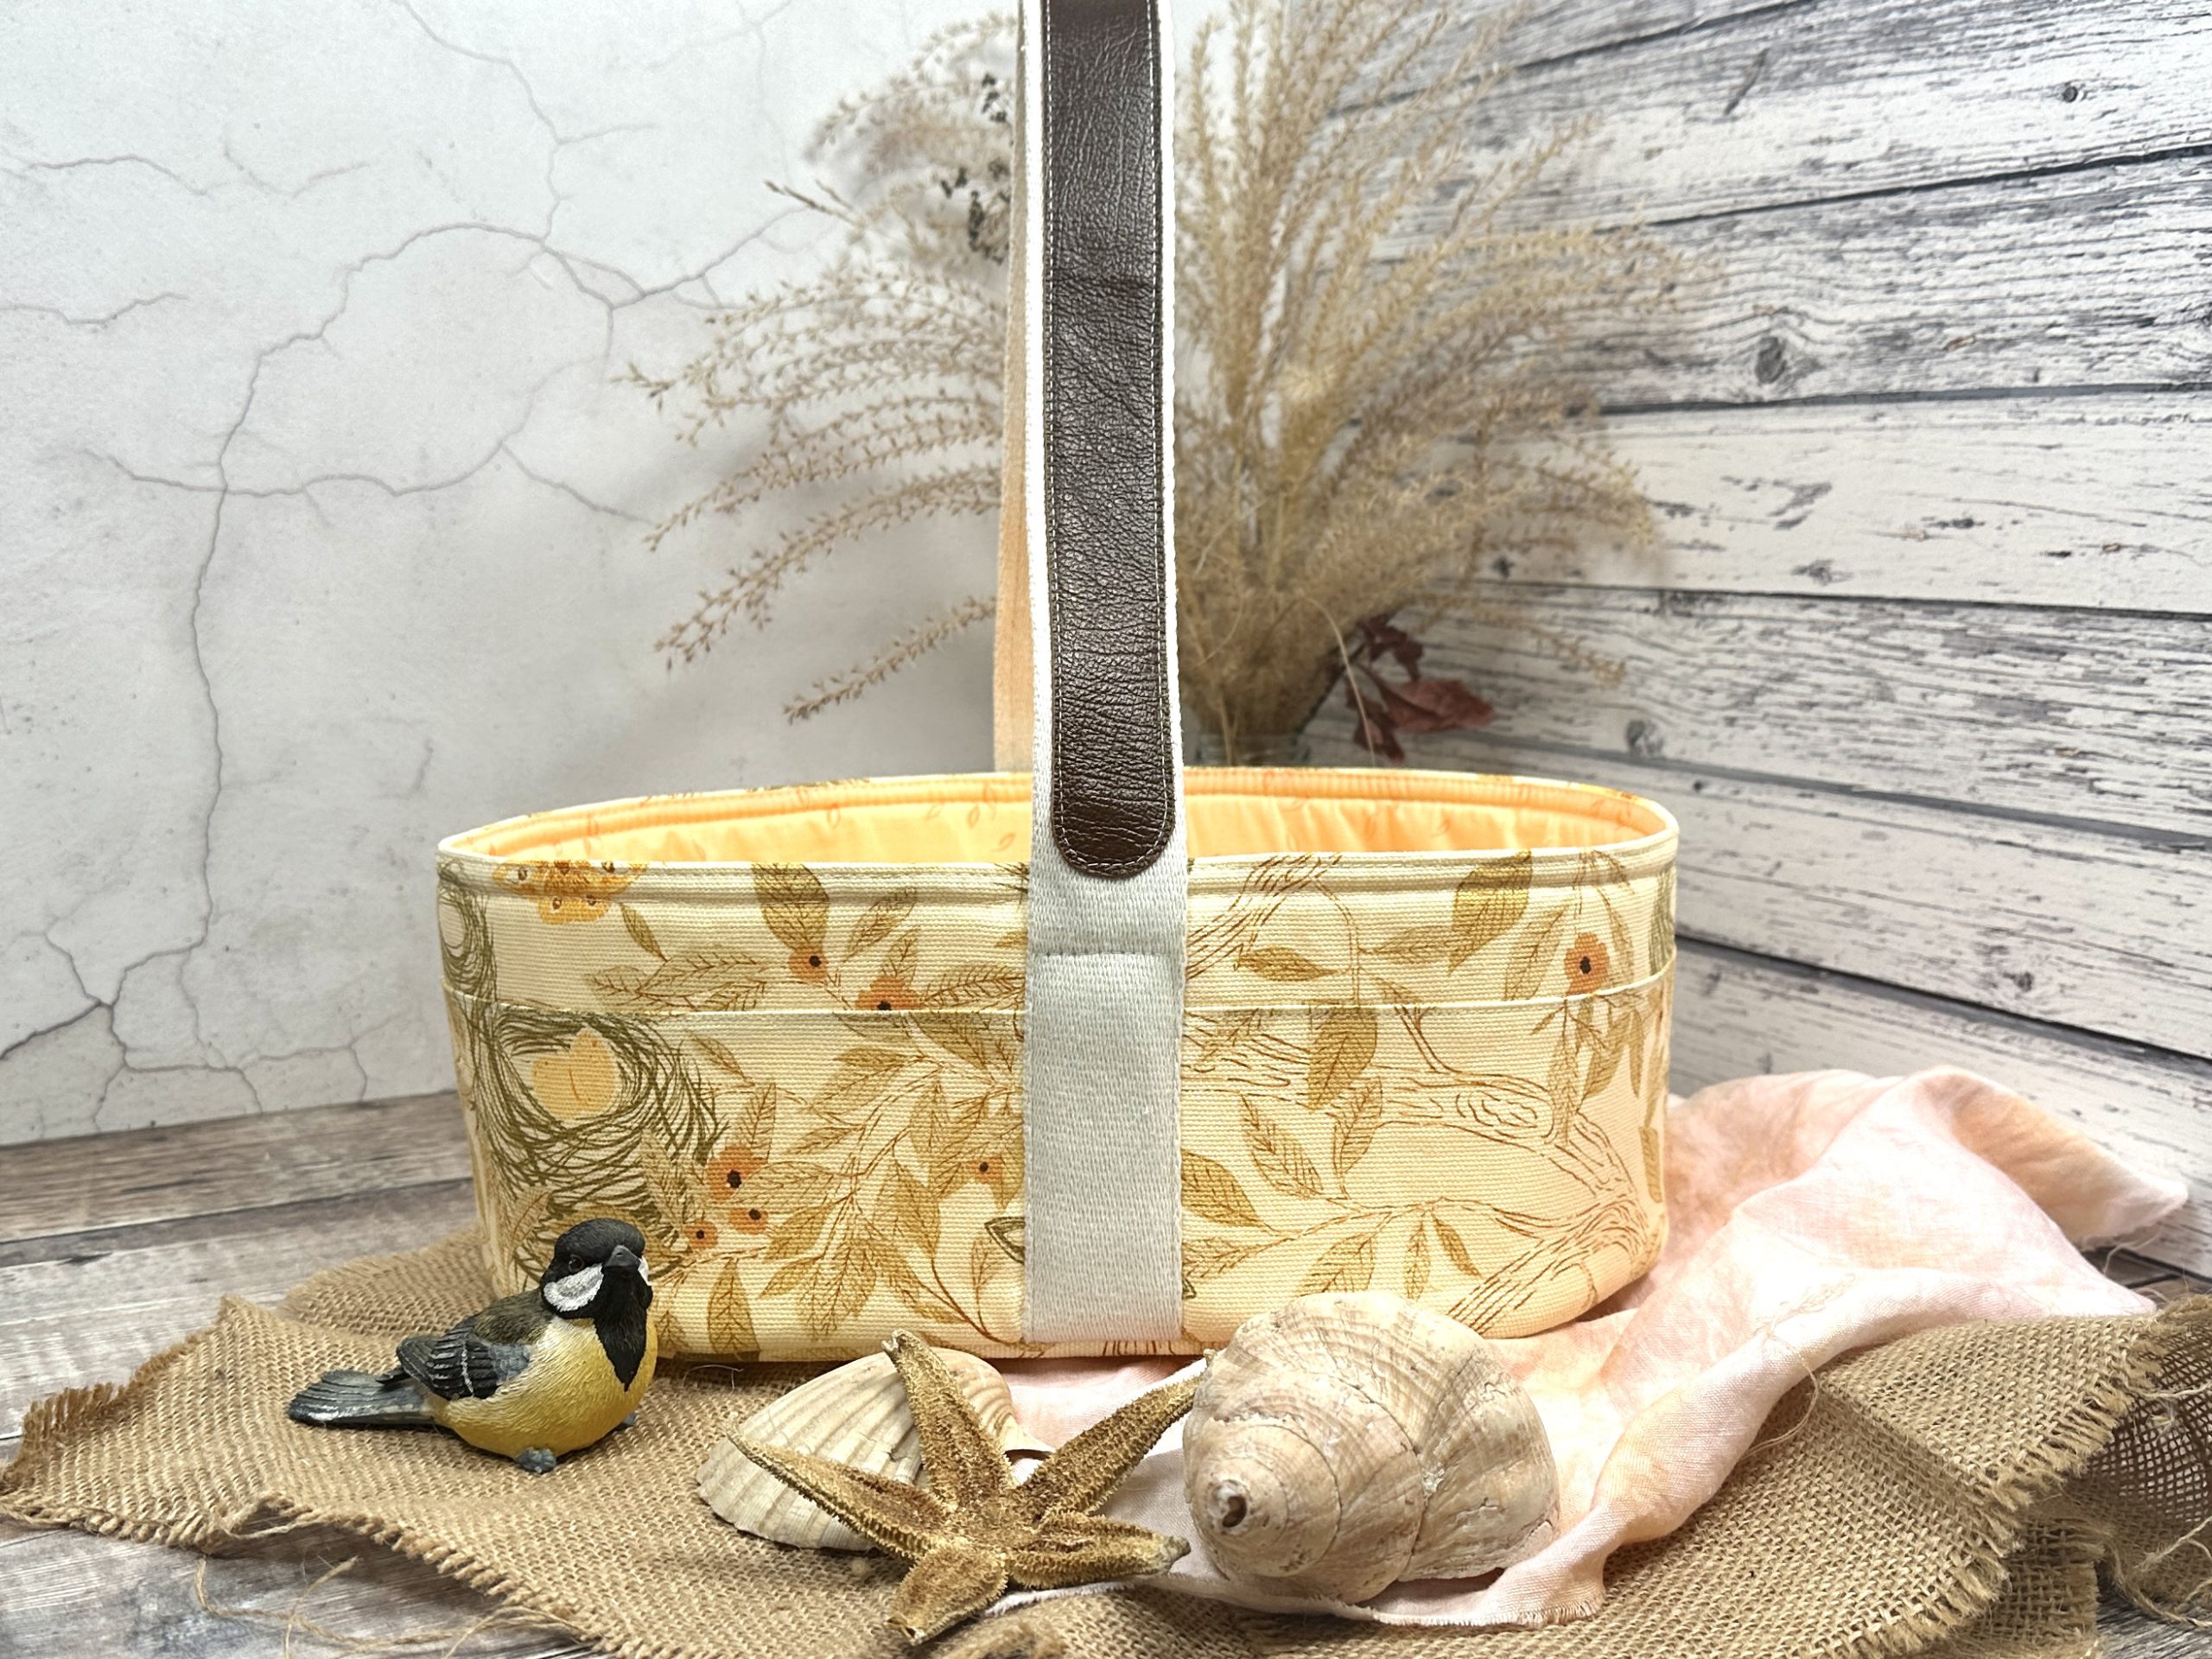
Dreaming of wandering your local strawberry patch or woodlands to hunt for mushrooms? Debbie von Grabler-Crozier has you covered with this sweet foraging basket pattern. Featuring a canvas exterior, this fabric basket pattern can hold your fruits and veggies from your garden, as well as fresh cuttings from your flower beds. Finish your fabric basket by adding leather trim to the handle and start planning your first spring foraging trip.
Designer Note: Seam allowances are all 1/4” and have already been added.
Materials:
- Fabric: (Note: All fabrics are by Art Gallery Fabrics.)
- 1/2 yd. canvas for the exterior. Debbie loves Nesting Garden Ivory from the Hazelwood collection by AGF Studio.
- 1/2 yd. coordinating blender for the lining. The designer used Dancing Leaves Apricot from the Hazelwood collection by AGF Studio.
- Interfacing:
- 1 1/2 yd. Style-vil foam interfacing (Vlieseline)
- 1 1/2 ” wide x 21” long piece of thin leather or vegan leather for the handle trim
- 31” of 1 1/2” wide cotton webbing for the handle
- Coordinating threads for all fabrics and trims
- Double sided tape
- Scissors
- Fabric marking tools
- PDF Pattern – This is located at the bottom of this page. Please see printing instructions below.
PRINTING INSTRUCTIONS:
Note: To download the pattern, click on the pattern download button at the bottom of the page. We recommend opening your pattern download using Adobe Acrobat.
Cutting Instructions:
From the canvas:
- 1 piece using the PDF pattern for the base exterior
- 1 piece 36 3/4” wide x 4” tall for the exterior side panels
- 1 piece 36 3/4” wide x 2” tall for the exterior side panel top trims
From the lining fabric:
- 1 piece 11” wide x 15” long for the base lining
- 1 piece 36 1/4” wide x 5 1/2” tall for the side lining panels
From the cotton webbing:
- 1 piece 30 1/2” long for the handle
From the leather or vegan leather (hereafter, leather):
- 1 piece 1” wide x 20 1/2” long for the handle trim
TIP: There are no cutting notes for the Style-Vil foam interfacing. Instructions will be given as we go along but the basic idea is to press the piece to be interfaced and then pin it to a slightly larger piece of foam interfacing. Use a machine basting stitch to attach the panel to the foam, gently keeping a taut tension on it. Then trim the excess foam away.
Sewing Instructions:
MAKING:
Trim the Handles:
- Round the ends of the leather strips by drawing around something that is about 1” wide and then cutting the ends carefully out.
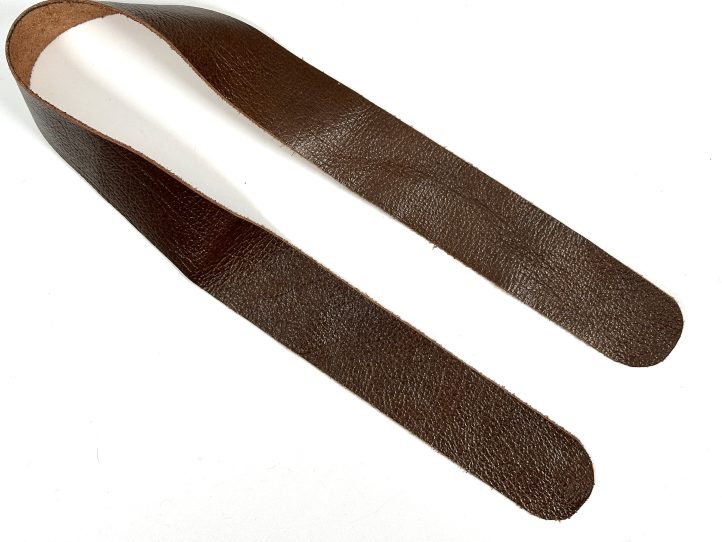
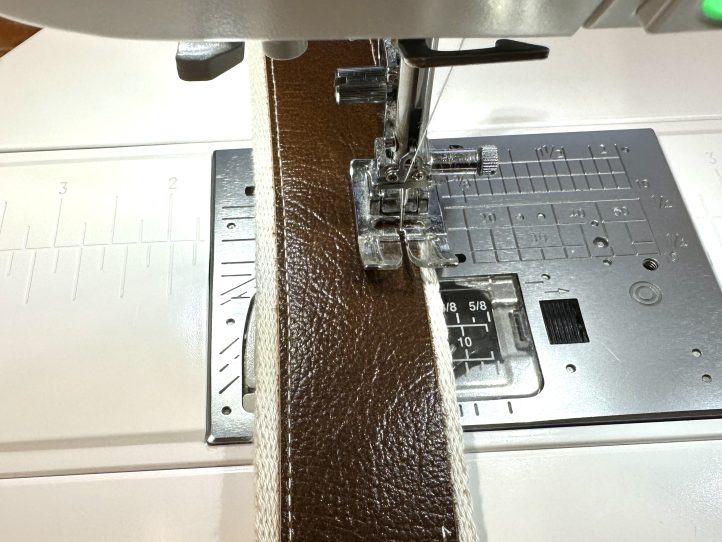
- Find the center of both the trims and the webbing handles and, carefully lining the centers up, fix the trims to the handles with some double sided tape.
- Topstitch the leather onto the webbing, sewing about 1/8” in from the edge.
Make the Side Exterior Panels:
- Attach the top trim pieces, right sides together, sew the seam and then flip the pieces the right way out. Topstitch narrowly (1/8”) along the seam.
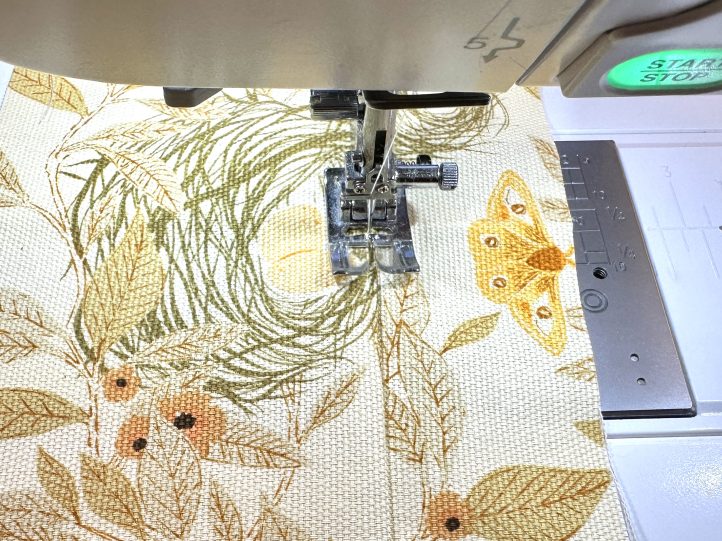
- Attach the exterior side panel to a slightly larger (about 3/4” all around) piece of foam interfacing.
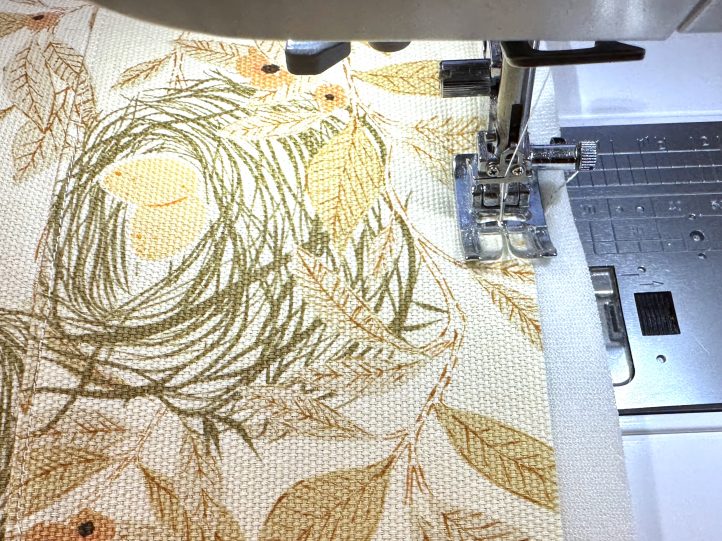
- Trim the interfacing back to the canvas all around.
- Join the side panel to make a loop, right sides together, and carefully matching the seams.
Add the Lining:
- With the right sides together, sew the end seams of the lining panel and press the seams open.
- On the bottom edge of the lining, press to the wrong side by 1/4″. TIP: This last step is in readiness to complete the lining in the last step.
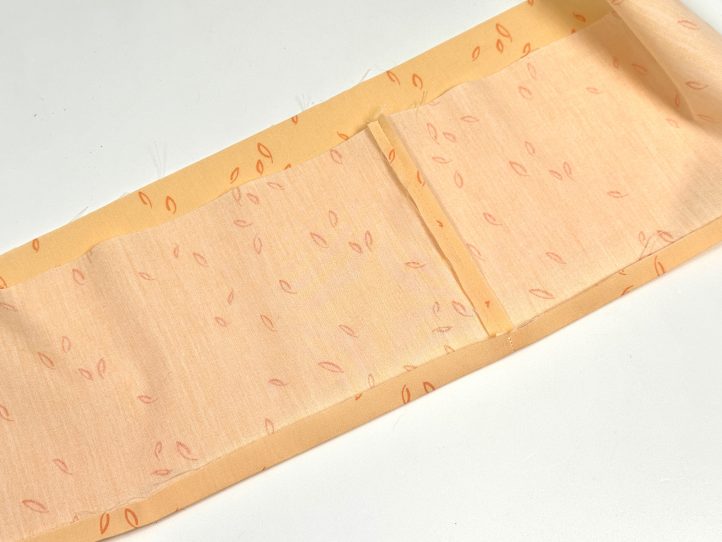
- With the right sides together, pull the lining on over the exterior loop and match the end seams. Pin or clip and sew right around the top edge leaving no gaps.
- Turn the layers the right way out and press the top edge so that it is perfect.
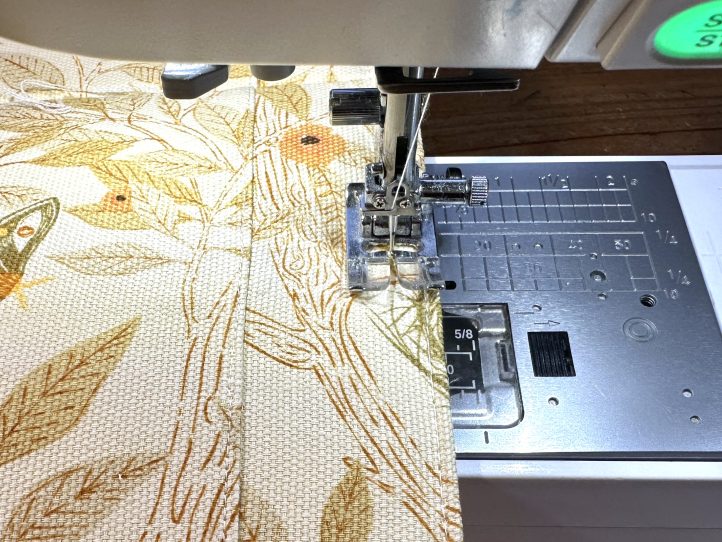
- Topstitch narrowly (1/8”) right around the top edge and then come back in and topstitch a second row 1/4” under the first.
Make the Base:
- Lay the base onto a slightly larger piece of foam interfacing, attach with a basting stitch and trim the foam back to the canvas edge.
- On the other side of the base and with the wrong sides together, attach the base lining panel. TIP: This panel is left as a rectangle so that you can make sure that it is beautifully taut and wrinkle-free when attaching it (the rectangle gives you something to hang onto as you sew). The small amount of excess is then trimmed away.
Attaching the Handle:
- Find the center side of the lined side loop and mark it on both sides. Attach the handle on the center marks (a piece of double sided tape is really handy).
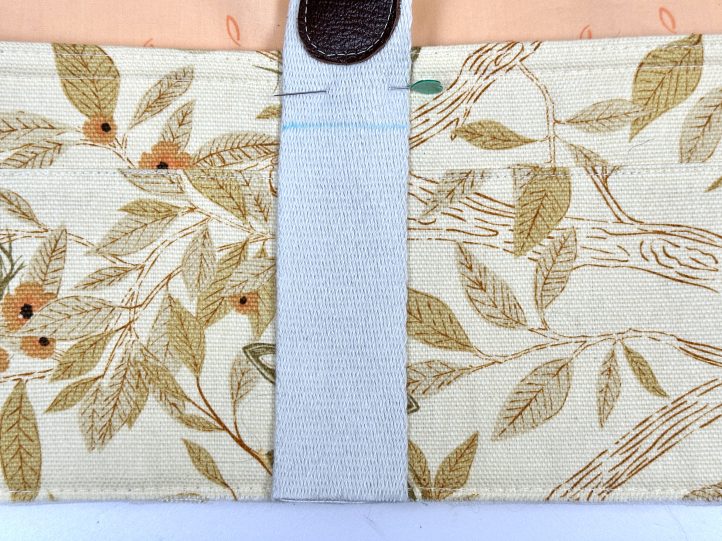
- To attach, lift the lining up out of the way so that it is not sewn accidentally, then sew up one side of the handle 4 1/4”, across the width of the handle and then back down the other side.
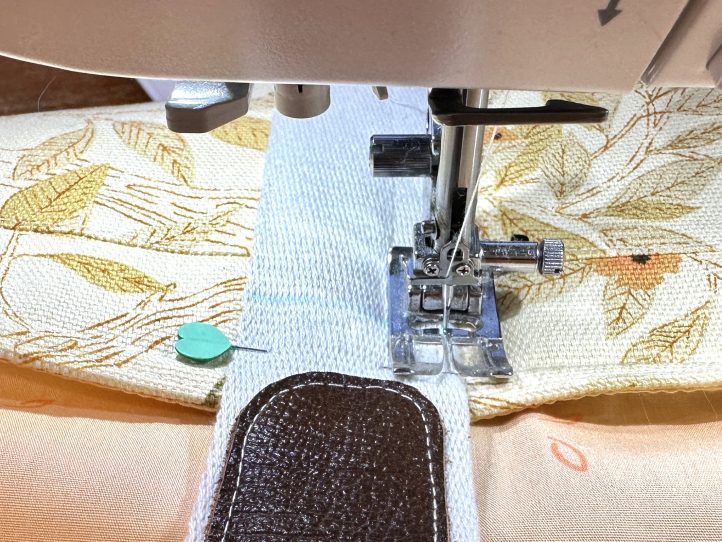
- Repeat for the other end of the handle on the other side of the loop.
Attaching the Base to the Side Panels:
- Find the center of the base on the two long edges and mark it. Fold the side panel in half and mark the center on the bottom edge. The back seam will form one center point and the opposite can be found by folding and marking.
- With the exteriors right sides facing, pin or clip the side loop to the base all around.
- TIP: The side panel seam goes onto one of the center marks that you made on the base (this will become the back of the basket) and the center of the side panel goes onto the other one.
- TIP: Tiny (no more than 1/8” in) snips where the straight side panel meets the curves of the base will make everything easier to fit.
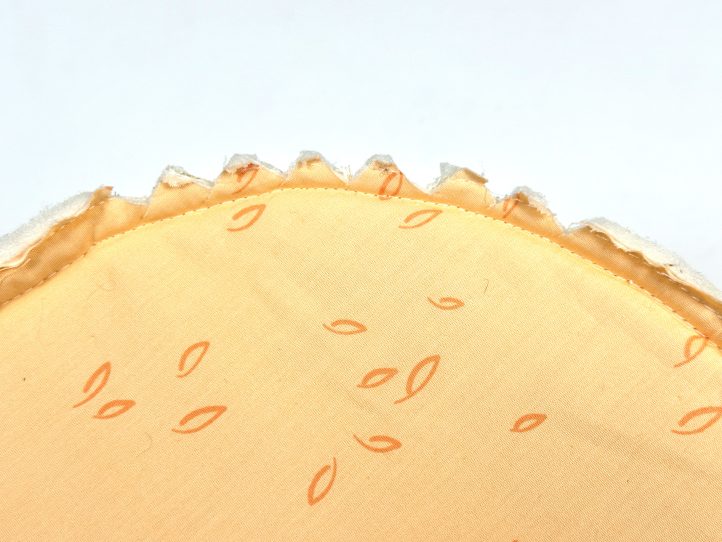
- With the lining up and out of the way, sew the side to the base.
- Notch the curves on the base.
Finishing the Lining:
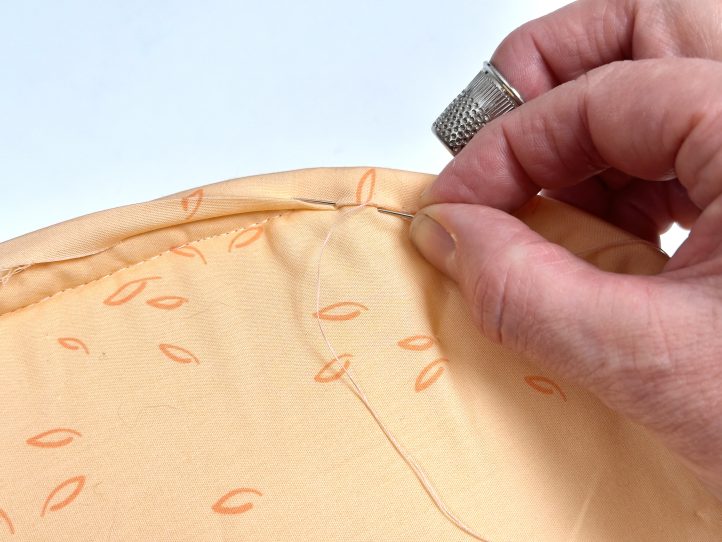
- Bring the lining down to the base so that it is nicely flat and not distorted anywhere and stitch the folded up edge of the lining to the base lining all around.

thanks for the basket pattern haha