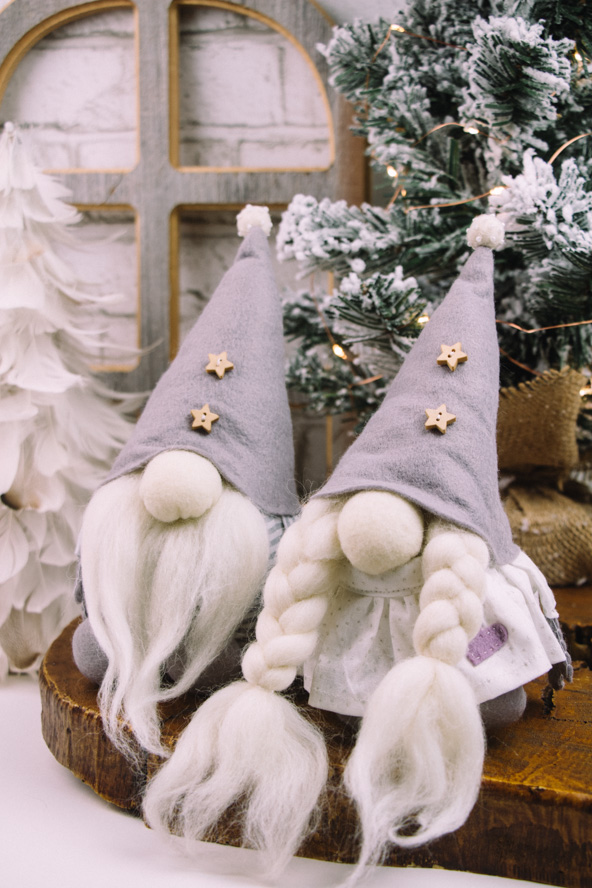
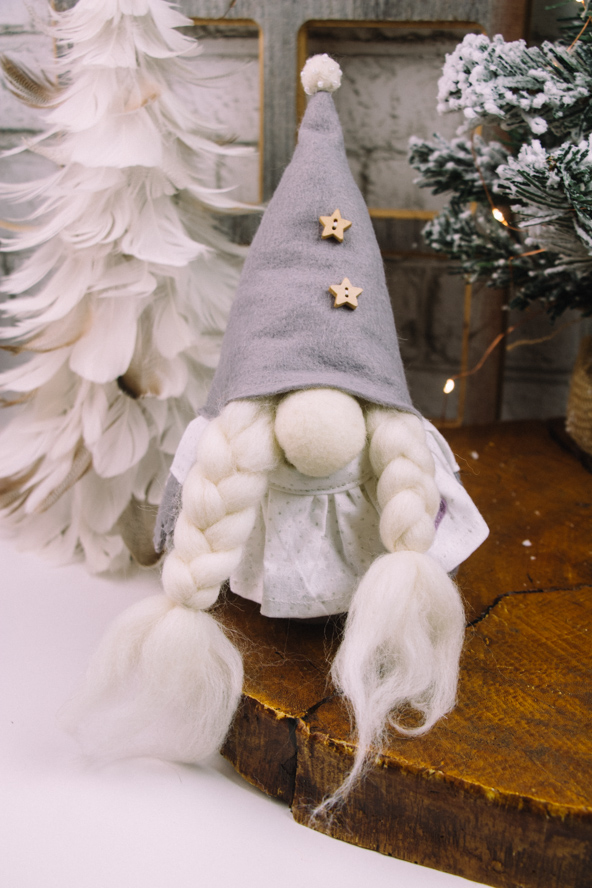
Design a cute pair of holiday decorations to display on your mantel with this festive and fun project. Add some Christmas whimsy to your winter décor with these irresistible homemade gnomes. These Christmas gnomes can be made using scrap fabric or fat quarters and feature tiny star buttons and soft, wooly details. Complete with a printable template, this easy sewing project can be made in just a few hours!
Skill Level: Easy
Seam Allowances: 5/8”
Materials:
- Fabric: cotton, one fat quarter per gnome, plus an extra fat quarter for Mrs. Gnome’s skirt
- PDF template – This is located at the bottom of this page.
- Sewing thread: white
- Dried rice: half a cup per gnome
- Toy stuffing
- Felt: gray, 8” x 14”; skintone, 4” x 6”; purple, 2” square
- Wool roving: white, 50g
- Miniature star buttons: four
- Felt bobbles: two
Tools:
- Pencil
- Dressmaker’s shears
- Ruler
- Pins
- Sewing needle
- Sewing machine
PRINTING INSTRUCTIONS:
To download the PDF template, click on the download button at the bottom of the page. We recommend opening your download using Adobe Acrobat.
Designer Notes:
We’ve added half a cup of rice to each of our gnomes to give them a little extra weight and stability – this should help them sit up on your mantelpiece and will make sure they don’t get knocked over too easily!
Instructions:
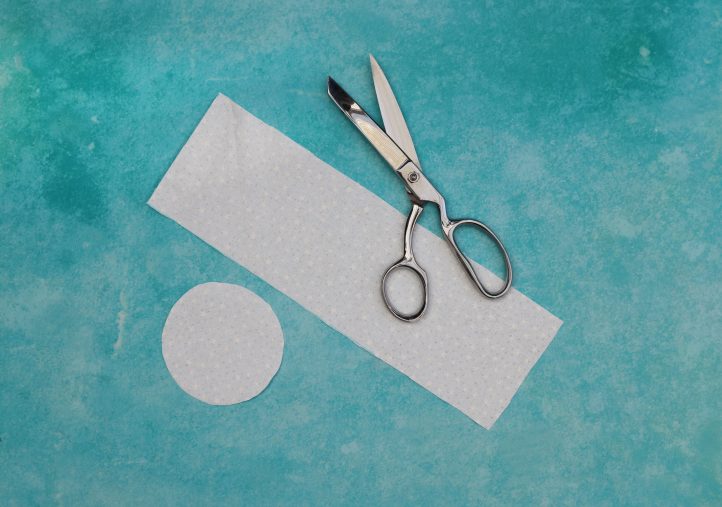
- Begin by cutting out the fabric pieces. Download and print the gnome template and use it to cut two circles from cotton, one for each gnome. Then, cut a 6” x 13” rectangle for each gnome from the same fabric – these are the Body Side pieces. From the fabric used for Mrs. Gnome, cut a 3.5” x 21” Skirt strip, and a 2” x 13” Waistband. Cut two 2” squares from cotton for each gnome, to make Arms. Use the other templates to cut the Hat, Hands, Nose, Feet, and Heart pieces from felt as indicated.
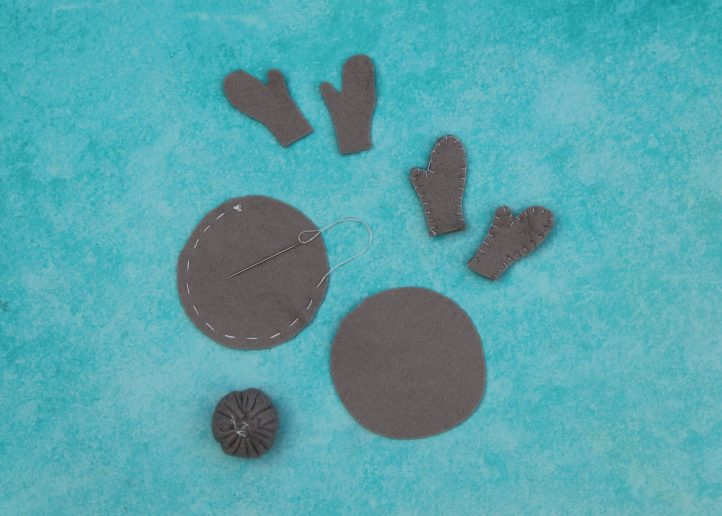
- Take one Body Side piece and pin one long edge of it around the edge of its matching Body Base piece, with right sides facing. When the Side piece is completely wrapped around the edge of the Base, bring the two short edges together and pin, to form a bag shape. Machine stitch both of these seams with a 5/8” allowance, then trim any excess, to reduce bulk. Turn the bag right sides out, then place a small handful of toy stuffing in the bottom. Layer half a cup of dry rice on top of this, then more toy stuffing. Leave the top 2” of the bag unfilled. Work a gathering stitch 2” down from the top edge, then gently pull on it to draw the shape in and secure with a few hand stitches. This creates one basic gnome Body. Repeat this entire step to create a Body for the second gnome.

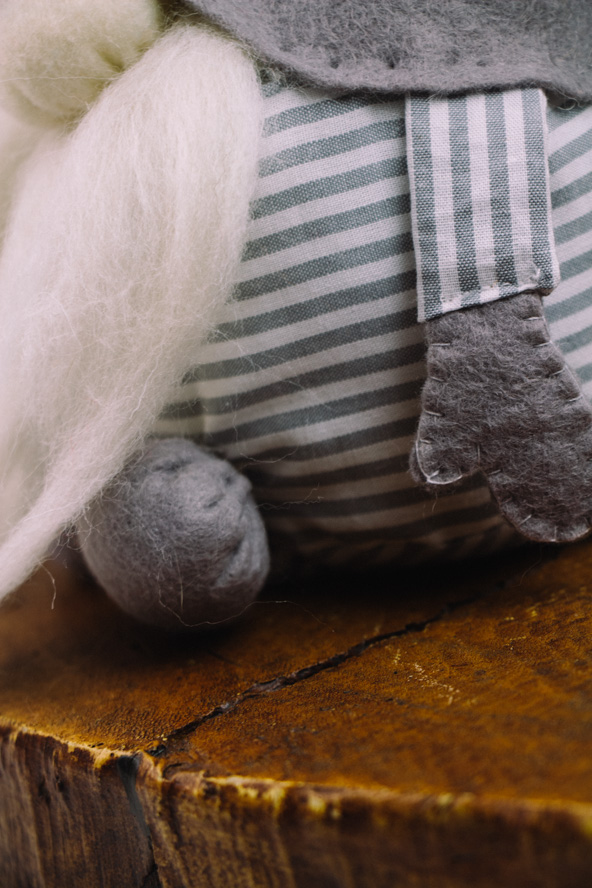
- Place the felt Hand pieces together in pairs, and work a blanket stitch around the edge of each. Next, take one of the 2” square Arm pieces and fold it in half with right sides facing. Machine stitch along the long open edge with a 5/8” seam allowance to form a tube. Turn the tube right sides out, then fold the raw edges on one side inwards by 1/4”, pin, and hand stitch across the gap to close it. Fold the remaining open edge over to the wrong side by 1/4”, then insert one of the felt Hand pieces into it. Hand stitch across the gap to secure the Hand inside the Arm. Repeat to attach each of the stitched Hands inside an Arm. Next, make the Feet. Work a gathering stitch around the edge of each felt Foot piece and then pull gently to gather them up, adding a tuft of stuffing inside to make them into balls. Secure the shape with a few small hand stitches, then attach two feet to the front of each gnome.
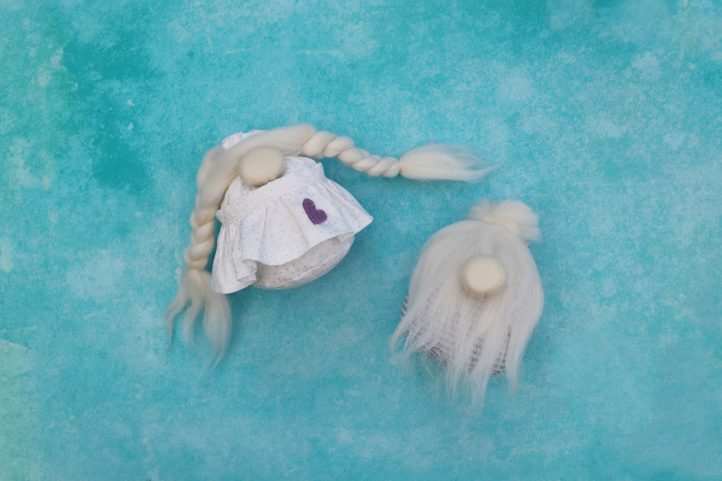
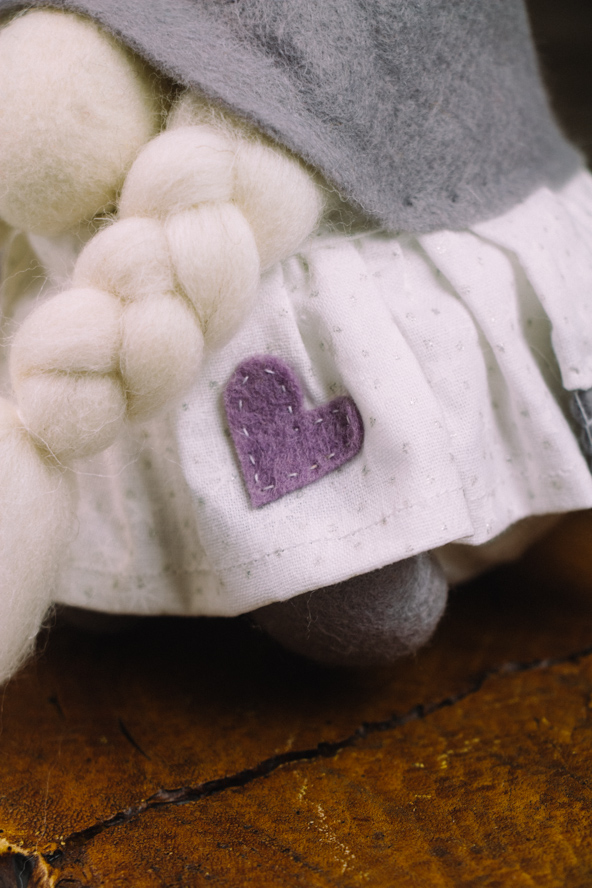
- Take Mrs. Gnome’s Waistband strip and press each short edge over to the wrong side by 1/4”. Next, press each long edge over towards the center, then fold the entire strip in half lengthways, to encase the long raw edges within the strip. Press and pin. Work a hem along one long edge and both short edges of the Skirt piece, then sew a gathering thread along the remaining long edge. Gently pull on it to gather the Skirt up, then sandwich it inside the pressed Waistband. Pin, then stitch along the open edge of the Waistband to hold everything together. Take the purple felt Heart and stitch it onto the skirt, just off center. Wrap the Skirt around Mrs. Gnome’s Body and stitch together at the back of the waistband to hold it in place.

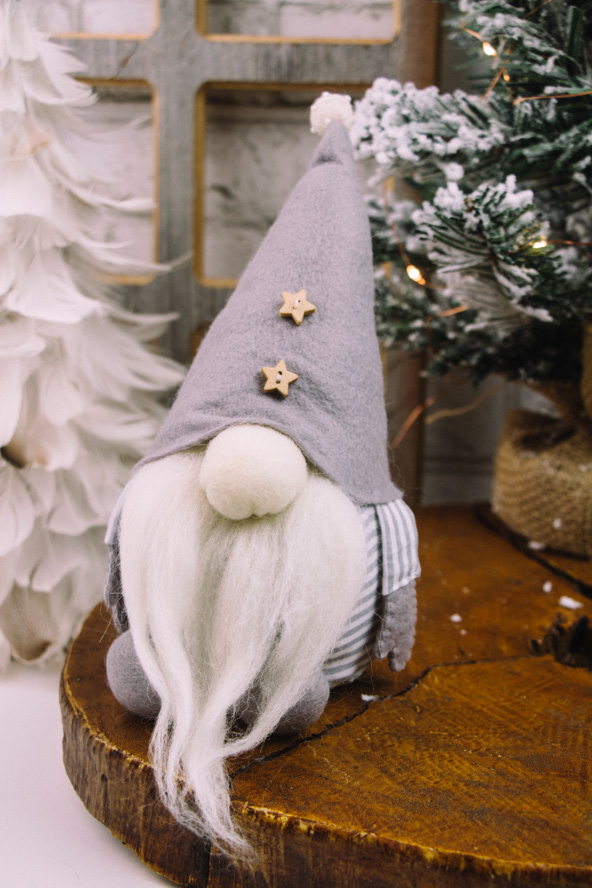
- Work a gathering stitch around the edge of each felt Nose piece and then pull gently to gather them up. Place a small amount of stuffing inside each one as the edges draw in, to make them into little balls. Secure the shape with a few hand stitches. Next, make the gnomes’ hair. For Mr. Gnome, make a cute little beard by taking a handful of wool roving and securing it together at the top with a length of thread. Secure this to the gathered top of his Body, then fan it out across his face. For Mrs. Gnome take another handful of wool roving, fold it in half, then braid each side. Secure the braids with thread ties, then attach to the gathered top of Mrs. Gnome’s Body to fix in place.
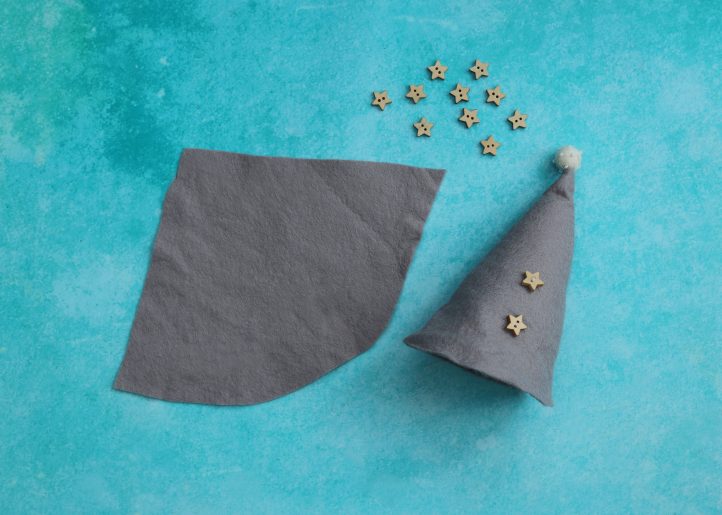
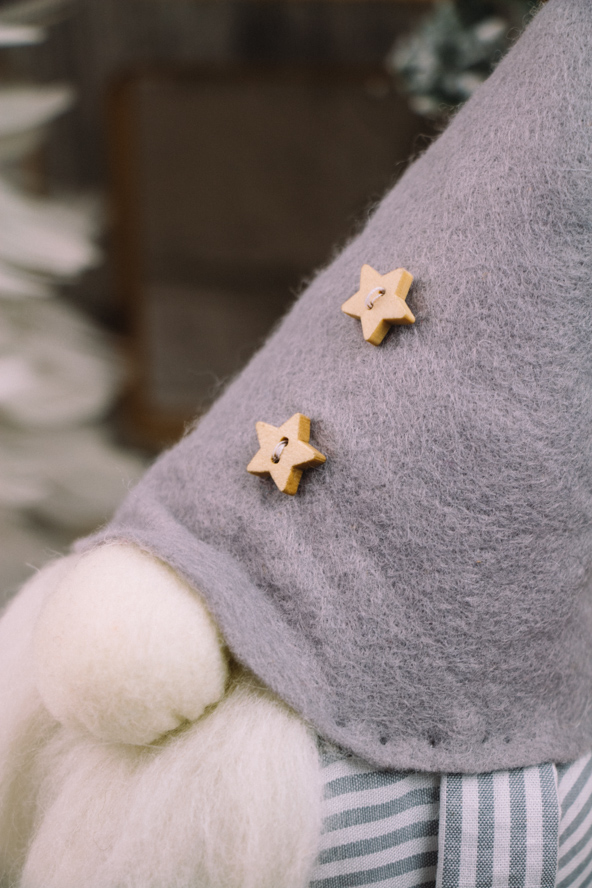
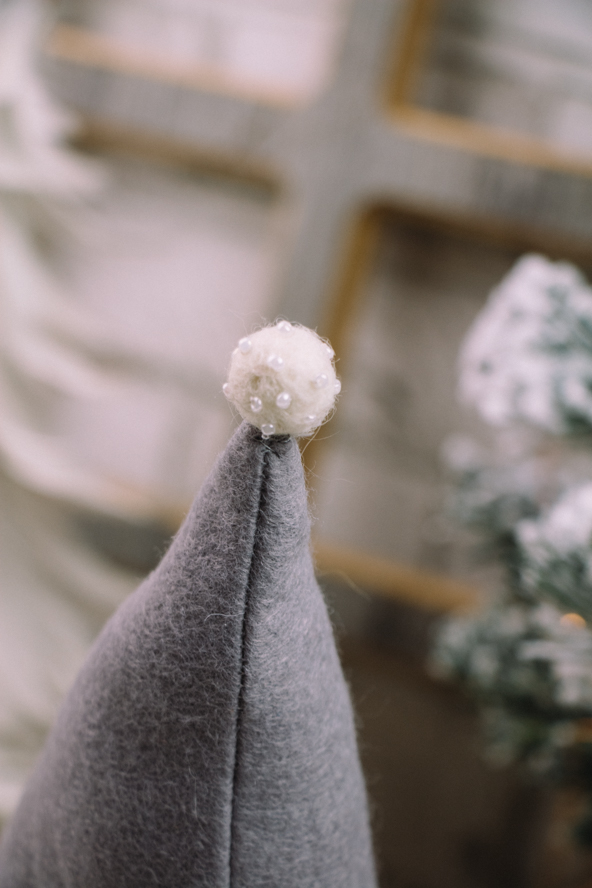
- Fold each of the Hat pieces in half to bring the straight edges together. Pin, then machine stitch down the straight edge with a 5/8” seam allowance. Turn right sides out, then hand stitch a couple of star buttons to the front of each Hat, and a bobble to the top. Place each Hat on top of one of the gnomes and pin into position, inserting the Arms underneath the edge of the Hats on each side. Then, place a Nose into position at the front of each one. Finish by stitching the Nose, Hat, and Arms into place by working small hand stitches around the edge of each Hat.
Gnome for the Holidays Christmas Decor
Gnome for the Holidays Christmas Decor
Gnome for the Holidays Christmas Decor
Gnome for the Holidays Christmas Decor
Sorry to have sent the last message. I scrolled through the article again and found the link to the pdf template. I am all set.
Glad you found the template, Judy! Please let us know if you have any questions. Thanks! – Ashley, We Like Sewing
I am a gold member but do not see the gnome template at the bottom of the page. Please help.
I am a paid member, just not gold. I thought I had purchased a gold membership but my account says bronze instead. Not really seeing the benefit of paying for any membership so far.
Hi Angela! I will pass along your inquiry to our customer service team to see if you were accidentally marked as a bronze member instead of a gold member. Thank you for your patience while we look into this 🙂 – Ashley, WeLikeSewing
I got the Gold Member Insider. However, when I went to download the template for the Gnomes, it would not come up. What could be the problem?
Hi Helene! I’m so sorry you are having issues downloading the template for this project. I’ve sent you the PDF via email to see if that helps. Could you please let us know what type of device you are using to see if we can troubleshoot the issue (laptop, phone, iPad, etc.)? Have a great day! – Ashley, WeLikeSewing
I can’t locate the templates either. Would love to make these, but need the template.
Hello there! The templates are located at the bottom of the page and are available to our gold club members. If you are a gold club member and are having issues opening the download, please let us know. Have a great day! – Ashley, WeLikeSewing
I assume I am a Gold Club Member. I got the Gold Member Insider. However, when I went to download the template for the Gnomes, it would not come up. What could be the problem?
I just signed up for the gold membership but it isnt allowing me to download this pattern.
Hi Maria! We’re so sorry you’re having issues downloading this project. Are you able to click/access the download at all? If not, you may need to contact our customer service; you can do this by clicking on the ‘Contact Us’ link at the bottom of our homepage. It’s also possible that your browser is blocking downloads or pop-ups from our site, so I would recommend checking your browser settings as well. Let us know if you have any questions! – Ashley, WeLikeSewing
So cute but it would be nice to know the finished size with doing the math .
So cute, but with out doing math or making the gnome, it would be great if the finished size was mentioned.
If one is not a goldmember can we not get the free gnome pattern?
Hi Barbara! Our freebies can be found in the Freebies tab at the top of our site. The gnome pattern, like other patterns featured in our magazine issues, are for paid members. Have a great day! – Ashley, WeLikeSewing