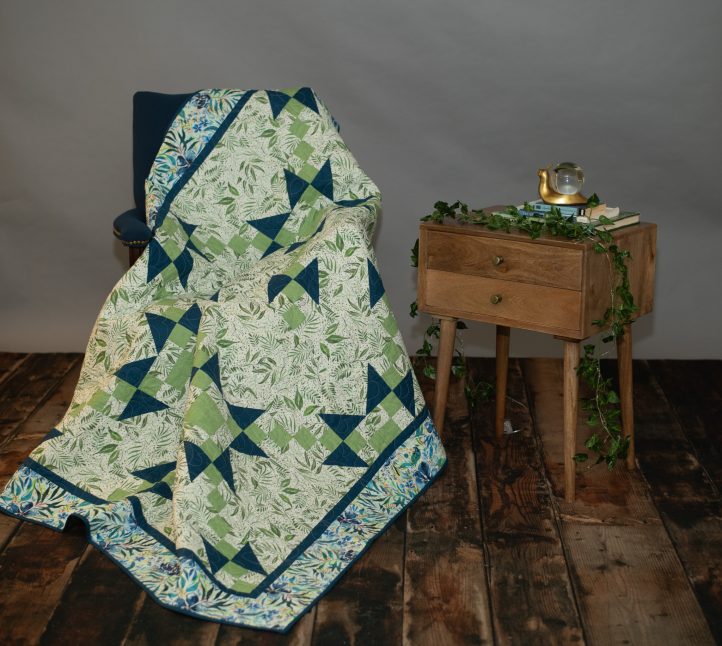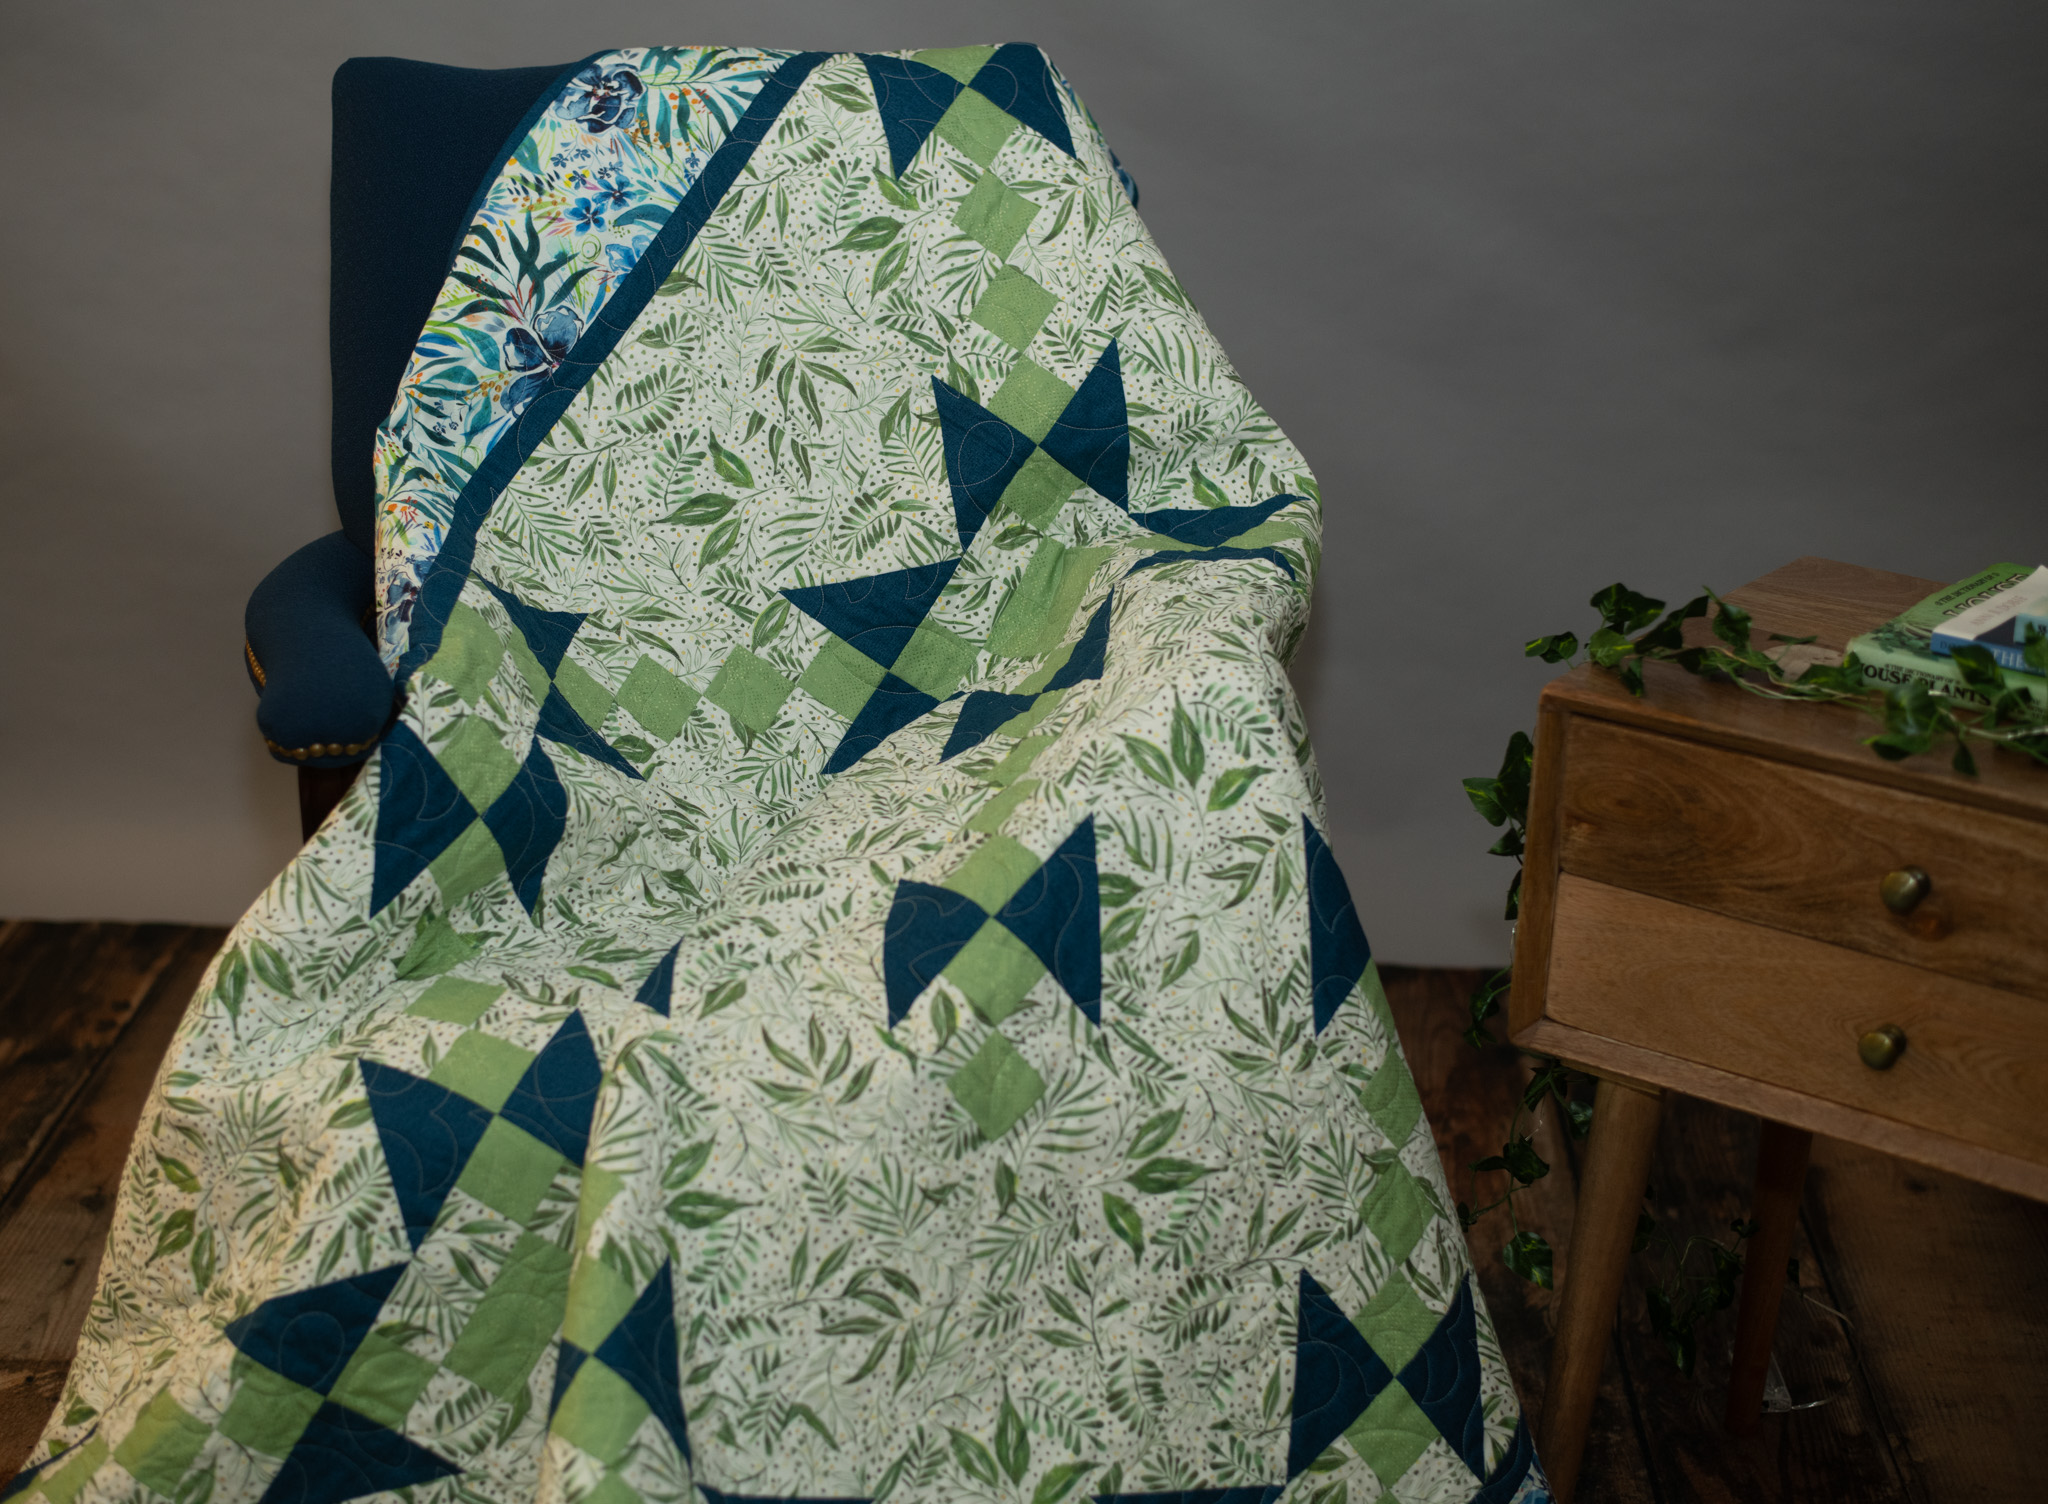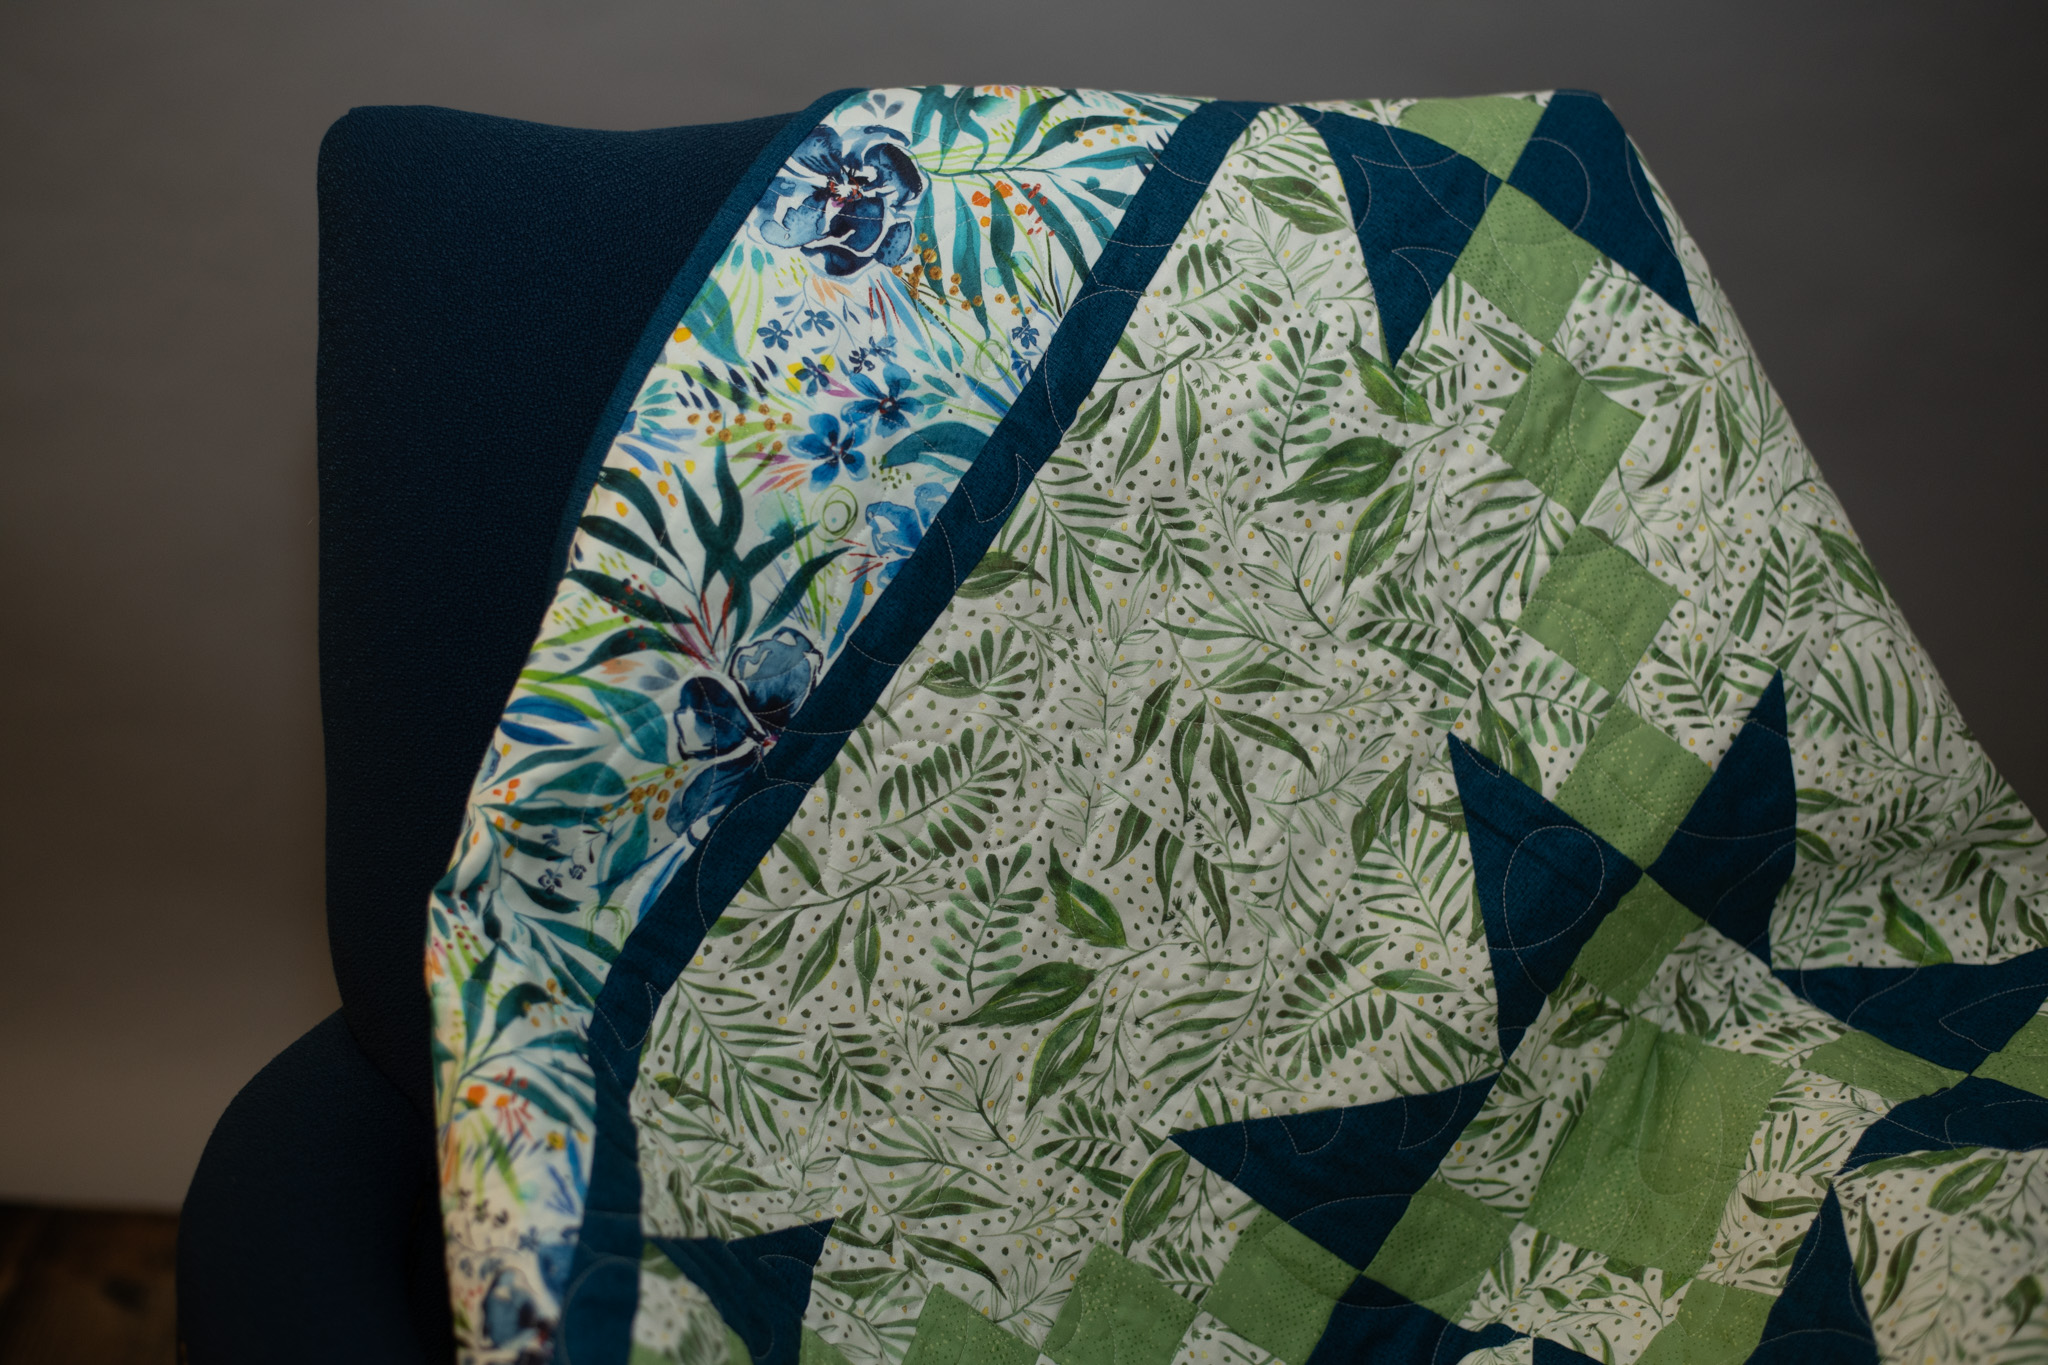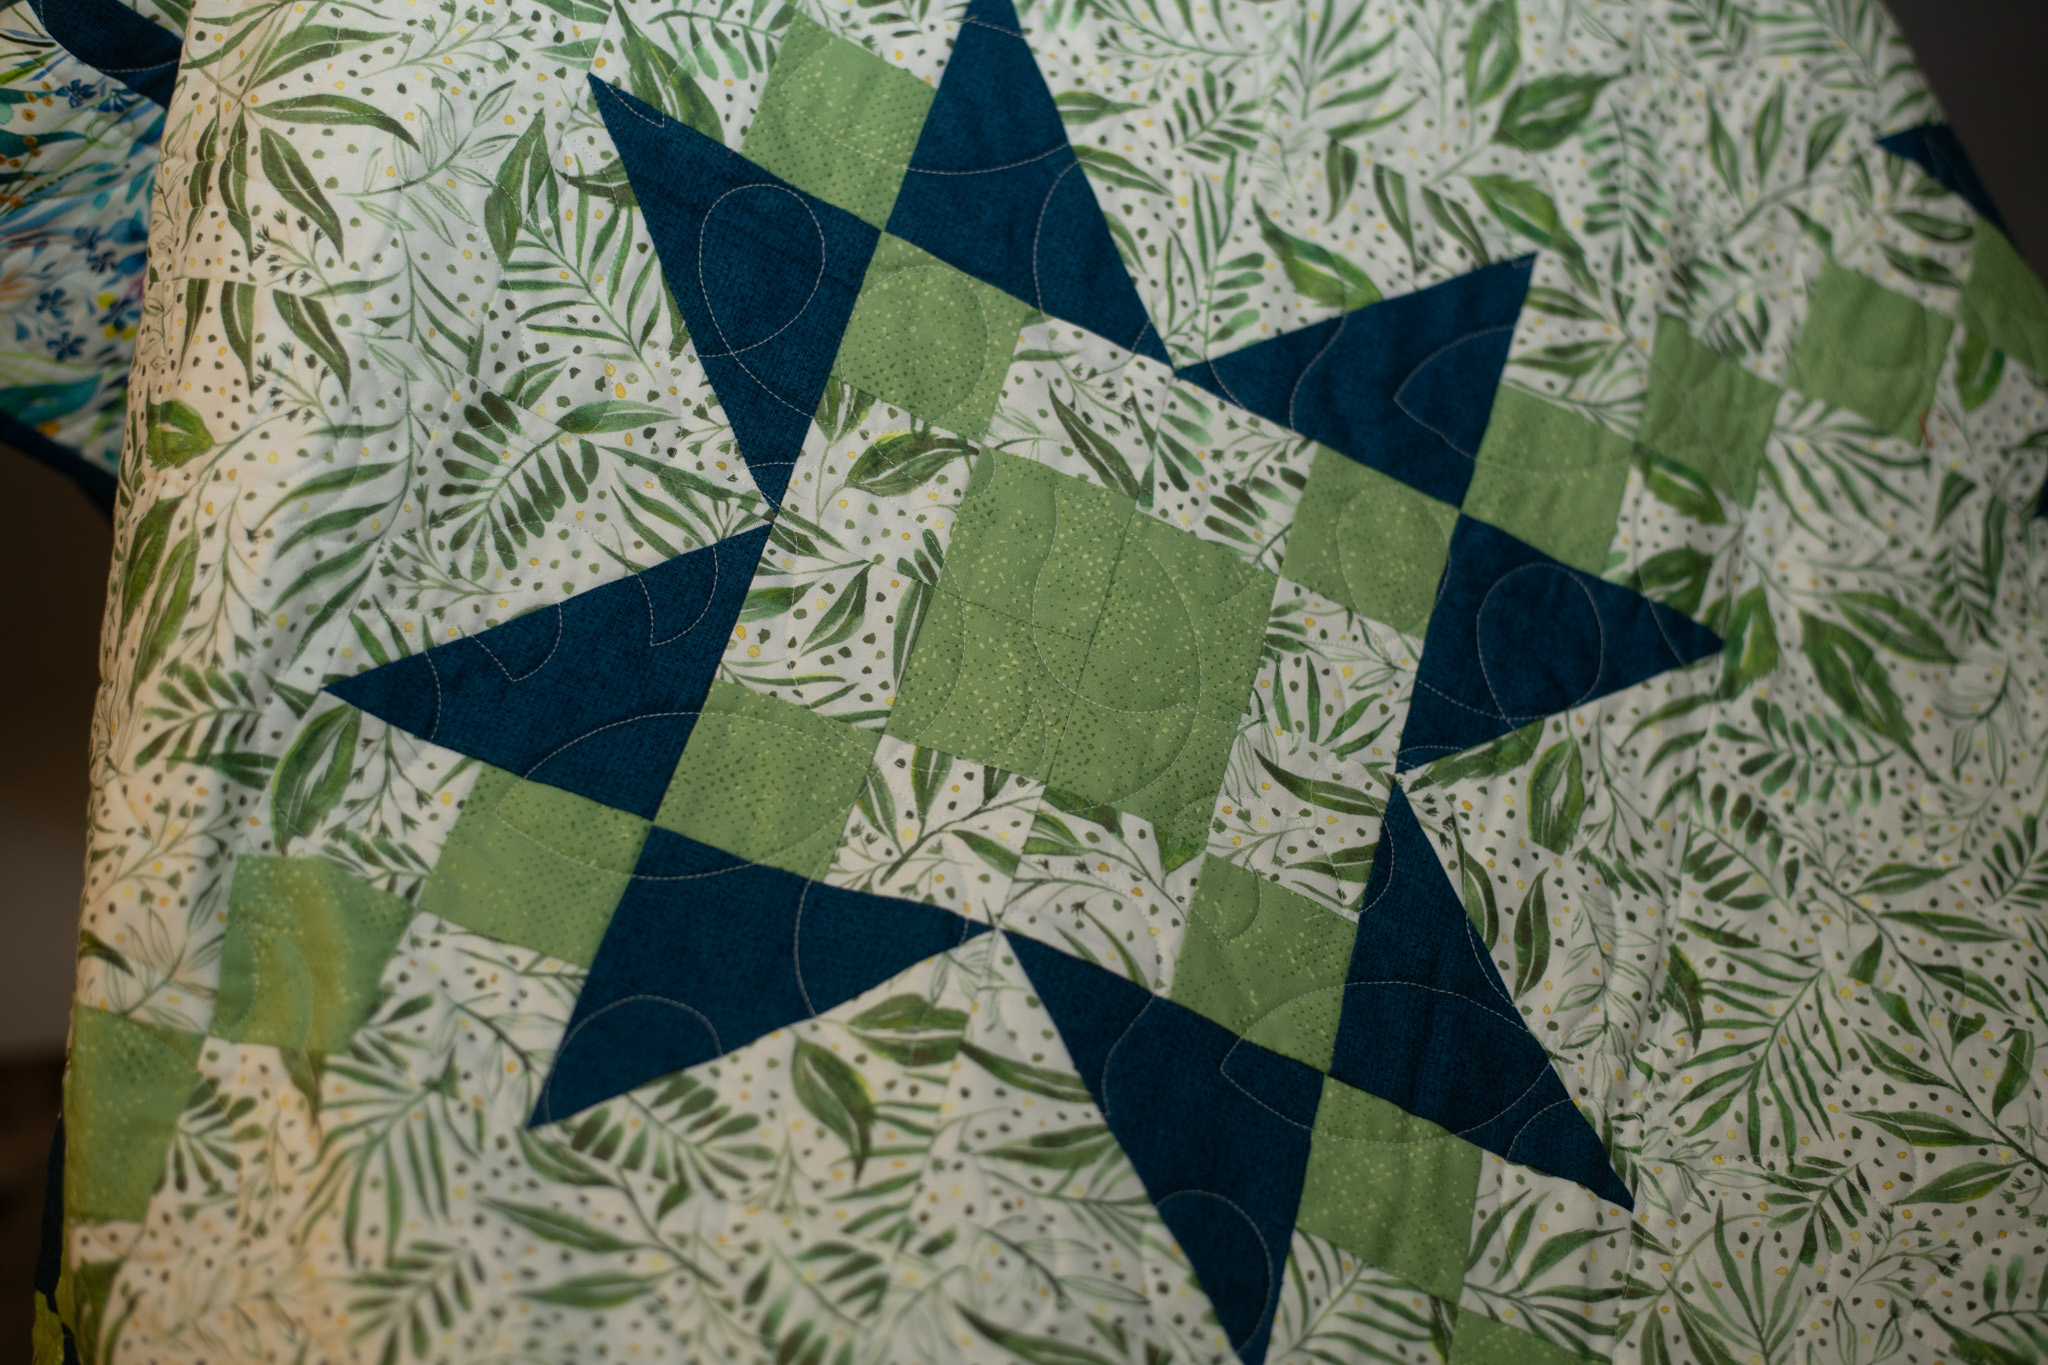
This winter, create a stunning quilt in vibrant greens and deep blues with this new pattern from Megan Farrell. A play on the classic jewel box pattern, this throw quilt pattern brings to mind the image of butterflies in flight and is a wonderful project to start if you’re already dreaming of the arrival of spring. A lovely combination of traditional and modern quilting, this pattern begs you to experiment with color.
Skill Level: Beginner
Designer Note: WOF=Width of Fabric.
Editor Note: A basic knowledge of quilting methods and techniques (such as making a quilt sandwich) is required to make this pattern.
Materials:
- Fabric Requirements:
- Patchwork:
- Color #1 – 1/2 yard
- Color #2 – 1/2 yard
- Color #3 – 2 1/2 yards (background)
- Borders:
- Border #1 – 1/3 Yard
- Border #2 – 1 yard
- Binding:
- 3/4 yard
- Backing:
- 4 1/2 yards
- Patchwork:
Cutting Instructions:
Color #1:
- Cut into six (6) 2 1/2” strips.
Color #2:
- Cut into three (3) 5” strips, then sub cut into twenty four (24) 5” squares.
Color #3:
- Cut into six (6) 8 1/2” strips, then sub cut into twenty four (24) 8 1/2” squares.
- Cut into six (6) 2 1/2” strips.
- Cut into three (3) 5” strips, then sub cut into twenty four (24) 5” squares.
Border 1:
- Cut into six (6) strips 2 1/2” x WOF.
Border 2:
- Cut into seven (7) strips 4 1/2” x WOF.
Sewing Instructions:
- Sew into a strip set, one (1) 2 1/2” strip from Color #1 and one (1) 2 1/2” strip from Color #3. Repeat this step six times (for all 2 1/2” strips from Color #1 and Color#3).

- Iron strip sets from Step 1, and once ironing is complete, sub cut the strips into 2 1/2” wide pairs. This will yield 96 pairs that are 2 1/2”x 4 1/2”.
- Sew pairs from Step 2 into 4-patches. This will yield (48) 4-patches that are 4 1/2”.

- Take one (1) 5” Color#2 and one (1) 5” Color#3 and put the squares right sides together. On the back of one of the fabrics, draw one line diagonally from one point to point. Then you will sew a 1/4” on either side of that line. Once the sewing is complete, you will cut on the hand drawn line and this will yield qty two (2) 4 1/2” half square triangles (HST). The triangles may need to be trimmed and can be trimmed with any ruler. Complete Step 4 a quantity of 24 times and it will yield a total of 48 HST’s.

- To construct the block, you will need qty of 2 HST’s from Step 4 and qty of 2 4-patches from Step 3. Sew one HST to one 4-patch and the other HST to the other 4-Patch. Once together, you will sew the pairs together to create a bigger 4 Patch. The constructed block should be 8 1/2”. Repeat this step 24 times.

- To make each of the rows, you will need three (3) blocks from Step 5 and qty three (3) 8 1/2” Color #3. You will construct two of each row.
- To make row one:

- To make row two:

- To make row three:

- To make row four:

- To make row one:
- Now to put the rows together, you will sew one to two, then three to two and then four to three. You will make two sets of four rows.

- Now that you have two sections of four rows, you will rotate one of the sections 180 degrees and you will sew row four to row four.
- Once all steps are sewn above are completed and all rows are sewn together, it is time to attach suggested borders.
- Attach Border 1 to all four sides.
- Attach Border 2 to all four sides.
- Once borders are attached, attach backing, batting, and binding using your preferred method to finish quilt.


This is a beautiful pattern for a quilt. However, the instructions leave out a most important detail! The quilt top must be sandwiched with batting and backing and quilted together (and stitched) before a binding is added.
Hi Amelia! Thank you so much for catching this error. We will reach out to the designer for updated instructions. Have a great day! – Ashley, We Like Sewing