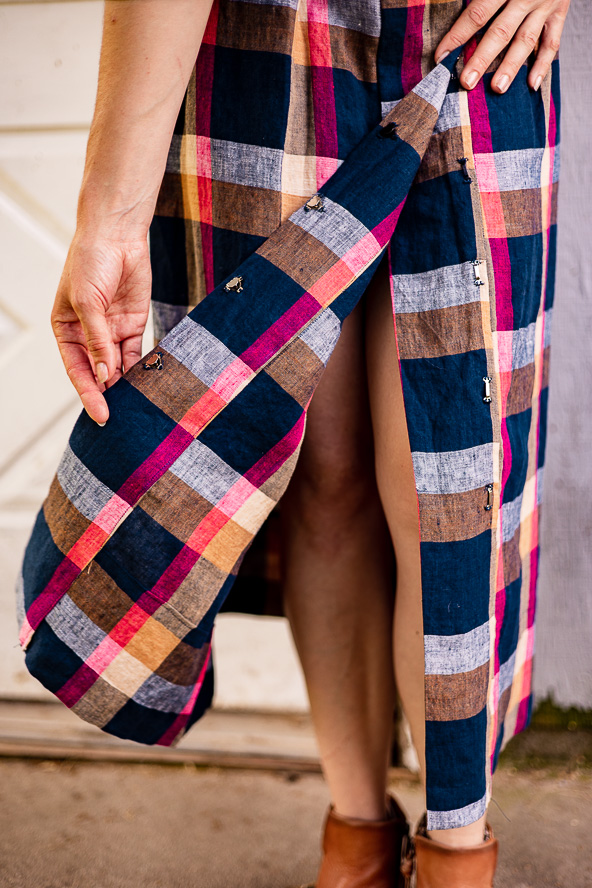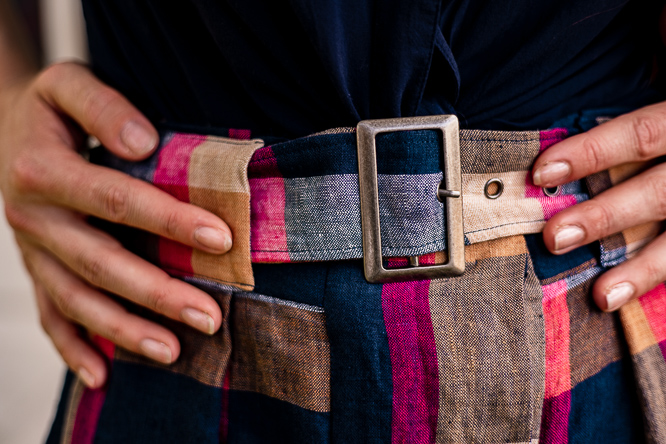
Fall weather means the start of midi skirt season! Design a sweet plaid fall midi with this printable skirt pattern from Kimberly Payne. Complete with a matching belt, this comfortable and stylish skirt is made in rich autumn shades like navy blue and chai, with a pop of hot pink to grab your attention. This fall skirt also features a front placket of hook and bar closures and box pleats around the waist to create some beautiful detailing. Channel your inner Audrey Hepburn this fall with a simple skirt that’s full of vintage charm.
Materials:
- Light to medium weight woven fabric
- Lightweight interfacing
- 6 hook and eye closures
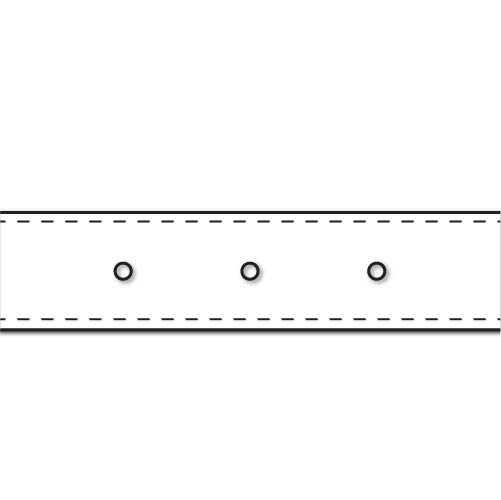
- 4 – 1/4″ grommets
- 2″ wide belt buckle
- PDF Pattern – This is located at the bottom of this page. See printing instructions below.
Finished Garment Measurements:


Fabric Requirements:

PRINTING INSTRUCTIONS:
To download the PDF pattern, click on the download button at the bottom of the page. We recommend opening your download using Adobe Acrobat.
DESIGNER NOTES:
- Seam allowance is 5/8” unless otherwise stated.
- The seams are all finished with either a zig zag stitch or serger.
Instructions:
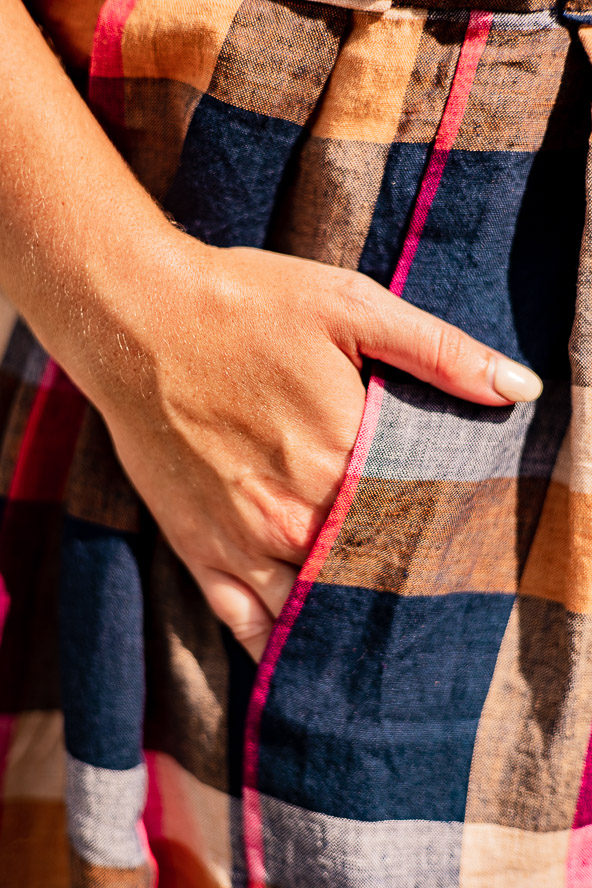
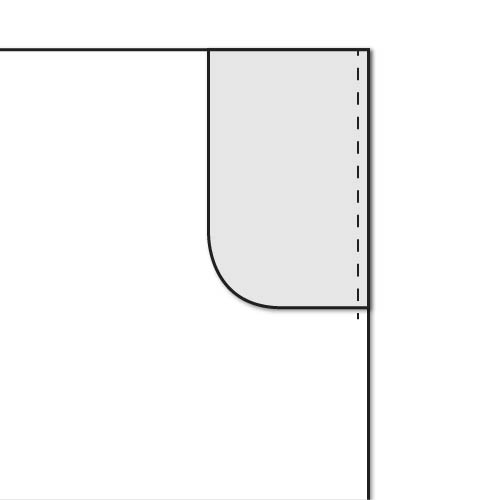
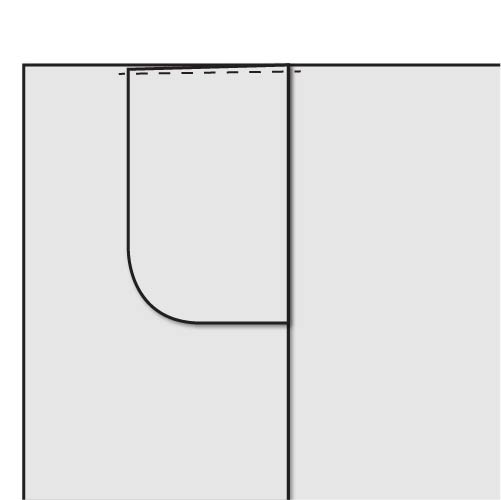
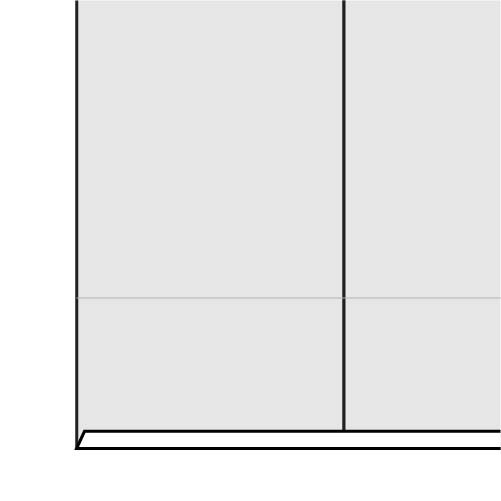
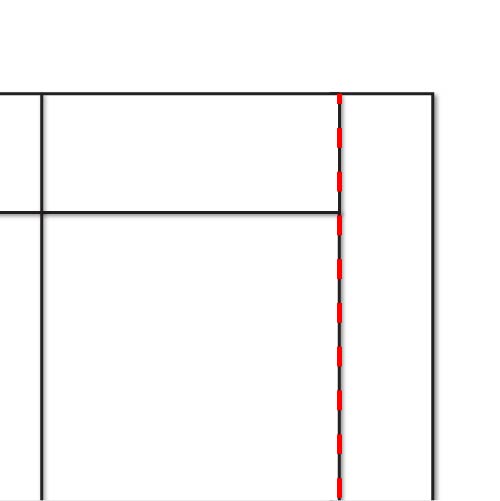
- With right sides together, line up the top and straight side of the pocket with the top and side seam of the skirt back. Sew the pocket to the skirt along the side seam with a 3/8” seam allowance. Press the pocket away from the skirt. Repeat with the other side of the skirt back and both skirt front pieces.
- With right sides together, line up the front and back pieces along the side seam and the outside edge of the skirt. Sew the pockets together along the outside curved edge, making sure to lock the stitches at the beginning and end. Sew the skirt front and back together along the side seam from the top edge to the first notch and then from the second notch to the bottom hem of the skirt. Repeat with the other side seam and pockets.
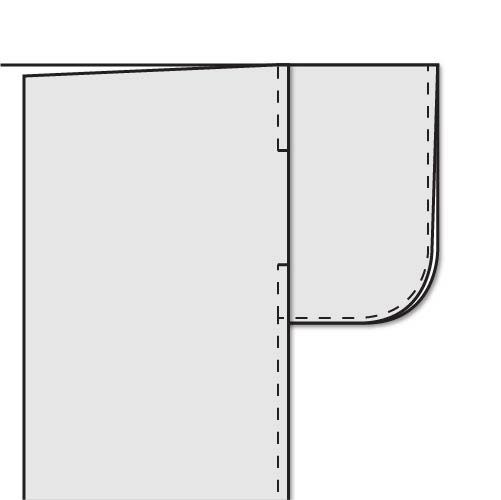
- Press the pocket towards the front piece and baste the pocket in place 1/8” along the top edge. Repeat with second pocket.
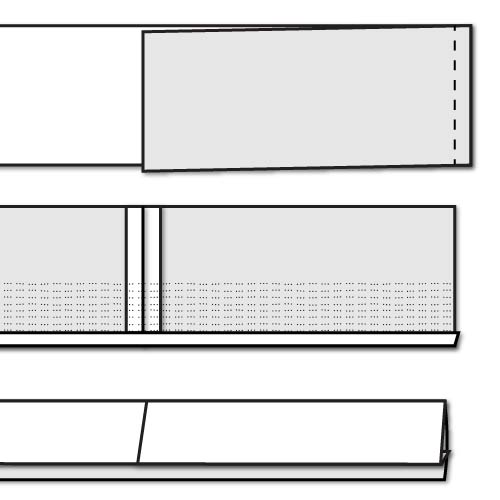
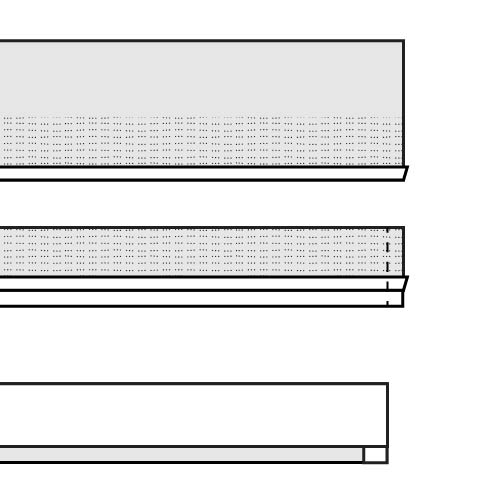
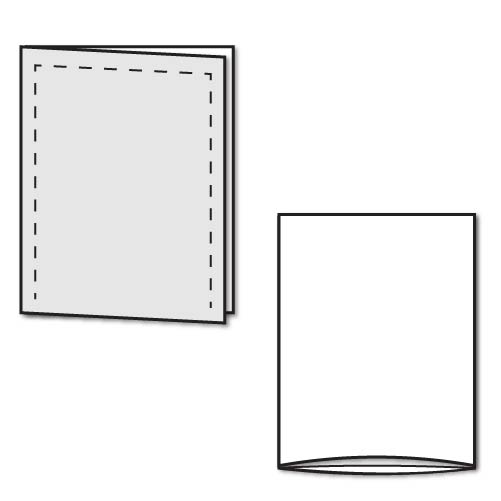
- With right sides together, sew the front and back waistband pieces together along one short end. Using the second front waistband piece, with right sides together, sew that piece to the other end of the back waistband piece along the short end. Press the seam allowance open and iron the interfacing along one half of the waistband. Fold the interfaced edge towards the wrong side by 3/8” and press well. Press the waistband in half along the top edge of the interfacing.
- With right sides together, place the non-interfaced side of the waistband along the top edge of the skirt matching up the side seams and center back. Sew the waistband in place.
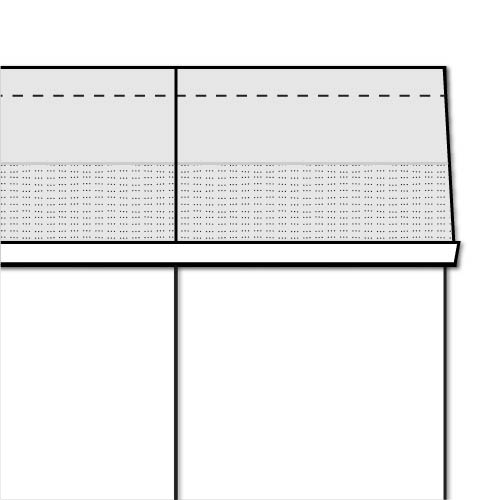
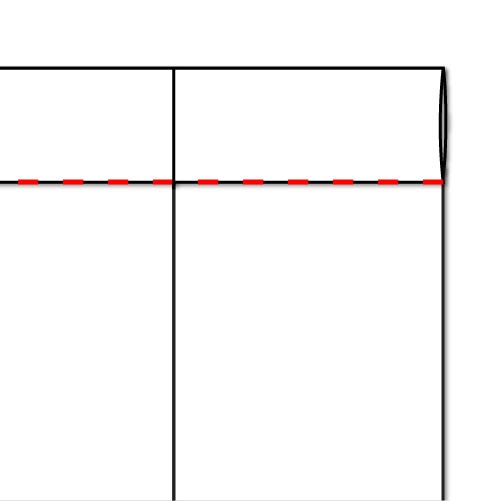
- Fold the waistband towards the wrong side with the bottom folded edge just covering the seam from the previous step. Working from the right side of the skirt, sew the waistband in place by stitching along the seam between the waistband and skirt, otherwise known as stitching in the ditch.
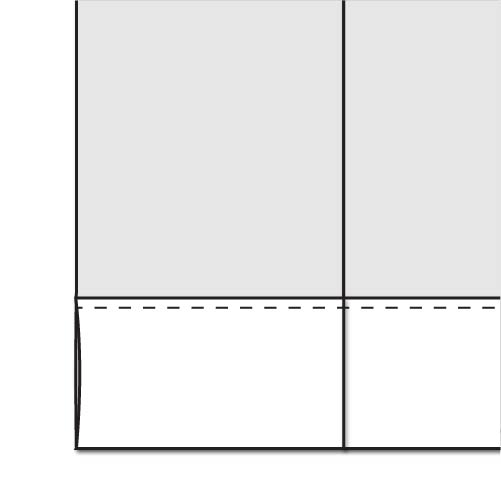
- Press the bottom edge of the skirt 1/4” towards the wrong side and press well.
- Fold the skirt a second time along the hemline marked on the pattern and press well. Sew the hem down 1/8” from the inside folded edge.
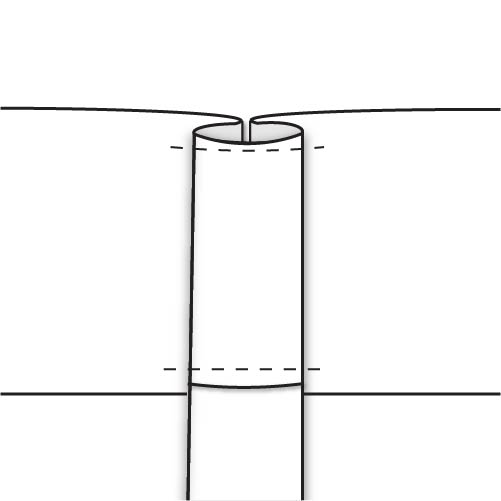
- Iron interfacing along the bottom half of the front placket. Press the interfaced edge of the placket 3/8” towards the wrong side. Fold the placket in half with right sides together. While maintaining the fold, sew the short end of the placket together. Trim corner of fold down and turn the placket right side out and press well. Repeat with second placket piece.
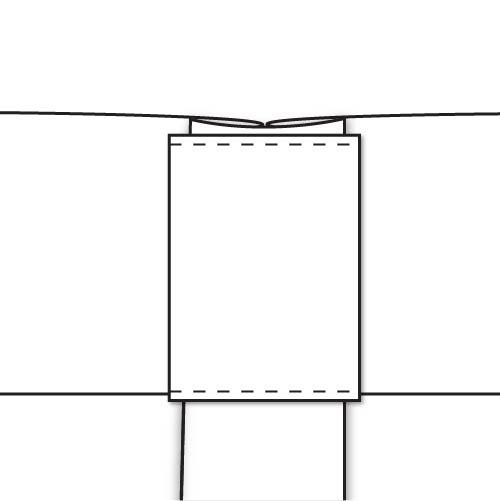
- With right sides together, line up the top and center front edge of the skirt with the placket. Sew the placket to the center front of the skirt.
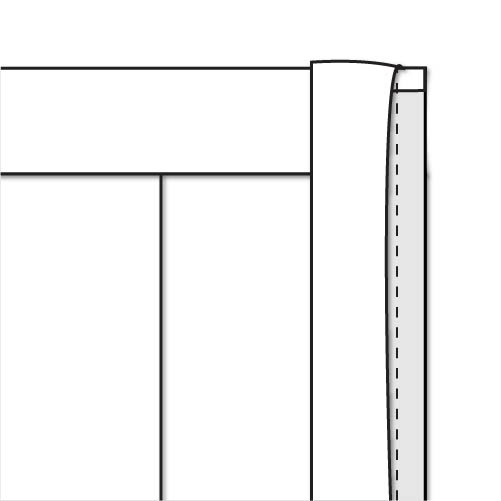
- Trim the seam allowance and fold the placket away from the skirt. On the wrong side of the skirt, the folded edge of the placket will just cover the seam from the previous step. Press the placket well. Working from the top side of the skirt, sew the placket in place by stitching in the ditch.
- The skirt has 4 box pleats along the waist, each pleat is marked with 3 notches. Fold the two outside notches together towards the wrong side of the skirt lining up with the center notch. Baste the pleat in place along the top and bottom edge of the waistband. Repeat with 3 remaining pleats.
- With right sides together, baste the belt loop pieces together along the top and sides. Trim the corner and turn the belt loop right sides out. Fold the bottom edge of the seam allowance inside the belt loop and press the whole thing well. Repeat with 3 remaining belt loops.
- Place the belt loop on top of the pleat created in Step 12. Center the belt loop both vertically on the pleat and horizontally on the waistband. Sew the belt loop to the skirt along the top and bottom edge of the loop. Make sure to backstitch at each end to prevent your stitching from unraveling. The bottom line of stitching will close the open end of the belt loop. Repeat with 3 remaining belt loops and then remove the basting stitches from all the pleats.
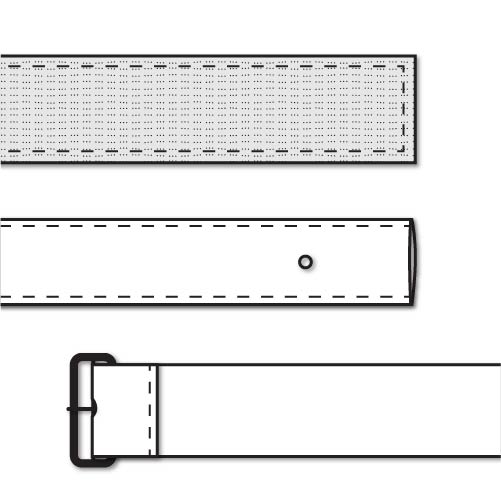
- Iron interfacing on one of the belt pieces; this is now the belt facing. With right sides together, sew the belt and belt facing together along two long sides and 1 short end. Leave the other short end open for turning. Trim the corners and turn the belt right sides out. Press the belt well and topstitch 1/8” from the outside edge on the same 3 sides. Install a grommet, according to the instructions from the manufacturer, in the space marked on open end of the belt. Working from the wrong side of the belt buckle, insert the belt through one side of the buckle over the top so that the belt prong goes through the grommet and then down the other side. Fold the end of the belt towards the wrong side by 1/4” and sew in place to the bed making sure to lock stitches on both ends.
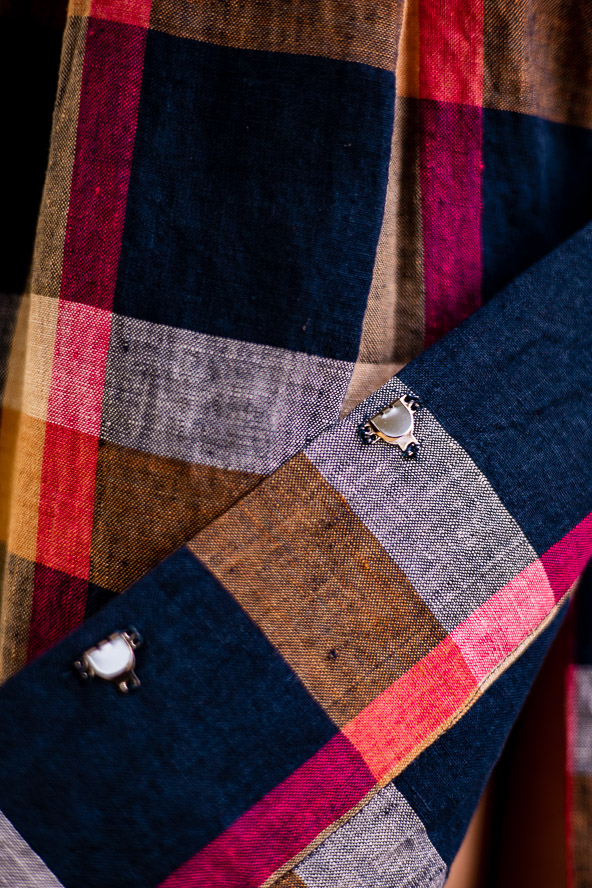
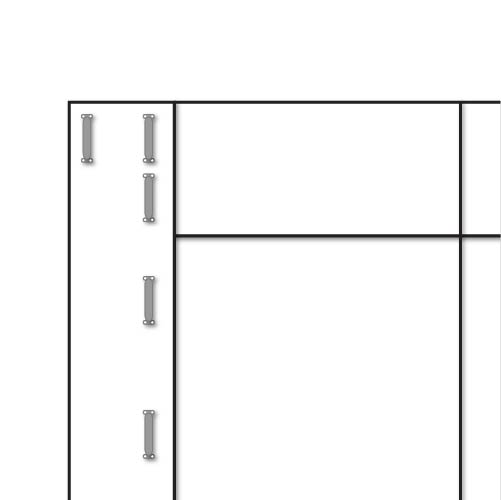
- The front placket is secured with hook and bar closure. Working on the wrong side of the wearer’s right front placket, sew the hook piece along the outside edge of the placket as marked. It is best to do this step by hand as the stitches need to be sewn only through the back side of the placket and not through to the front. To keep the inside edge of the placket in place, sew one more hook along the inside top edge of the placket. Continue sewing hooks along the marked inside edge of the placket.
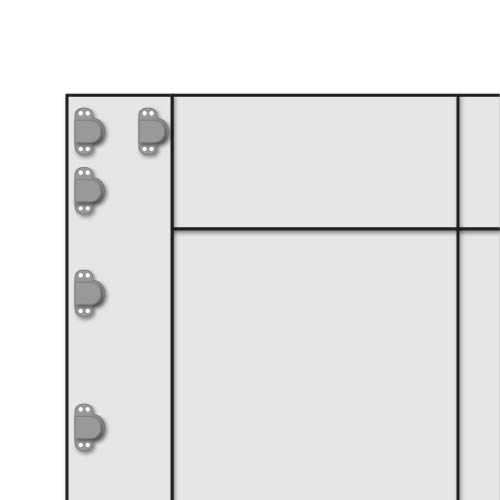
- The bar part of the closure is sewn to the right side of the wearer’s left placket. Using the placement of the hooks from the previous step, mark along the inside edge of the placket the bar position. Sew in place by hand.
- Thread the belt through the belt loops and pull snugly. Mark the point where the belt meets the belt buckle prong. Install a grommet centered on the belt at that point. Mark a second and third grommet 1” out from each side.