
Part 2 of our Perfect Pocket series is here! Last month, we discussed how to add inseam pockets to clothing like skirts and pants. In our newest installment of this series, we’re showing you how to add patch pockets, a beginner skill that all sewists should know. Patch pockets are made for the outside of garments like jackets and tops and can be functional or purely for decoration. Learn how to master this basic sewing skill with this handy step-by-step guide.
Materials:
- Article of clothing (already made or in construction)
- Fabric that coordinates or contrasts with garment
- Optional small piece of interfacing
- Thread to match
- Pins
- Pattern (PDF located at bottom of this page)
Instructions:
- Cut out pattern and pin to one layer of fabric for most projects; double the material or use a piece of interfacing up to fold line if you want to strengthen a fragile fabric.
- Cut out fabric along the outside line of the pattern. Add fold line with marking tool.
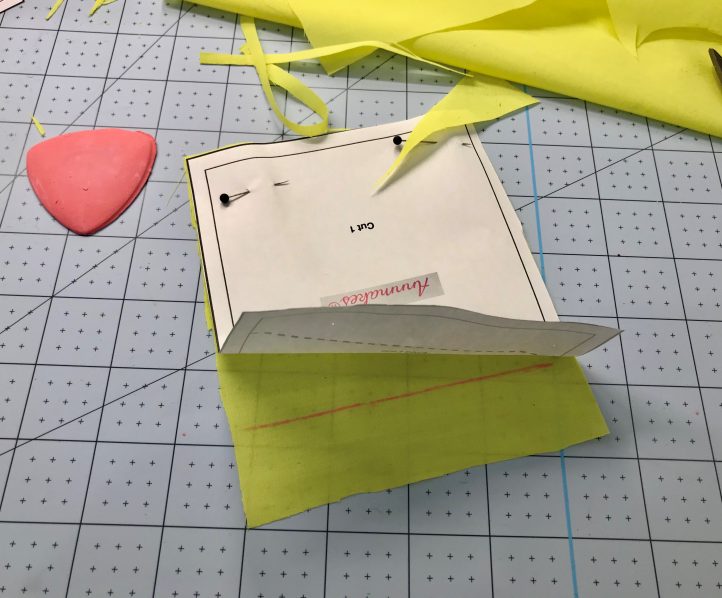
Tip: Cut sew-on or iron-on interfacing piece up to fold line only, to strengthen.
- On the wrong side of the fabric, press the seam inwards.

Tip: Cut a template of the desired finished pocket from cardboard and use that as a pressing aid. - Fold at the marked line to the wrong side and press.

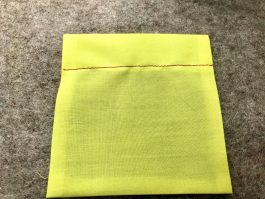
- On the right side of the fabric, stitch along the fold line.
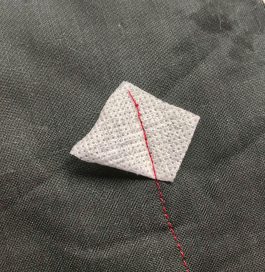
- Pin pocket to the garment. Add some pieces of interfacing on the wrong side of the garment, where top corners of the patch are attached to the garment to reinforce where there is extra strain.
- If possible, stitch by machine or hand stitch pocket to the garment.
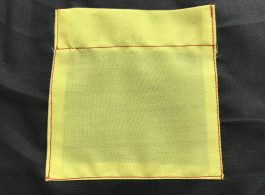
- Press.