
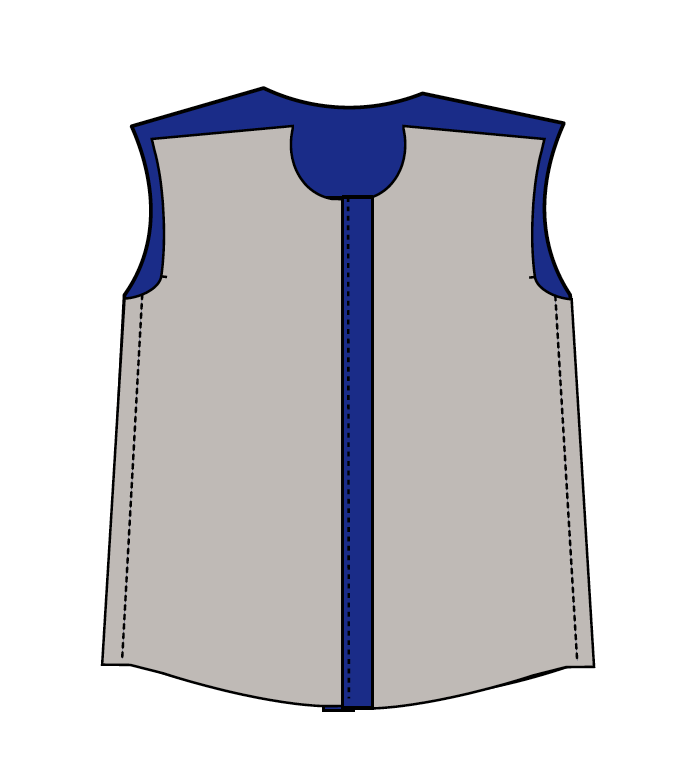
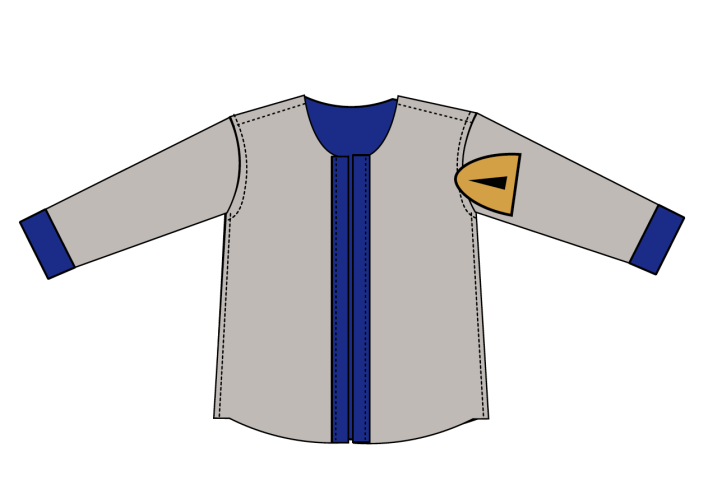
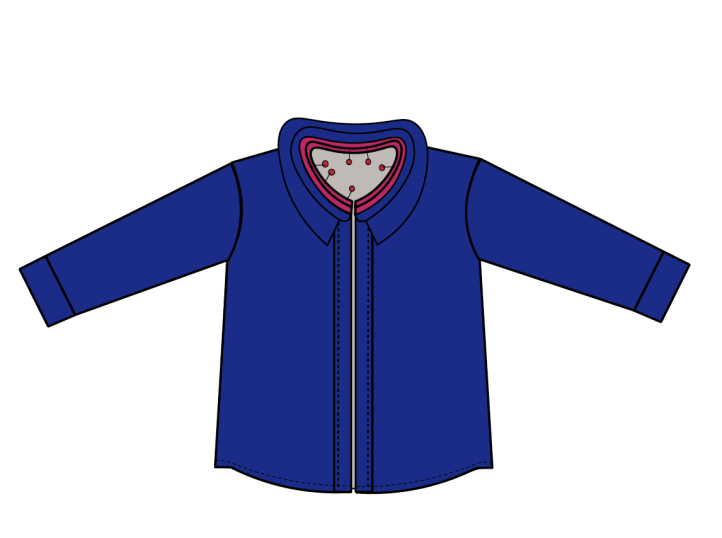
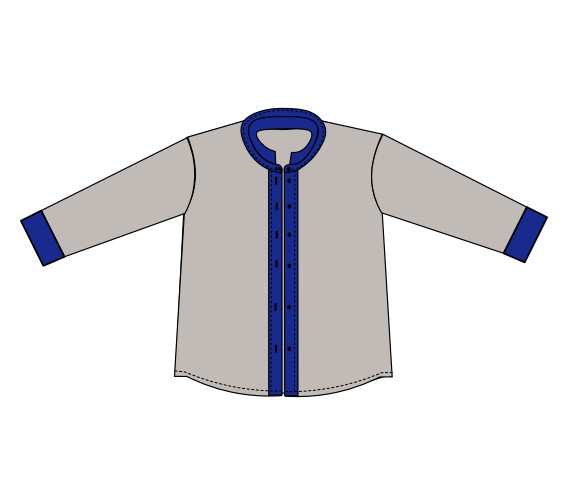
No wardrobe is complete without a classic button-down blouse, which is why we’re so excited to share this pattern from designer Daniela Paz Gutierrez-Diaz. Influenced by traditional men’s button-down shirts, this blouse pattern features an oversized collar and cuffs, as well as simple raspberry-colored buttons. This top sewing pattern is recommended for advanced beginners and can be made in light to medium weight wovens, such as linen, voile, or chambray. Wear this button-down shirt on its own for a preppy chic look or layer it with a simple tank top for a breezier, East Coast vibe.
Skill Level: Advanced beginner
Materials:
- 2 1/4 yards of light to medium weight woven fabric
- Recommended fabrics: Light to medium weight woven fabrics such as voile, lawn, linen, chambray, challis, shirting cotton, and blends.
- Coordinating polyester thread
- Regular machine needle
- 7 small buttons for the front placket and collar (Note: Collar button is optional, depending on sewist’s preference. See final step for additional notes.)
- 1/2 yard of fusible interfacing for collar, button placket, and cuffs
- PDF Pattern – This is located at the bottom of this page.
PRINTING INSTRUCTIONS:
Note: To download this pattern, click on the pattern download button at the bottom of the page. We recommend opening your pattern download using Adobe Acrobat.
Before you begin, a few notes on printing this pattern from the designer:
- This printable PDF pattern is assembled BY OVERLAPPING THE PAGES 1/2 inch, then matching triangles together.
- This pattern is available in A4 and Letter options (This will make it easier to assemble and reduce fitting issues.)
- To print this pattern, open the PDF document. Select FILE — PRINT. Choose the ACTUAL SIZE or SCALE 100%.
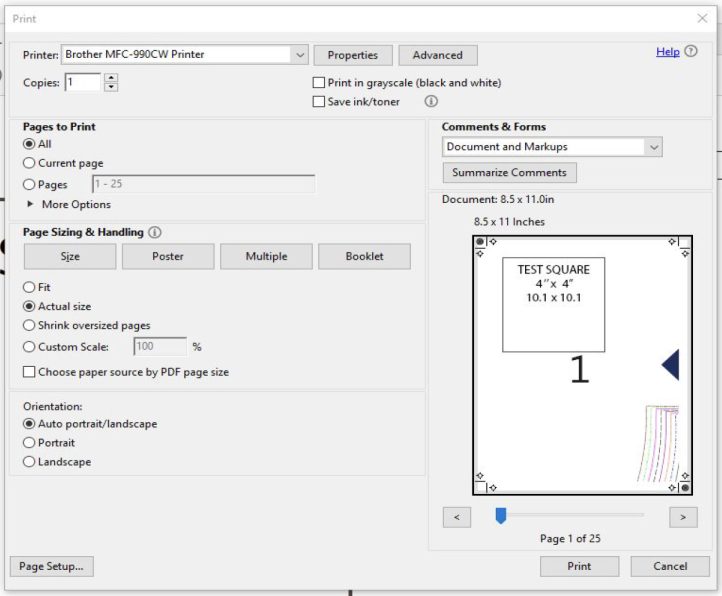
PRINTED PATTERN LAYOUT:
![]()
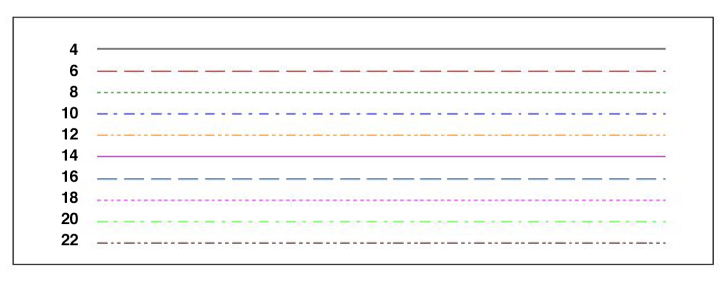
PATTERN SIZES AND COLOR-CODED LINES:
SIZES FOR SAMPLE PATTERNS:
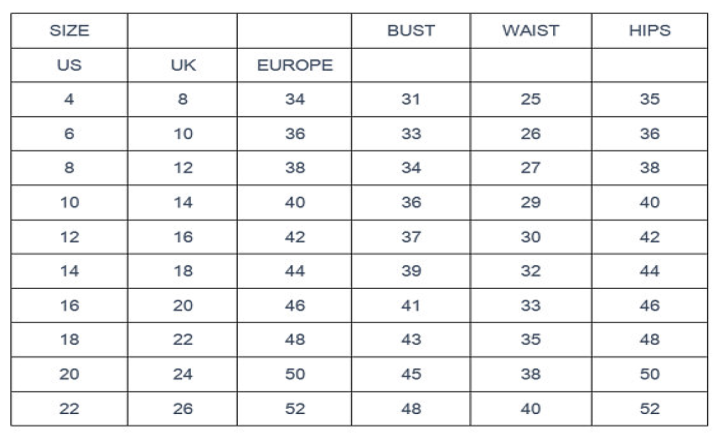
Note: Please, select your Shirt size with this chart. The patterns have 3’’ ease at bust point for the shirt and 3/8 inch seam allowance.
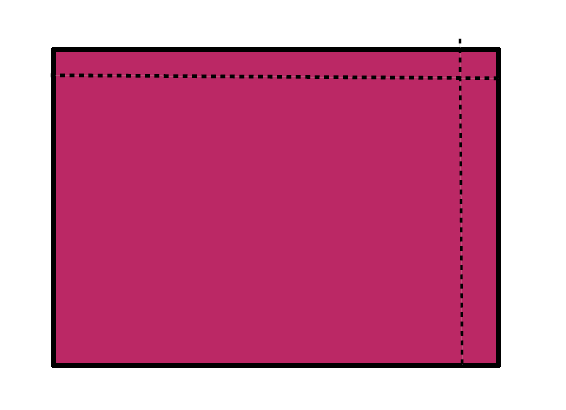
CUTTING LAYOUT AND FABRIC REQUIREMENTS:
2 1/4 yards of light weight woven fabric
![]()
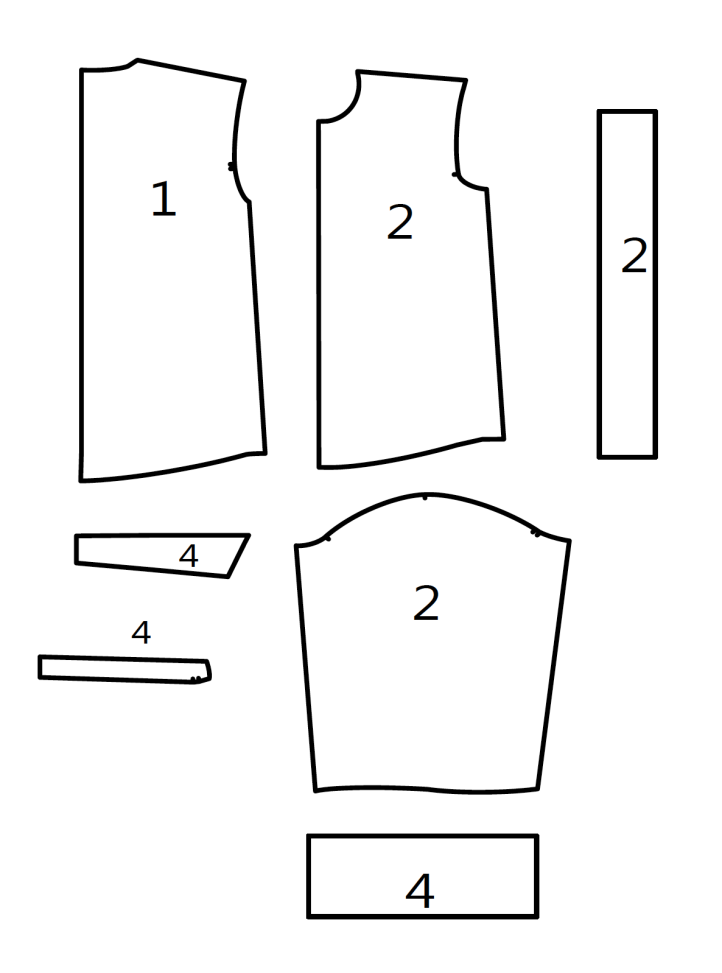
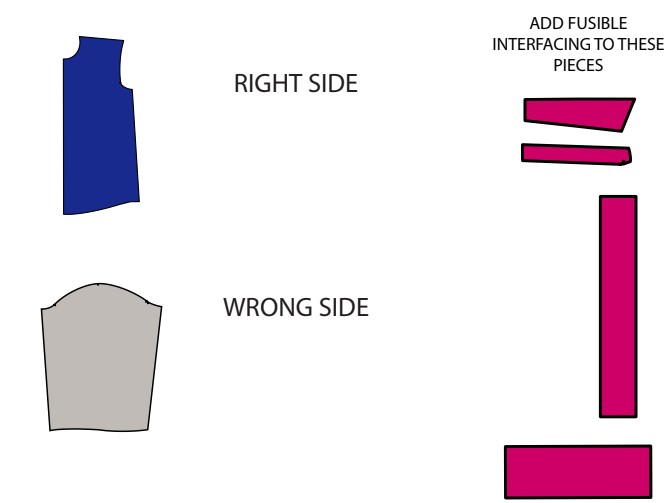
PIECES YOU WILL NEED:
Please check the correct pieces you will need to start your project.
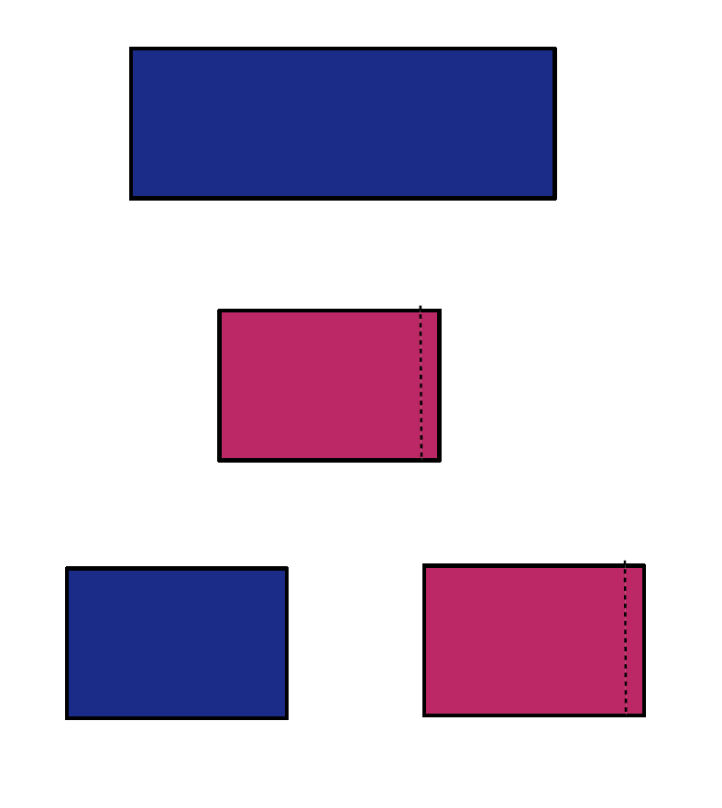
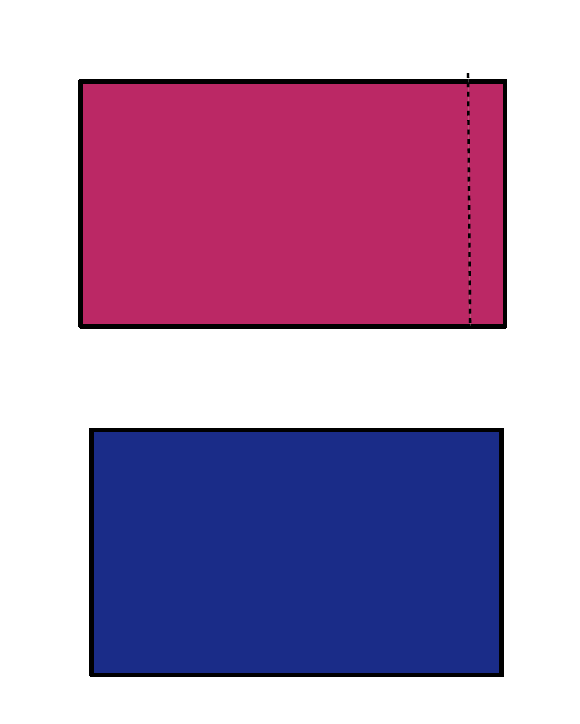
COLOR CODED PIECES TO READ THIS TUTORIAL:
Note: Throughout this tutorial, you will see THREE main colors to easily identify the side of the fabric OR piece you are working with.
Preparing Your Pattern Pieces:
- Wash your fabrics before cutting to prevent shrinking.
- It is recommended to make a muslin or use a cheap fabric to check that the fitting and style of the pattern is exactly what you are looking for before sewing in your more expensive fabrics.
- Read the instructions carefully before starting this pattern.
- Gather all supplies you will need for this project.
- It is recommended to practice on areas and techniques that you are not familiar with, before doing them on the final project.
Instructions:
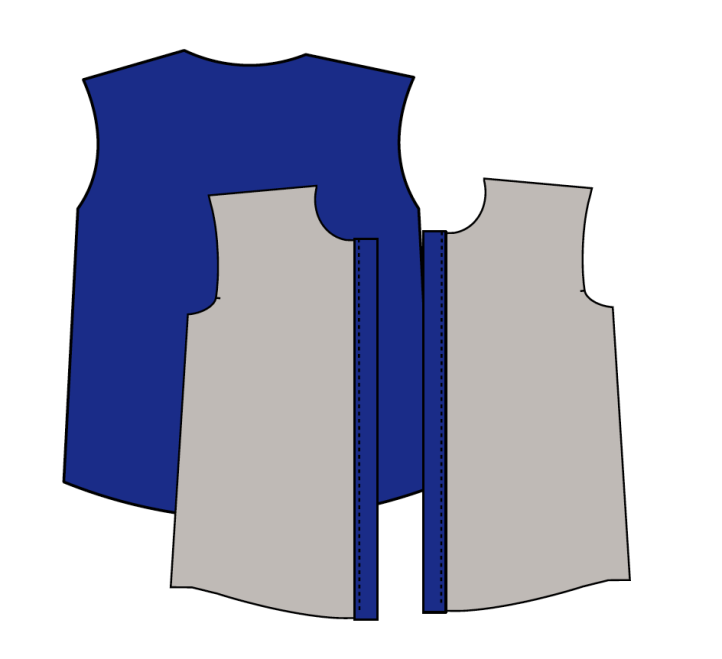
- Place the front bodice and the front button placket together, right sides facing, and pin together on the front bodice seam with a 3/8″ seam allowance.
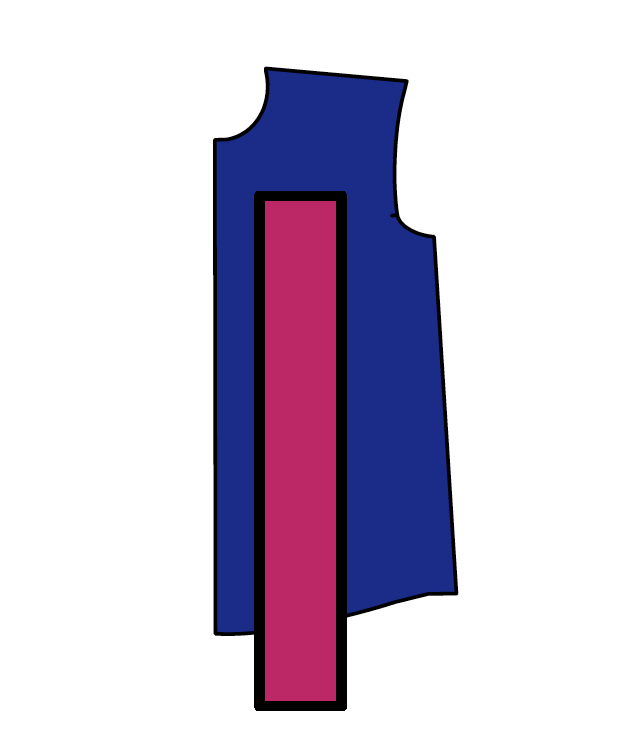
- Stitch the button placket and bodice together with a straight stitch line. Then, press the seams flat.
- Fold the button placket to the front and press again. Press also the seams facing the button placket so they will be inside of it.
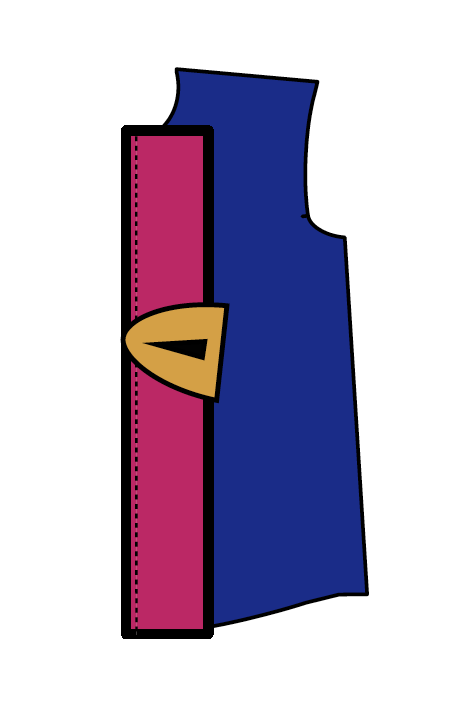
- Then, turn the shirt to the wrong side and fold the button placket edge 3/8″. Press it flat.
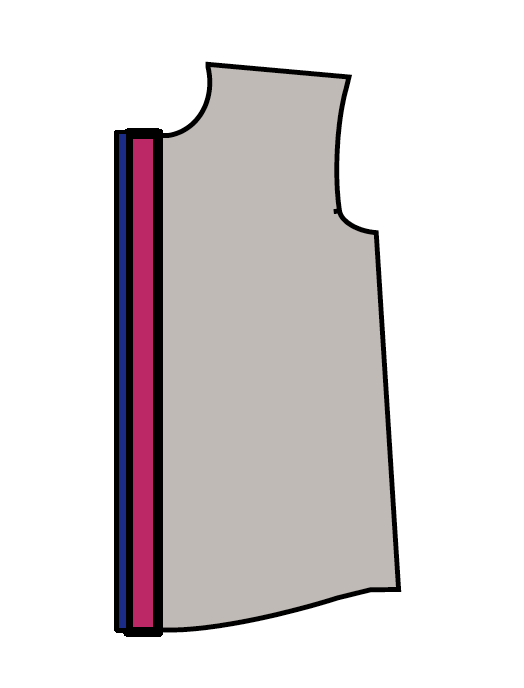
- After this, fold the button placket in half. Then, press the button placket again.
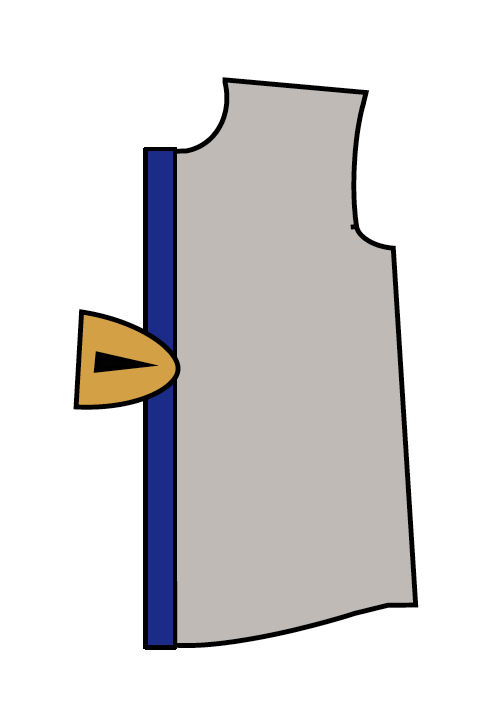
- After this, stitch the button placket with a straight stitch and a 1/8″ seam from folded edge.
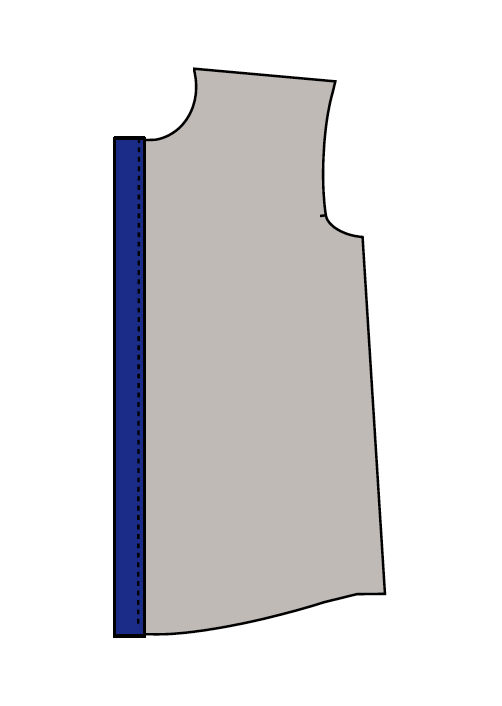
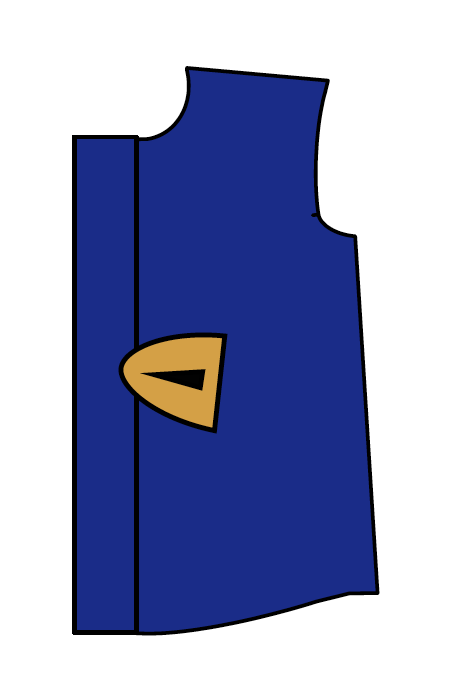
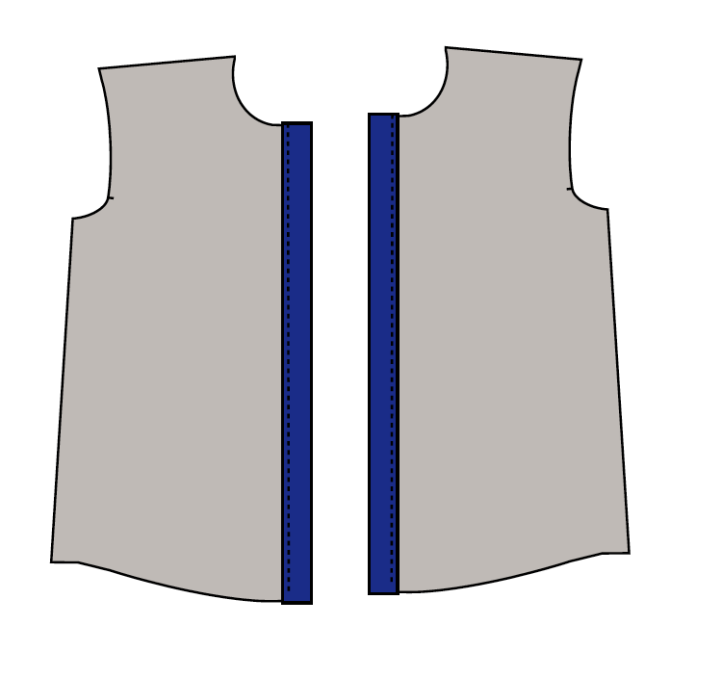
- Repeat this step with the other front bodice. Now, set the bodice aside.
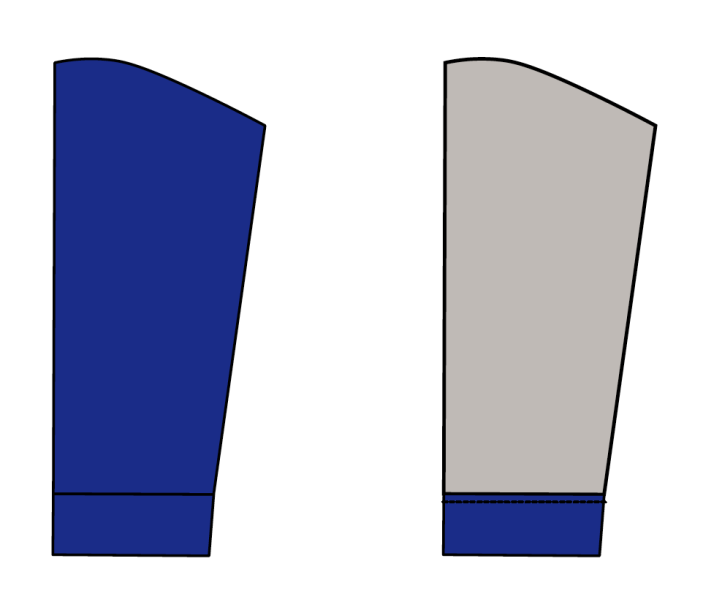
- Now, bring the sleeves and cuffs to the table and add the fusible interfacing to the cuffs pieces.
- Then, fold the sleeve in half and press it flat. Then, stitch the seams with a 3/8″ seam allowance.
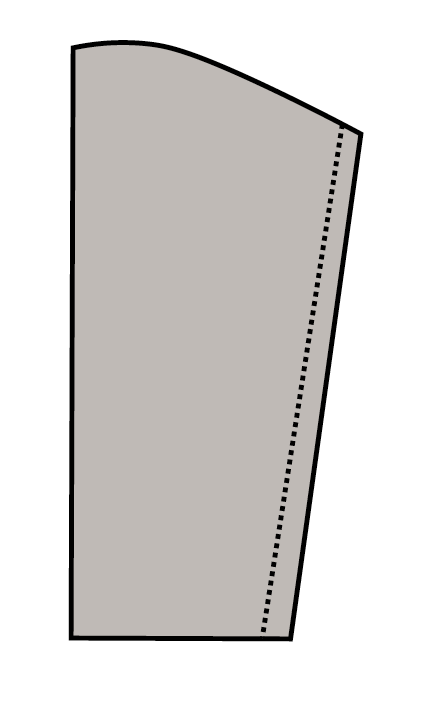
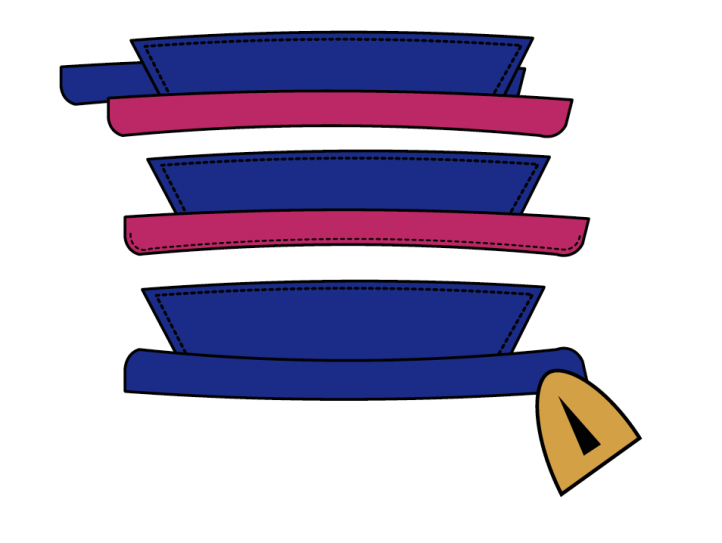
- THE CUFFS: Fold 2 cuffs in half and press them flat. Then stitch the side seam with a 3/8″ seam allowance. Repeat this procedure with the last 2 cuffs (using them as your cuff facings). Then turn the cuff facing to the right side.
- After this, insert cuffs into the cuff facings and match the seams together.
- Then, stitch them together with a 3/8″ seam allowance.
- After this, open the cuff and cuff facings and press the seams open.

- Then, insert the sleeves on the right side into the cuffs and pin them together. Now, stitch the cuffs and the sleeve together, right sides facing with a 3/8″ seam allowance.
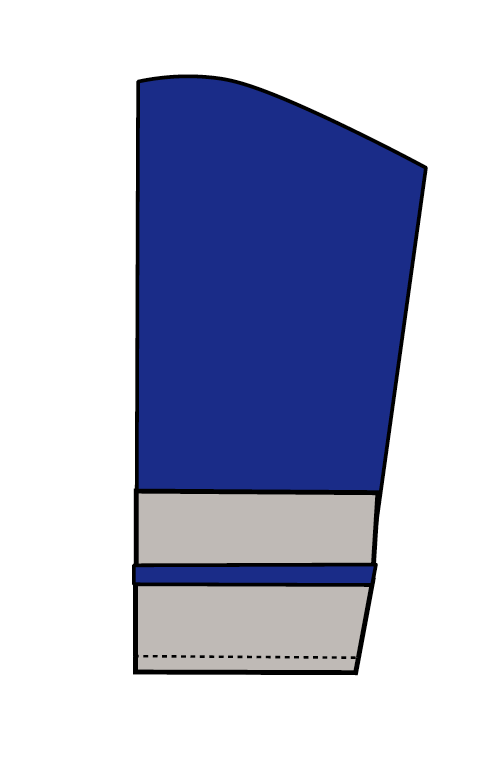
- Then, fold the cuff facing to the wrong side and press again. After this, fold the cuff facing seam to the inside with a 3/8″ seam allowance. Press it flat and finish the cuffs by stitching it with 1/8″ from folded edge. Set the sleeve aside.
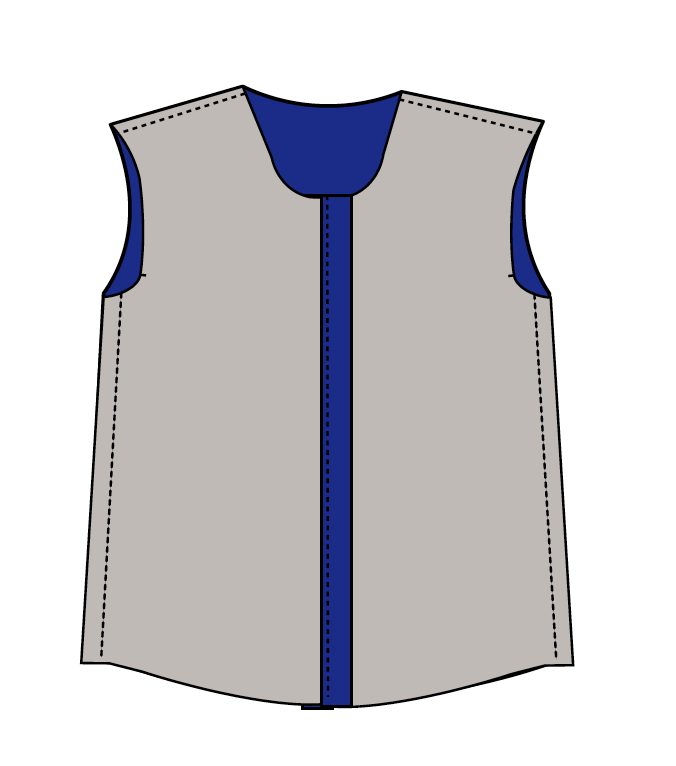
- Bring the front and back bodice together and match the shoulder seams and sides. Pin them together with a 1’’ spacing.
- Stitch the sides with a 3/8″ seam allowance and press them flat.
- Then, stitch the shoulder seams together with a 3/8″ seam allowance.
- Bring the sleeves to the table and turn them to the right side. Insert the sleeve and match the front and back notches of the sleeves to the armhole notches. Pin the sleeve to the bodice.
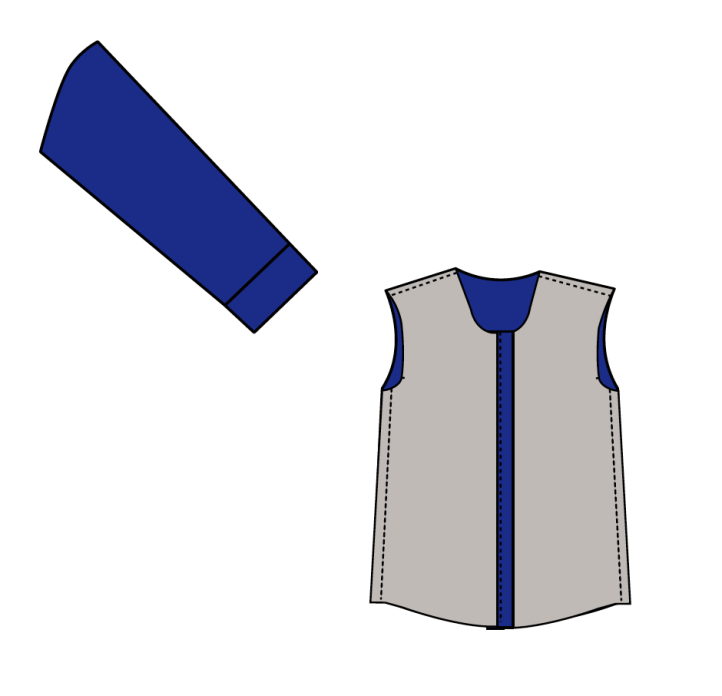
- Then, stitch the sleeves to the bodice with a 3/8″ seam allowance and press flat. Then, turn the sleeves to the wrong side to press it again.
- To finish the bodice, double fold the hemline with a 1/4″ seam allowance each time. To facilitate this process, baste the first stitch and adjust the length and curve on the hemline with your iron. Then, fold again and press flat. Finally, stitch the hemline 1/8″ from folded edge.
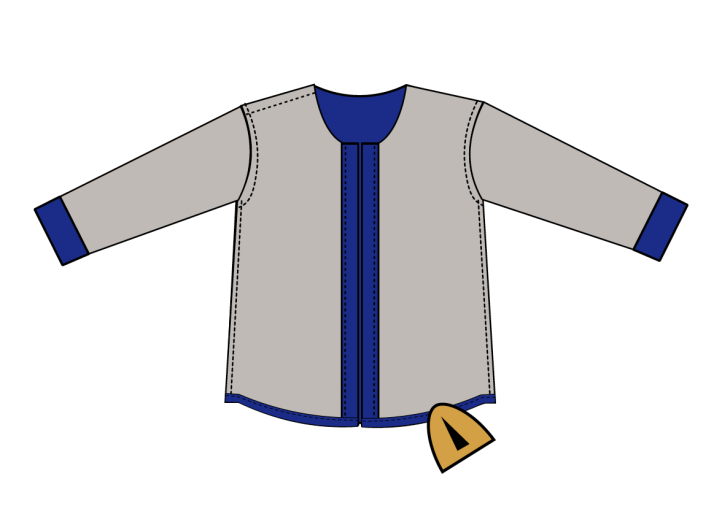
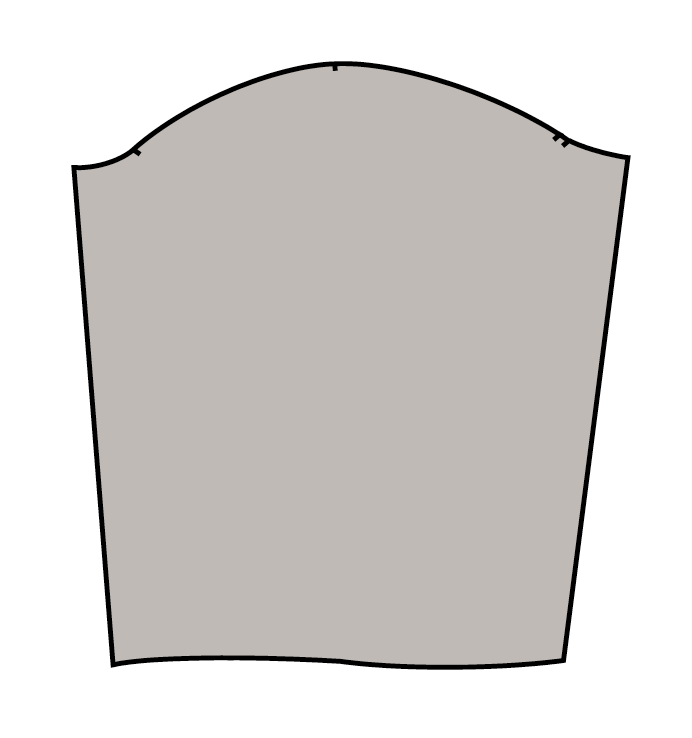
- THE COLLAR: First, add the fusible interfacing to the upper and bottom collar pieces.
- Place both upper collar pieces together, right sides facing. Then, stitch the upper collar together with a 3/8″ seam allowance. Trim the excess fabric.
- Then, turn the upper collar to the right side and press flat. Finally, stitch the upper collar with a 1/8″ seam allowance.
- Then, sandwich the upper collar between the bottom collar pieces. Pin the bottom collar together, making sure that the upper collar is included as well. Stitch them together and turn to the right side and press flat.
- Start pinning the collar to the neckline with a 1″ distance from front folded edge of placket.
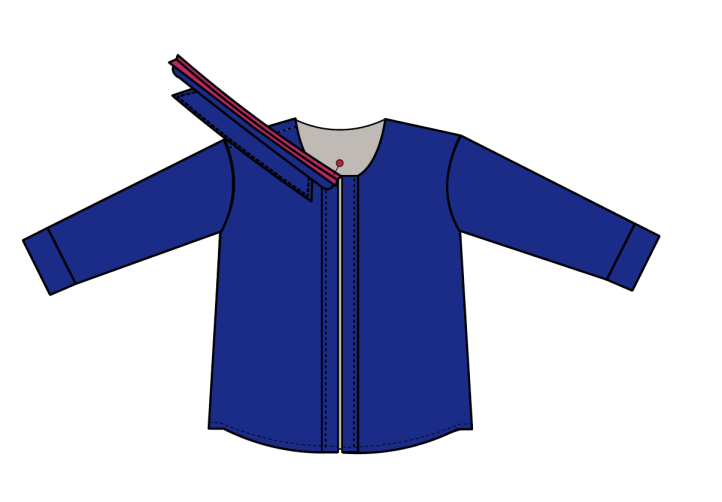
- Pin all the way around to the other side of the neckline, keeping in mind stopping at the 1″ distance from front folded edge of placket as noted in previous step.
- Then, stitch the bottom collar to the neckline with a 3/8″ seam allowance. Trim the excess fabric, leaving about 1/8″ seam allowance only. Then, turn the shirt to the wrong side.

- On this side, fold the bottom collar edge with a 3/8″ seam allowance. Press it carefully and close the collar with a 1/8″ top stitch from folded edge. Add 6 buttonholes to the wear’s right side and 6 buttons to the left side of the placket. Add one button and buttonhole on the collar (horizontally). Follow your sewing machine instructions to create the buttonholes. Collar button/buttonhole is optional, as shown in the pictured sample.


Can this be made as a sleeveless shirt? How would I alter it to do so? Thanks!
Can I purchase the pattern.
It’s hard for me to figure it out.
Hi Mary! This pattern is available to our gold club members. If you would be interested in accessing this printable pattern or signing up for a membership, please contact our customer service at the “Contact Us” link on our homepage. Please let us know if you have any questions! – Ashley, WeLikeSewing