
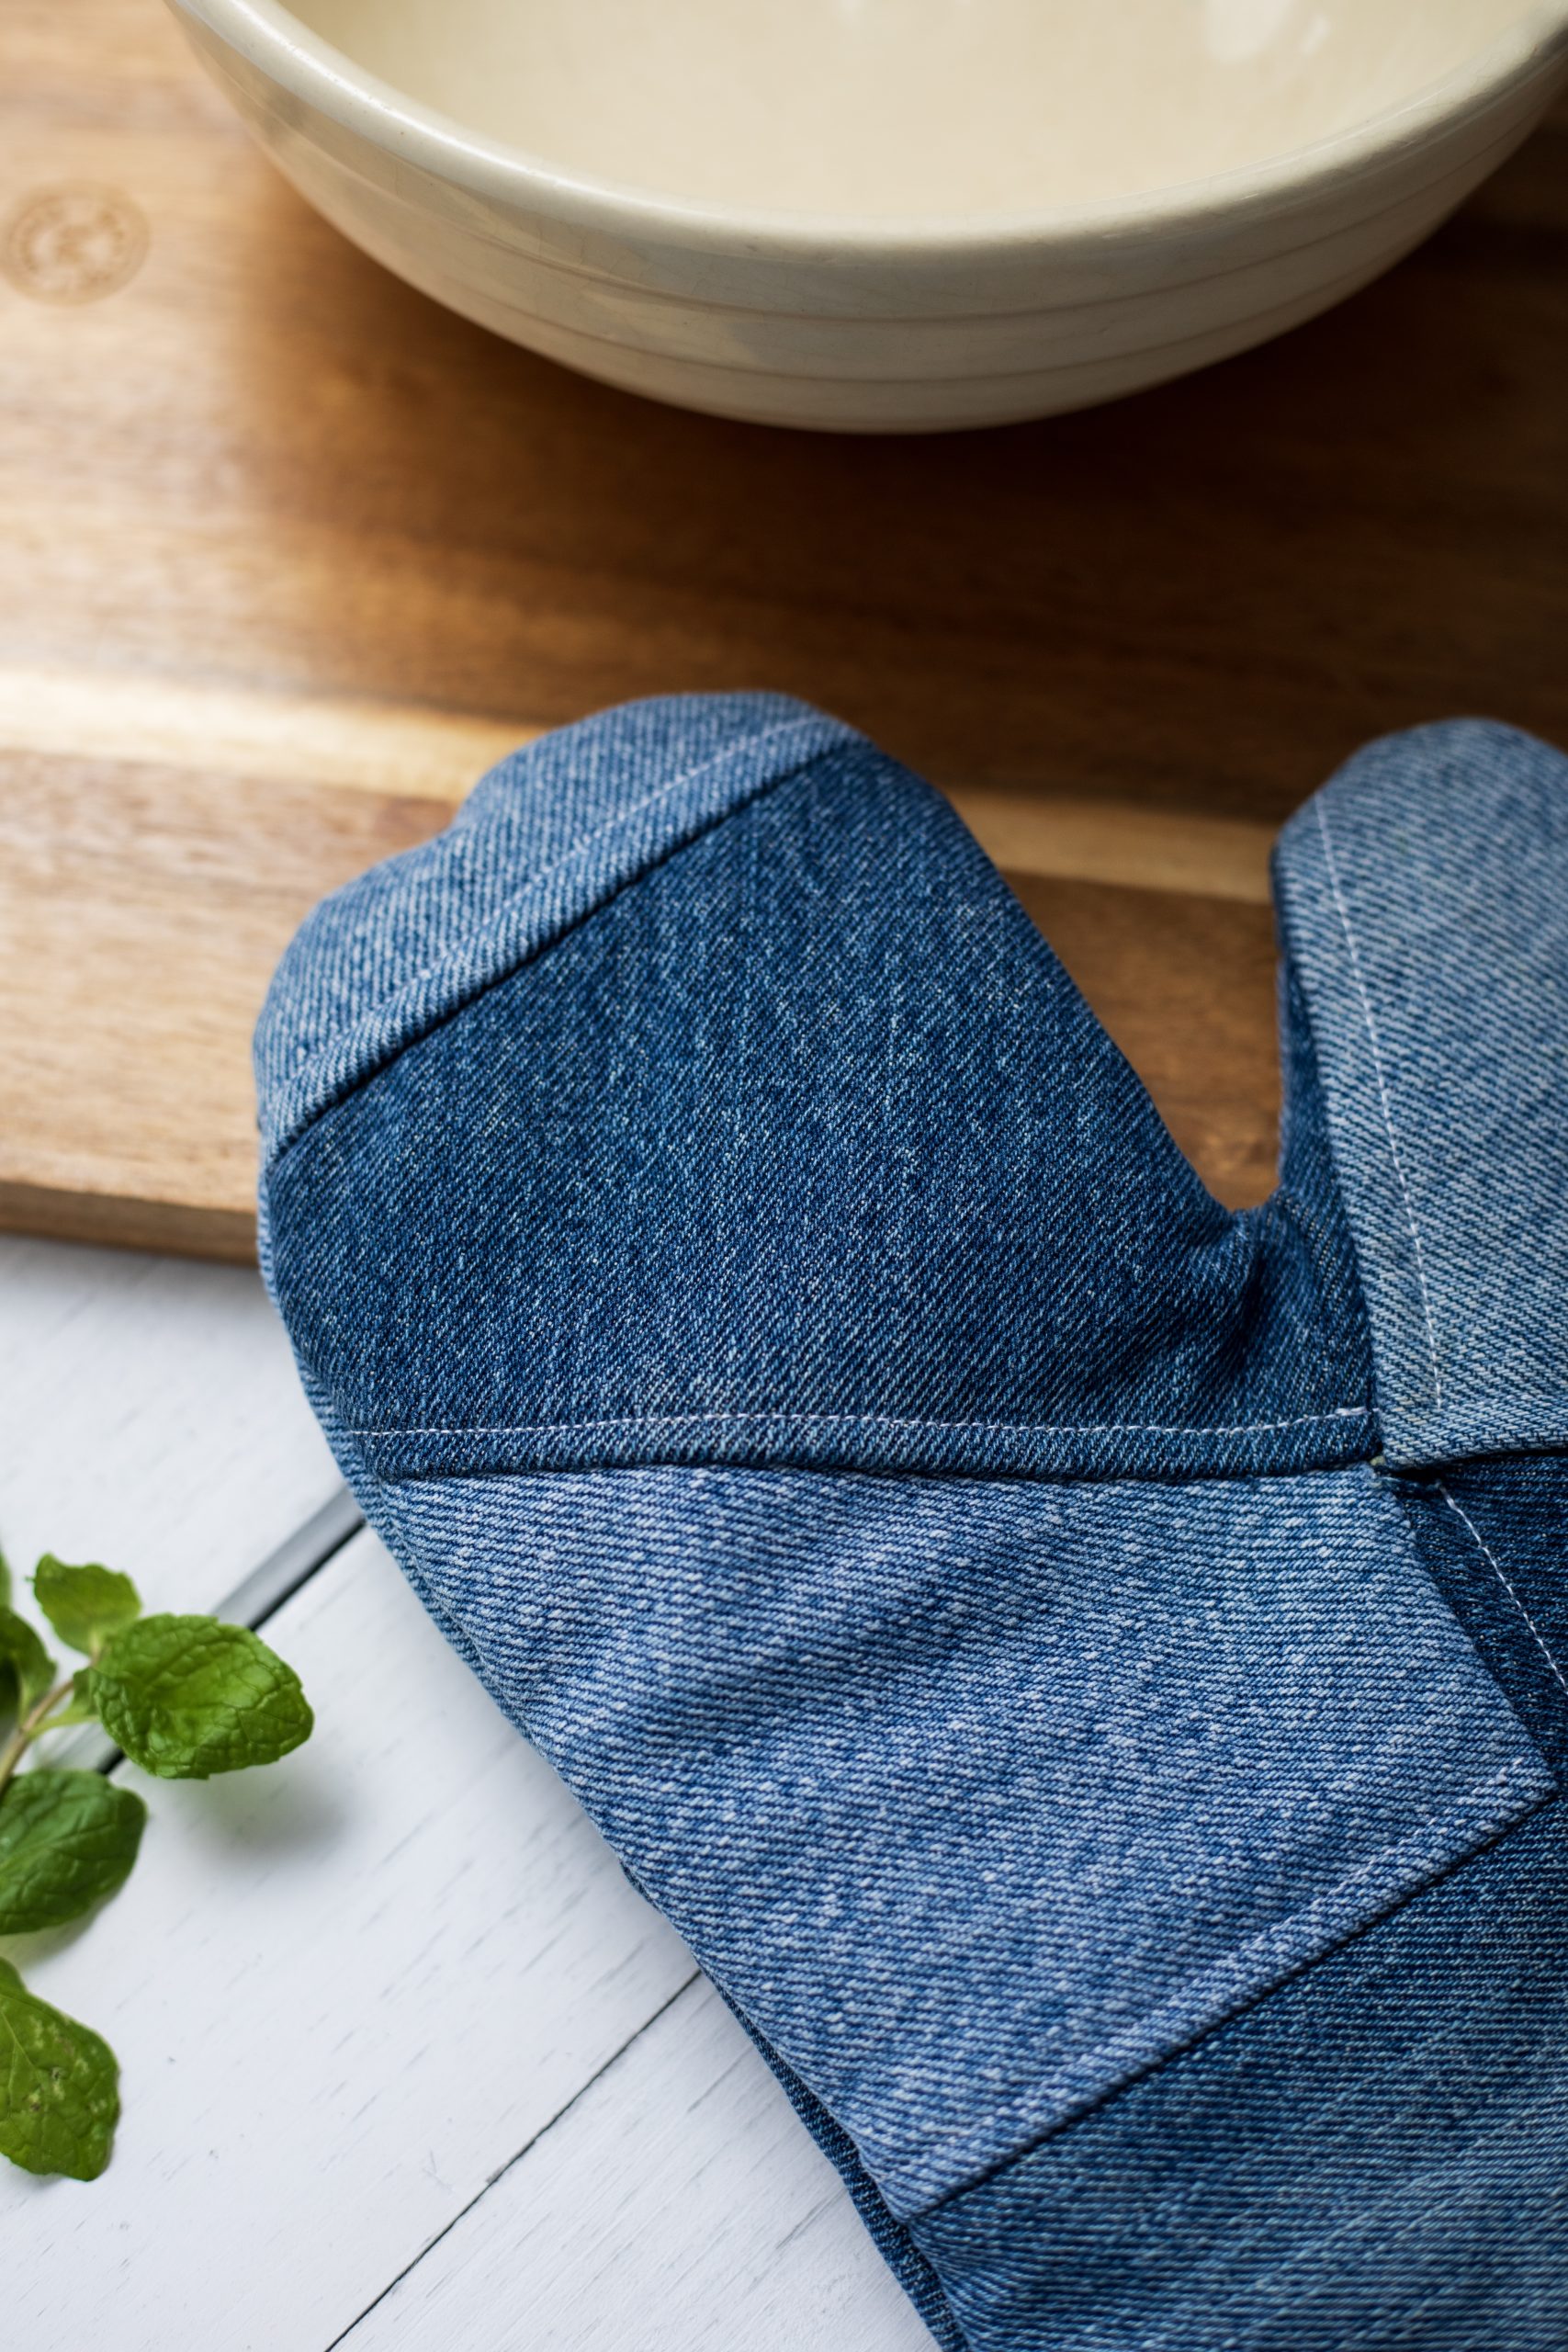
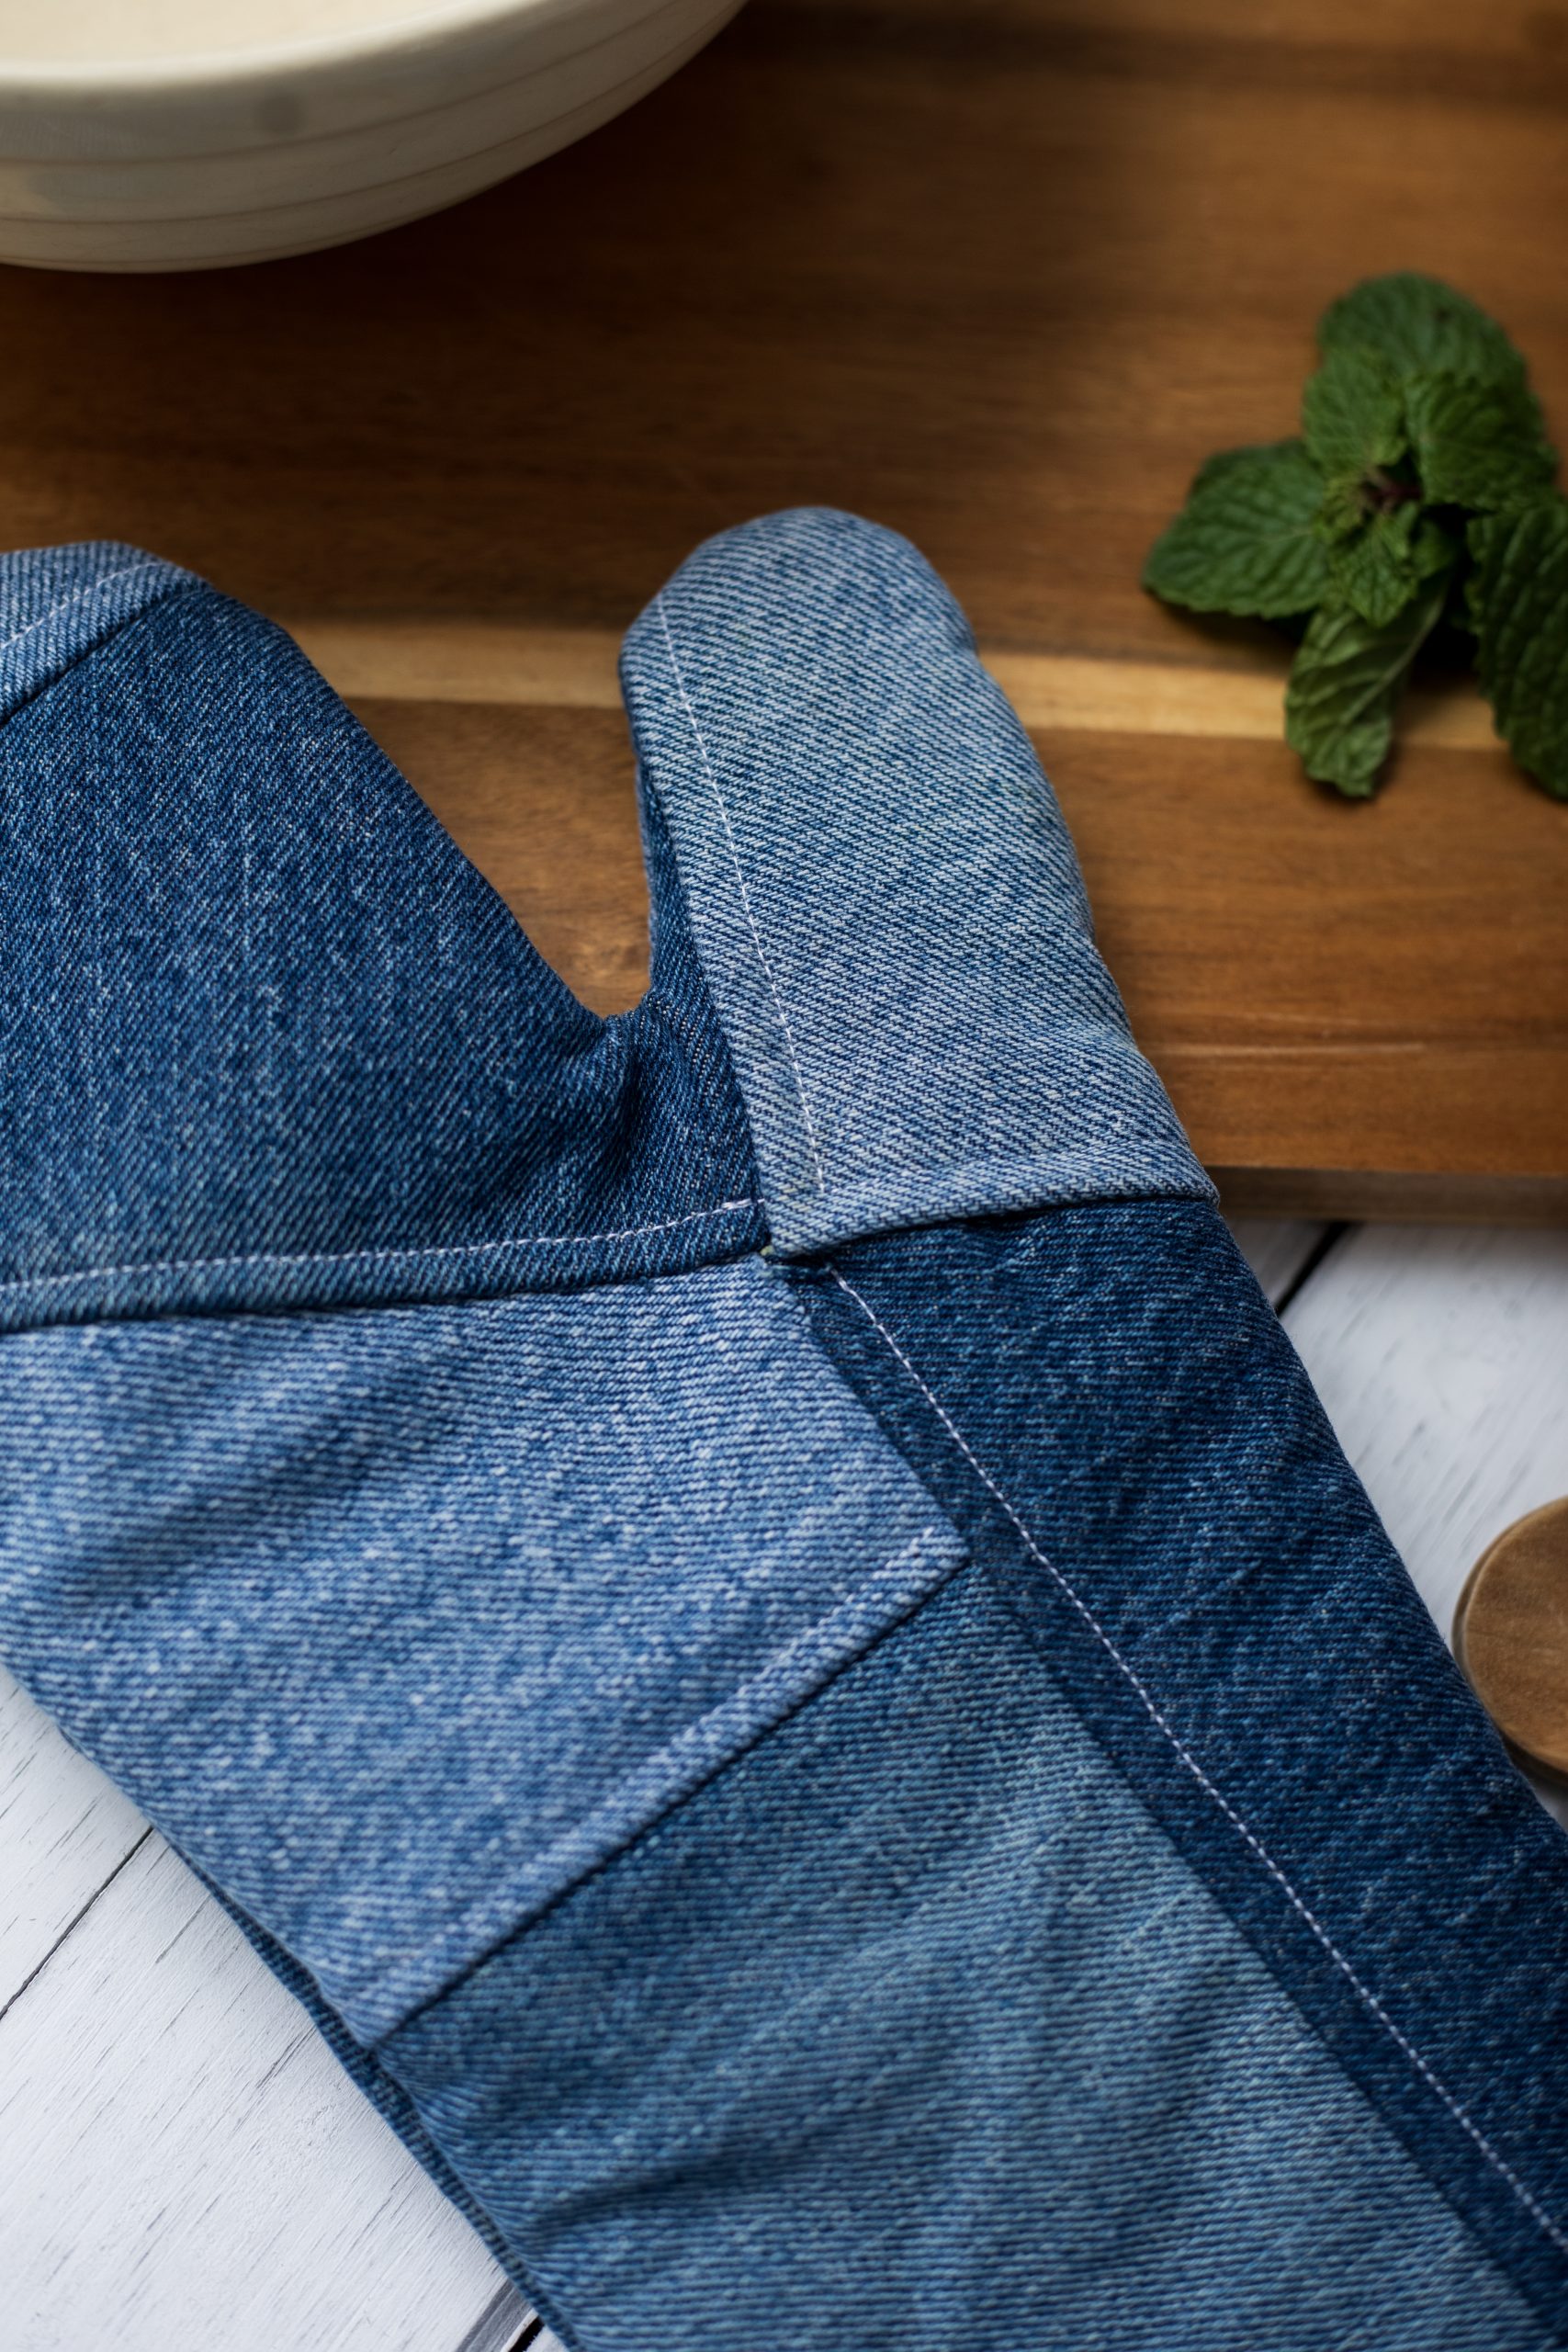
Turn your torn old jeans into something useful by creating this pretty recycled oven mitt from Ann Butler. This quick sewing pattern is perfect for using up small pieces of leftover fabric, making it perfect for cotton scraps as well as denim. Gift your mom with her own oven mitt just in time for Mother’s Day or make one just for you with this delightful kitchen sewing pattern.
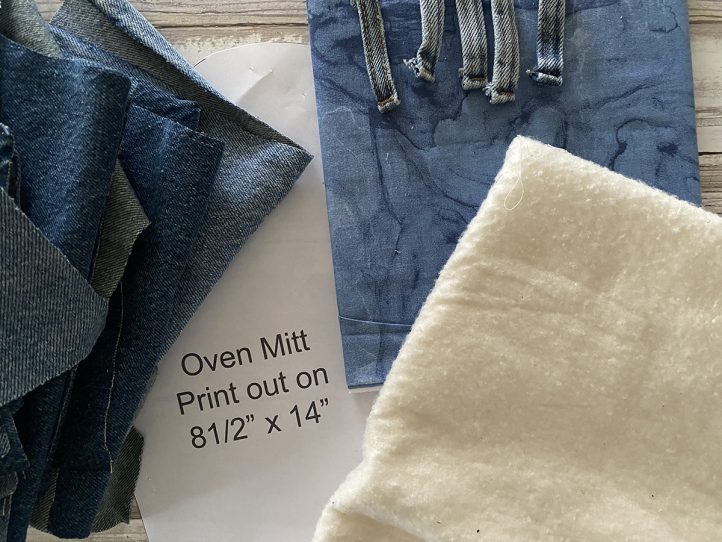
Materials:
- Cotton batting, 9” x 14” (4 pieces)
- Cotton fabric, 9″ x 14″ (2 pieces)
- Denim scraps, assorted
- PDF Pattern – This is located at the bottom of this page. Please see printing instructions below.
Tools:
- Sewing machine
- Iron
- Scissors
- Pins
- Wood dowel rod
- Printer
- Copy paper
PRINTING INSTRUCTIONS:
Note: To download the pattern, click on the pattern download button at the bottom of the page. We recommend opening your pattern download using Adobe Acrobat.
Instructions:
- Gather your supplies.
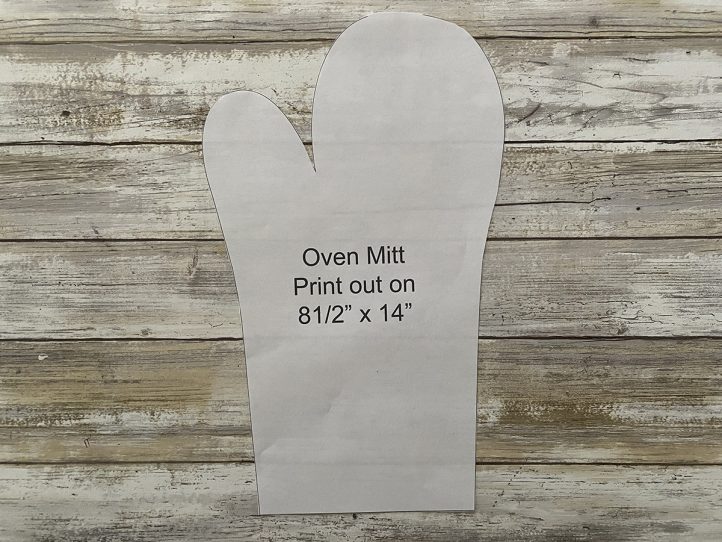
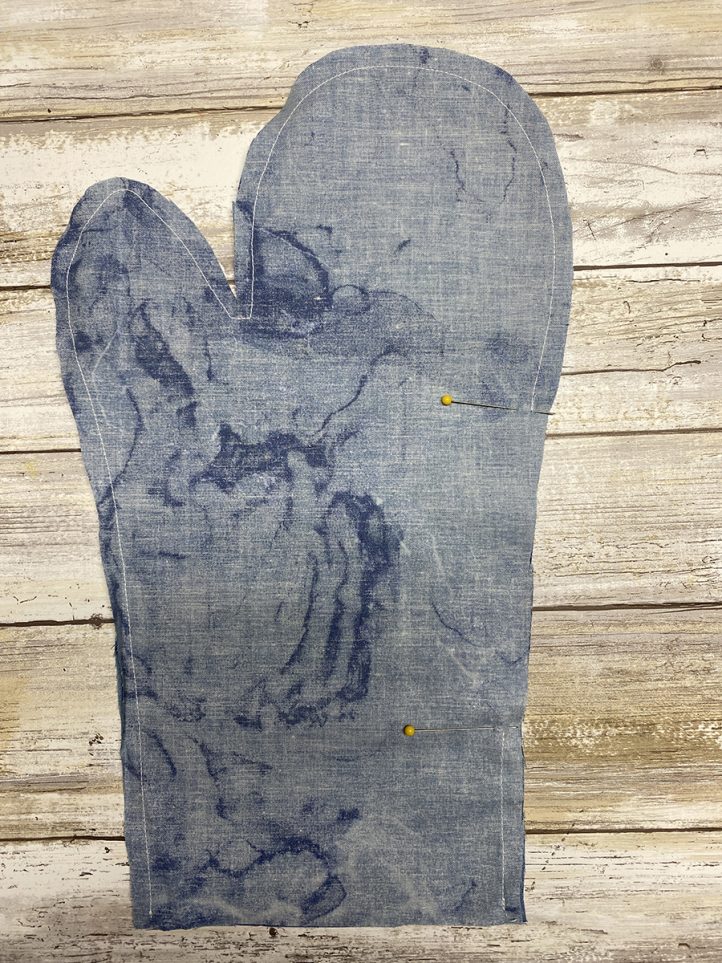
- Print out the oven mitt pattern onto a 11”x 14” piece of copy paper. Cut out.
- Place pattern onto a double layer of cotton batting and pin in place. Cut out.
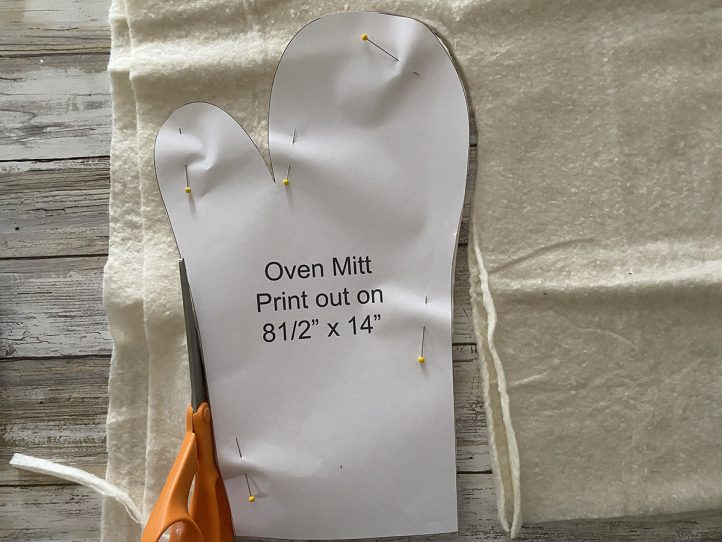
- Repeat Step 3 so that you have 4 layers of batting.
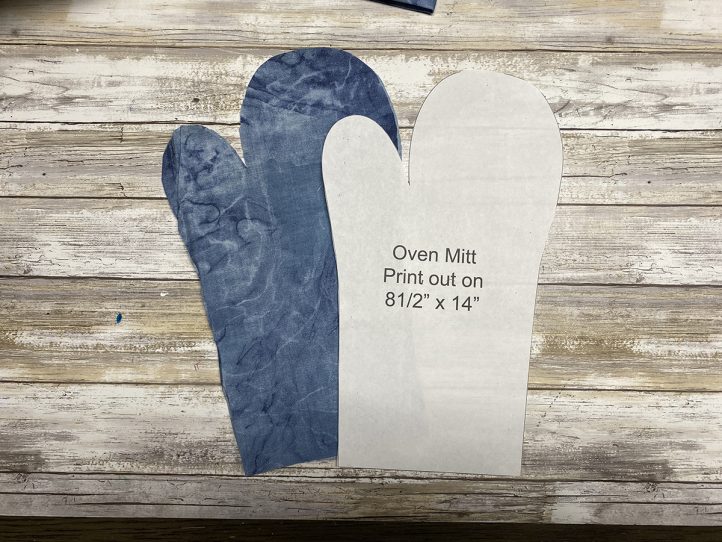
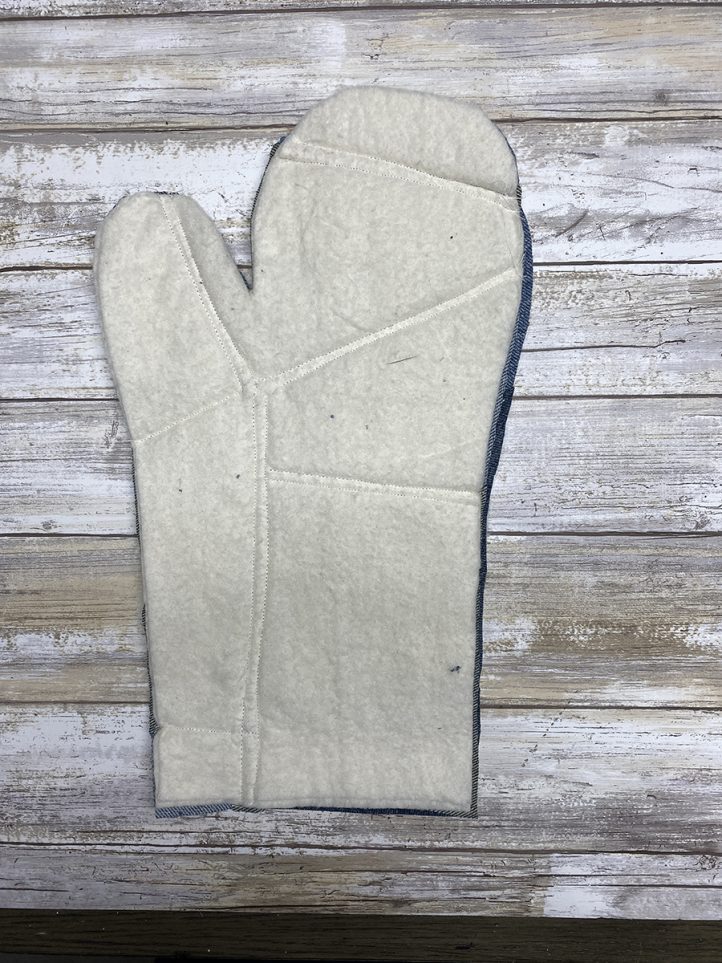
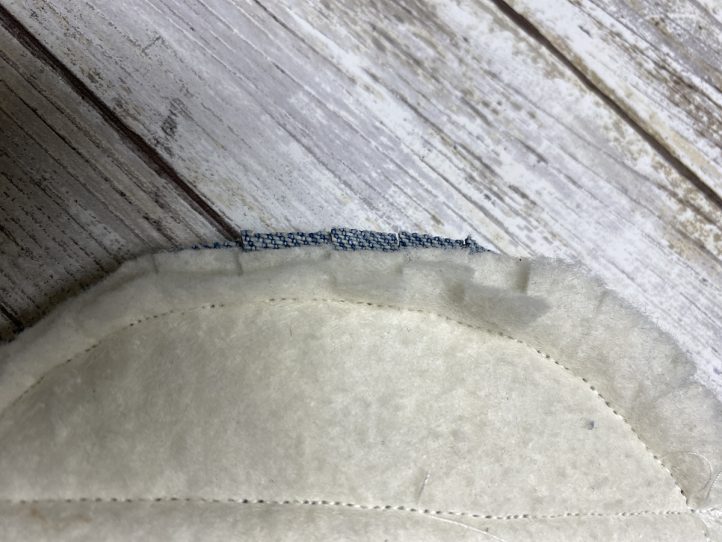
- Place wrong sides of the lining fabric together. Then, pin the pattern onto the lining fabric and cut out so you have 2 pieces.
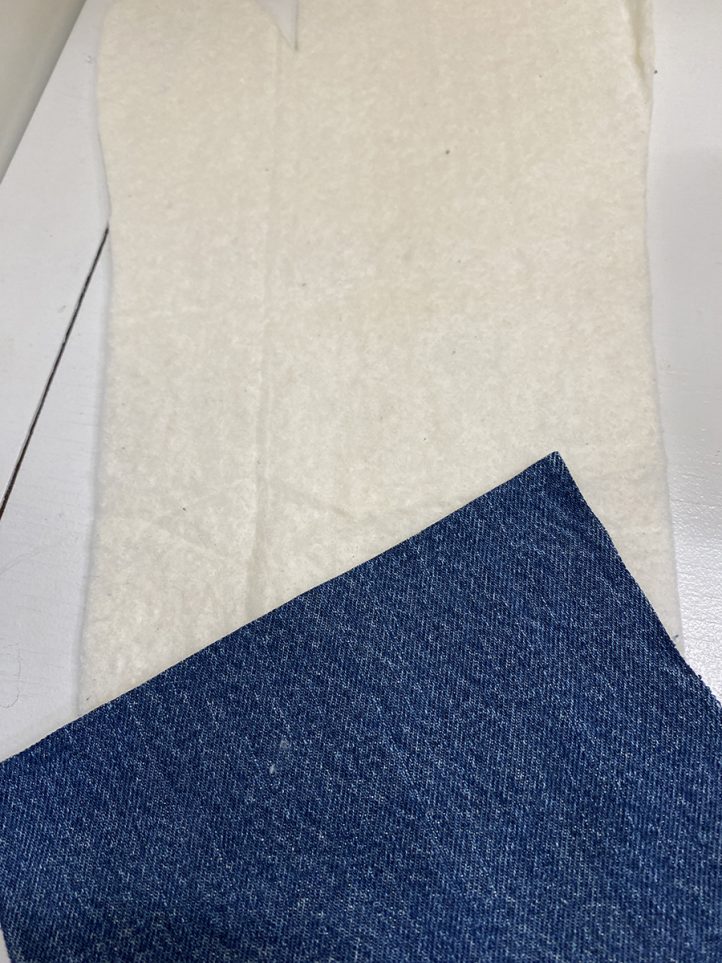
- Place two pieces of batting together.
- Starting at the bottom edge of the two pieces of batting, place a piece of denim down.
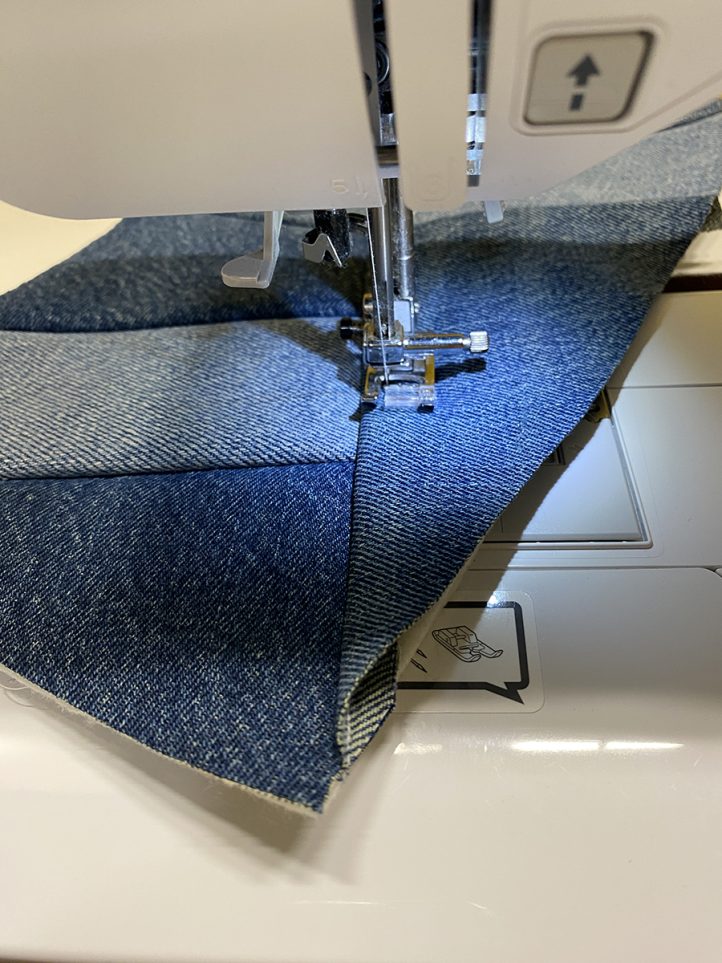
- Then place a second piece of denim on top of the first piece, right sides together.
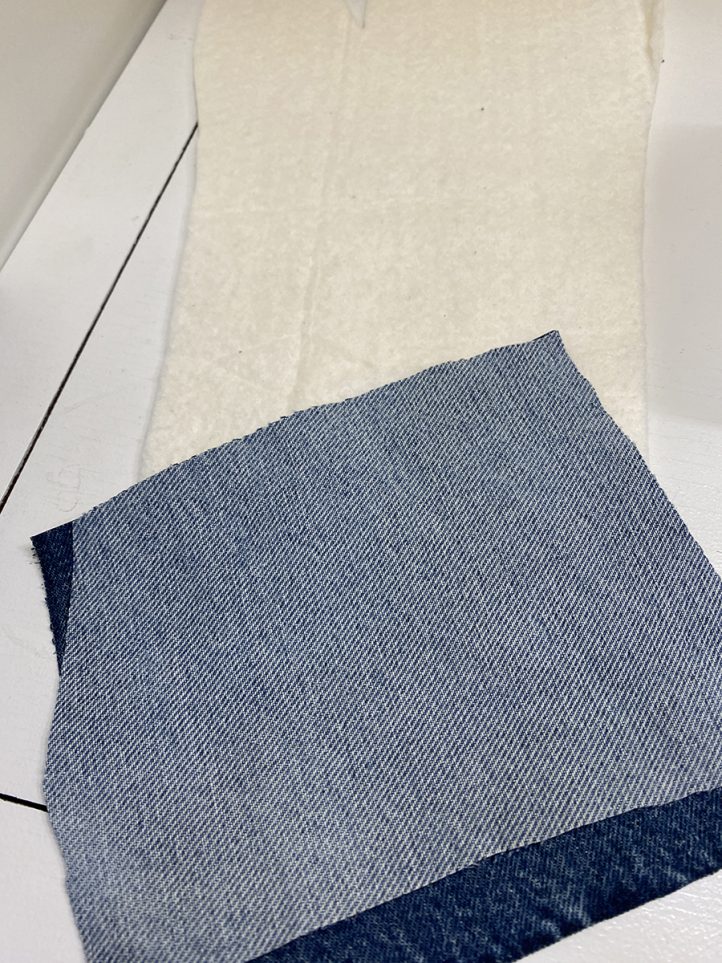
- Stitch with a 1/4” seam allowance as shown.

- Fold the second piece of denim onto the batting and add the third piece of denim on the top edge as shown.
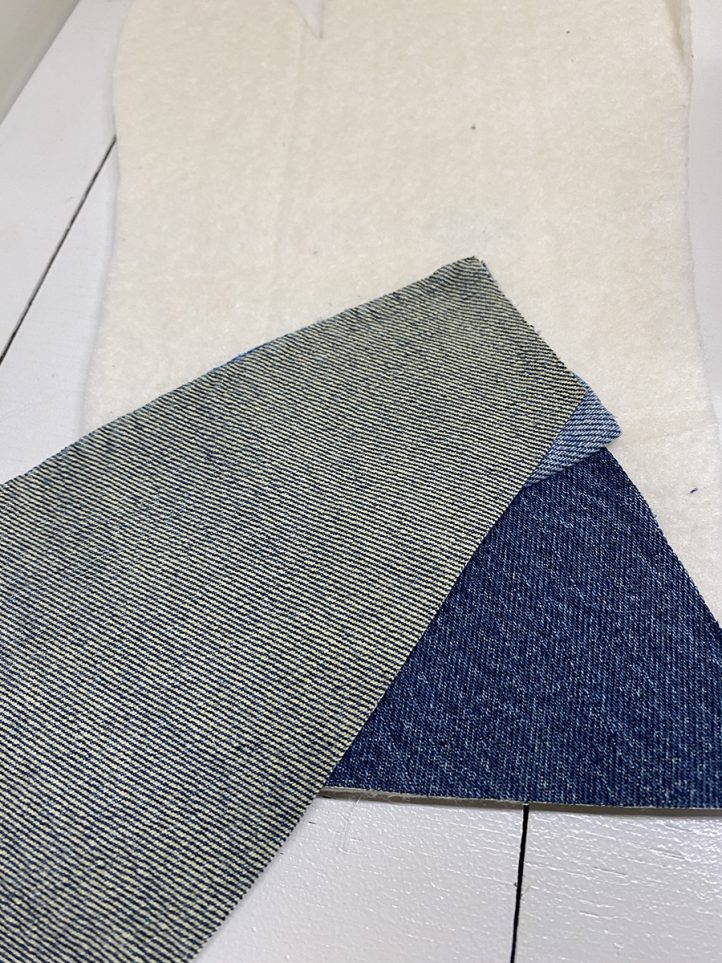
- Stitch with a 1/4” seam allowance.
- Fold open the third piece of denim onto the batting. Trim excess away as needed.
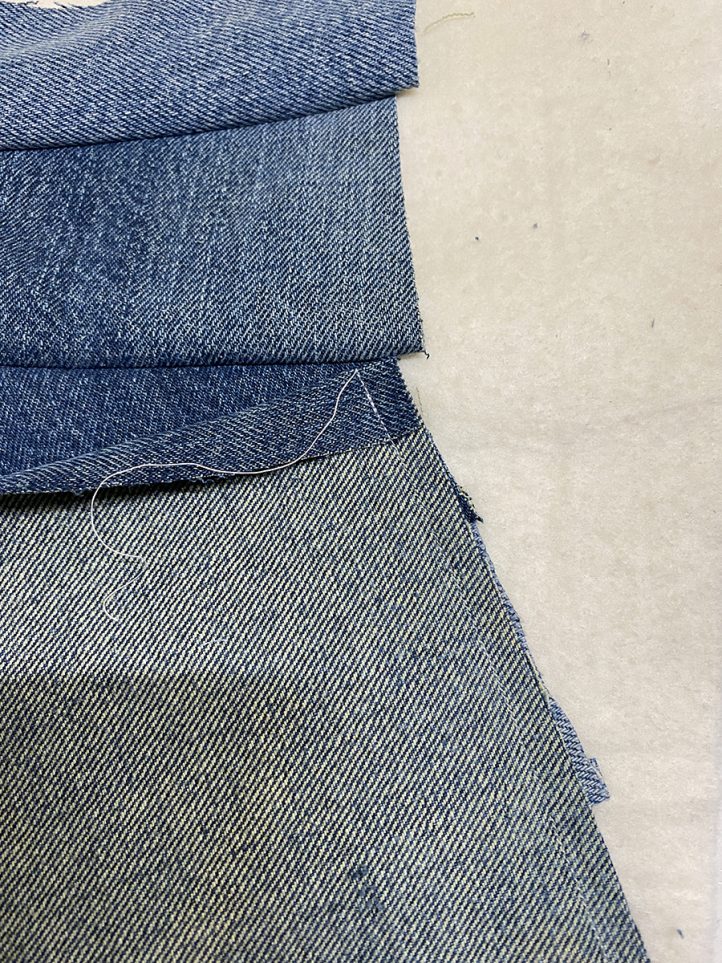
- If needed, you can turn down an edge when adding the denim as shown in photo to keep raw edges from being exposed.
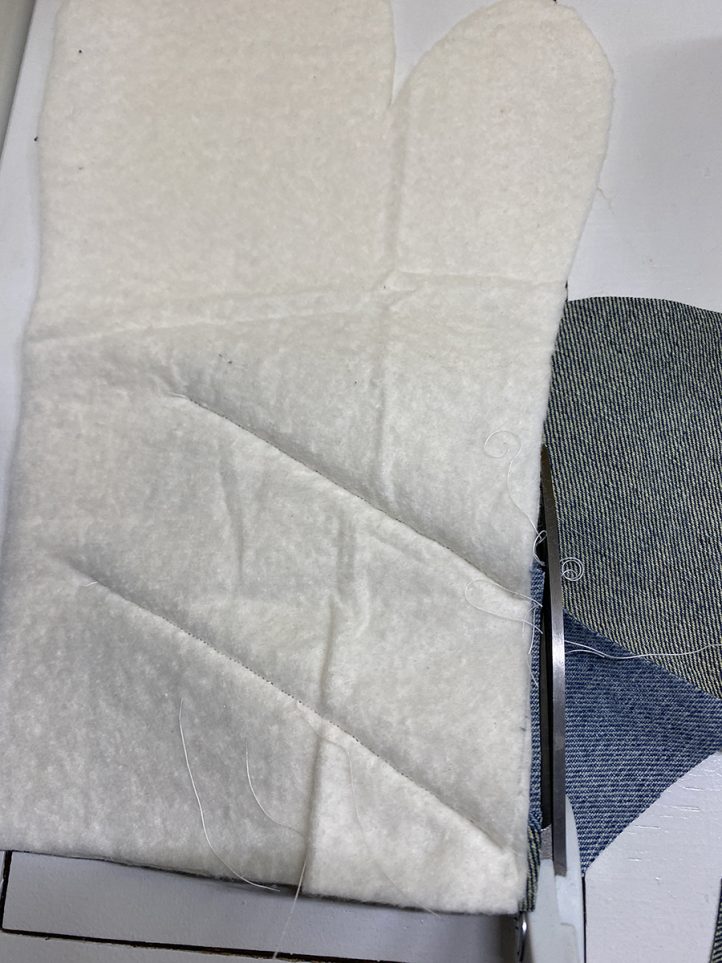
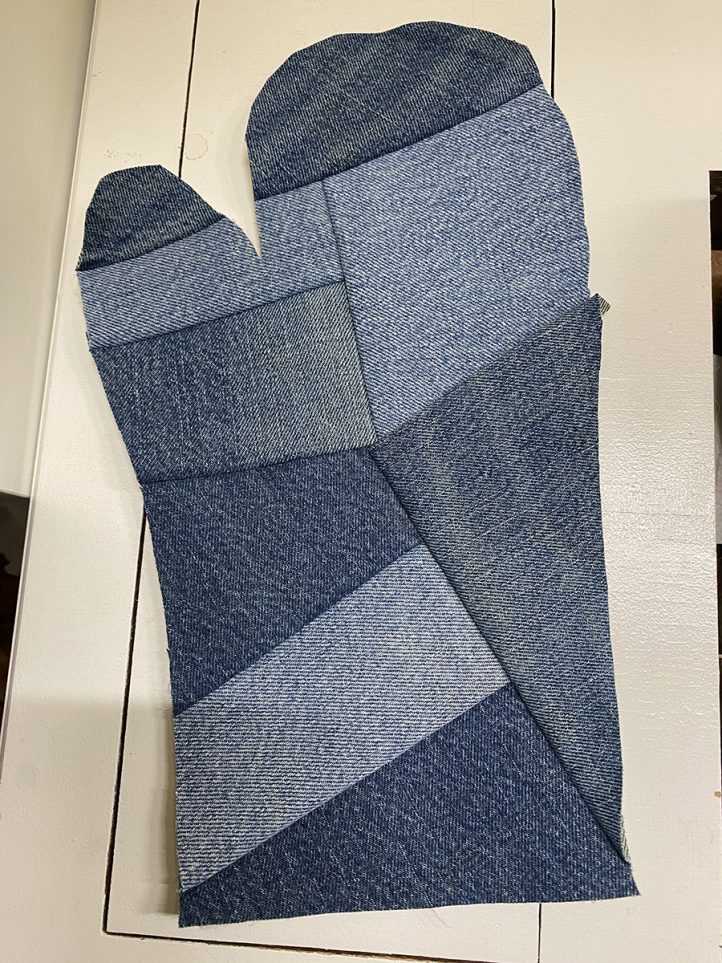
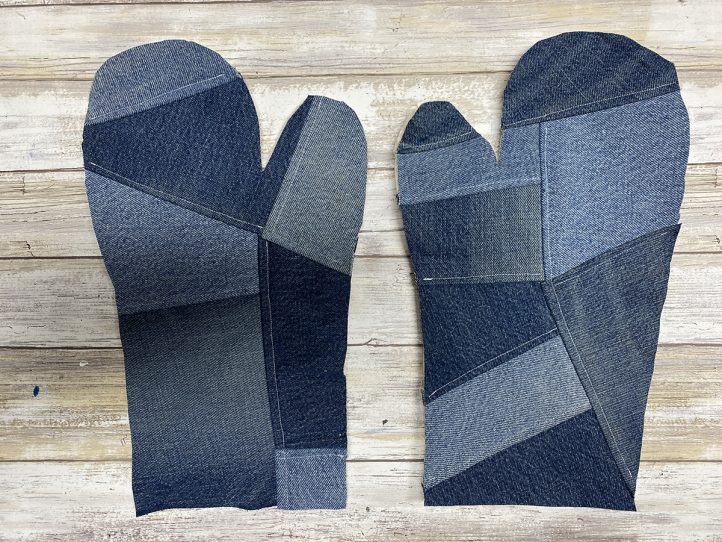
- Continue adding pieces of denim until you cover the entire front.
- If desired top-stitch 1/4” away from the seams of the patchwork denim.
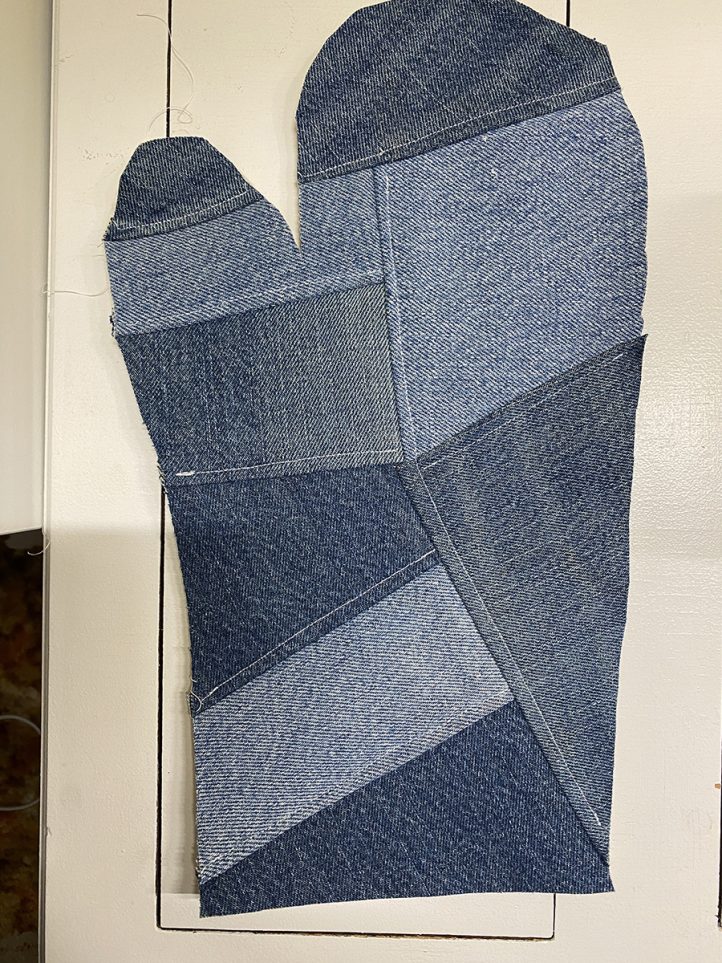
- Repeat Steps 6-15 for second side of the oven mitt.
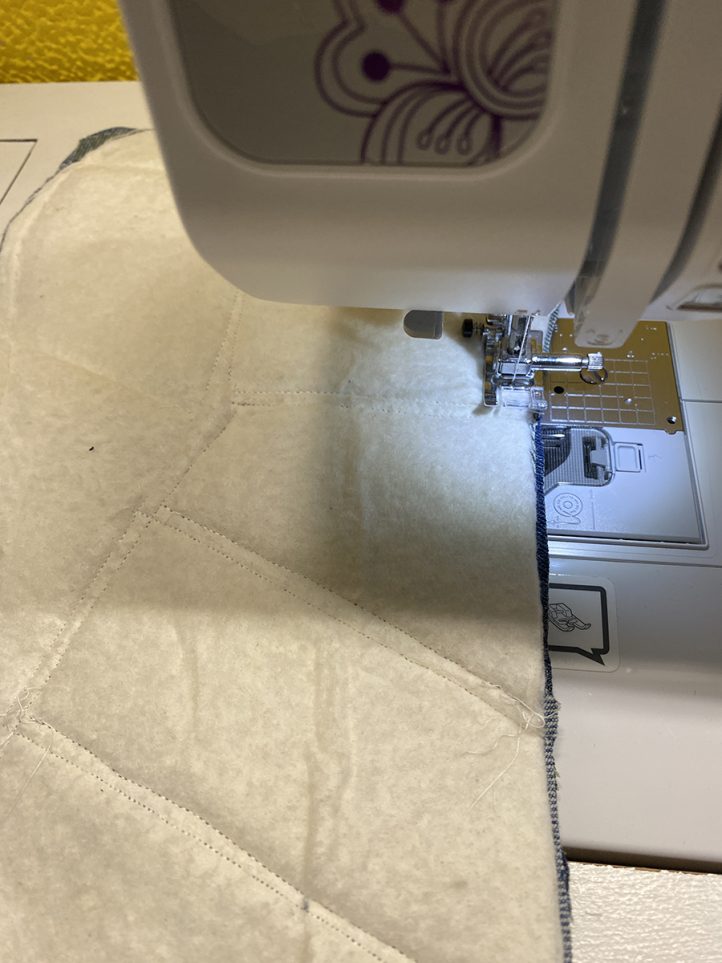
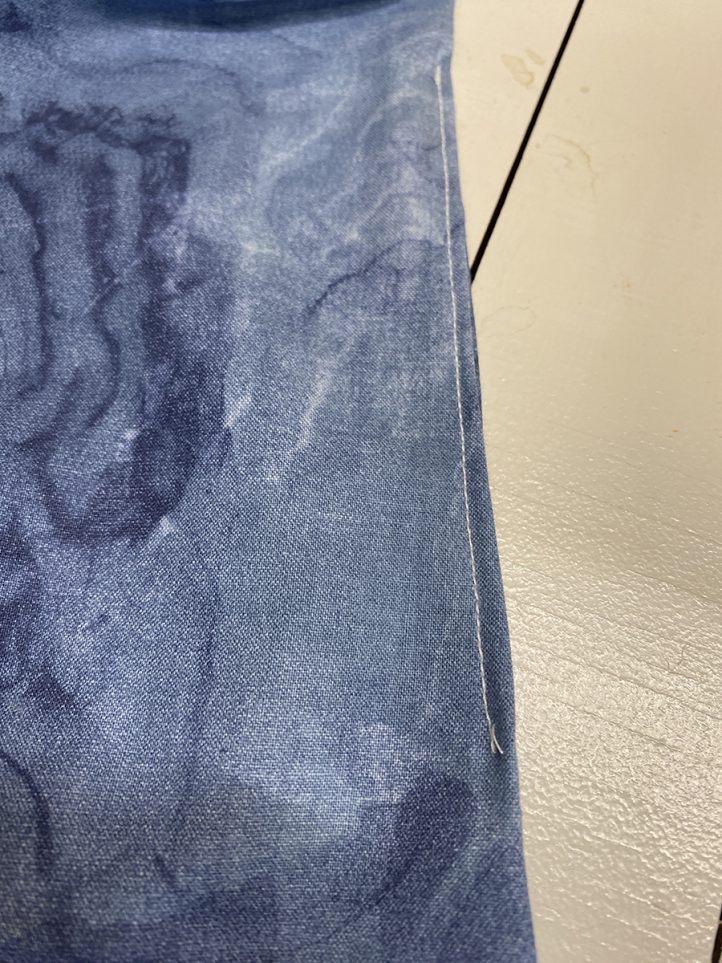
- Place lining pieces right sides together, pin and stitch around the outer edge with a 1/4” seam allowance, leaving about a 4” opening on one side (for turning).
- Place the front and back sections of the patchwork denim right sides together. Stitch around with a 1/4” seam allowance.
- Clip all the way around the seam allowance of both the lining and patchwork about every 1/2”. This will make turning easier and smoother.
- Using the dowel rod, turn the patchwork mitt right sides out.

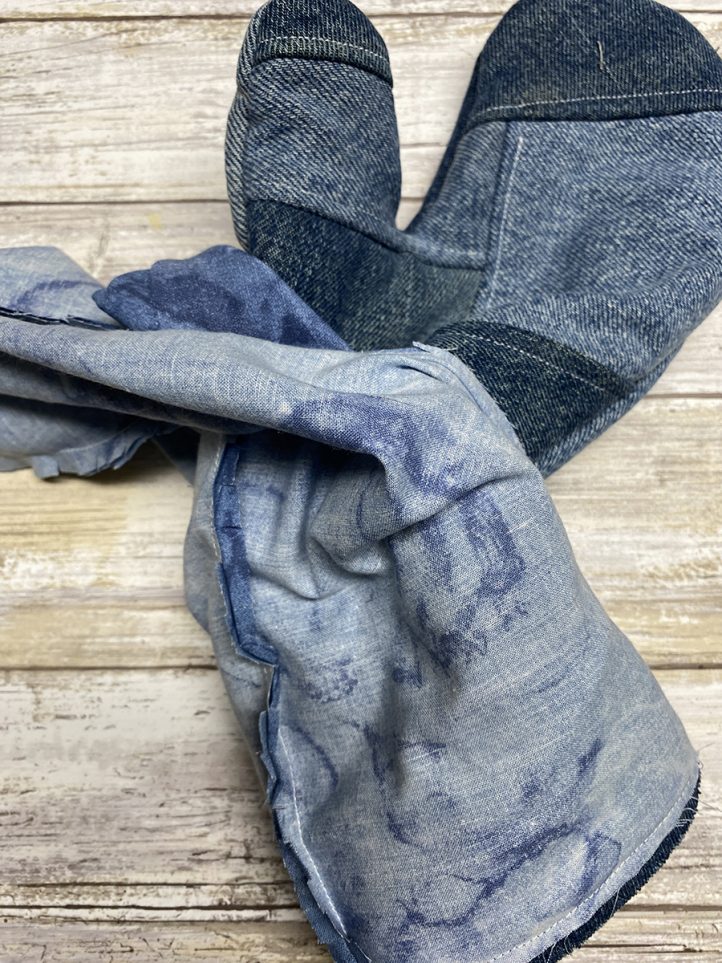
- Place the patchwork mitt into the lining so that right sides are together, and the bottom edges are aligned.
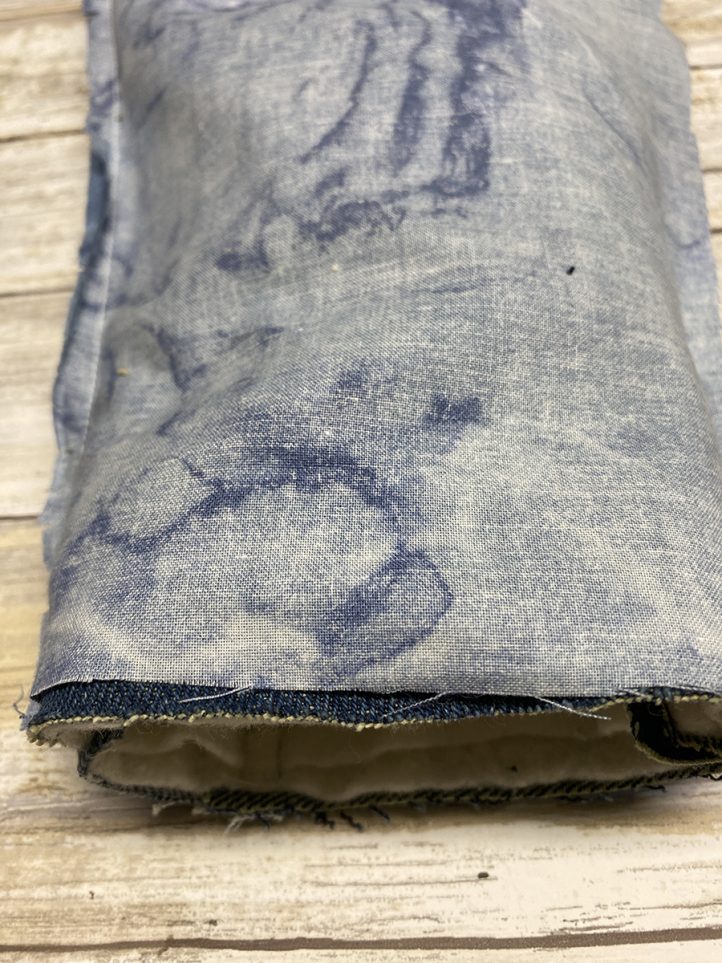
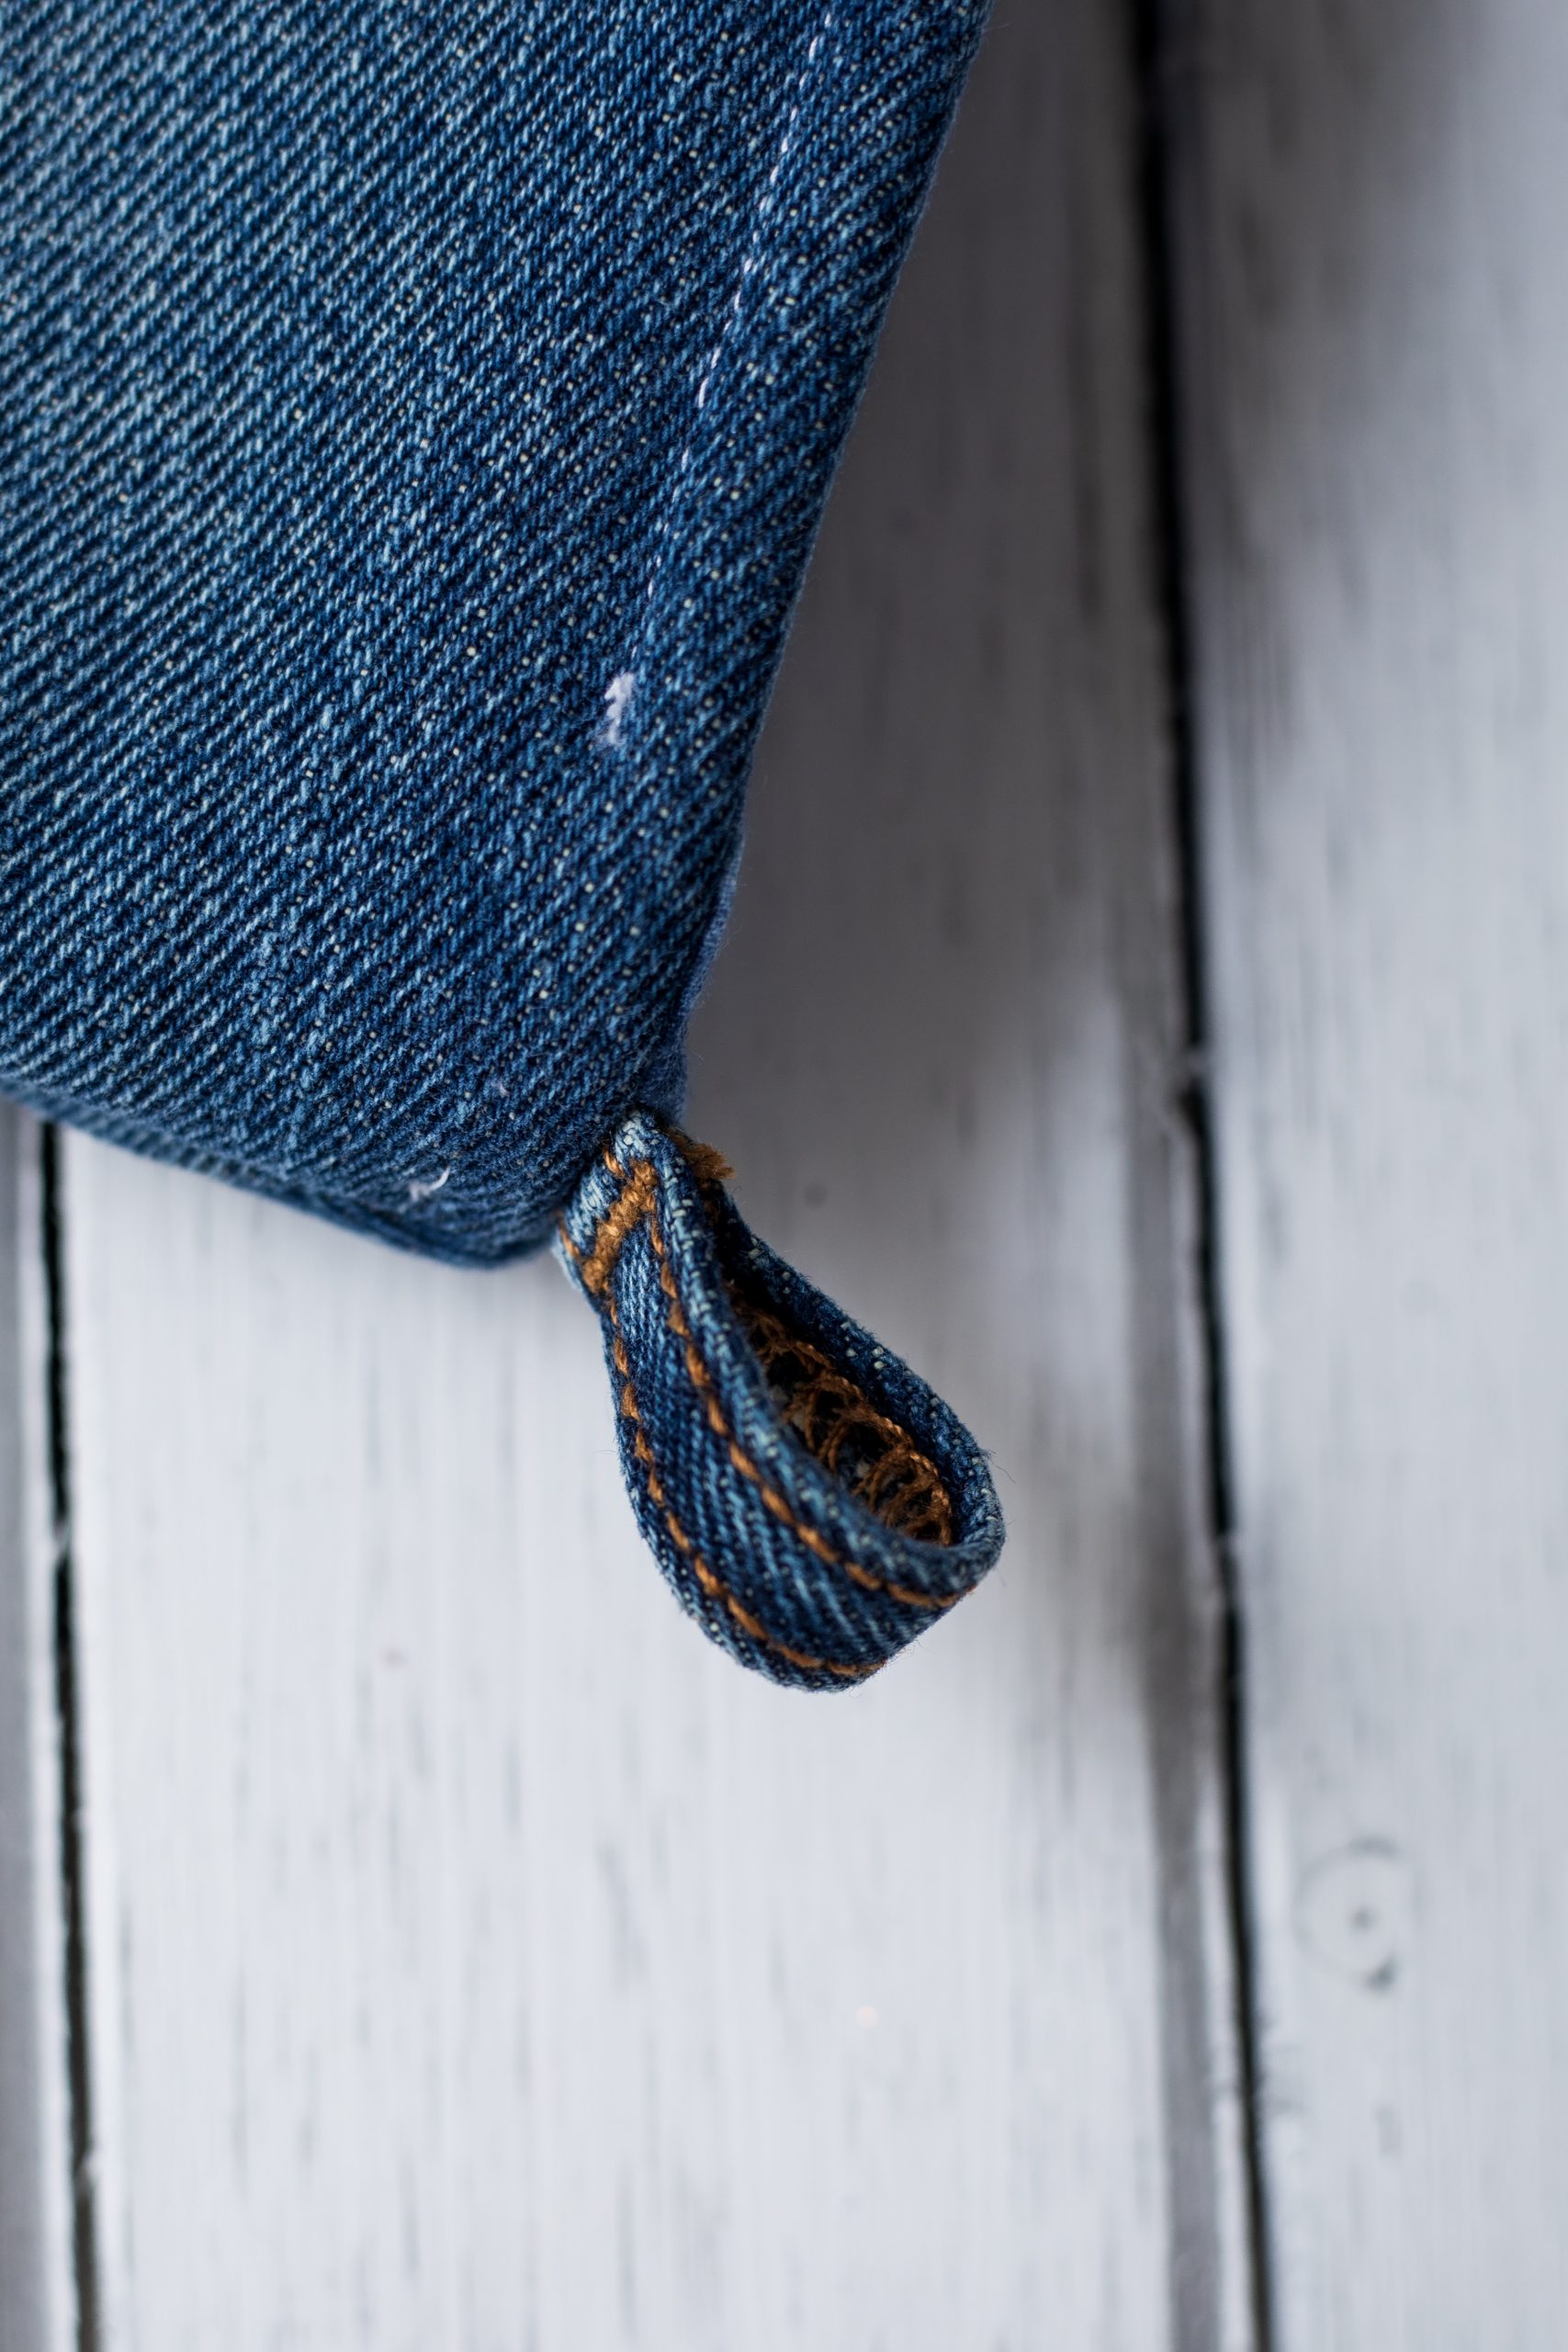
- Place a denim belt loop at the seam edge without the thumb and pin in place.
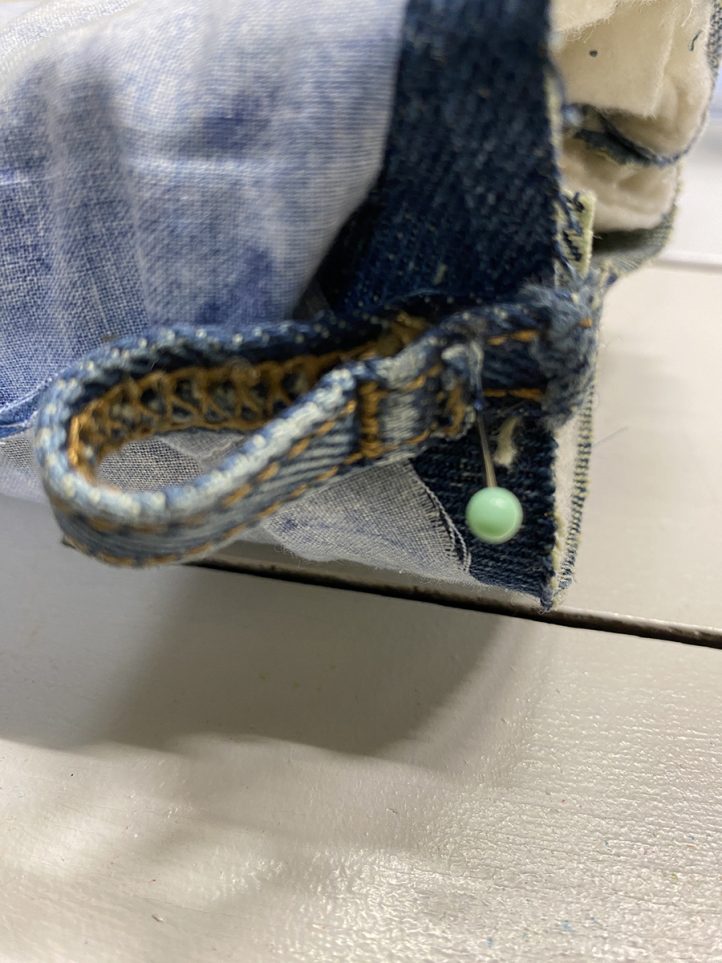
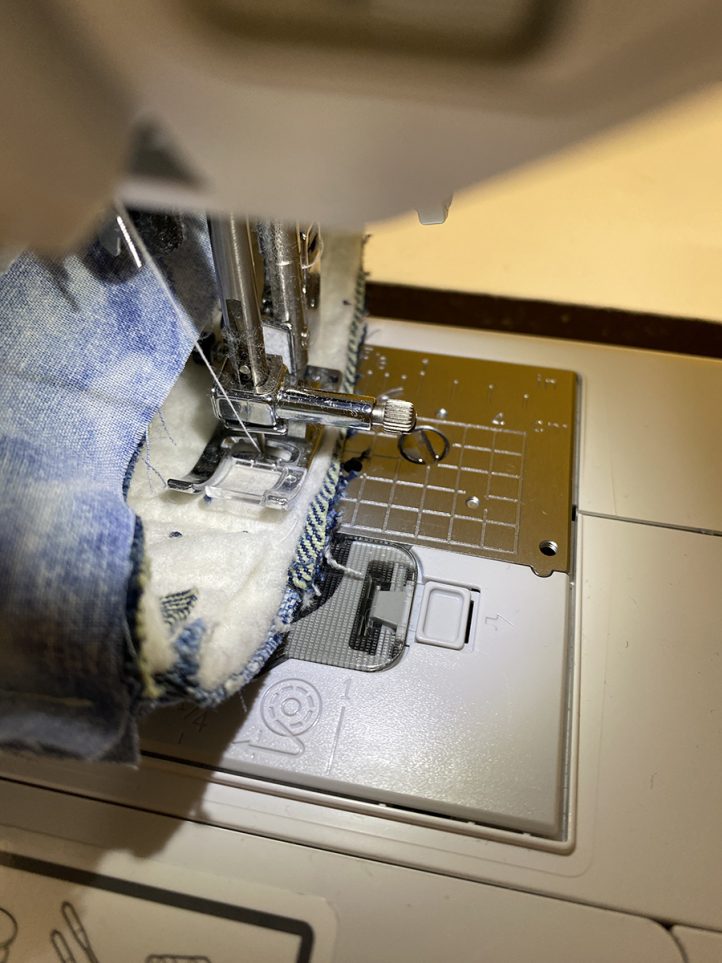
- Stitch around the edge with a 1/2” seam allowance.
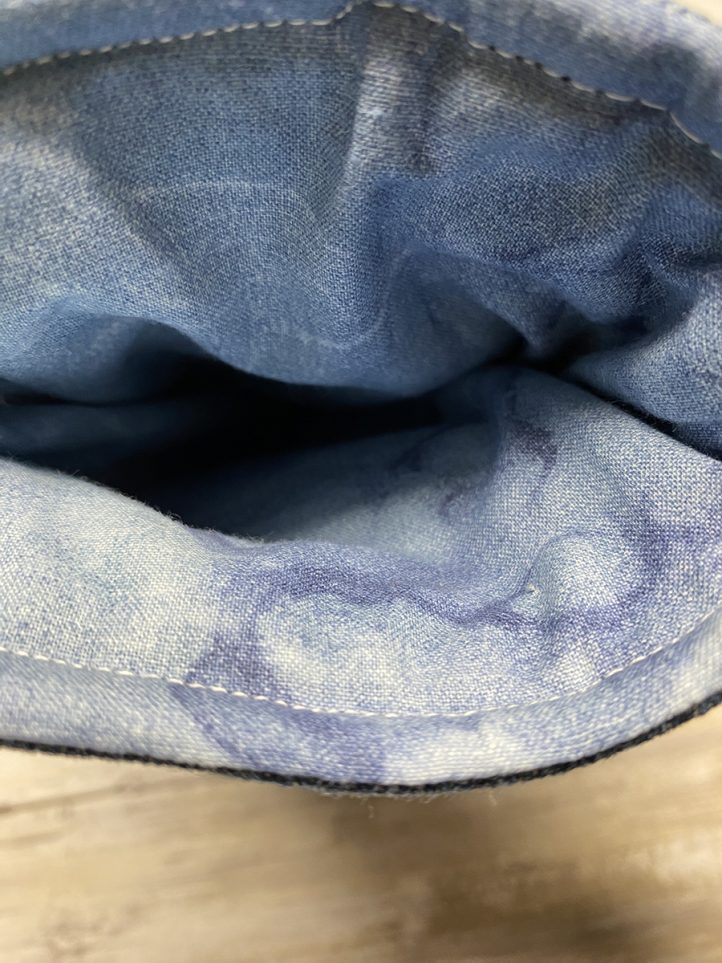
- Pull the patchwork mitt through the 4” hole in the lining.
- Stitch up the hole in the lining.
- Top stitch around the edge of the mitt.
DESIGNER NOTES:
- The oven mitt pattern provided is sized for a woman’s medium or a men’s small…if you need a larger size, cut your batting and fabric 3/4” – 1 1/2” larger than the pattern as needed.
- The scraps of denim should be 100% cotton as it is not flammable, anything with additional or different material fiber types may be flammable and should not be used.
- You can use Insul-bright instead of 100% cotton batting if you prefer. It has a shiny side that is designed to reflect heat. If you use this product, you will only need 2 layers (instead of 4 layers of cotton batting). Follow the manufacturer’s instructions for this product.
- If you do not want a patchwork design, just use desired fabric of choice, and quilt the top with the batting.
- Be sure to vary the denim with light and dark shades.
- Place your dowel rod into a pencil sharpener to get a point tip. This will make it easier for turning.
- I usually close up the hole with a blind stitch but since the lining will not show, I just stitch it up by machine. The choice is yours.
- You may use a ribbon for the loop instead of the belt loop, as it does tend to get very thick and a bit harder to sew through.

This looks like I need to SAVE MORE JEANS !! Audrey