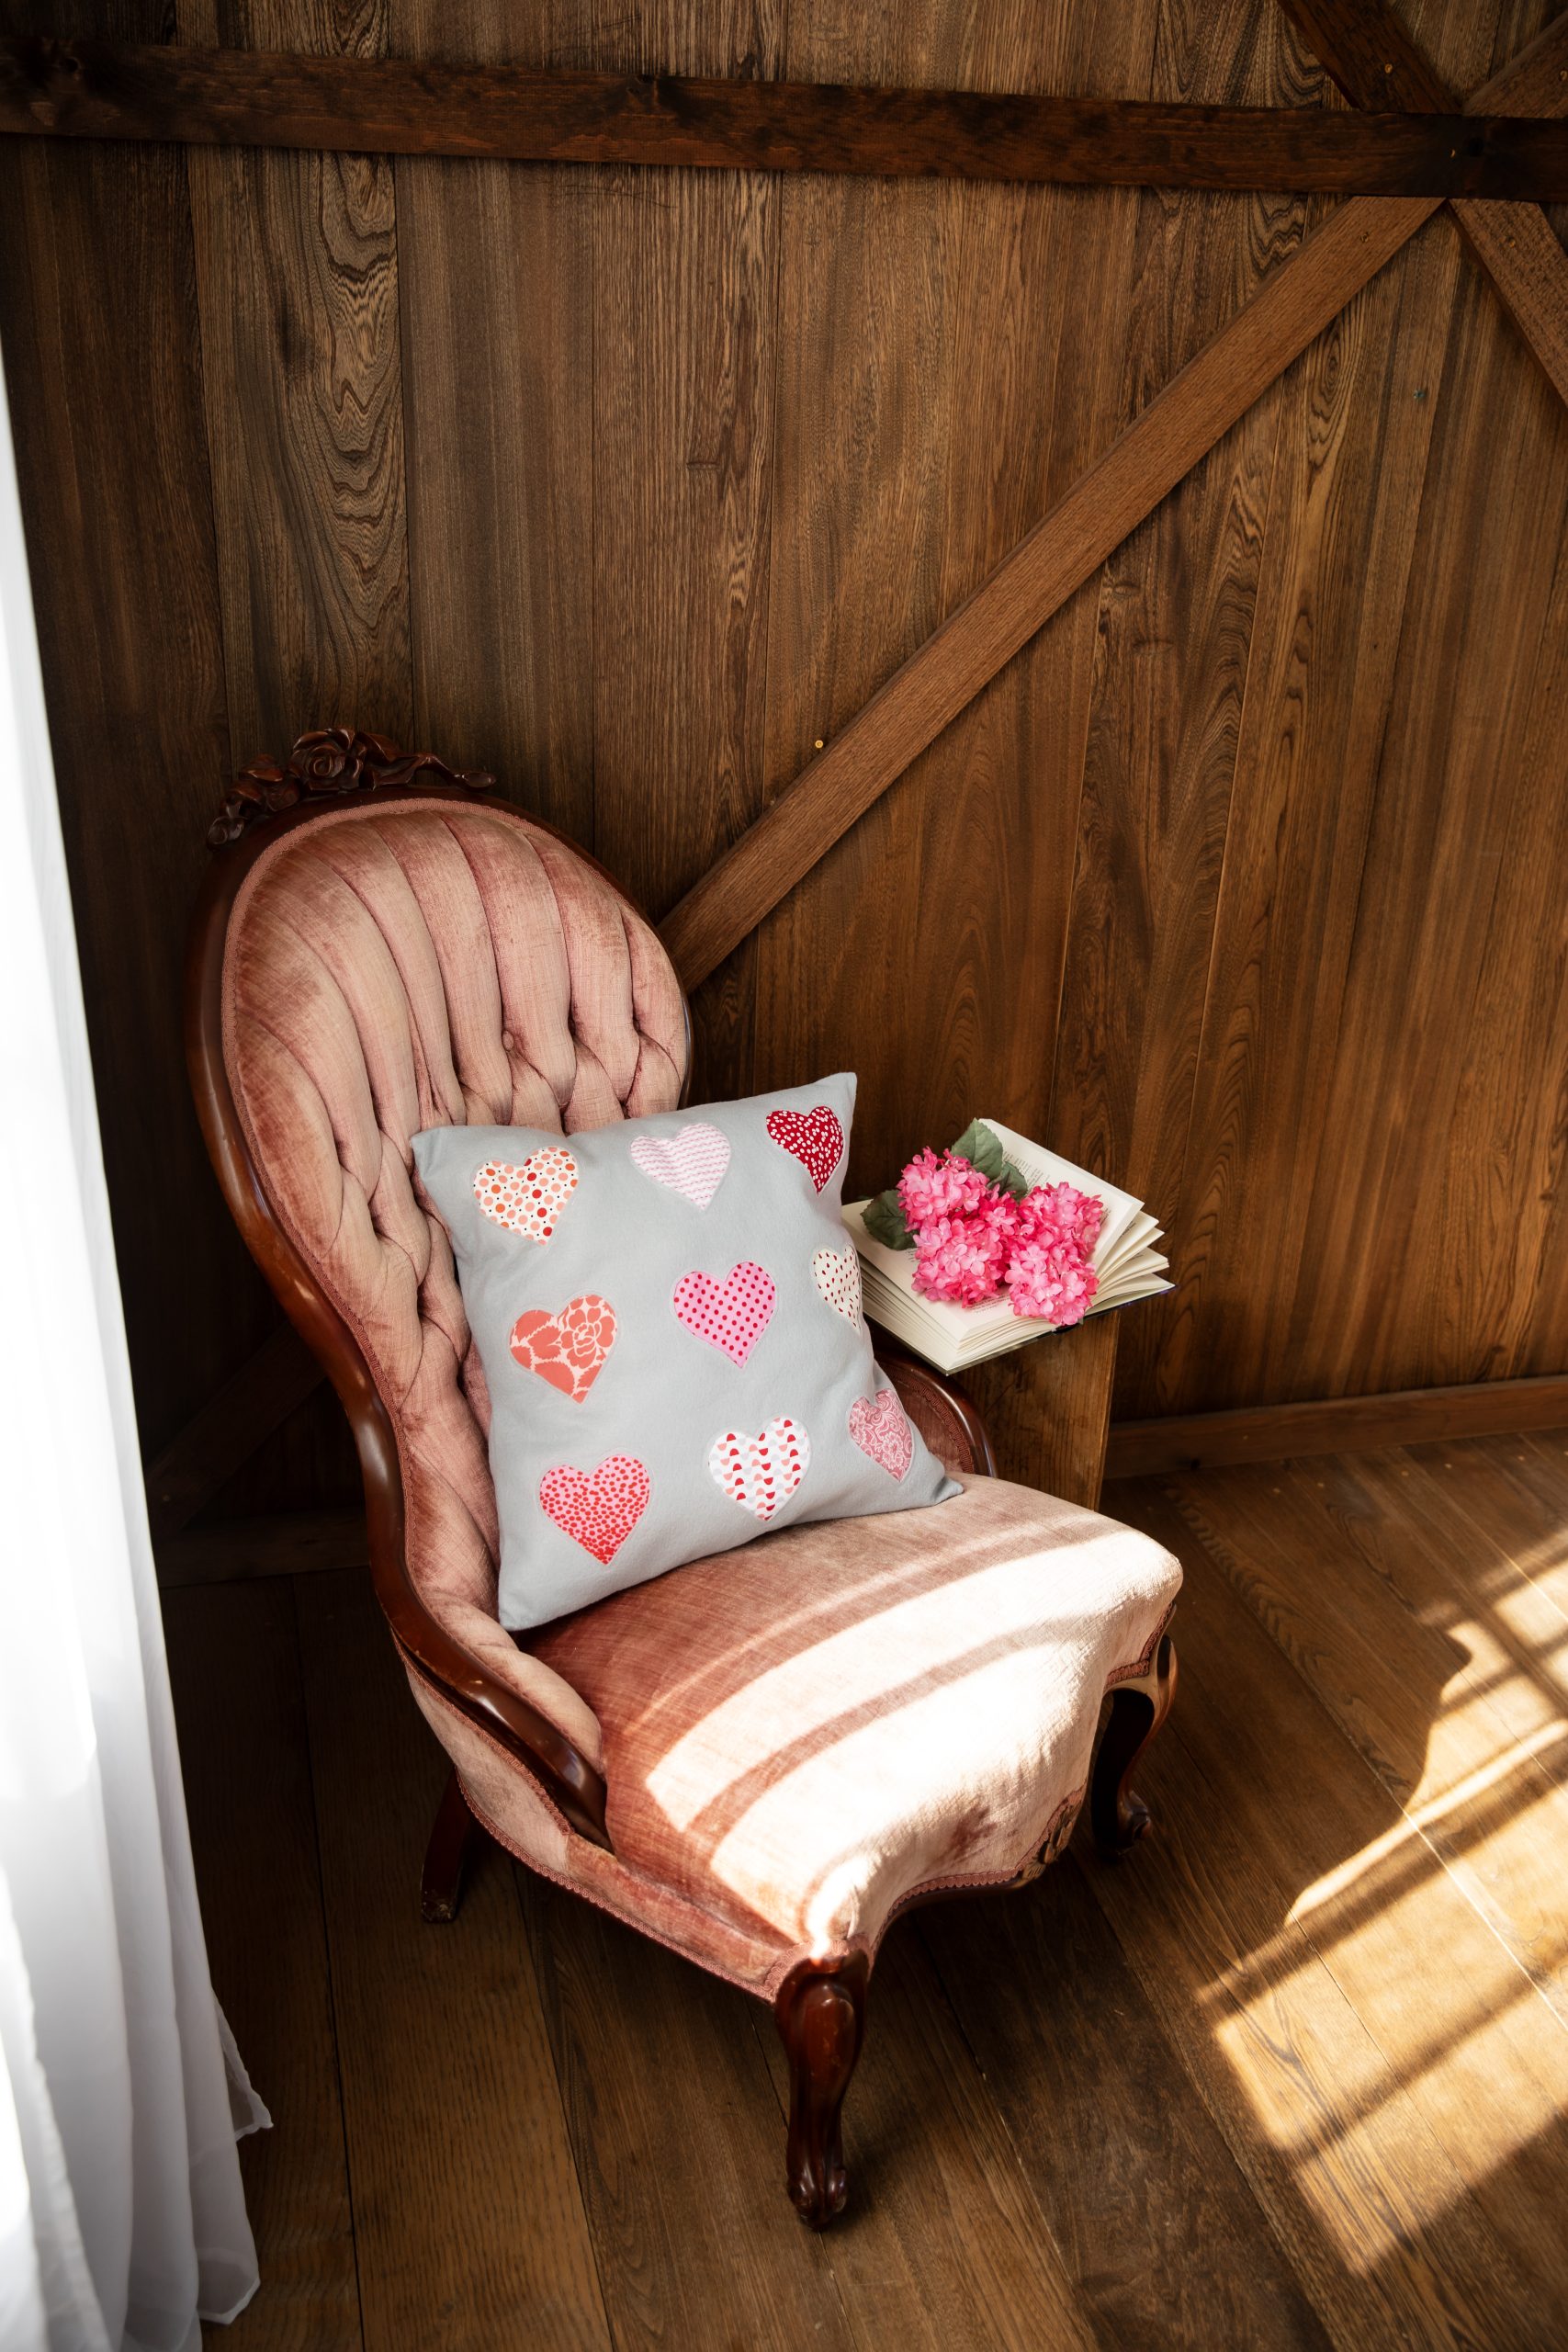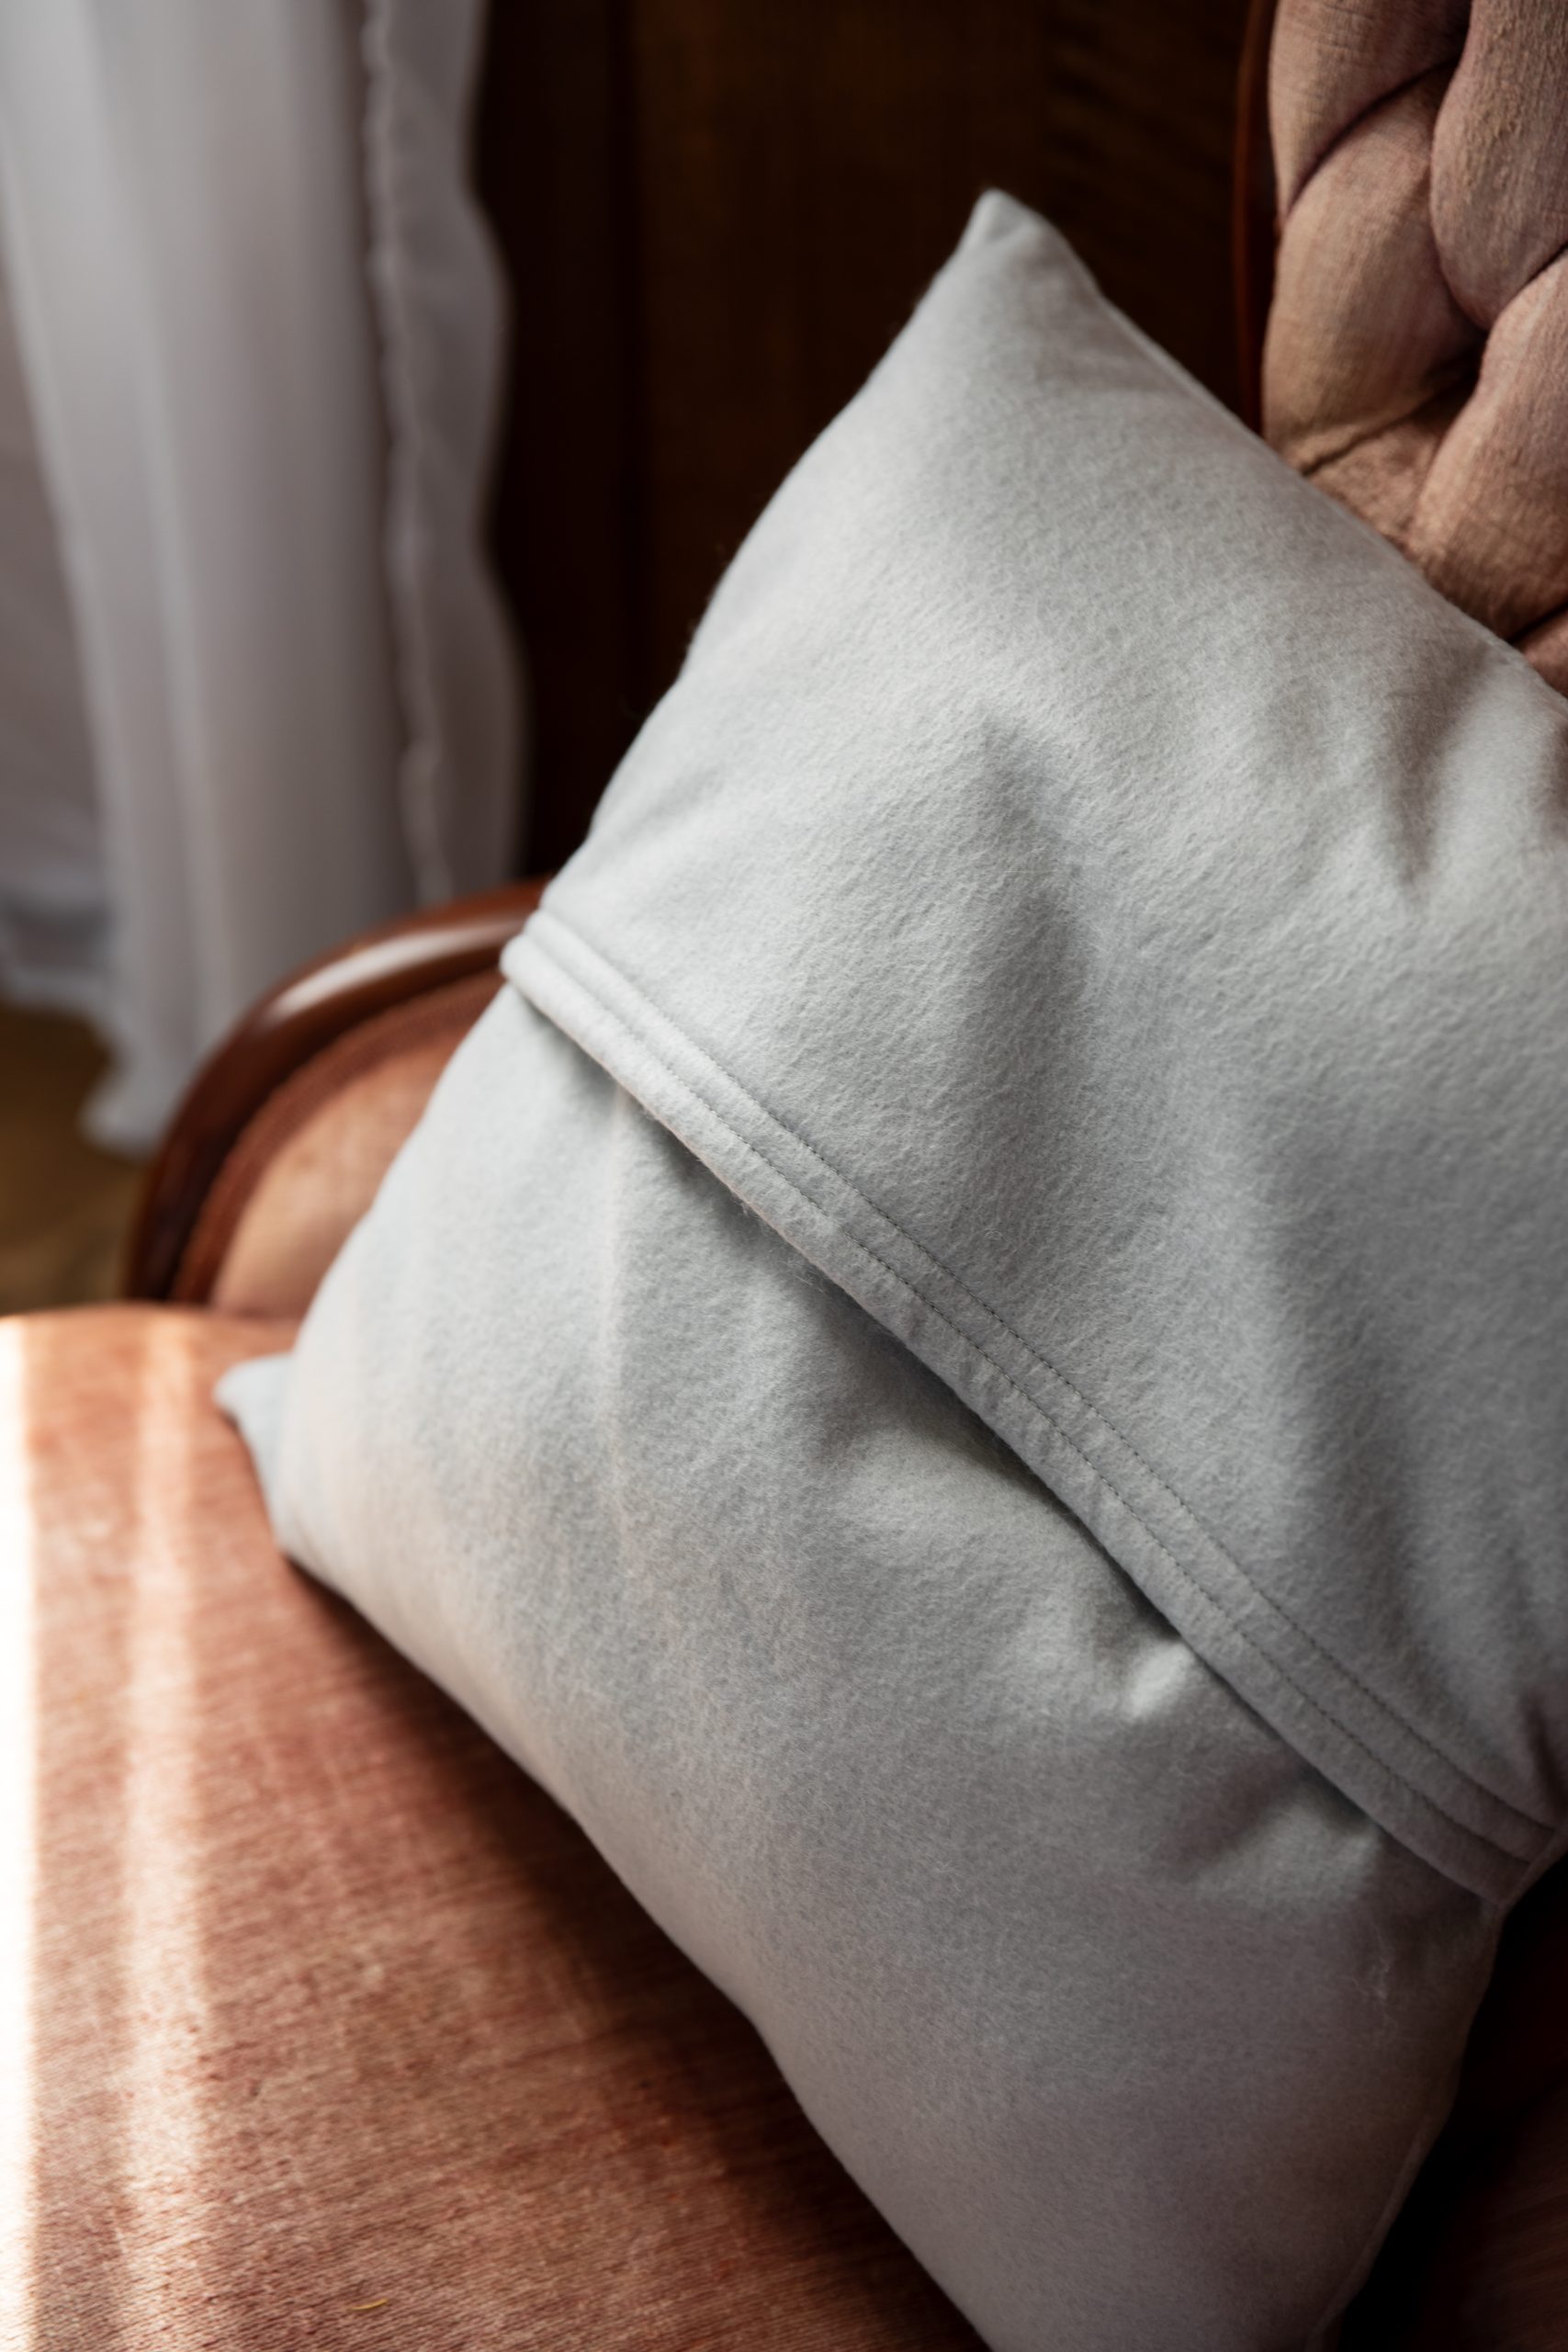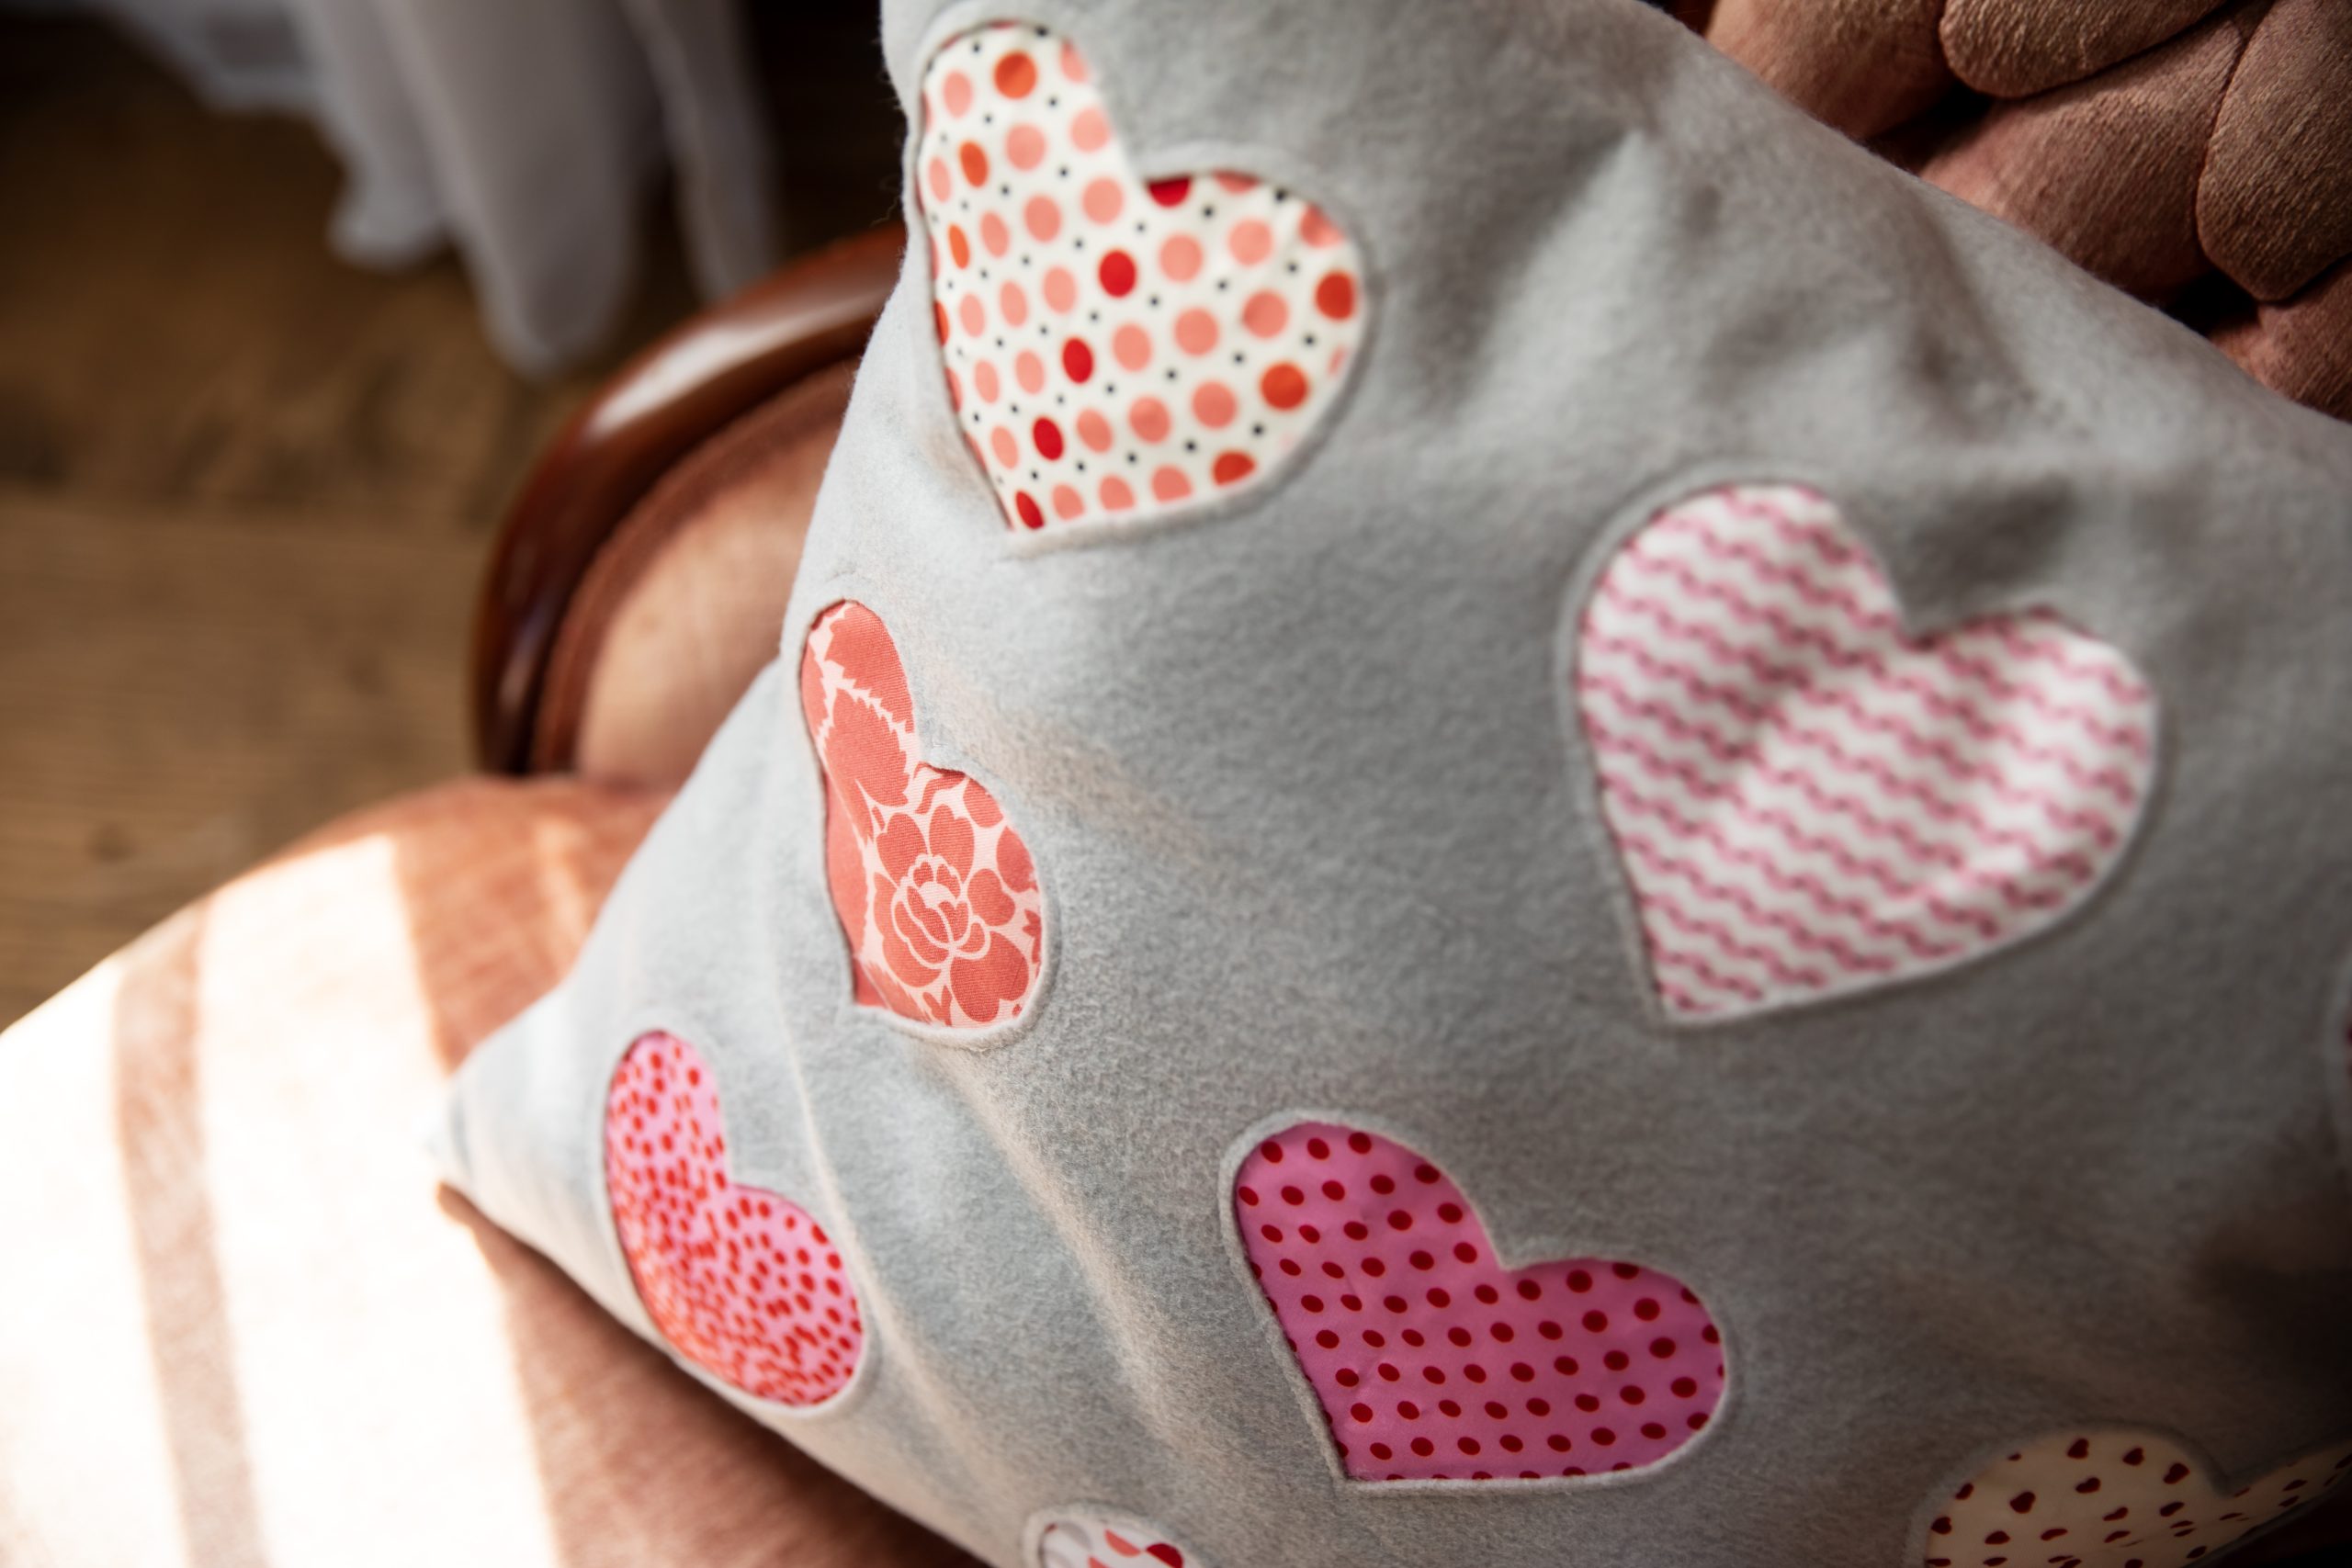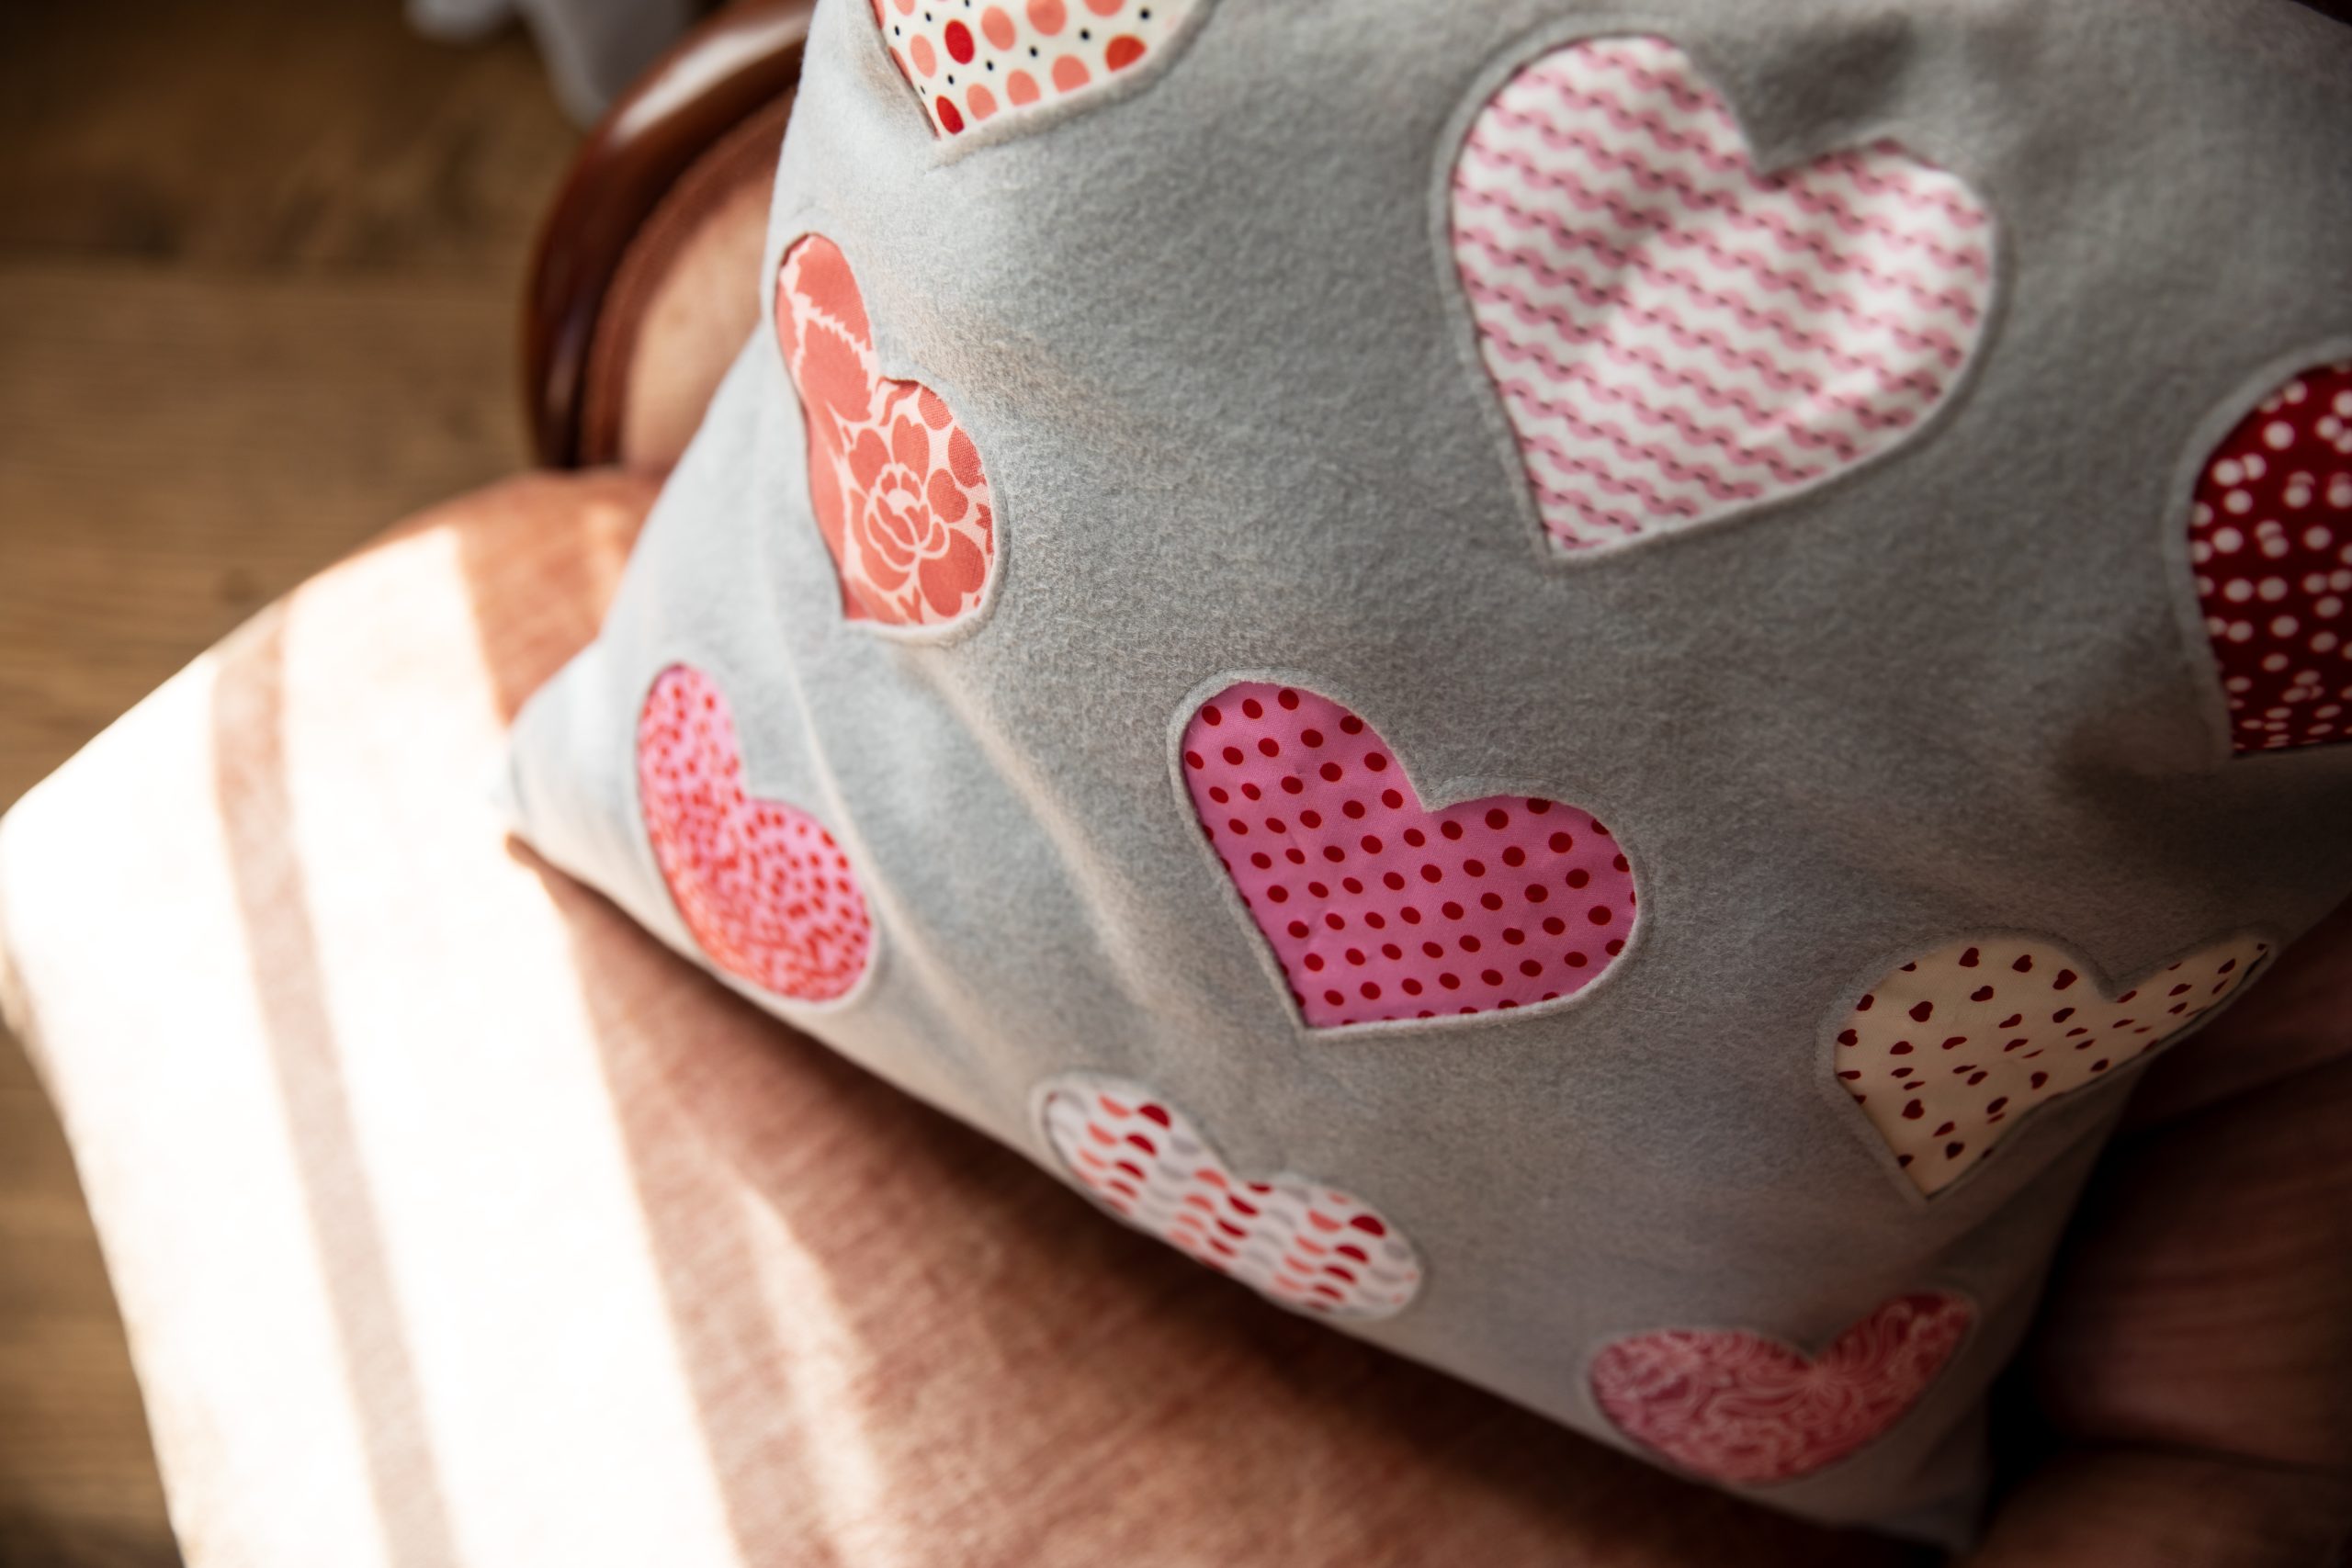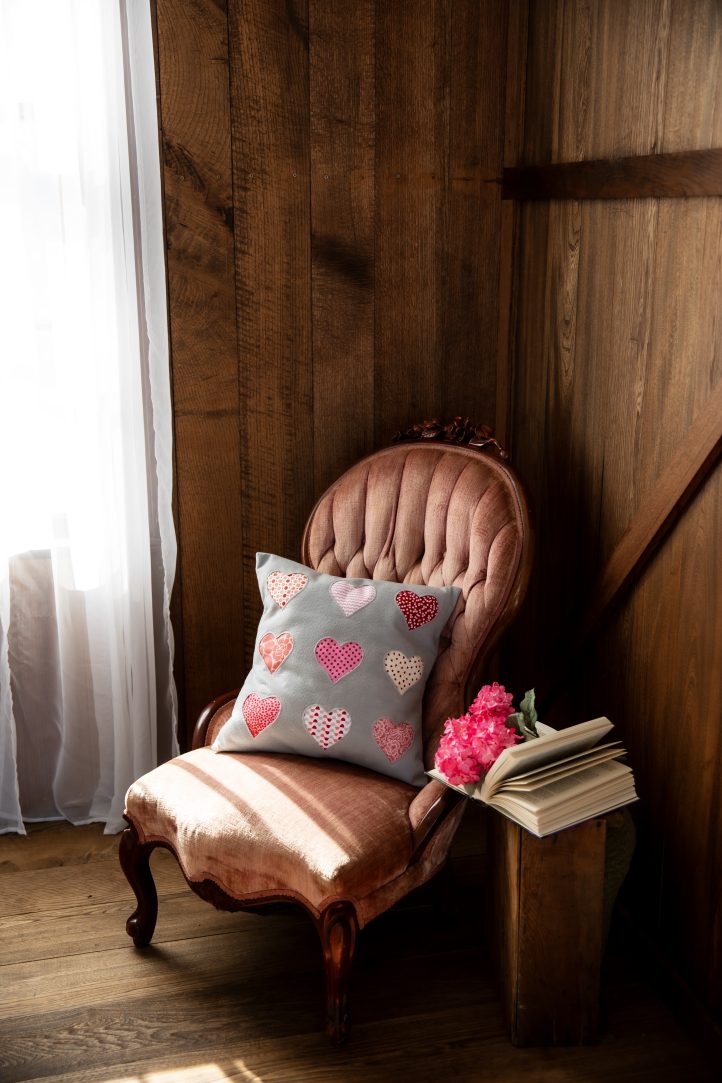
Have you been saving up fun heart prints for Valentine’s Day? Break out your whimsical printed fabrics for this delightful reverse applique pattern from Mallory Hill. Perfect for felt or wool, this Valentine’s Day pillow pattern finishes at an 18-inch square and features nine hearts in different colors and prints. This holiday sewing project is a charming make for beginner sewists wanting to increase their skillset, and each heart’s size makes it ideal for those who like working with precuts like charm packs.
Finished Size: 18 inches x 18 inches
Materials:
- 1 1/4 yards – Gray felt, wool, or other non-fraying substrate
- 9 – 5 inch x 5 inch squares of red and pink fabrics
- 1/2 yard interfacing – Pellon SF 101 or similar
- 1 spool coordinating thread
- 18 inch x 18 inch pillow form
- PDF Template/Diagram – These are located at the bottom of this page. See printing instructions below.
Tools:
- Scissors – Regular fabric scissors and small sharp scissors for detail work
- Marking tools – Something that can easily be removed from your fabric – Chalk, heat-soluble pens, etc.
- Iron/Ironing board
- Pins
PRINTING INSTRUCTIONS:
To download the PDF template/diagram, click on the download button at the bottom of the page. We recommend opening your download using Adobe Acrobat.
Cutting Instructions:
- 1 – Pillow Front – 19 inch x 19 inch
- 1 – Pillow Back A – 19 inch x 14 1/2 inches
- 1 – Pillow Back B – 19 inch x 12 1/2 inches
- 9 – 5 inch x 5 inch squares for the hearts
Sewing Instructions:
- Interface all heart fabric with a lightweight fusible interfacing.
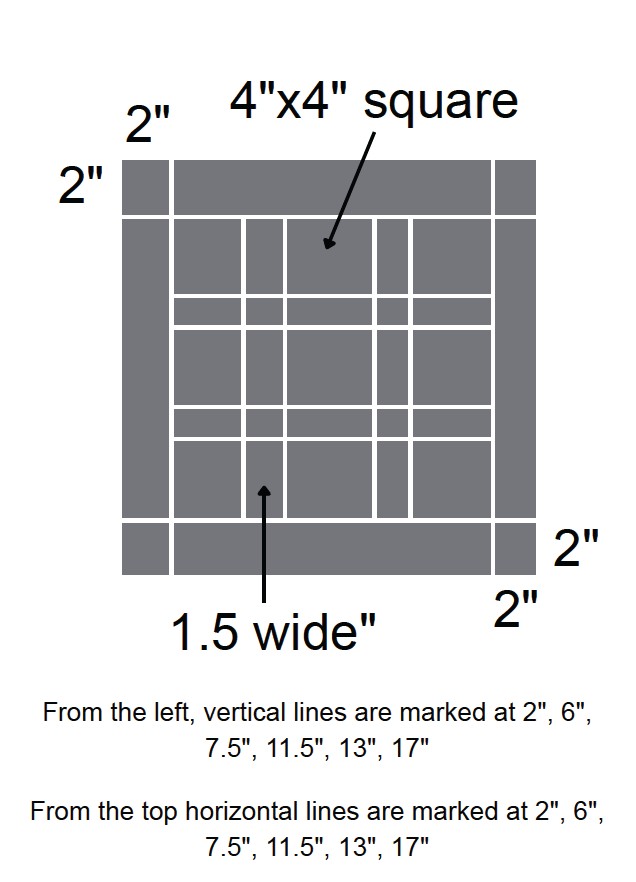
- Mark the front of your Pillow according to the diagram below, and trace the hearts directly on the front of your Pillow Front.
- Place each square of fabric according to your markings; Right side of heart fabric should be facing the Wrong Side of your pillow front fabric. Pin fabric in place well.
- Stitch directly on top of your heart outlines, make sure all fabric squares are laying flat so they don’t get caught in your stitches.
- Trim your heart fabrics around your stitching, leaving at least a 1/4 inch seam allowance.
- Carefully clip into your Pillow Front fabric, inside your stitching lines. DO NOT cut the heart fabric. Trim about 1/8 inch inside your stitch lines for each heart.
- Take your Pillow Back A and press one long edge 1/2 inch towards the wrong side, repeat another 1/2 inch to fully enclose your raw edge. Sew with a scant 1/2 inch seam allowance to keep the hem in place.
- Take your Pillow Back B and press one long edge 1 inch towards the wrong side of fabric, repeat another 1 inch to fully enclose your raw edge. Sew with a scant 1 inch seam allowance to keep the hem in place. Sew another line of stitching at 1/2 inch seam allowance to finish off your hem.
- Place your finished Pillow Front on your work surface, Right side up, with the top of your hearts at the top of the square. Place Pillow Back B, right sides together, with the Pillow Front matching the raw edges.
- Place Pillow Back A, right sides together with the Pillow Front, with raw edges matching the Pillow Front. Your Pillow Back pieces should overlap in the middle.
- Sew around your entire pillow using a 1/2 inch seam allowance. Back stitch at the beginning and end. Clip corners and turn right side out.
- Insert your pillow form and enjoy!