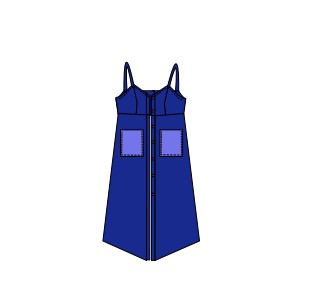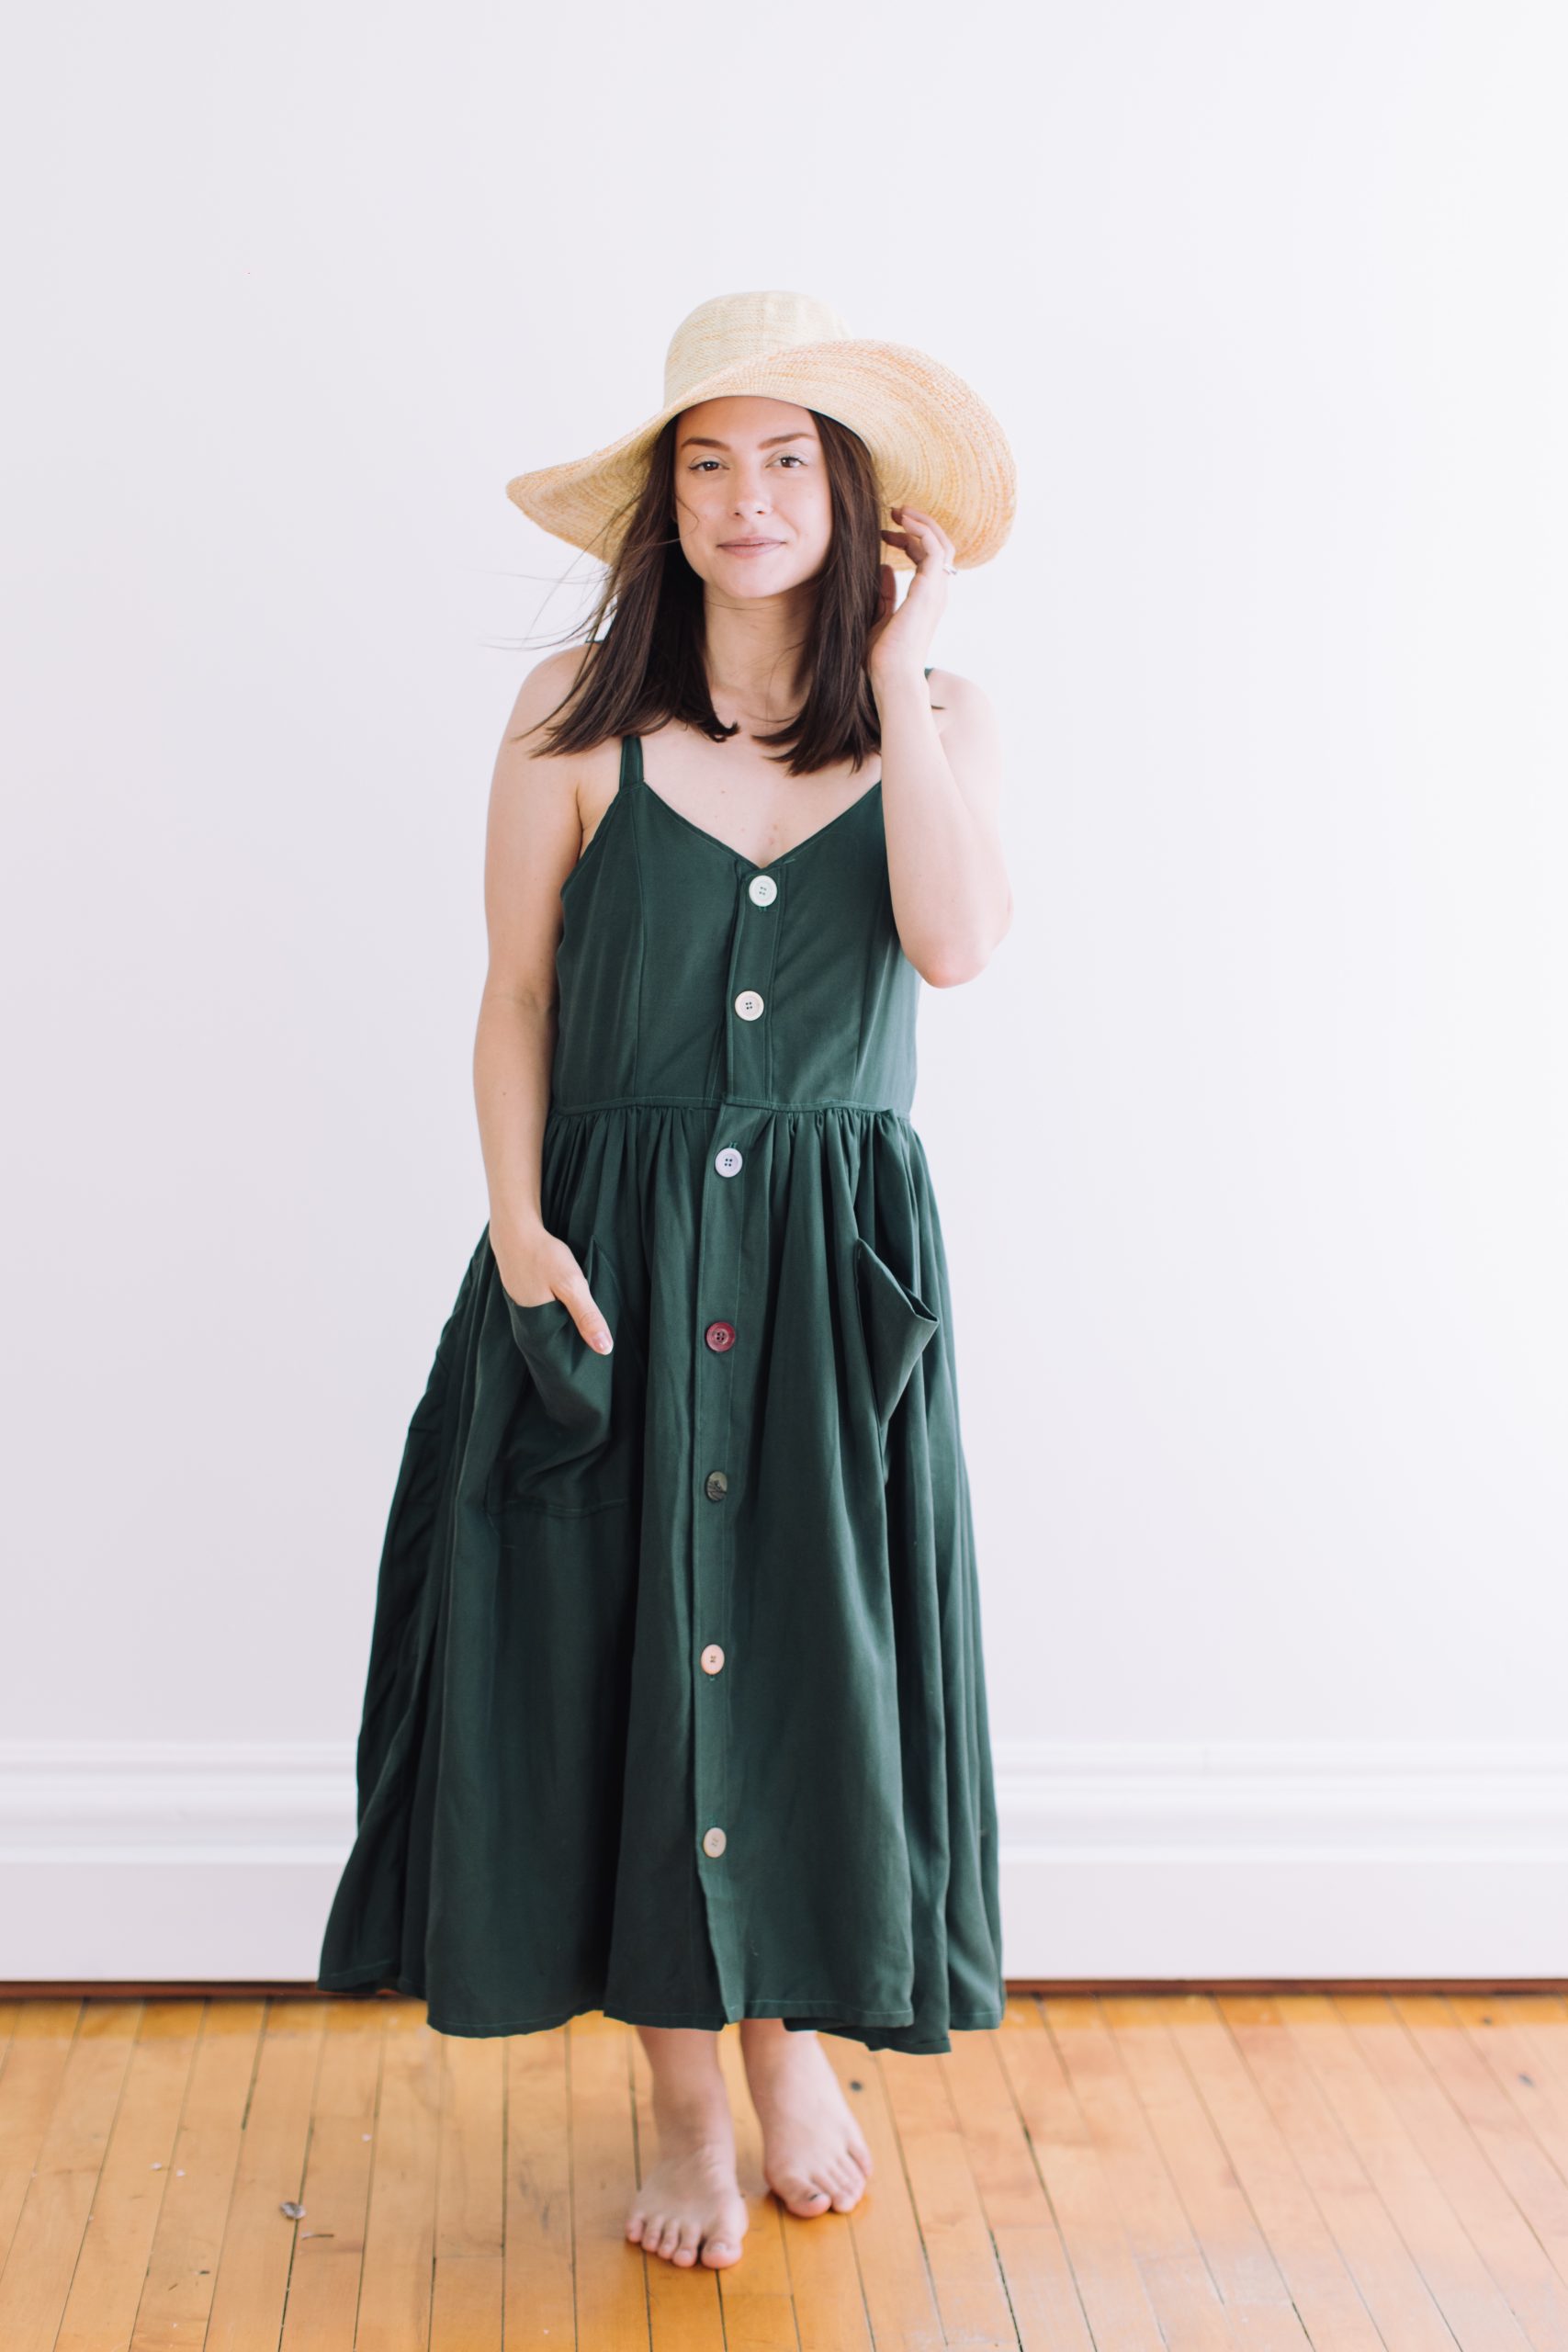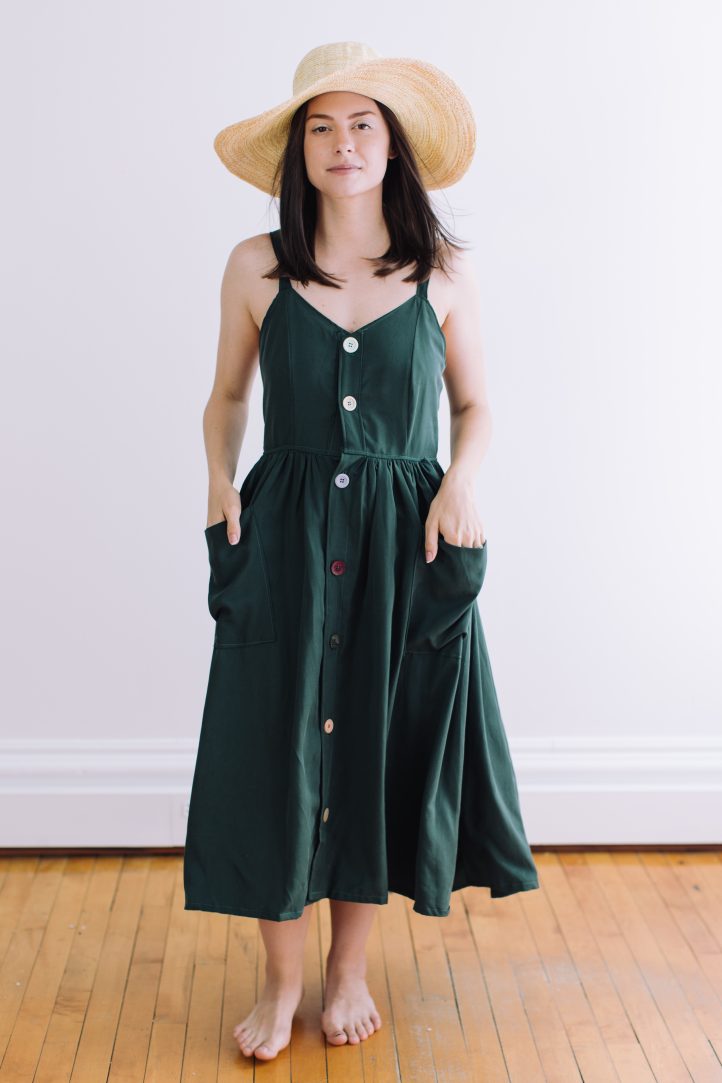
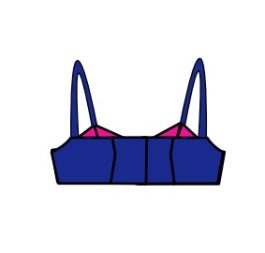
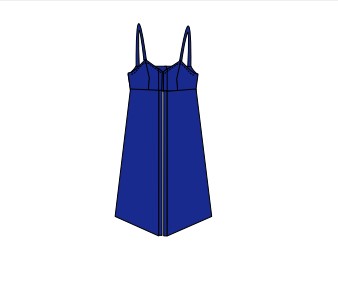
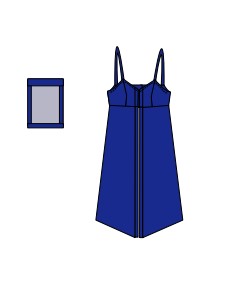
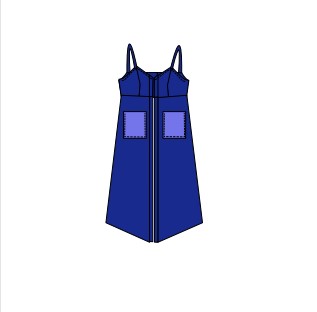
The arrival of summer means the arrival of sundress season! Design a classically chic, lightweight sundress for hot summer days with this dress sewing pattern. Recommended for advanced beginners, this sundress pattern features a front button placket and princess seams on the bodice. This design can be made in light to medium weight fabrics and would look stylish in denim, twill or cotton sateen.
Skill Level: Advanced beginner
Note: Please read the instructions thoroughly before you begin.
Materials:
- 2 1/4 yards of light to medium weight woven fabric, 45″ wide
- Note: Light to medium weight WOVEN fabric such as lawn, voile, chambray, satin, challis is recommended for the top. Medium weight woven fabric are recommended for the dress such as twill, denim, cotton sateen, brocade and blends.
- Coordinating polyester thread
- 1/4 yard of fusible interfacing
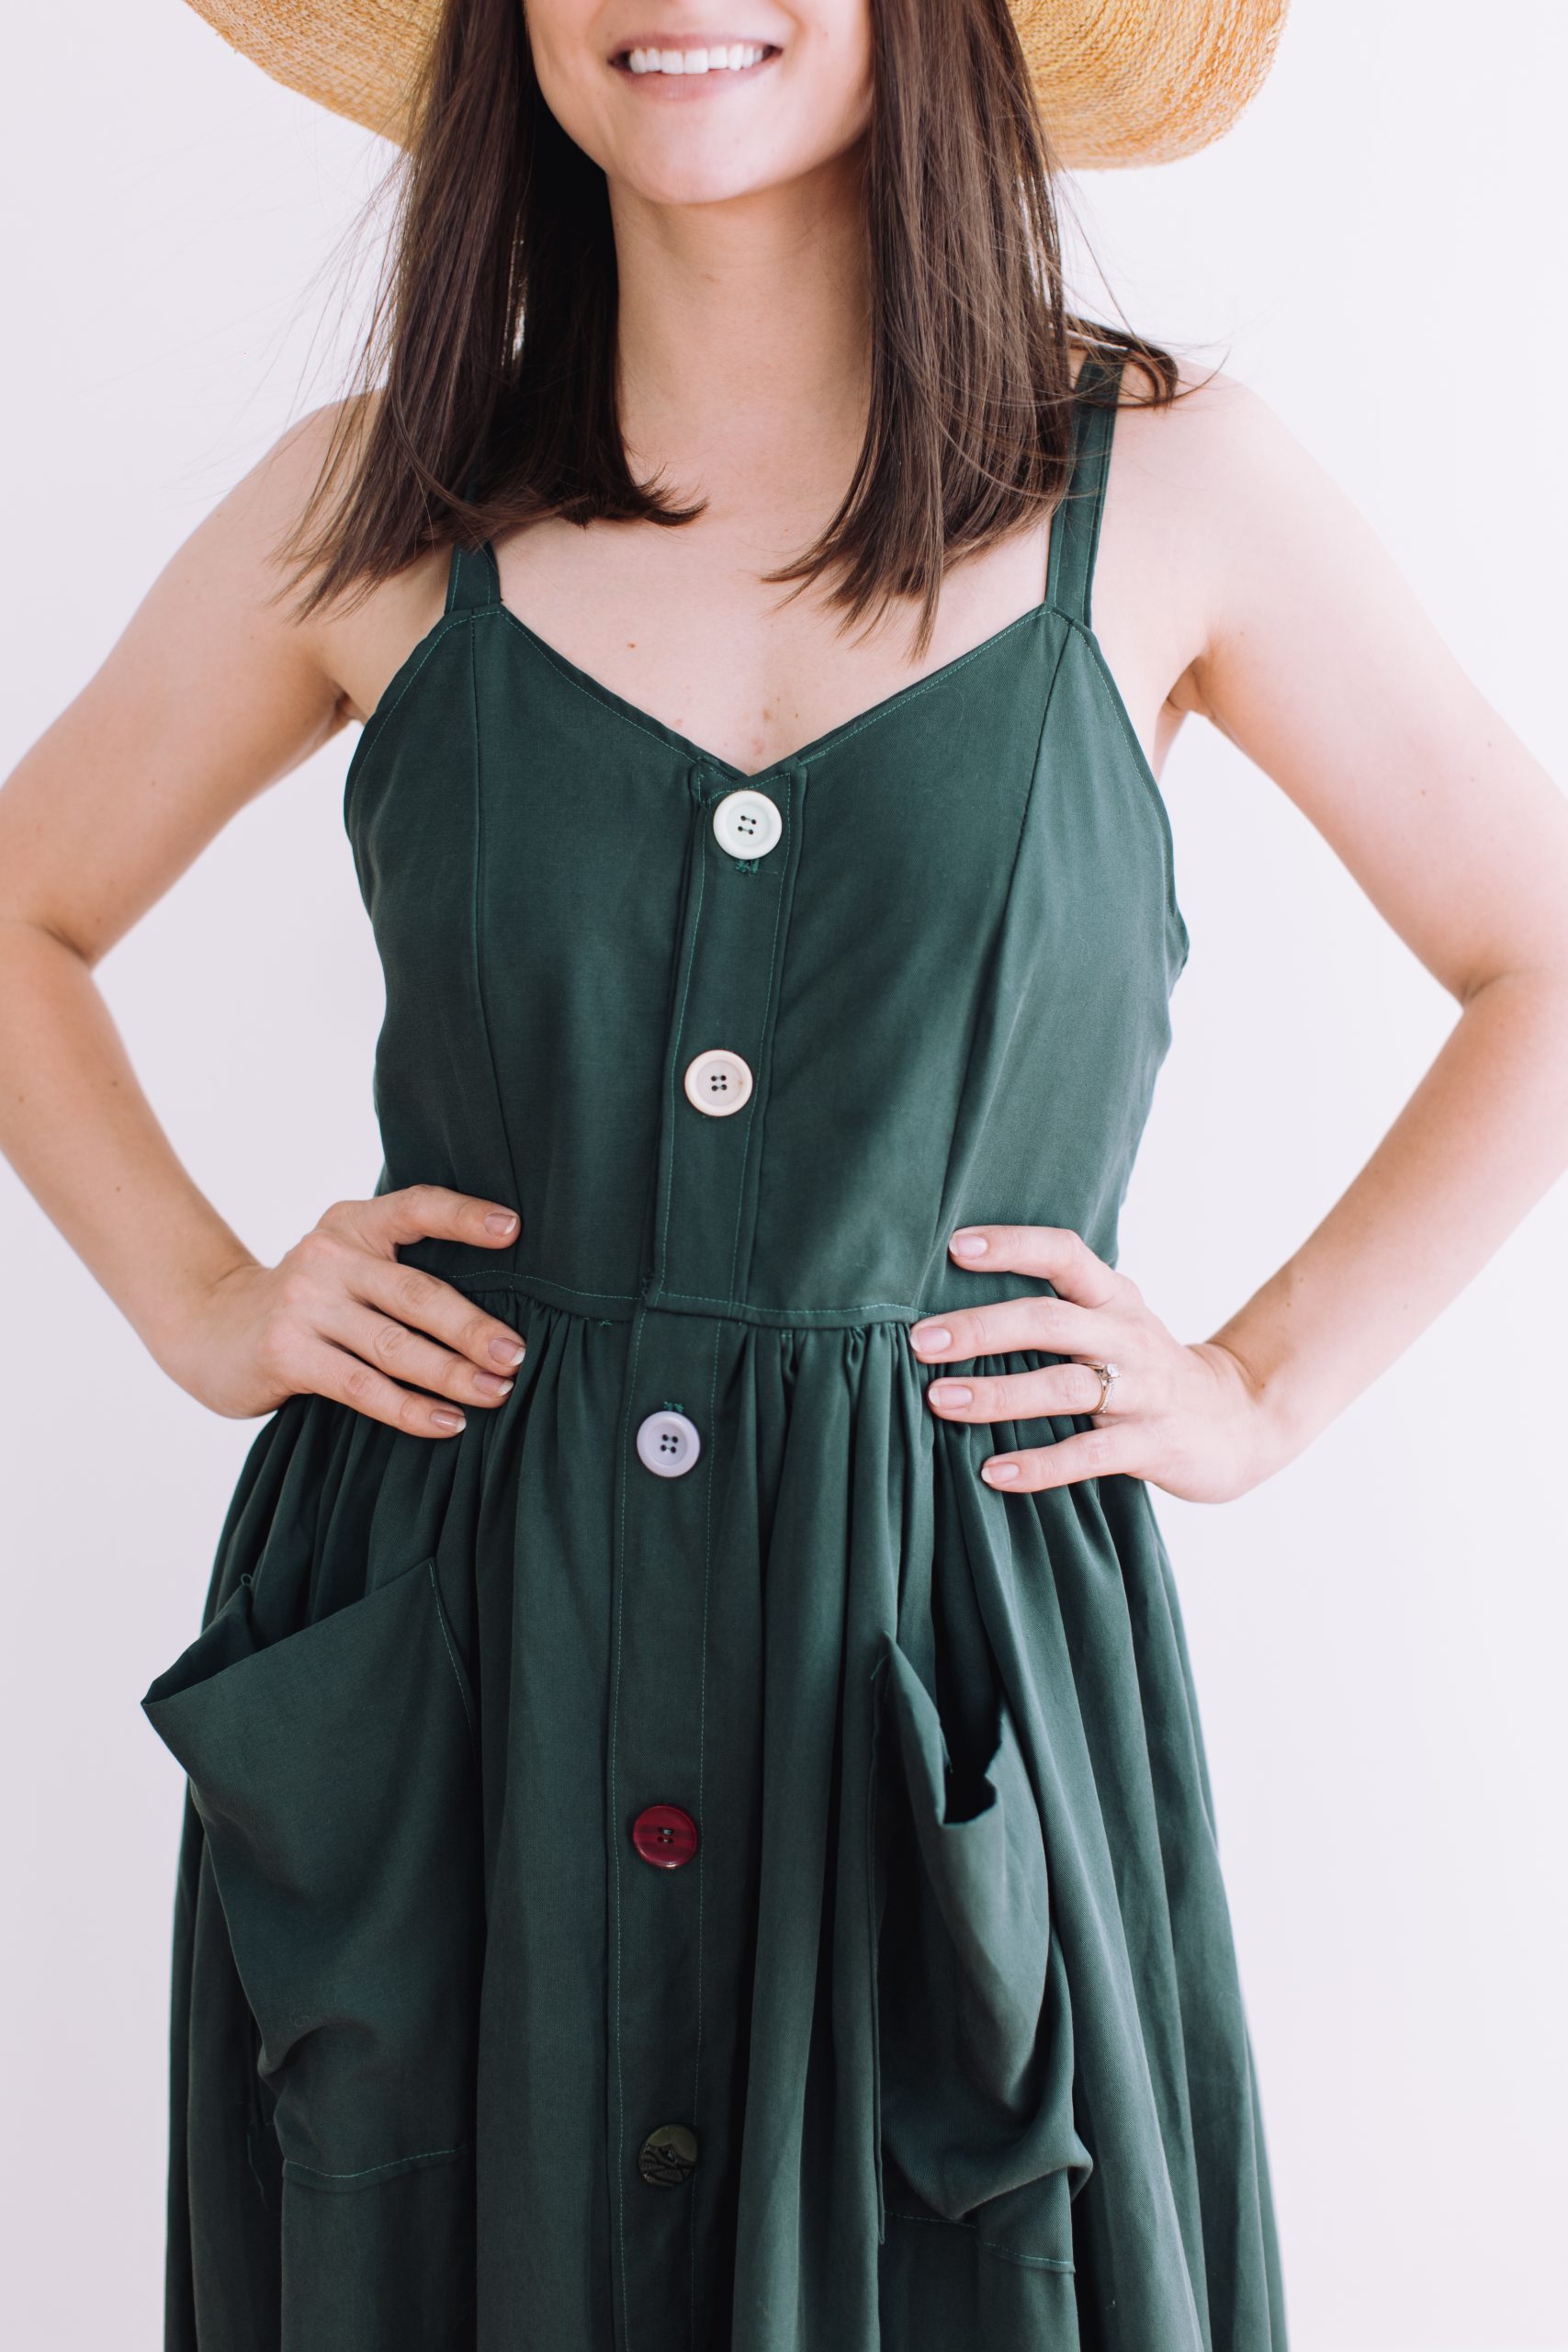
- 7 medium size buttons
- PDF Pattern – This is located at the bottom of this page. Please see printing instructions below.
PRINTING INSTRUCTIONS:
Note: To download this pattern, click on the pattern download button at the bottom of the page. We recommend opening your pattern download using Adobe Acrobat.
Before you begin, a few notes on printing this pattern from the designer:
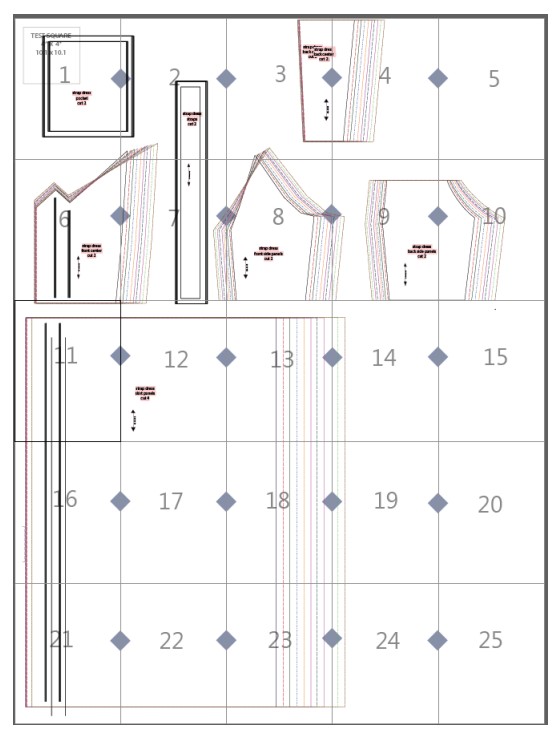
- This printable PDF pattern is assembled BY OVERLAPPING THE PAGES 1/2 inch.
- This pattern is available in A4 and Letter options that will make it easier to assemble and reduce fitting issues.
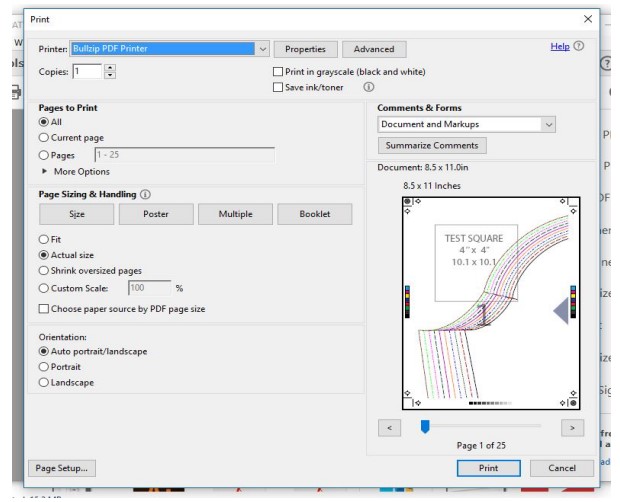
- To print this pattern, open the PDF document. Select FILE —PRINT. Choose the ACTUAL SIZE or SCALE 100%.
Printed Pattern Layout:
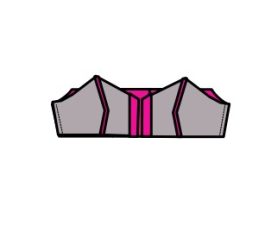
Pattern Sizes and Color Coded Lines:
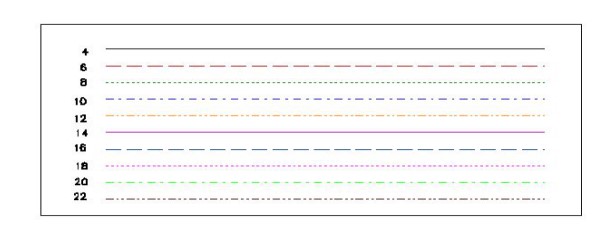
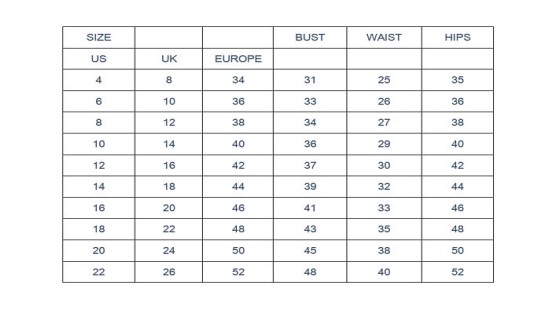
Sizes for Sample Patterns:
Note: Please, select your dress with this chart. The patterns have 3’’ ease at bust point for the dress.
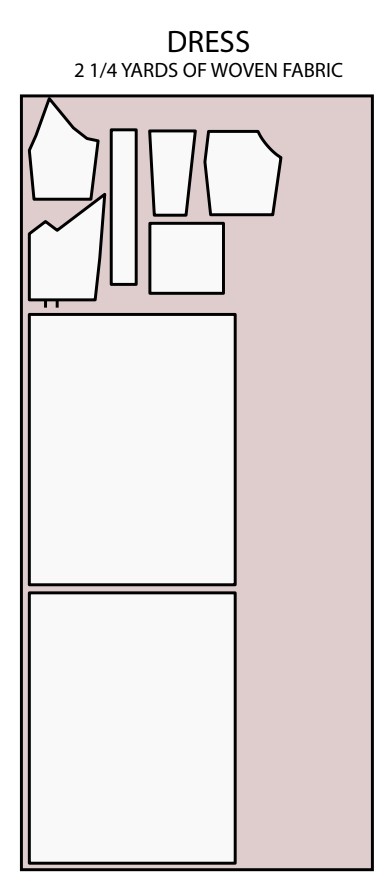
Cutting Layout and Yardage Requirement:
Dress: 2 1/4 yards of woven fabric
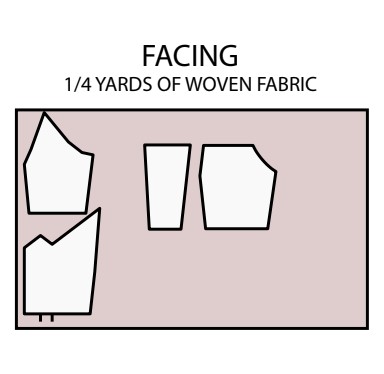
Facing: 1/4 yards of woven fabric
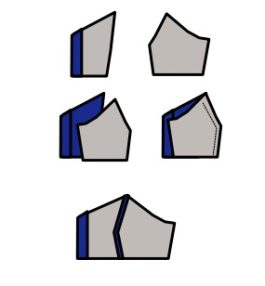
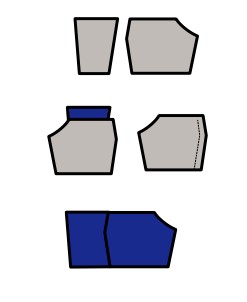
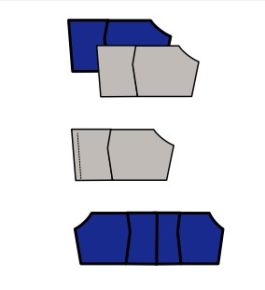
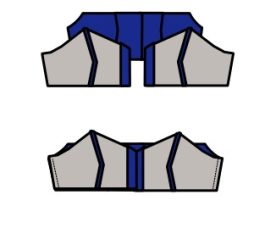
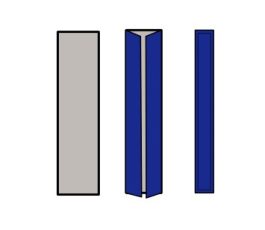
Pieces You Will Need:
Please check the correct pieces you will need to start your project.

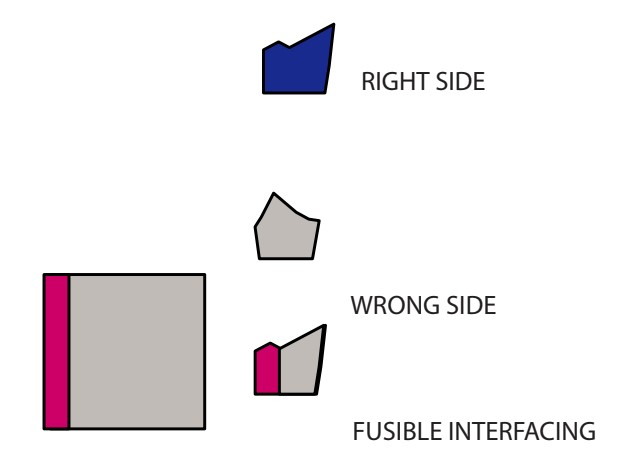
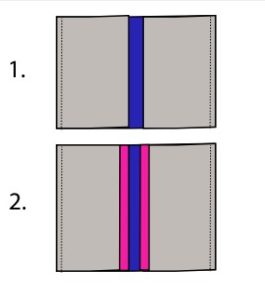
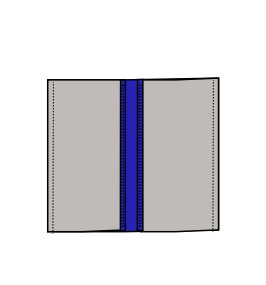
Color Coded Pieces to Read This Tutorial:
Through this tutorial, you will see THREE main colors to easily identify the side of the fabric OR piece you are working with.
Preparing Your Pattern Pieces:
- Wash your fabrics before cutting to prevent shrinking.
- It is recommended to make a muslin or use a cheap fabric to check that the fitting and style of the pattern is exactly what you are looking for.
- Read the instructions carefully before starting this pattern.
- Gather all supplies you will need for this project.
- It is recommended to practice on areas and techniques that you are not familiar with before doing them on the final project.
Instructions:
- Bring the front center pieces and fold the button placket area. Double fold and stitch it with 1/8 inch seam allowance.

- Then, bring the front side panels and place them together to the front center pieces, right sides together. Pin and stitch the seams with a 3/8 inch seam allowance. Press the seams open.
- Now, bring the back pieces to the table. Place the back center and side panels together, right sides facing. Stitch the seam with a 3/8 inch seam allowance and press flat.
- Now, place both back panels together, right sides facing and stitch the center back seam with a 3/8 inch seam allowance. Press flat and opened.
- Bring front panels to the table. Place front and back panels together, right sides facing and pin the side seams. Stitch the seams with a 3/8 inch seam allowance. Press flat.
- Then, repeat Steps 1 to 5 to create the facing bodice.
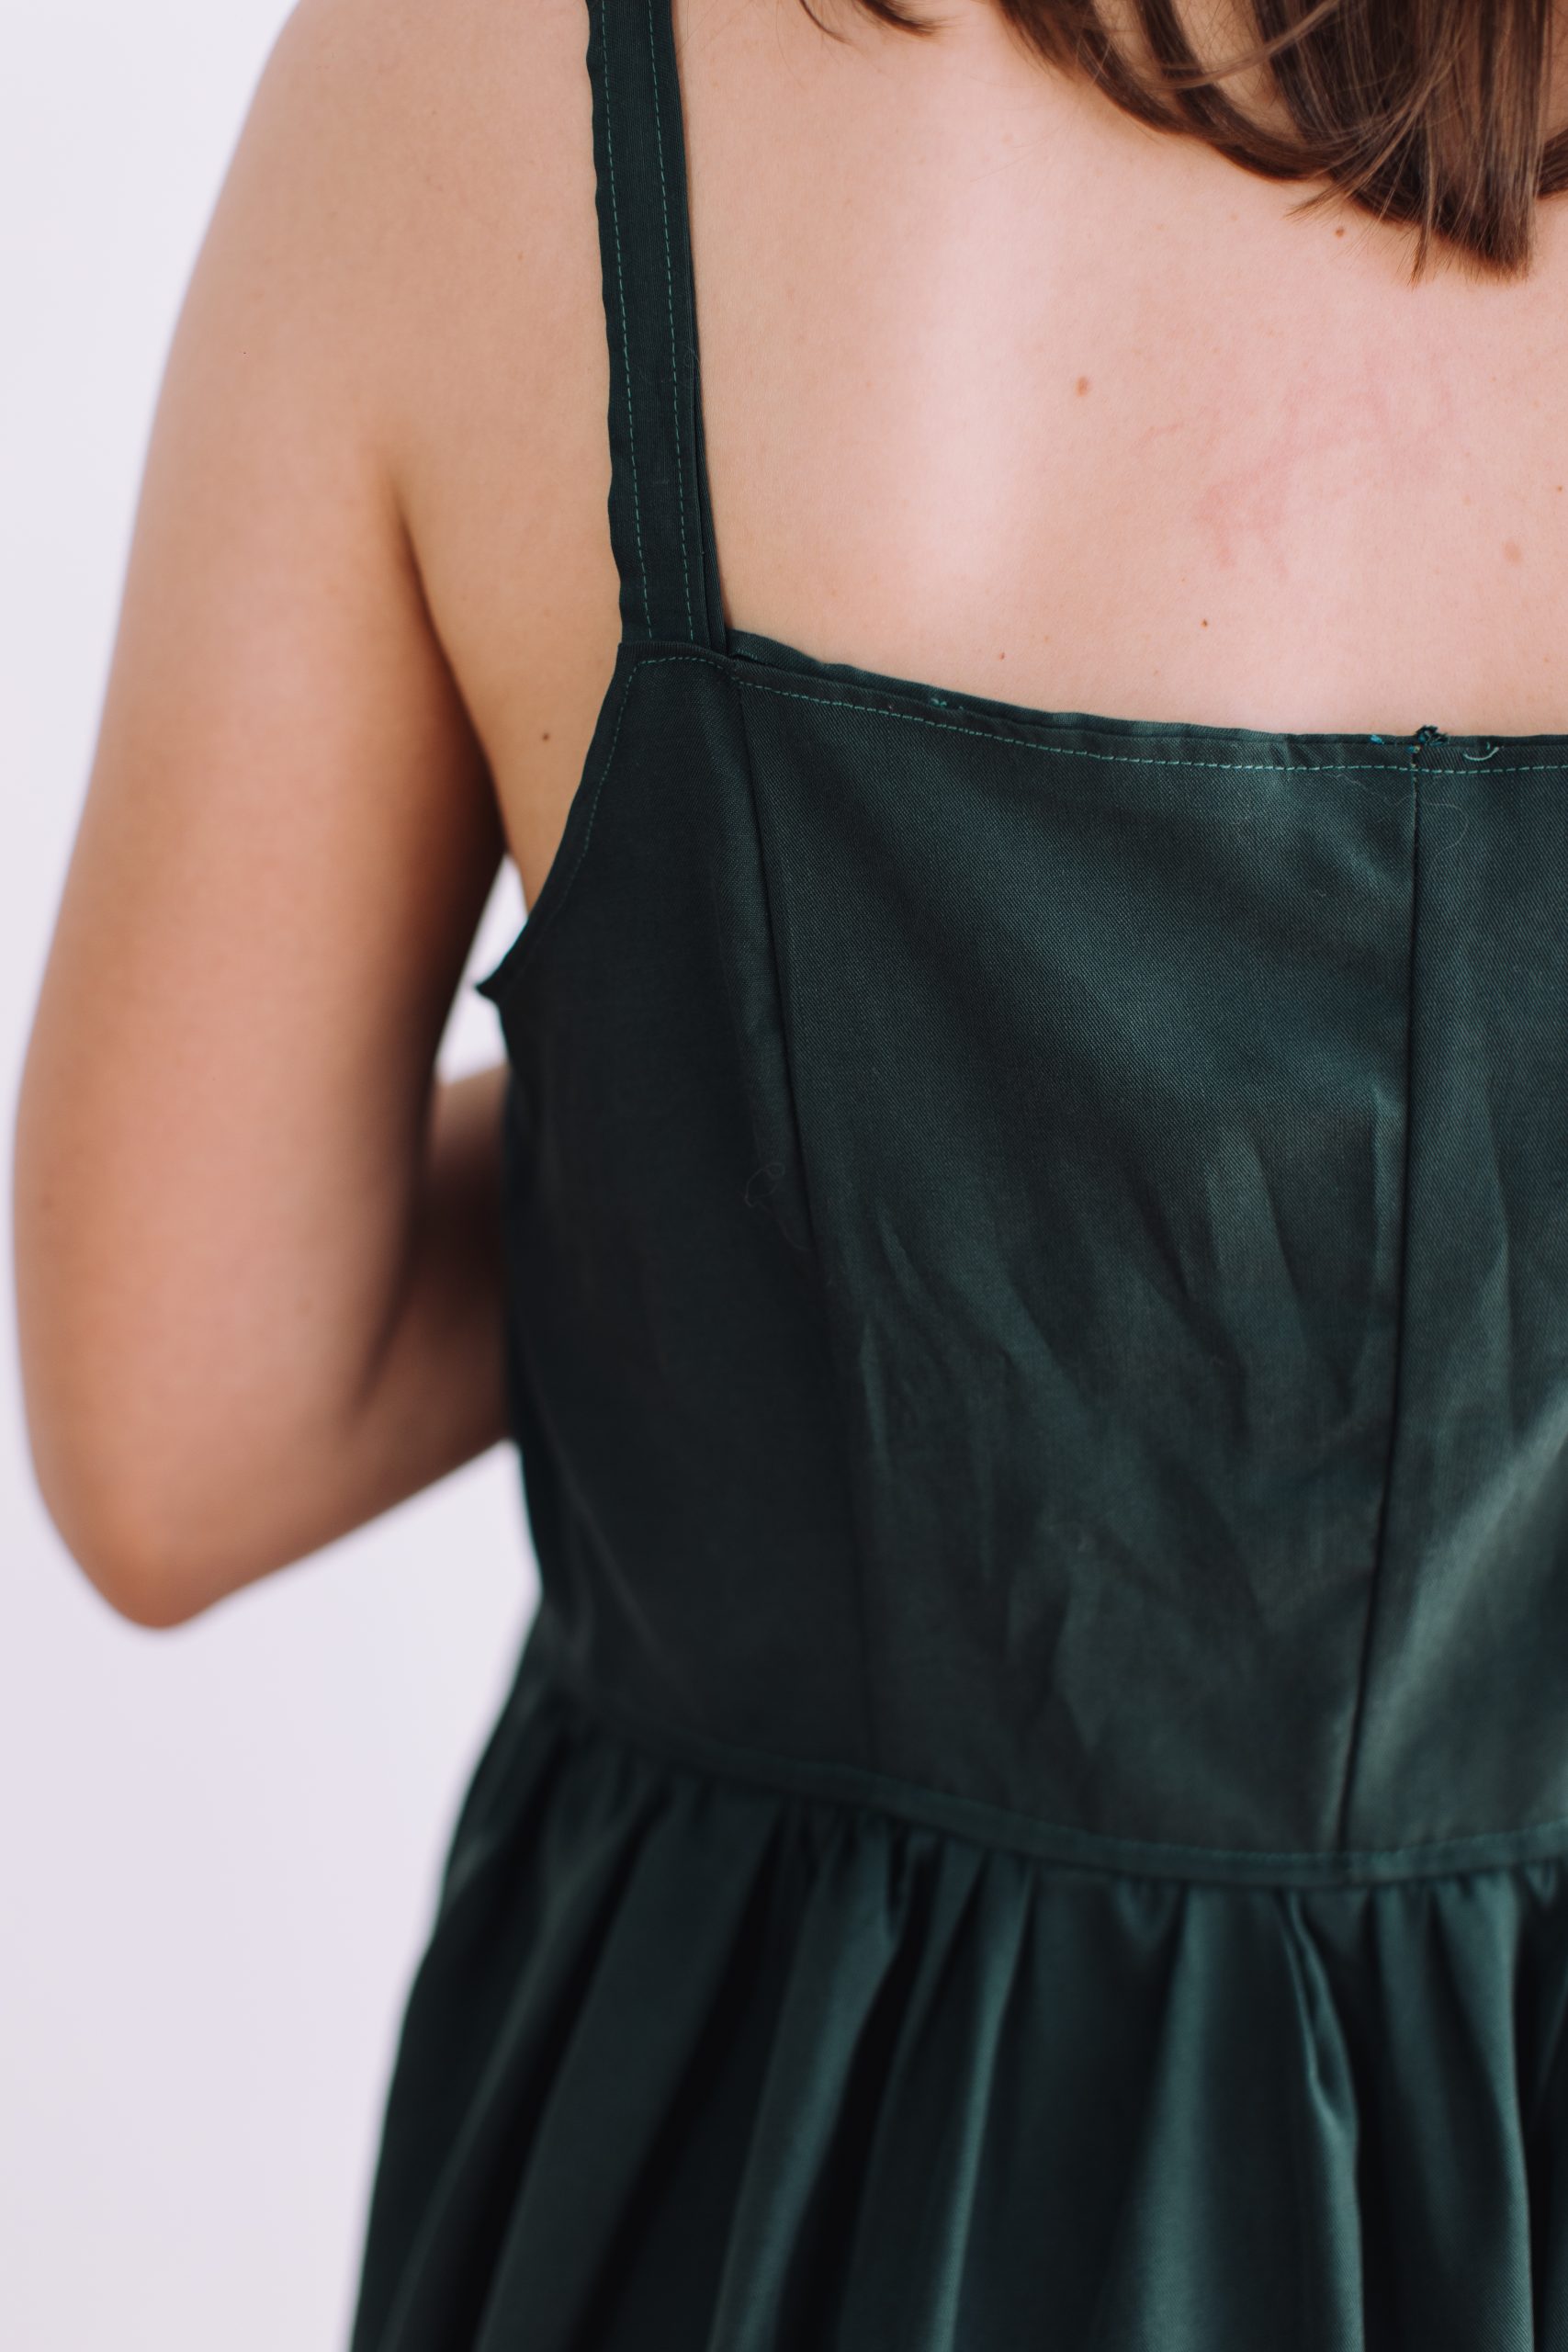
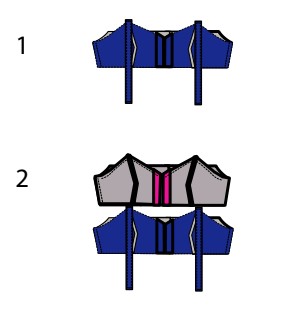
- Bring the straps to the table. Fold in half by folding the fabric to the center. Then, fold again and stitch top, bottom and sides with a 1/8 inch seam allowance.
- 1. Place the straps on the front bodice at the top of the side panel seams. 2. Place facings on bodice main fabric, right sides together with straps sandwiched between layers and pin together.
- Stitch the facing and main fabric on the top bodice, only on the front bodice side.
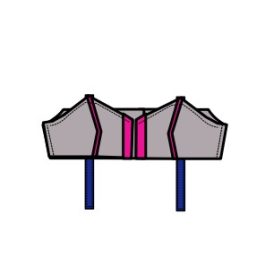
- Open up the bodice and stitch the armhole and back bodice. Remember to place the strap on the back bodice as marked here with arrow on the page.
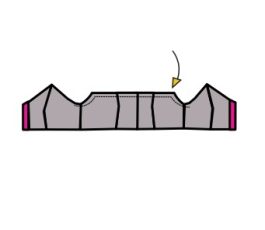
- Turn to the right side of the fabric and press the seams flat.
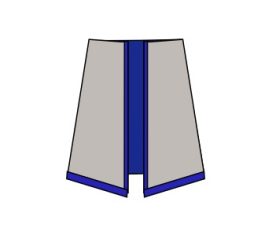
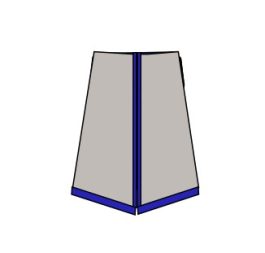
- Bring the skirt panels to the table. Place them both together, right sides facing.

- 1. Stitch the side seams with a 3/8 inch seam allowance. Press flat. 2. Fold the front button placket. Double fold and press.
- Stitch the button placket with a 1/8 inch seam allowance. Press flat again.
- Hand baste the top seam and gather the fabric to adjust the seams width with the bodice of the dress. Then, make a knot on the hand basted thread and cut the excess.

- Double fold the hemline with 1 inch seam allowance overall (1/2″ each time). Press flat and stitch the hemline with 1/8 inch seam allowance.
- Insert the bodice into the dress skirt. Match the side seams and stitch the top seam of the skirt to the bodice with a 3/8 inch seam allowance. Press flat.
- Turn the dress to the right side of the fabric and press the seams again.
- Bring the pockets to the table. Fold sides and bottom with 3/8 inch seam allowance. Press flat. Double fold the top of the pocket with 1’’ seam allowance. Note: Pockets are an optional part of this pattern. The type of fabric used will determine how the pockets hang on the dress.
- Place and stitch the pockets with 1/8 inch seam allowance.
- Place the buttons and the button holes on the dress markings. Buttons need to be spaced evenly measuring where the high bust point on your dress. Top button needs to be 1/4″ from the hemline and all other buttons are placed on the dress evenly in relation to those two.