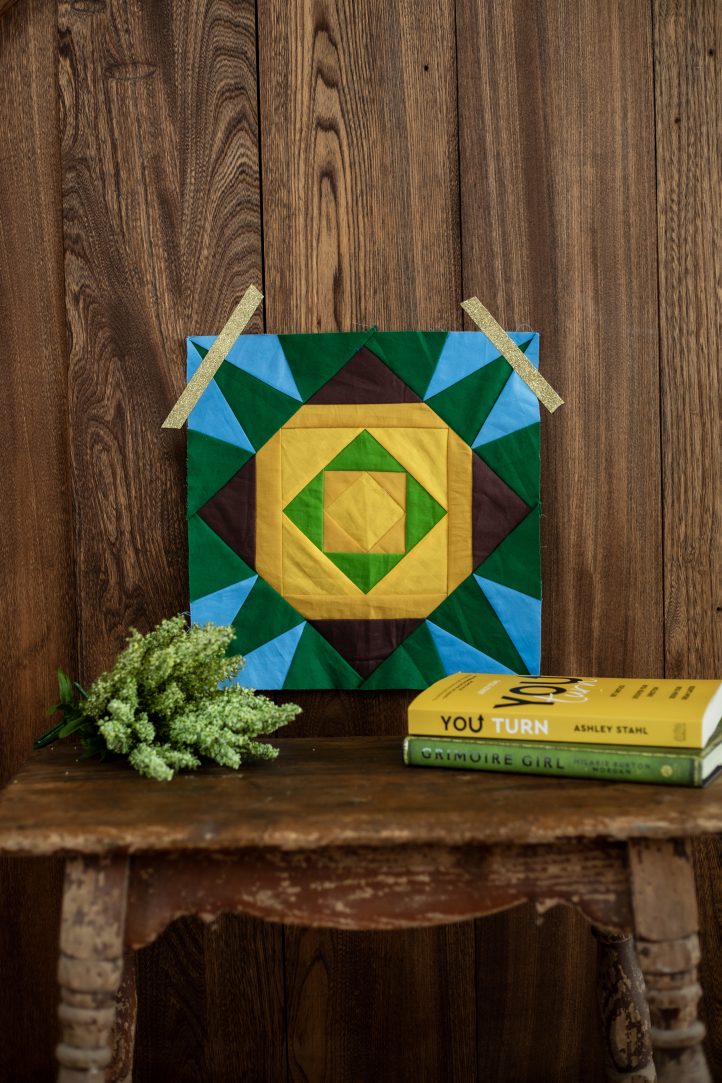
The traditional pineapple quilt block gets a scrappy twist with this foundation paper piecing pattern from Cathy Perlmutter. This pineapple star block pattern is a fun way to play with colorful fabric scraps and would look fabulous when turned into a throw pillow or mini quilt. A basic knowledge of foundation paper piecing is required to make this quilt block, which is designed for advanced beginners to intermediate FPP quilters.
Designer Note: This is an advanced beginner to intermediate foundation paper piecing (FPP) design. You must understand the basics of FPP to make this pattern.

Materials:
- Fabric:
- Bright yellow: Two squares, one 2 3/4” x 2 3/4” and one 6” x 6”.
- Dark gold: One 4” square, plus four strips, each 1 3/4” x 3/4”.
- Medium green: One square, 4 3/4” x 4 3/4”.
- Brown: 7” x 7” square.
- Dark green: A fat-quarter or a regular quarter-yard.
- Blue: Strip 18” x 7” (or a fat-quarter, or a regular quarter-yard).
- PDF Templates – These are located at the bottom of this page. Please see printing instructions below.
PRINTING INSTRUCTIONS:
Note: To download the templates, click on the pattern download button at the bottom of the page. We recommend opening your pattern download using Adobe Acrobat.
Piecing Instructions:
CREATE THE CENTRAL AREA:
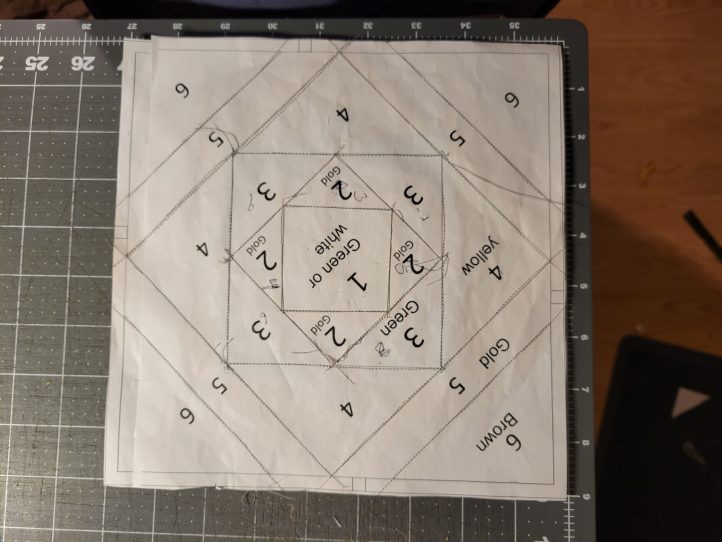
- Print out one copy of page 1 (most of the central unit), and one copy of page 2 (the far right area of the central unit) *These are duplicated pages, but the right side edge needs overlapping to complete sections 14, 16, 18, 21, and the outer circumference of the edges. Tape the pages together until all the markings match. The designer suggests you not put tape over the dark seam lines—just use small bits of tape in the white areas.
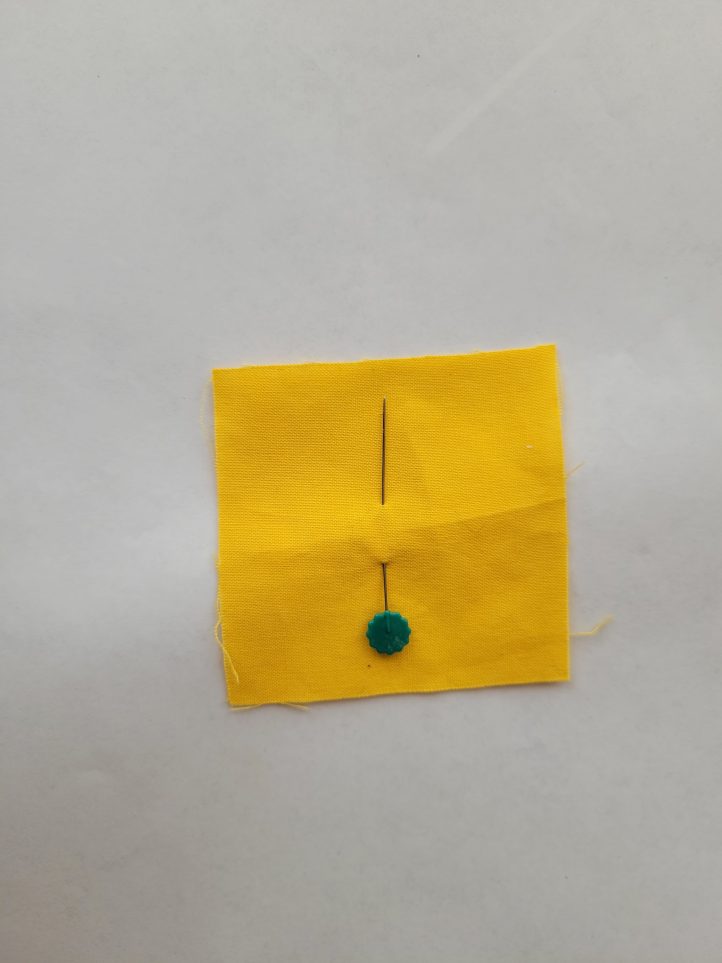
- Piece 1 is bright yellow. Cut it to a 2 3/4” x 2 3/4” square.
- Center it on the back of the paper, behind the piece 1 area, and pin in place. Use a bright light from the printed side, to make sure it’s really centered over piece 1’s area.
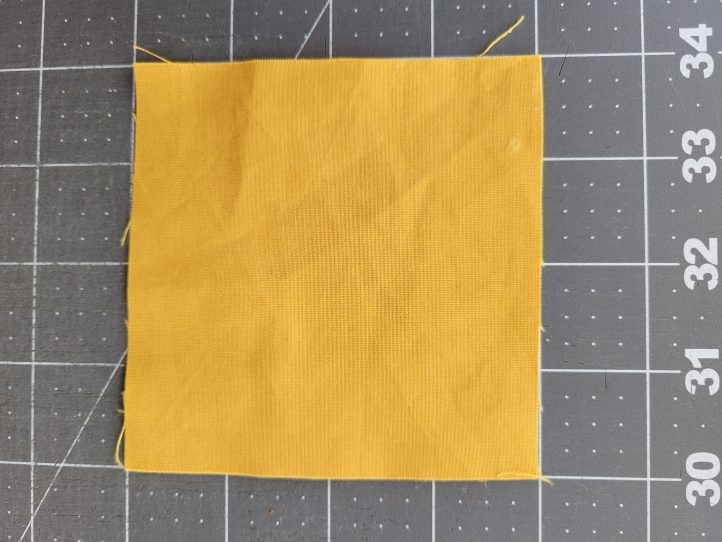
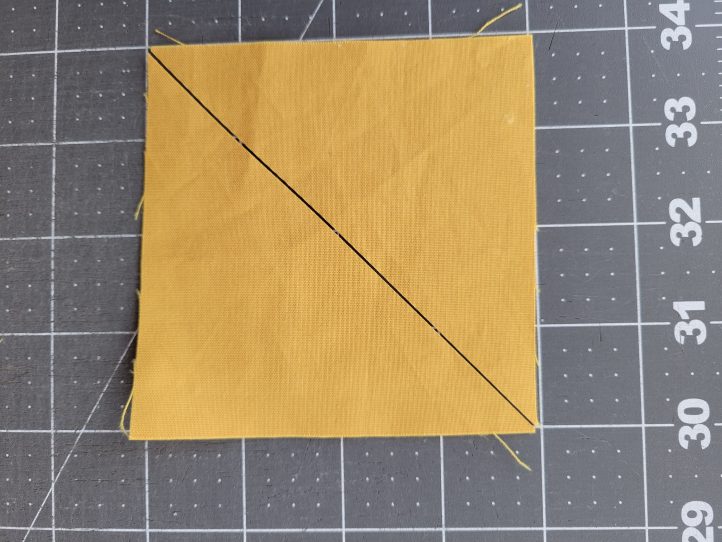
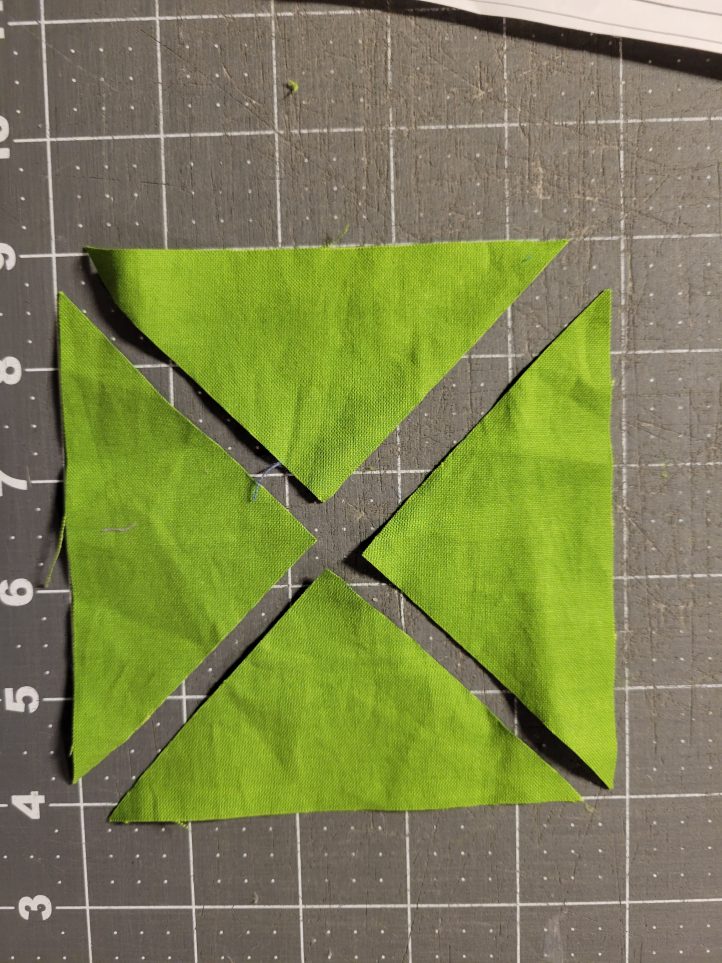
- Cut a dark gold square 4” x 4” (Note: In the example, the dark gold looks similar to the bright yellow in Step above. So be sure to change your color of fabric at this step)”.
- Cut from corner to opposite corner one way.
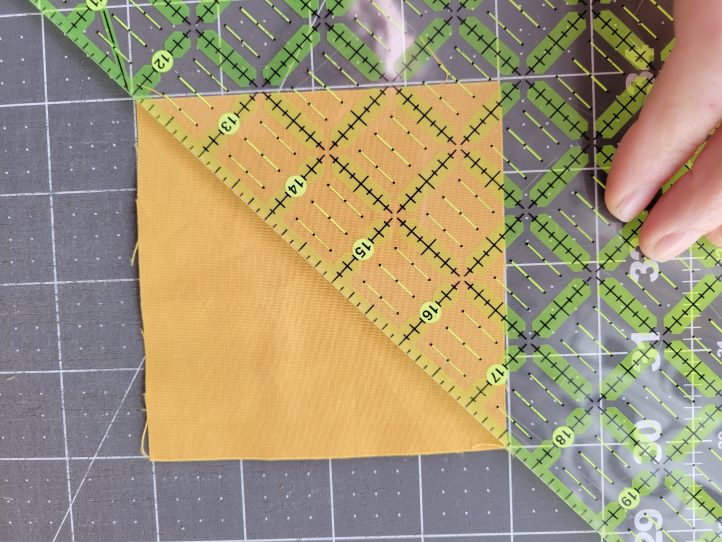
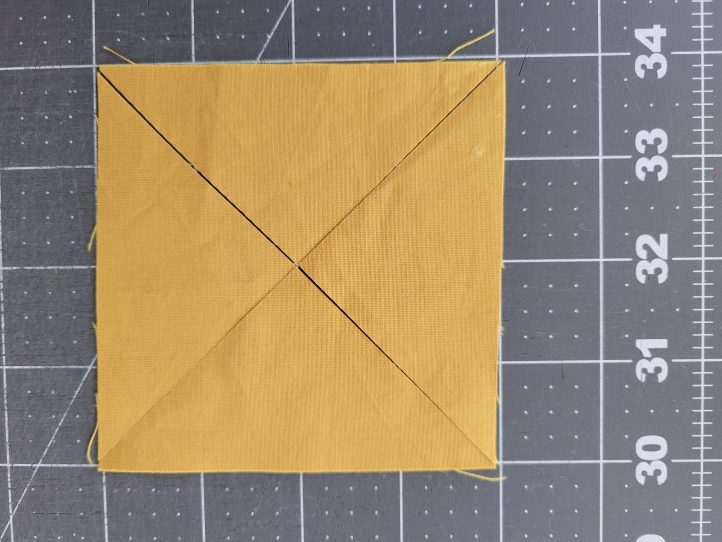
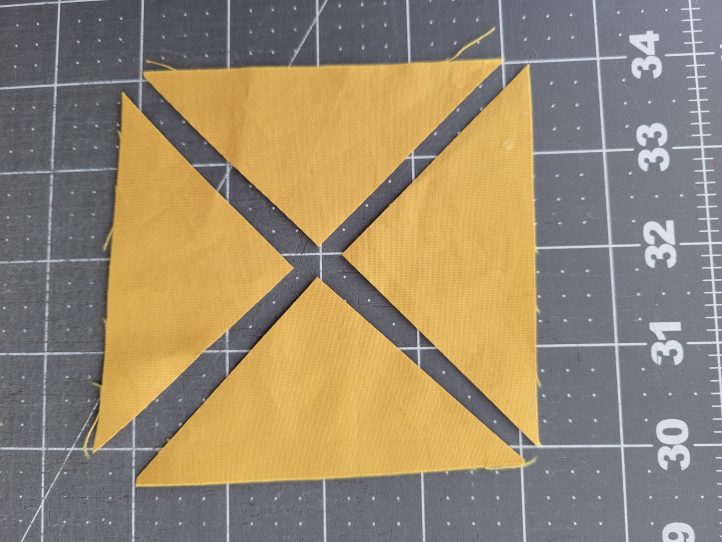
- After cutting. Try not to move the two pieces.
- Cut from corner to corner the opposite way. Now you can separate the pieces.
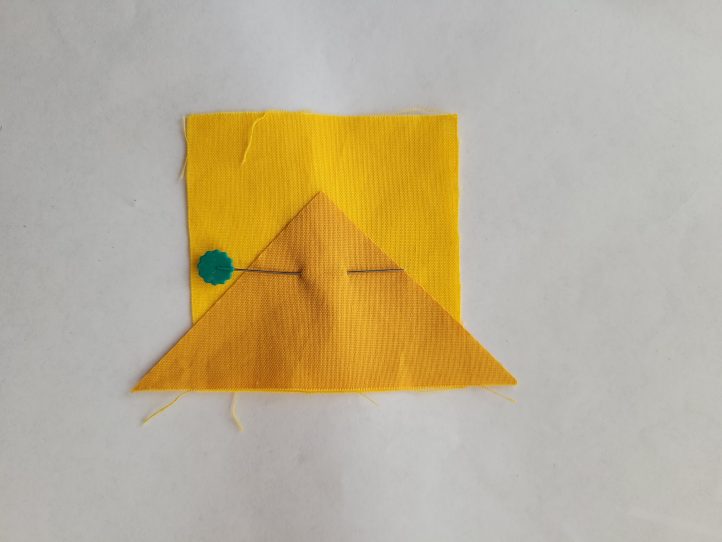
- Pin a gold triangle onto one edge of the central bright yellow square, and test open it near a bright light, looking at the printed side of the paper. When opened (keep a 1/4” seam allowance), it should cover all of area 2. When it works, hold it in position and move the pin so it’s holding both the central piece and piece 2. The pin needs to be far from the seam line (or you can pin from the printed side of the paper if you prefer.
- Sew from the printed side along the solid line between 1 and 2. (The designer prefers to extend the seam a bit before and a bit after the ends.)
- Press open.
- Add piece 3, directly opposite it, the same way. Press open.
- Add pieces 4 and 5 the same way.
- Press well.
- Cut a medium green square to 4 3/4” x 4 3/4”. Cut it in half from one corner to another, and then in the opposite direction, just as you did with the dark gold square.
- Add to areas 6 and 7. Press open.
- Add pieces 8 and 9, and press open.

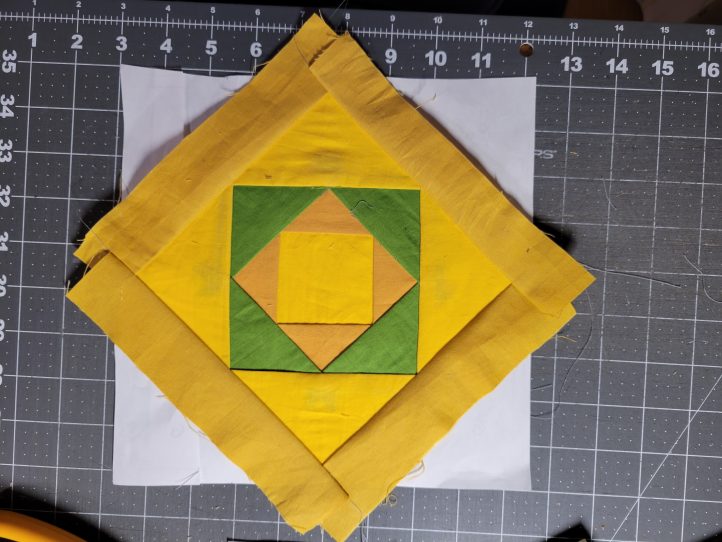
- Take a 6” x 6” bright yellow square, and cut it from corner to opposite corner, then in the other direction, to give you four pieces, just as you did before with the green and gold pieces. Place those in positions 10 and 11, pin, sew, and press open.
- Repeat and add the remaining two pieces to the opposite two sides.
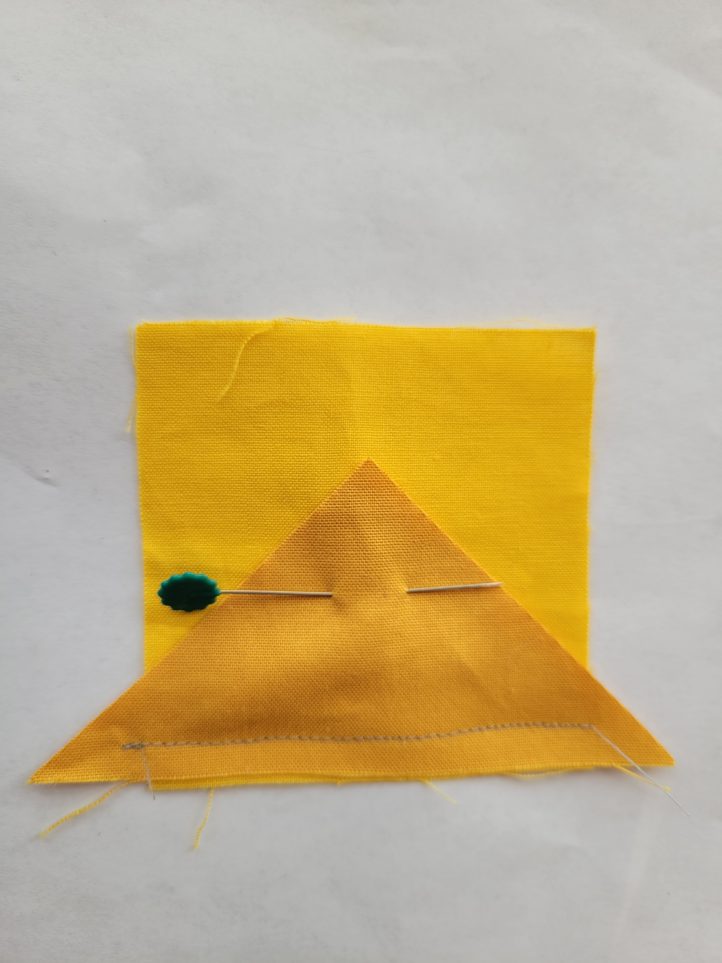
- Next come the gold strips. Cut four pieces, 1 3/4” x 7 1/2” Place one in position 14, check once opened up, it will cover the entire area. Pin, and then sew. Here’s the first strip pinned in position, ready to sew. (Keep pins far from seam lines.)

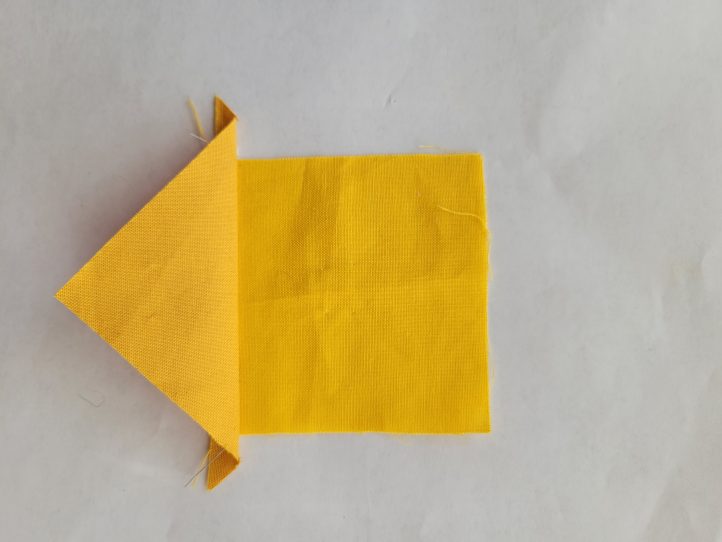
- Add piece 15 to the opposite side, pin, sew, and press open.
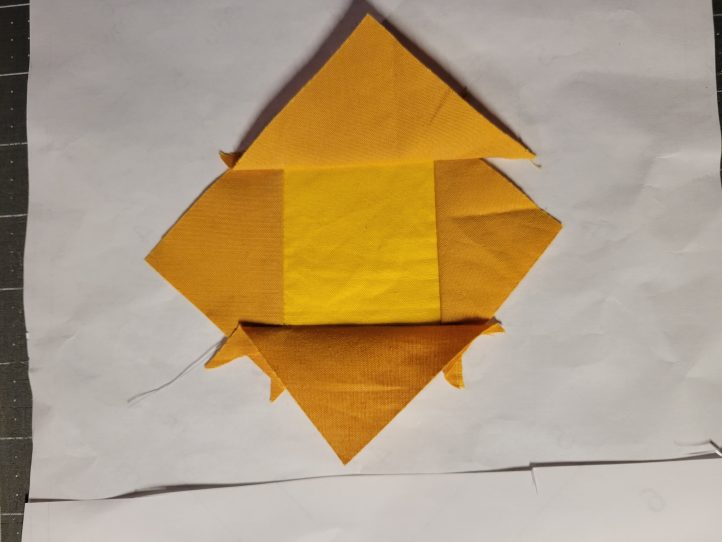
- Here are the first two sewn in place and pressed open, and the next two laid into position in areas 16 and 17.
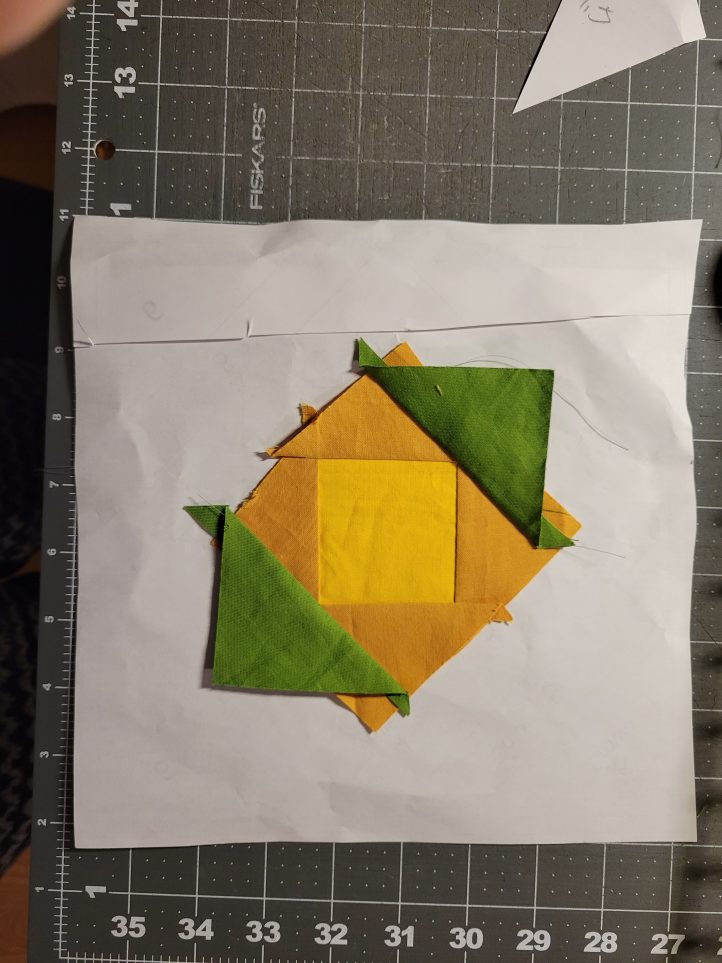
- After pinning and sewing each, press open. Here are all four of them pressed open.
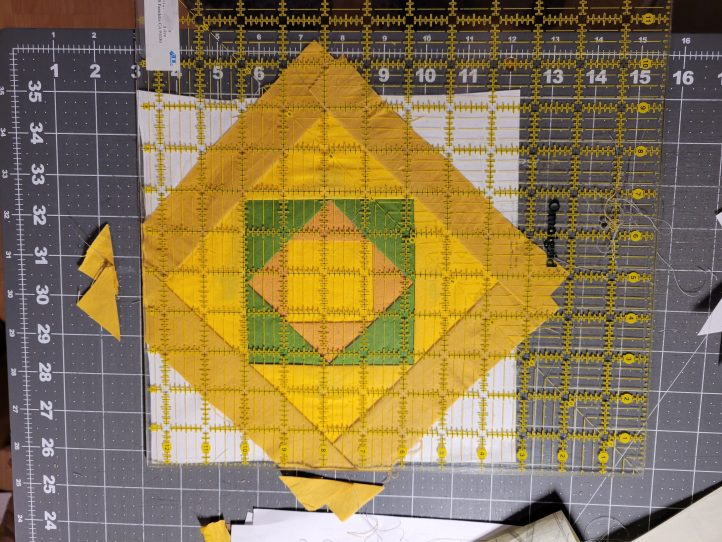
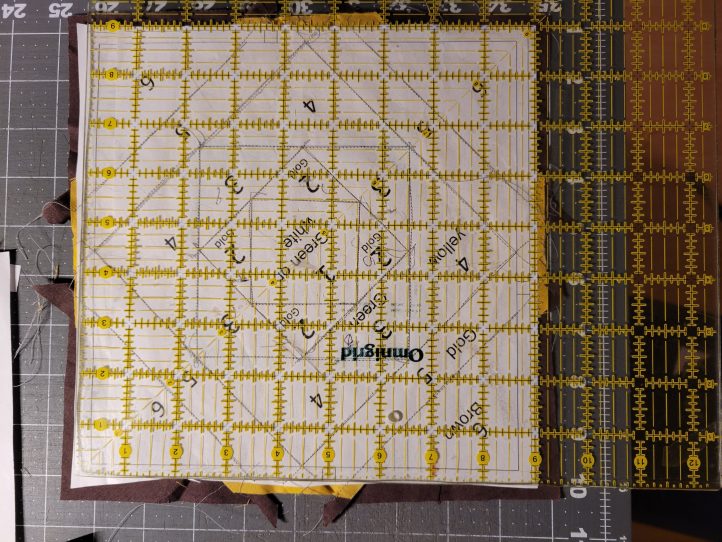
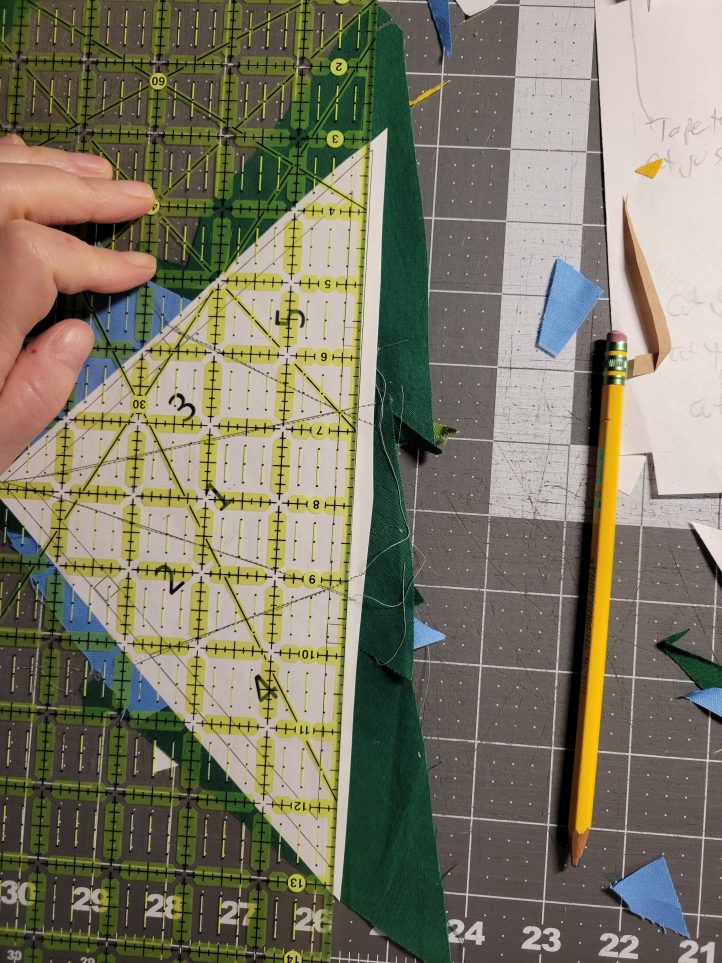
- Trim away the four corners that extend beyond the paper. Cut them even with the outer edge of the paper. (This is a rough cut that makes the next step easier). Here, the designed used a square ruler to help trim the right and top edge. Then rotate the block to trim the remaining two sides.
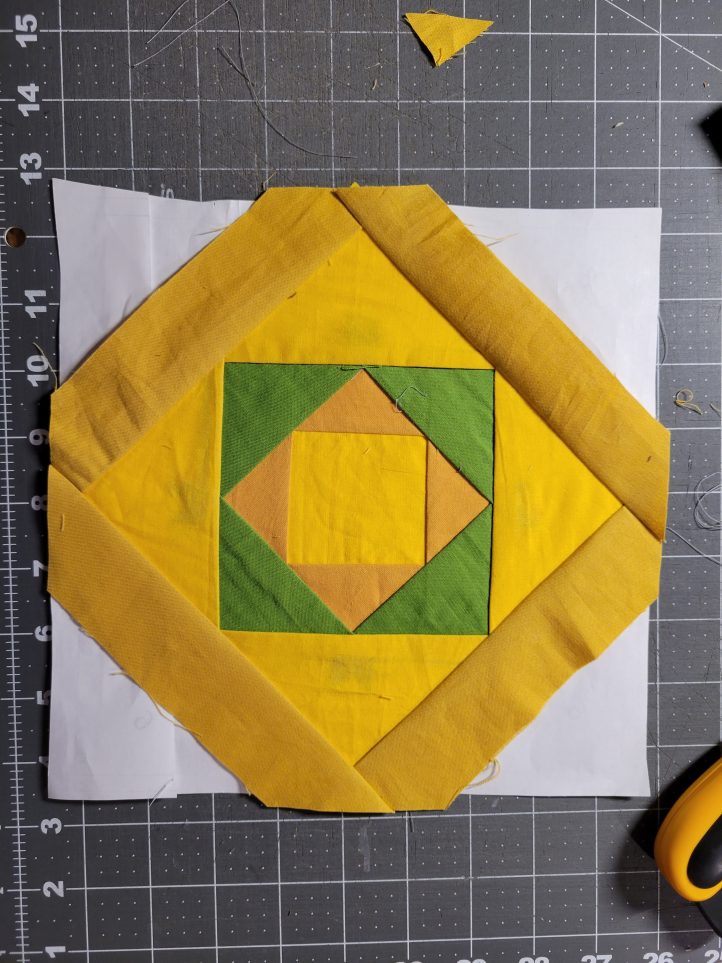
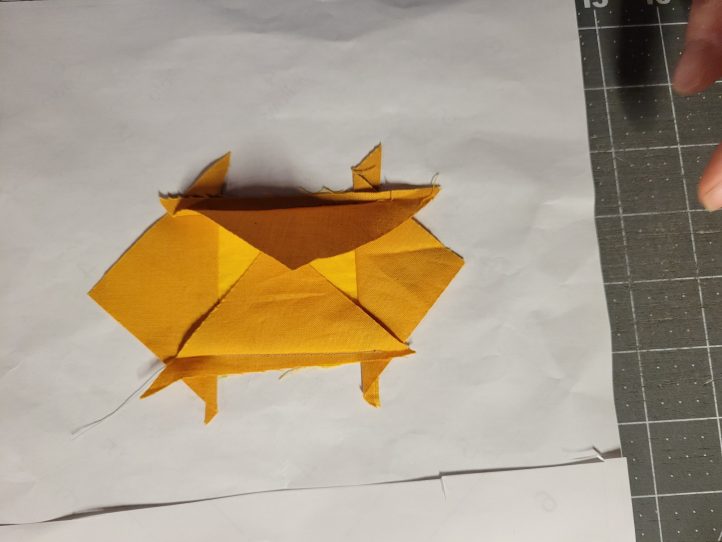
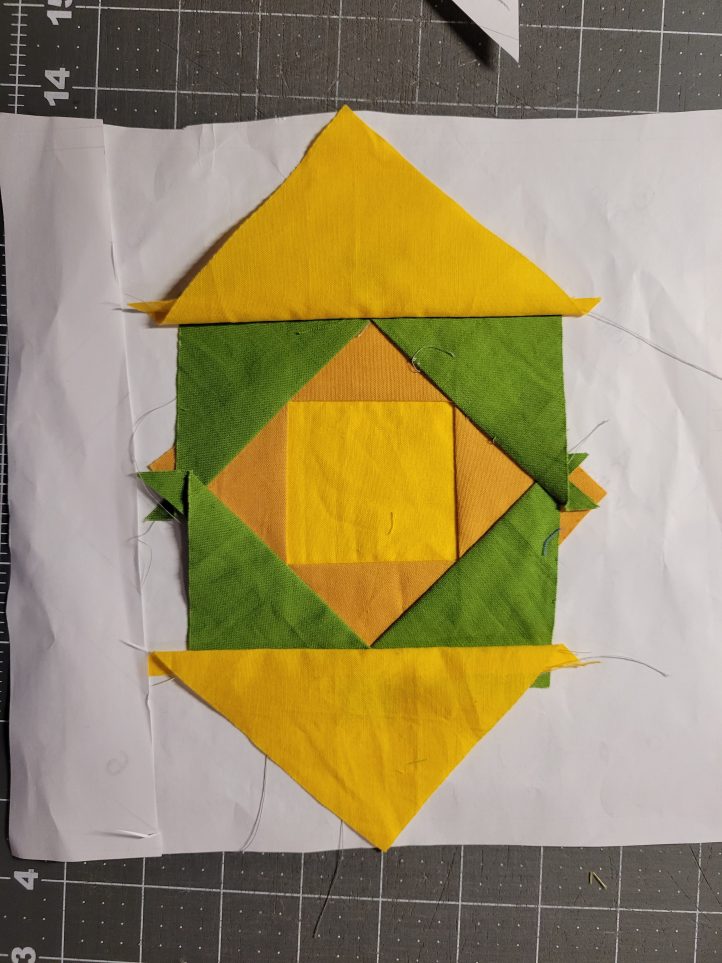
Here’s how the block looks after you’ve trimmed all four protrusions!
- Cut a brown square to 7” x 7”. Cut it diagonally into four pieces.
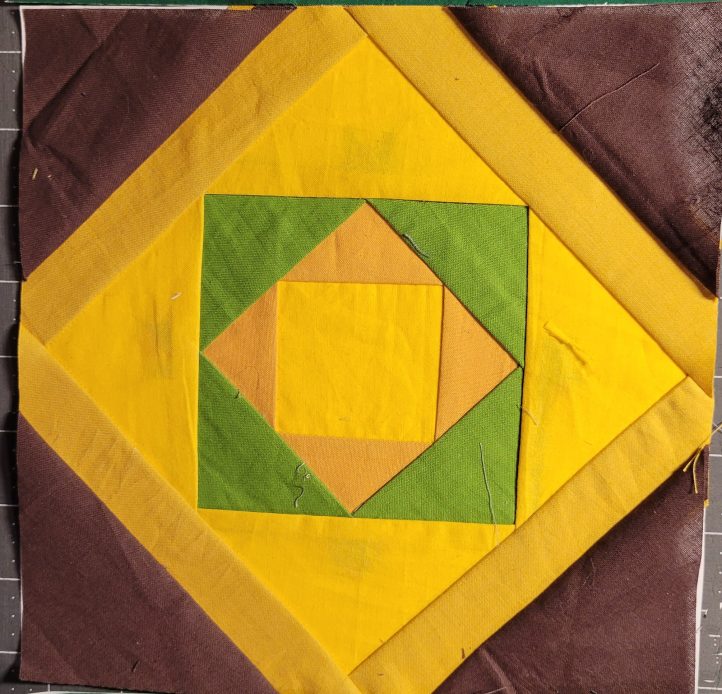
- Sew a brown triangle to each corner, in positions 18,19, 20, and 21 (Because these pieces don’t touch each other, you don’t have to piece opposite sides first, but they are marked that way.)
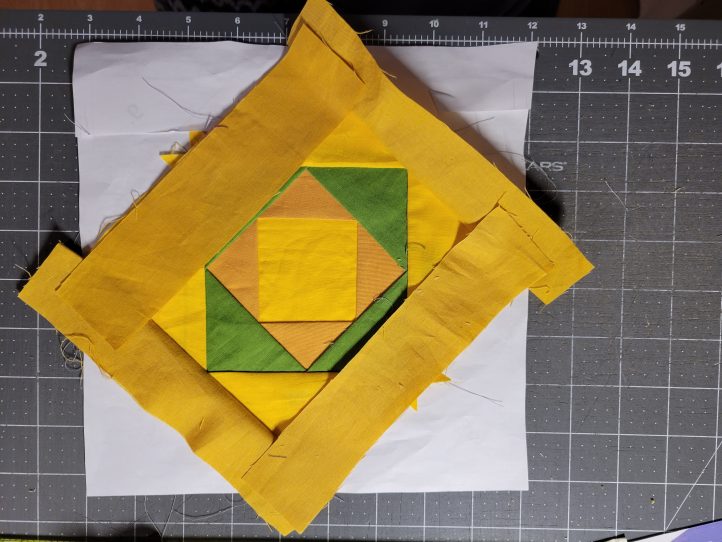
- From the back, trim directly on the dark outer outline of the block. (A square ruler helps, but you should cut on the line, not by measuring this block).
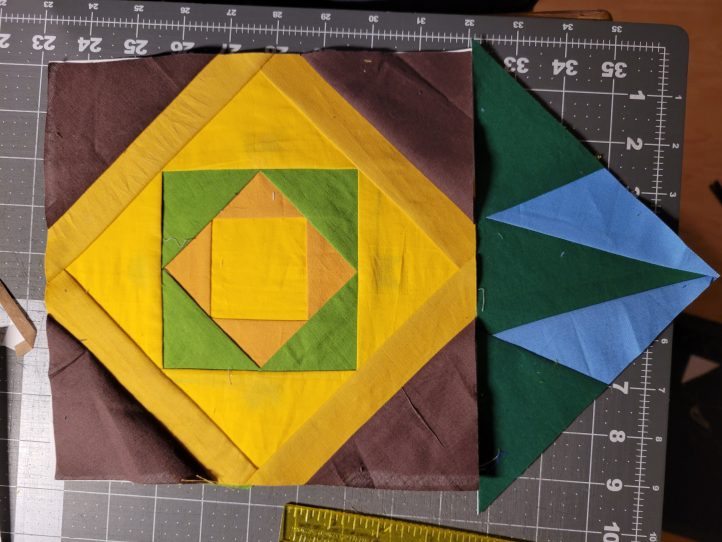
Trimmed.
CREATE THE CORNER UNITS:
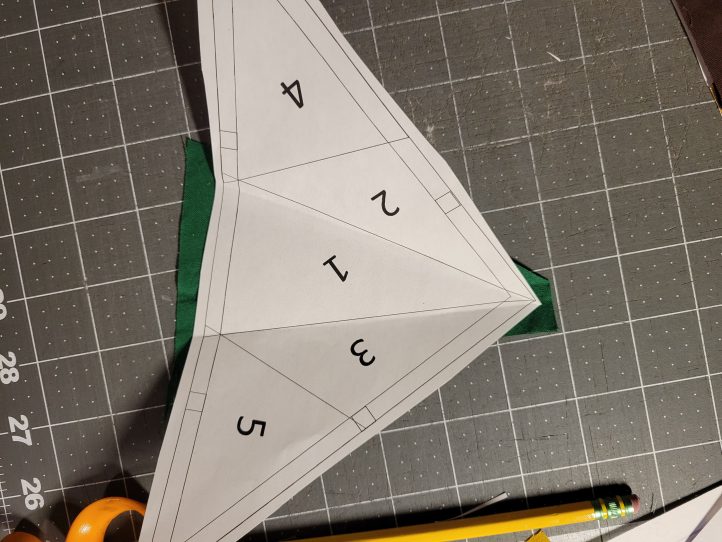
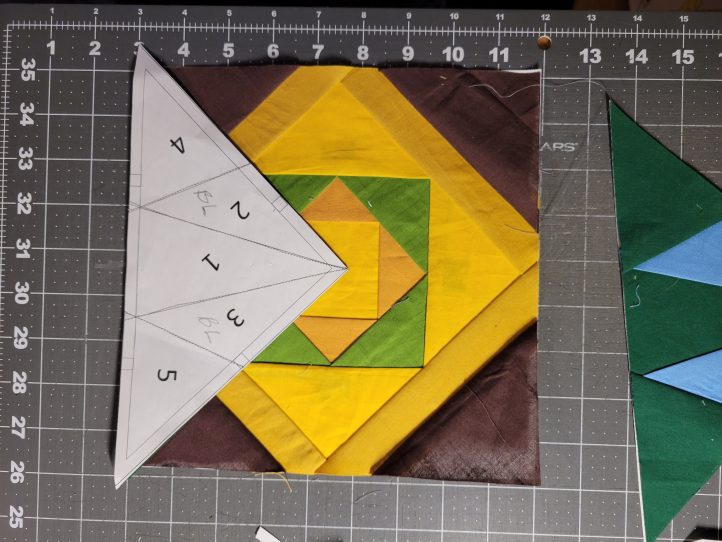
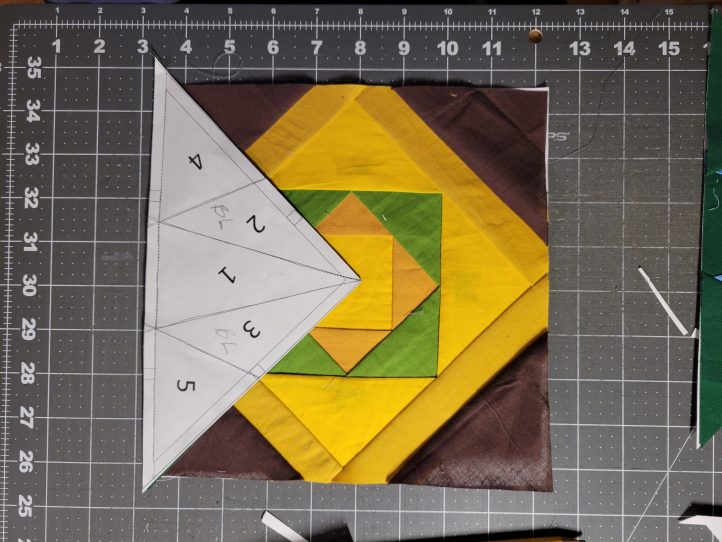
- Print out four copies of the corner units, on page 3. Cut them out just beyond their solid outer line.
(Optional) Precut the Corner Fabric Pieces:
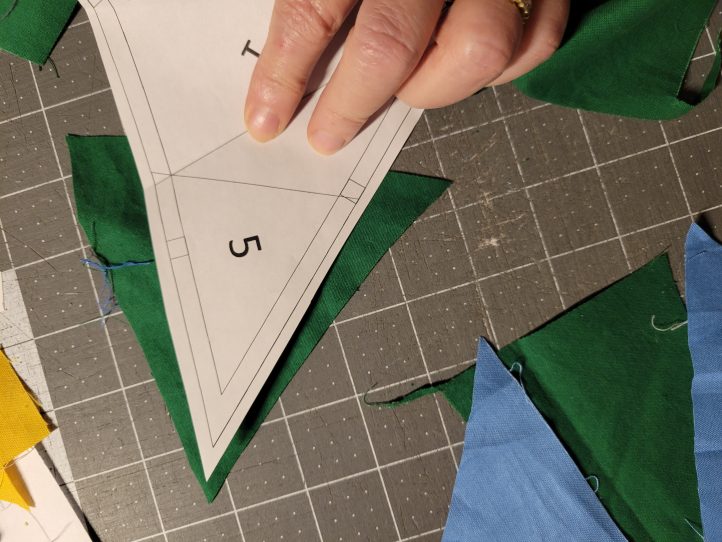
- Starting with area 1 on corner one: Cut an oversized dark green triangle to cover all of area 1, with extra extending beyond its borders. A rough-cut triangles that’s about 5 1/2” tall by 4 1/2” wide should do it. Here, the designer used a paper pattern to help cut a larger piece.
- Shortcut: When you’re sure it works, use that triangle to cut three more the same size, to serve as piece 1’s on the remaining corners. Here, you can see that it will more than cover area 1.

- You can use the same technique to precut blue pieces 2 and 3, which are mirror images of each other. If you’re using fabric that’s the same on both sides (like the solids here), you can cut 8 of them the same size and shape as your first one. If the fabric has a correct side, cut mirror image pairs. In the photo below, the designer is checking that the blue piece will cover the needed area. Now you can use it as a template for the remaining 7 pieces.
- And you can do the same trick for the outer dark green pieces, 4 and 5. Here, the designer is cutting the first one that will serve as the template. Cut 8 mirror image pairs in all.
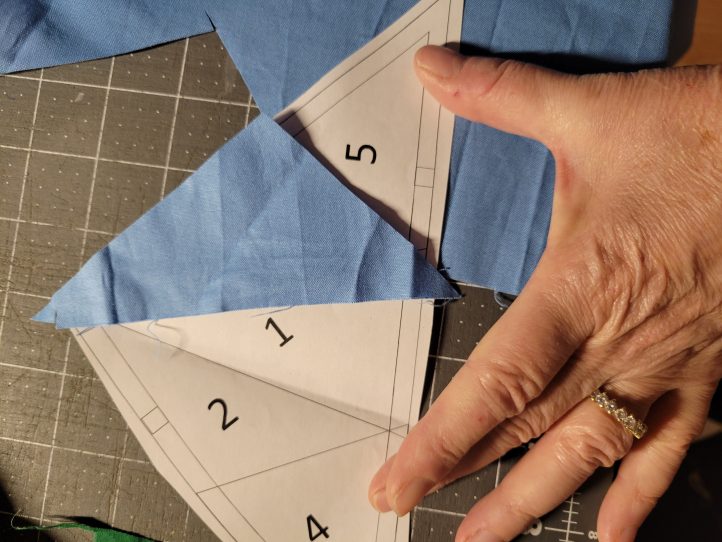
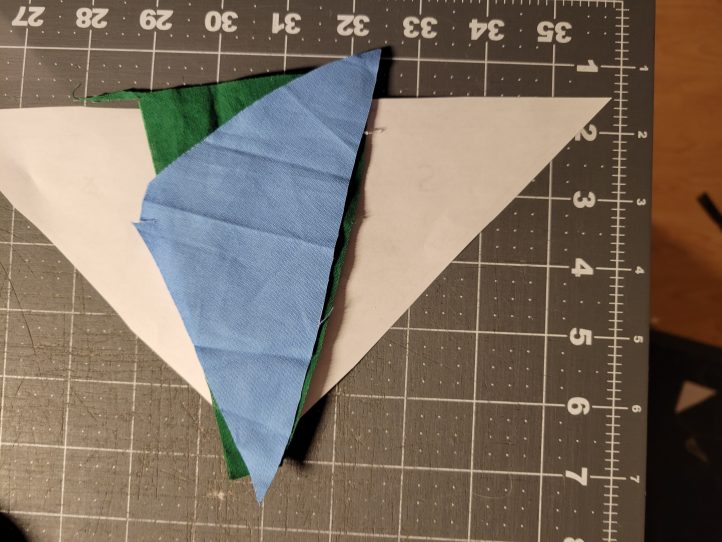
- Pin piece 1 to the middle, then place piece 2 on top.
ASSEMBLE THE CORNERS:
- Place a large dark green triangle over area 1, good side up. Flip piece 2, good side down, on top of it. Hold it up to the light and test-open to make sure the positions are correct. Pin in position.

- Sew on the line between the pieces.
- Press open.
- Add the other side the same way.
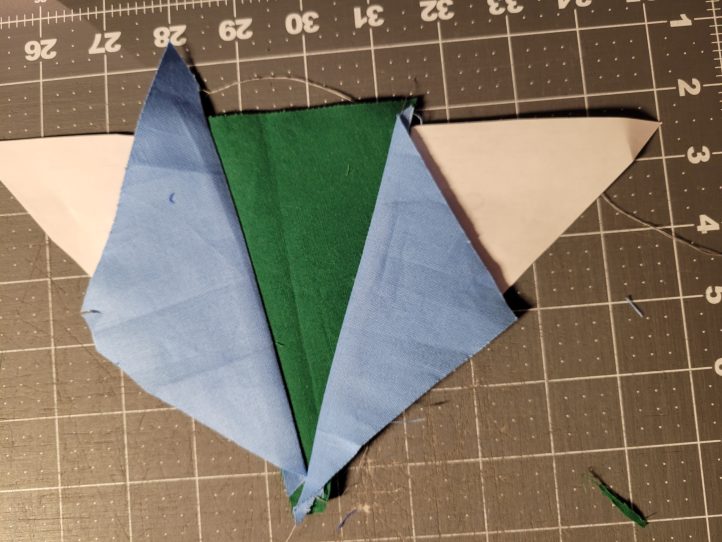
- Add the outer pieces 4 and 5. Press open.
- The back will look like this.
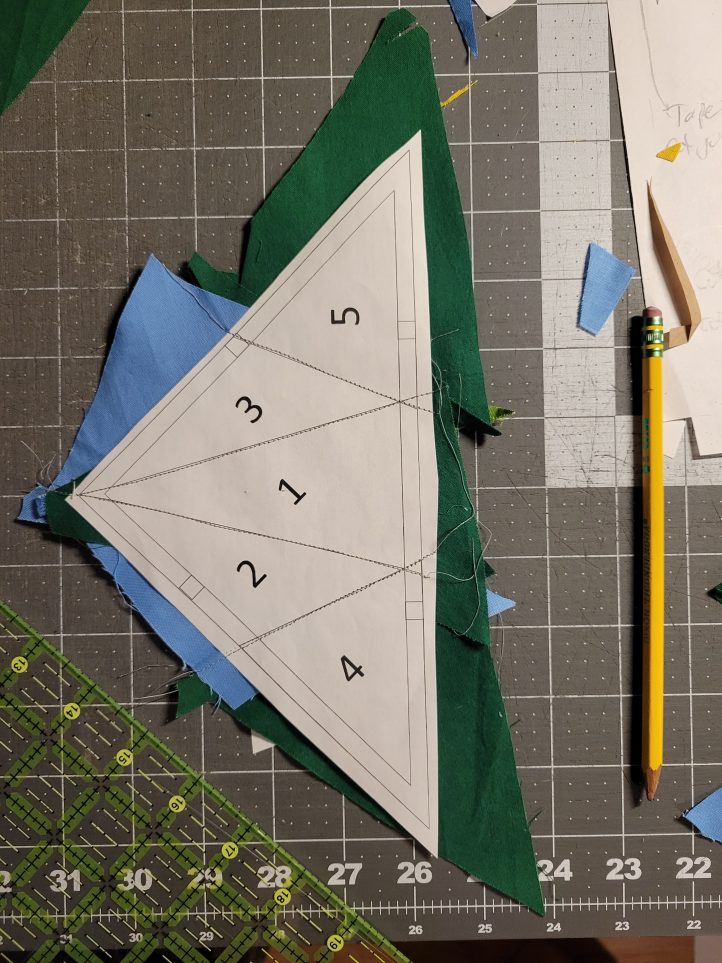
- Use a ruler to help you trim directly on the outer black lines.
- Add corner units to two opposite sides of the central block, aligning them carefully. Here’s one piece ready to be flipped down, pinned and sewed.
- Here it is flipped onto the right edge of the central area. Pin in place and sew all the way down the inner edge to create your seam allowance.
- Here it is sewn, the entire length of the top triangle, on the black seam allowance line.
- Add the opposite side. Then do the top and bottom. Here’s a top piece being added.

- Press open. Remove all the paper and enjoy your new pineapple!


