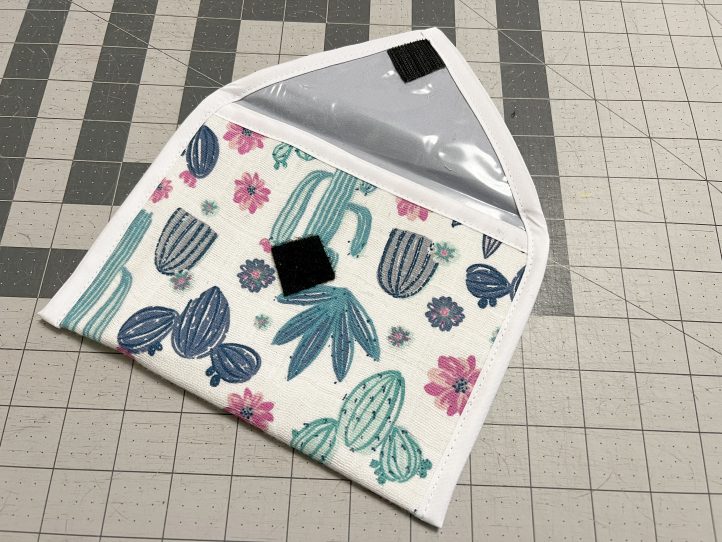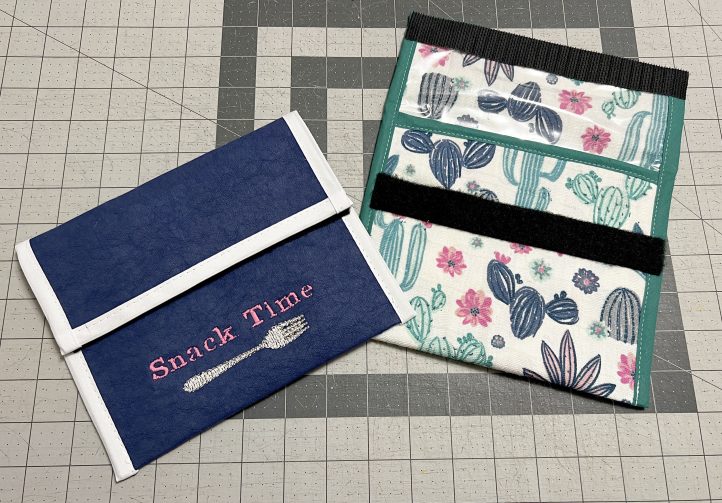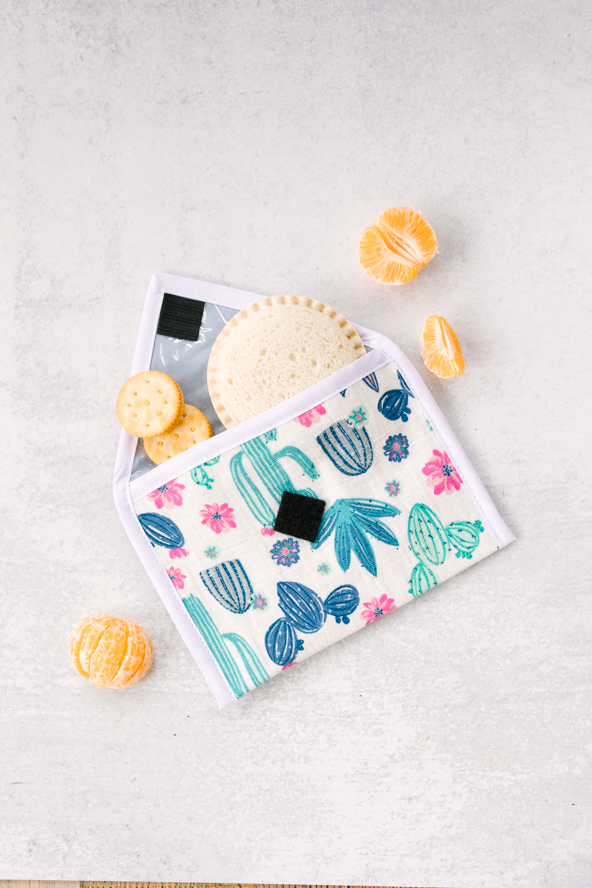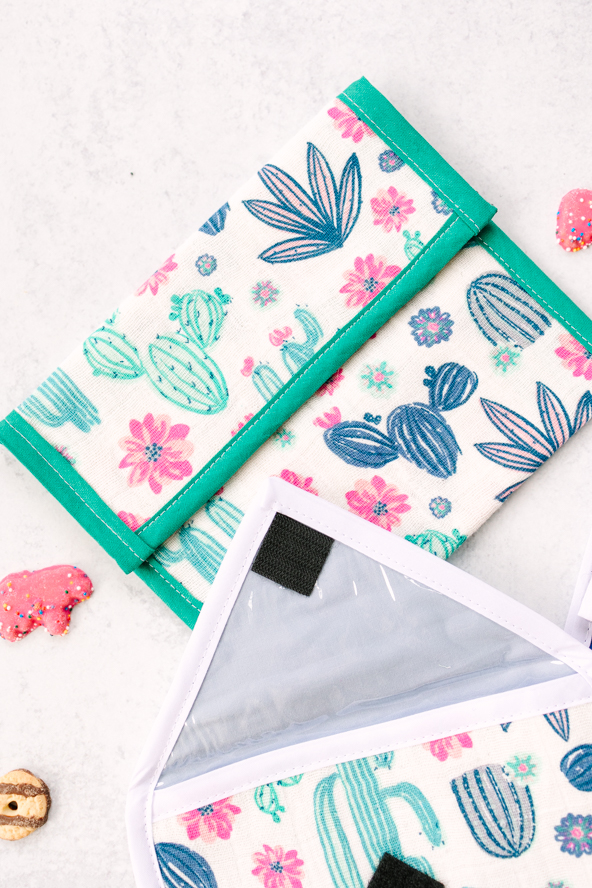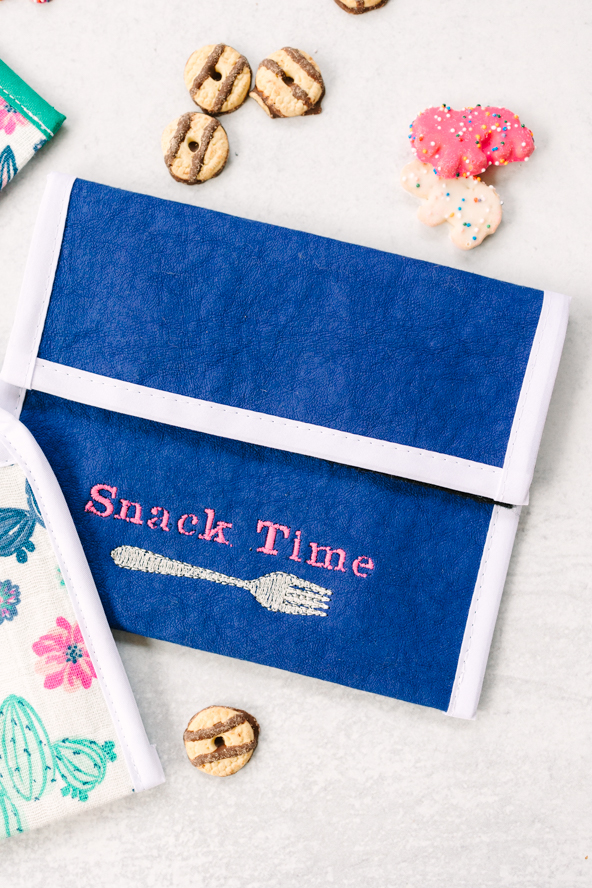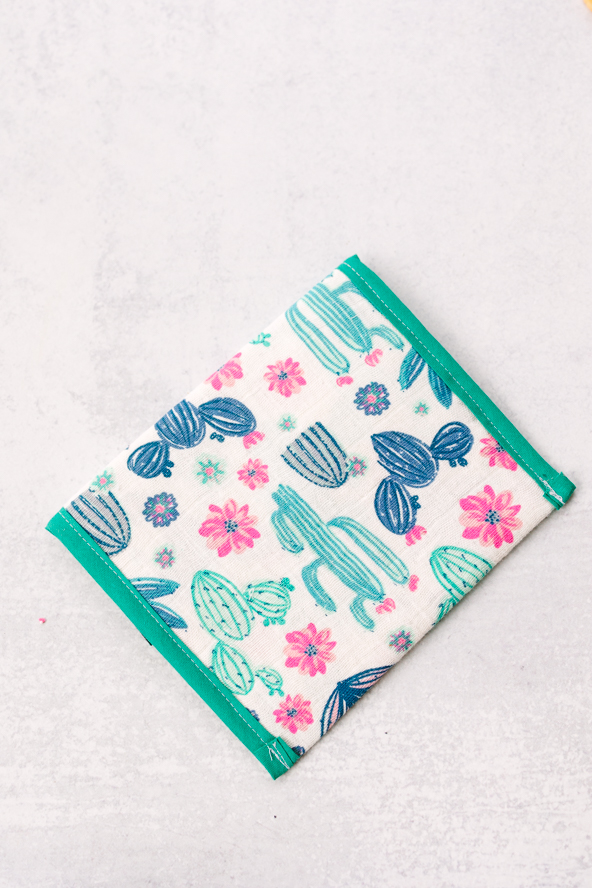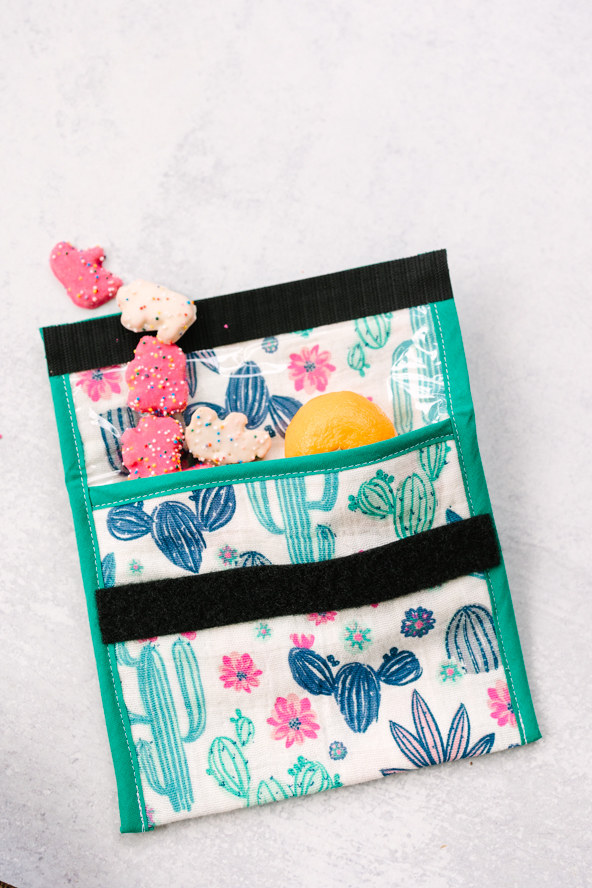
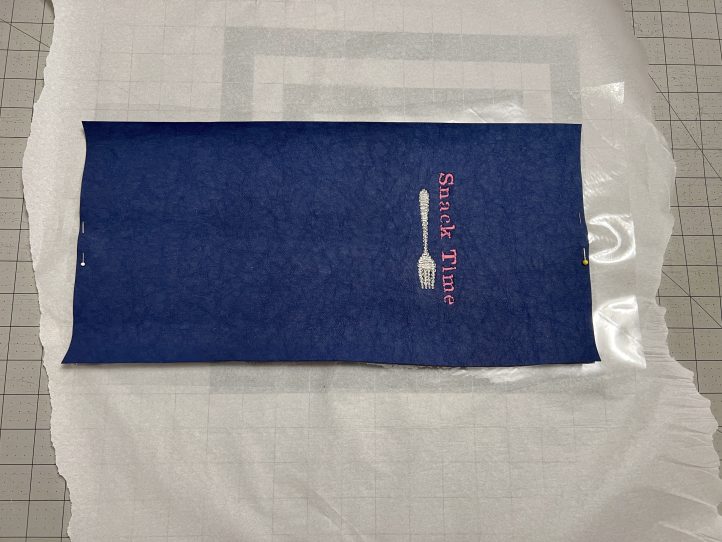
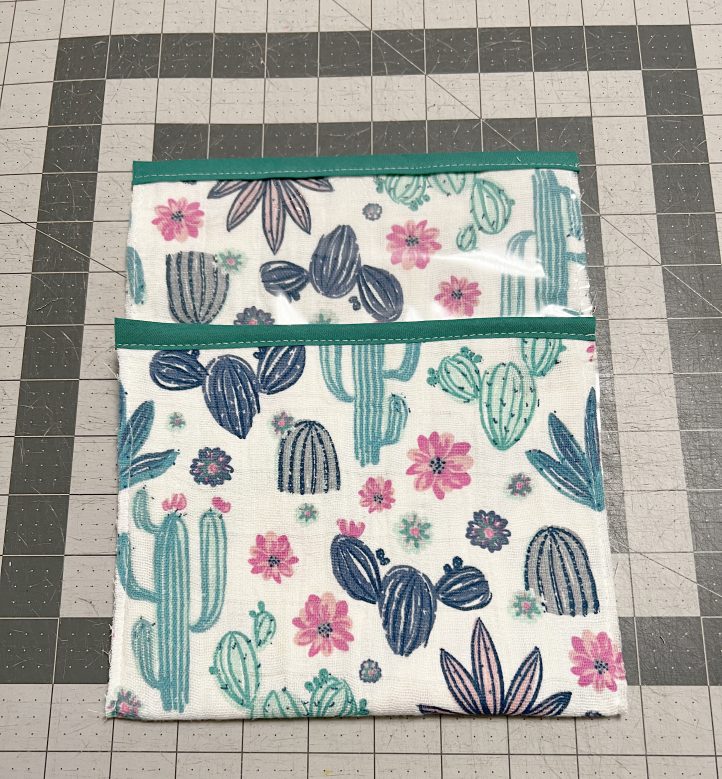
Ditch your plastic baggies and switch to a more sustainable snack time by sewing your own reusable sandwich bags. Perfect for sandwiches, veggies, and sweet treats, these fabric sandwich bags are lined with easy-to-wash vinyl and fasten with Velcro tape. You can even add fun embroidery designs or monograms to your treat bags as a way to personalize your sewing project. If you’re tired of spending a fortune on disposable plastic bags, make your own with this easy sewing pattern.
Skill Level: Easy
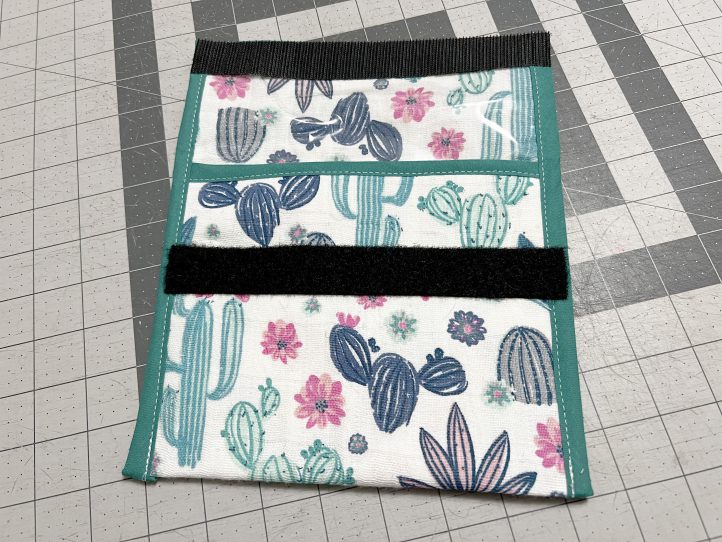
Finished Size: 8” x 6 1/2”
Seam Allowances: 0” (bound edges)
Materials:
- Fabrics
- Main fabric (either cotton print, waxed cotton, vinyl, Kraft-tex, or other easy to clean material) – 16” x 8” rectangle
- Lining fabric – 16” x 8” rectangle (Optional: Do not need if your main fabric has two “good” sides)
- Clear soft vinyl 4 gauge (around 5.97oz weight) – 18” x 10” rectangle
- 1 yard of double fold bias binding (1/2” finished width), either bought or made
- 8” of Velcro tape either sew-on or adhesive
- Piece of tissue paper – 18” x 10” rectangle
- PDF Pattern – This is located at the bottom of this page. Please see printing instructions below.
PRINTING INSTRUCTIONS:
Note: To download the pattern, click on the pattern download button at the bottom of the page. We recommend opening your pattern download using Adobe Acrobat.
Instructions:
- Print and cut out the pattern in main and lining fabric if needed. (Note: This is located at the bottom of this page).
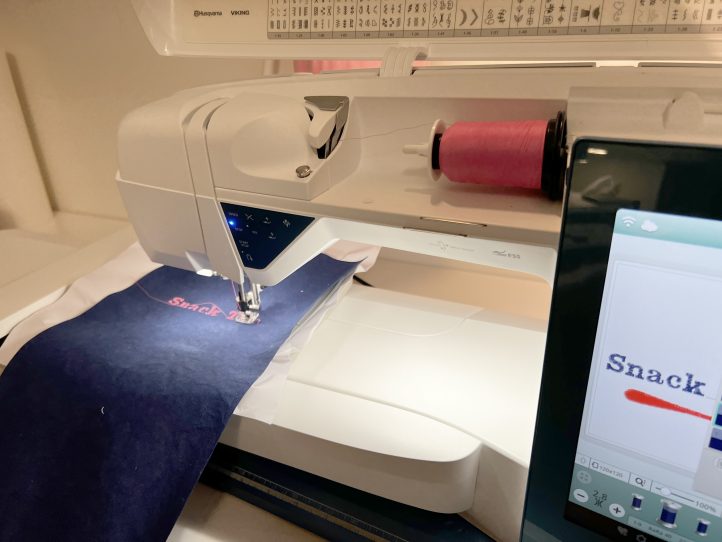
- Lay a piece of tissue paper down, then the vinyl, and then the fabric pieces. Note: If you want to add some embroidery, do so before you attach the vinyl in this step.
- The tissue on bottom prevents the vinyl from sticking to your sewing machine. Baste around the edges of your fabric piece pivoting at the corners.
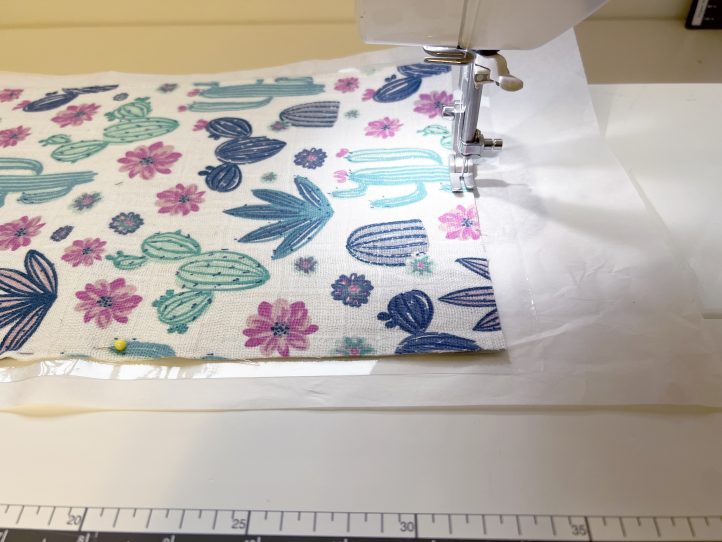
- Tear tissue paper from back of piece and trim excess vinyl.
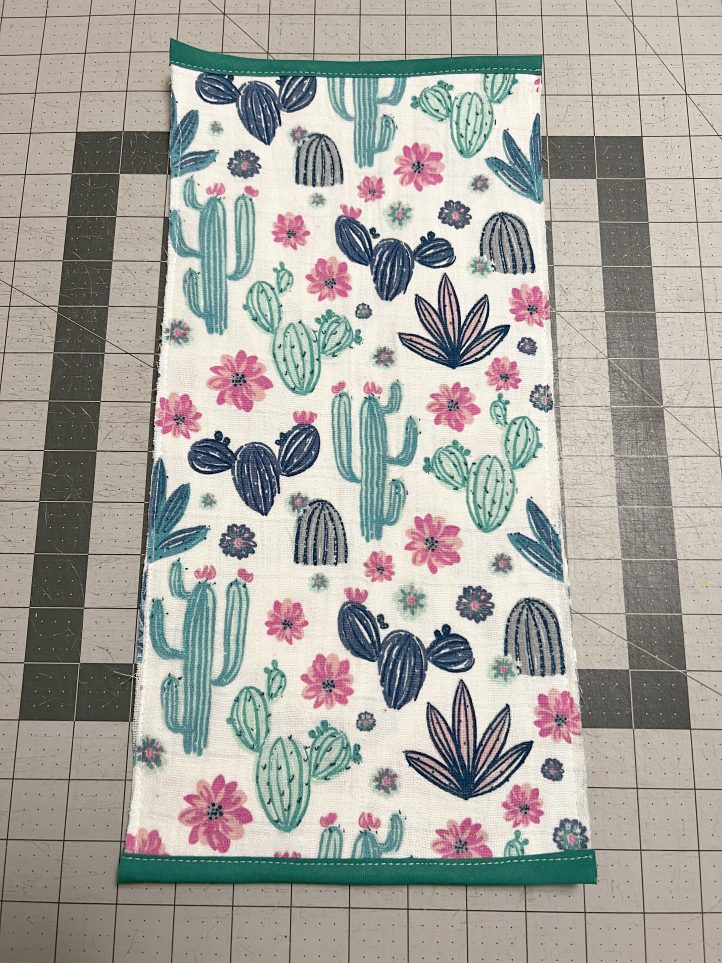
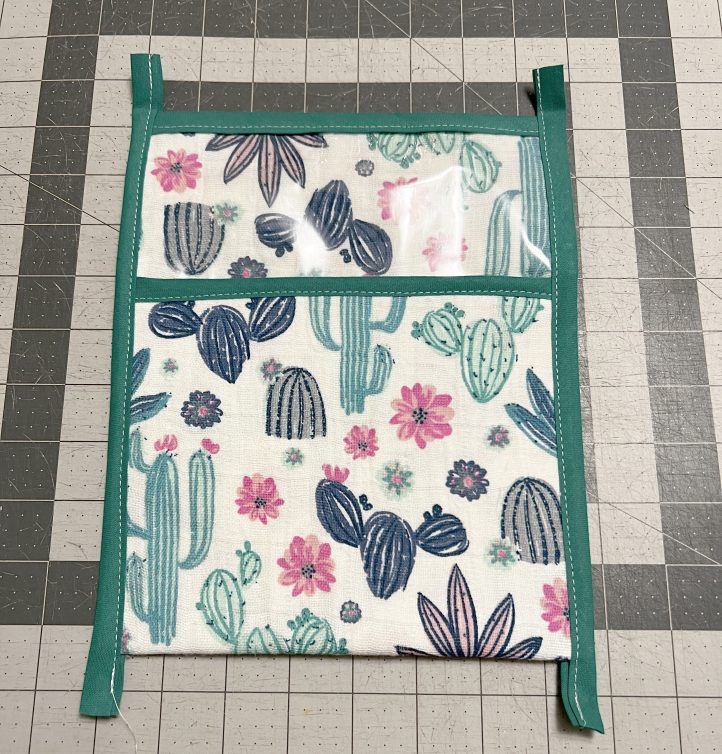
- Bind the top and bottom shorter edges of the piece by sandwiching the piece in-between the two binding folds and topstitching. Trim excess at sides.
- Fold vinyl sides together along the middle foldline and baste sides together.
- Bind the two long sides edges leaving excess binding at the top and bottom.
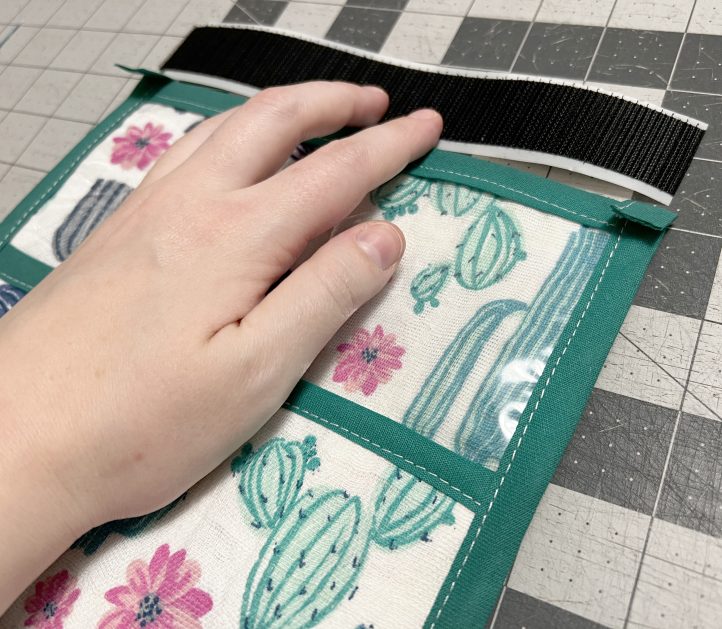
- Press the lower binding excess to the back and stitch on top of your existing topstitching to lock binding in place.
- Press the upper binding excess to the front.
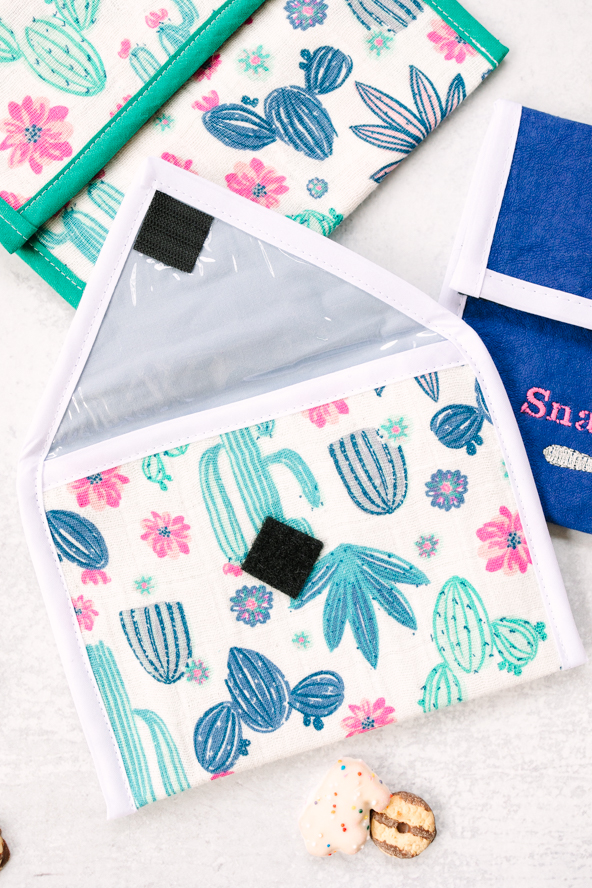
- Grab one of the Velcro strips and fix it to the top edge, catching pressed binding.
- Stick the other Velcro piece on and remove sticky backing (if using adhesive).
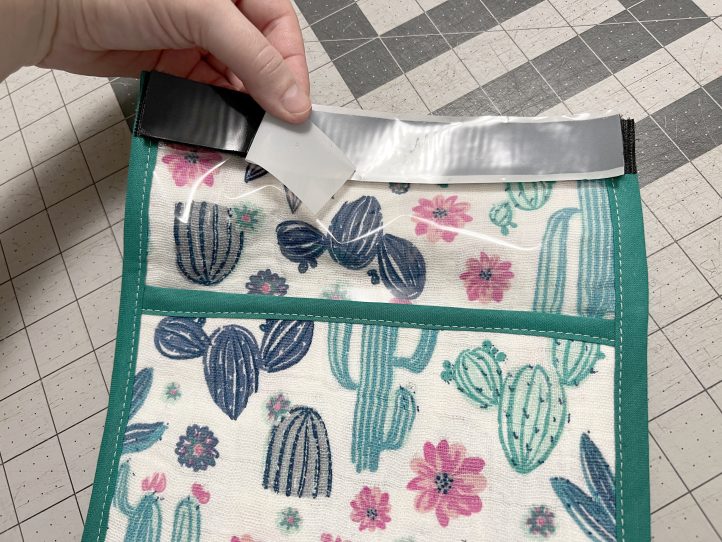
- Fold piece along upper foldline to place other Velcro strip in place (If not using adhesive Velcro, stitch around all edges of Velcro to secure to bag.)
- For alternate style, only bind the lower edge in Step 5, and once the side edges are basted together, bind the side and top pointed edge in one pivoting at the top. For the Velcro, instead of using a long strip, cut a 1” square and adhere to the top under the point.