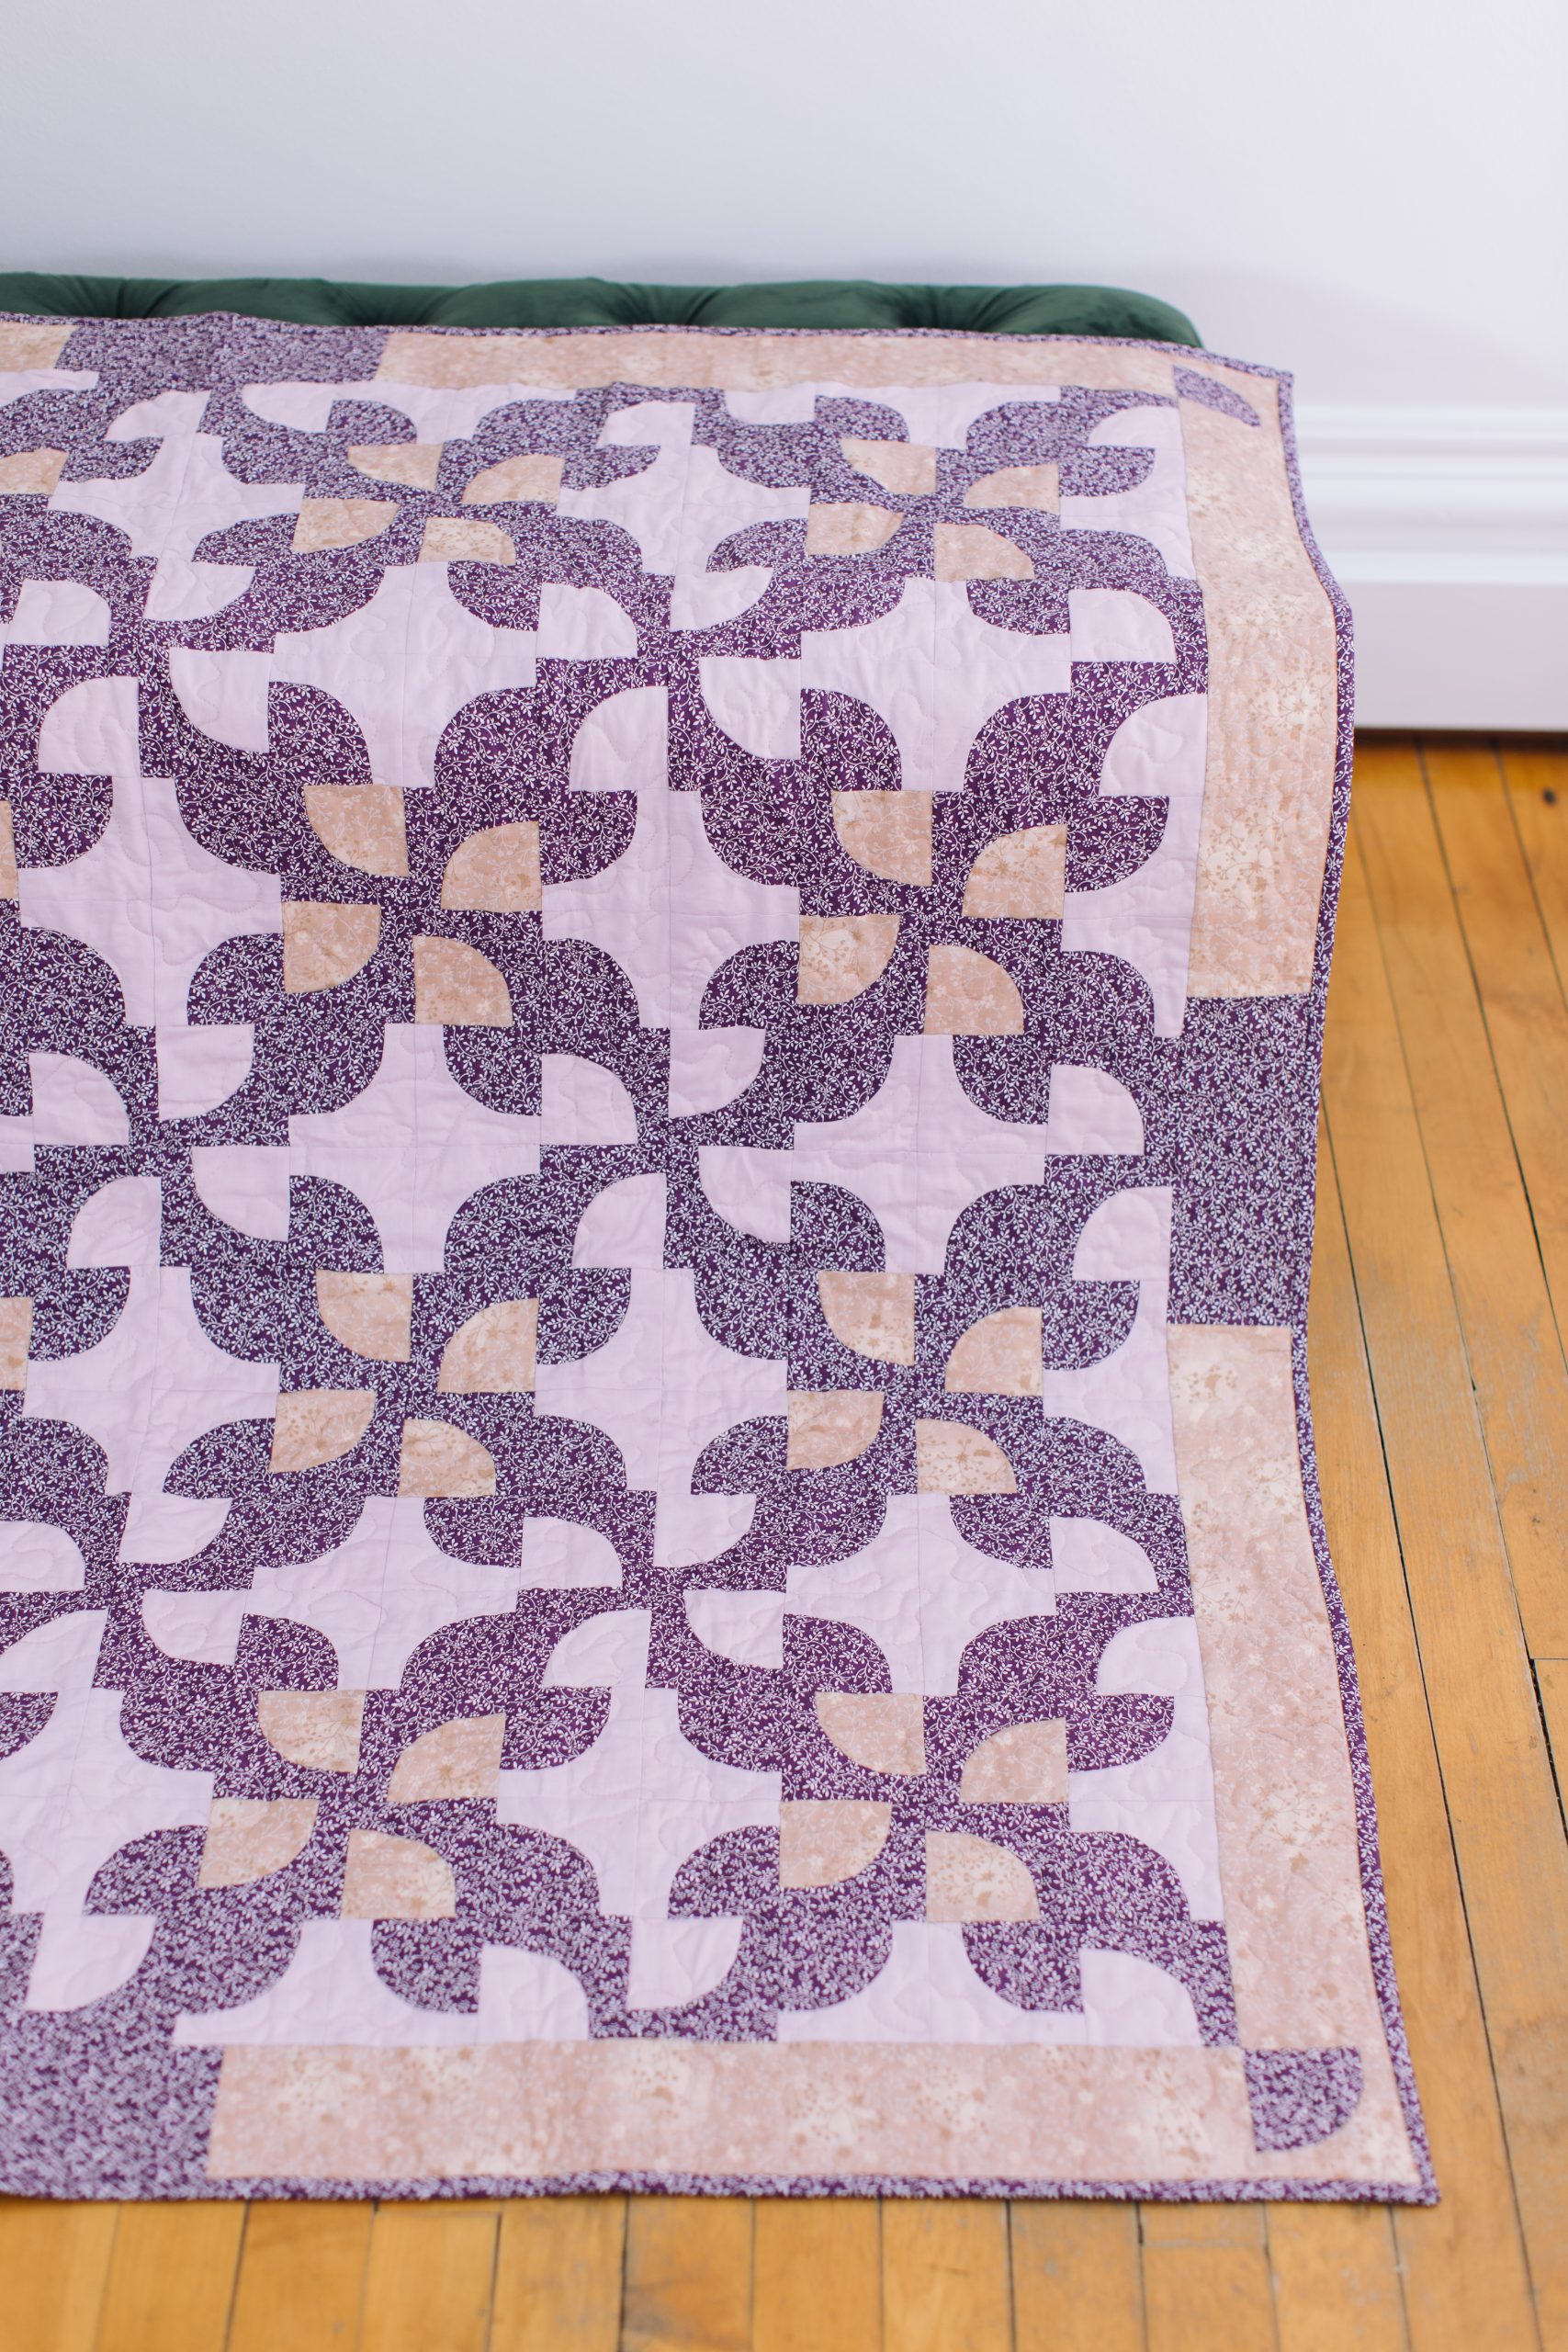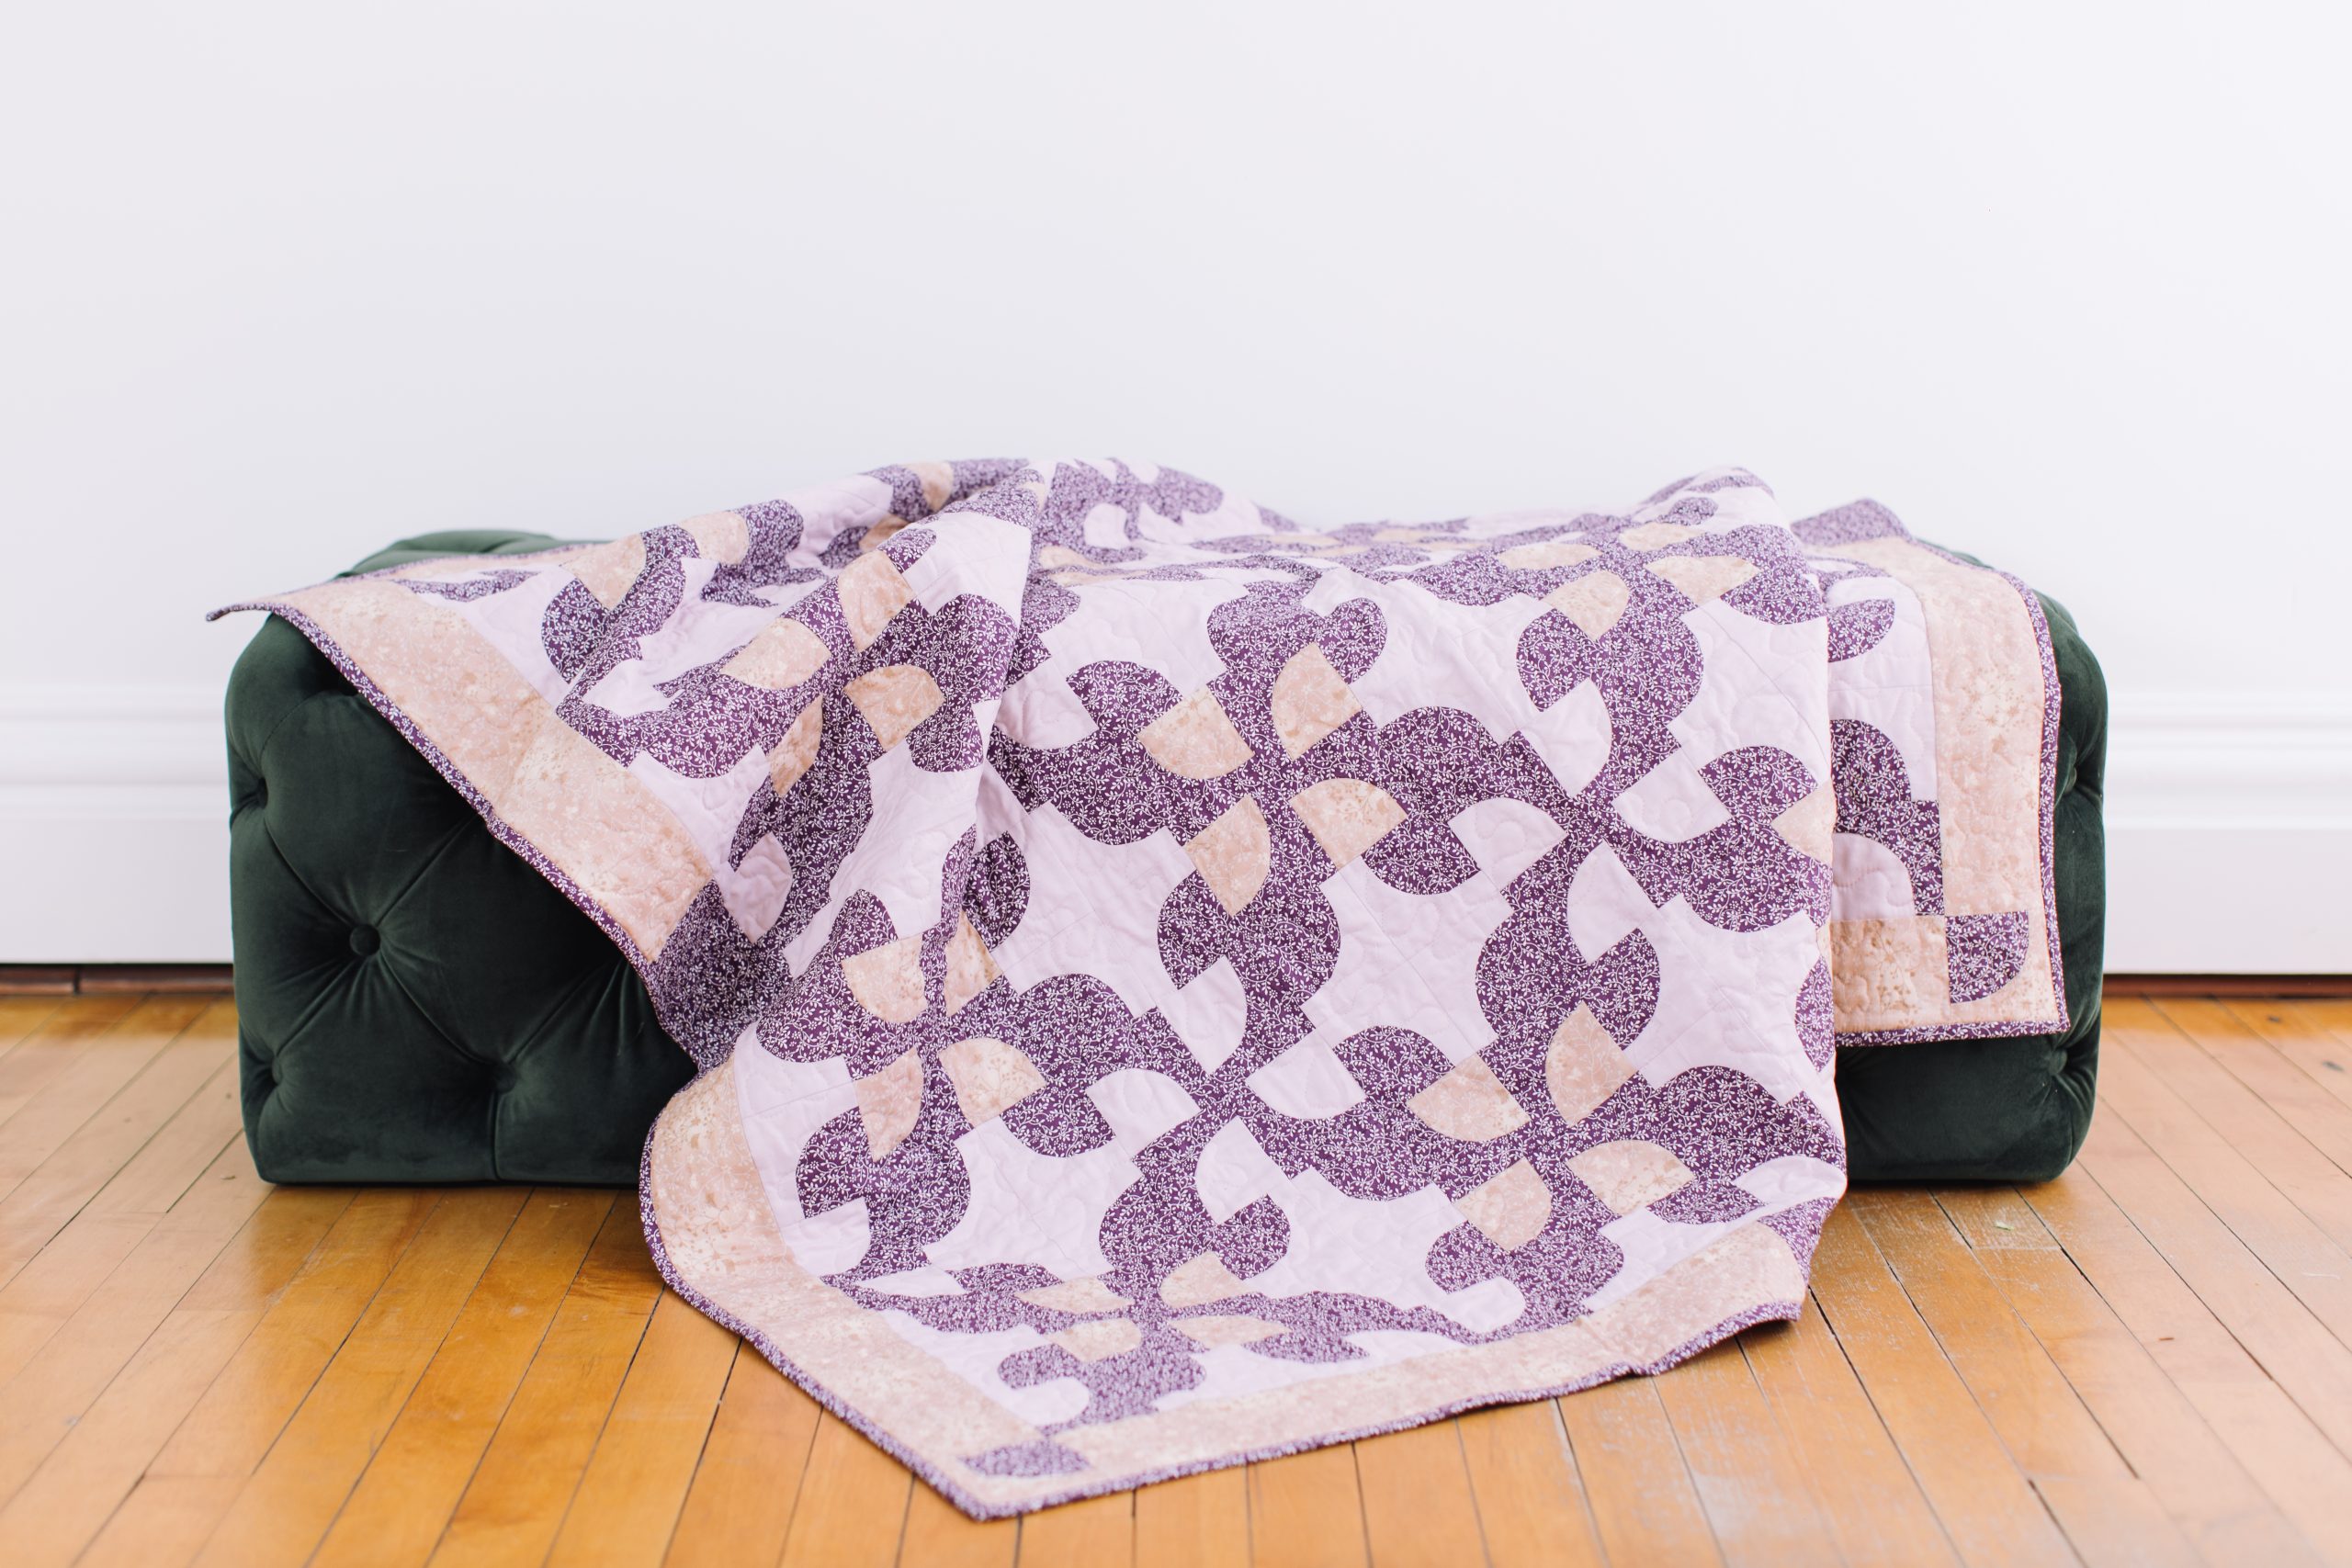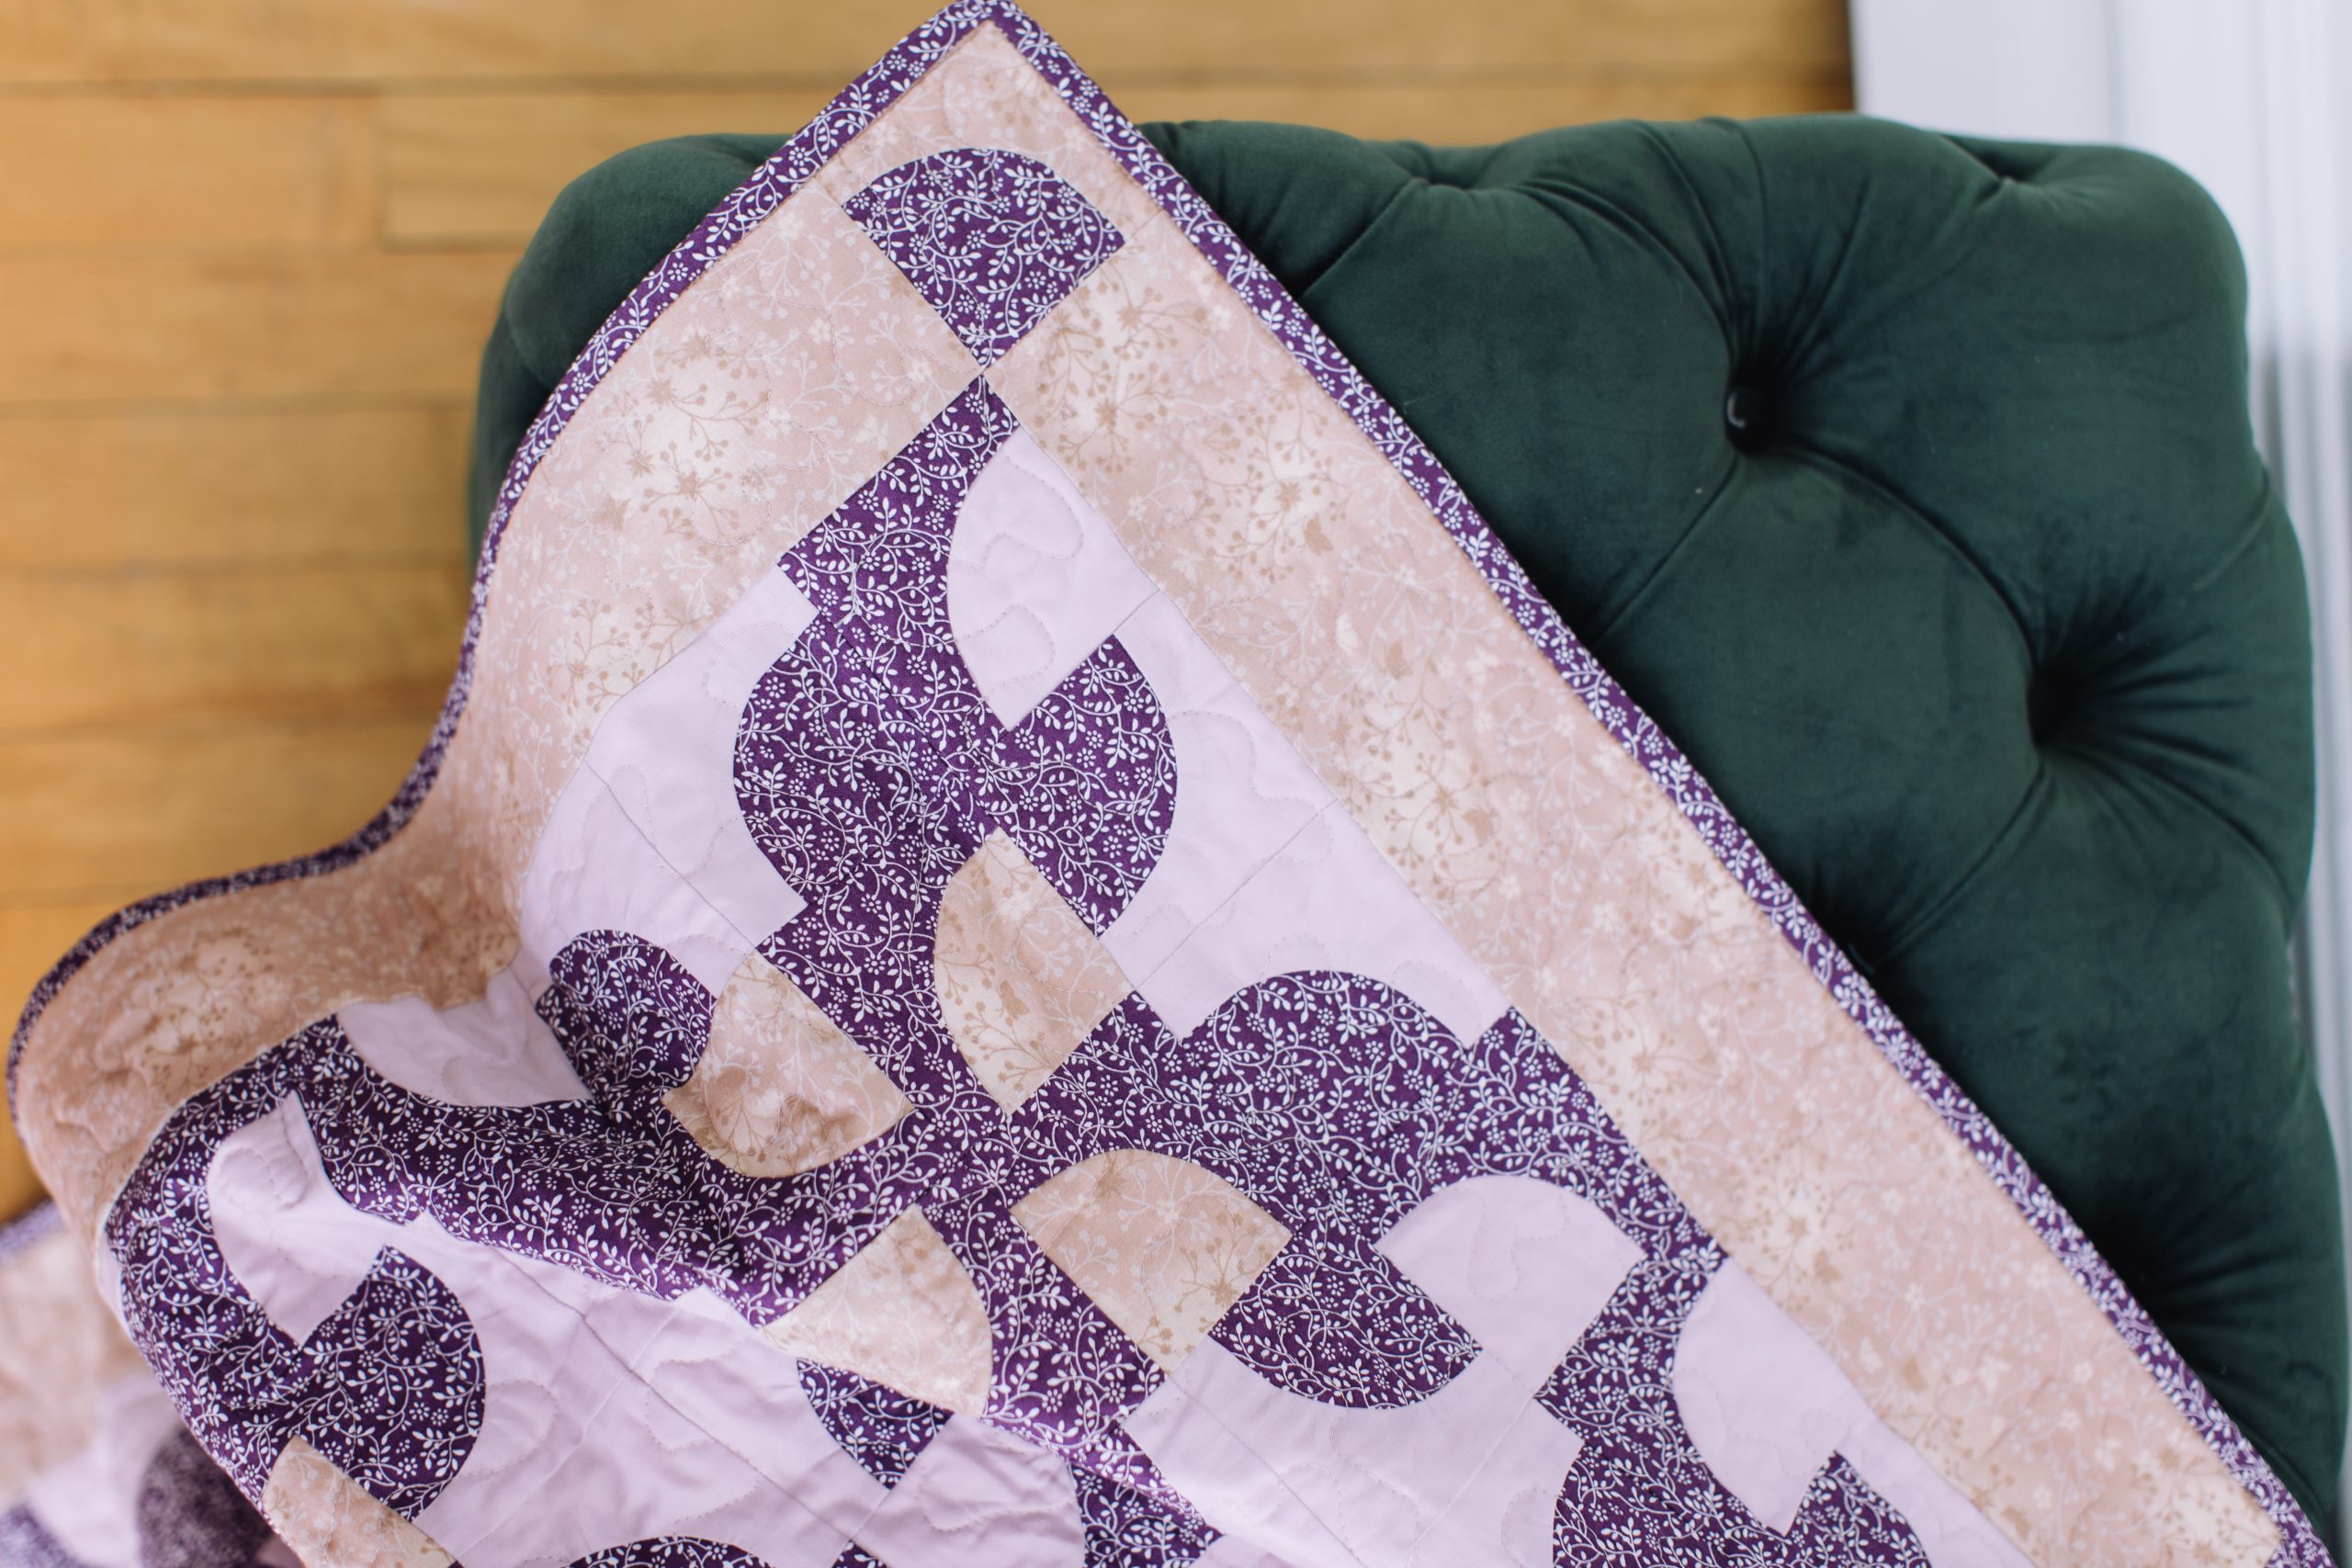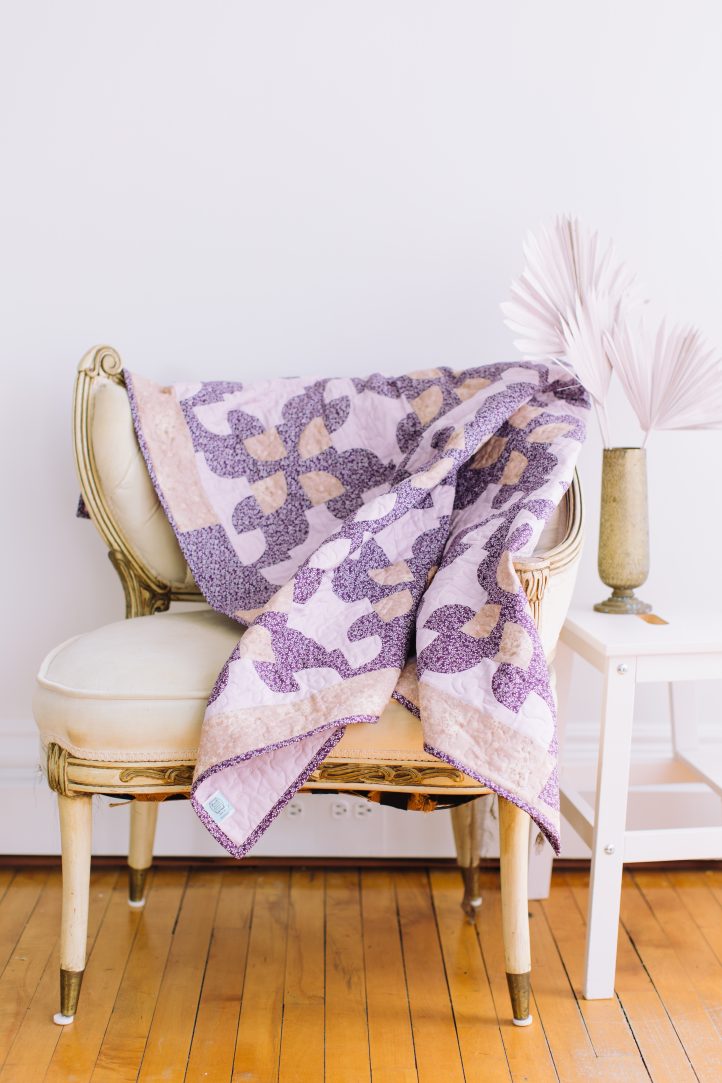
Get comfortable with quilting curves by checking out this whirling drunkard’s path quilt pattern. Designed with intermediate quilters in mind, this charming summer quilt pattern uses colors like almond, lavender and plum to weave a fascinating mixture of light and dark tones. Finishing at an approximately 54” x 54” square, this throw quilt pattern is a wonderful way to practice quilting curves and working with more intricate patterns.
Finished Size: ~54” x 54”
Skill Level: Intermediate
Designer Note: 1/4″ seam allowance used throughout.
Materials:
- Fabric A: Purple – 3 1/4 yards (including 1/2 yard for binding)
- Fabric B: Lilac – 2 yards
- Fabric C: Cream – 1 1/4 yards
- 58” square batting
- 60” square backing
- PDF Template – This is located at the bottom of this page. Please see printing instructions below.
PRINTING INSTRUCTIONS:
Note: To download the template, click on the pattern download button at the bottom of the page. We recommend opening your pattern download using Adobe Acrobat.
Cutting Instructions:
- Fabric A (Purple): 128 corners, 132 quarter circles, and four 8 1/2” x 3 1/2” strips
- Fabric B (Lilac): 128 corners and 64 quarter circles
- Fabric C (Cream): 4 corners, 64 quarter circles, and eight 20 1/2” x 3 1/2” strips (Note for strips: Cut when the quilt top is finished; add length to these if your quilt top is bigger than 48 1/2”)
Sewing Instructions:
HOW TO MAKE THE QUILT TOP:
- Print and cut out the templates for the corners and quarter circles. The seam allowance is included.
- For each block you will need:
- Eight A purple corners
- Eight A purple quarter circles
- Eight B lilac corners
- Four B lilac quarter circles
- Four C cream quarter circles
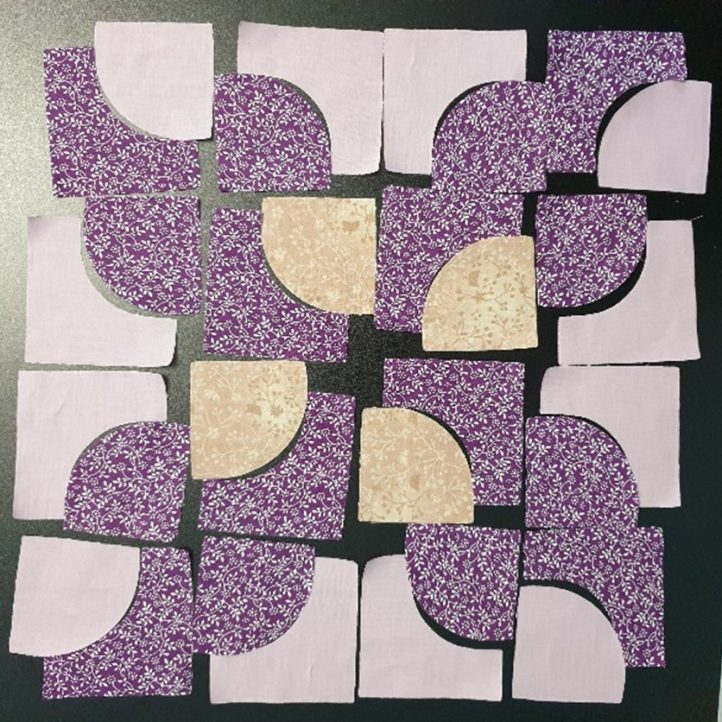
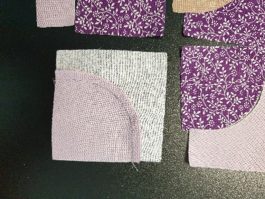
- Place the corners and quarter circles in the correct pattern.
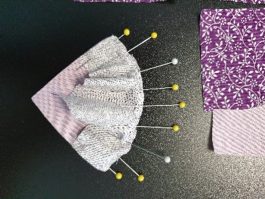
- Stitch each corner and quarter circle together. With right sides together, match and pin the middle of the fabric patches, then move on to pinning the sides of the fabric patches. Ease and pin the rest of the fabric. Stitch with the corner on top, stopping occasionally to flatten any pleats. Press towards corner.
- Stitch all sixteen corners and quarter circles.
- Stitch each row into pairs and then stitch the pairs together to make a row of four. Press each row in opposite direction. Stitch the rows into pairs and then into the block of four rows. Press the seams in one direction.
- For each block, think about which way to press the seams so that they will nest with the row above as well as the block next to it.
- Suggested pressing diagram for the 16 blocks:
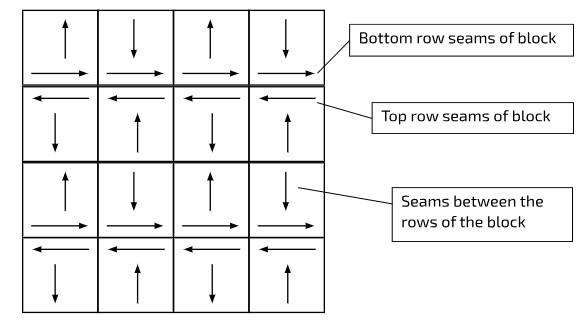
- Make 16 blocks with the same pattern. Stitch the blocks into rows of four and then stitch the rows into pairs. Stitch the two pairs to make a square of 16 blocks.
MAKING THE BORDERS:
- Measure through the middle of the quilt top. Add to the 3 1/2” width length of the C cream rectangle if needed.
- With right sides together, stitch the short edge (3 1/2″) of a 8 1/2” A purple rectangle to the short edge (3 1/2″) of a 20 1/2” C cream rectangle. Stitch the short edge of another C cream rectangle to the opposite short edge of the A purple rectangle. Press toward the A purple rectangle.

- Repeat for three more borders.
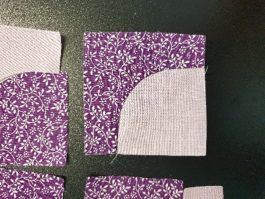
- Make four Drunkard’s Path patches from the four C cream corners and four A purple quarter circles.
- With right sides together, stitch a Drunkard’s Path patch to opposite short edges of two of the border strips making sure the corners of the quarter circles point inwards. Press towards the C cream rectangles.
ADDING THE BORDERS:
- With right sides together, stitch the short border strips to opposite sides of the quilt top. Press towards the borders.
- With right sides together, stitch the longer border strips to opposite sides of the quilt top nesting seams where they meet. Press towards the borders.
QUILTING:
- Layer and secure the backing, batting and quilt top.
- Quilt as desired. The designer free-motion quilted with a large meander on the quilt top and a smaller meander on the borders.
BINDING:
- Double fold bind the quilt.