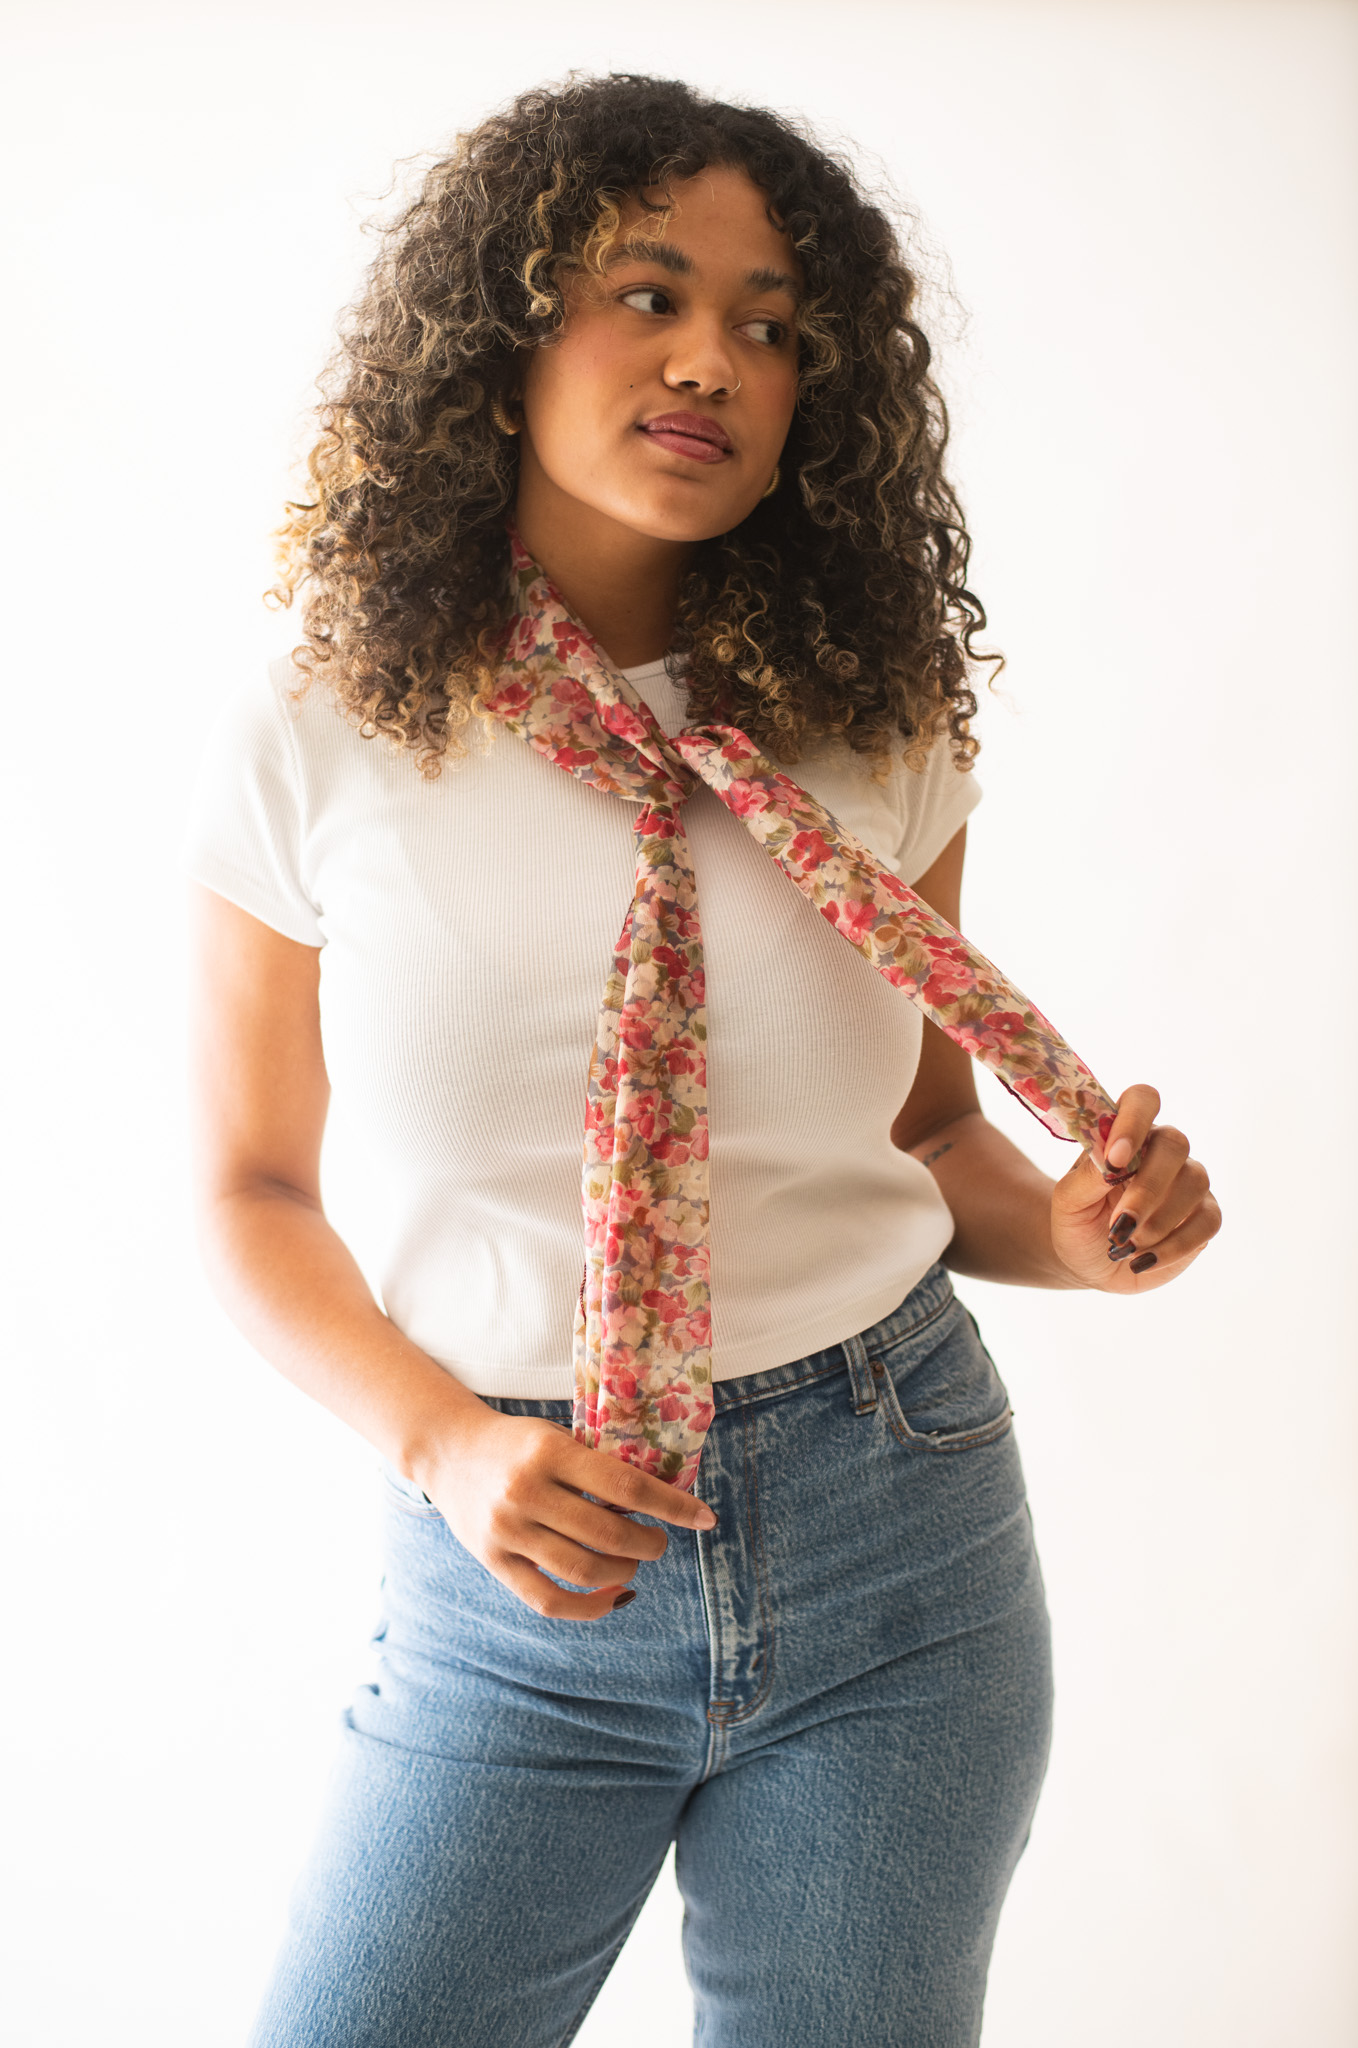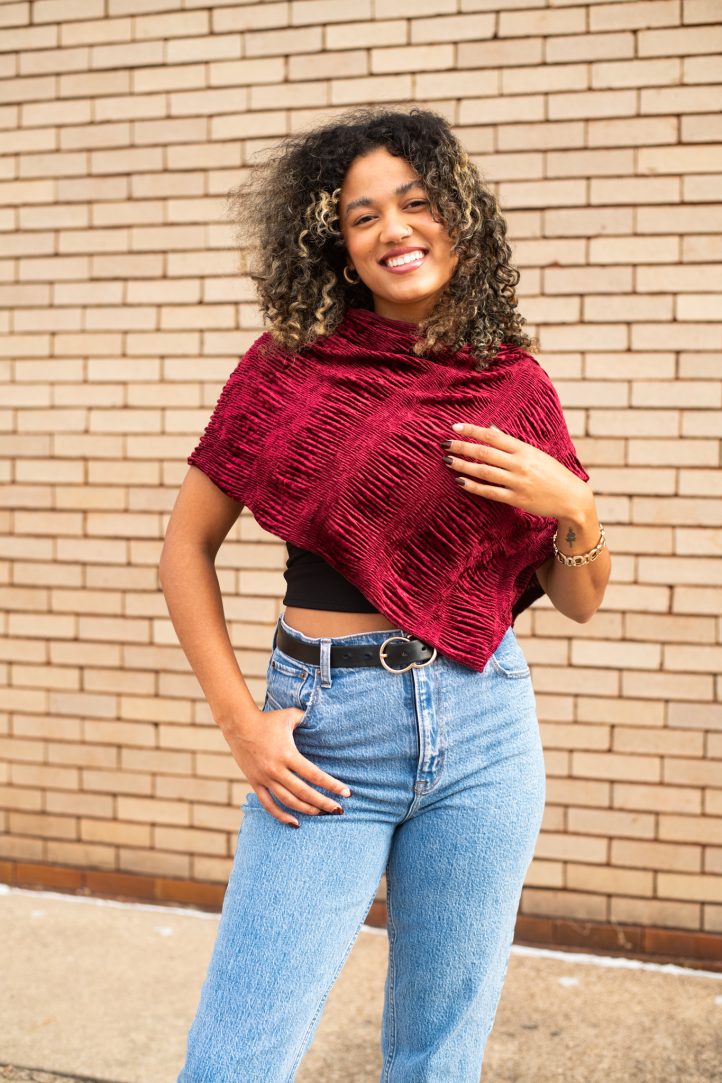
Looking for the perfect accessory for your Christmas party or NYE look? Sew your own beautiful shawl scarf with this pattern from Traci Anderson! A simple project for beginner sewists, this accessory sewing pattern can be made in floaty fabrics like chiffon for dreamy warmer weather looks or luxe medium weight fabrics for your next formal event this winter. Pair your shawl with your favorite strappy dress or style your scarf as a head wrap or neck scarf.
Skill Level: Beginner
Seam Allowances: All Seams =0 inch (0 cm). No seam allowances required.
Machine Required: Serger or sewing machine
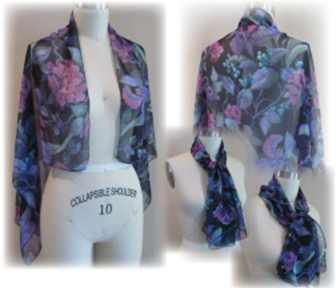
Fabric Yardage Requirements: (in yards and centimeters)
*1/8 yard/12 centimeters have been added to accommodate for shrinkage

Materials:
- Fabric Suggestions: Fabric A: Light to medium-weight woven blends or knits with minimal stretch.
- Matching thread
- PDF Pattern – This is located at the bottom of this page. Please see printing instructions below.
PRINTING INSTRUCTIONS:
Note: To download the pattern, click on the pattern download button at the bottom of the page. We recommend opening your pattern download using Adobe Acrobat.
DIGITAL PATTERN PIECES:
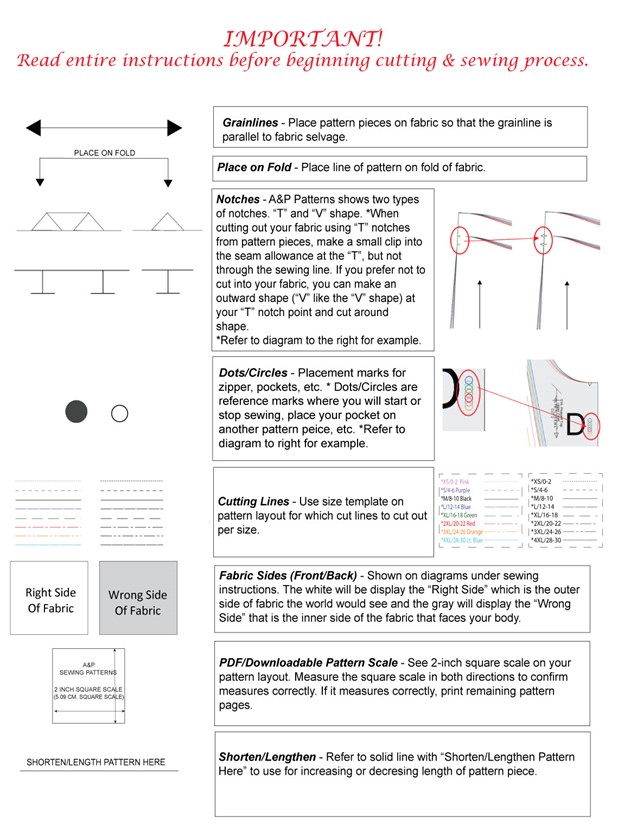
Downloadable PDF page tile layout. *Follow each “Pattern Black solid lines” in images below for which lines to cut per shawl/scarf style.
Before printing and cutting out all your pattern pieces, print PAGE 1 for the “LETTER” size version and PAGE 4 for the “A4” size version that contains a Square Scale and print pages at 100% (full scale). Measure the square to confirm it measures 2 inches (5.09 cm) in both directions. If the square scale measures correctly to length and width, go ahead and print the remaining pages. Each page will have a quarter section of the circle in each corner. Lay pages out next to each other in numerical order (as seen below in images). Then butt page quarter sections together to form a full circle (you may need to overlap or trim page edges to form the full BLACK circle). Tape pages together to hold them in place. Once all pages have been taped together your pattern pieces will be ready to cut out and prepare to layout on your fabric.
Letter Size Layout:
Cut the following pages if sewing only one of the three designs.
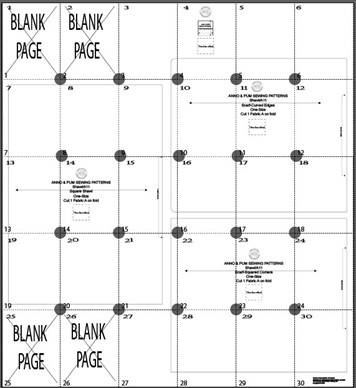
- Shawl – Use Pages 7-9, 13-15, 19-21
- Scarf-Squared Corners – Use Pages 15-18, 21-24, 27-30
- Scarf-Curved Edges – Use Pages 3-6, 9-12, 15-18
A4 Size Layout:
Cut the following pages if sewing only one of the three designs.

- Shawl – Use Pages 8-10, 15-17, 22-24
- Scarf-Squared Corners – Use Pages 18-21, 25-28
- Scarf-Curved Edges – Use Pages 4-7, 11-14
CUT PATTERN PIECES AS FOLLOWS:
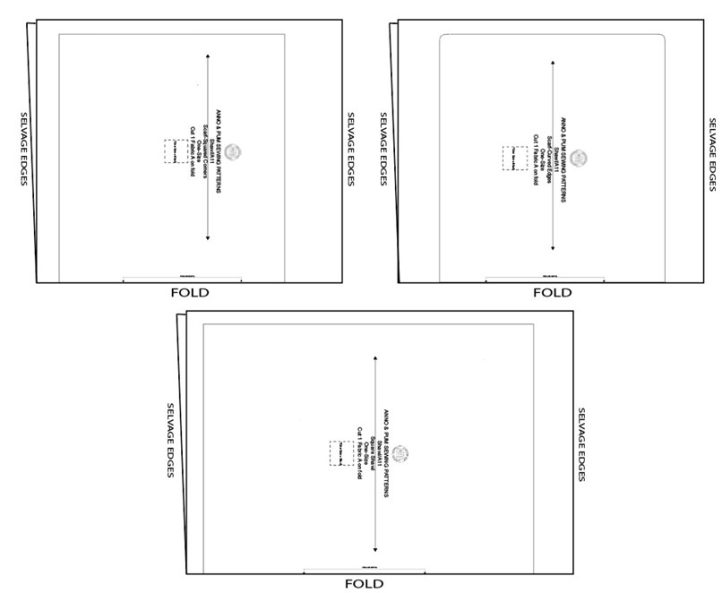
- A. SHAWL SCARF – Cut 1 A on fold.
- B. SCARF SQUARED CORNERS – Cut 1 A on fold.
- C. SCARF CURVED CORNERS – Cut 1 A on fold.
LAYOUT AND CUTTING DIRECTIONS:
Fabric yardage should be laid flat with selvages at opposite ends, then folded in half so that selvage edges fold back on top of each other. Layout out pattern pieces on your fabric with grain lines running parallel to your selvage.

A=Overlock Narrow Stitch (Serge)
Overlock Narrow Stitch (Serge) along cut edge using only 1-needle and setting stitch length as minimal as possible to butt stitching together. Sometimes this stitch is called a narrow overlock or narrow serge stitch. *This stitch can be simulated on a sewing machine minimizing your stitch width and length using a zigzag stitch.
B=Overlock Lettuce Stitch (Serge)
An Overlock Lettuce Stitch (Serge) is done the same way as the Overlock Narrow Stitch (A), although you will need to gently pull your fabric as it feeds under the presser foot to get the curly lettuce edge effect. Note: This requires your fabric to have stretch in it and the more stretch your fabric has, the more of a lettuce edge effect can be achieved.
Sewing Instructions:
SHAWL AND SQUARED EDGES SEWING DIRECTIONS:
- Overseam/serge (narrow stitch) or zigzag stitch along the cut/raw edges from corner to corner, leaving thread tails attached.

- Tack stitch 2-3 stitches at each corner to lock your threads in place. Then cut threads short at all four corners to prevent un-raveling. See *Tip at bottom of project instructions for optional thread tail finishes.

- Yea! You now have a pretty scarf to add to your wardrobe ensemble!
CURVED CORNERS SEWING DIRECTIONS:
- Overseam/serge (narrow stitch) or zigzag stitch raw edge all around.

- When you come back around to the beginning of your edge stitching, be sure to overlap your edge stitching by 1 inch (2.5 cm). Then tack stitch 2-3 stitches in place and cut threads short to prevent un-raveling. See *Tip at bottom of project instructions for optional thread tail finishes.

- Yea! You now have a pretty scarf to add to your wardrobe ensemble!
SEWING TIP:
*Tip: If you are finding it hard to stitch diagonally along the corners, you might try one of the three options instead.
*Feed thread tail along the cut edge back into stitching.

Tie thread tails.

Glue thread tails down onto the stitching.


