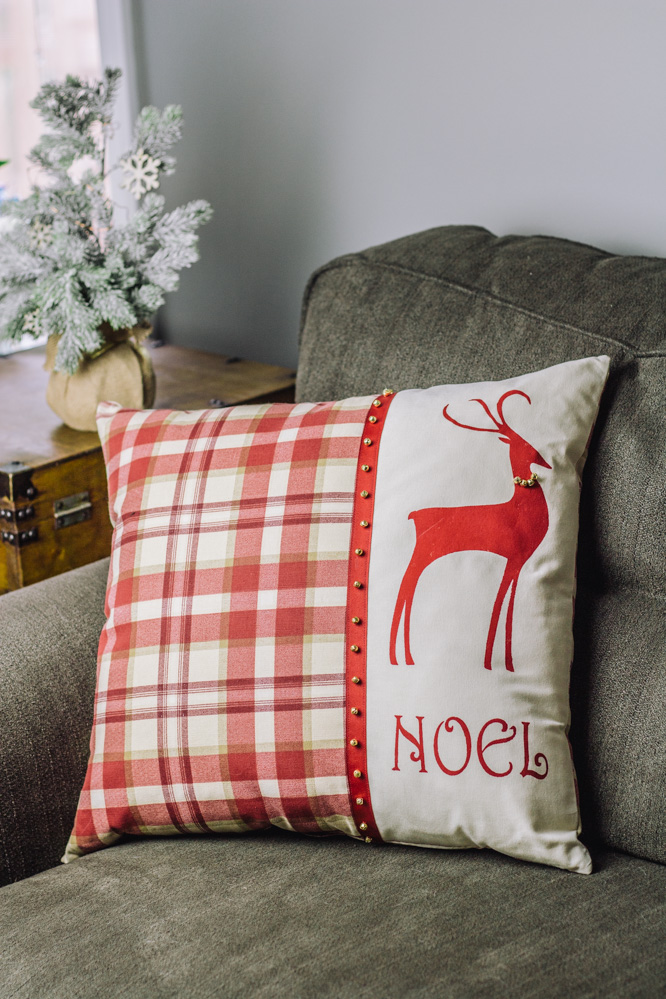
Beautiful holiday decor often starts with small items which can be handmade at little expense. Add some sparkle to your space with this elegant reindeer pillow that’s adorned with gold bells! This winter sewing project combines creamy solid fabric with classic Christmas plaid. This throw pillow tutorial demonstrates two options for creating your reindeer design, using either a heat press or freezer paper and paint, so that you can choose the method you’re most comfortable with. Design a stunning holiday pillow that looks incredibly expensive but only costs small price to make.
Skill Level: Easy
Materials:
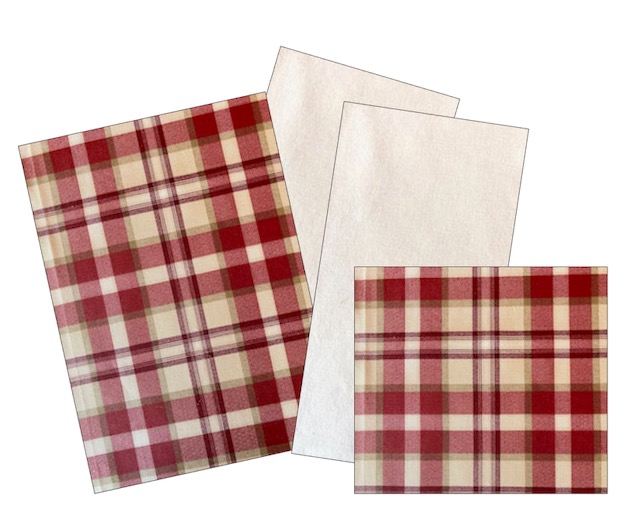
- 3/4 yard plaid fabric
- 3/4 yard cream fabric
- 3/4 yard red grosgrain ribbon
- 16” zipper
- Sewing notions
- Freezer paper or transfer paper
- Heat press machine or dry iron
- Copy paper
- Ink jet printer
- Craft knife, scissors, or stencil cutting machine
- Red acrylic paint – 2 oz.
- Small, fuzzy roller brush for smooth/semi-smooth surfaces
- Paper towels and protection for work surface
- .25” gold bells – 23
- Ceramic tile and scrap cloth for pressing
- SVG Image can be found here
- PDF Pattern – This is located at the bottom of this page. See printing instructions below.
Designer Notes:
- Prewash fabric and ribbon.
- All seams are 5/8”.
- This project can be completed with a heat press or by using a freezer paper stencil and paint. Whichever method you use, download the SVG file for the image.
- For those not using a stencil cutting machine, a PDF file has also been provided as a guide for the deer and Noel image.
PRINTING INSTRUCTIONS:
To download the PDF pattern, click on the download button at the bottom of the page. We recommend opening your download using Adobe Acrobat.
Instructions:
- Cut the following: a square of plaid fabric to measure 21.25”, a rectangle of plaid to measure 13 7/8” x 21.25”, two rectangles (one for a liner) from solid cream fabric to measure 8 5/8” x 21.25”.
Heat Press Method
- If you are applying the image with a heat press, print out the color image on your transfer material. Cut close to the printed edges with a stencil cutting machine, scissors, or a craft knife. (If you intend to use a cutting machine, don’t print the image. Instead import the SVG file to your program. Print and cut the transfer paper from your software.) Cut the lettering section away from the reindeer, as it will be placed separately on the fabric.

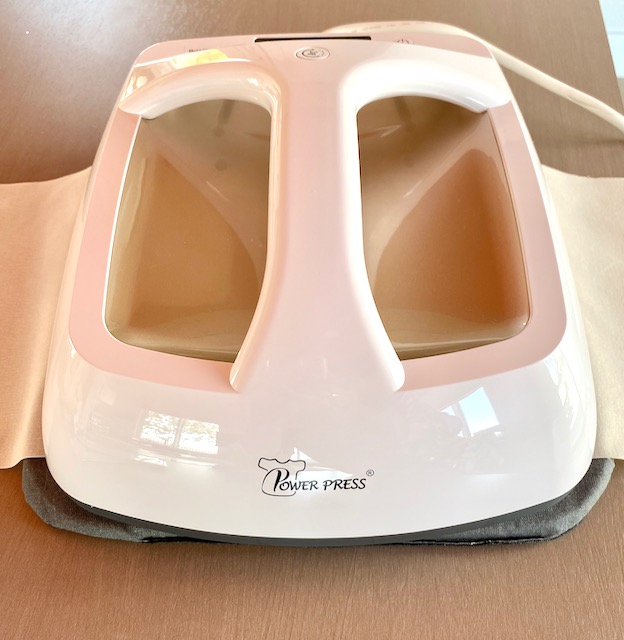
- Following your heat press and heat transfer instructions, adhere the image to one of the cream rectangles, centering the lettering below the reindeer on the solid cream panel. See heat press machine in below image. Press image/fabric beneath it as shown.
Freezer Paper Method
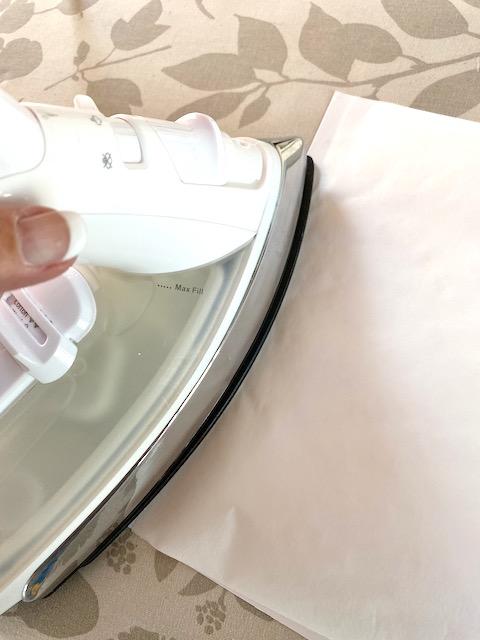
- Cut a sheet of freezer paper to measure 8.50” x 11”. Put the waxy side against a sheet of copy paper and press the very top edge to bond the two. This will help the freezer paper feed smoothly into the printer.
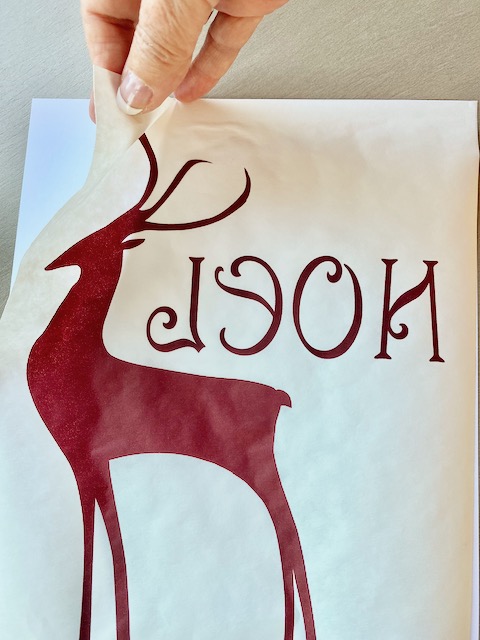
- Print the image on the dull side of the freezer paper. Pull the freezer paper away from the copy paper. Cut the lettering section away from the reindeer, as it will be placed separately on the fabric. Cut along the borders of the images with a craft knife, scissors, or your stencil cutting machine. (If you intend to use a cutting machine, don’t print the image. Instead import the SVG file to your program. Print and cut the freezer paper from your software.)
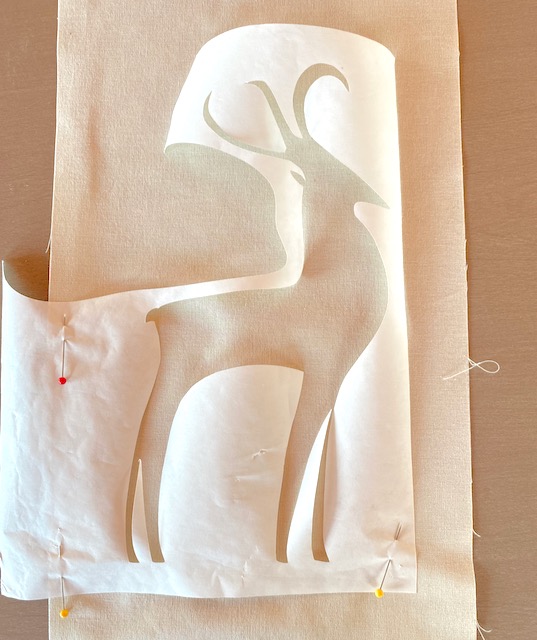
- Temporarily pin the reindeer stencil, waxy side down, to the cream fabric. The pins will allow you to hold the stencil in place while you check the alignment. The back of the reindeer should be about 1.50” from the left edge of the fabric and 3.50” from the top edge.
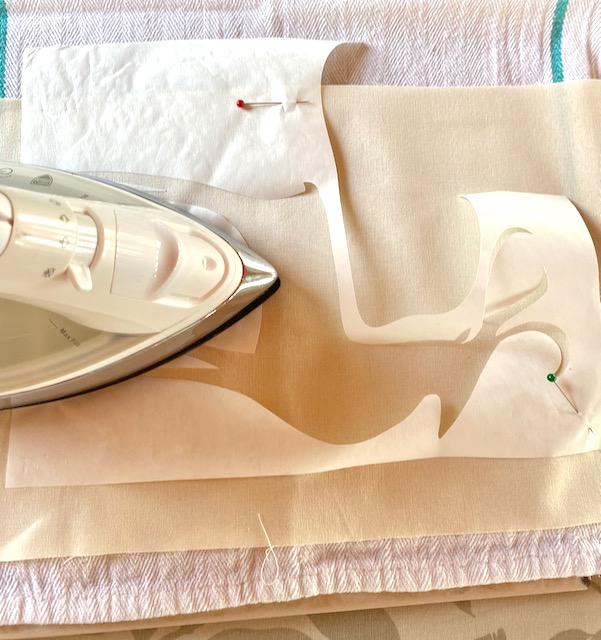
- Place a large tile or other hard surface on your ironing board. Cover it with a thin dish towel, followed by the fabric. With a dry iron on the cotton setting, iron the freezer paper to adhere it to the fabric, removing pins as you go. About 20 seconds should be sufficient. Center the stencil lettering below the reindeer and adhere it to the fabric. Protect areas of fabric that won’t be painted by adhering scraps of freezer paper.
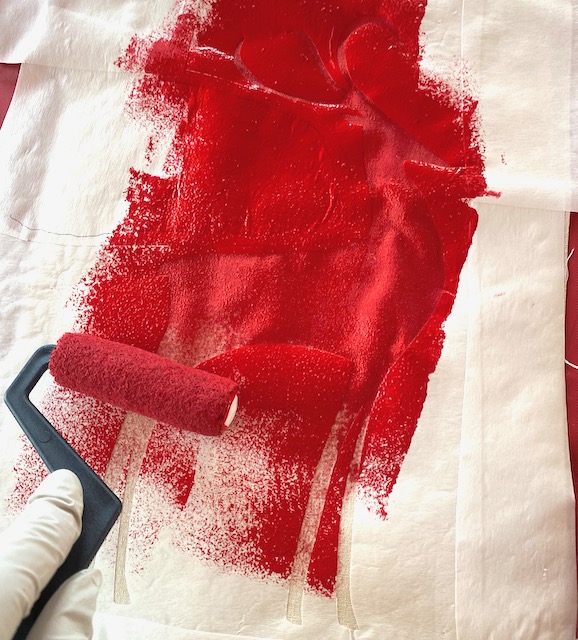
- Cover your work surface with disposable plastic. Set the fabric on the plastic, right side up, over a layer of paper towels that don’t have a design. It’s possible for a design to be noticeable in the paint when dry. Add paint to a shallow container. Dip a small craft roller into the paint until it’s covered lightly. Roll across a paper towel to remove excess, then roll across the fabric. Don’t apply heavy pressure.
Note: Instead of a roller brush, you can also apply paint with an airbrush or spray paint can.
- Allow the paint to dry, then peel the stencil off the fabric. Set the paint by covering it with scrap material and ironing it for two or three minutes.
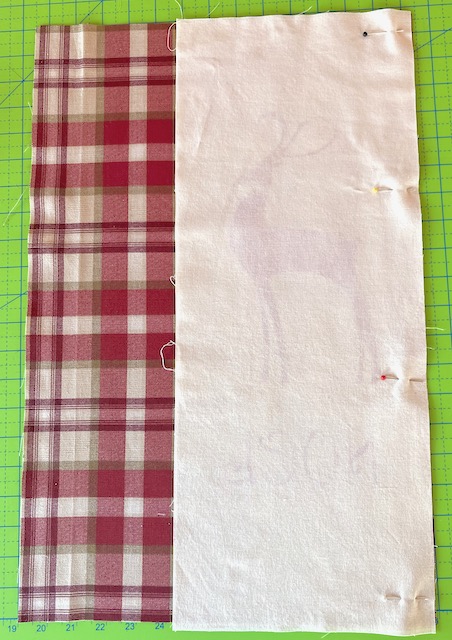
- Place the painted panel right side down on the plaid rectangle. Place the second cream rectangle on top and pin the right edges together. Sew through the layers of the right edge, joining the plaid layer to the two cream layers. Press the seam to the plaid panel.
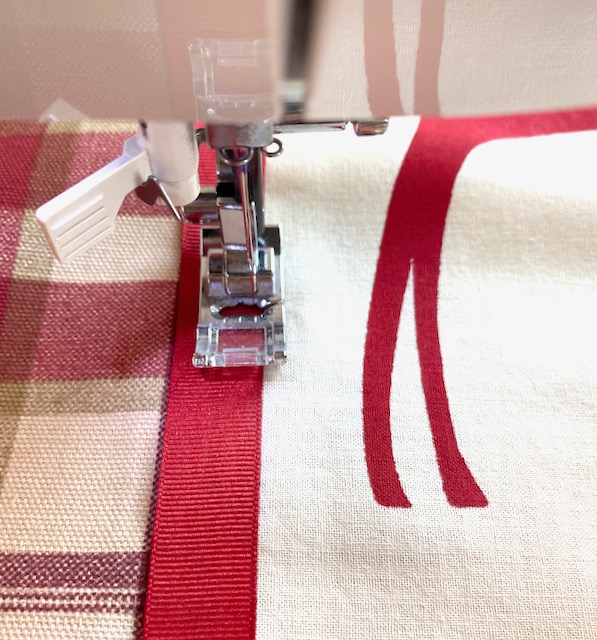
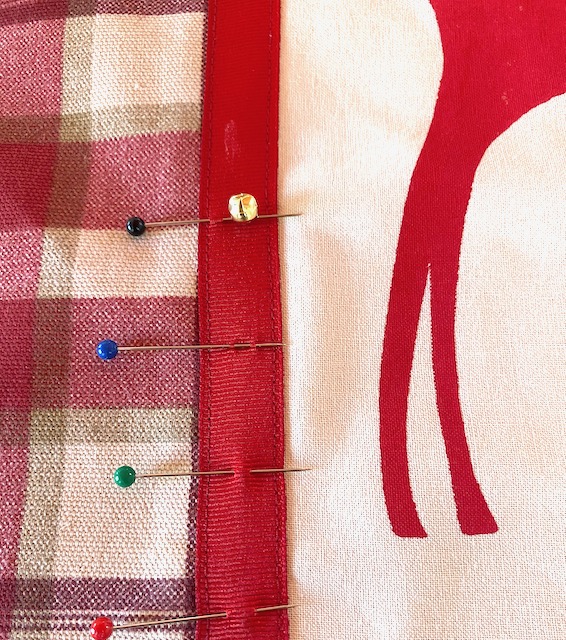
- Cut ribbon to measure 21.25”. Pin it on the right side of the fabric, over the seam between the plaid and cream panels. Sew down both edges of the ribbon to attach it to the fabric and cover the seam line. The joined fabric will result in a 21.25” square.
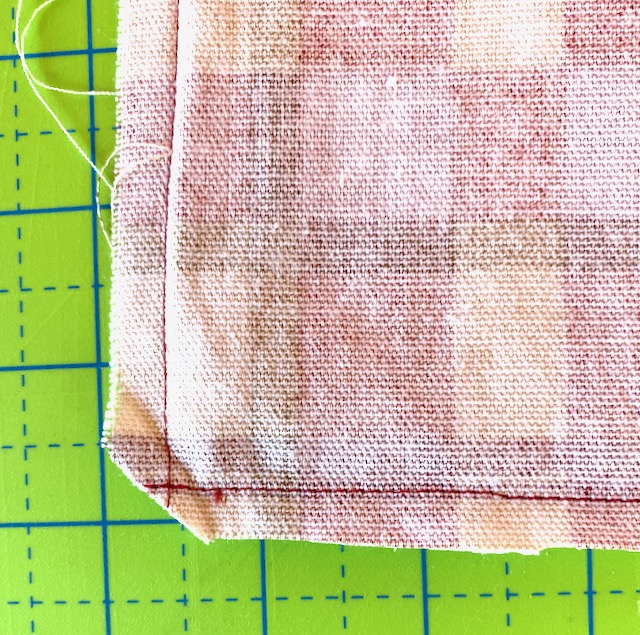
- Pin the bottom of both squares with right sides together. On the bottom edge, sew 3” in from both sides. Press the seam allowance open across the entire bottom. Pin the zipper right side down on the pressed seam.
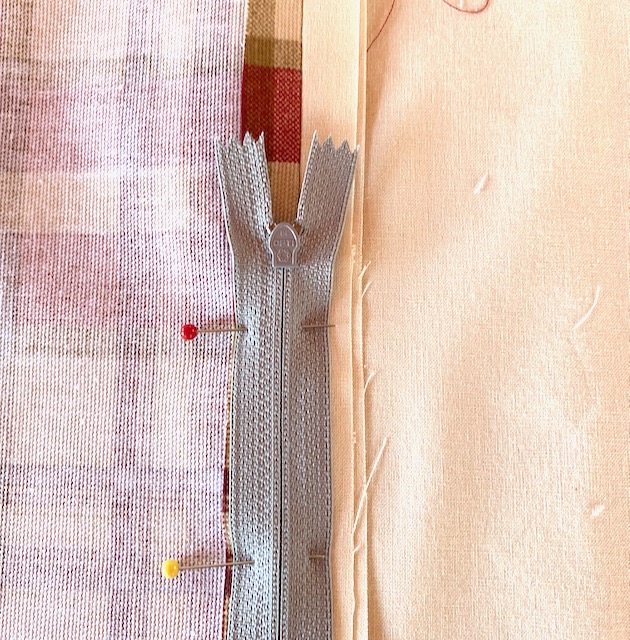
- Flip the fabric over and sew the zipper in place.
- Open the zipper. With right sides together, sew the other three sides of the pillow cover. Trim corners and turn the fabric right side out.
- Place 19 pins one inch apart down the length of the ribbon. Hand sew bells where marked by the pins.
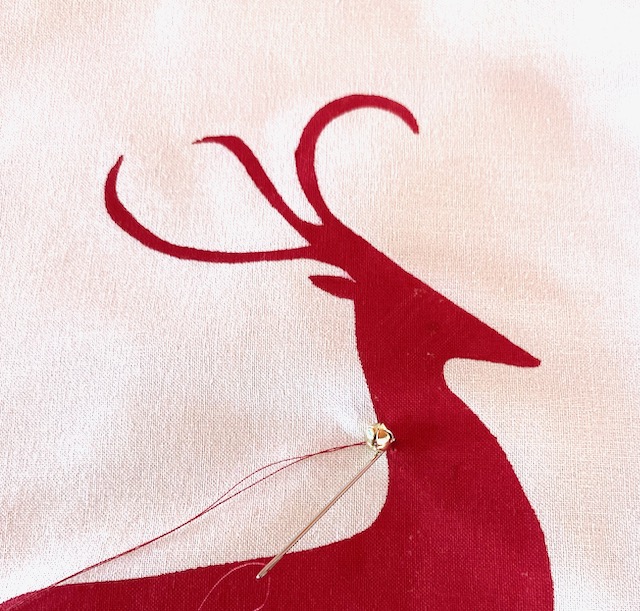
- Hand sew four bells at the reindeer’s neck.
- Insert an 18” pillow form and zip the pillow shut.
© Instructions, templates, stencils and photos are offered for personal use only, not for resale. All are property and the copyright of Domestic Diva Online, 2021.
I can only download the reindeer
Hi Judy! The reindeer image and Noel lettering are the only downloads available for this pattern. Let us know if you experience any issues with downloading the PDF or SVG file. Thanks! – Ashley, We Like Sewing
I have been unable to download the reindeer and Noel images to use as stencil on the Winter Day throw pillow. Please can you advise me as to what I need to do. I am a Gold member. Grateful thanks
Hi Bernadette! I just emailed you the files. Let us know if you have any issues opening them. Have a great day! – Ashley, WeLikeSewing
I do not see the download for the pattern, only the download for the reindeer pattern. Am I missing something?
Hi Denise! The reindeer pattern is the pattern download. The PDF version is located at the bottom of the page for Gold members, while the SVG file is located within the Materials list. Please let us know if you have any other questions. Have a great weekend! – Ashley, WeLikeSewing
I have cut the reindeer out in tartan fabric, without the words. I don’t have any means of transferring the image to the fabric I want to use. I do have a light pad. So I drew around the outline with white dressmaker chalk. I sewed the deer on a plain white fabric. So I have a winter pillow, rather than a chrome pillow. It looks really good.
SVG image wont download
Hi Jen! Thanks for letting us know about this issue. We’ve moved the SVG image up to the top of the pattern; this image should open in a new tab. Please let us know if you’re experiencing any issues. Have a great day! – Ashley, WeLikeSewing
Thank you
You’re welcome, Jen! Have a great day! – Ashley, WeLikeSewing