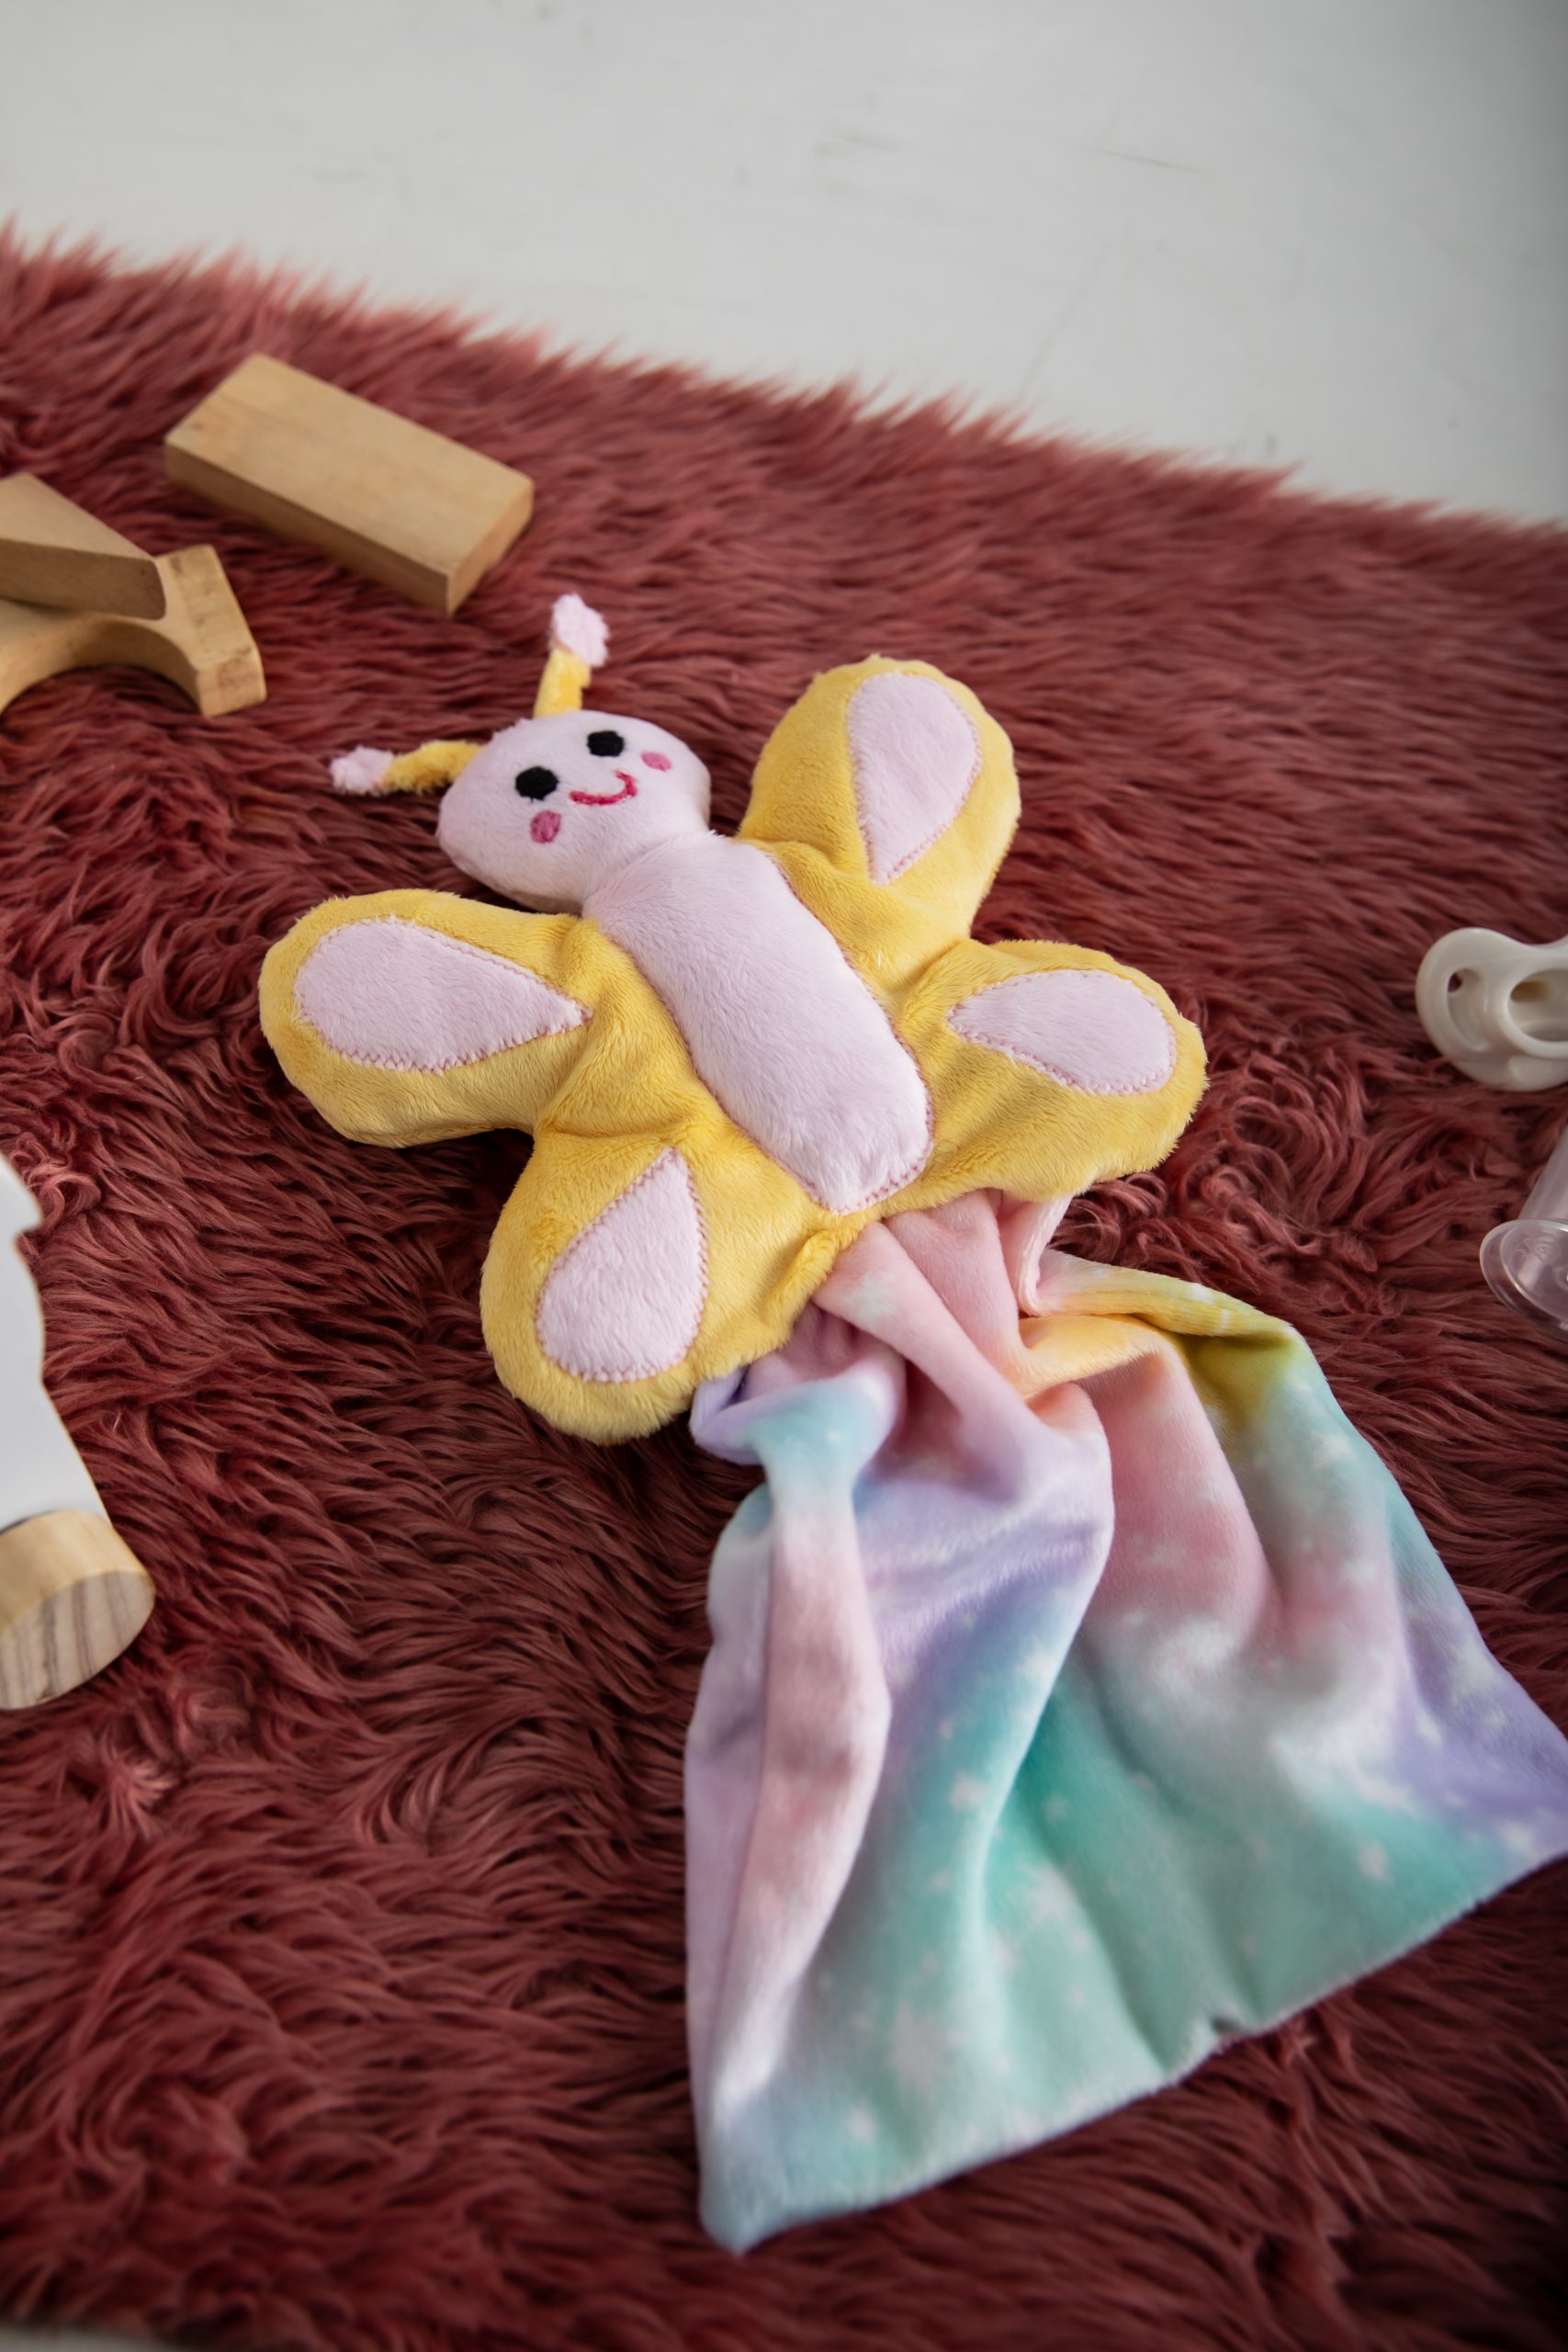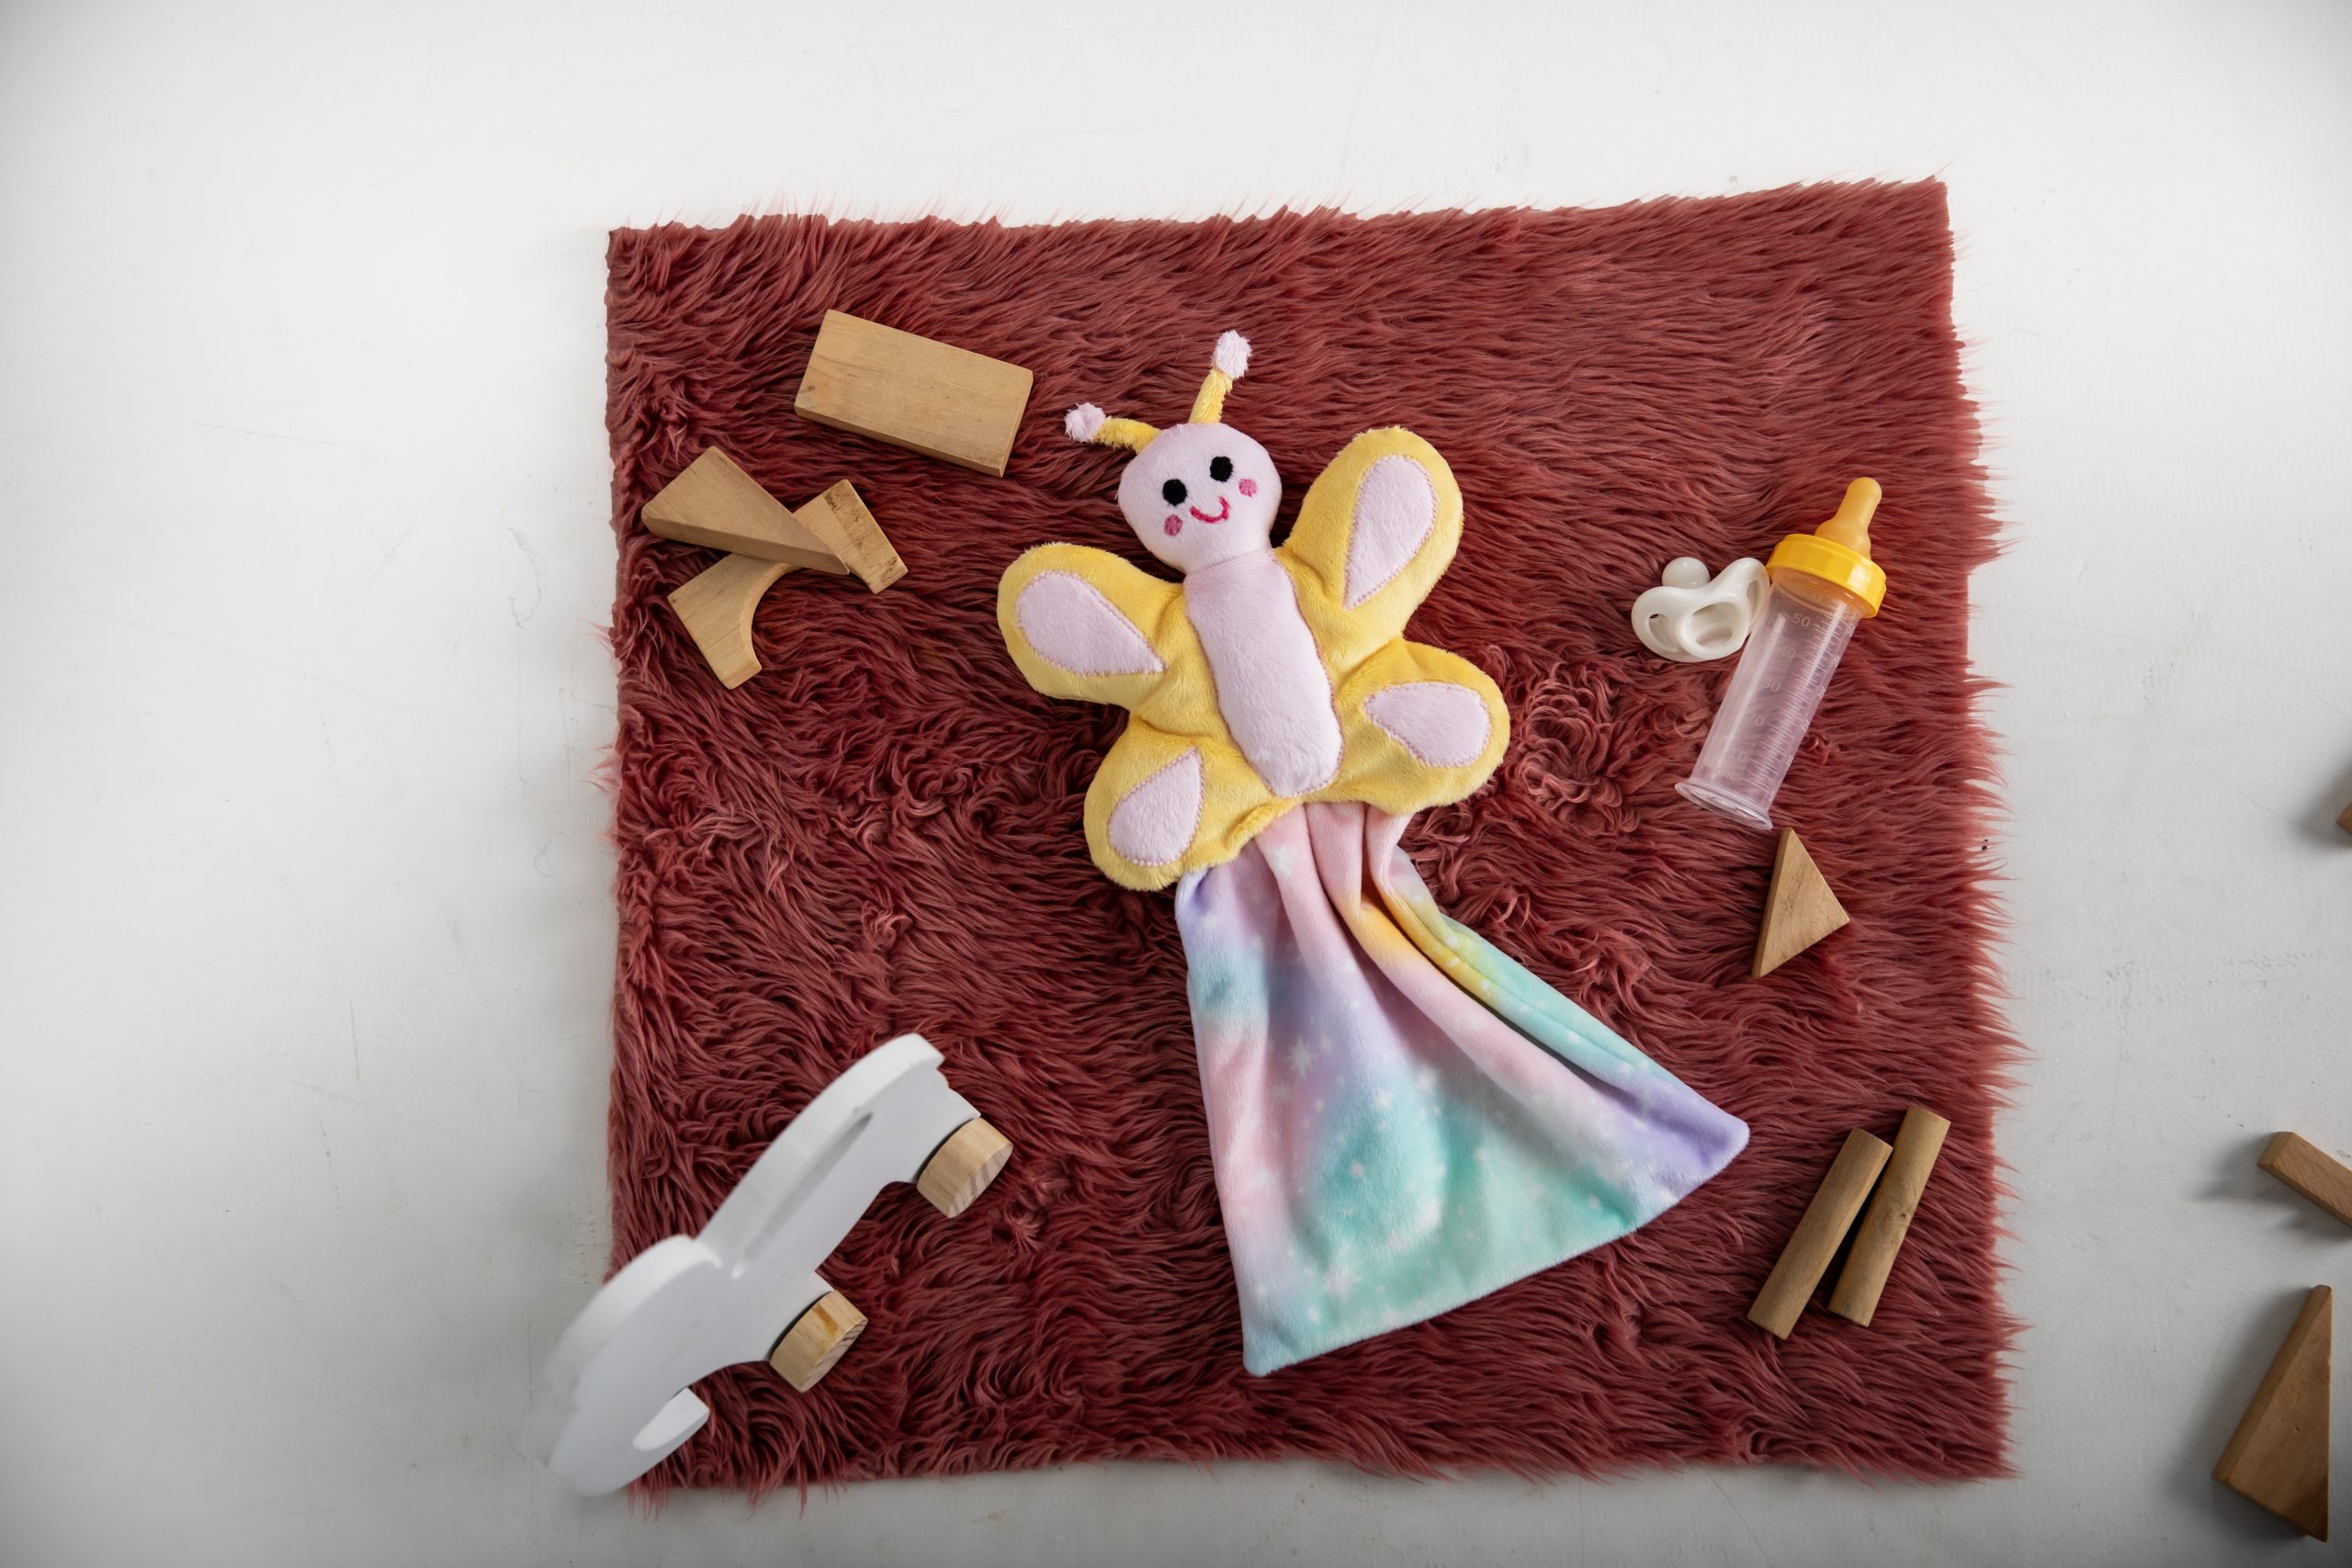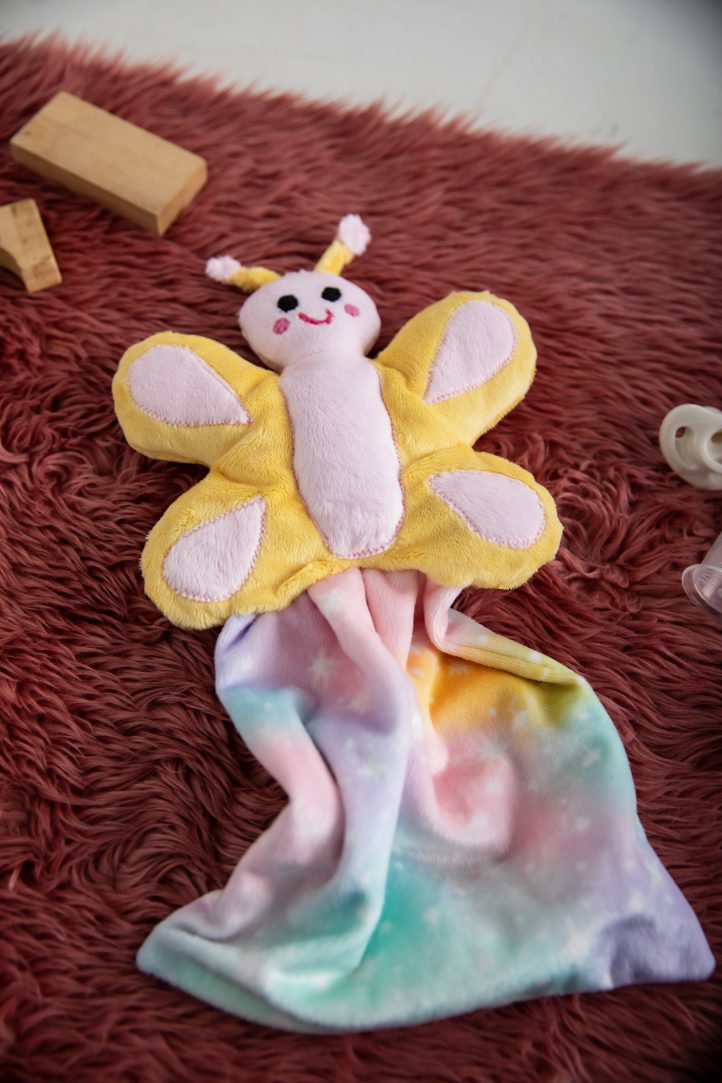
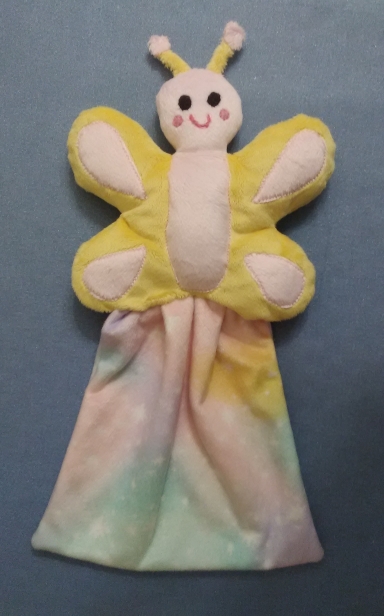
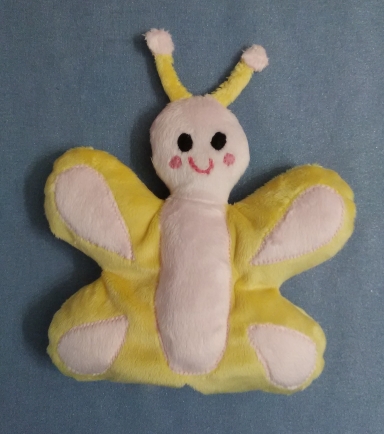
Your little one will love snuggling up with this adorable lovey pattern! New from Christy Jones, this butterfly lovey pattern works best with soft fabrics like minky or anti-pill fleece and features a friendly butterfly for kids to cuddle with. Sew your lovey for your next baby shower or as a spring gift for your grandkids with this thoughtful sewing project. Please note that soft toys like loveys are recommended for ages 1 and up.
Skill Level: Beginner-Intermediate
Time: 4 hours
Designer Note: Use 1/4 inch seam allowance.
Materials:
- 1/4 yard yellow fabric
- 1/4 yard light pink fabric
- Optional: 1/4 yard fabric for blankie (or use leftover butterfly fabric)
- Small scraps of black and bright pink, high-quality felt for face
- Matching threads
- Dark pink embroidery floss
- Medium hand sewing needle with a large eye
- Stuffing
- Stuffing tool (pencil, pen, or crochet hook)
- Non-toxic, light-colored, fine-tipped marker
- PDF Pattern – This is located at the bottom of this page. Please see printing instructions below.
PRINTING INSTRUCTIONS:
To download the PDF pattern, click on the download button at the bottom of the page. We recommend opening your download using Adobe Acrobat.
Print 1 copy of pattern PDF and cut out the pieces.
TIPS FOR CUTTING MINKY OR FABRICS WITH A PILE:
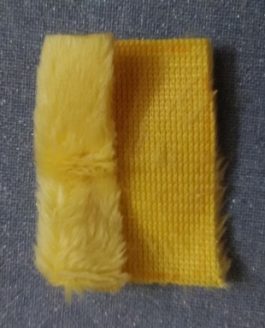
- When laying out the pattern pieces, make sure your fabric’s pile runs from top to bottom. If you run your hand down the fabric — like petting an animal’s fur — it should become smooth, not
rumpled.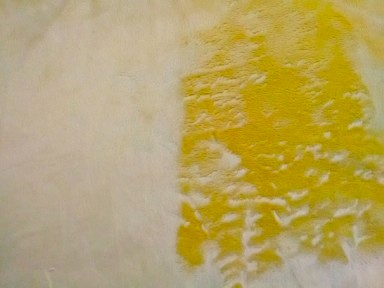
Pile brushed down (left) vs rubbed the wrong way (right)
- Pin the patterns to the wrong side of the fabric. Use plenty of pins, as minky tends to be stretchy and slippery.
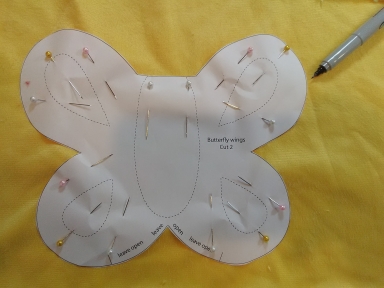
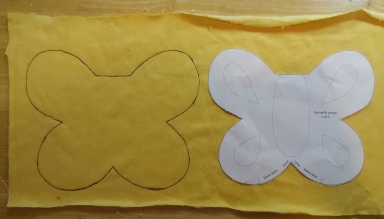
- Trace around the pattern using a light-colored, non-toxic marker. (Black shown here for visibility.) Remove the pattern and cut along the lines using a sharp pair of scissors or a rotary cutter.
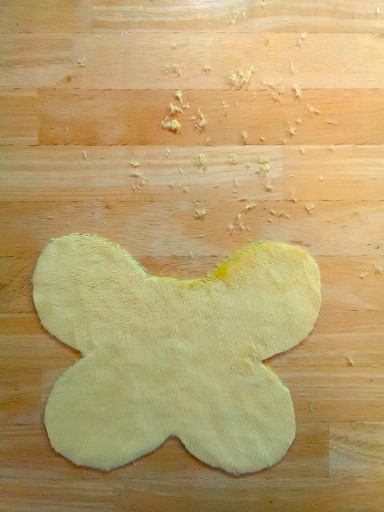
- Run your hands gently over the cut edges to remove any loose fluff before sewing. (You may want to do this over a wastebasket.) Clean up loose fluff using a vacuum or a large piece of tape
folded into a loop.
Sewing Instructions:
MAKE THE BUTTERFLY WINGS AND BODY:
- Cut 2 butterfly wings from yellow fabric.
- Cut 1 upper highlight and 1 lower highlight from pink fabric.
- Flip the highlight patterns over and cut 1 more upper highlight and 1 more lower highlight from the pink fabric.
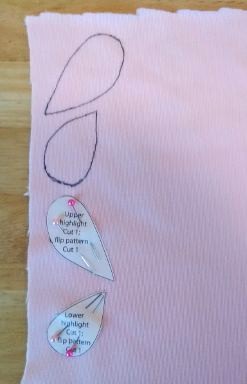
- Cut 1 butterfly body appliqué from pink fabric.
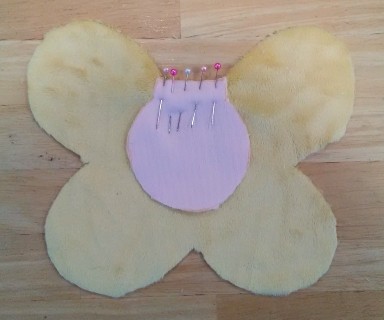
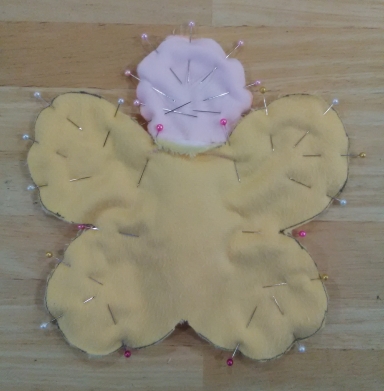
- Position the upper and lower highlights and the body appliqué on one of the butterfly wing pieces, as shown by the dotted lines on the wing pattern. Pin the appliqués in place.
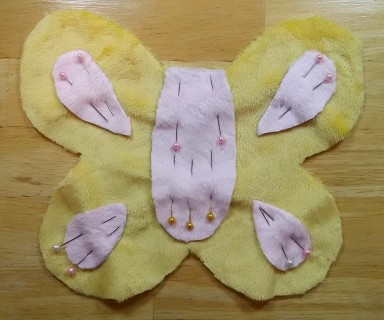
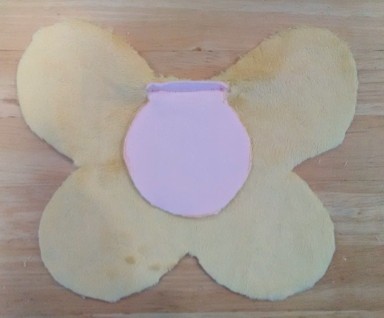
- Zigzag stitch around each highlight using pink thread. Zigzag stitch around the curved edges of the body appliqué, leaving the upper straight edge open.
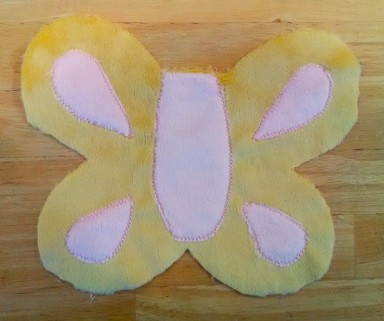
- Lightly stuff the body, leaving the top half inch unstuffed.
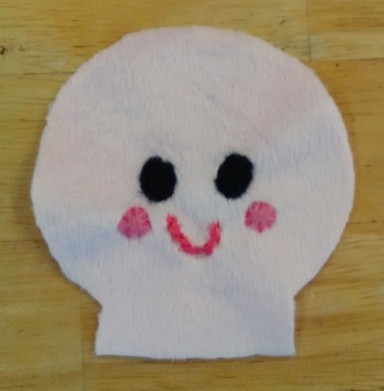
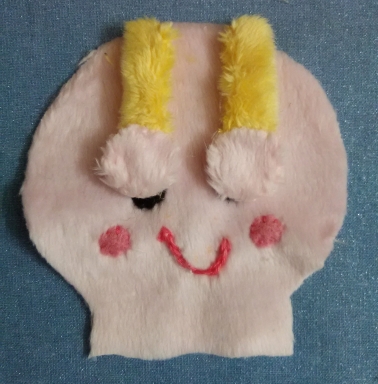
MAKE THE BUTTERFLY HEAD AND ADD THE FELT FACE:
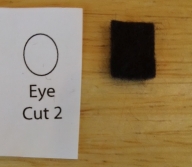
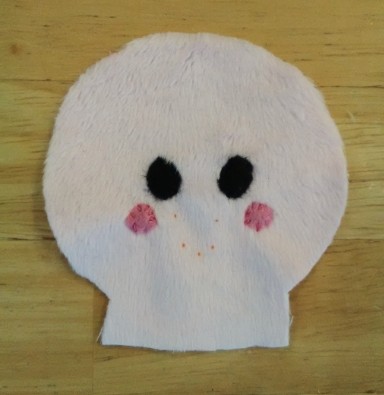
- Cut 2 butterfly heads from pink fabric.
- Cut 2 eyes from black felt and 2 cheeks from dark pink felt. Tip: Since these pieces are small, you may find it easier to cut a felt rectangle about the size of the eye or cheek, round off the corners, then hold it up to the pattern to check for size and shape. Continue trimming as needed until the felt matches the pattern.

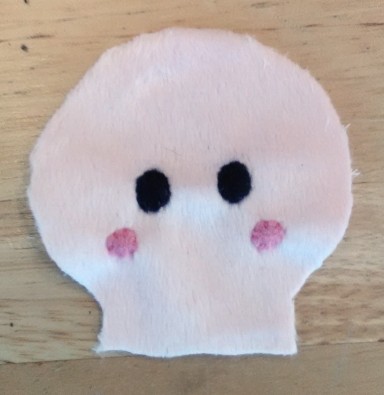
- Position the eyes on one of the butterfly head pieces. Whipstitch the eyes to the head using black thread.
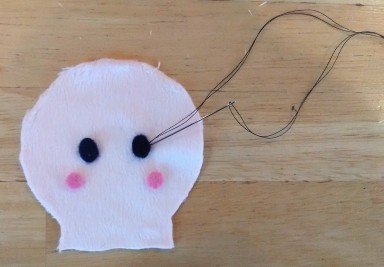
- Whipstitch the cheeks to the head using pink thread.
EMBROIDER THE BUTTERFLY’S MOUTH:
- Use a pin to poke a few small holes along the mouth line, as shown by the black dots on the pattern.
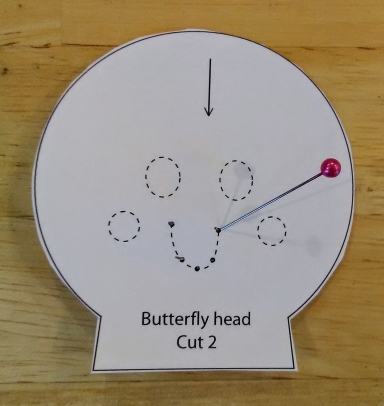
- Pin the head pattern to the face, and poke the fine-tipped marker through the holes to mark the dots on the face.
- Connect the dots to form the smile.
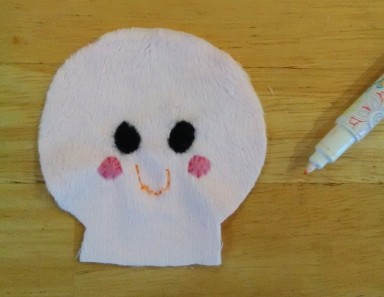
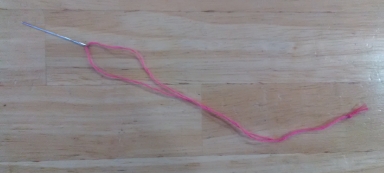
- Separate out three strands of dark pink embroidery floss. Double thread the needle, and tie a knot. (This lets you use a smaller needle, as a thick embroidery floss needle can be difficult to
push through minky fabric.)
- Straight stitch down one side of the mouth line, working from top to bottom so your stitches go in the same direction as the fabric pile. Stop at the bottom of the mouth.
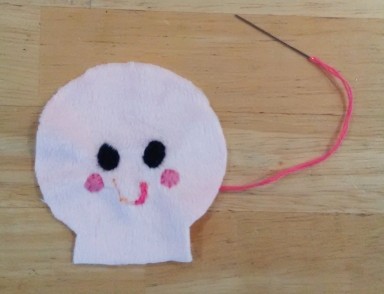
- Straight stitch down the other side of the mouth line, working from top to bottom, until you complete the smile.
ATTACH THE BUTTERFLY HEAD TO THE BODY:
- Place the head piece with the face right side down on the butterfly wing piece with the body and highlights, lining up the straight edge of the head with the straight area between the upper wings. Pin the head to the body.
- Stitch the head to the body.
- Attach the other head and wing pieces the same way, for the back of the butterfly. Then flip the heads right side up.

ANTENNAE:
Note: You may want to leave off the antennae if you’re making the lovey for a young child who likes to chew on toys.
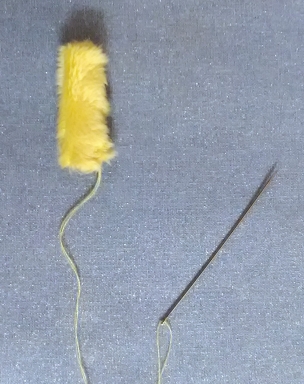
- Cut 2 antennae stems from yellow fabric.
- Cut 4 antennae tips from pink fabric.
- Place one antenna stem right side down. Fold the sides over so they meet in the center.
- Fold the antenna in half, enclosing the raw edges. Whipstitch along the open edge using yellow thread.
- Place one antenna tip on top of the antenna, overlapping them by about 1/4 inch and forming a lollipop shape. Whipstitch the lower edge of the antenna tip to the antenna.
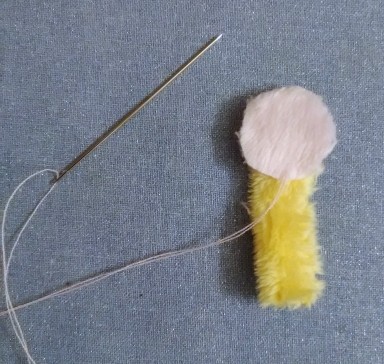
- Flip the antenna over and place an antenna tip on top of the back of the antenna, lining up the edges of this antenna tip with the first antenna tip.
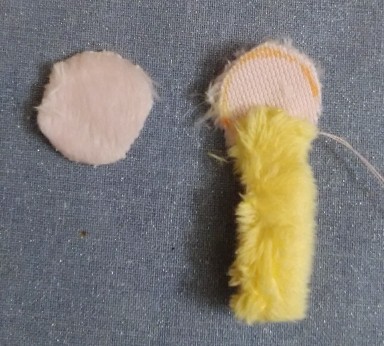
- Whipstitch the lower edge of this antenna tip to the antenna, then whipstitch the edges of the antenna tips together.
- Make the other antenna and add the tips the same way.
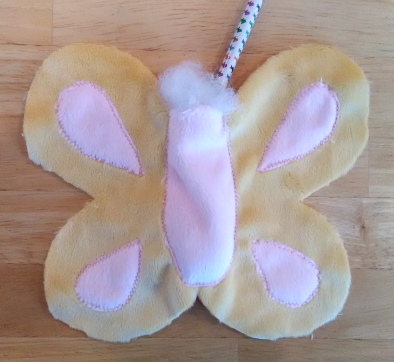
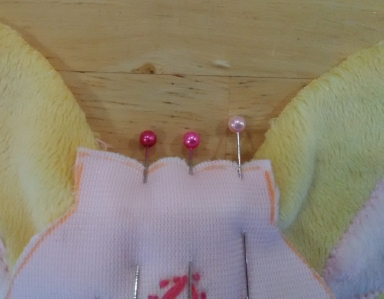
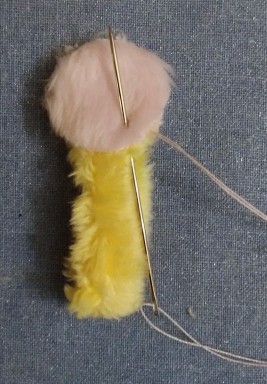
- Position the bottom ends of the antennae at the top of the head with the face. Baste the ends of the antennae to the top of the head with a few hand stitches, so they stay in place and get sewn
into the seam when you sew the front and back of the head together.
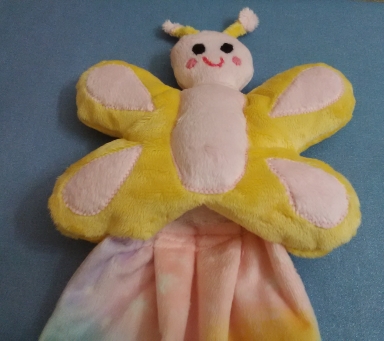
ASSEMBLE THE BUTTERFLY:
- Place the butterfly front and butterfly back right sides together. Pin them together at the corners of the head and wings, to make sure those areas are lined up. Mark the area to leave open at the bottom of the butterfly (as shown on the pattern) with pins.
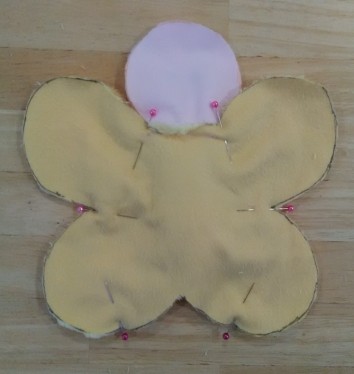
- Pin the rest of the edges together using plenty of pins.
- Stitch around the outside edges of the butterfly, leaving the lower edges open. Clip the curves and corners, taking care not to cut the seam.
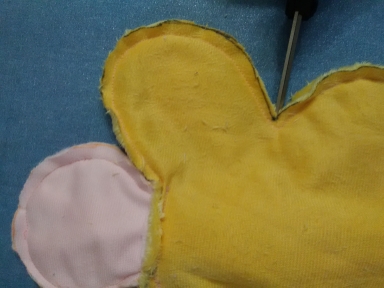
- Turn the butterfly right side out. Use your stuffing tool — such as the eraser end of a pencil, or the blunt end of a pen or crochet hook — to gently poke all the edges until they’re fully turned out.

- Stuff the butterfly head and neck firmly, then stuff the wings lightly.
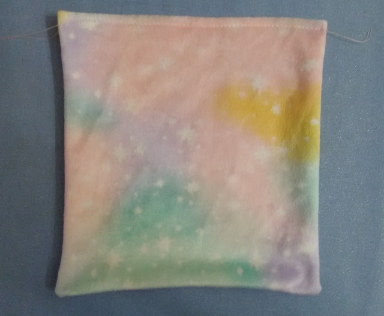
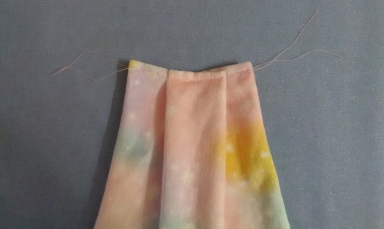
SEW THE BLANKIE:
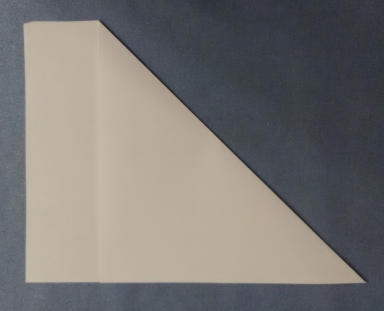
- Make an 8 1/2 inch square pattern by folding a letter-sized sheet of paper diagonally, then cutting off the excess.
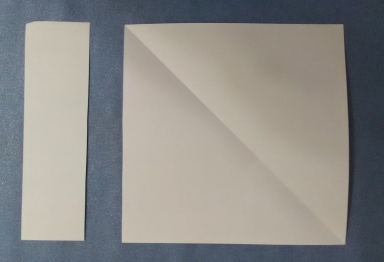
- Cut two 8 1/2-inch squares from blankie fabric or from leftover butterfly fabric.
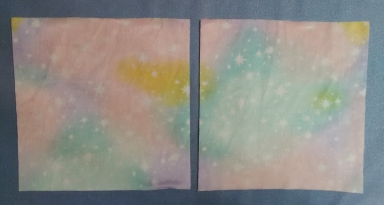
- Place the squares right sides together, making sure the fabric pile (if any) goes in the same direction for both pieces. Pin the squares together along the edges.
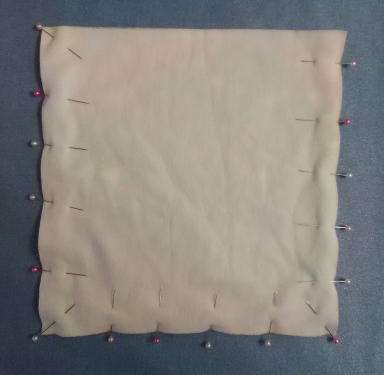
- Stitch the squares together along the sides and bottom, leaving the top unstitched. Clip the corners.
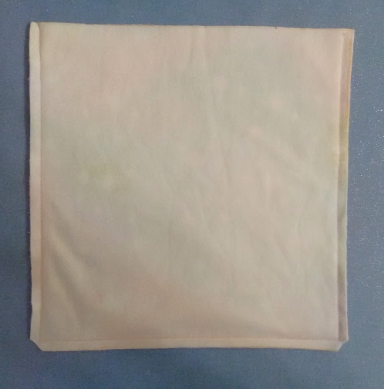
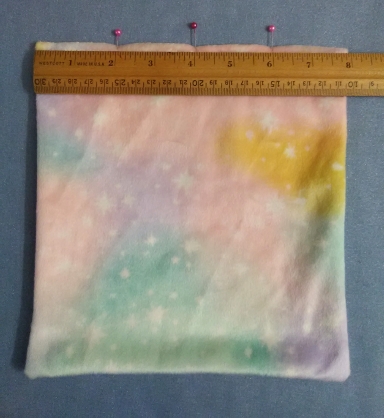
- Turn the blankie right side out, and baste the top edge closed.
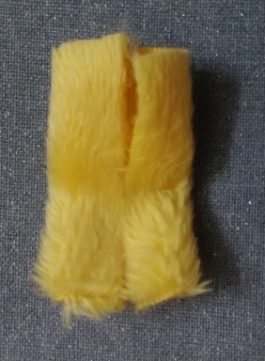
- Mark the 2-inch, 4-inch, and 6-inch points with pins at the top of the blankie.
- Bring the 2-inch pin and the 6-inch pin behind the 4-inch pin, forming a box pleat. Pin the pleat in place.
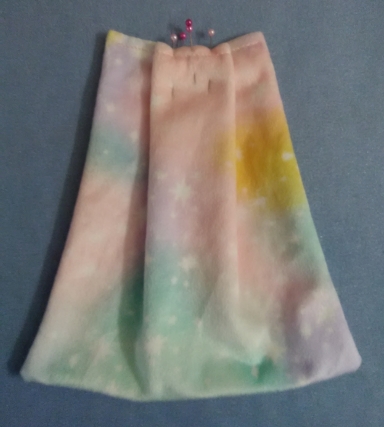
Box pleat (front view)
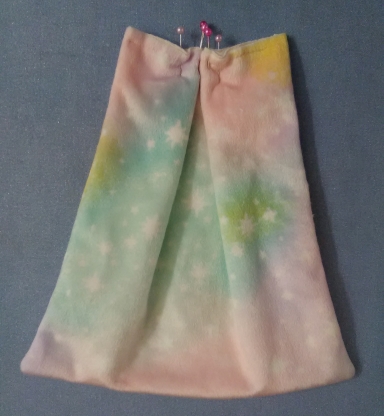
Box pleat (rear view)
- Baste along the top of the pleat.
ATTACH THE BLANKIE TO THE LOVEY:
- Flip the blankie over, so the box pleat is face down. Place the butterfly on the blankie, lining up the open end of the butterfly with the basted edge of the blankie. Pin the back open edge of the
butterfly to the basted edge of the blankie.
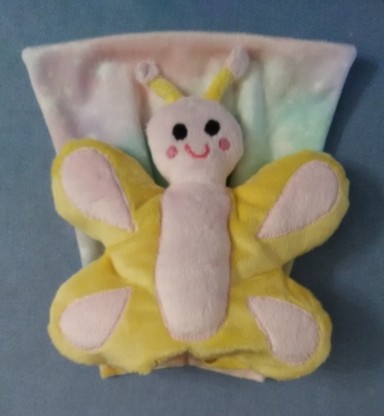
- Sew the back of the butterfly to the blankie.
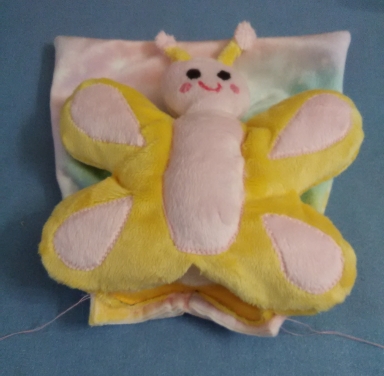
- Flip the blankie so it hangs below the butterfly. Tuck the corners of the blankie inside the butterfly.
- Fold the open edge of the butterfly under slightly as you hand stitch it to the blankie using a whipstitch or ladder stitch. Put the needle through only the top layer of the blankie fabric and the
fold of the butterfly edge, so the stitches don’t show through.
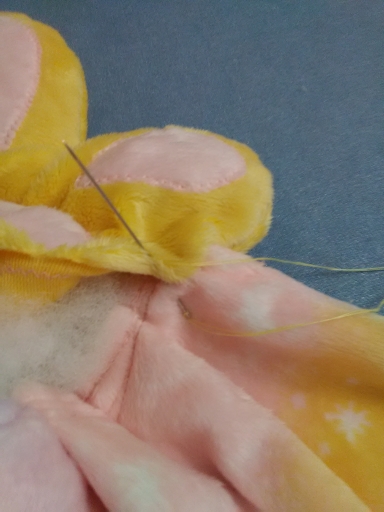
- Continue hand stitching until the opening is securely closed.
The butterfly is ready to love!