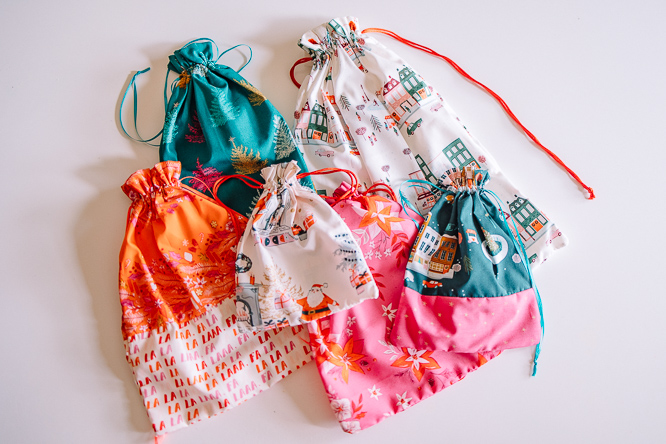
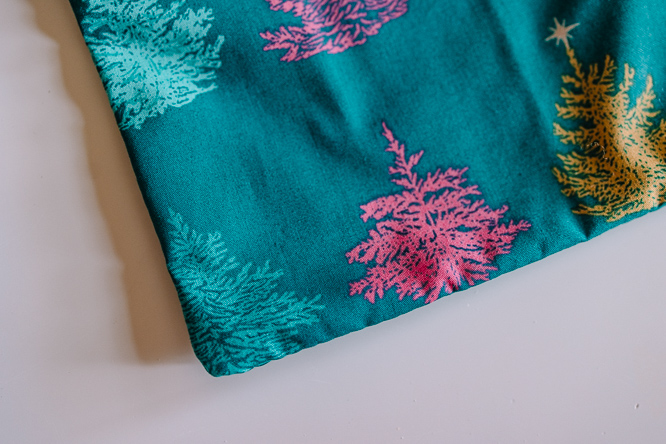
Break out your festive fat quarters because this is one holiday project you won’t be able to resist! These colorful and fun sewn gift bags are a beginner friendly sewing project that’s a reusable alternative to paper gift wrap. Perfect for stocking stuffers, these fabric DIY gift bags are ideal for holding jewelry, small toys and other holiday goodies. Finish your bags with a color-coordinating ribbon for an easy drawstring closure.
Materials:
For one gift bag approx. 14”x 16”
- 1 fat quarter of fabric
- 72” of thin ribbon
- Matching or contrasting thread
Tools:
- Rotary cutter
- Cutting mat
- Ruler
- Scissors (if not using a rotary cutter)
- Small or medium sized safety pin
- Iron
- Seam ripper
- Fabric turner tool (or chopstick, pencil, or something similar)
- Sewing machine
Cutting Instructions:
- Cut 2 rectangle pieces of fabric from the fat quarter, 14.5” x 17.5” each.
- Cut 2 lengths of ribbon 34” each.
Sewing Instructions:
SEWING THE BAG:
- Place the 2 rectangles right sides together. Starting at the top corner of a long edge, sew with a zig-zag stitch around 3 sides using a 1/4” seam allowance. Backstitch at both ends. Do not sew along the other short end.
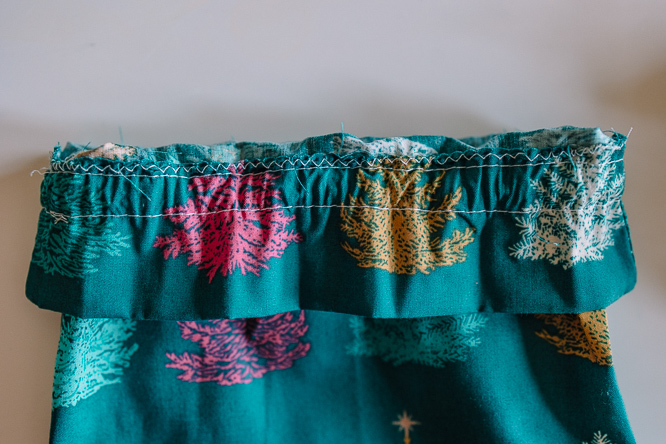
- Zig-zag stitch along the top edge single layer of fabric to prevent fraying. (Alternatively, you could turn the top edge under 1/4” and press.)
- With wrong sides still facing out, fold the top edge down about 1.5”, press, and sew. Using a straight stitch, sew right next to the zig-zag edge (or as close to the edge as possible to catch the turned-under top edge).
- Now sew a second straight seam above the first seam, using your ribbon to measure how far away from the first seam it should be. (3/8 – 1/2” or so should be enough room.)
- Turn the bag right side out and poke the corners out using a fabric turner tool, chopstick, pencil, or something similar. Press the edges.
- Use your seam ripper to open up the stitches in the side seam on each side of the bag between the two rows of stitching that form the casing. Backstitch lock 3-4 stitches at each end of stitching that was opened up to prevent threads from unraveling.
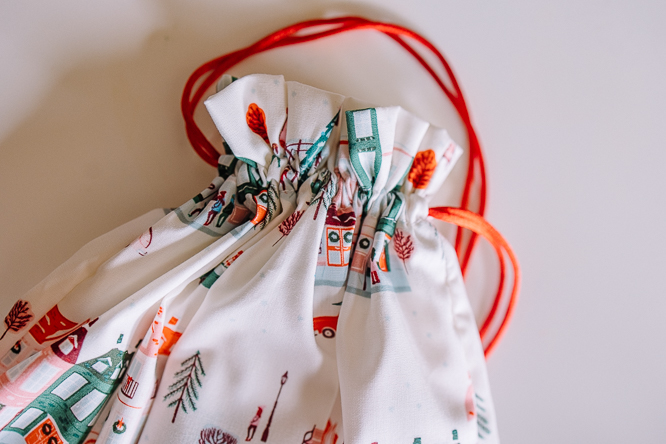
- Thread one piece of ribbon all the way through the casing so it enters and comes out through the same opening. Tie a knot and take the second piece of ribbon to do the same, this time threading it through the opposite opening so that it enters and comes out through the other opening. Tie a knot in the end.
- Pull each knotted ribbon outward to close the bag. Voila! You are finished.
GO WILD:
Here are some ideas for how to kick it up a notch and make your bags more unique and interesting!
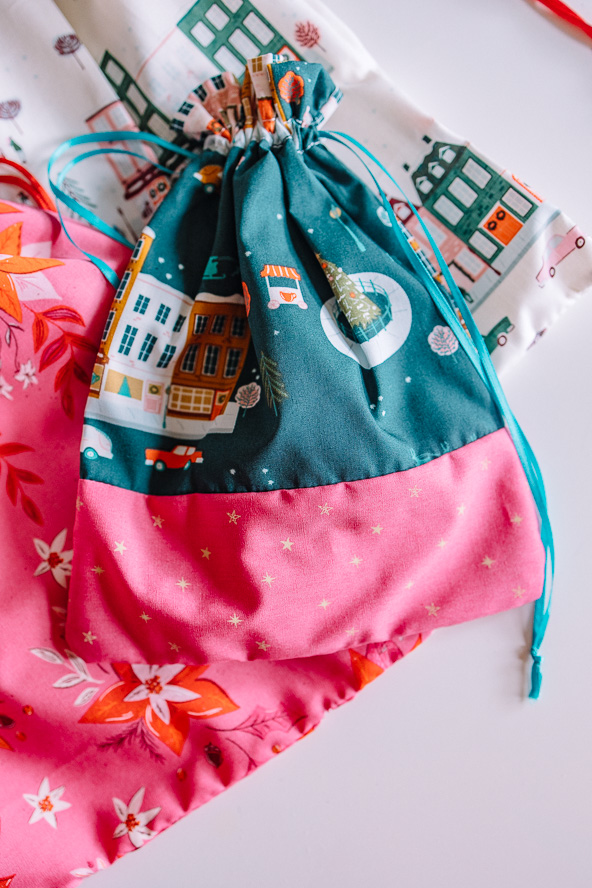
- Create two-tone gift bags by using two fabrics instead of one. To create a 14.5” x 17.5” rectangle, cut one piece of fabric 14.5” x 12” and the other 14.5” x 6”. With right sides together, sew the pieces together using a 1/4” seam allowance along the 14.5” edges. Fold out and press. You should now have a rectangle that is the correct size made with the two fabrics. Repeat to create a second rectangle, then follow the instructions above.
- Create patchwork pieces to create rectangles to the dimensions listed above. Follow the instructions to make your own funky patchwork bags!
- Use thin, torn strips of fabric instead of ribbon to give your bags a different kind of feel.
- Make bags in all sorts of sizes! There are no rules. You can cut rectangles in whatever size you like and follow the same instructions above. For the ribbon length, a good rule of thumb is twice the width of the bag plus 6 inches.
- Box the bottom corners to add dimension to your bags. To box corners:
- Turn your tote bag inside out. Fold the corner to align your seams in the center. Press the corner and seams with an iron.
- Measure and mark along both sides of the corner edge for the depth that you’d like. For example, 1″ on each side of the seam will result in a 2″ finished corner seam. Use a ruler to draw a straight line connecting the two marks.
- Sew along the line you drew, backstitching both ends. Cut off the corner.
- Turn your tote bag right side out to admire your boxed corners!


Am I able to download projects, or save issues to revisit.
Hello there! If you’re a subscriber to We Like Sewing, you will be able to download any pattern PDFs on our site (this project does not have a pattern download). Subscribers also have access to all of our issues via the magazine tab at the top of the site. If there’s a specific issue you would like to revisit, we recommend bookmarking that page. Let us know if you have any questions! – Ashley, WeLikeSewing