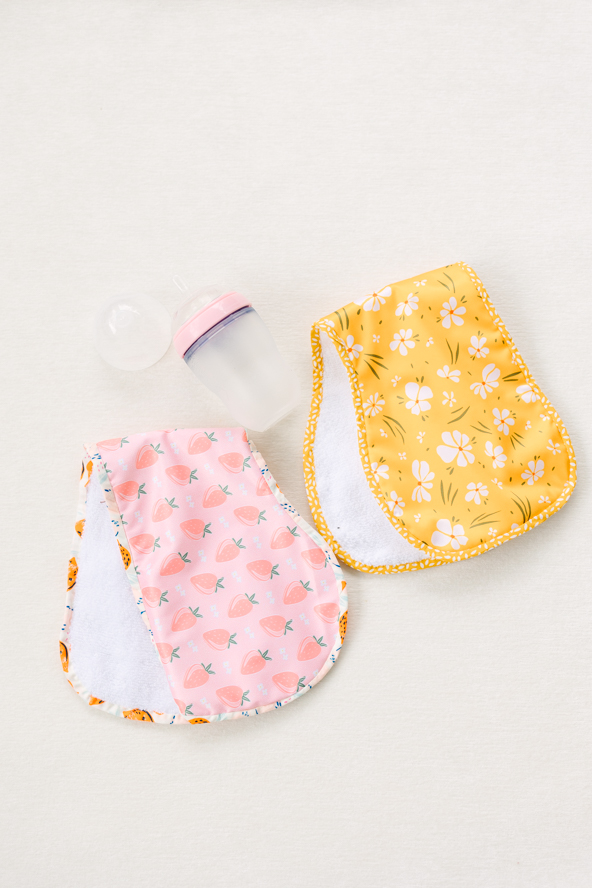
Make a homemade baby shower gift that’s perfect for the mom-to-be in your life! Made with both absorbable terrycloth and easy-to-clean laminated cotton, these easy baby burp cloths are great for new moms on the go. This baby sewing pattern features a slightly curved edge to easily fit over the wearer’s shoulder, and the soft terrycloth quickly wipes away and absorbs any messes. Practice sewing thicker and more specialty fabrics with this easy sewing project.
Materials:
- Fabric: laminated cotton; terrycloth, one yard of each
- Bias tape: 3 yards
- Sewing thread: white
- PDF Template – This is located at the bottom of this page. Please see printing instructions below.
Tools:
- Dressmaker’s shears
- Sewing clips
- Sewing machine
- Hand sewing needle
PRINTING INSTRUCTIONS:
Note: To download this pattern, click on the pattern download button at the bottom of the page. We recommend opening your pattern download using Adobe Acrobat.
DESIGNER NOTES:
These baby burp cloths can also be used as a handy bib for older babies and toddlers – simply add a snap fastening or a square of hook and eye tape to the top of each curved edge to hold it in place!
Instructions:
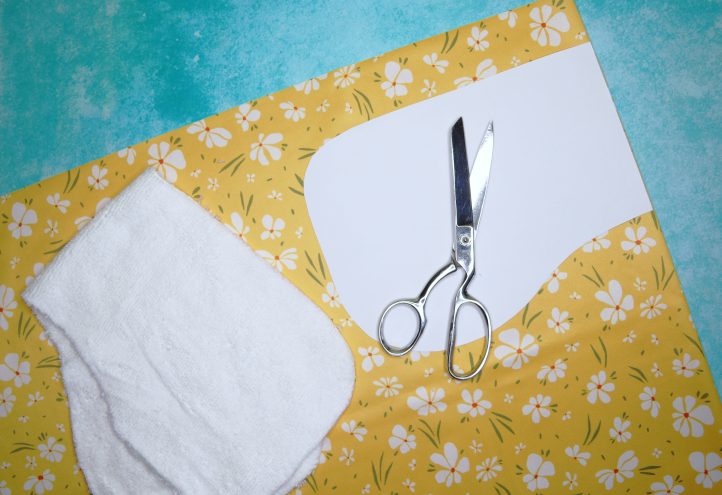
- Use the templates provided to cut two pieces per burp cloth – one from terry toweling (terrycloth), and one from laminated cotton. Place the template (this is located at the bottom of this page) on the fold as indicated before cutting, then open each fabric piece out. The designer folded the fabric just straight downwards with the grain, and then the template was placed on the fold, so they’re cut straight with the grain.
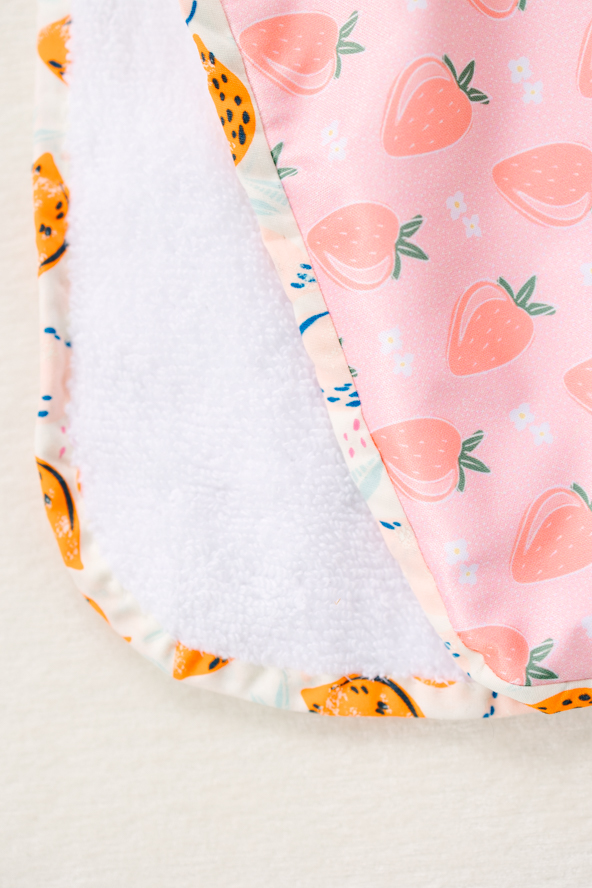
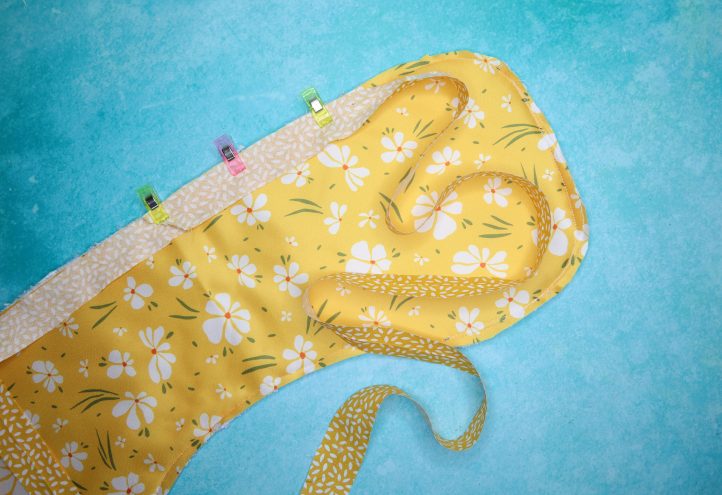
- With right sides facing out, layer each terrycloth piece with a laminated cotton one, ensuring all the edges line up. Clip them together (avoid using pins, which will leave unsightly holes behind in the laminated cotton), then carefully work a straight machine stitch all around the edge to hold the layers in place, leaving a 1/4” seam allowance.

- Lay your cloth out flat with the laminated cotton side facing upwards. Open out one folded edge of your bias tape and lay it on top of your cloth, aligning the raw edge of the cloth with the raw unfolded edge of the tape. Clip bias tape into position, then machine sew all around the edge, leaving a 1/4” seam allowance. Leave a 3” area unstitched along edges from cloth to bias tape at start and end. Then line up bias tape at start and end and stitch them together at an angle. Cut remaining bias tape off leaving 1/4” seam allowance. Then machine stitch remaining 3” opening closed.
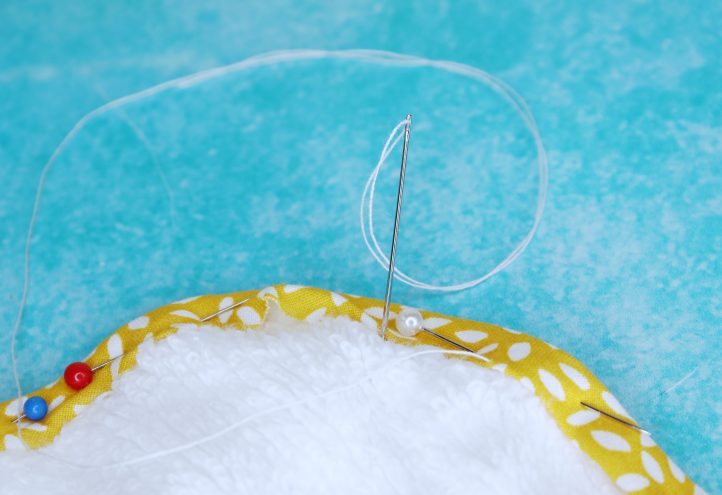
- Turn the cloth over. Fold the bias strip around the edge of the fabric to conceal it. Then turn raw edge of bias tape 1/8” under again so raw edge is hidden in folded bias tape. Hold it in place with clips or pins, then hand stitch the other (still folded) edge of the bias tape into place to finish.