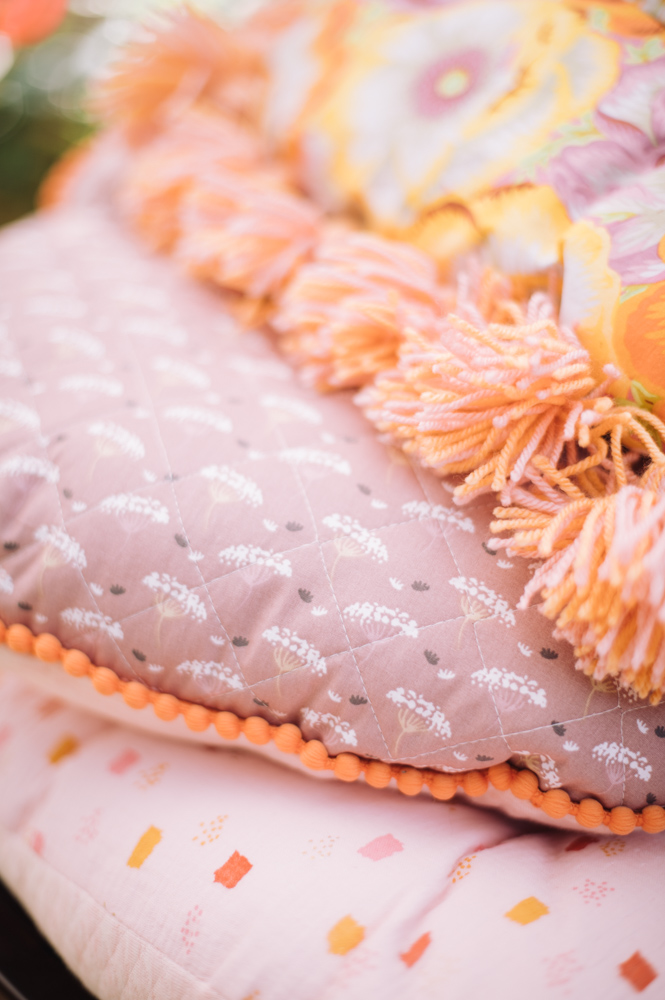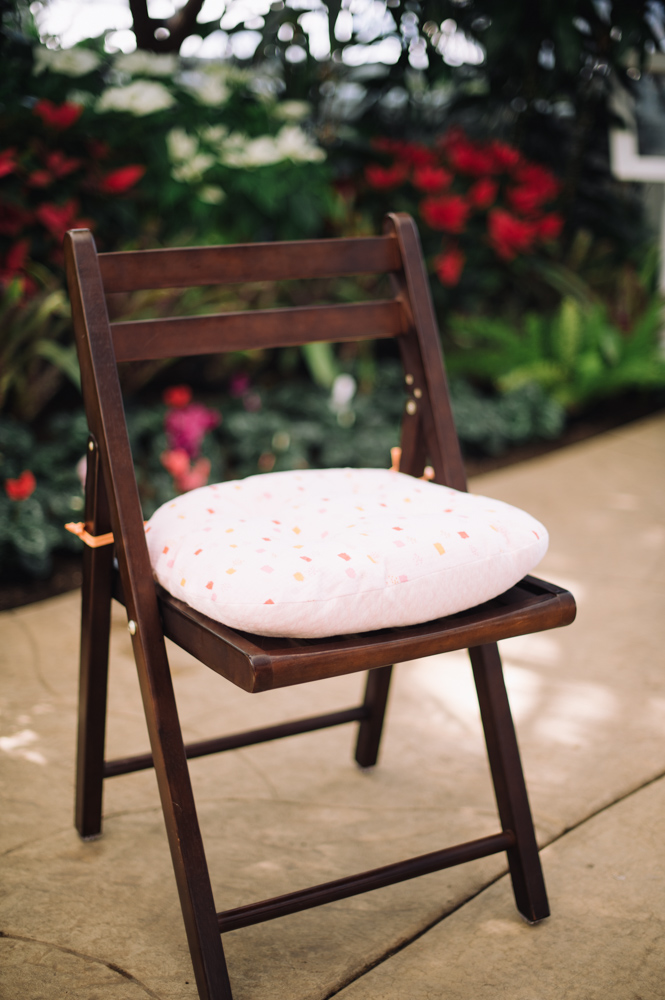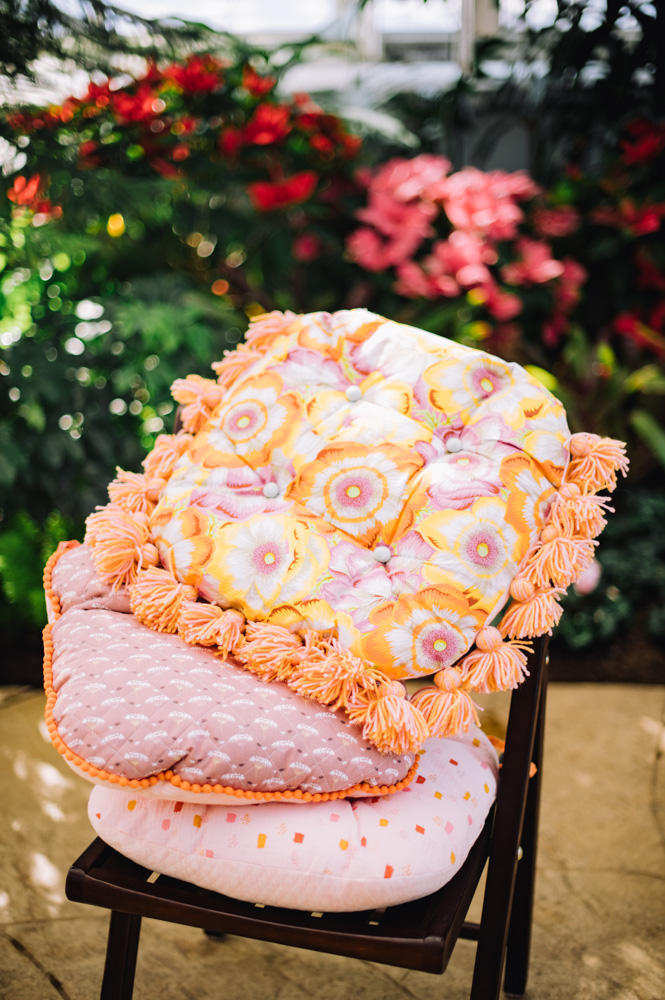
Update your patio furniture in a single afternoon by designing beautiful, custom outdoor cushions. These DIY seat cushions will inspire you to play with color, texture, trim, and more! Available in three designs, this outdoor sewing pattern shows you how to create a simple and stylish seat cushion, as well as how to add trendy tassels or pom poms and buttons. We love how this project allows you to add some stunning cushions to your patio to instantly inject a pop of color and brighten your living space. Turn your backyard into an outdoor oasis with this pretty and playful DIY idea.
Designer Note: To give your cushion cover extra durability and structure, you can fix a layer of medium- to heavy-weight fusible interfacing to the wrong side of your Front and Back fabric pieces. This will help the cushion keep its shape, even when tufted.
TUFTED CUSHION:
Materials:
- Cushion (the designer used IKEA’s 50cm [7 3/4 inches] square INNER cushion)
- Fabric: cotton, 50cm each (5/8 yards) for cushion front and cushion back; plus one fat quarter for ties
- Sewing thread
- Upholstery thread
Tools:
- Tape measure
- Scissors
- Pencil
- Dressmaker’s shears
- Pins
- Sewing machine
- Hand sewing needle
- Water-erasable fabric pen
- Upholstery needle
Instructions:
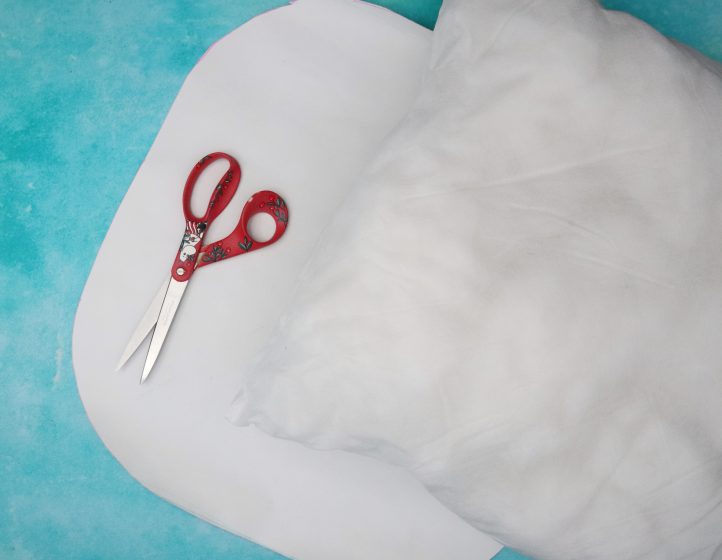
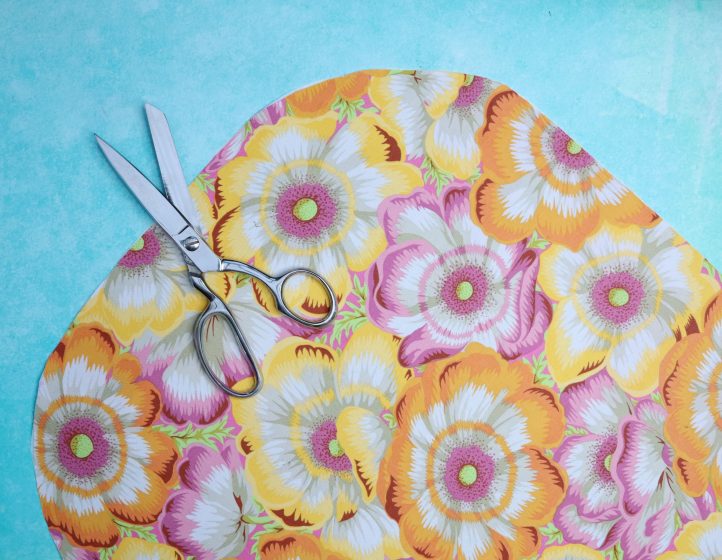
- Start by making a template. Measure your cushion inner and cut a piece of paper or card to that exact size, then round off the corners slightly. Don’t add any extra for seam allowances – this cushion cover should fit fairly snugly, so no extra fabric is needed.
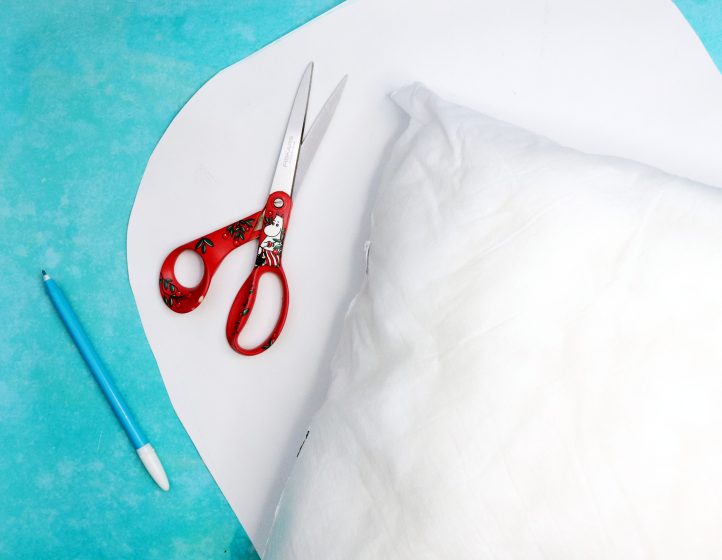
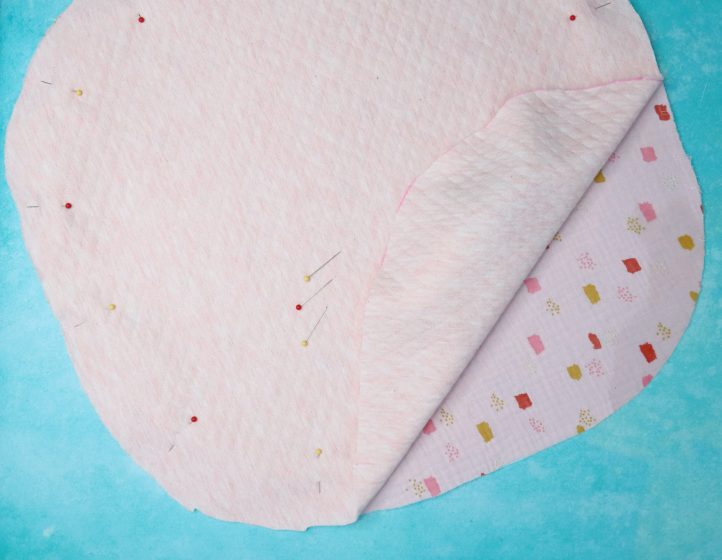
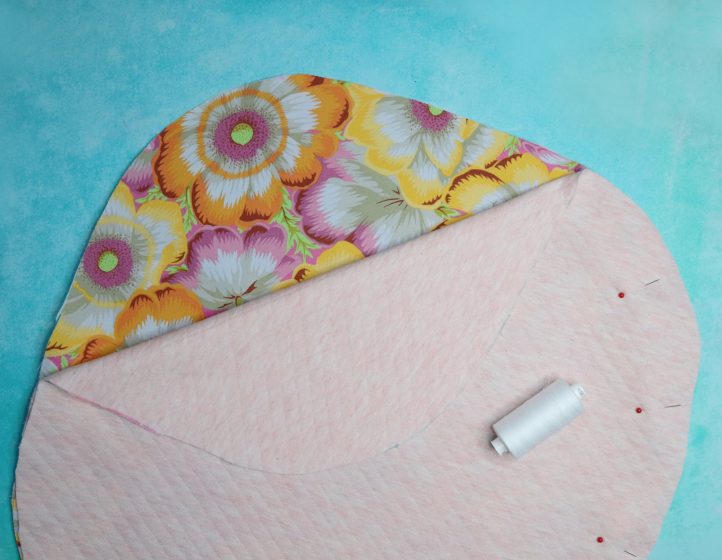
- Use the template to cut your Front and Back cushion cover pieces from cotton fabric. Once cut, pin them together, with right sides facing.
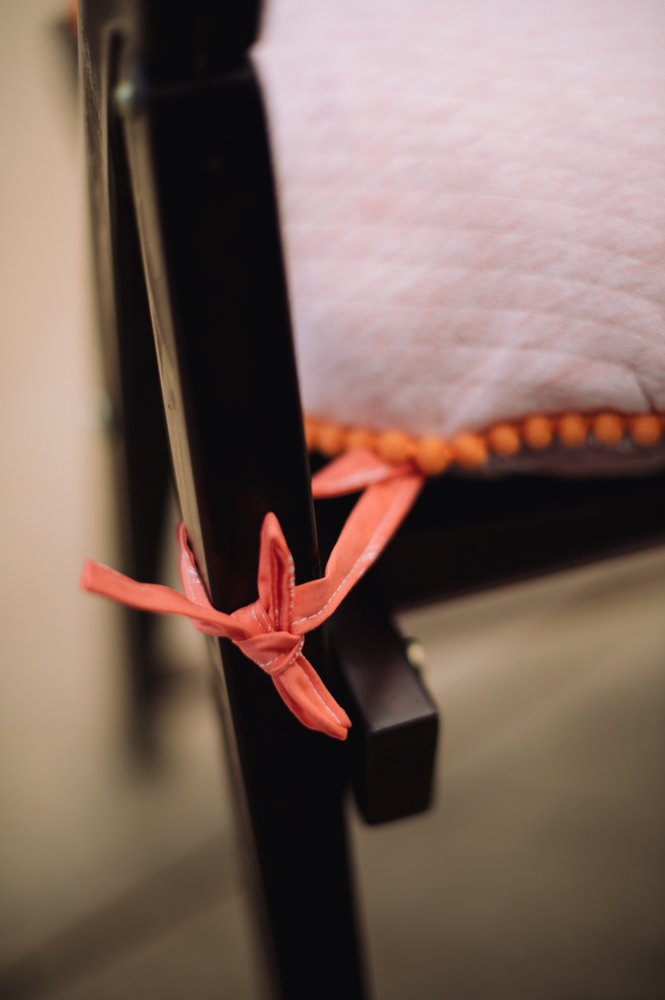
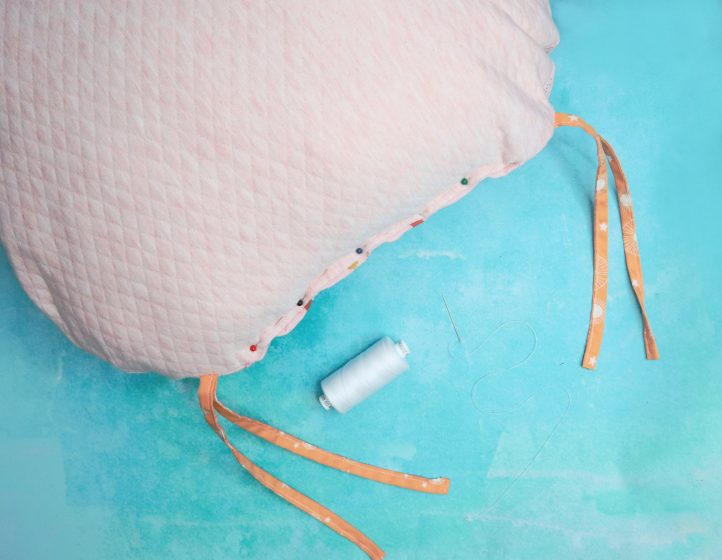
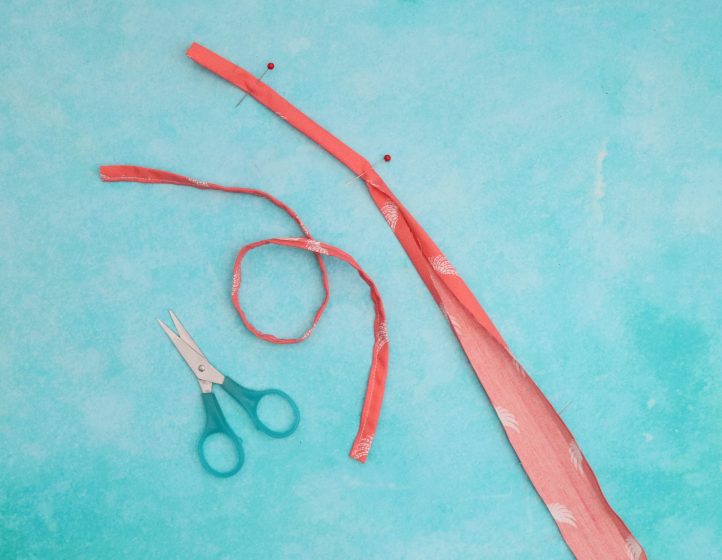
- Make two ties. To make the first one, cut a 16” x 2” rectangle of cotton fabric, then fold the two long edges over to the wrong side by 0.5” and press. Fold the work in half lengthwise, to enclose the raw edges within. Fold each of the short cut edges inside by 0.5”, and press once again. Pin, then work a straight machine top stitch all along the open edge, to close it up and create your tie. Repeat to make a second, identical tie.

- Fold each tie in half and place them in the top corners of your cushion cover, slipping them between the two layers of fabric. Align the fold of each tie with the edge of the fabric and push the rest of the ties inside the body of the cover, between the layers. Pin into position, then stitch around the outside of the cushion cover (working through the fold of the ties to fix them in place), leaving a 5/8” seam allowance. Make sure to leave an open, unstitched gap of around 5” between the two ties. Turn the cover through this gap, then push the cushion inner inside and plump it up to make sure it is sitting correctly. Fold the raw edge of the gap over to the wrong side by 5/8” and pin, then hand stitch closed.
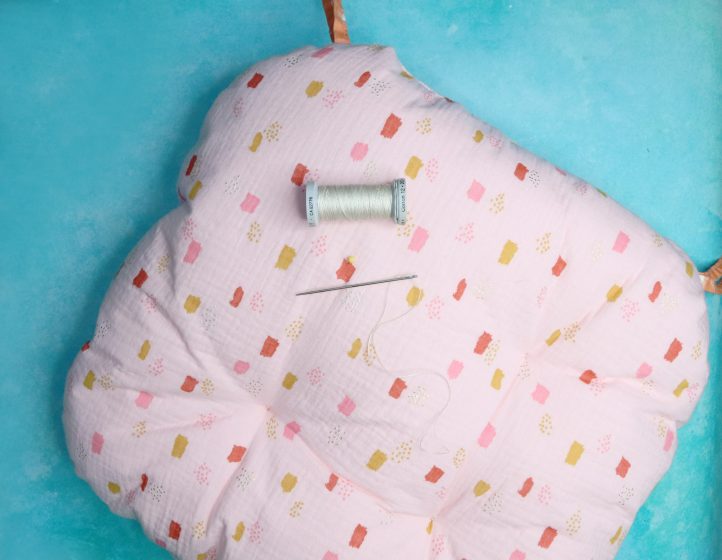
- Plump the pillow once more to make sure you’re happy with how it sits within the cover. Measure and mark four equal points in a square on both the Front and Back of the cushion using a water-erasable fabric pen, then thread a long, sharp upholstery needle with a double length of strong upholstery thread and insert it through one of the points on the cushion Front. Bring the needle out through the corresponding point on the Back (leaving a tail of thread at the Front), then turn the needle and bring it back through the fabric to the Front again at the same point. Repeat once more, then snip the needle from the thread. Pull the thread tails taut to compress the cushion and create a tuft, then tie in a double knot to secure. Trim the thread ends, then repeat with the three remaining points.
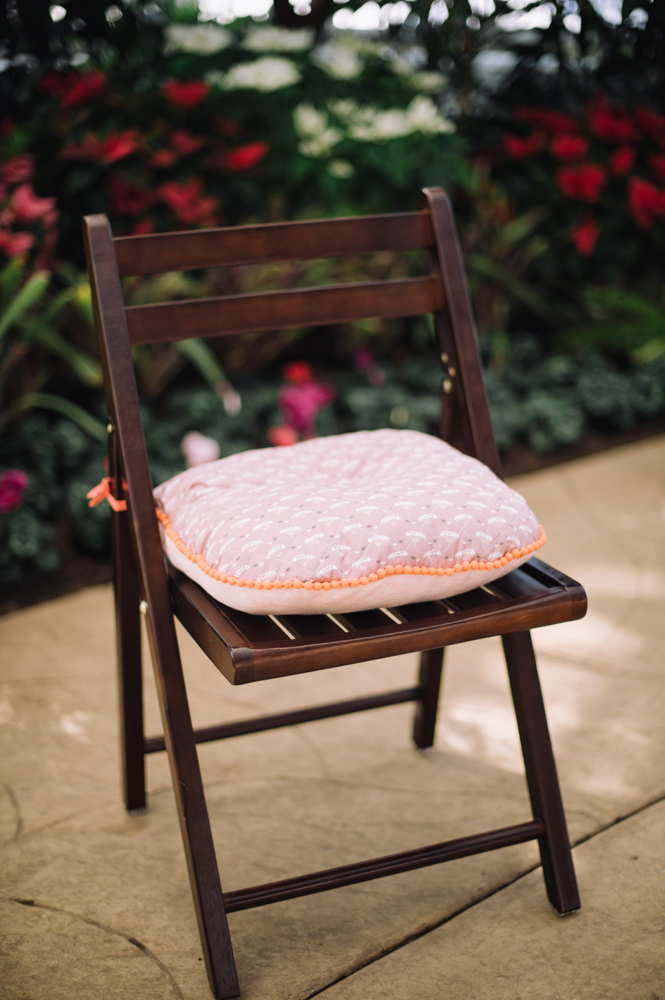
POM POM-EDGE BUTTON CUSHION:
Materials:
- Cushion (the designer used IKEA’s 50cm [7 3/4 inches] square INNER cushion)
- Fabric: cotton, 50cm (5/8 yards) each for cushion front and cushion back; plus one fat quarter for ties
- Pom pom trim
- Sewing thread
- Upholstery thread
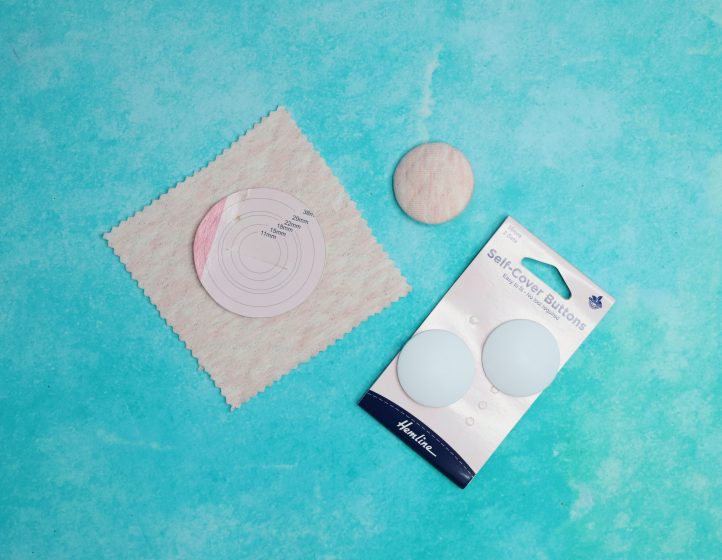
- Self cover button: 1.5”
Tools:
- Tape measure
- Scissors
- Pencil
- Dressmaker’s shears
- Pins
- Sewing machine
- Hand sewing needle
- Water-erasable fabric pen
- Upholstery needle
Instructions:
- Start by making a template. Lay out your cushion inner and measure it, then cut a piece of paper or card to that exact size. Next, slightly round off all four corners equally. Don’t add any extra for seam allowances – you want this cushion cover to fit fairly tightly, so no extra fabric is needed.
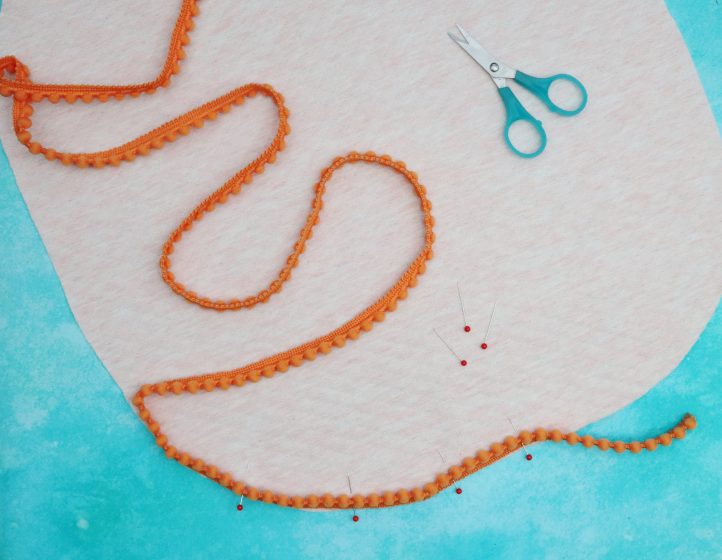
- Use the template to cut your Front and Back cushion cover pieces from cotton fabric. Measure the circumference of your Front piece, then add 4” to that number. Cut a length of pom pom trim to this measurement, then lay it around the outside edge of your cushion Front, with the right side of the fabric facing upward. Overlap the cut ends of the trim and trail them off the edge of the pillow. Baste trim onto fabric 5/8” from raw edge to secure trim.
- Make two ties. To make the first one, cut a 16” x 2” rectangle of cotton fabric, then fold the two long edges over to the wrong side of the fabric by 0.5” and press. Fold the work in half lengthwise, to enclose the raw edges within. Fold each of the short cut edges inside by 0.5”, and press once again. Pin, then work a straight machine top stitch all along the open edge, to close it up and create your tie. Repeat to make a second, identical tie.
- Pin the cushion Front and Back pieces together with right sides facing. Fold each tie in half and place them in the top corners of your cushion cover, slipping them between the two layers of fabric. Align the fold of each tie with the edge of the fabric and push the rest of the ties inside the body of the cover, between the layers. Pin into position, then stitch around the outside of the cushion cover, leaving a 5/8” seam allowance. Make sure to leave an open, unstitched gap of around 5” between the two ties. Turn the cover through this gap, then push the cushion inner inside and plump it up to make sure it is sitting correctly. Fold the raw edge of the gap over to the wrong side by 5/8” and pin, then hand stitch closed.
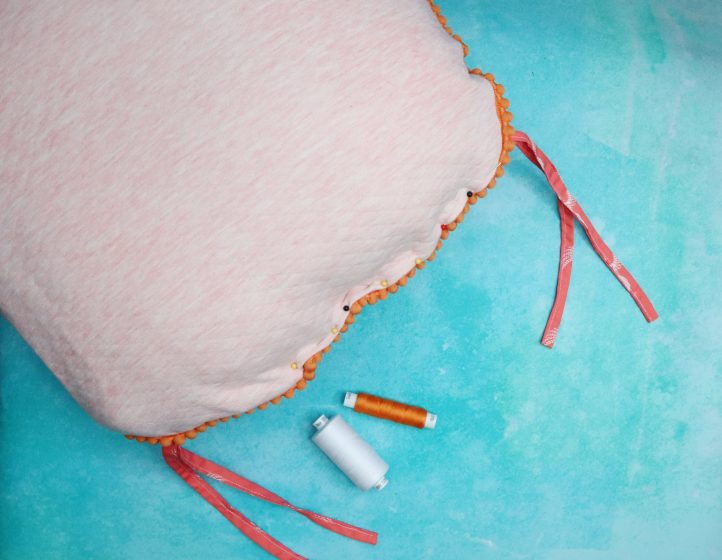
- Take a 1.5” diameter self-cover button and wrap it in the fabric of your choice – the designer decided to keep things simple and cover theirs with the same fabric as their cushion Front. Measure and mark the middle of both your cushion Front and Back using a water-erasable fabric pen, then thread a long, sharp upholstery needle with a double length of strong upholstery thread and insert it through the mark on the cushion Front. Bring the needle out through the corresponding point on the Back (leaving a tail of thread at the Front), then turn the needle and bring it back through the fabric to the Front again at the same point. Repeat once more, then snip the thread from the needle. Pull the thread tails taut to compress the cushion and create a tuft, then tie in a double knot to secure and trim the thread ends. Finally, stitch the self-cover button over the tuft, once again working right through the Front and Back of the cushion with the thread to keep things extra tight and secure.
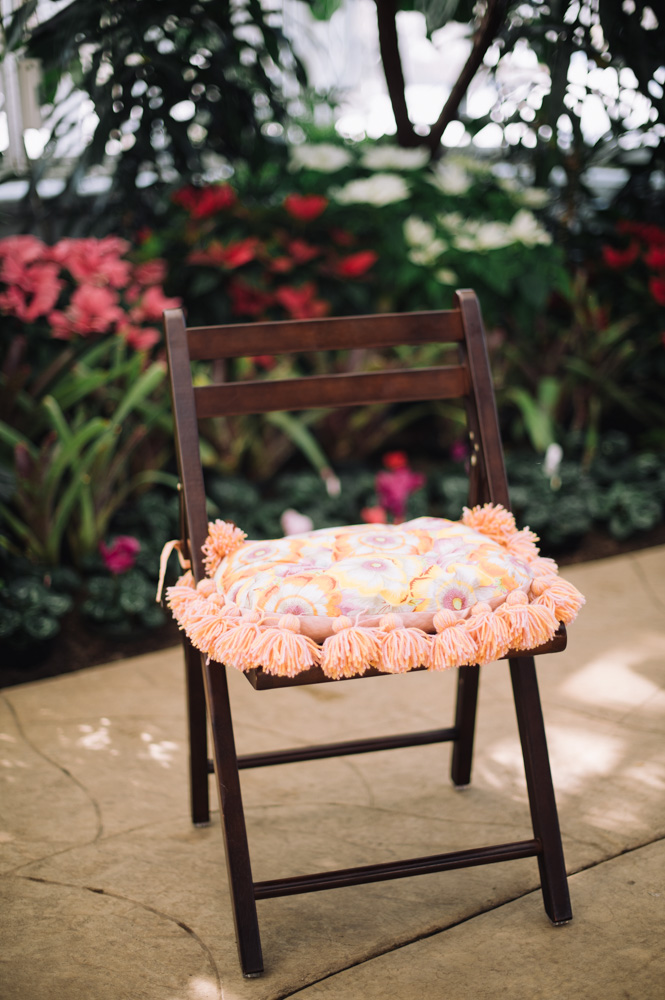
TASSELED CUSHION:
Materials:
- Cushion (we used IKEA’s 50cm [7 3/4 inches] square INNER cushion)
- Fabric: cotton, 50cm (5/8 yards) each for cushion front and cushion back; plus one fat quarter for ties
- Sewing thread
- Yarn: worsted, one ball each of orange and pink
- Upholstery thread
- Felt pom poms: green, four
Tools:
- Tape measure
- Scissors
- Pencil
- Dressmaker’s shears
- Pins
- Sewing machine
- Upholstery needle
- Hand sewing needle
- Water-erasable fabric pen
Instructions:
- Start by making a template. Measure your cushion inner and cut a piece of paper or card to that exact size, then round off the corners slightly. Don’t add any extra for seam allowances – this cushion cover should fit fairly snugly, so no extra fabric is needed. Use the template to cut your Front and Back cushion pieces from cotton fabric, then pin them together, with right sides together.
- Make two ties. To make the first one, cut a 16” x 2” rectangle of cotton fabric, then fold the two long edges over to the wrong side of the fabric by 0.5” and press. Fold the work in half lengthwise, to enclose the raw edges within. Fold each of the short cut edges inside by 0.5”, and press once again. Pin, then work a straight machine top stitch all along the open edge, to close it up and create your tie. Repeat to make a second, identical tie (as referenced in previous Step 3 pillow image above for example). Pin the cushion Front and Back pieces together with right sides facing. Fold each tie in half and place them in the top corners of your cushion cover, slipping them between the two layers of fabric. Align the fold of each tie with the edge of the fabric and push the rest of the ties inside the body of the cover, between the layers. Pin into position, then stitch around the outside of the cushion cover, leaving a 5/8” seam allowance. Make sure to leave an open, unstitched gap of around 5” between the two ties. Turn the cover out through this gap (reference previous Step 4 pillow image above for example).
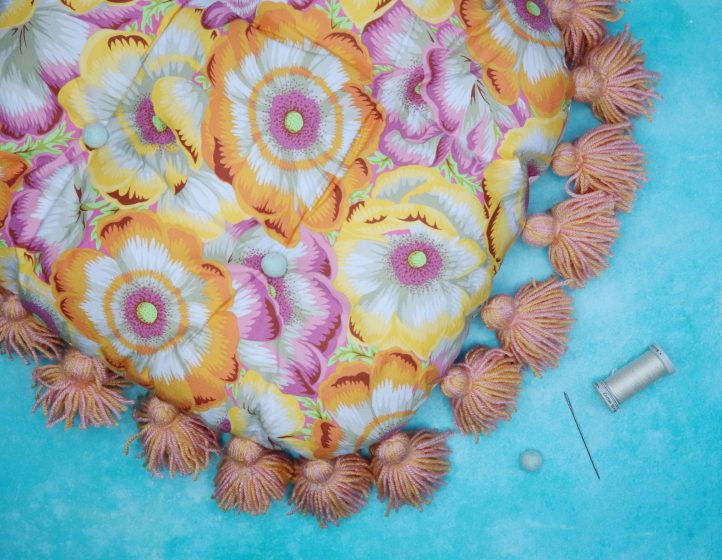
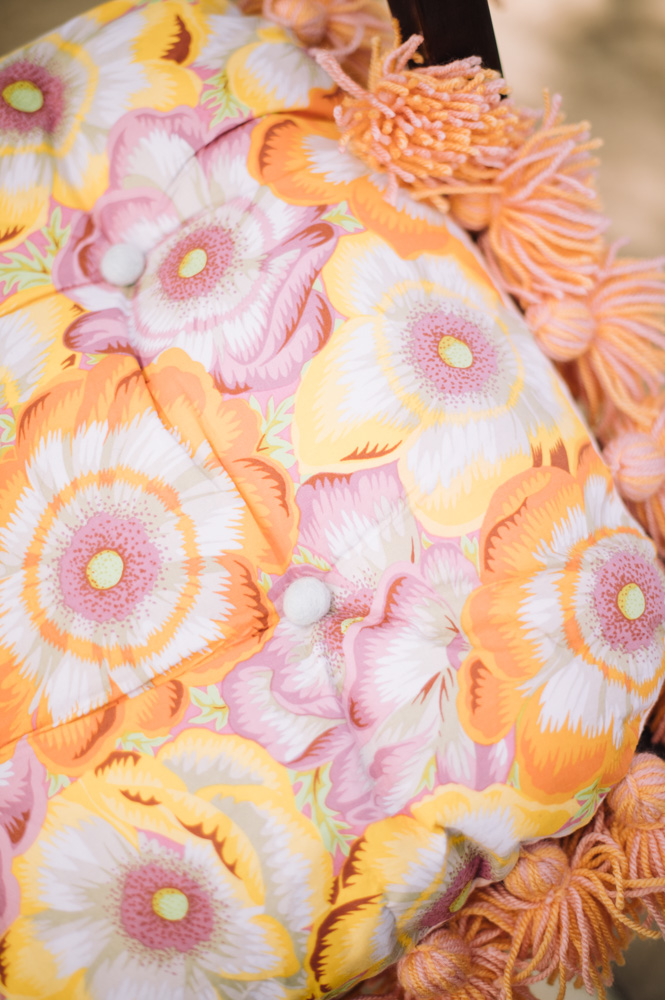
- Use worsted yarn to make tassels. To do this, Cut a 3” square from a piece of stiff cardboard, then hold one strand of orange yarn and one strand of pink yarn together and wrap it around the card approximately 40 times. Cut a 10” piece of yarn and thread it underneath the top of the wrapped yarn, then tie tightly to gather the loops together. Hold the yarn firmly and snip along the bottom edge, to free the tassel from the cardboard. Wrap a new pair of strands around the top of the tassel several times, to bunch it together. Tie tightly, then shake to fluff the yarn up. Finally, snip any excess strands from the bottom to neaten the edges. Repeat to make as many tassels as you wish.

- With all of your tassels made, it’s time to attach them to the edge of the cushion. Take a thick upholstery needle and carefully insert the yarn ties from the top of each tassel through the seam of your cushion cover, then tie tightly on the inside. Once all the tassels are securely in place, push the cushion inner inside the cover through the unstitched gap in the seam. Fold the raw edge of the gap over to the wrong side by 5/8” and pin, then hand stitch closed.

- Plump the pillow once more to make sure you’re happy with how it sits within the cover. Measure and mark four equal points in a square on both the Front and Back of the cushion using a water-erasable fabric pen, then thread a long, sharp upholstery needle with a double length of strong upholstery thread and insert it through one of the points on the cushion Front. Bring the needle out through the corresponding point on the Back (leaving a tail of thread at the Front), then turn the needle and bring it back through the fabric to the Front again at the same point. Repeat once more, then snip the needle from the thread. Pull the thread tails taut to compress the cushion and create a tuft, then tie in a double knot to secure. Trim the thread ends, then repeat with the three remaining points. Finally, hand stitch a felt pom pom to each tuft to decorate.