Stay away, blustery winter winds! Look cute while keeping warm during chilly weather with this easy ear warmer pattern. Made using two layers of blizzard fleece, this comfortable ear warmer pattern is available in three sizes, so that you can make a pair for everyone in the family. Design your own ear warmer to coordinate with your favorite winter coat or scarf or whip up a batch in bright fun colors for the kids.
Materials:
- 1/8 yard blizzard fleece fabric
- PDF Pattern – This is located at the bottom of this page. Please see printing instructions below.
PRINTING INSTRUCTIONS:
Note: To download the pattern, click on the pattern download button at the bottom of the page. We recommend opening your pattern download using Adobe Acrobat.
Sewing Instructions:
- Fold fabric twice so that the selvage edges are meeting in the middle. Place desired pattern piece on fold and cut out. Repeat with second fold and same pattern piece.
- If your fabric has a right side, place pieces with right sides together. Using a wide zigzag stitch with a length of 2 mm (13 stitches per inch), sew with a 1/4“ seam allowance along the two long edges.
- Turn the tube right side out, and flatten the tube out so that the two seamlines are on the edges. Use a wooden dowel to help smooth out the seamlines if necessary.
- Using the same zigzag stitch, topstitch the edges of the tube to keep the seamlines in place. Scratch the fleece gently to raise the nap and conceal the topstitches. A plastic bristle brush, the blunt edge of a scissor blade, or even a fingernail may be used.
- Shorten stitch length to 1 mm (25 stitches per inch), and overcast each short edge separately.
- Butt short edges up against each other, ensuring that ear warmer is not twisted. Zigzag over both edges at once, catching one side of the ear warmer with each swing of the needle. Pivot at the end, and sew again in the other direction. Repeat so that the joint is securely sewn 3 times.
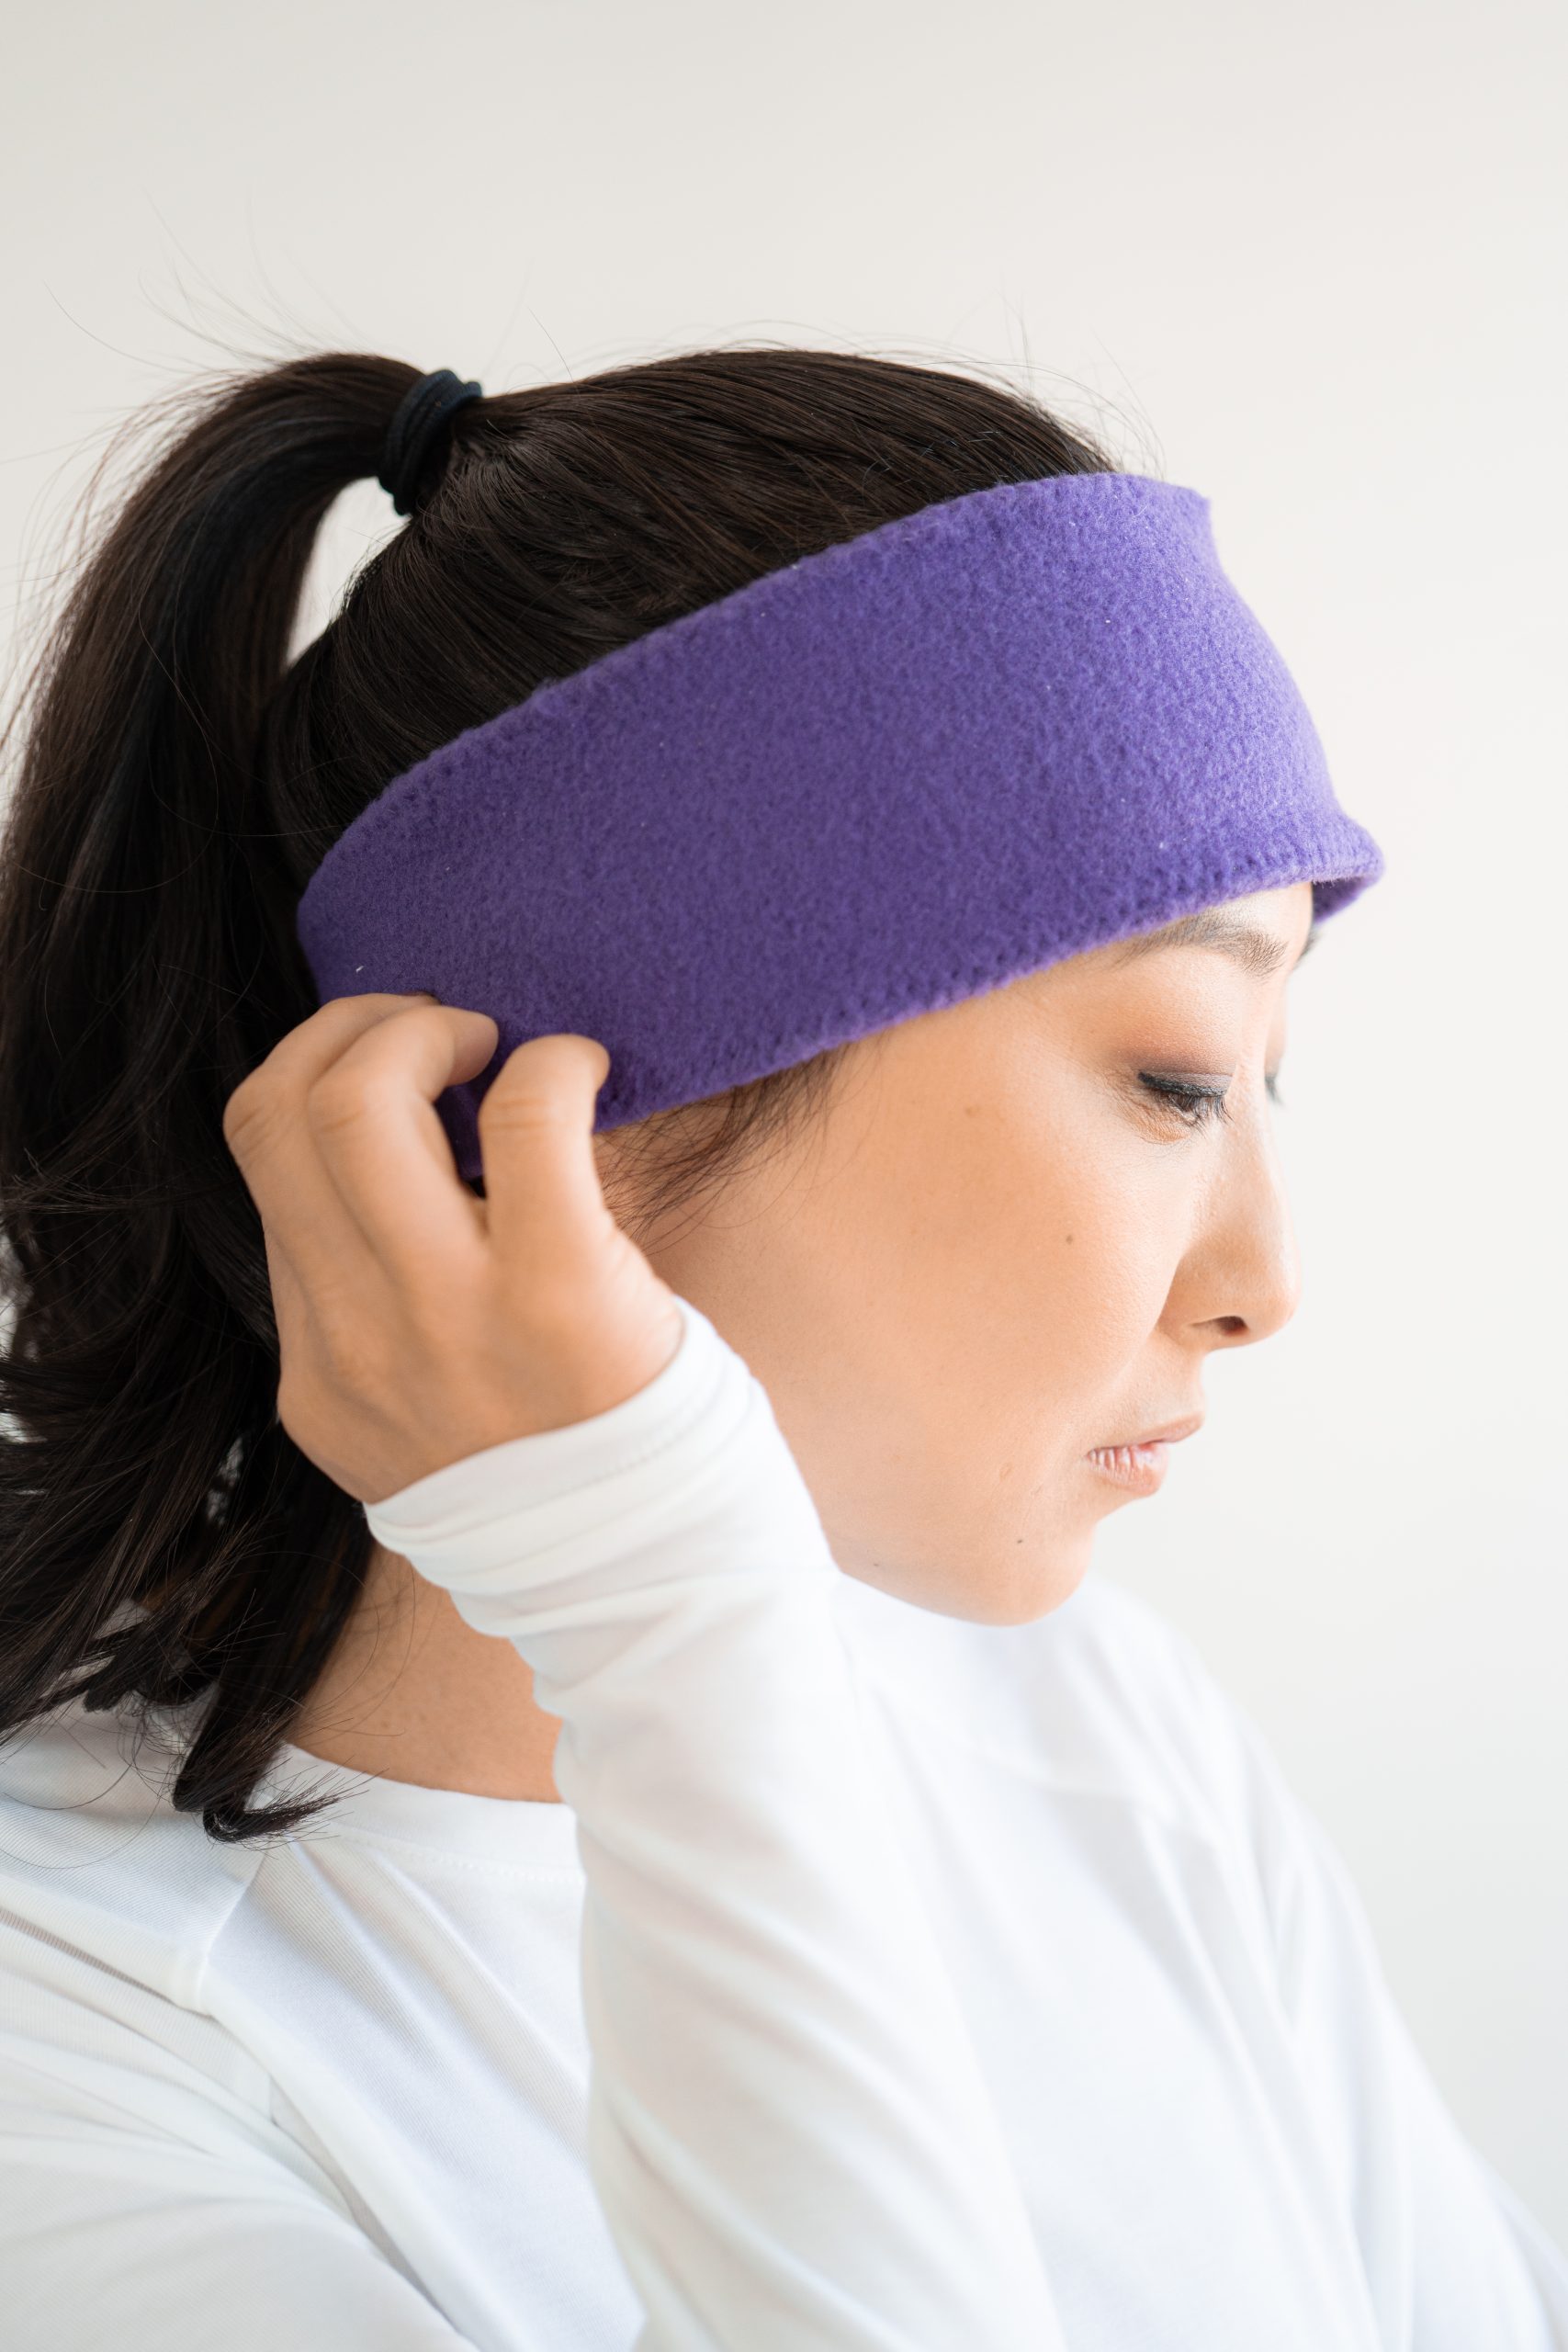
- Wear the ear warmer with the curved edge facing your eyebrows and the straight edge towards the back of your head.
TIPS FOR CONSTRUCTING AN EAR WARMER:
- Head sizes differ from person to person, and some smaller adults may prefer the youth size.
- Fleece is stretchier in the crosswise direction (selvage edge to selvage edge). Ensure that pattern pieces are lined up so that the direction of greatest stretch will go around the head.
- Due to the texture, fleece is notoriously difficult to mark with tailor’s chalk and other common sewing marking tools. A regular ballpoint pen usually gives good results.
- If available, the designer suggests a rotary cutter with a smaller (28 mm) blade to cut out the pattern pieces. This size of blade is small enough to maneuver around curves, but large enough to cut through both layers of the folded fleece.
- If a serger is available, it can be used to sew the long seams together, but is not recommended for the topstitching or short seams.
- Utilize directional stitching when sewing the long seams together. Sew each long seam starting at the same end, with the same side facing the feed dogs. This eliminates the twisting that can occur when the feed dogs shift the layers of fabric at a slightly different rate. When one seam is sewn, the seam allowance will be towards the right of the presser foot, and when the other seam is sewn, the seam allowance will be towards the left.
- Avoid using a straight stitch for this project, as even “stretch” straight stitches do not usually provide enough give for the finished item to fit comfortably around the head. However, the width of the zigzag stitch may be reduced if desired.
- Do not stretch the fabric with your hands as it is sewn. While stretching the fabric in front of and behind the needle can be a good technique for some garments, doing so may result in excessively rippled edges on the finished ear warmer. A small amount of rippling is not a problem, as it will disappear when the item is worn.
- If there is extensive rippling in your seamline, try decreasing the pressure on the presser foot. Most machines have a dial or post that adjusts the presser foot pressure. The thread tension or stitch length may also need to be increased to reduce rippling.
- If there are skipped stitches, try increasing the needle size. A very dense or thick fleece may even work well with a leather needle. Sewing fleece also generates a lot of heat from friction, which can contribute to skipped stitches. Try letting the needle cool off for a minute, or reducing the sewing speed.
- Sewing with fleece produces a lot of lint. Ensure that the bobbin area or serger are cleaned well afterwards.
- In general, fleece is not ironed as ironing can permanently alter the texture of the fabric. Using a wooden dowel to flatten out the fabric tube can help give a crisp edge prior to topstitching. Pinching the seamlines and wiggling them until the line of stitching is directly on the edge of the ear warmer is a good technique as well.
- Instead of raising the nap of the fleece to conceal the topstitches, consider using a decorative stitch to topstitch the long edges. This can be a simple way to add another design element. A contrasting color of thread can provide additional interest. Test the decorative stitch on a scrap of fleece to ensure that the decorative stitch looks good and still provides stretch.
- Fleece does not ravel, so simply overcasting the edges without turning the tube right side out is an acceptable method of construction. However, the nap of the fleece will shed from the cut edges, so the wearer may end up with fuzz in their hair if the edges are not completely enclosed as per the instructions.