Welcome the newest addition in your family with a thoughtful, handmade picture book! Designed for beginner to intermediate sewists, this baby book pattern tells a story of kindness and love through detailed felt pictures. Soft and durable, this precious baby sewing pattern is a perfect gift for baby showers, christenings and other special occasions in your little one’s life.
Skill Level: Beginner-Intermediate
Estimated Time: Approximately 6-8 hours by machine or 12-14 by hand (not including time washing fabric)
- 1 1/2 to 2 hours cutting patterns and felt
- 1 1/2 to 2 hours appliquéing faces
- 2-3 hours sewing felt to book by machine OR 8-9 hours by hand
- 1 hour assembling book
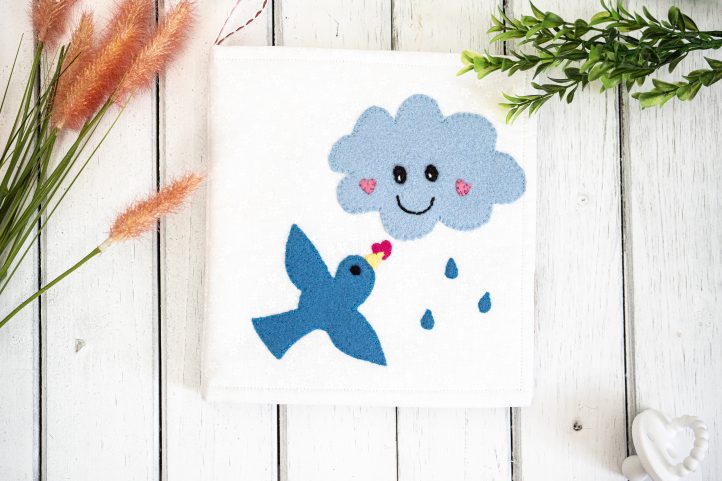
Designer Note: This cheerful cloth book needs no words to tell a whimsical story about sharing love. The cotton pages and adorable felt appliqués make the book soft for little hands to hold. Since craft felt tends to pill when washed, quality wool-blend felt (in approximately 9 x 12 inch sheets) is recommended. An optional ribbon loop allows the cloth book to be clipped to strollers or bags for enjoying on the go.
Materials:
- 1 sheet magenta felt
- 1 sheet light blue felt
- 1 sheet medium blue felt
- 1 sheet yellow felt
- 1 sheet medium green felt
- 1 sheet skin-colored felt
- Scrap of pink felt
- Scrap of black felt
- Matching threads for all felt colors
- Black, white, and magenta embroidery floss
- 5/8 yard white cotton
- White thread
- 1/2 yard fusible fleece (single-sided, loft-low)
- Optional: 1/4 yard ribbon, about 1/2-inch wide
- Non-toxic, fine-tipped fabric pen
- Small, sharp scissors
- Small plastic zip bags for organizing pieces
- PDF Templates – These are located at the bottom of this page. Please see printing instructions below.
PRINTING INSTRUCTIONS:
Note: To download the pattern, click on the pattern download button at the bottom of the page. We recommend opening your pattern download using Adobe Acrobat.
Sewing Instructions:
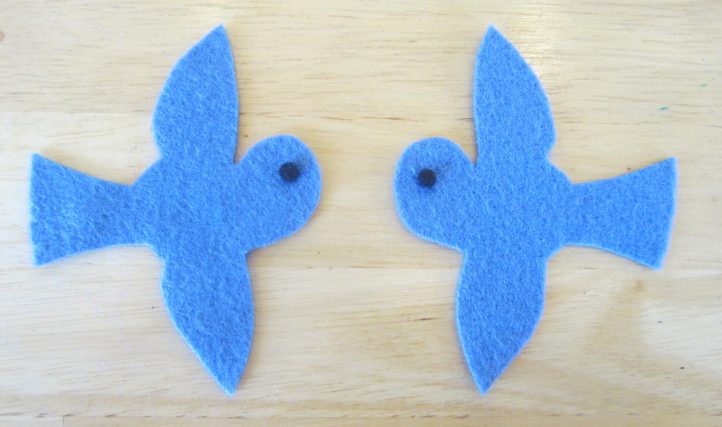
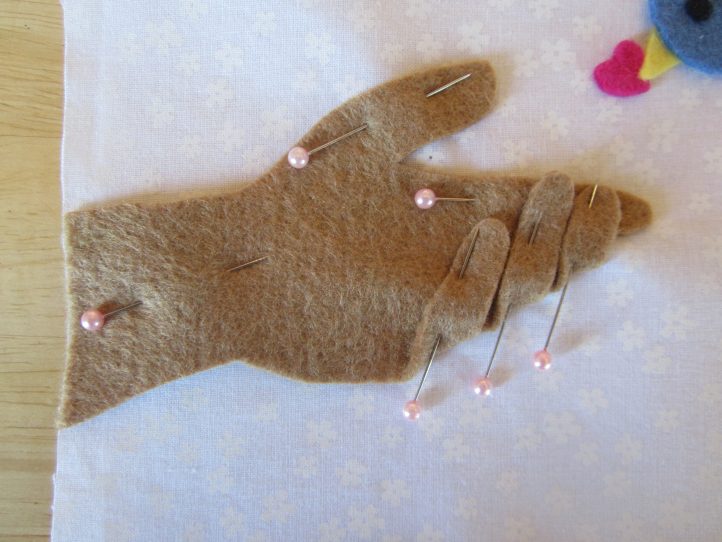
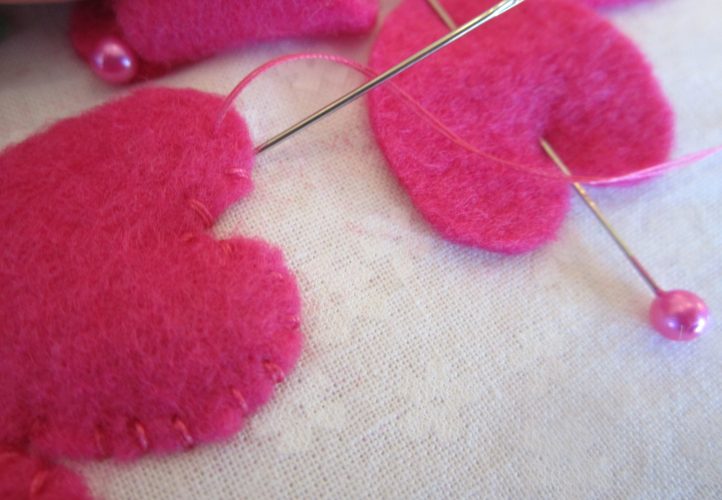
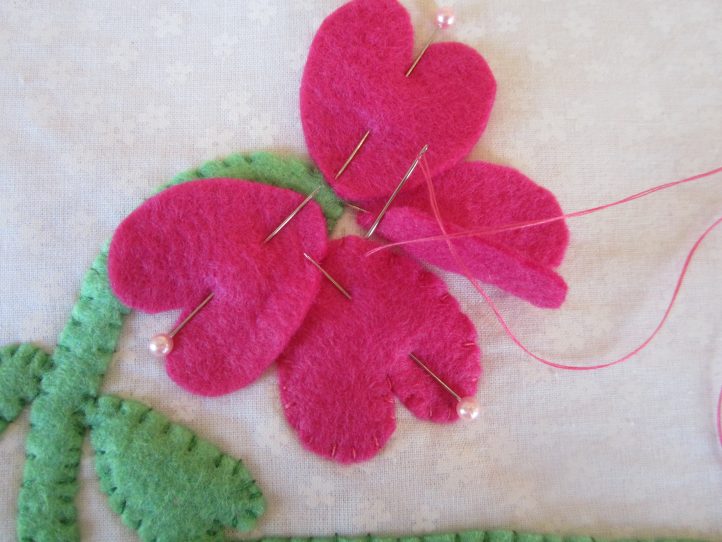
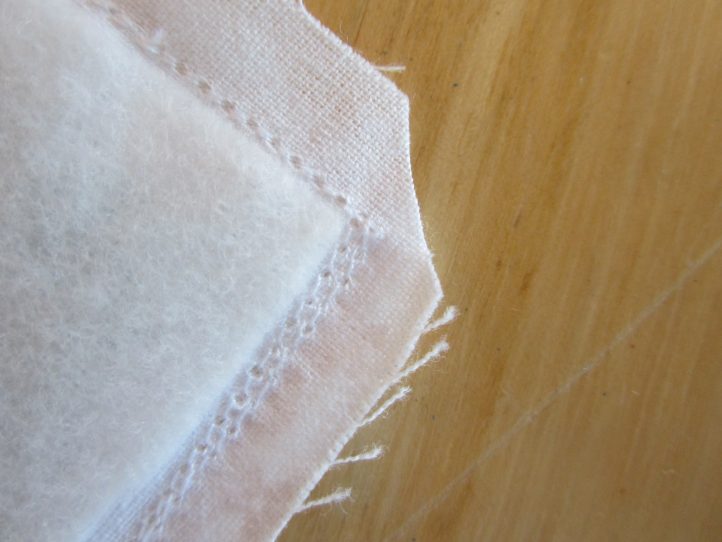
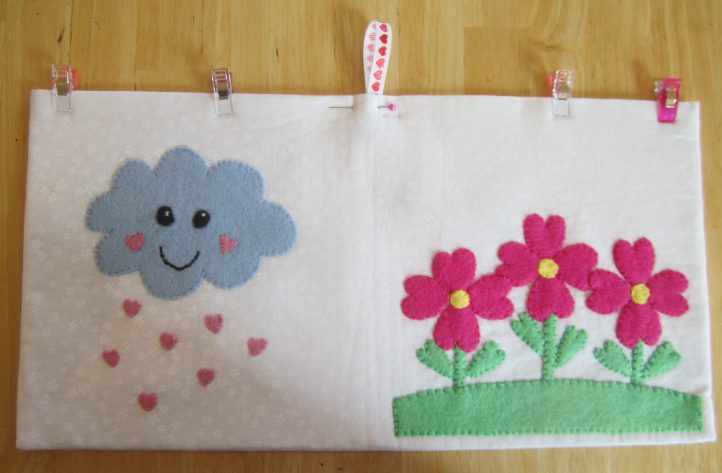
Note: You can sew the felt appliqués to the cloth pages either by machine or by hand. For most sewists, machine zigzag stitching is faster and produces a very secure result. However, maneuvering around very small pieces can be tricky. Hand whipstitching makes changing thread colors simple, allows precise control, can be taken anywhere, and produces a soft-edged look. Of course, you can combine techniques and sew the larger pieces by machine and small pieces (such as tiny hearts and raindrops) by hand.

Machine appliqué (left) vs. hand appliqué (right)
PRE-WASH THE FABRIC:
Check the wool-blend felt for color bleeding. Pre-wash according to the manufacturer’s instructions, either by hand or using the delicate cycle on the washing machine. Lay flat to dry. (Do not wash synthetic craft felt.)
Pre-wash and iron the white cotton. (Note: The book requires 1/2 yard of fabric, but 5/8 yard is given to allow for shrinkage or uneven edges.)
PREPARE THE FELT PIECES:
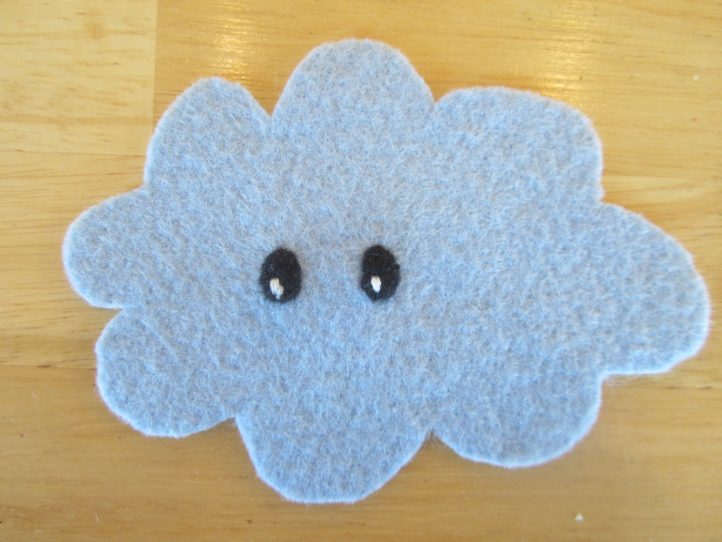
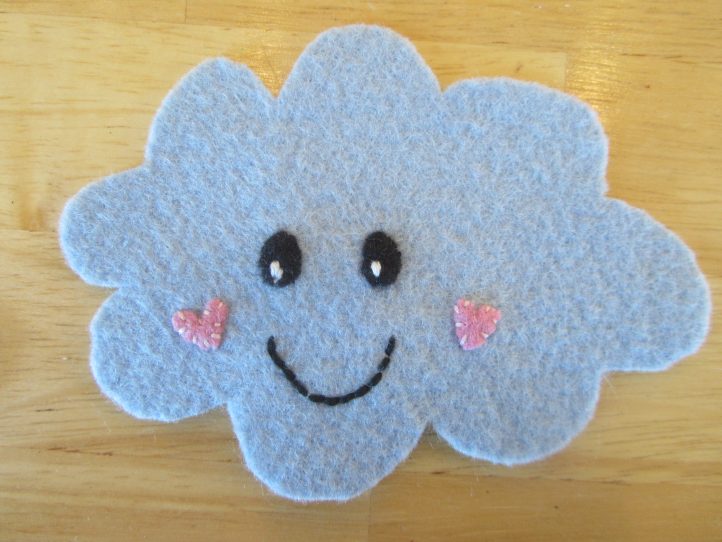
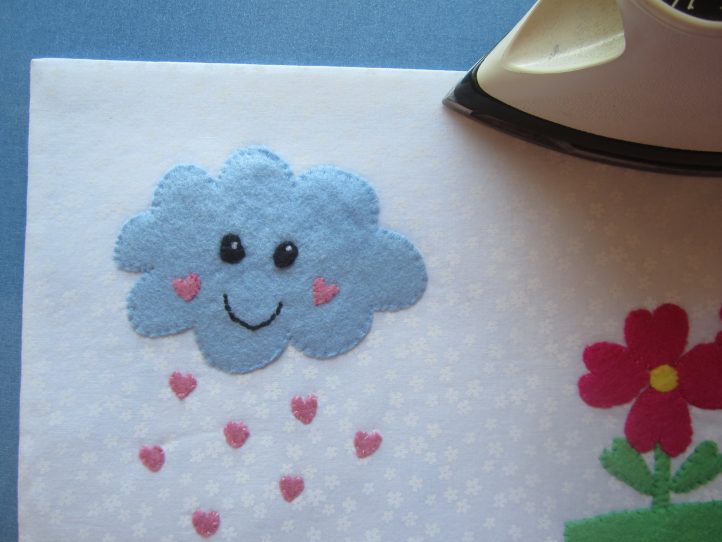
Clouds:
- Cut 1 medium cloud, 1 large cloud, and 1 small cloud from light blue felt.
- Cut 2 medium cloud eyes, 2 large cloud eyes, and 2 small cloud eyes from black felt.
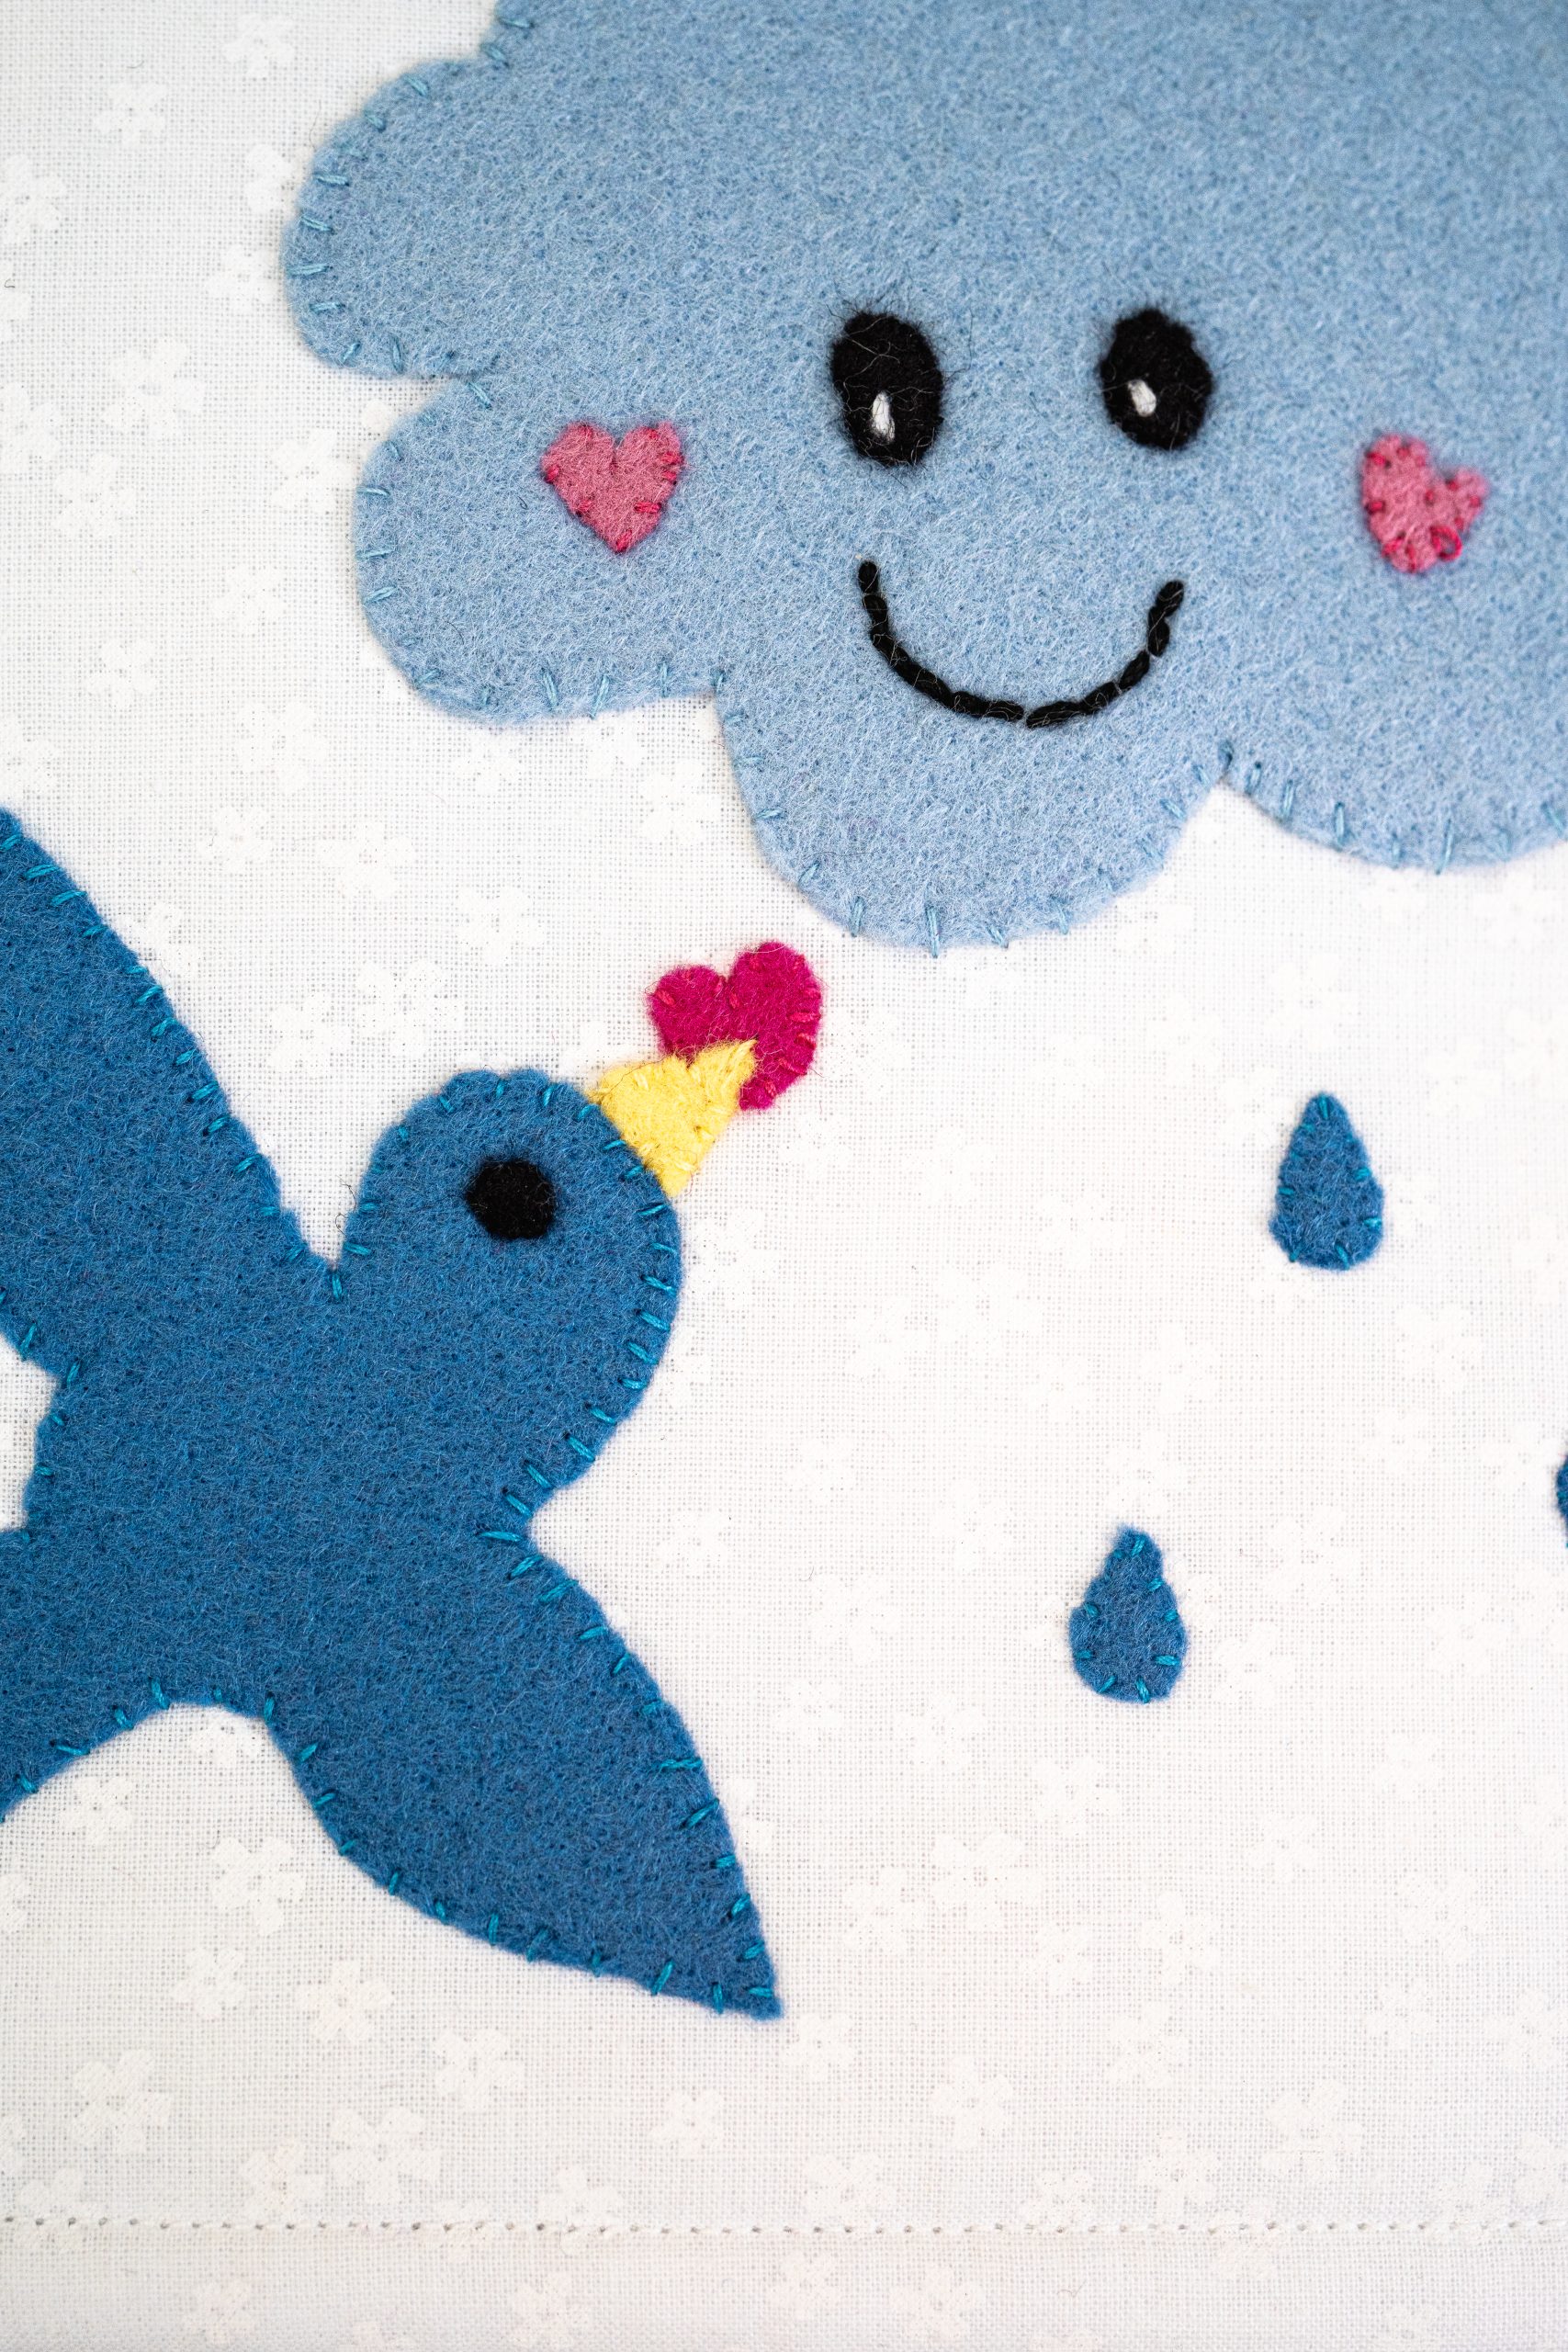
- Position the eyes on the clouds and whipstitch them in place using black thread.
- Using white embroidery floss, stitch several small, overlapping stitches in the corner of each cloud eye to create a white “highlight.”
- Cut 4 small cheeks and 2 large cheeks from pink felt. Position the small cheeks on the medium and small clouds, and the large cheeks on the large cloud. Whipstitch in place using pink thread.
- Mark the smile on each cloud using a fine-tipped, non-toxic fabric pen.
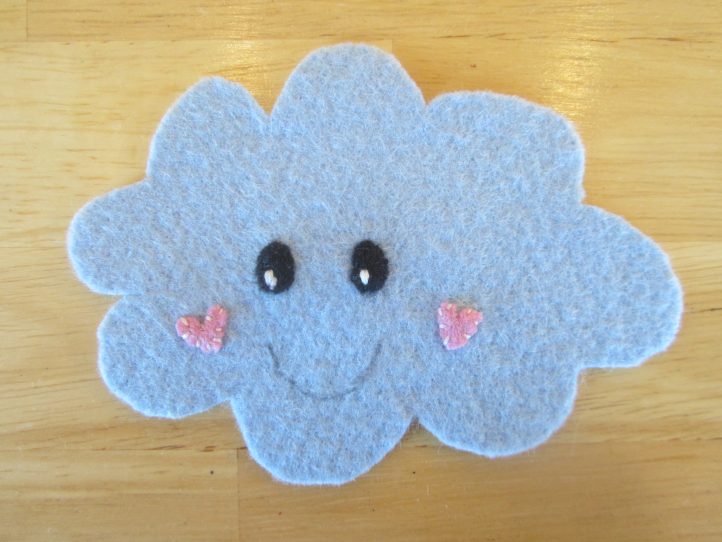
- Use black embroidery floss to backstitch along each marked smile.
- Cut 6 raindrops from medium blue felt and 15 small heart seeds from pink felt.
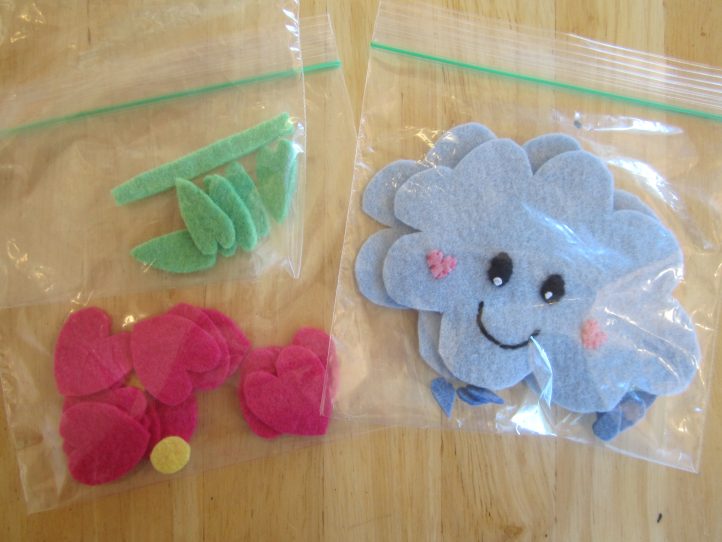
Tip: Sort all prepared felt pieces into plastic zip bags until you’re ready to attach them to the pages.
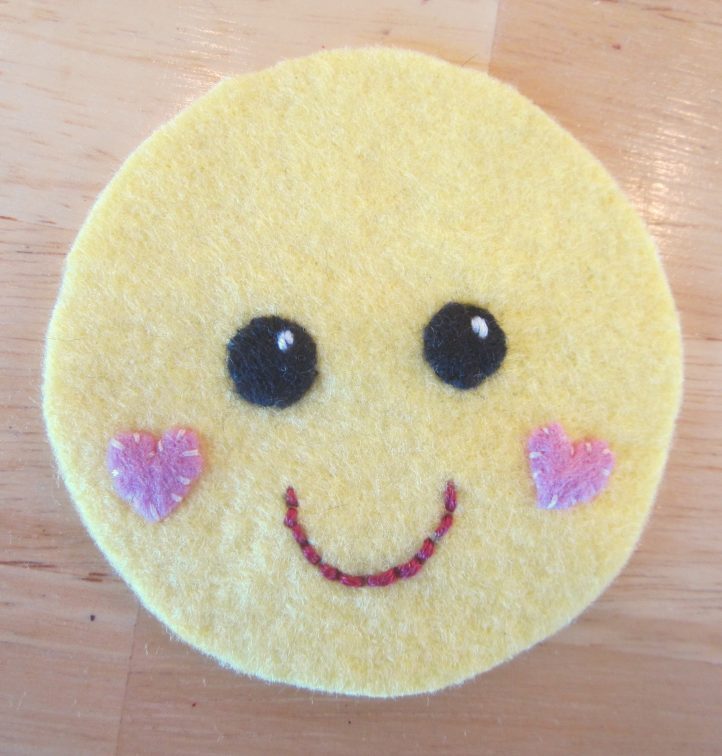
Suns:
- Cut 1 small sun and 1 large sun from yellow felt.
- Cut 2 large sun eyes and 2 small sun eyes from black felt.
- Position the eyes on the suns and whipstitch them in place using black thread.
- Using white embroidery floss, stitch several small, overlapping stitches in the corner of each sun eye to create a white “highlight.”
- Cut 2 large cheeks and 2 small cheeks from pink felt. Position the small cheeks on the small sun, and the large cheeks on the large sun. Whipstitch in place using pink thread.
- Mark the smile on each sun using a fine-tipped, non-toxic fabric pen.
- Use magenta embroidery floss to backstitch along each marked smile.
- Cut 8 large sun rays and 7 small sun rays from yellow felt.
Flowers:
- Cut 8 large heart petals, 13 medium heart petals, and 1 large seed from magenta felt.
- Cut 1 large flower center and 3 medium flower centers from yellow felt.
- Cut 4 large leaves and 6 medium leaves from green felt.
- Cut 1 long stem, 1 short stem, 3 medium stems, and 1 wilting stem from green felt.
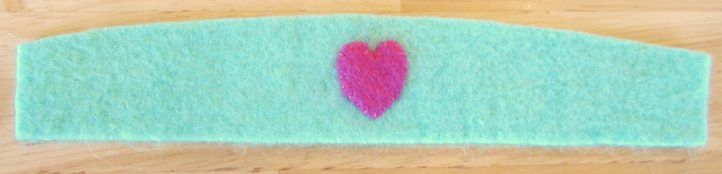
Grass:
- Cut 4 pieces of grass using the Hill pattern piece from green felt using the inner cutting line of the pattern.
- Cut 1 piece of grass using the Hill pattern piece from green felt using the outer cutting line of the pattern.
- Position the large seed in the center of one of the smaller hill pieces. Whipstitch in place using magenta thread.
Birds and Hand:
- Cut 2 birds from medium blue felt. Flip one of the birds over, so it faces the opposite direction.
- Cut 2 bird eyes from black felt. Position each eye on a bird head and whipstitch in place using black thread.
- Cut 2 bird beaks from yellow felt.
- Cut 2 small heart seeds from magenta felt.
- Cut 1 hand from skin-colored felt.
PREPARE THE PAGES:
Cover Pages:
- Cut 2 rectangles of white cotton, each 16 1/2 inches wide by 9 inches tall.
- Cut 2 rectangles of fusible fleece, each 16 inches wide by 8 inches tall.
- Position the fusible fleece on the wrong side of the fabric, 1/4 inch away from the bottom and side edges and 3/4 inch away from the top edge.
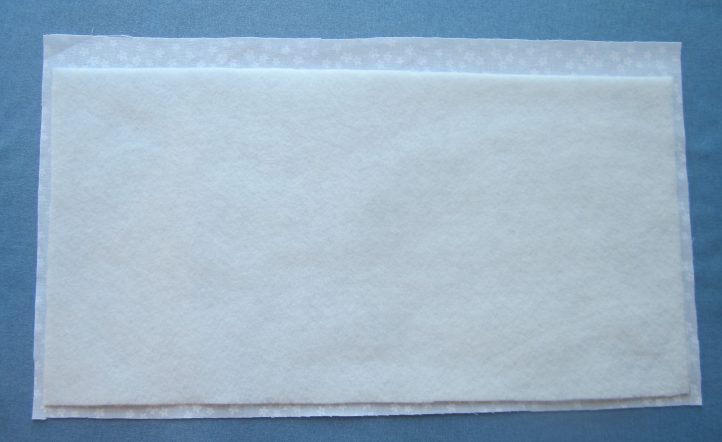
- Iron the fusible fleece to each fabric rectangle following the manufacturer’s directions.
Interior Pages:
Note: The interior pages are slightly narrower so they don’t stick out when the book is closed.
- Cut 2 rectangles of white cotton, each 16 inches wide by 9 inches tall.
- Cut 2 rectangles of fusible fleece, each 15 1/2 inches wide by 8 inches tall.
- Position the fusible fleece on the wrong side of the fabric, 1/4 inch away from bottom and side edges and 3/4 inch away from the top edge.
- Iron the fusible fleece to each fabric rectangle following the manufacturer’s directions.
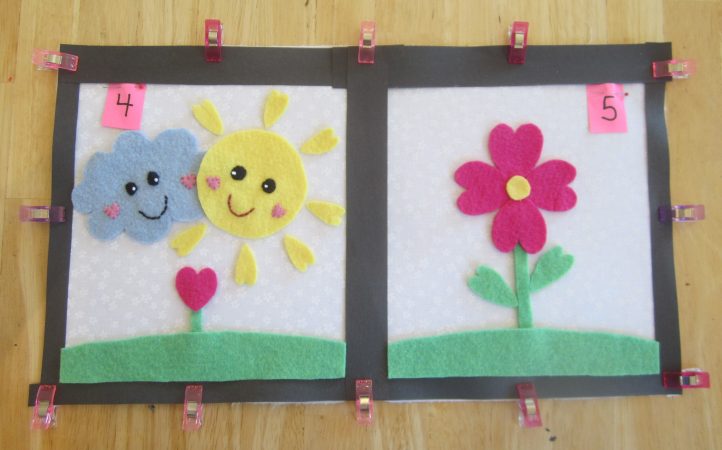
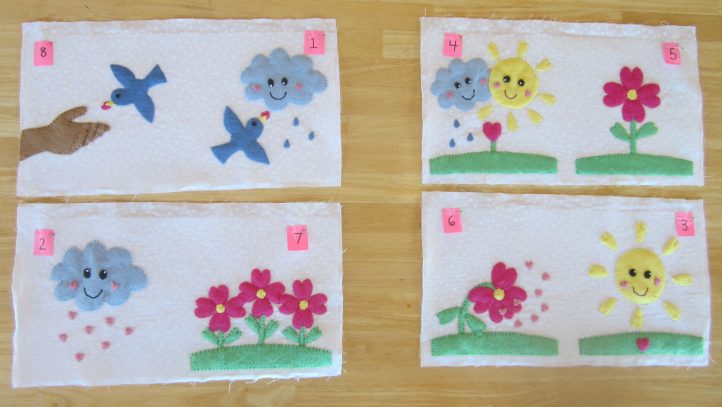
MARK THE PAGE NUMBERING AND MARGINS:
Like printed books, this cloth book uses multiple pages on each sheet, which is then folded to create the completed book. This makes the binding process much easier, but also makes the pages appear out of order.
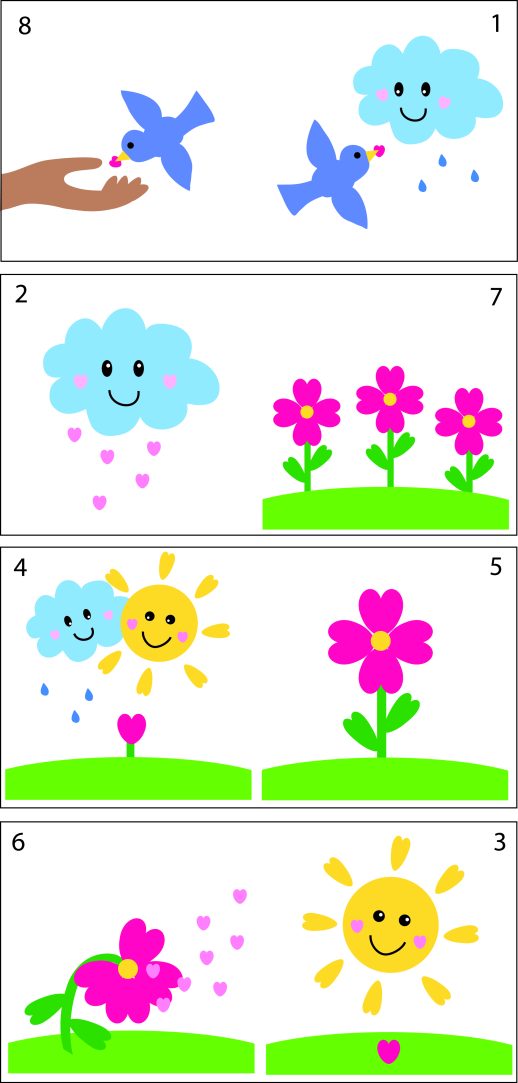
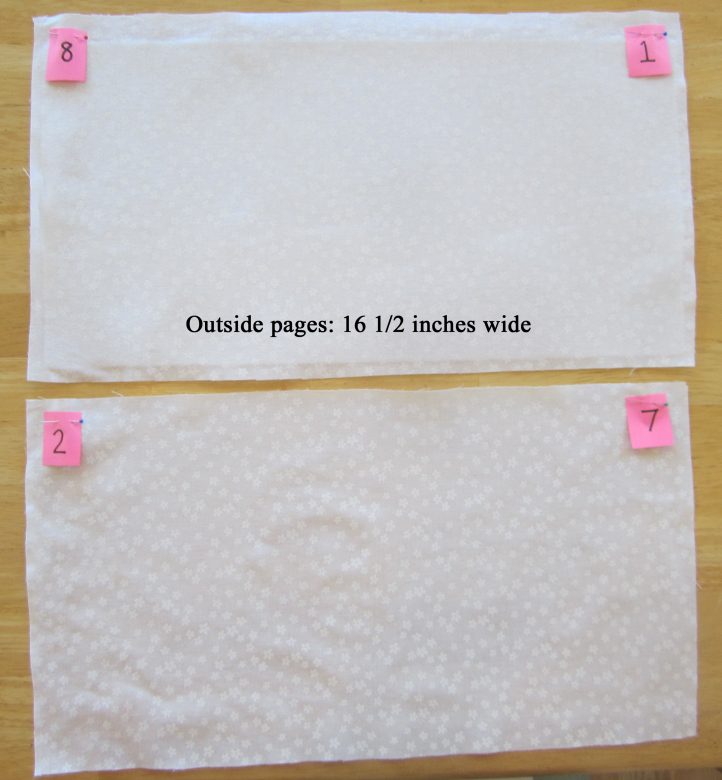
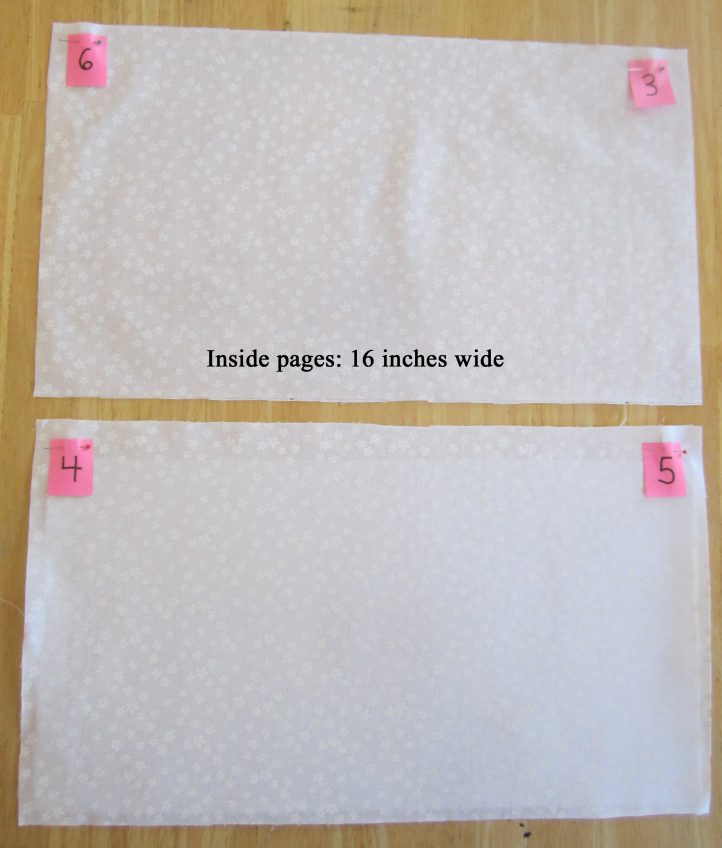
To avoid confusion about which picture goes in which area, you may want to write the numbers 1-8 on small slips of paper and pin them to the fabric pieces as shown:
Marking Margins:
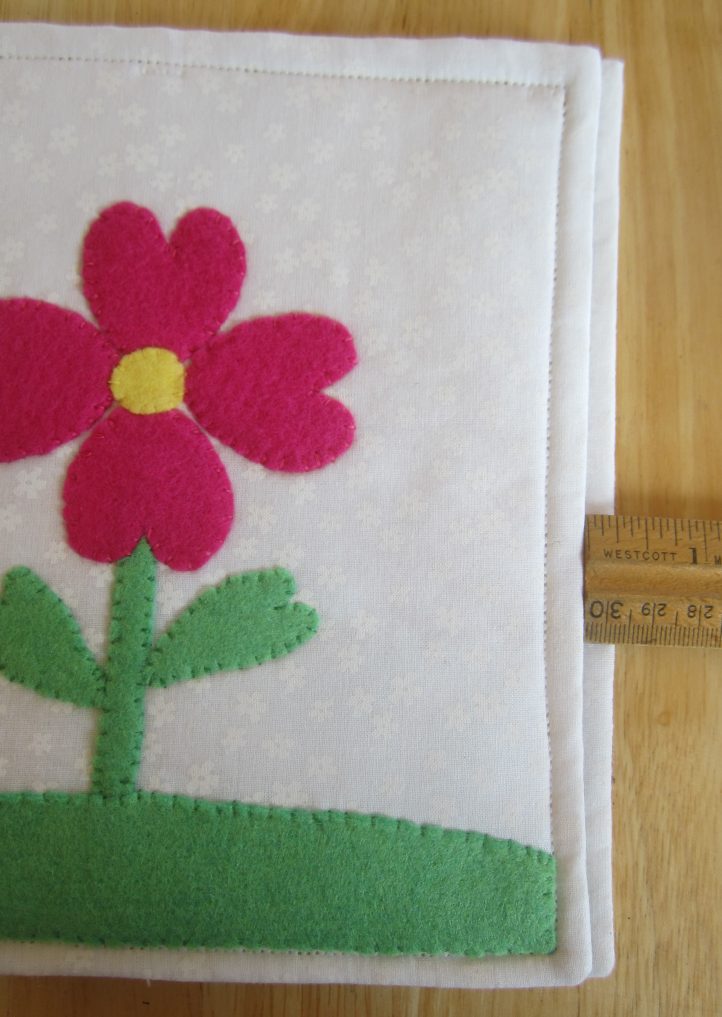
IMPORTANT: Position all felt appliqués (except the hand) at least 1/2 inch from the lower and side edges, and at least 3/4 inch from the top. Leave a 1 inch margin in the center of the page.
For the outside (larger) pages, the midpoint is at 8 1/4 inches, so the area from 7 3/4 to 8 3/4 inches needs to remain clear.
![]()
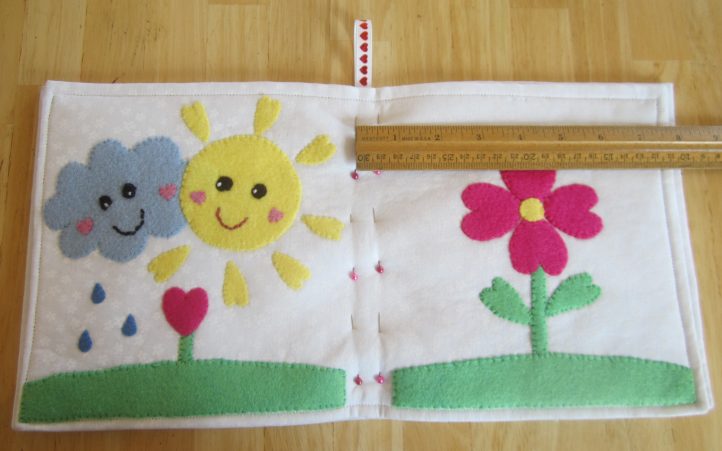
For the inside (smaller) pages, the midpoint is at 8 inches, so the area from 7 1/2 to 8 1/2 inches needs to remain clear.
![]()
To mark the margins, use pins, tailor’s chalk, or strips of construction paper. Or, just check the margin as you place each piece.
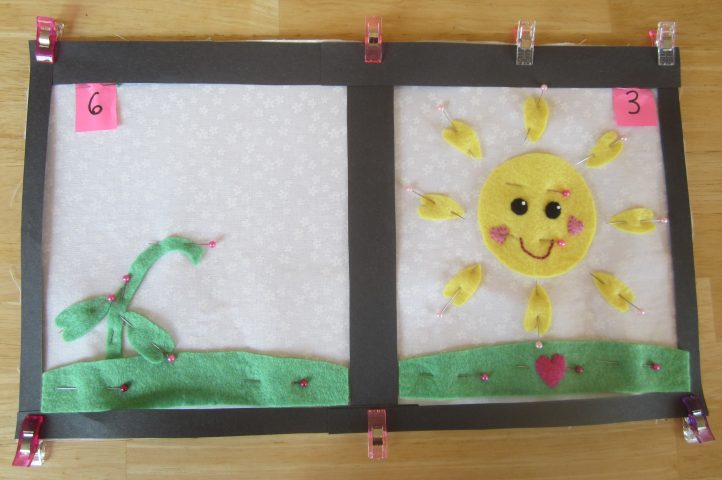
SEW THE FELT TO THE PAGES:
Note: If you are machine stitching the felt appliqués, you may want to pin all the pieces on all the pages first, then stitch all of the green pieces, all of blue pieces, etc. so that you don’t have to rethread the machine as often when changing thread colors.
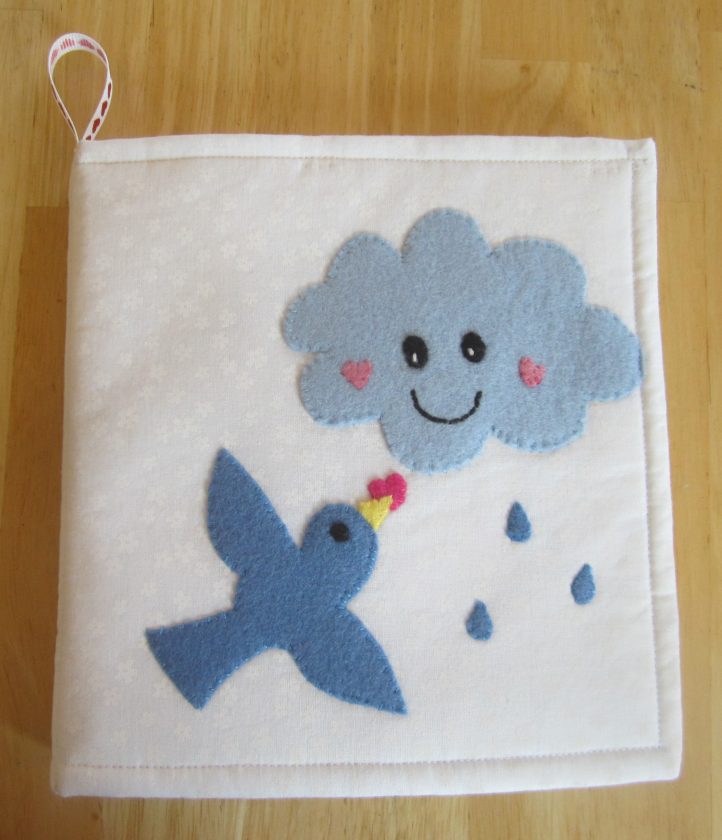
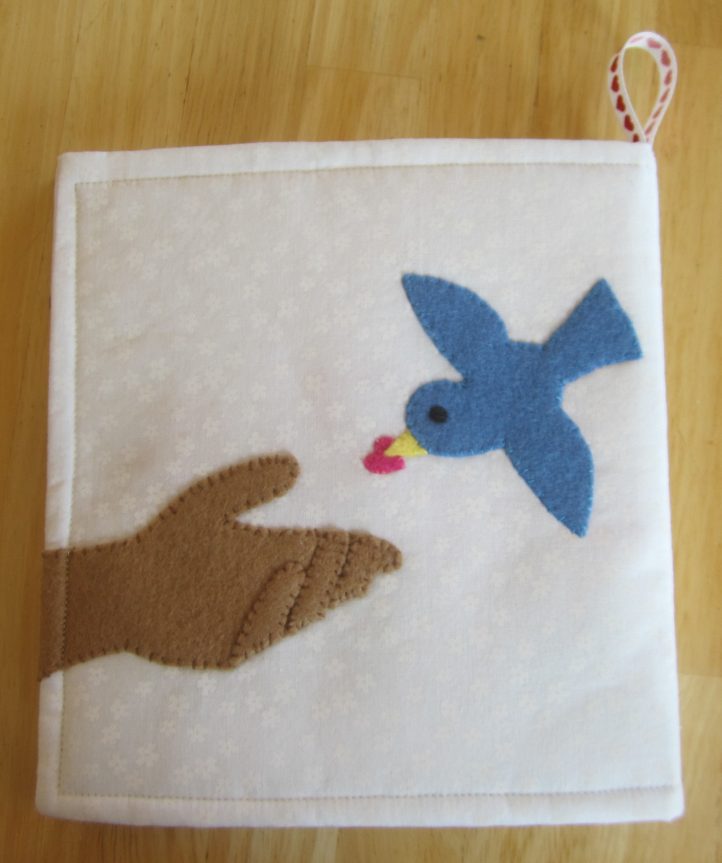
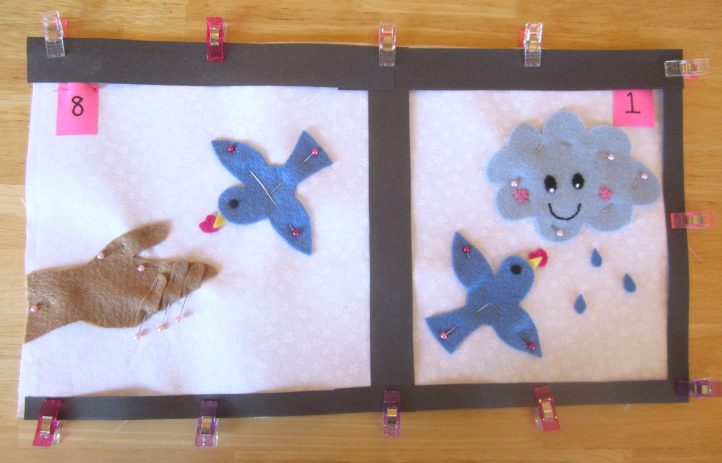
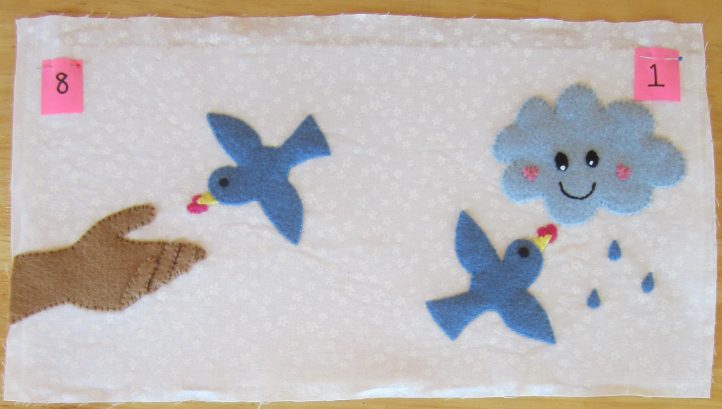
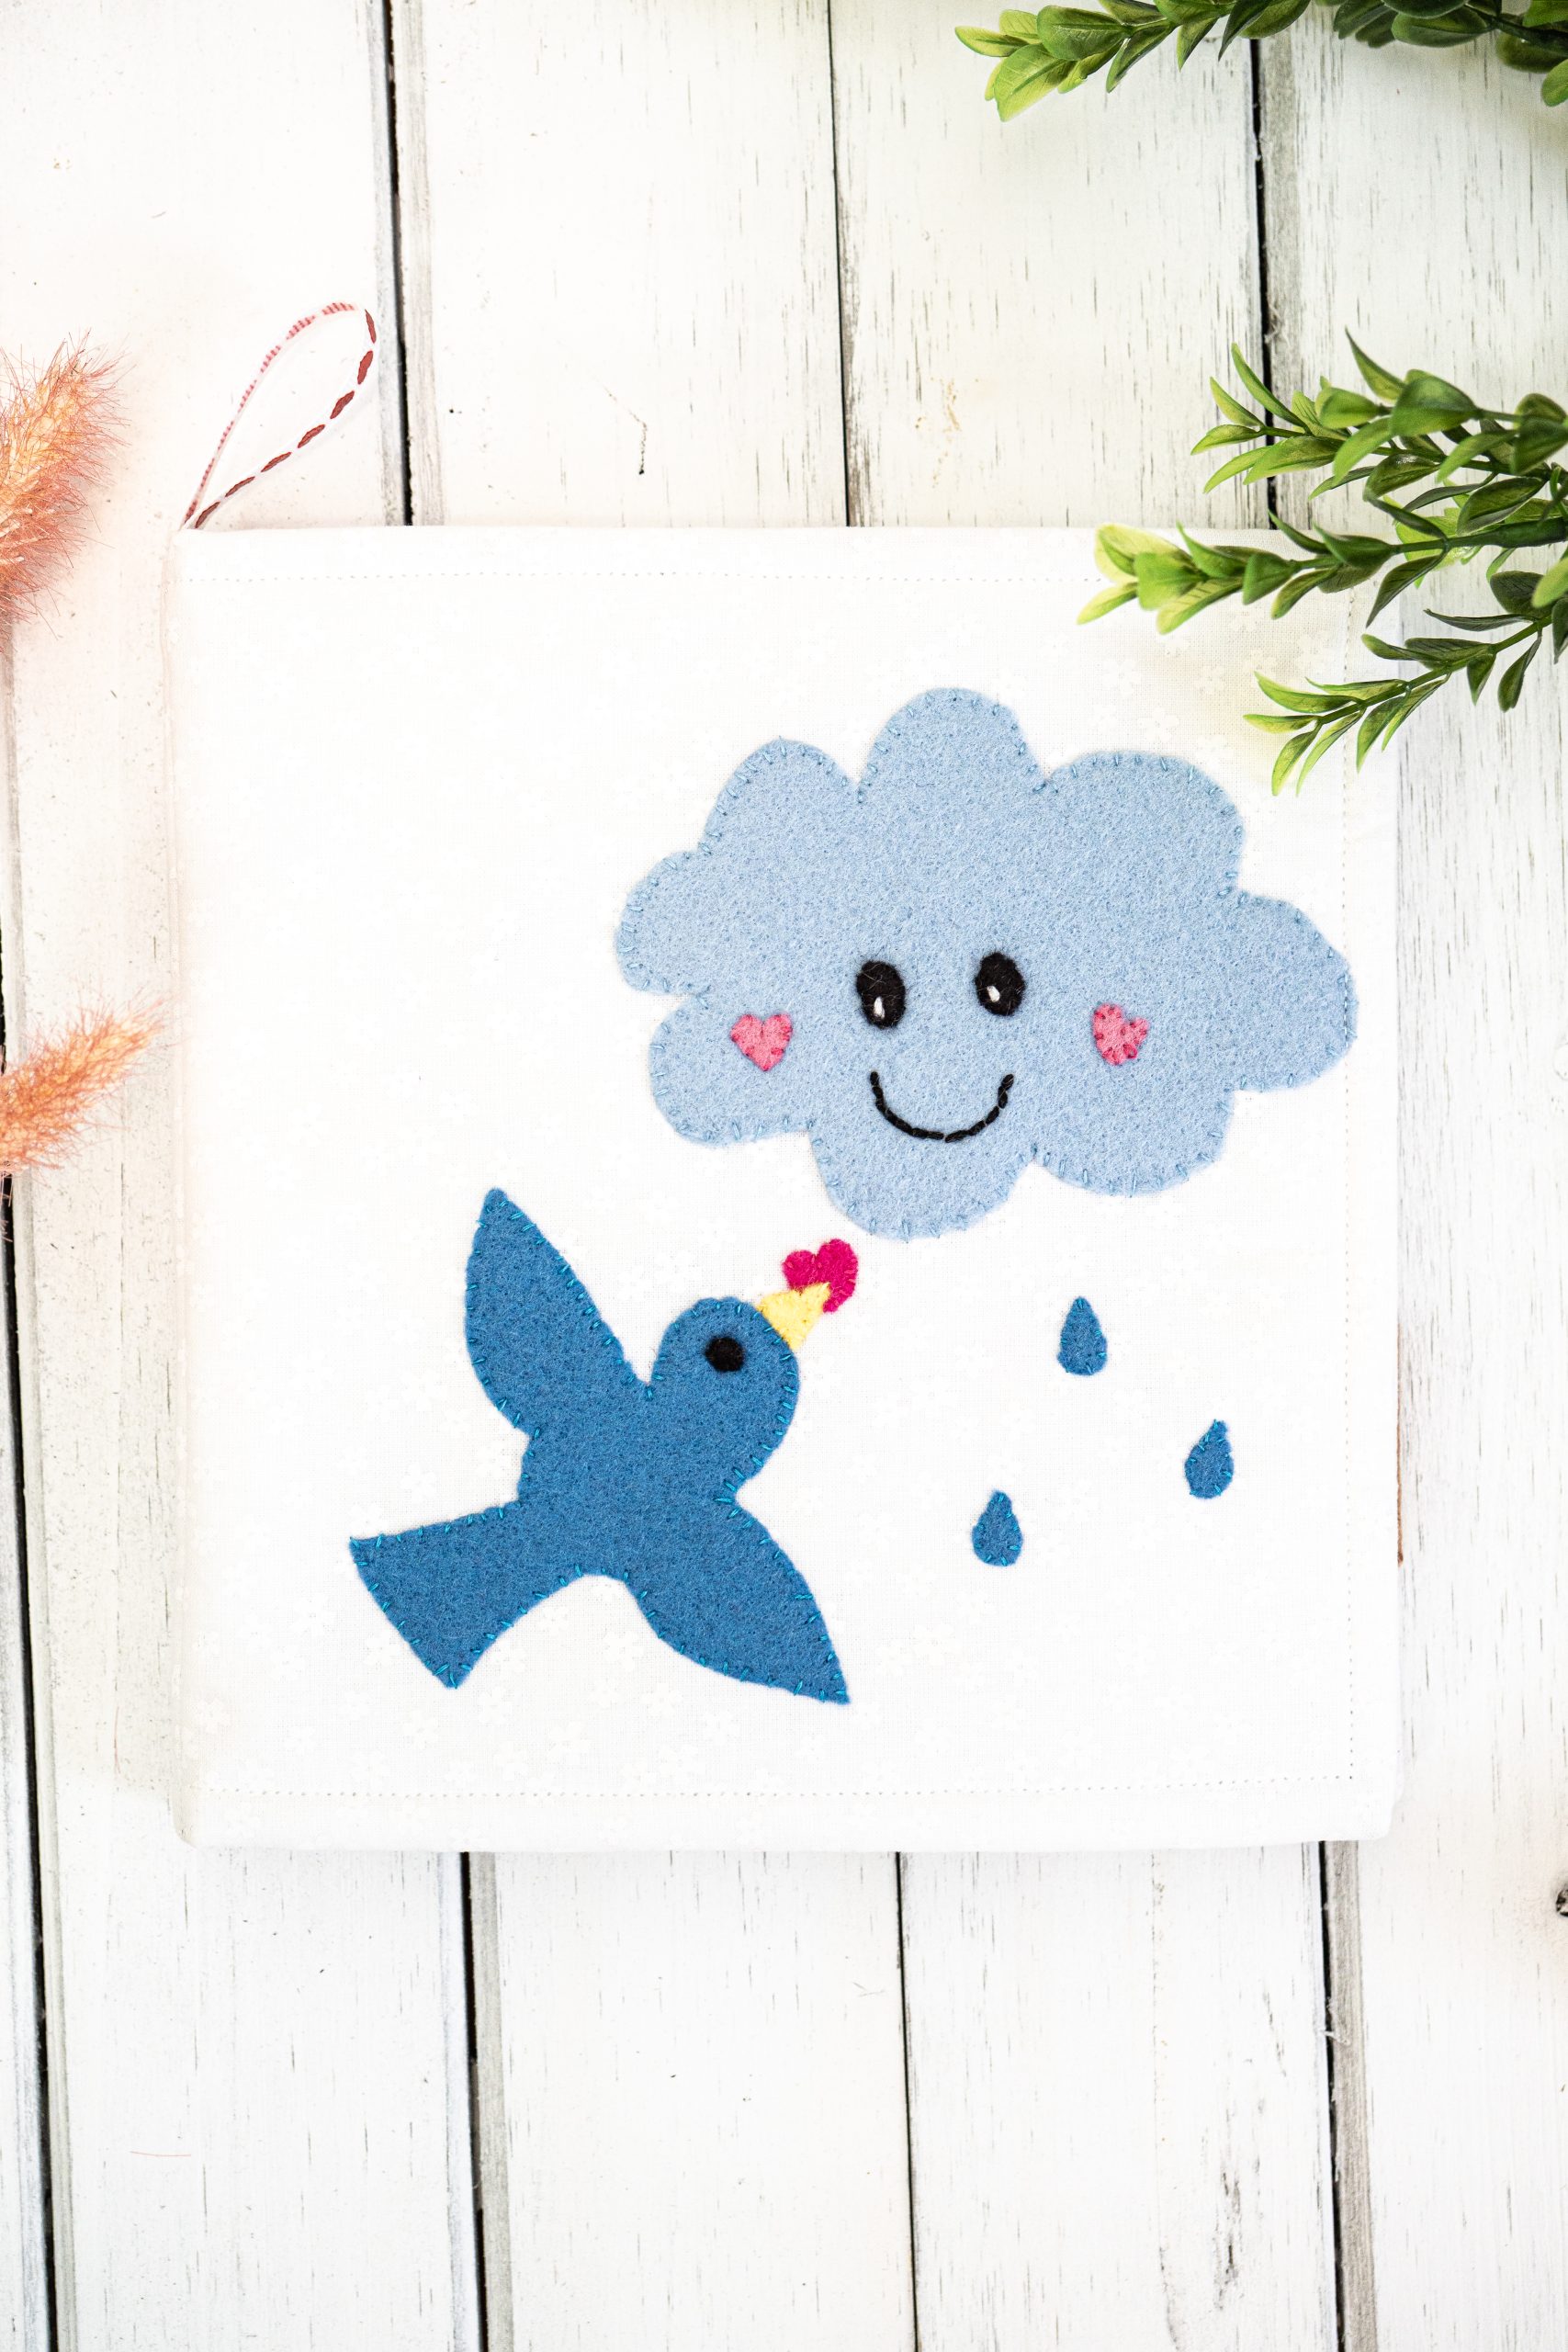
Decorate the Outside Cover:
The outside cover includes the last page (page 8) on the left, and the front cover (page 1) on the right. Make sure to use one of the wider pieces of fabric (16 1/2 inches) for the outside cover.
- On the left half of the rectangle, position the felt hand and the bird that faces left. The left edge of the wrist should align with the edge of the white fabric. This will prevent the hand from looking “cut off,” and instead make it appear to extend off the edge of the page. (The hand is the only exception to the margin rule.)
- Tuck a beak under the bird’s head, and a magenta small heart seed under the bird’s beak. Pin all the pieces in place.
- Fold the three smallest fingers of the hand up toward the palm, forming a cupped hand, and pin in place.
- On the right half of the rectangle, position the medium cloud and the bird that faces right. Tuck a beak under the bird’s head, and a magenta small heart seed under the bird’s beak.
- Position three blue raindrops below the cloud. Pin all the pieces in place.
- For the overlapping pieces, set the bird beak aside temporarily and stitch the small heart seed in place.
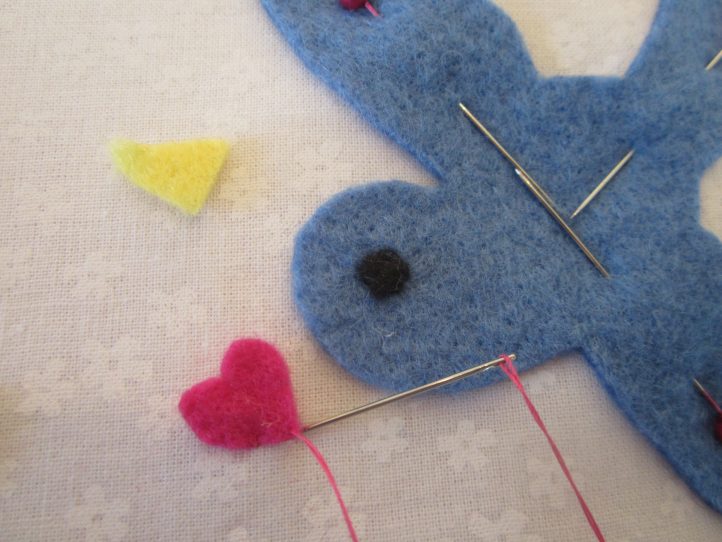
- Replace the bird beak and stitch around it, holding the bird head out of the way.
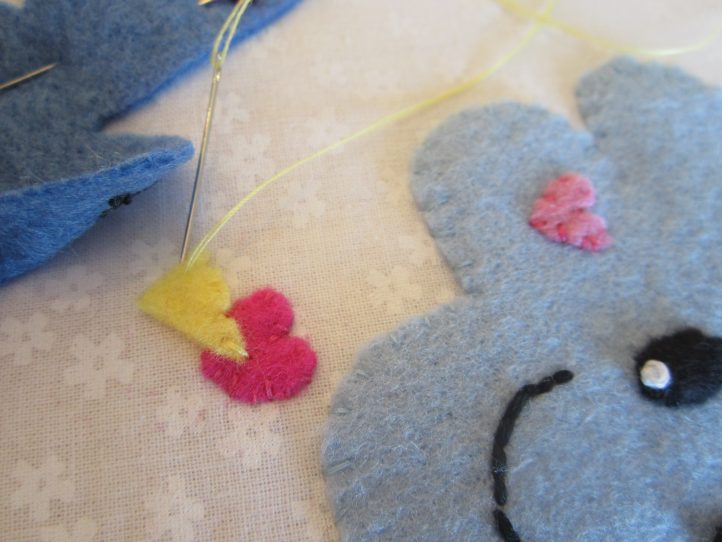
- Finally, stitch the bird and remaining pieces in place using matching thread.
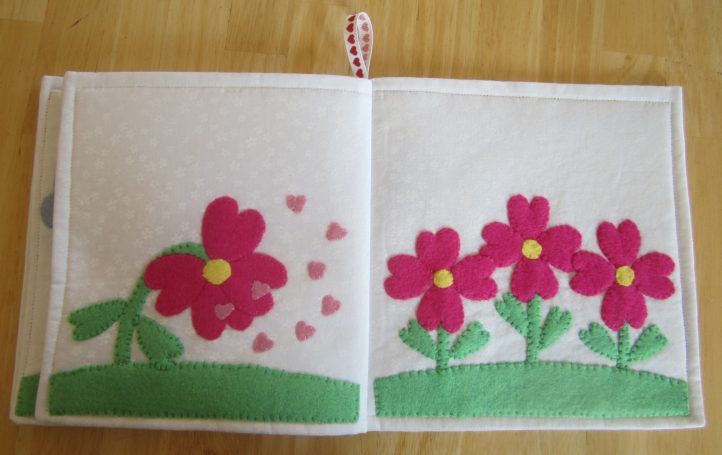
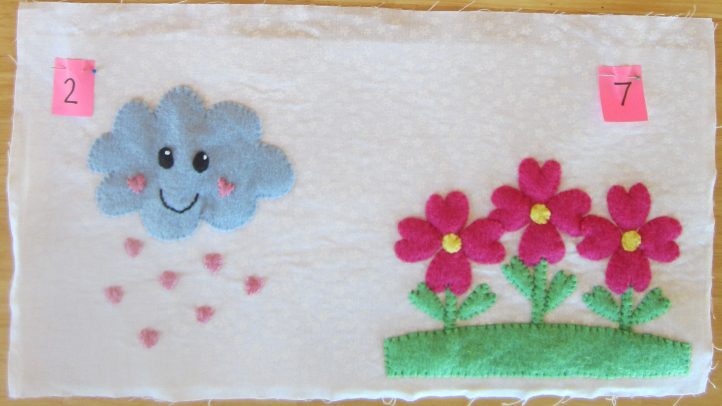
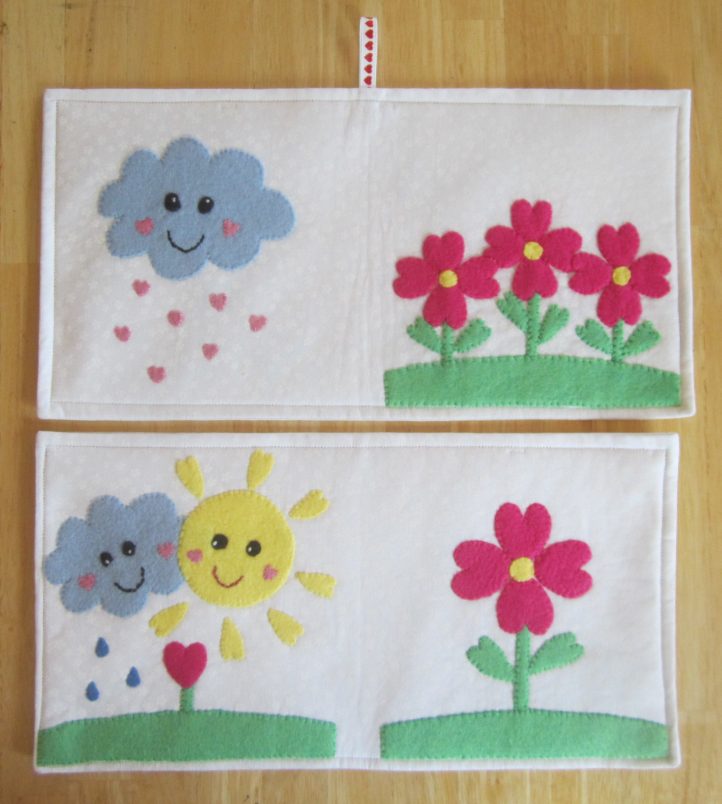
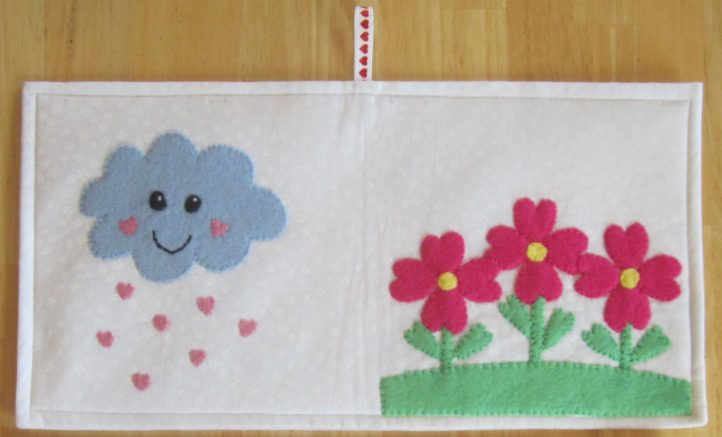
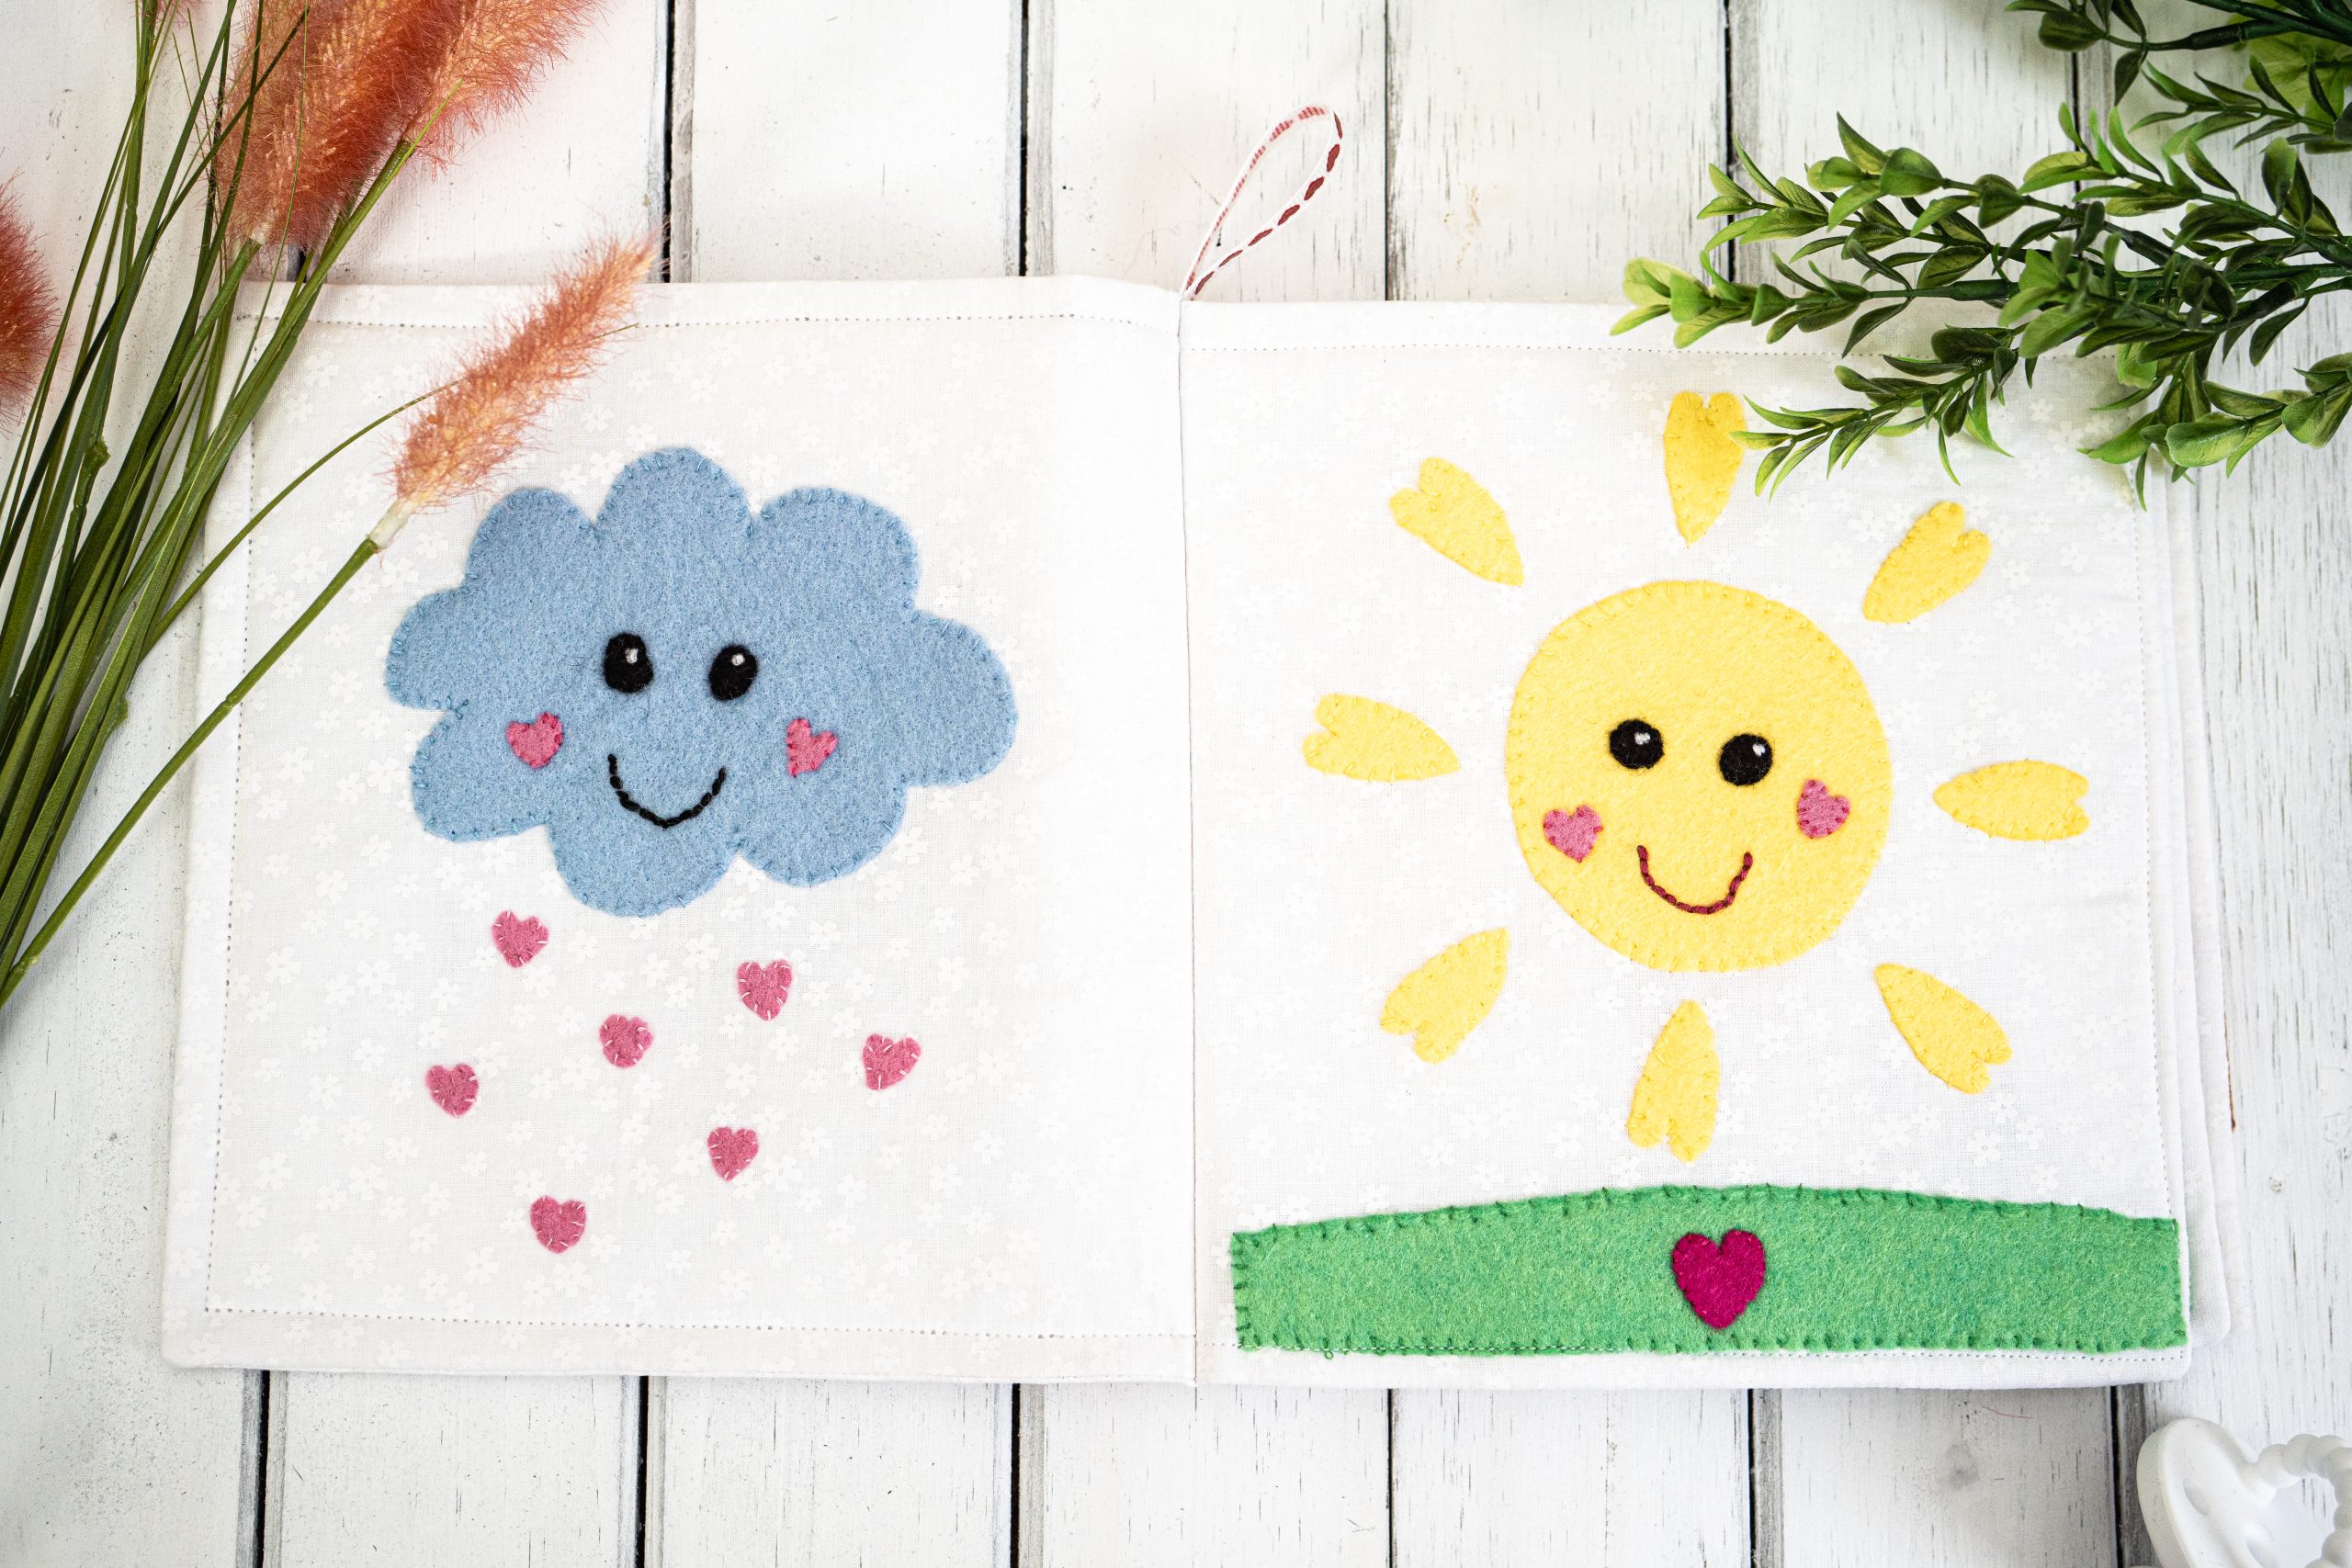
Decorate the Inside Cover:
The inside cover includes page 2 on the left and page 7 on the right. Make sure to use one of the wider pieces of fabric (16 1/2 inches) for the inside cover.
- On the left half of the rectangle, position the large cloud. Place 5 pink small heart seeds below the cloud. Pin all the pieces in place.
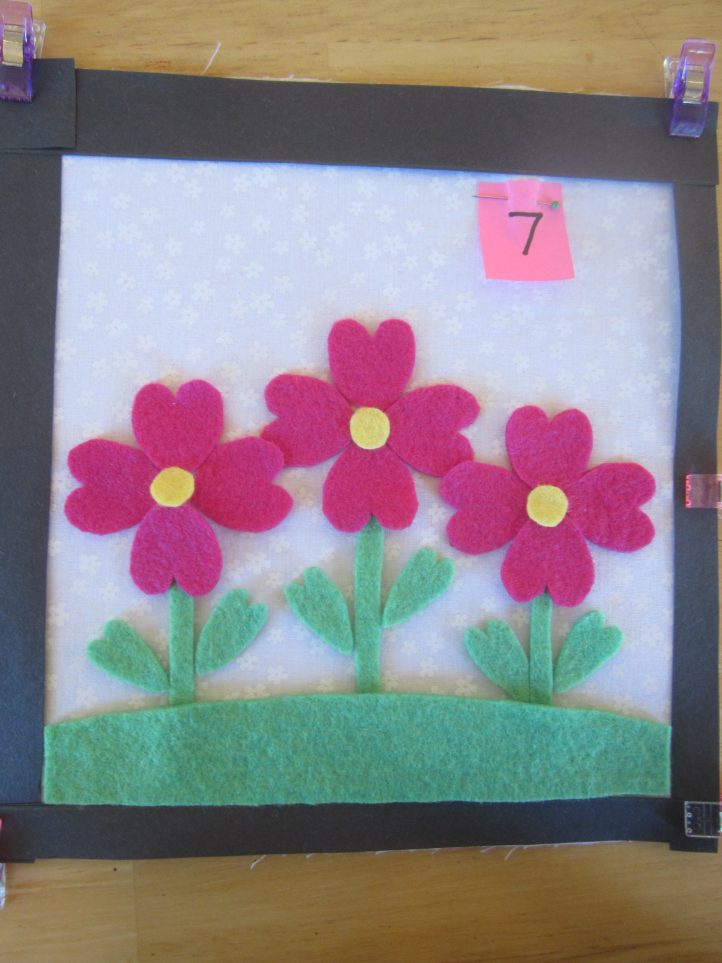
- On the right half of the rectangle, position the widest piece of grass (the one cut using the outer cutting lines of the pattern) at the bottom of the page.
- Tuck 3 medium stems behind the upper edge of the grass. Position 1 medium leaf on each side of each stem.
- Place 4 medium heart petals over the top of each stem. The three flowers should overlap slightly. Rearrange the stems, leaves, and petals as needed until all the flowers are evenly spaced.
- Pin the grass, stems, and leaves in place. Temporarily remove and set aside the flower petals.
- Stitch the grass, stems, and leaves using green thread.
- Position the heart petals at the tops of the stems. Stitch in place using magenta thread. Where the flowers overlap, hold or pin the top petal out of the way while you stitch the petal underneath.
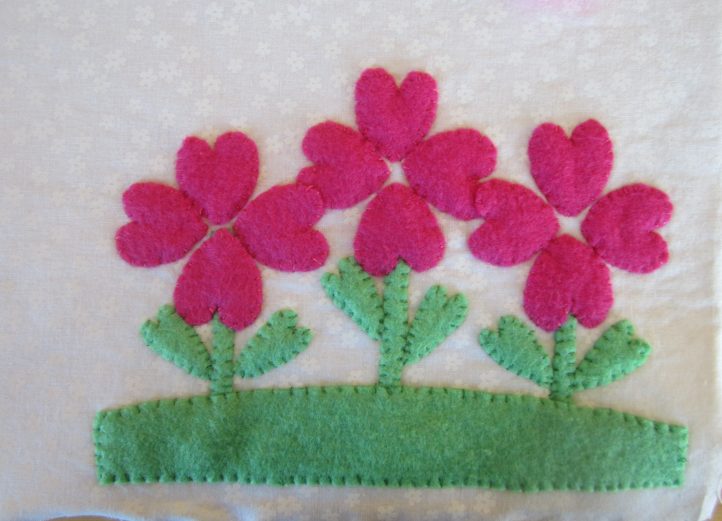
- Position the medium flower centers in the middle of each set of flower petals. Stitch in place using yellow thread.
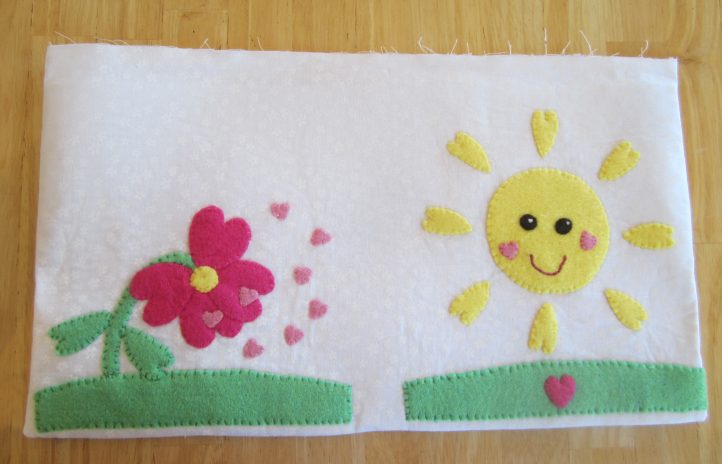
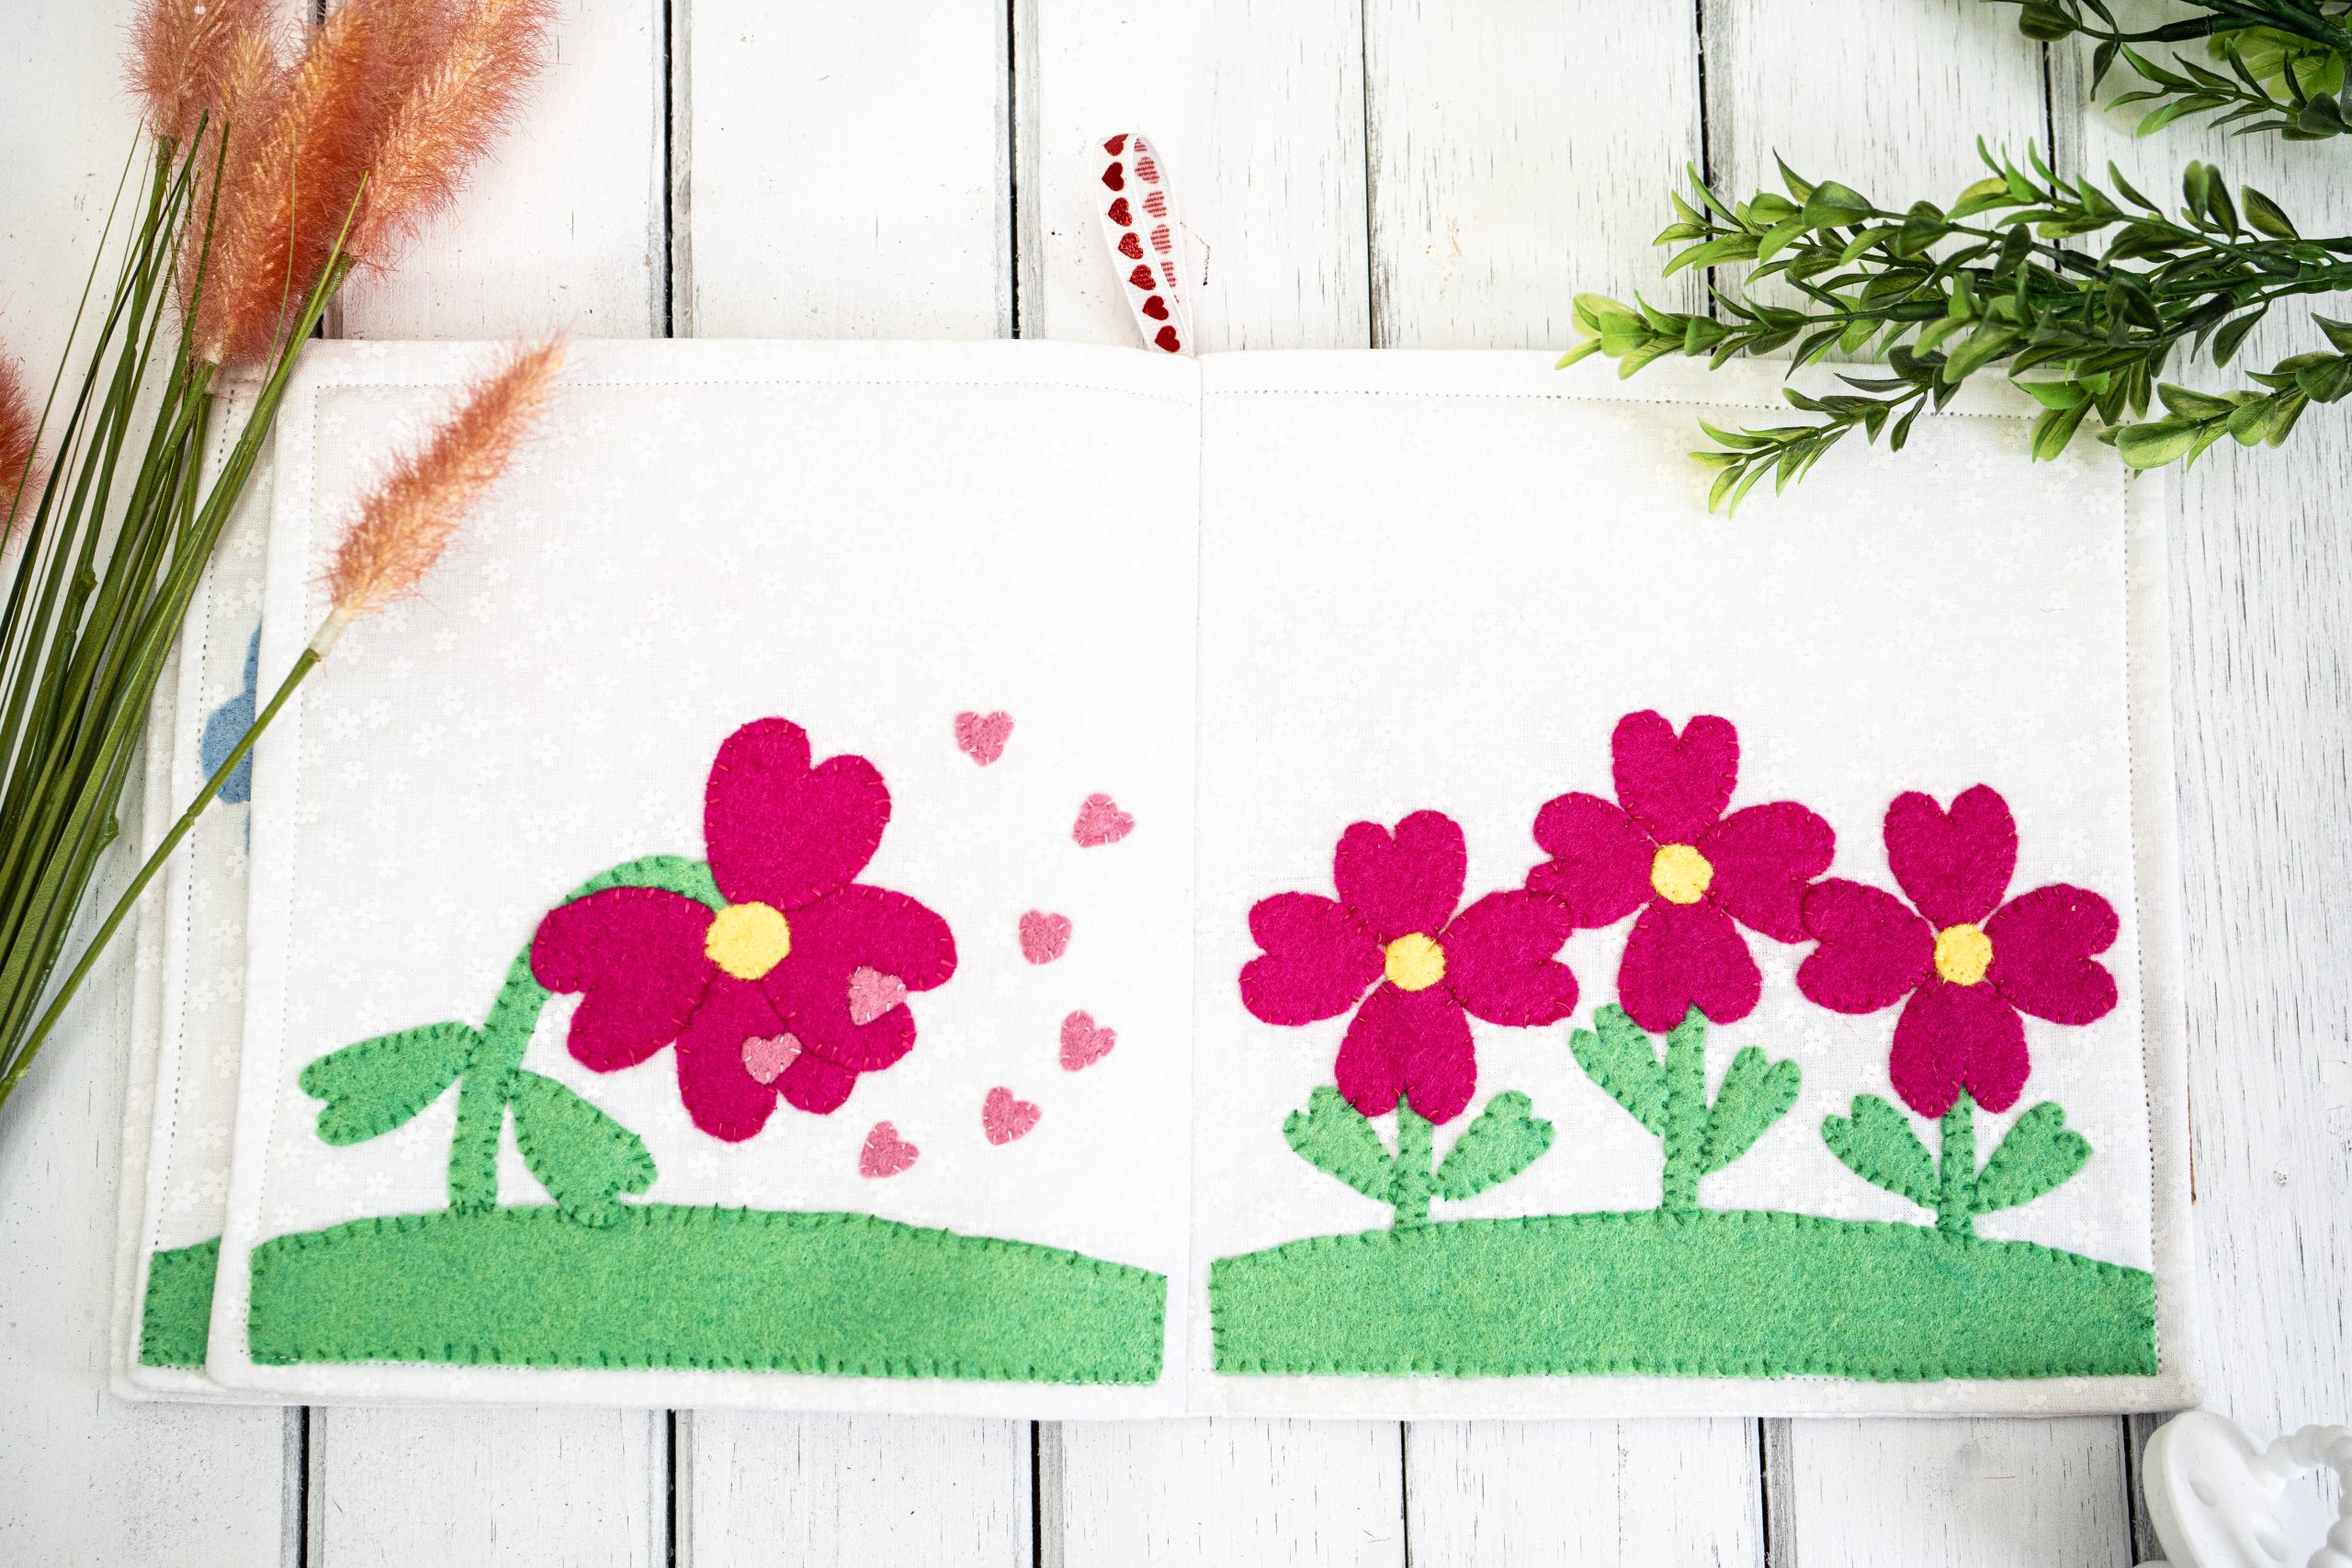
Decorate the Second and Second-to-Last Pages:
- On the left half of the rectangle, place a small, plain grass piece at the bottom of the page.
- Tuck the lower end of the wilting stem behind the grass. Position a large leaf on each side of the wilting stem, in a drooping position.
- Position 4 large heart petals at the end of the wilting stem.
- Place a large flower center on top of the petals.
- Place 8 pink small heart seeds on top of and blowing away from the flower. Adjust the position of the stem and petals as needed to make sure everything fits on the page.
- On the right half of the rectangle, place the grass piece with the large heart seed on it near the bottom of the page.
- Position the large sun above the grass. Arrange 8 large sun rays in a circle around the sun, with their pointed ends facing the sun.
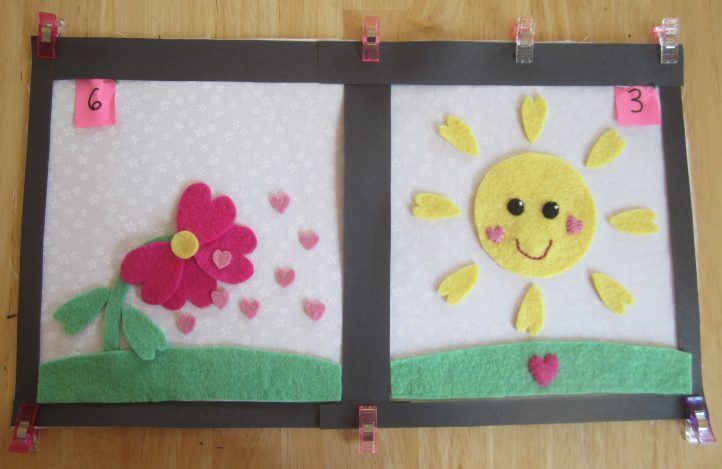
- Remove the small heart seeds and petals and set them aside. Pin all the other pieces in place, then stitch them to the fabric using matching threads.
- Replace the heart petals and stitch them in place. Where the petals overlap, fold the upper petal out of the way so you can stitch the petal underneath.
- Replace the large flower center over the center of the petals and stitch it in place.
- Replace the small heart seeds and stitch them in place.
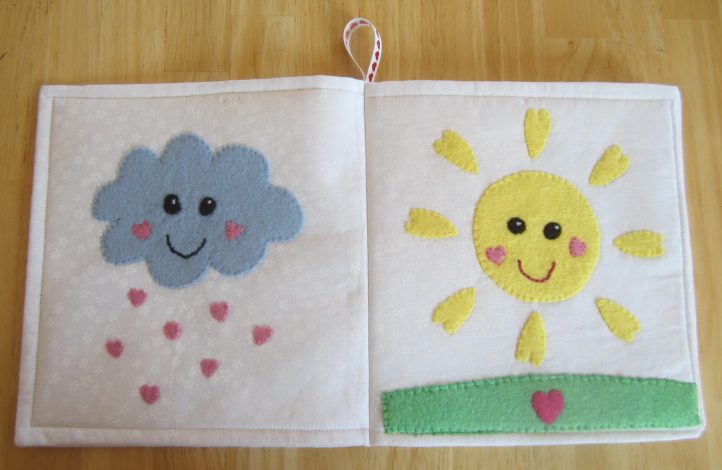
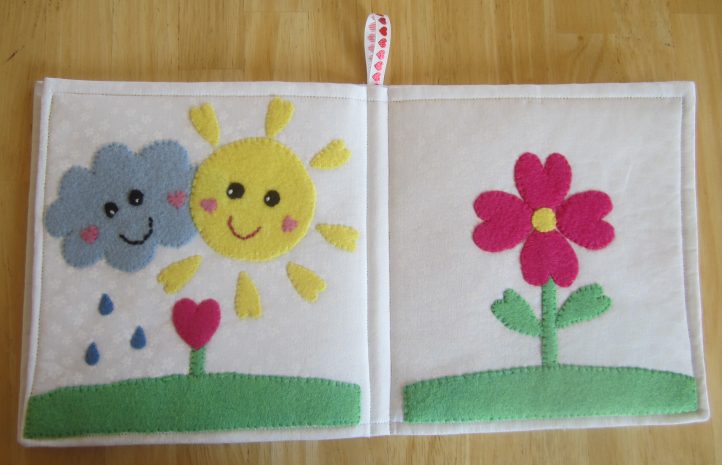
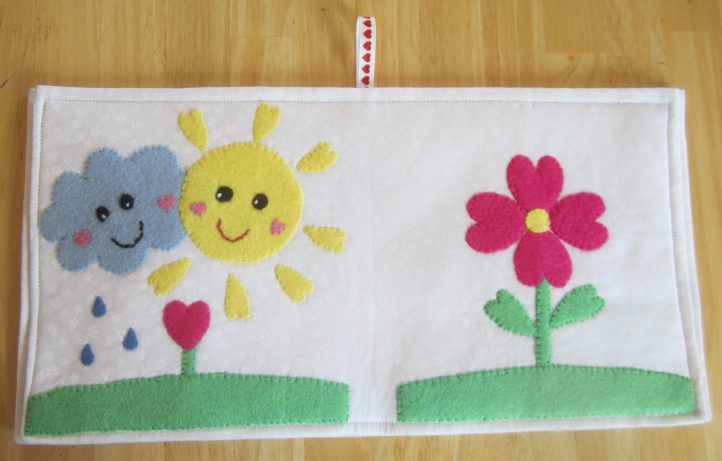
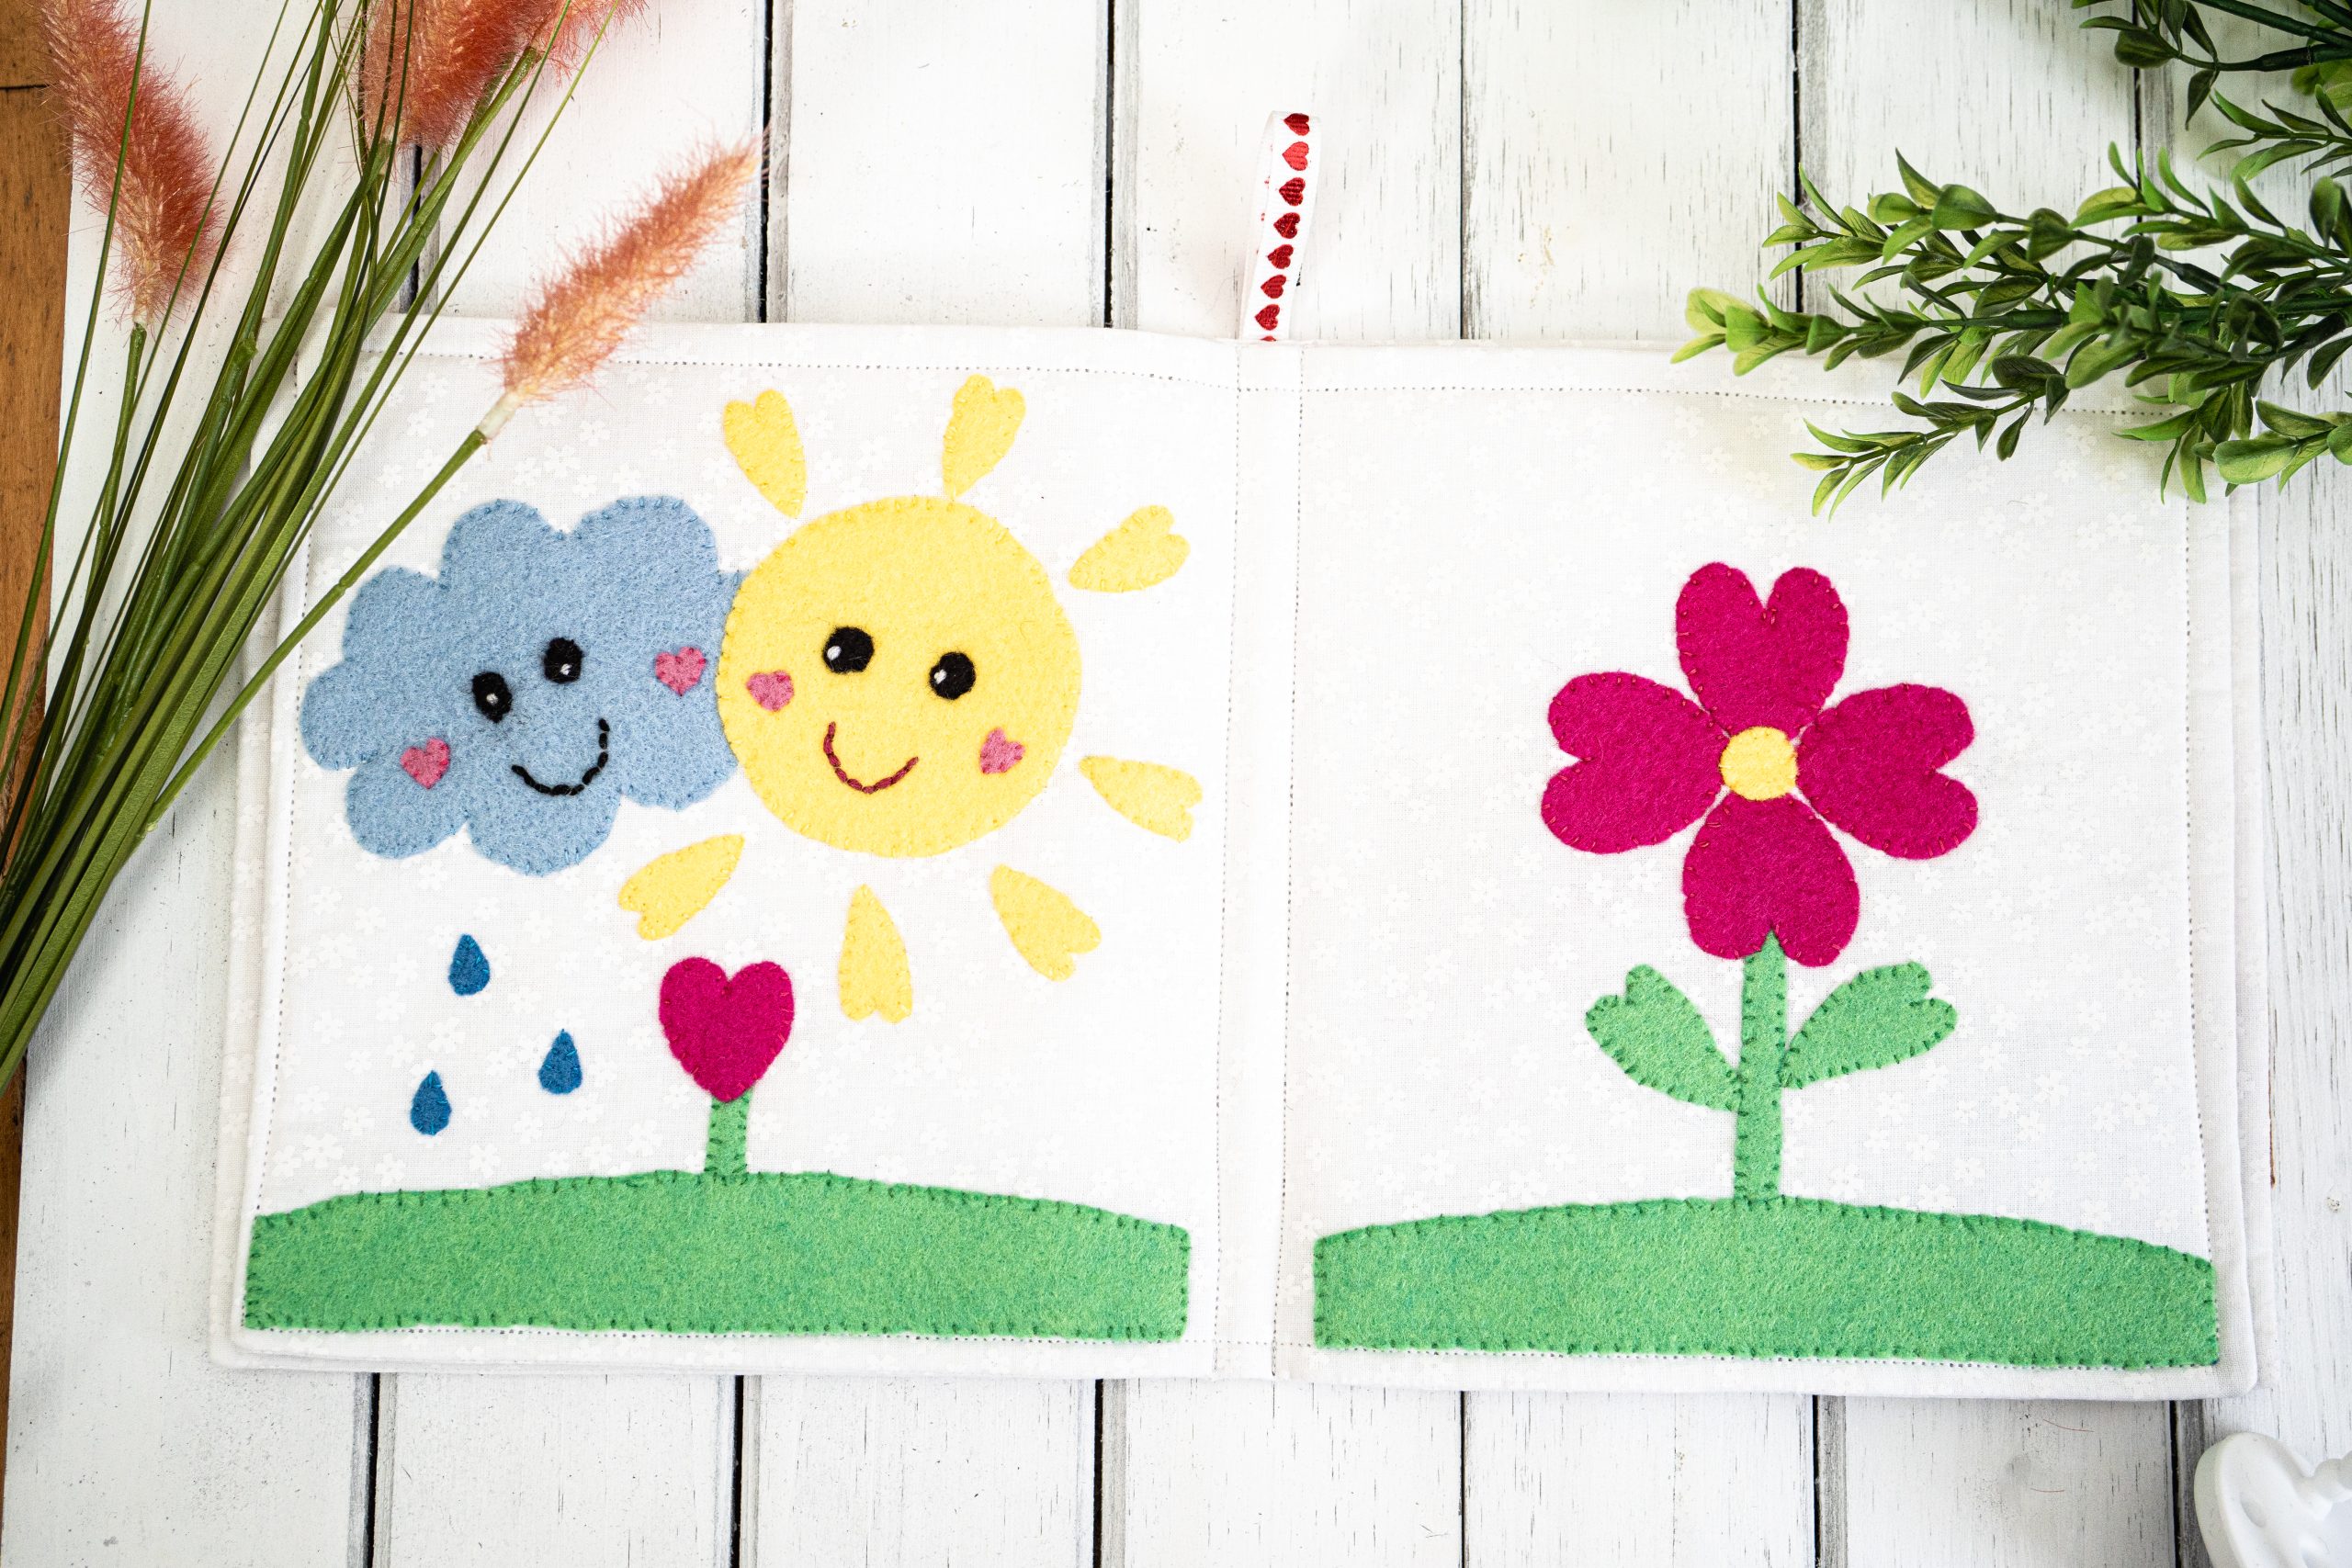
Decorate the Inner Pages:
- On the left half the rectangle, position a piece of grass near the bottom of the page. Tuck the short stem behind the center of the grass. Place a medium heart petal on top of the short stem.
- Position the small cloud and small sun above the short flower, overlapping them slightly. Position the 7 small sun ray petals around the sun.
- On the right half of the rectangle, position a piece of grass near the bottom of the page. Tuck the long stem behind the center of the grass. Place a large leaf on each side of the stem.
- Position 4 large heart petals at the top of the stem, and place a large flower center on top of the petals.
- Adjust any pieces as needed to make sure they fit on the page, then pin and stitch them in place.
If any of the pages have gotten wrinkled during the felt attachment, gently iron them before continuing.
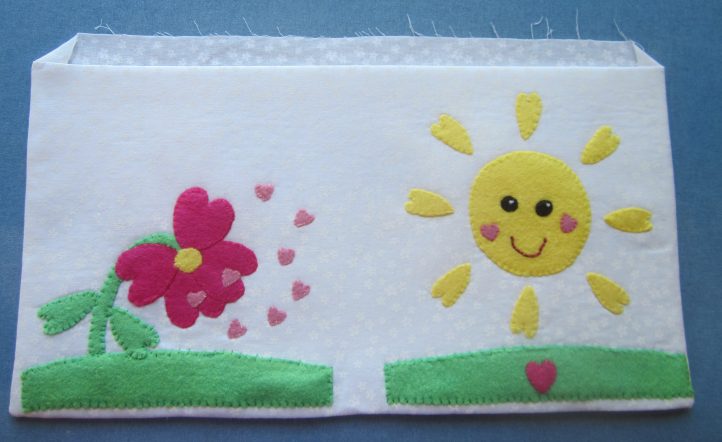
ASSEMBLE THE PAGES:
- Remove the page number tags from the outside cover (pages 8 and 1) and the inside cover (pages 2 and 7). Place the pages right sides together, lining them up carefully along the outside edges, and pin.
- Using white thread and 1/4 inch seam allowance, straight stitch along the sides and bottom edge of the pages, leaving the top edge open (like a pillowcase).
- Clip the corners.
- Turn the pages right side out, making sure the corners are completely turned. Press.
- Fold both top (raw) edges to the inside, so that they are even with the fusible fleece. Press the top flat.
- Optional: Cut a piece of ribbon 6 inches long. Fold the ribbon in half (wrong sides together, if applicable), forming a loop. Tuck the ends of the ribbon loop in between the top edges of the fabric, making sure the ribbon is centered.
- Pin the top edges together, making sure to pin the ribbon loop if using.
- Topstitch all the way around the rectangle using scant seam allowance.
- Sew the inside pages together the same way, omitting the ribbon loop.
ASSEMBLE THE CLOTH BOOK:
- Place the cover of the book with the inside (large cloud and three flowers) facing up.
- Lay the inside pages on top of the cover, with pages 4 and 5 (the cloud & sun, and single large flower) facing up.
- Line up the pages along the top and bottom edges. Center the inside pages on the cover, so that the cover sticks out evenly (about 1/4 inch) on either side.
- Using pins, mark two lines down the center of the book, 1/2 inch apart.
- Stitch along the two lines. The book is now bound and complete!

Care Instructions:
Hand wash or machine wash on gentle cycle in cold water. Lay flat to dry.

Nice project for my granddaughter and I to make a little book for our expected baby!