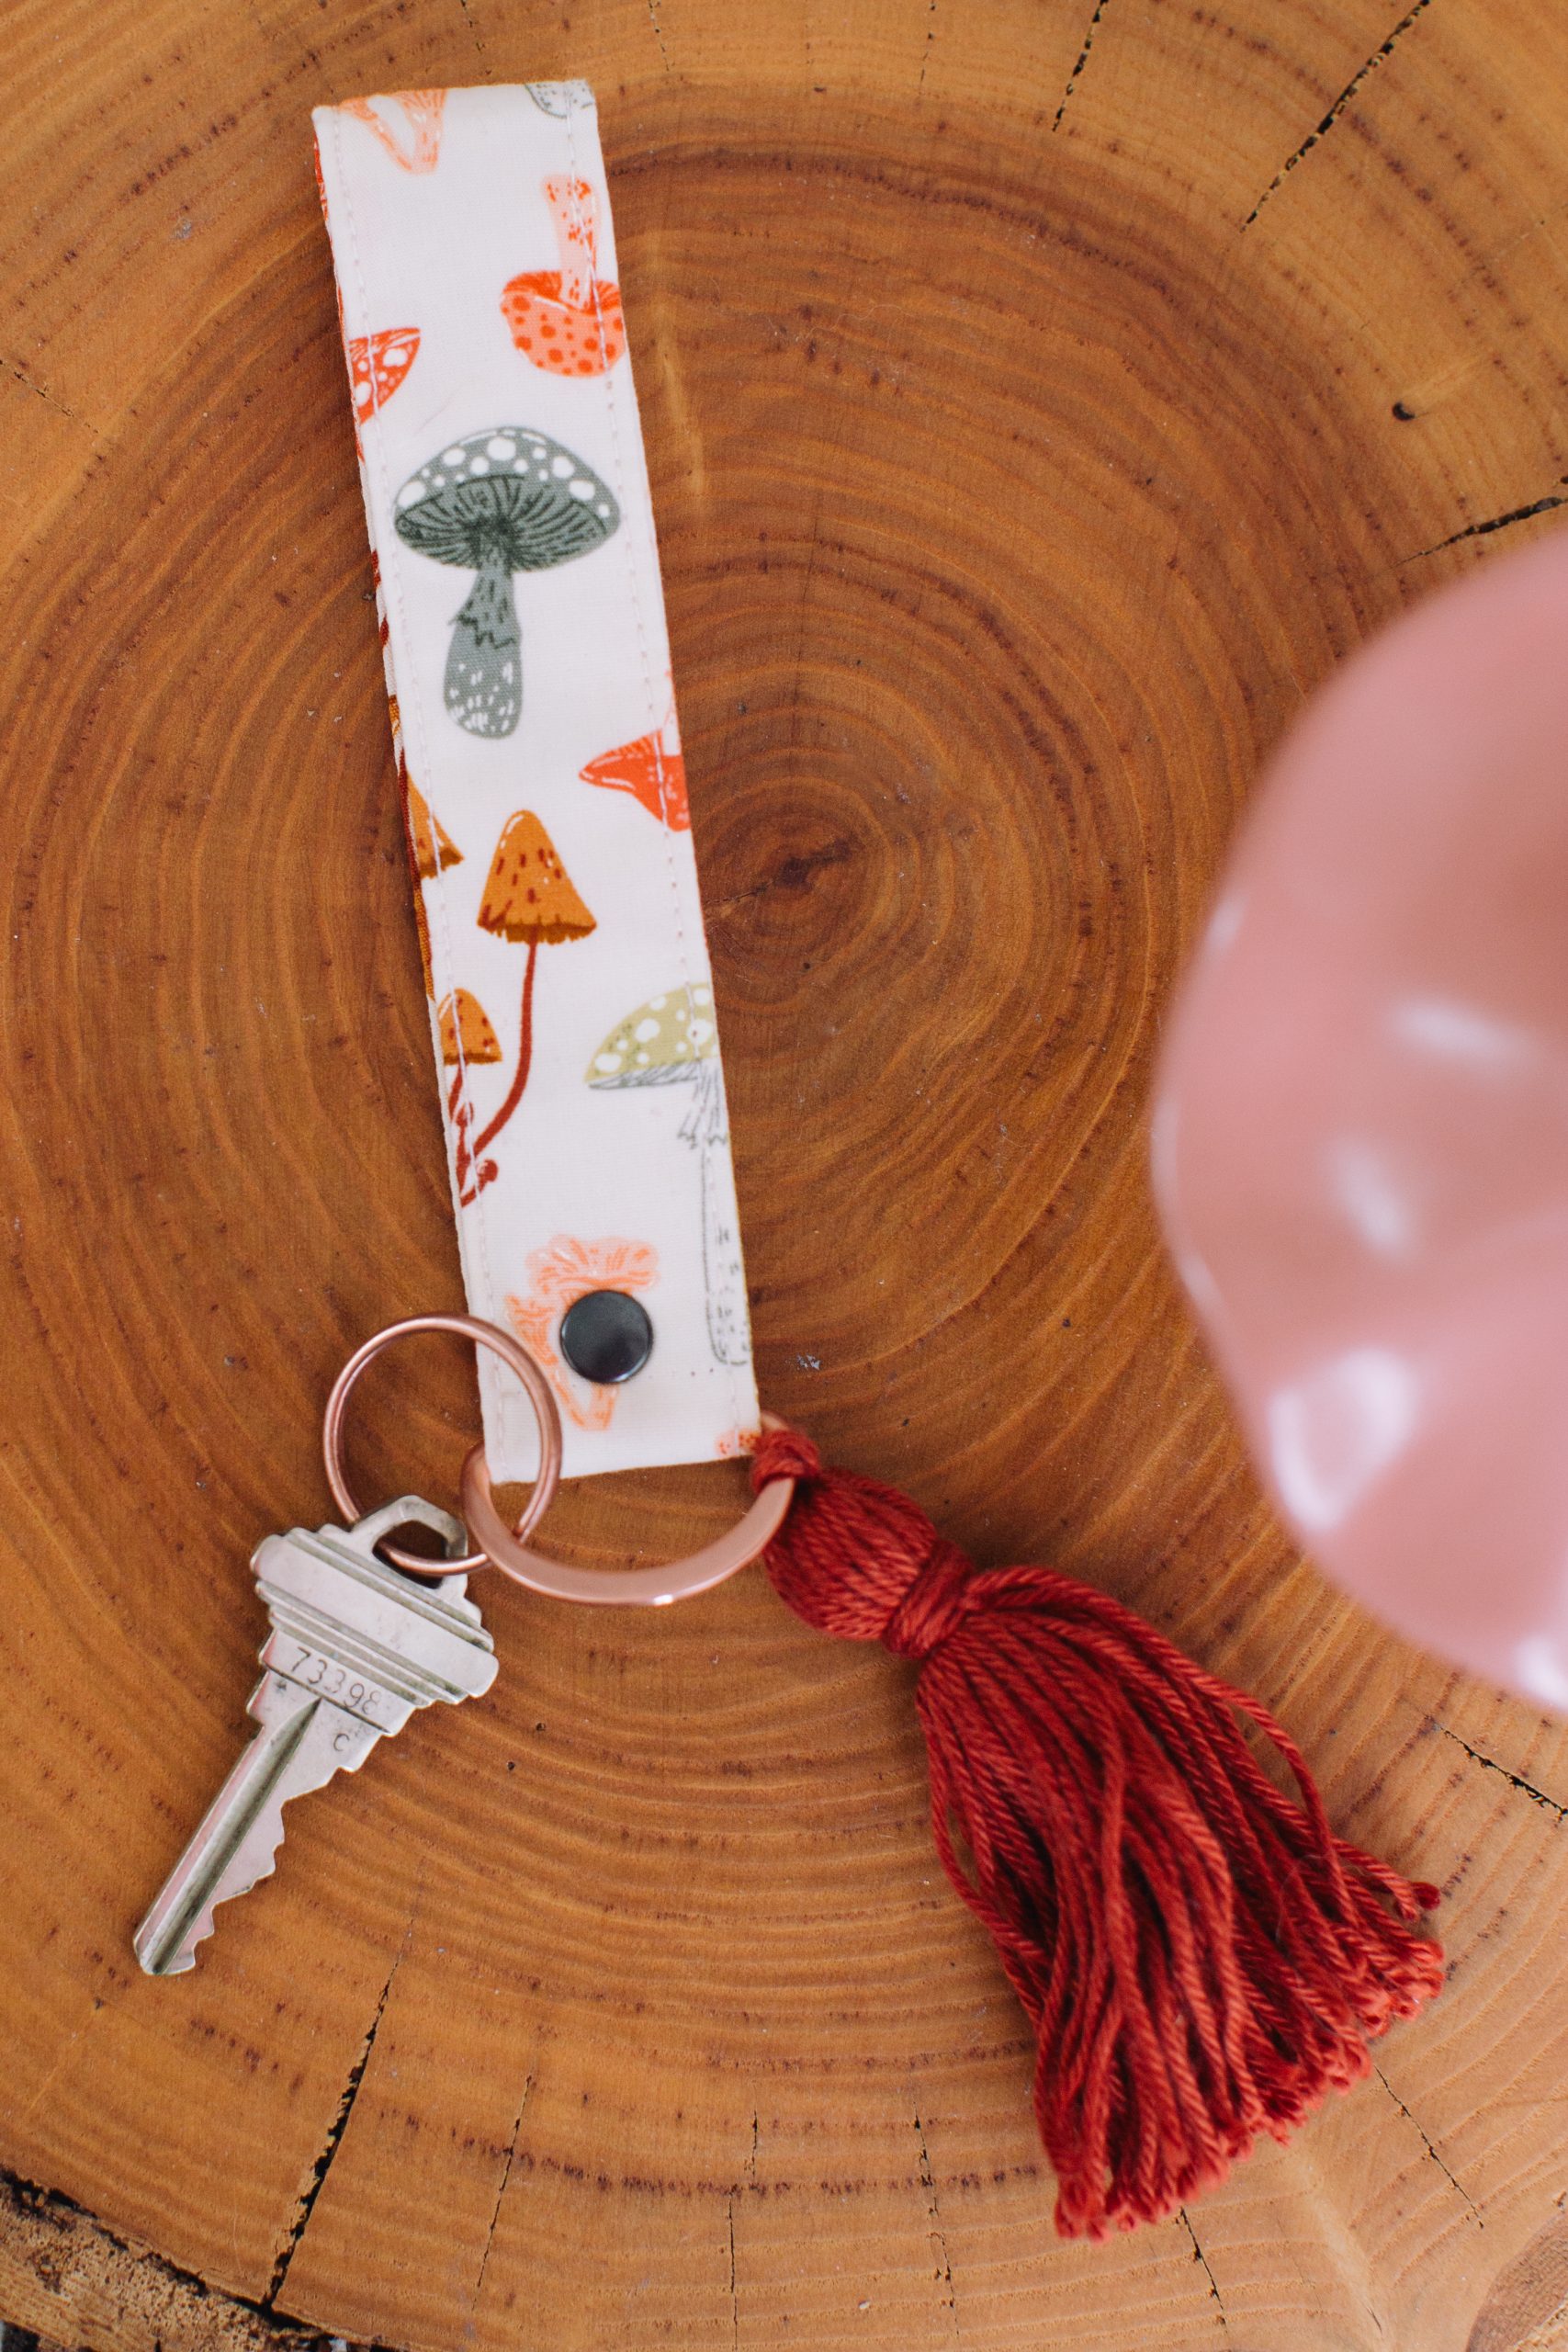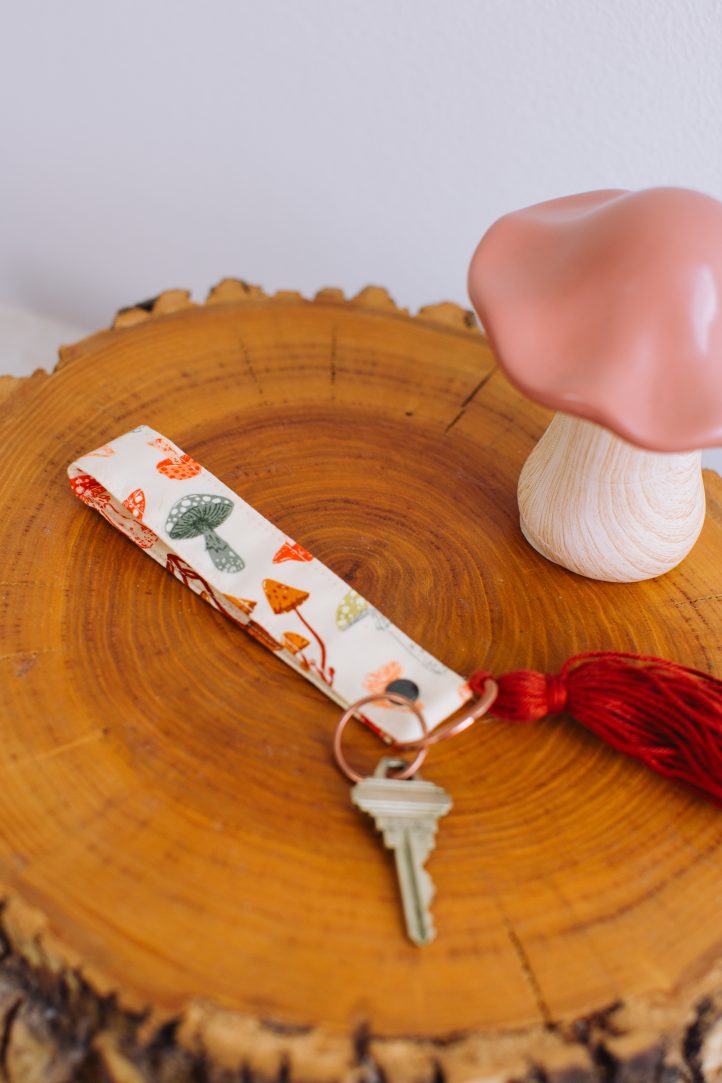
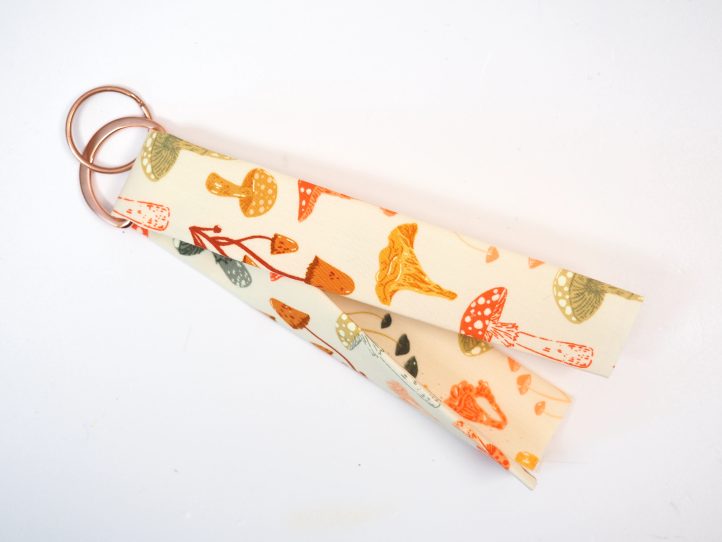
If you’re always losing your keys, why not design a super cute key fob that you won’t be able to forget about? This easy DIY key fob is a fun sewing project that lets you work with adding more intricate details like hardware and tassels. Perfect for precuts like fat eighths, this key fob pattern also makes an excellent DIY gift idea for coworkers, church pals and your sewing circle.
Designer Note: Please read all instructions and assembly requirements before beginning the pattern. Seam allowances are all 1/4” and have already been added.
Materials:
- Fabric:
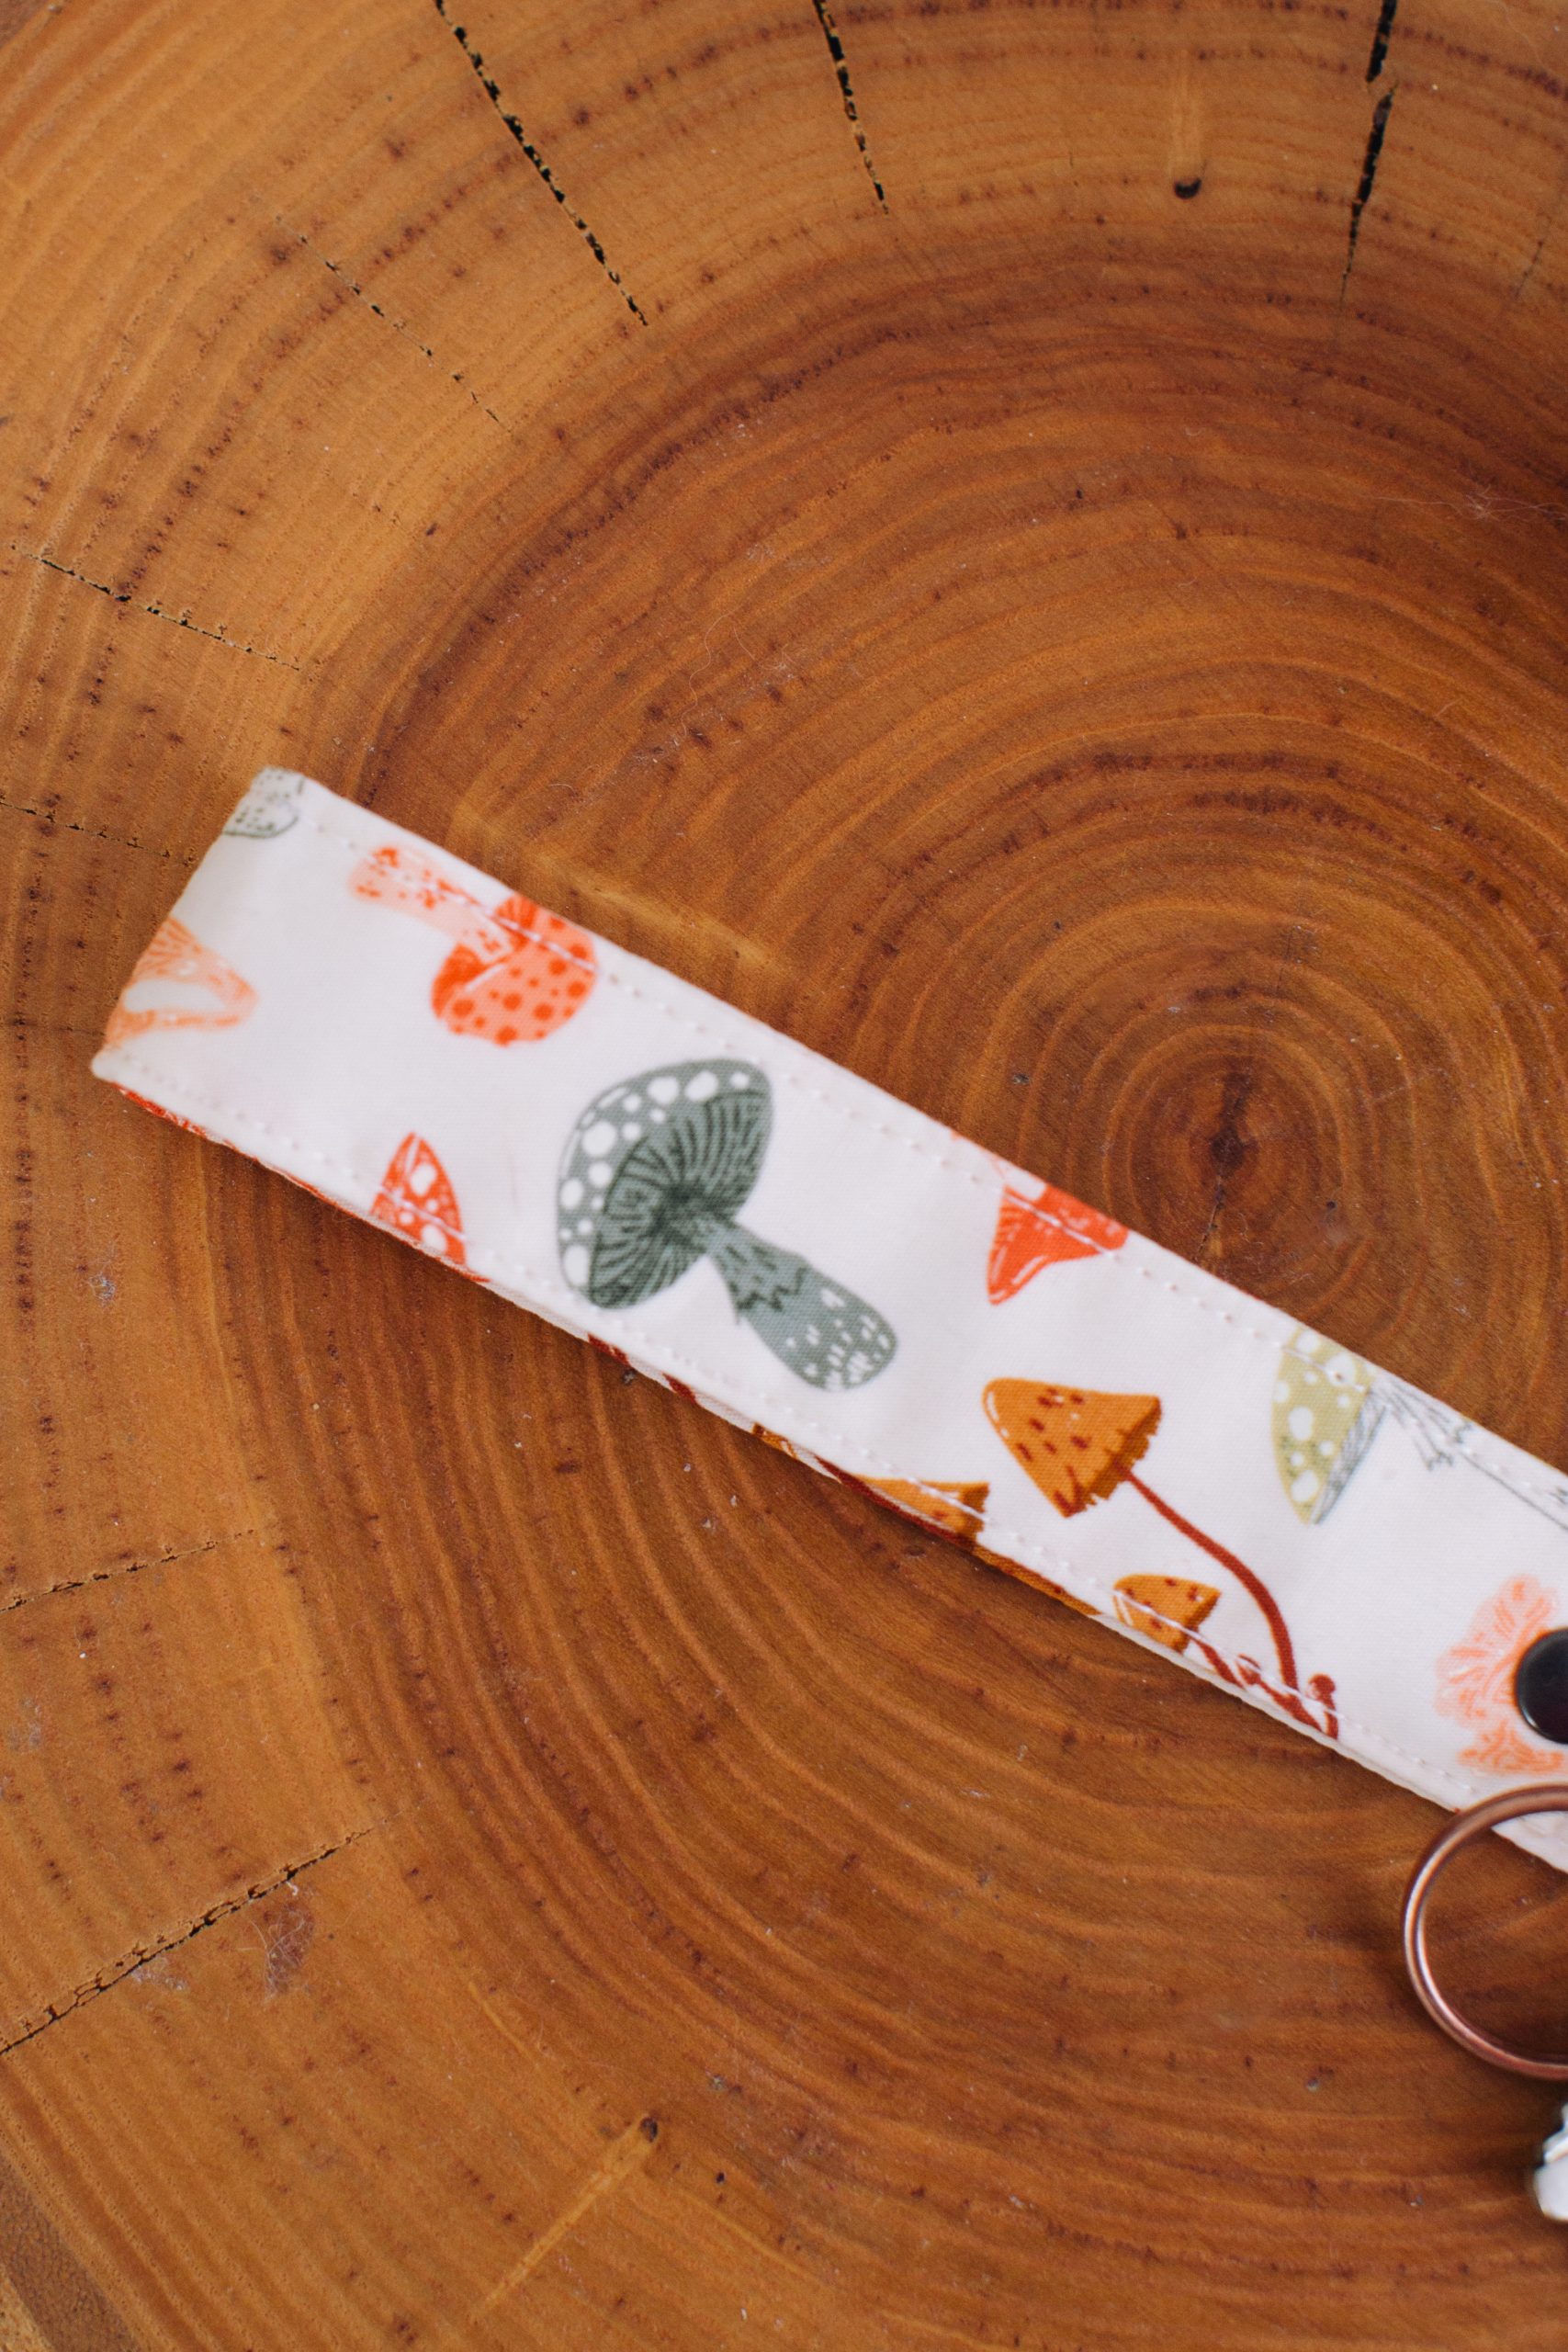
- Fat eighth of pretty fabric. The designer used Underwood Sprouts Pale from the Hazelwood collection by Art Gallery Fabrics for the sample.
- Interfacing:
- Light fusible interfacing. The designer used G740 by Vlieseline but a good substitute would be Pellon 860F Ultra Weft.
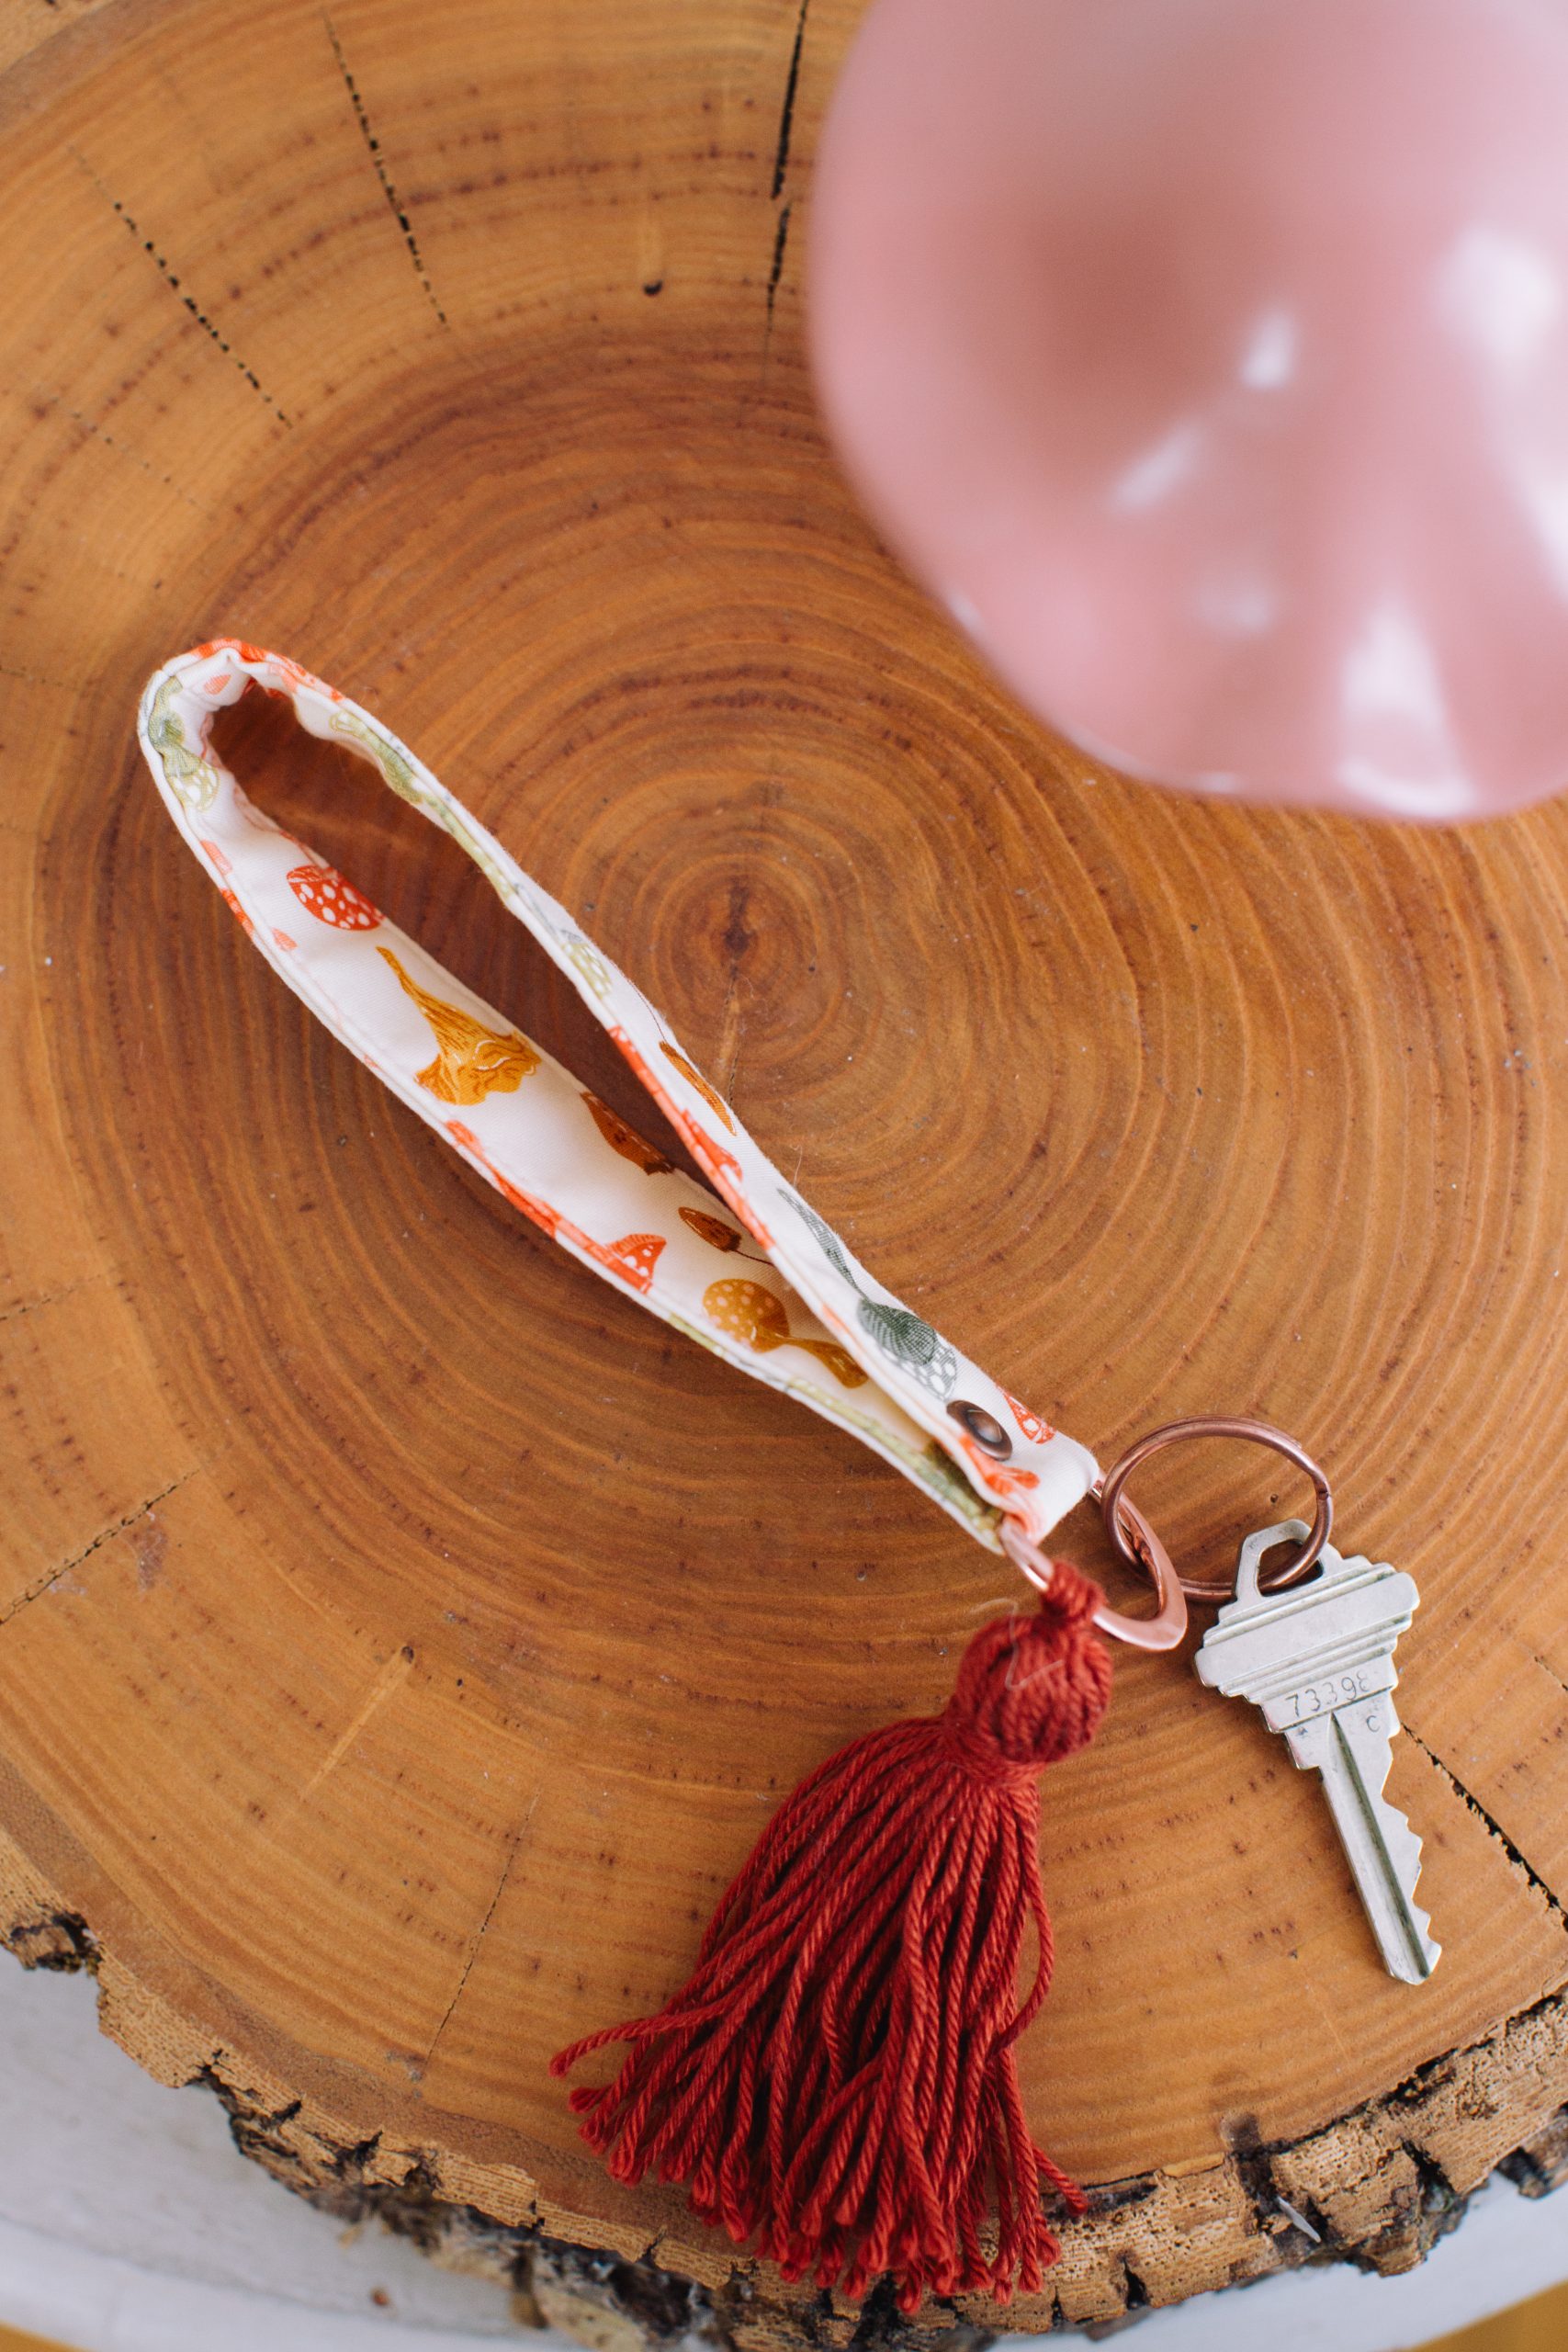
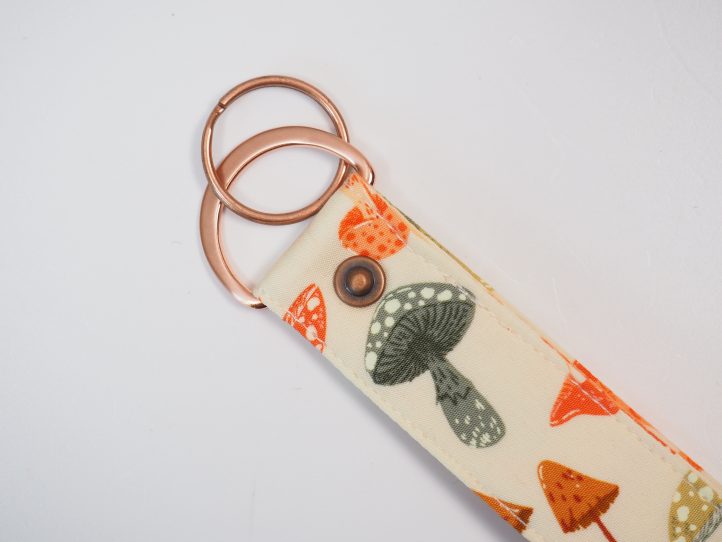
- 1” d-ring
- 5/8” split ring
- 1 x 1/4” rivet
- Cotton yarn to coordinate with your fabric
- Tassel maker (The designer used the light turquoise tassel maker by Clover MFG)
- Coordinating threads for all fabrics and trims
- TIP: Always coordinate all of your threads to fabrics. Sometimes this means a different color thread in the top of the machine to the bobbin. It is a bit of extra work but well worth it in terms of style.
- Your usual sewing needs including scissors, markers, and extra feet for your sewing machine (zipper foot, for example). You know, the usual stuff!
Cutting Instructions:
From the cotton fabric:
- 1 piece 4” wide x 11 1/2” long
From the interfacing:
- 1 piece 4” wide x 11 1/2” long
Sewing Instructions:
MAKING THE KEY FOB:
- Fuse the interfacing to the wrong side of the cotton fabric. While you are at the ironing board, fold the interfaced fabric in half with the wrong sides facing and iron a center crease down the length.
- Fold the long raw edges to the center crease and press again.
- Thread the d-ring onto the fabric strip. Push it right out of the way so that you can easily work with the ends.
- Making sure that the strip is not twisted, unfold everything and place the two short ends right sides together and pin to make a loop.
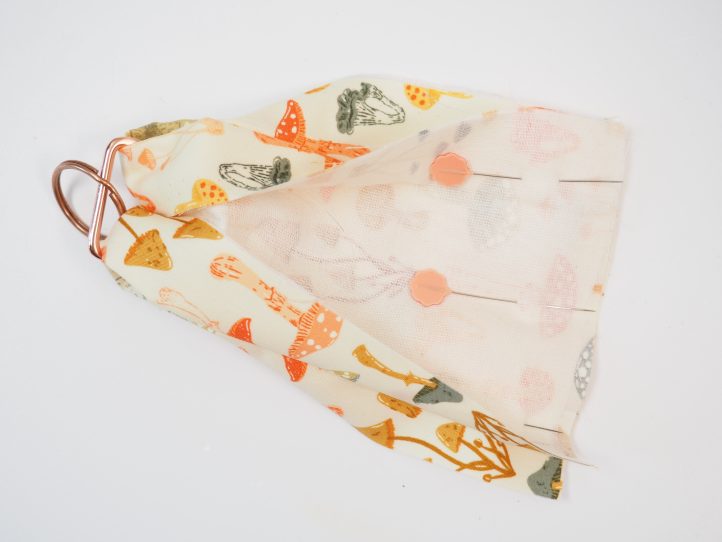
- Sew this seam on the short ends and press the seam open.
- Re-fold the original folds and press again if you need to. You now have a loop with a d-ring on and no raw edges are visible anywhere.
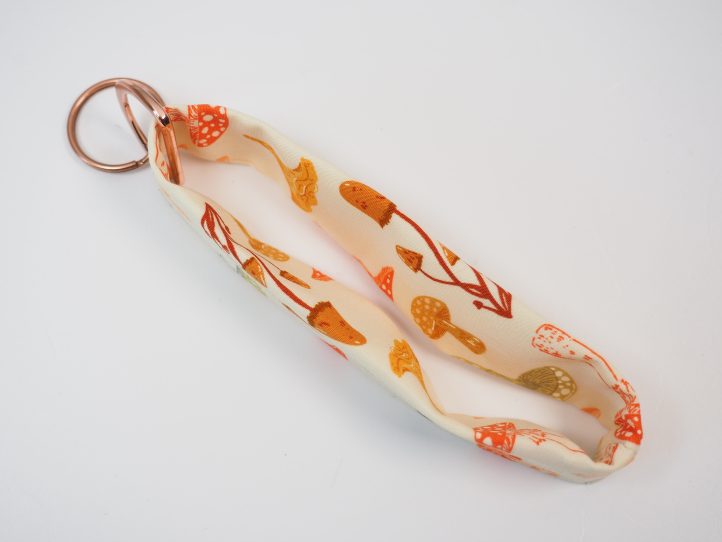
- Topstitch along both long sides of the loop. This will close the loop and decorate on the open side and decorate it on the other.
- TIP: As you sew, simply keep sliding the d-ring along in front of you.
- Find the seam end and place this to the bottom of the key fob (away from the d-ring).
- Attach the rivet just under the d-ring to keep it in place.
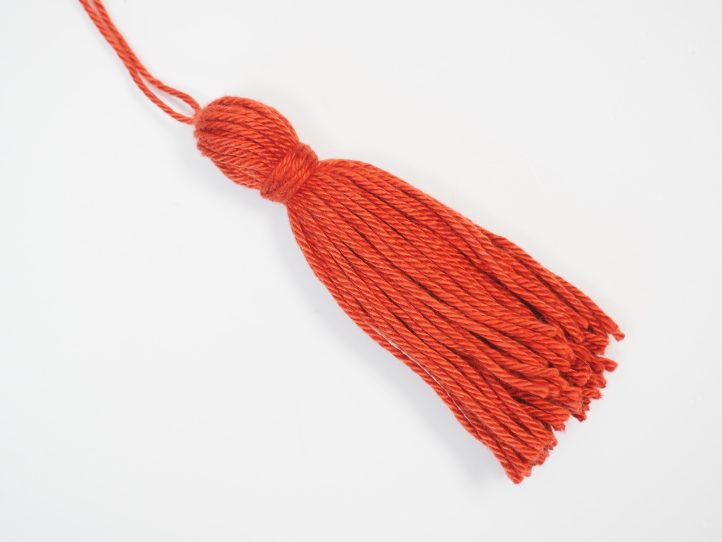
MAKING THE TASSEL:
- Set the tassel maker to 6 1/2” (the second marker on the side). This will make about a 3” tassel. Wind the yarn around 20 times and tie the tassel off in the center.

- TIP: Tie off with about 12” of cotton yarn and leave the yarn long.
- Cut threads along tassel maker ends, then remove the tassel from the tassel maker and fold in half. Wrap and tie the ‘waist’ about 1” down from the top.
- Attach the tassel to the d-ring quite securely using the long threads and weave the ends into the tassel so that they are invisible.